• Notice for iPhone users: DO NOT use the image size reduction option when uploading photos to the forum. This causes portrait images to post as landscape. We have added a warning to the image insert pop-up as well.

Spankrjs' 1984 Long Term Project

You can get auto paint in spray cans from Paintscratch.com. I got a couple of cans to do my inner fenders and back part of my grill when i got my Jeep painted. Is that paint 3A Almond Beige or is it some non-stock color that is close to Almond Beige?

Yes, the paint is the original 3A Almond Beige, just a little "sun faded":thumbsup: I have some touch up paint from www.automotivetouchup.com. The paint works well, but it is "touch up" paint, meaning it goes on very light/thin. It is perfect for "blending in", but too thin to repaint an entire piece from bare metal to match. It is pretty expensive, about $20 per can. I tried painting the bed floor of "Yard Scrambler" with touch up paint, and after 6 cans, the color was still too light. It would have took 18 cans!!!!!

I got a spray can of Almond Beige mixed up at O'Reilly's for touch-ups on my J10. Matched it almost perfect except where the original paint is faded.

I might try that, might be cheaper then the other place I have been buying the touch up paint. I am assuming this is "new" paint, not touch up, so it will be the correct, full color???

You might try having Napa mix up an aerosol can per your paint code. They were fair on pricing for me and the Sherwood green metallic was a really close color match.

I have a pretty good relationship with my local NAPA, I know they sell paint, not sure if they have the technology to put it spray cans, though??
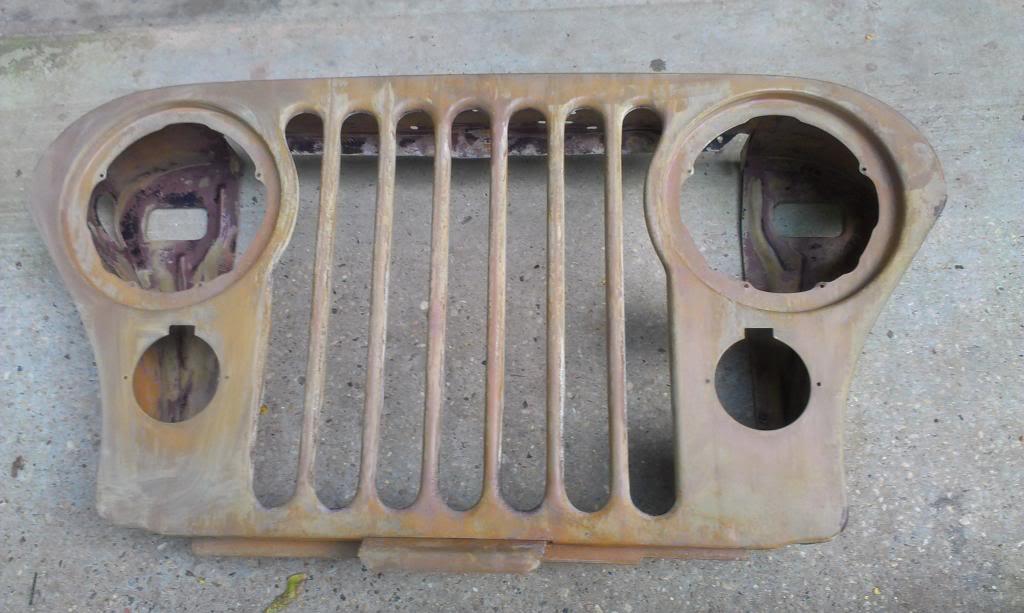
 
A small "grill" update.

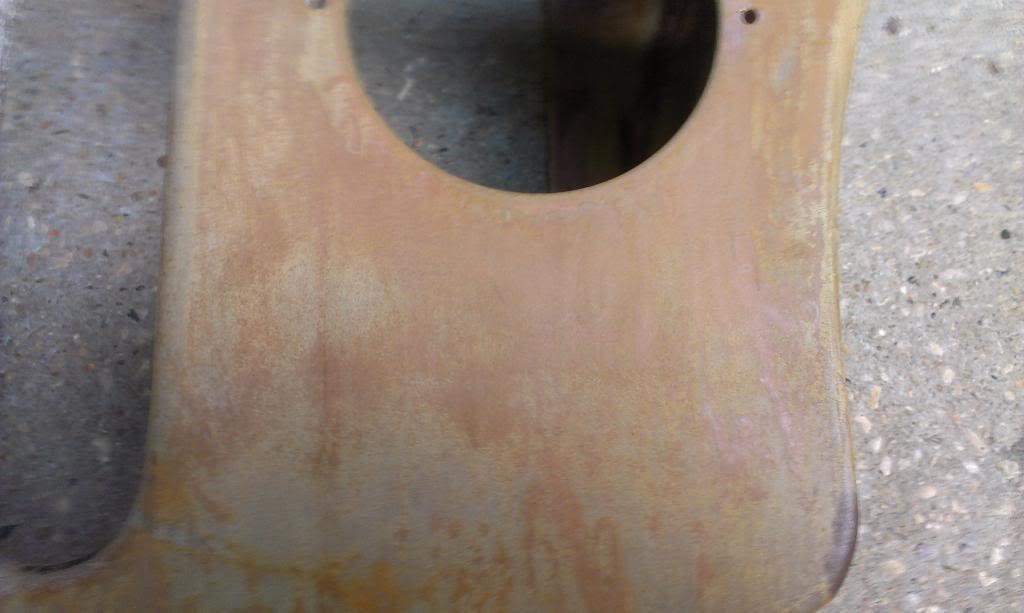
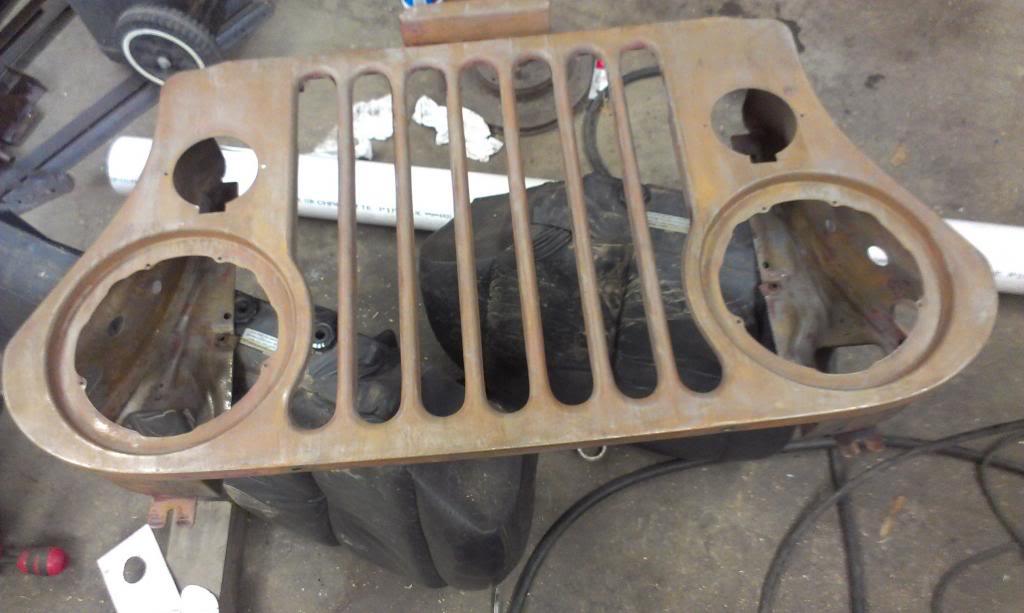
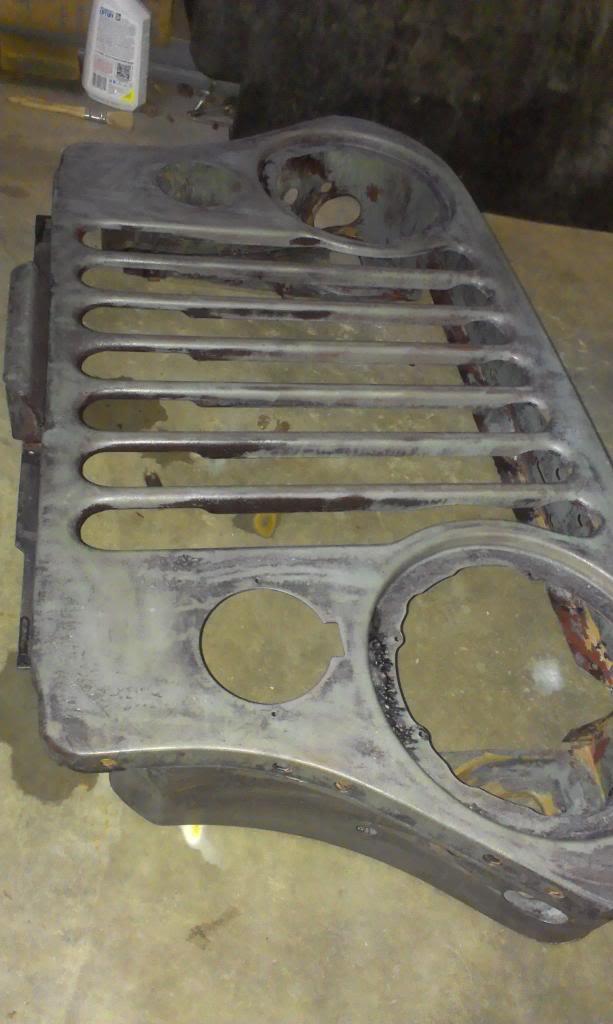
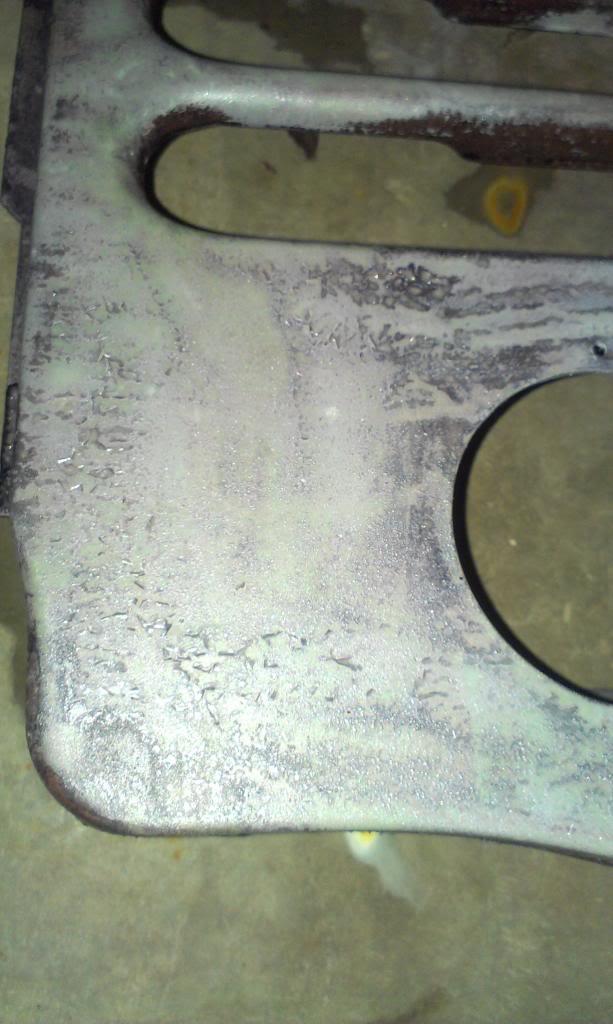
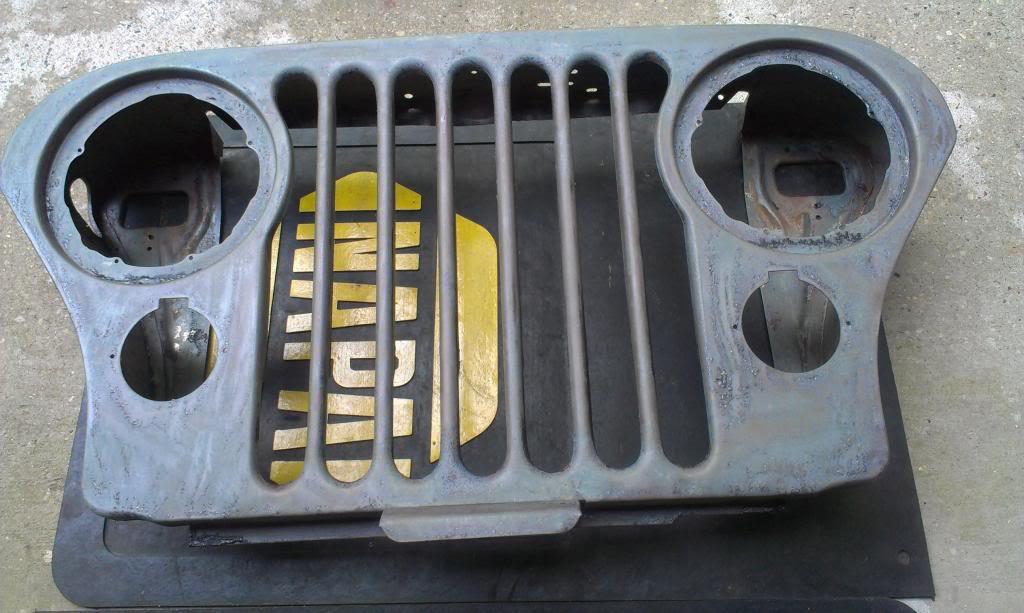
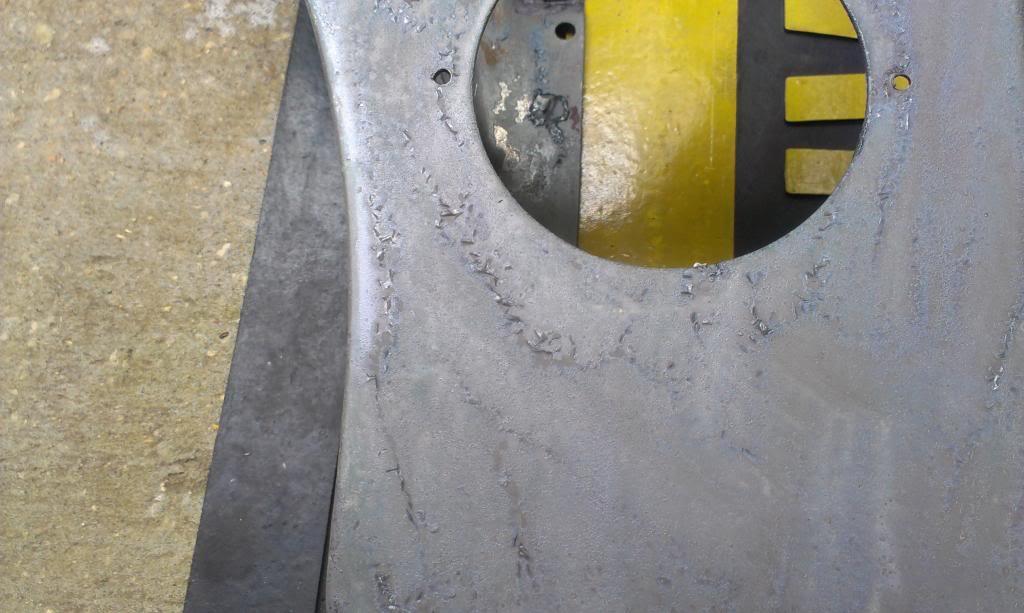
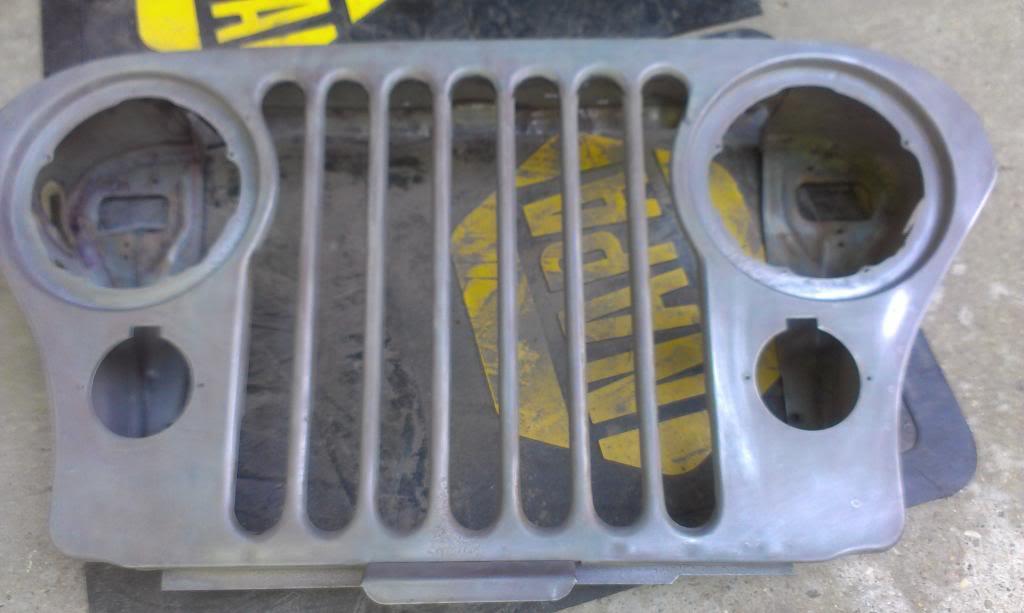
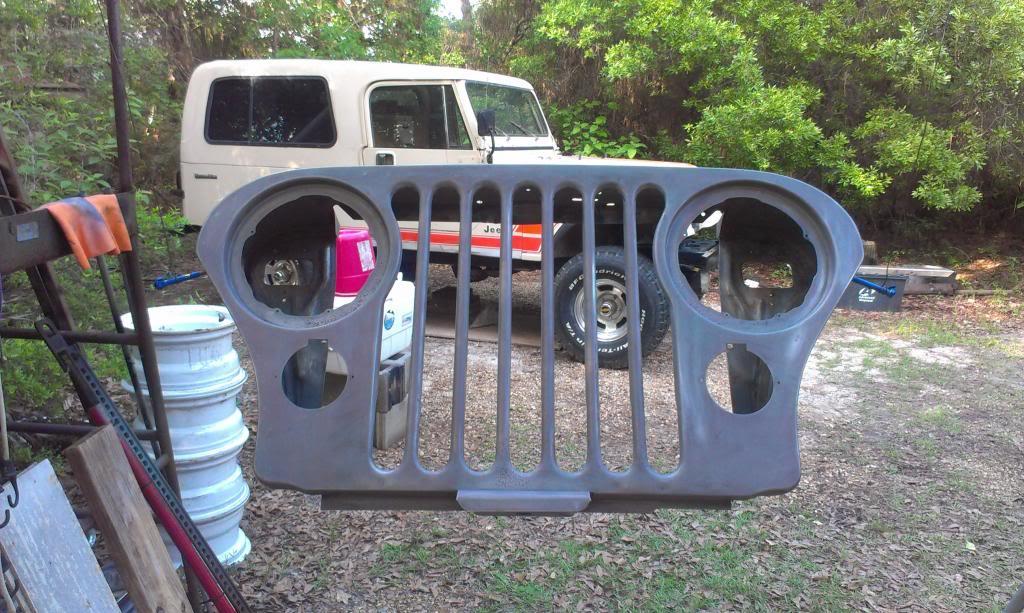
I believe I washed the phosphoric acid off too soon, so the poor grill is covered in "flash rust".

IMAG0833_zps1ddad61c-1.jpg


IMAG0834_zps0532b2e9-1.jpg


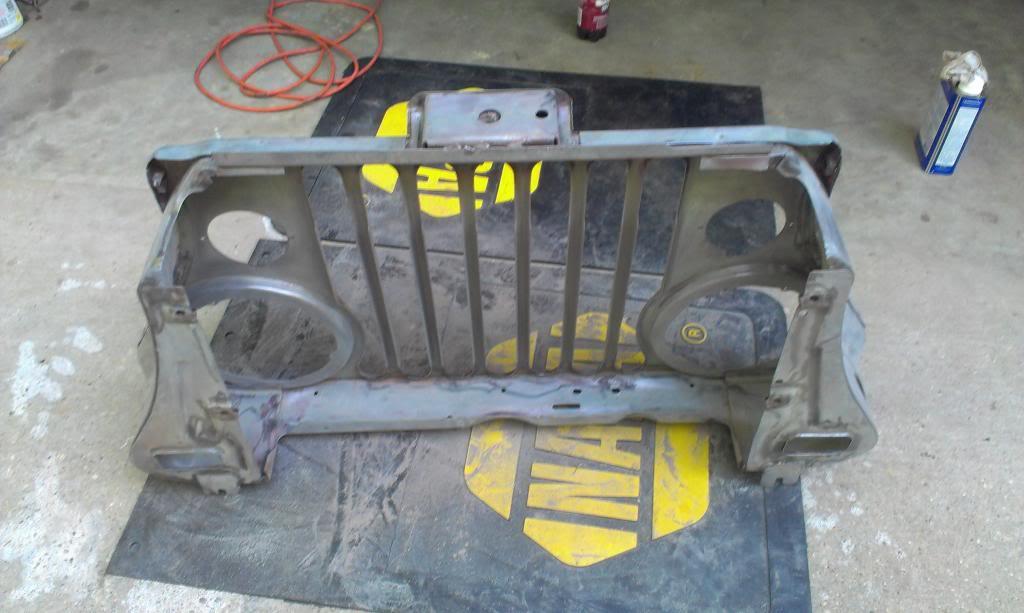
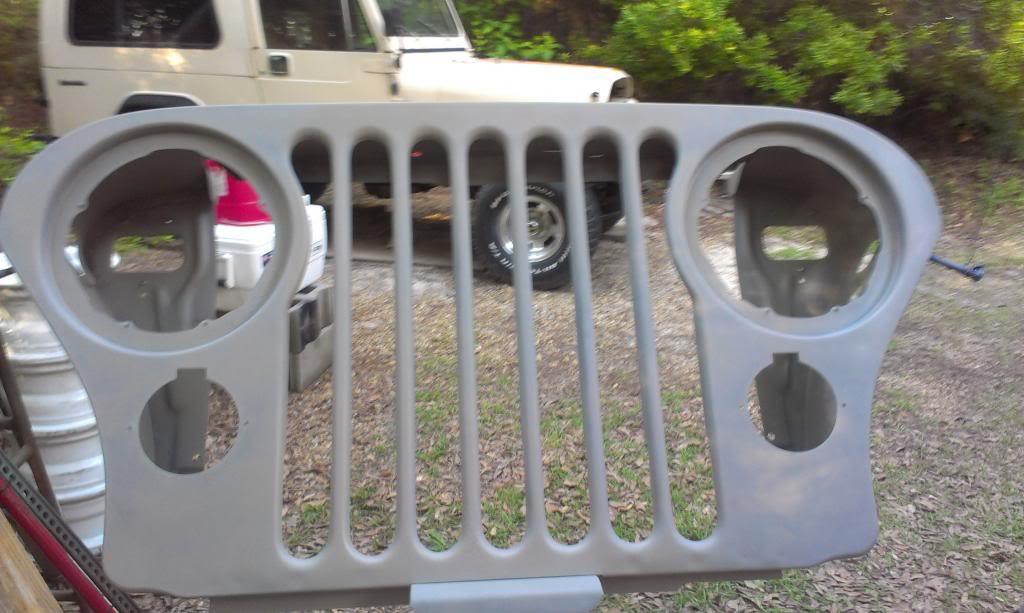
I used the steam cleaner on the grill, and it removed 90% of the remaining paint. In hind sight, I should have tried the steam cleaner before the paint stripper.

IMAG0837_zps1389aa1a-1.jpg


IMAG0838_zps7bf56803-1.jpg


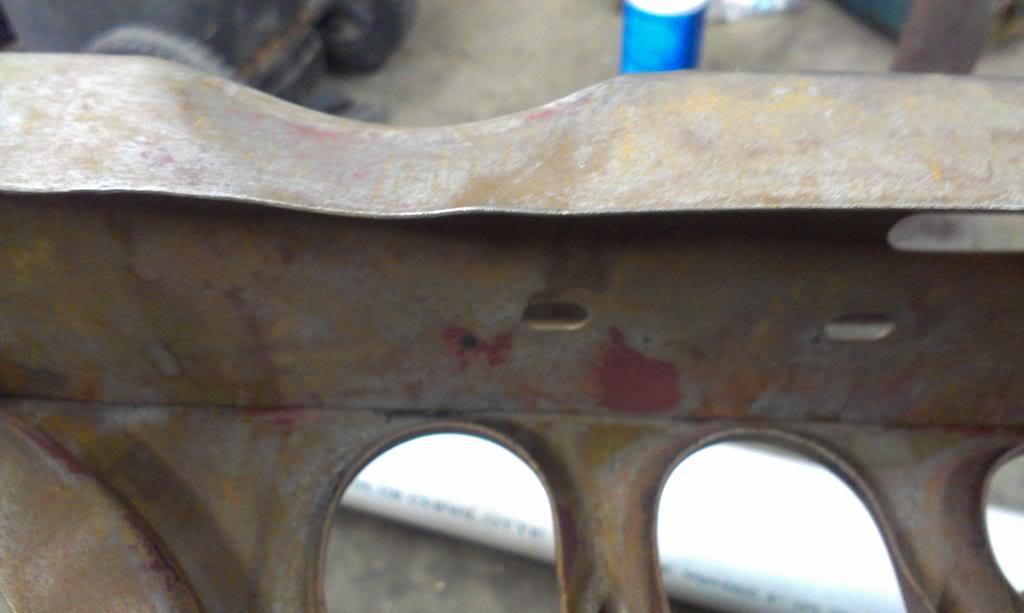
But, there is still a little bit of primer left in a few spots. Maybe another hours work with steel wool/sand paper/dremel, it will be good to go.

IMAG0840_zps9f0db585-1.jpg


I wiped the grill down last night with a rag soaked with straight phosphoric acid, and it removed the flash rust instantly.

IMAG0841_zps7eb10de0-1.jpg


IMAG0842_zps6739bc56-1.jpg


I went out and looked at the grill this morning, and it is still "flash rust" free. Before I prime/paint the grill, I plan on gently scrubbing it with steel wool, and then wiping it down with acetone. This should remove any residual acid.

IMAG0846_zpse563a3f9-1.jpg


IMAG0847_zps448acc2e-1.jpg
 
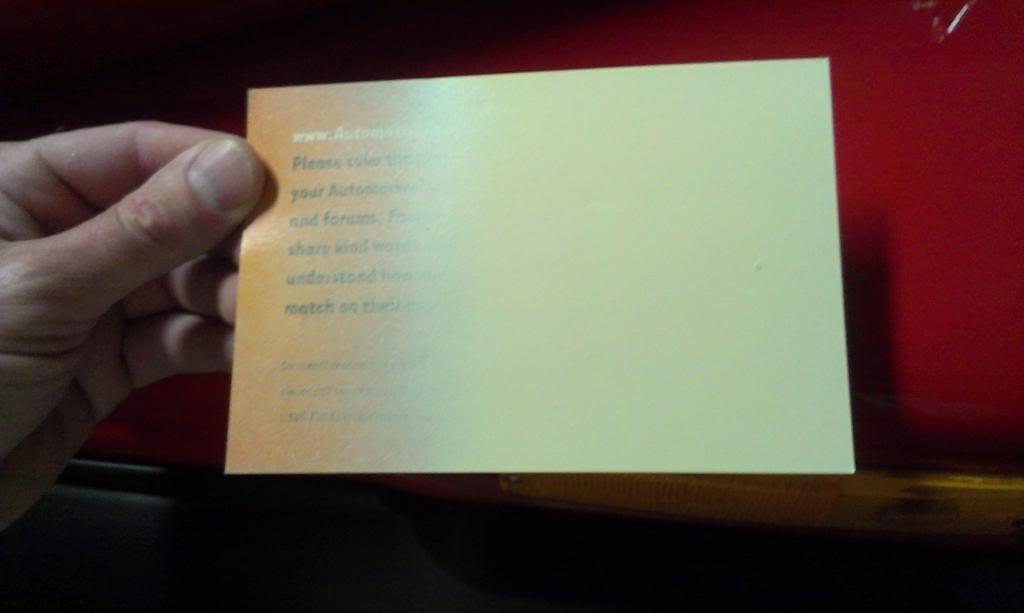
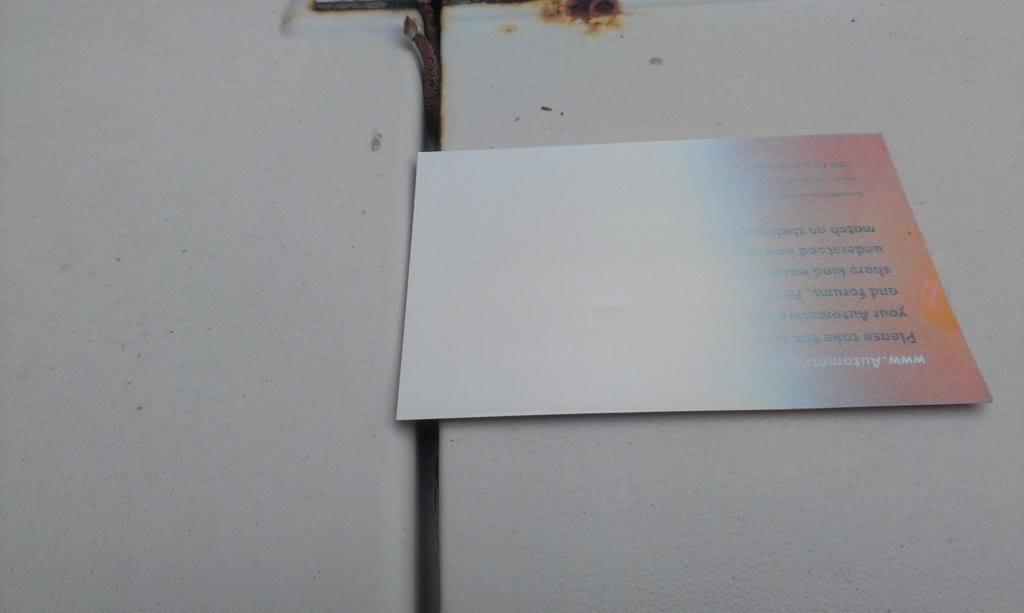
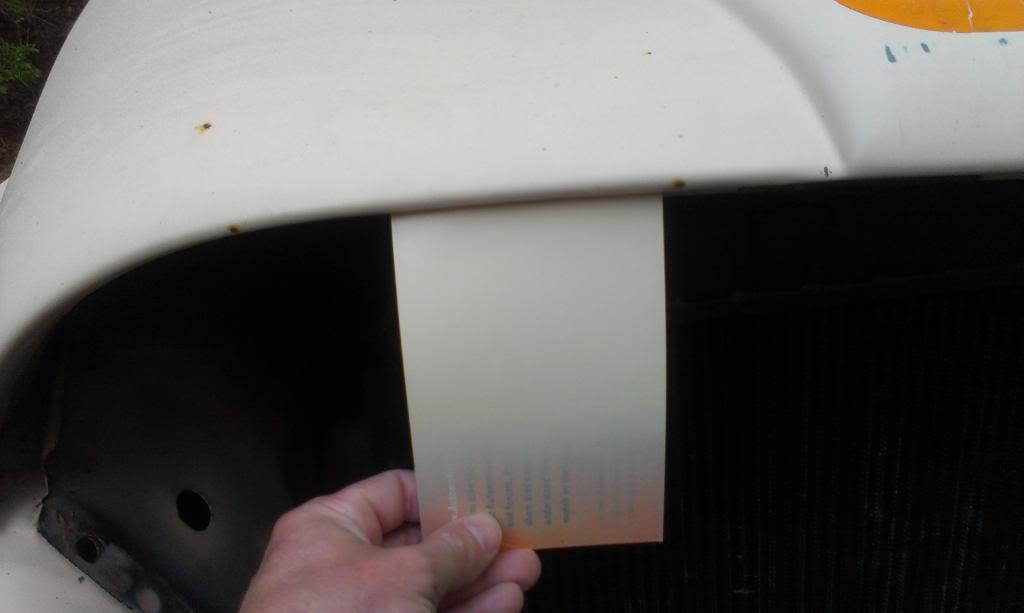
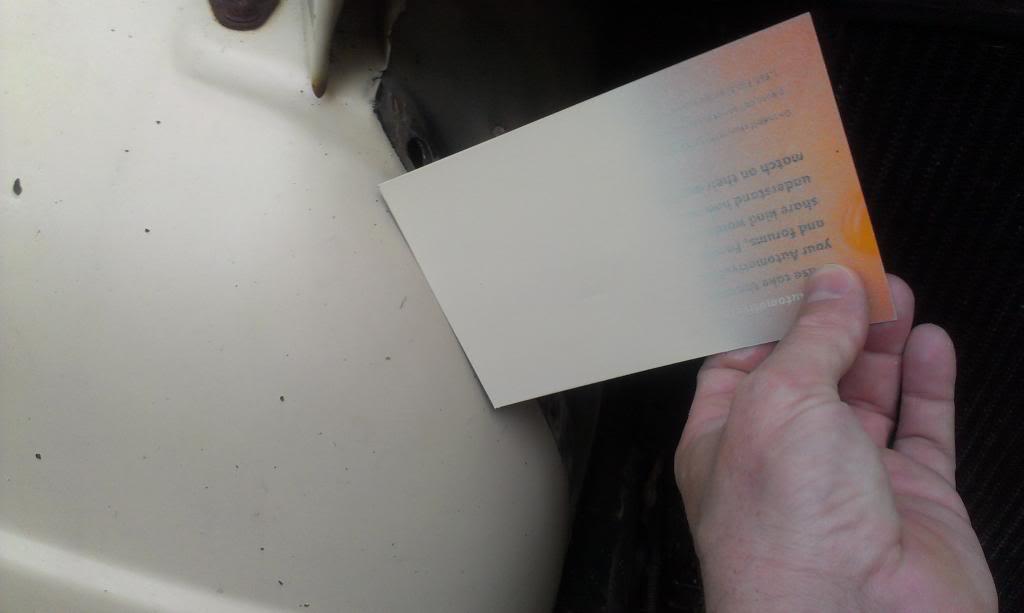
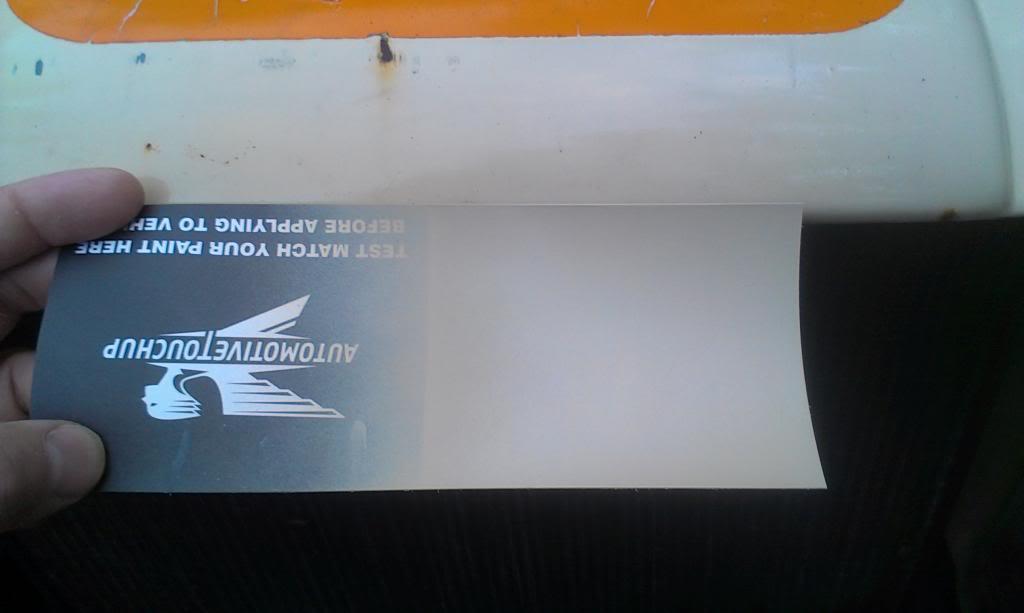
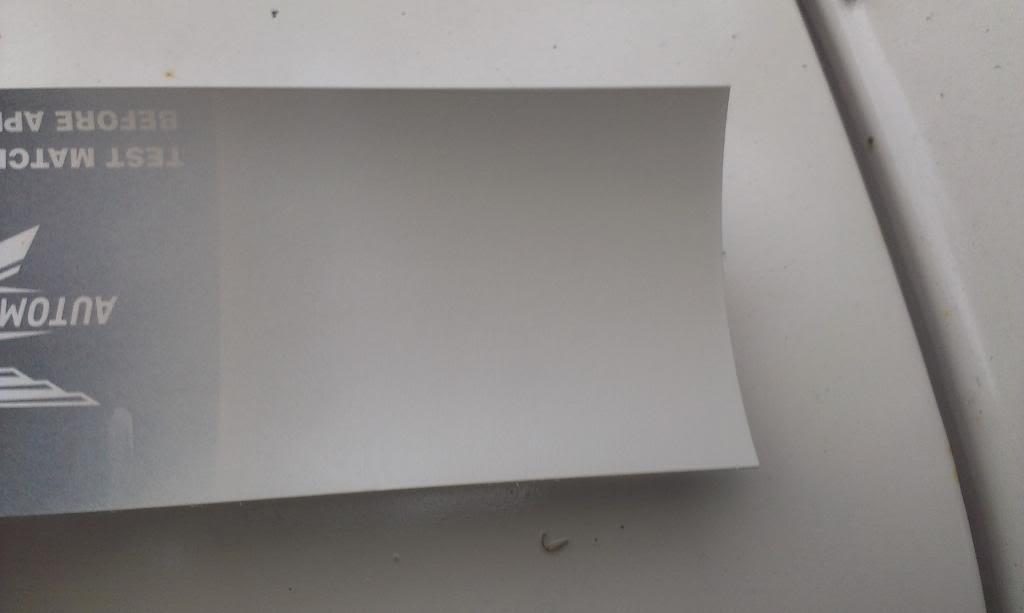
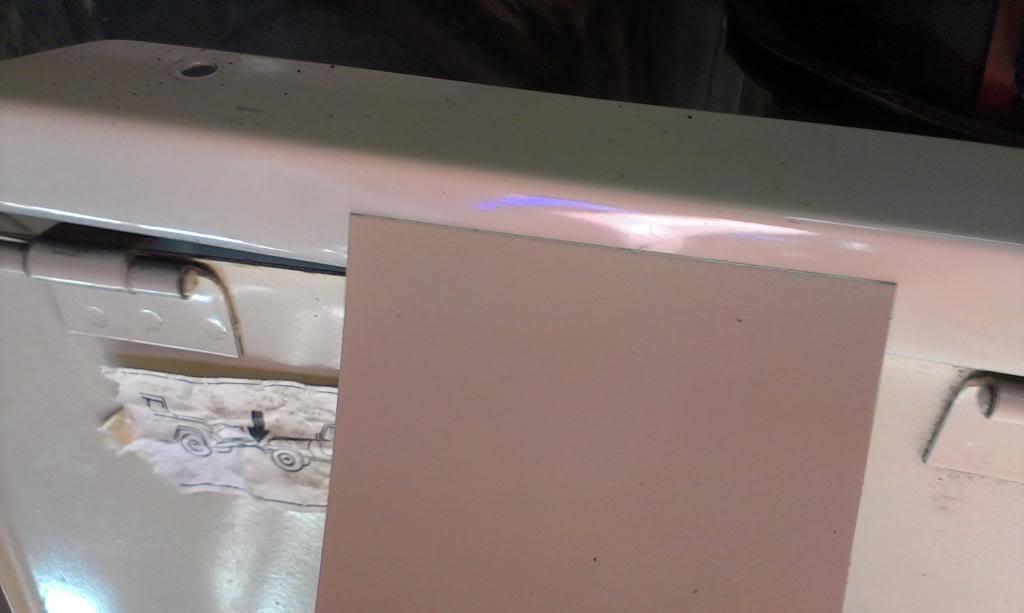
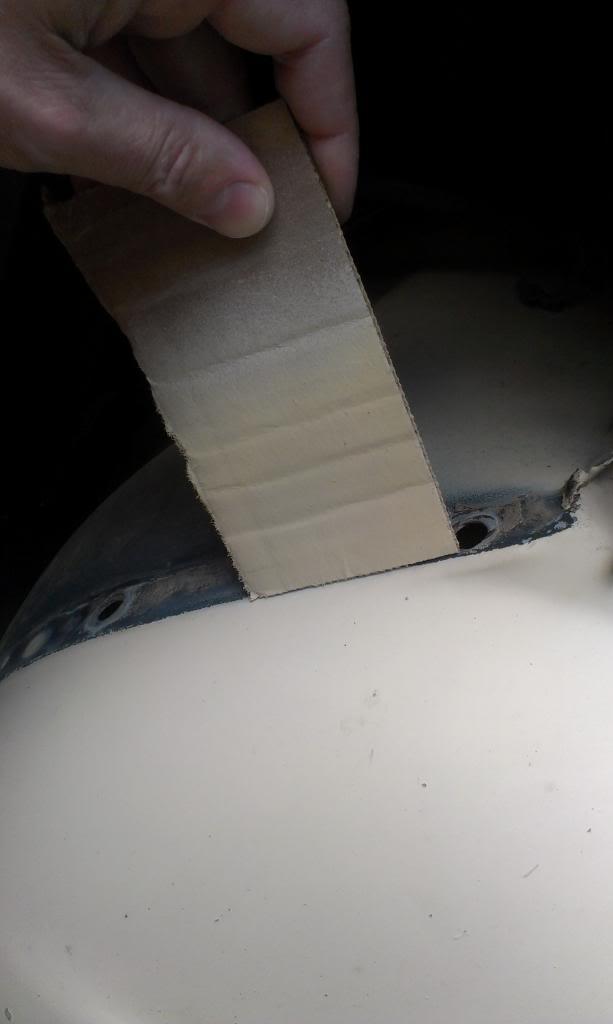
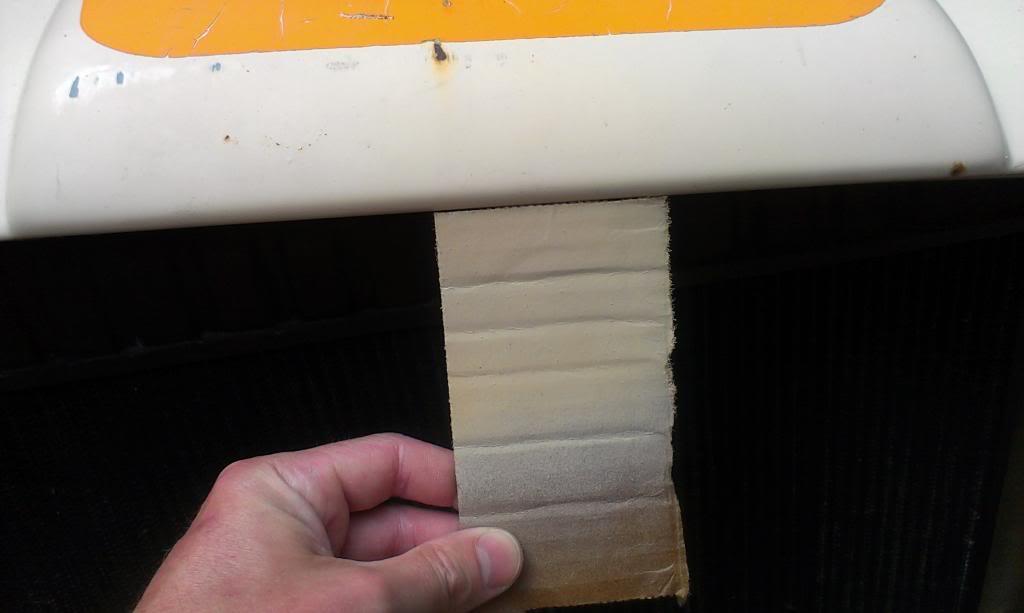
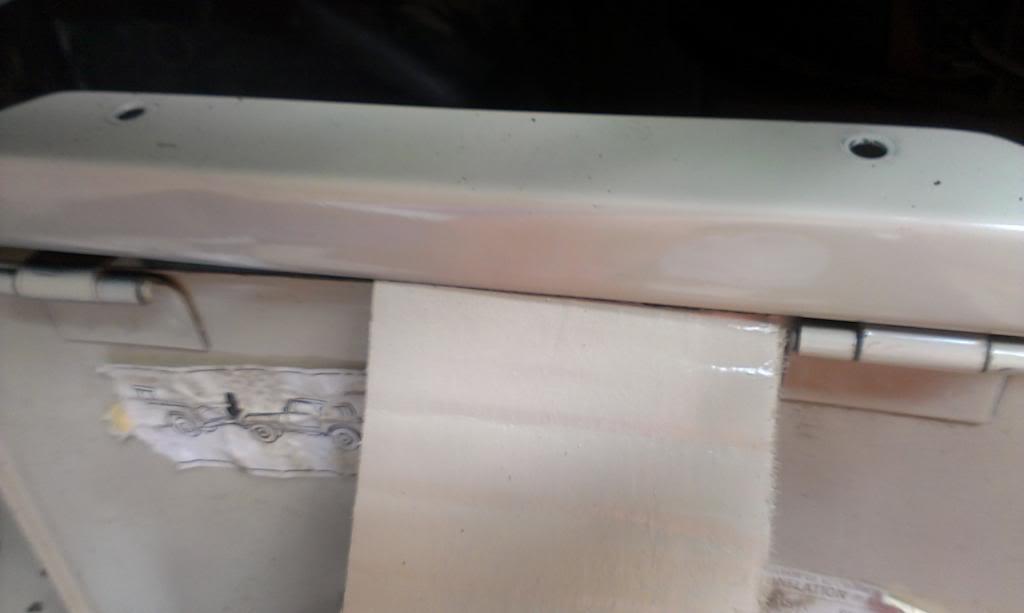
I did a quick "experiment" with the Rustoleum paint I have. I sprayed grey Rustoleum primer, followed by 3 light coats of the Rustoleum "Satin" Almond paint, on a scrap piece of cardboard.

IMAG0844_zpsa759ccf0-1.jpg


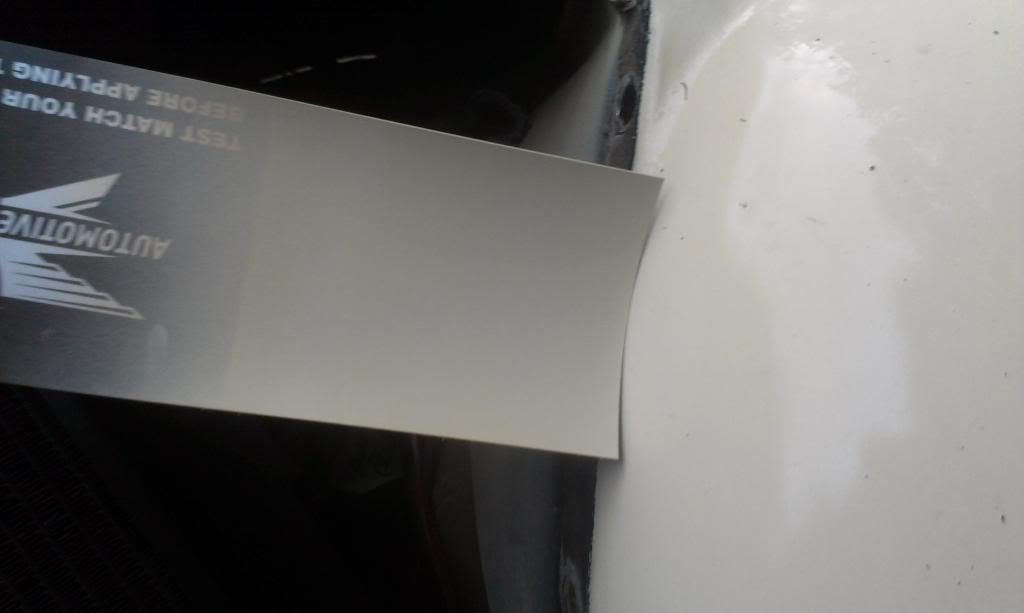
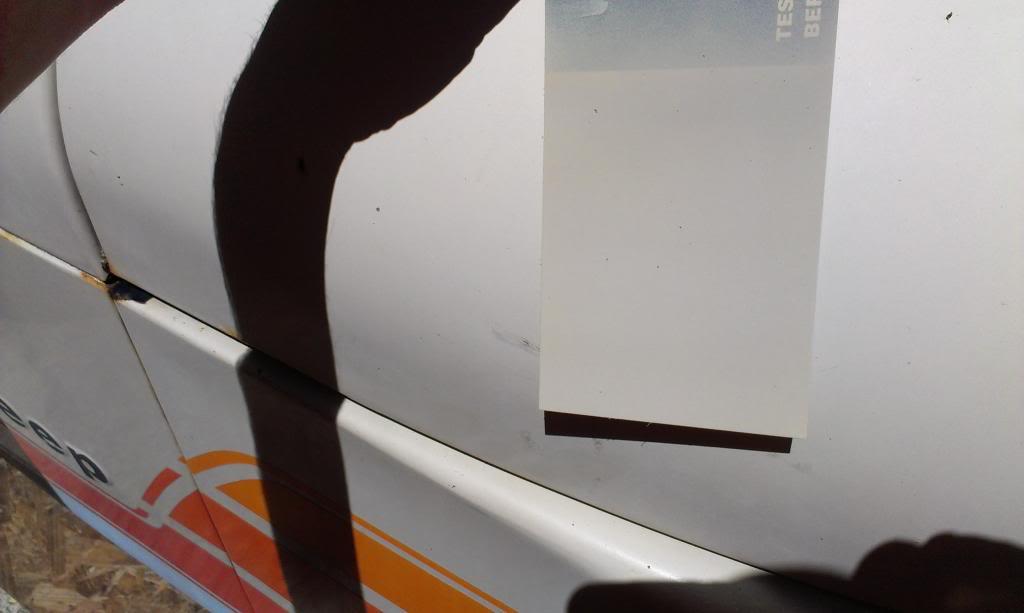
This is what it looks like in the day light, next to the factory paint.

IMAG0848_zpsacef5d1d-1.jpg


IMAG0849_zps482a78b4-1.jpg


IMAG0850_zpsd59c3713-1.jpg


The first picture, where the sample is laying flat against the hood next to the cowl, it does not look to close. But, the last two pictures, vertically below the hood, and next to the fender, it doesn't look too terrible. The color does look too "vibrant", but it is new paint vs old original paint. I am going to try a "matt/flat" coat on top of the paint, see if it "dulls" it down some. I know it wont be "perfect", but seeing how the grill is so "busy", it might be close enough.

I am going to try my "sample" on a bigger piece of metal, and see what it looks like. I might also try a can of "color matched" new paint.

That's it for now.
 
Connie had a paint can mixed at Napa for her Beetle. We didnt use the paint code. She actually brought a whole fender in and they color matched it (with some camera matching system dohickeymabob...). Its pretty close!
 
Connie had a paint can mixed at Napa for her Beetle. We didnt use the paint code. She actually brought a whole fender in and they color matched it (with some camera matching system dohickeymabob...). Its pretty close!

Y'all have some hi-tech NAPA's up there :thumbsup:

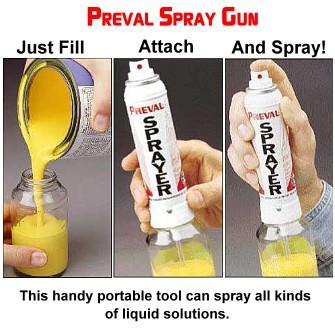
You can have a pint mixed up and spray it out of a Preval Sprayer. They work great. Basically it turns any paint in to a rattle can. Cheap, too!

preval-1.jpg


http://www.homedepot.com/p/Preval-9-oz-Complete-Spray-Gun-267/202533738

I forgot about those, they do work great. I used one before to paint a windshield frame, another option:thumbsup:
 
My Napa must have a contract with a paint supplier here in Milwaukee. I don't have the can here, but I think it came out of a Milwaukee company. It takes about a day or two once you give them your color code.
 
The O'Reilly's here will mix whatever color you need (I gave them the Almond Beige AMC paint code) and put it in a spray can. It was a little pricy, $20 or so IIRC.

Also, for paint removal I used a 3M paint removal wheel I got from O'Reilly's also. Works great on flat surfaces but sharp edges tend to tear it up fast. Took paint and primer off fast without damaging the bare metal.
 
My Napa must have a contract with a paint supplier here in Milwaukee. I don't have the can here, but I think it came out of a Milwaukee company. It takes about a day or two once you give them your color code.

They mix at one of the local stores down here, but they do not have the technology to put it in a spray can down here:banghead:

The O'Reilly's here will mix whatever color you need (I gave them the Almond Beige AMC paint code) and put it in a spray can. It was a little pricy, $20 or so IIRC.

Also, for paint removal I used a 3M paint removal wheel I got from O'Reilly's also. Works great on flat surfaces but sharp edges tend to tear it up fast. Took paint and primer off fast without damaging the bare metal.

The O'Reilly's down here can also color match paint, but they are the same as NAPA, no technology to put the paint in rattle cans :eek:

I forgot about the 3M pads, they do work great:thumbsup: For the little bit of paint stripping I have left to do, and all in hard to reach places, the Dremel tool/sand paper/steel wool should take care of it:fingerscrossed:


I went to buy some Rustoleum Matt clear last night, and ran into a snag. Not just with the clear, but with the Rustoleum paint I am using, too. The Rustoleum paint is only good to 200 degrees. Now, I doubt the grill gets that hot, but it does get/stay warm. I am starting to worry that the Rustoleum might give me some adhesion/lifting/yellowing issue down the road. Maybe, maybe not, but that worry is stuck in my head now:crazy:

I already have 6 cans of color matched paint, plus primer and clear, I purchased from www.automotivetouchup.com earlier. I was planning on using this for touch up/small parts, but I think I will just paint the grill with it instead. I can always buy some more paint later, if it works out:fingerscrossed:
 
I seriously doubt the grill will ever hit 200 degrees.
 
I seriously doubt the grill will ever hit 200 degrees.

You are probably correct:thumbsup:

But, the radiator contains coolant that gets up to 180 degrees, plus (possibly) a transmission cooler up front, too. The grill might not get to 200, but it will get fairly hot. Down here, in the summer, after driving a few hours on the highway, or trail, the hood/grill do get mighty hot.

I might just try the Rustoleum, worse case, I will have to repaint it, but I hate doing the same thing twice:shrug:

I have some time to think about it, it will be raining down here for the next few days, so no painting, or any work on this Scrambler:(
 
Due to all the rain the last few days, no real progress/updates. I did spray some of the color matched paint over some primer, just to see what it looks like. I believe the dampness/humidity had an affect, but it matches pretty good. The primer that I bought with the paint is a little dark. I may have to prime, then sand down the primer some, before I paint.

IMAG0865_zps4752e308-1.jpg


IMAG0866_zps4754c660-1.jpg


IMAG0868_zps9d528aea-1.jpg


The wet original paint and the camera make it look bad, but it actually matches pretty close. I believe "lightening up: the primer coat, and then some clear after the paint, should match up pretty good.

Just need some good weather:thumbsup:

That's it for now:wave:
 
Small update, relatively unproductive weekend for this Scrambler, too busy working on other Jeeps.

First, the paint does not match. Looks pretty good here:

IMAG0878_zps6e974eaf-1.jpg


But, after clear coat and curing, it is too dark. I compared it to original, un-faded paint inside the glove box.

IMAG0879_zps29ac7be3-1.jpg


I believe the grey primer is too dark. The paint matches good, but the dark primer is too much to overcome. I ordered some white primer, so I will try that. The lighter colored primer should work better, I hope.


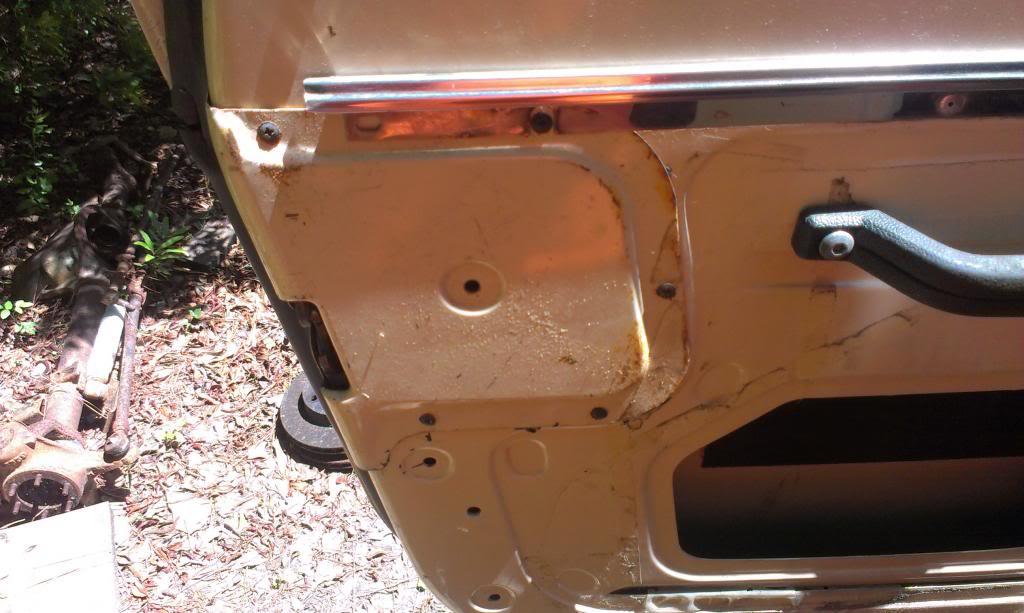
I also fixed the driver side door handle. Not too exciting, but one more little project complete.

IMAG0877_zpse6823215-1.jpg


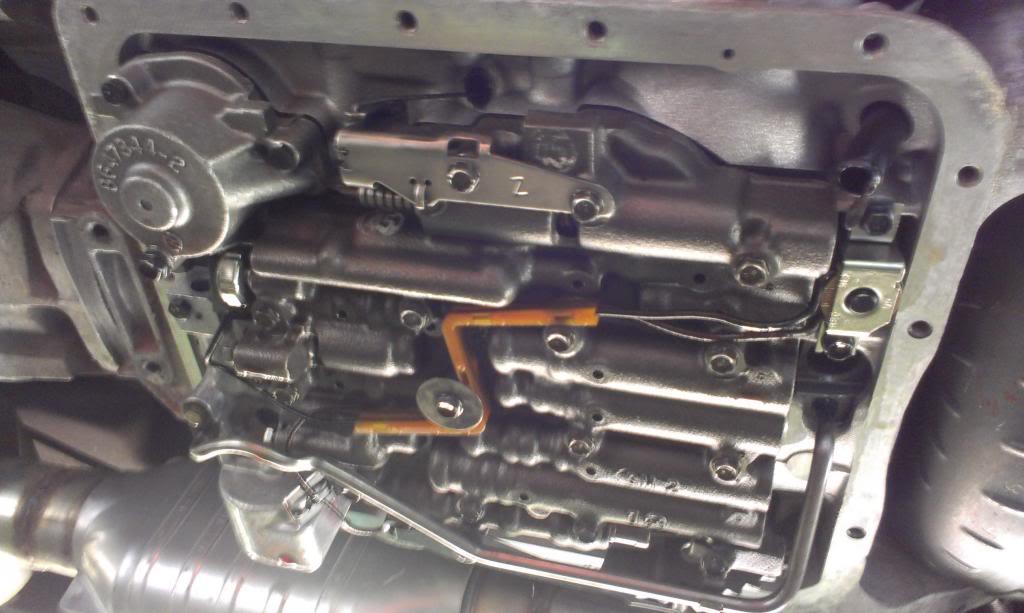
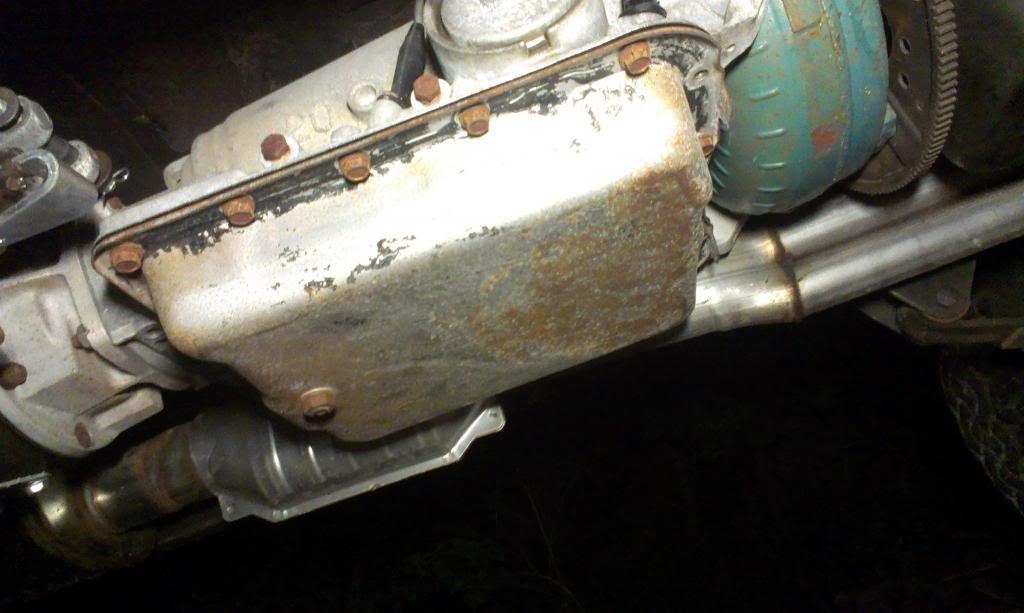
I went to change the transmission filter and pan gasket, and the fun started.

IMAG0880_zpsdfe64986-1.jpg


Yep, two pan bolts snapped off in the transmission case.

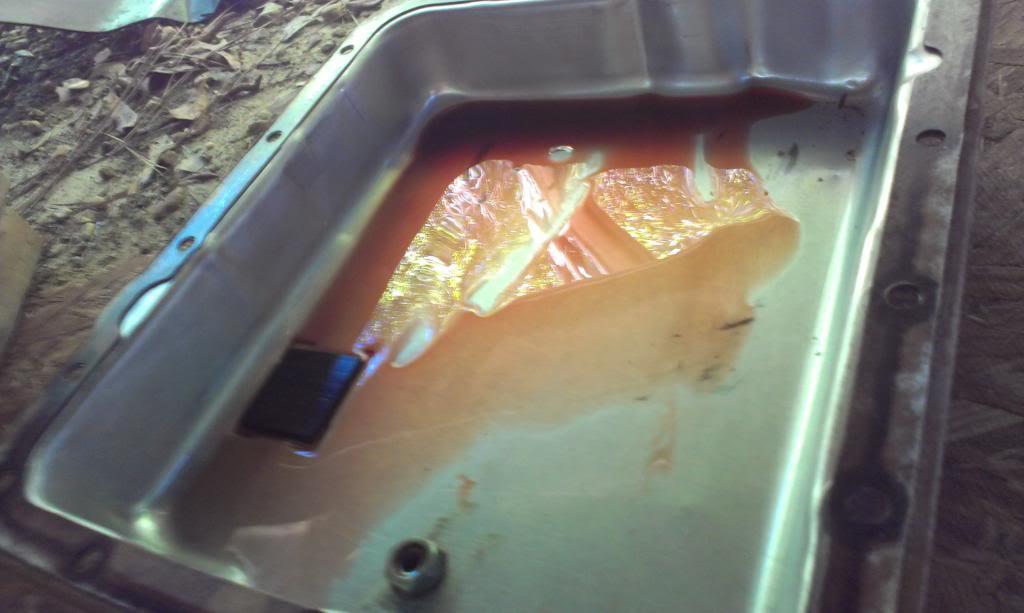
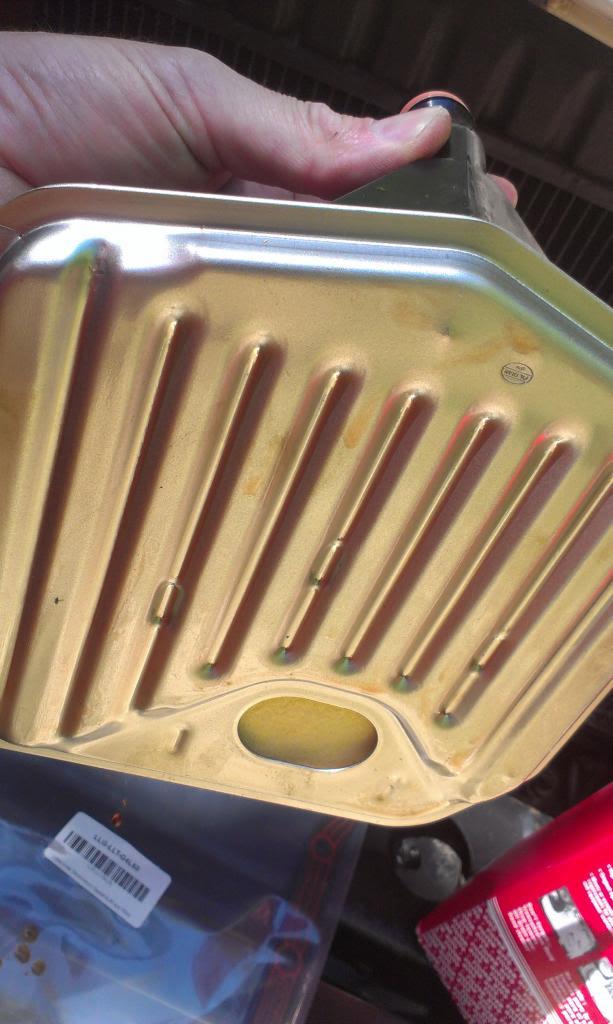
But, the old filter, the pan, and the transmission were all nice and clean. It is a brand new filter, so no need in changing it.

IMAG0881_zps3540a879-1.jpg


IMAG0884_zps97c30186-1.jpg


IMAG0886_zpsf56f1f09-1.jpg


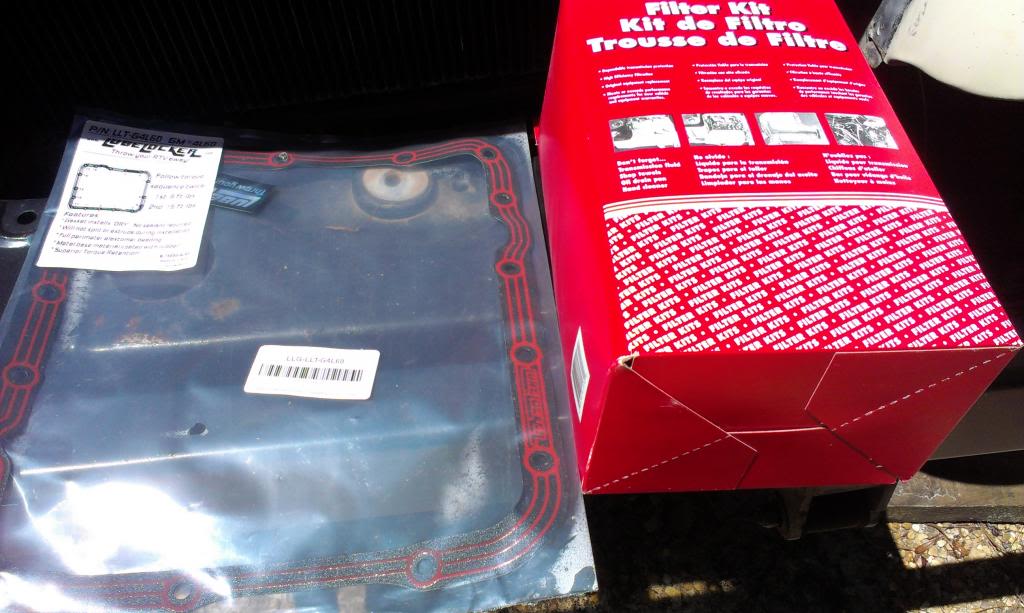
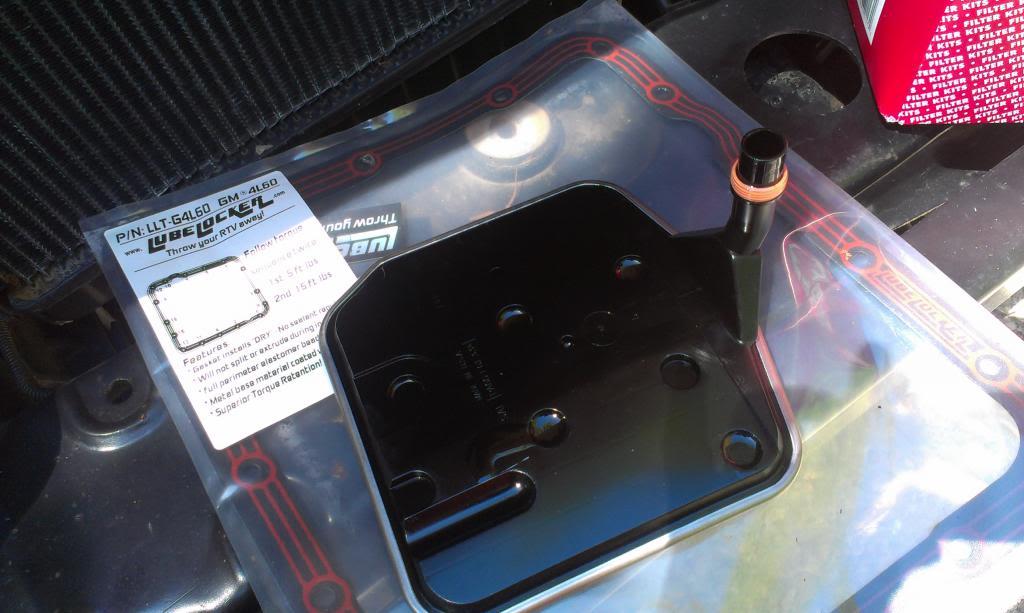
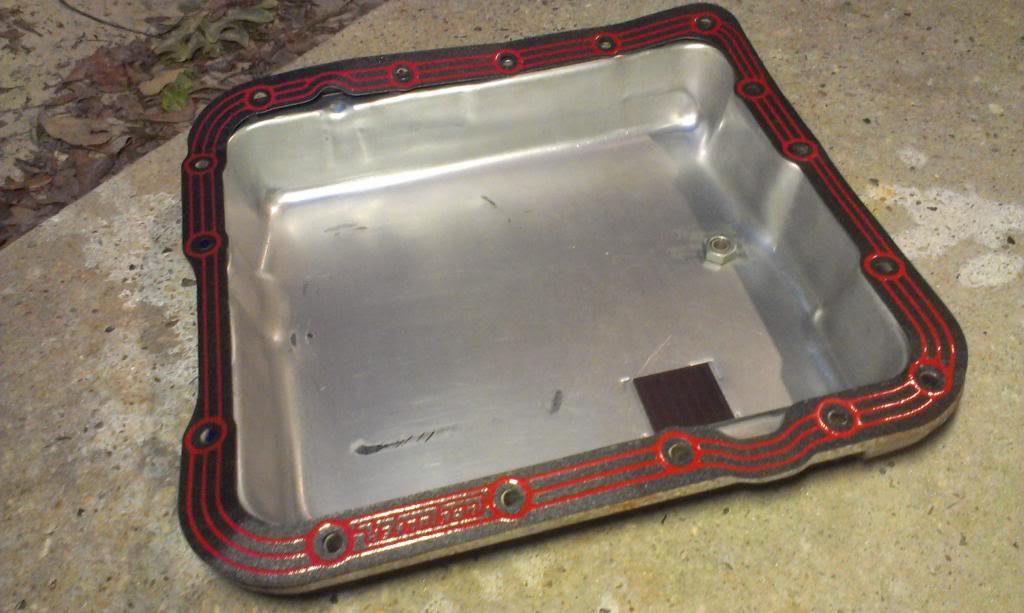
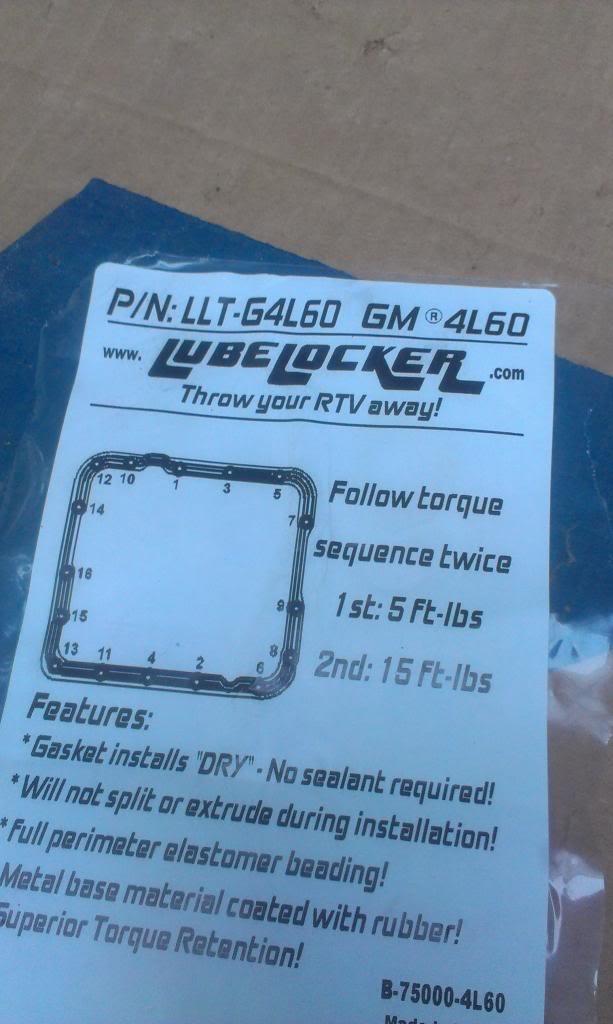
And a picture of the Lube Locker transmission pan gasket/new filter.

IMAG0876_zps90b0ee27.jpg


IMAG0885_zps582f389f-1.jpg


I already drilled small pilot holes into the two broke bolts, I just need to try to get them out now. Worst case, I will just drill through them, then re-tap the threads, but I would like to get them out.

Hopefully, in the next few days, I will complete the following:

1) get transmission gasket/pan back on
2) install sleeves inside the main eye bushings
3) install sway bar/links/bushings

Then, start messing with the engine/wiring/plumbing.

That's it for now.
 
A little more work complete.

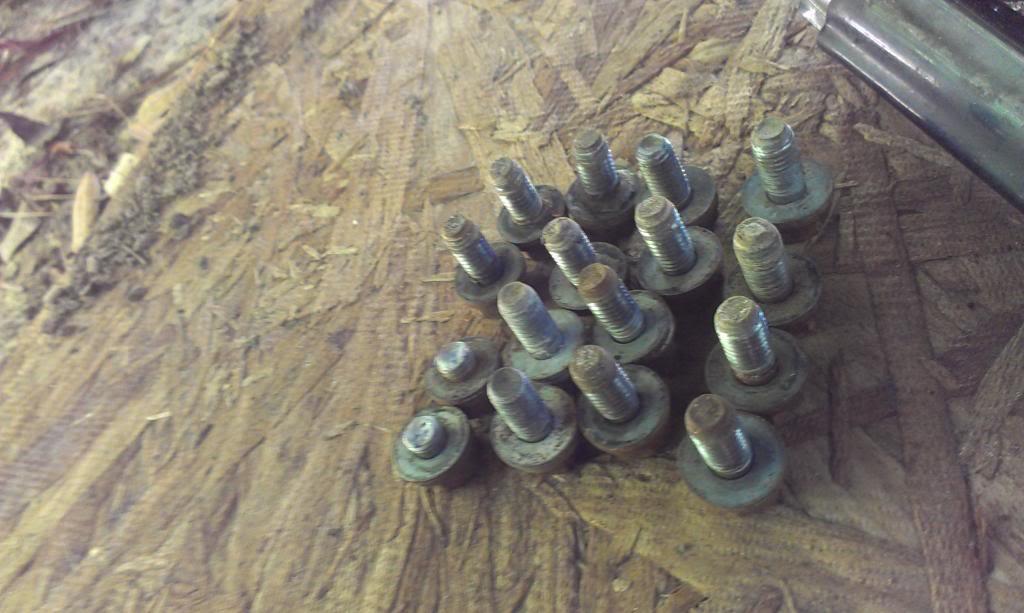
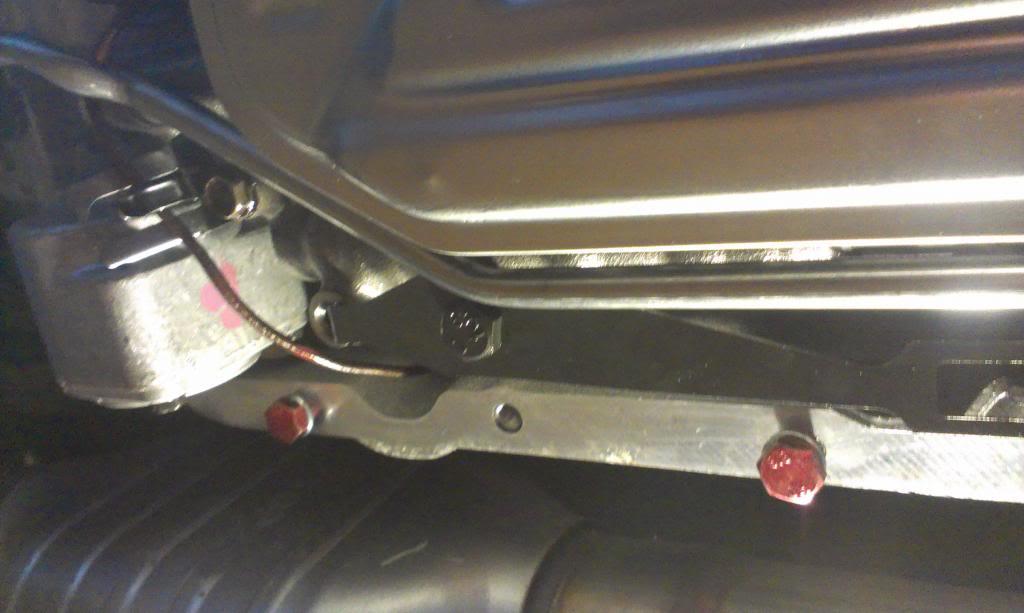
I was not able to extract the two broke bolts, but I was able to drill them out and then re-tap the holes. One hole is a hair off, but a little bit of filing on the corresponding pan bolt hole fixed that issue. Note the "fancy red NAPA metric bolts" LOL.

IMAG0887_zps72091915-1.jpg


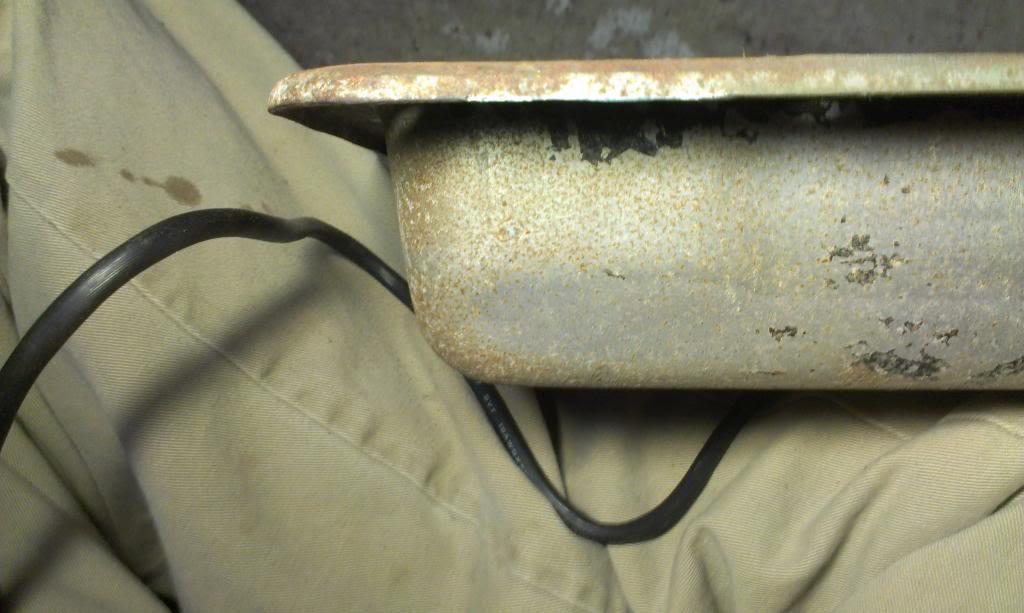
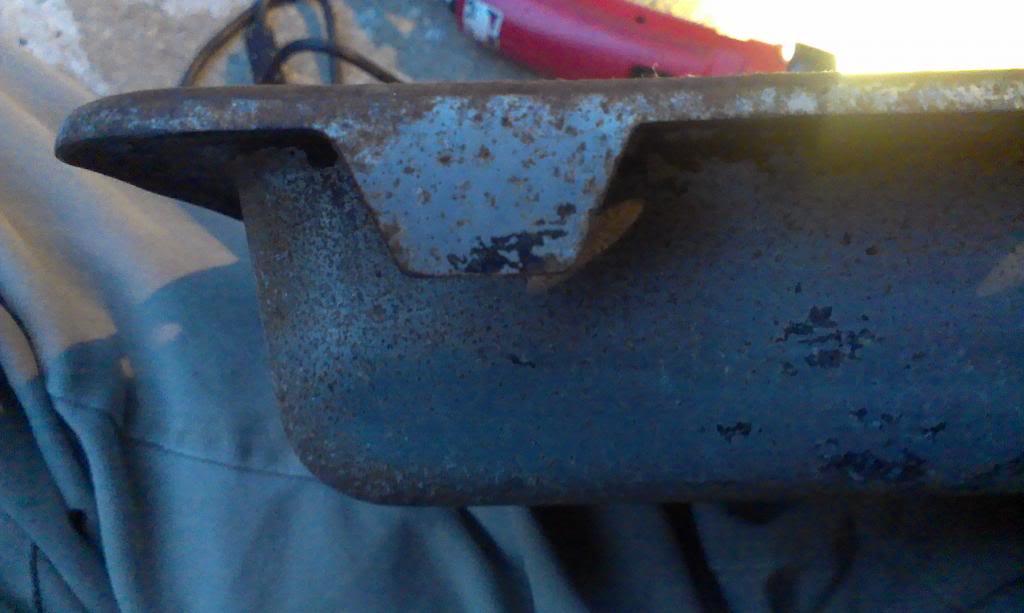
While I had the transmission pan down, I cut off this tab. The Dremel tool and a flat file made quit work of this. Front drive shaft clearance will be tight with a 700R4/Dana 300 combo, and I believe this little tab will hit the top of the front drive shaft. Not sure what the purpose of this tab was, but it is gone now.

IMAG0889_zps334b01c1-1.jpg


IMAG0890_zps554567e2-1.jpg


Quick picture of the Lube Locker gasket. I love these thing for differentials, figured I would try one out on an auto transmission pan.

IMAG0894_zps7a3854d3-1.jpg


And the stock pan bolted back in place. This factory pan is actually fairly beefy aluminum, so it should be fairly strong. I would have loved to put a deeper pan on, but skid plate clearance dictated other wise. I still need to see about drilling another hole in the pan for a temperature sender, but I might wait until I get the front drive shaft installed, plus all the other pieces that need to be installed, before deciding on a temp sender port location.

IMAG0895_zps9f658b96-1.jpg


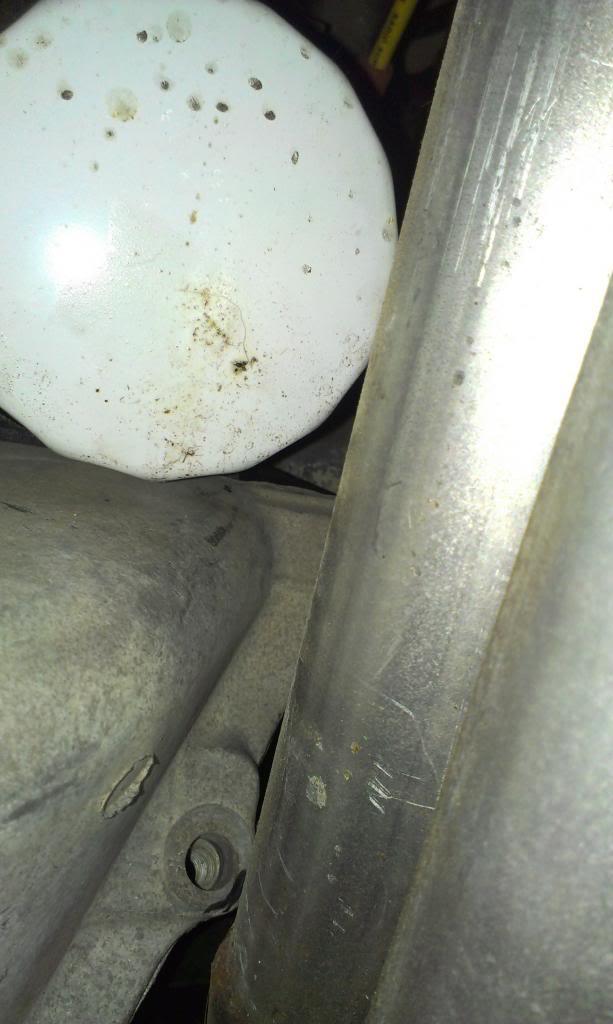
While I was laying down on the ground, I decided to see why the torque converter/flex plate inspection cover was not installed. At first, the way my luck has been going, I figure they left it off because it would not fit. But, I was pleasantly surprised to find that it does fit. Clearance between the cover and the exhaust is pretty tight at one area, less then 1/8". I am going to grind a little bit of material off the cover (black marker colored portion) to get a bit more clearance. Other then that small mod, this piece will bolt right on.

IMAG0898_zpsf2043faf-1.jpg


That's it for now:wave:
 
Not really an update, just a few pictures of current small projects/problems.

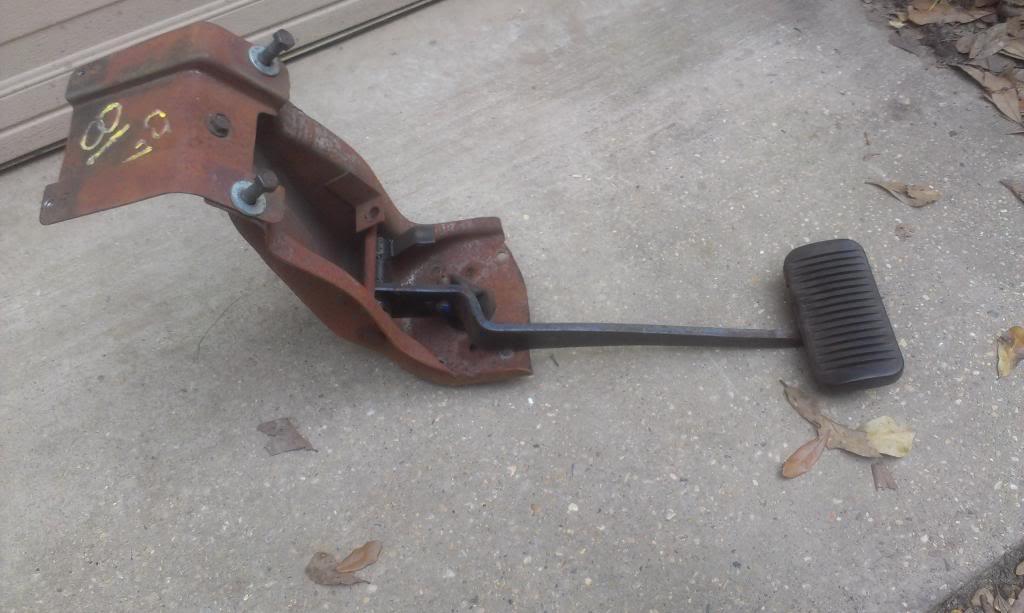
I plan on swapping out the current "manual transmission clutch/brake" pedal assembly for the below, auto trans version, after I repaint the upper bracket.

IMAG0910_zps1516356e-1.jpg


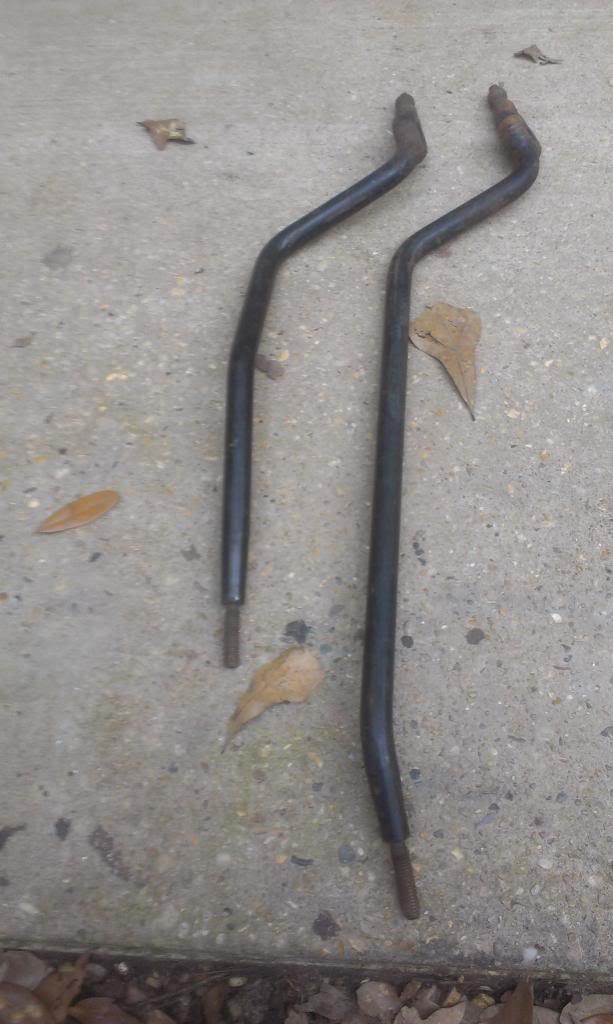
Thanks to JerseyJeeps, among other more knowledgeable members of this site, I was previously made aware of the different Dana 300 shift handles. Before, I was swapping a T176 to a T5. My current issue, the 700R4 is about 4" longer then the T5, mainly due to the adapter. I acquired the below shifter, which has even more offset/height then the T5 shifter sitting next to it.

IMAG0911_zps00796e9c-1.jpg


I "should" be able to heat/bend this shifter into a shape that will make it work through the factory shifter hole. I do not want a twin stick, and I do not want to cut the floor. Even though this Jeep isn't "stock", I like the appearance/functionality of a stock CJ interior. More work, but that's just me.


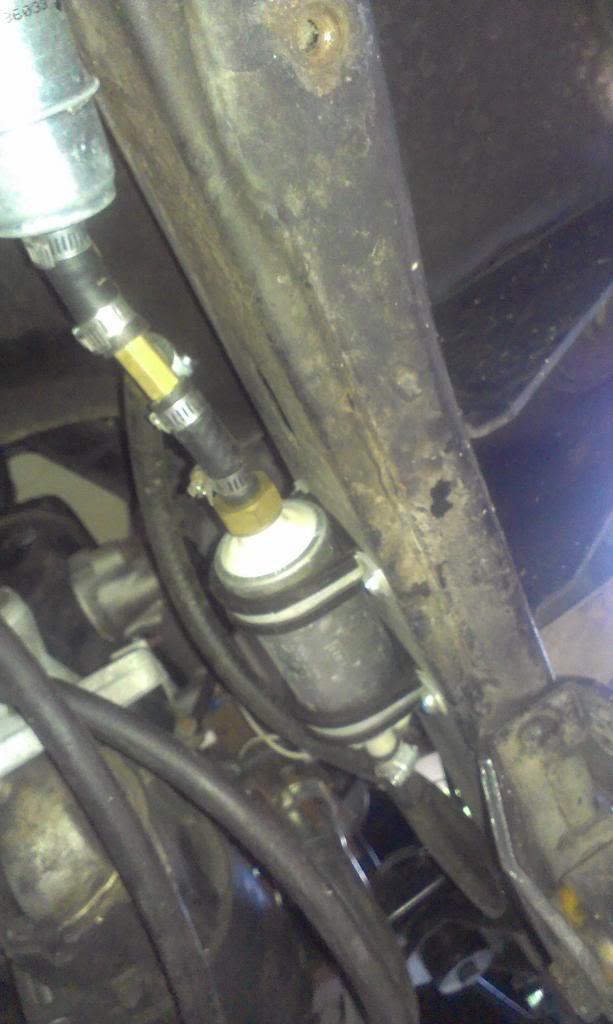
Another "issue" - the previous owner mounted the fuel pump, which is a "pusher", up near the front spring hanger. This will not work. I am going to mount the pump on the gas tank cross member, and run new hard "supply" and "return" lines from the tank to the engine. On this engine, both supply/return dump out on the passenger side, so I will route both new lines down the passenger side frame rail.

IMAG0912_zpsc51236d6-1.jpg


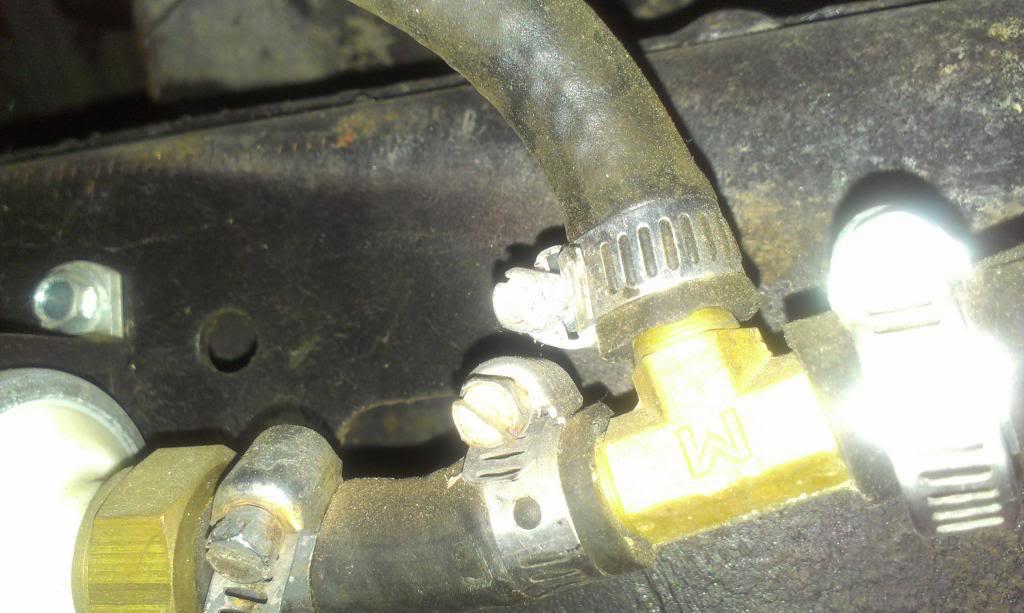
As it currently sits, the return line dumps back into the supply line, via a "T", between the filter and pump. Not the best set up.

IMAG0914_zps9264e4fe-1.jpg


I torqued down the transmission pan gasket, too.

IMAG0917_zps47e3ecb9-1.jpg


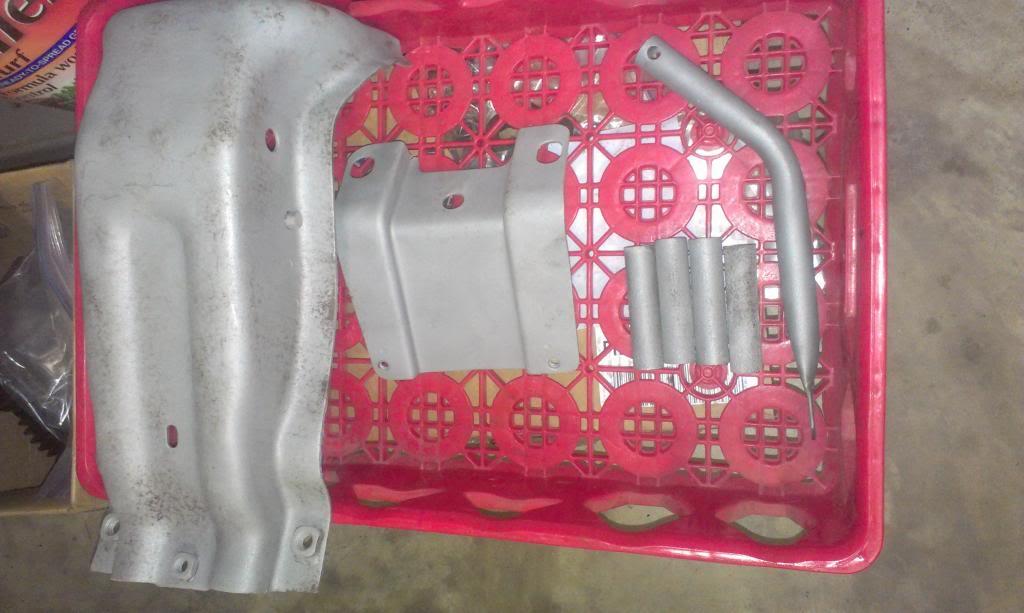
And my good buddy Chuck sand blasted a few parts for me, plus welded up a broke mirror arm. The small tubes are the spring eye spacers, I need to install these into the leaf springs.

IMAG0919_zps364a1e1c-1.jpg


Due to work/weather/Mother's Day, it will probably be a "slow" work on Scrambler weekend:(

That's it for now:wave:
 
Despite the weather/work/Mother's Day, I made some forward progress.

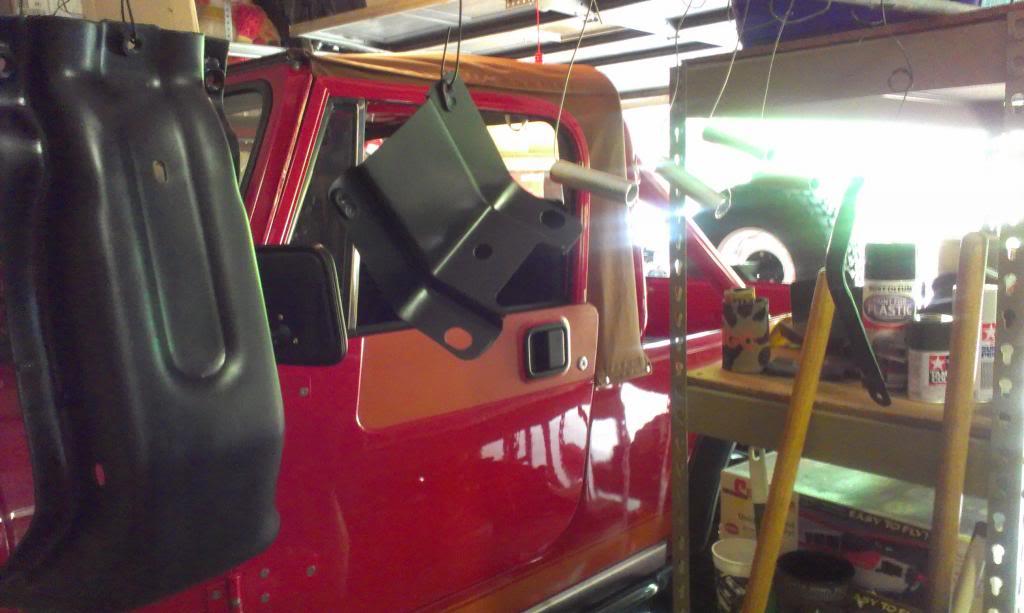
I painted some of the previously sand blasted parts - black for the mirror arm/pedal assembly, and bling-bling silver for the main eye bushing sleeves, they wont be visible!!

IMAG0921_zps6067e973-1.jpg


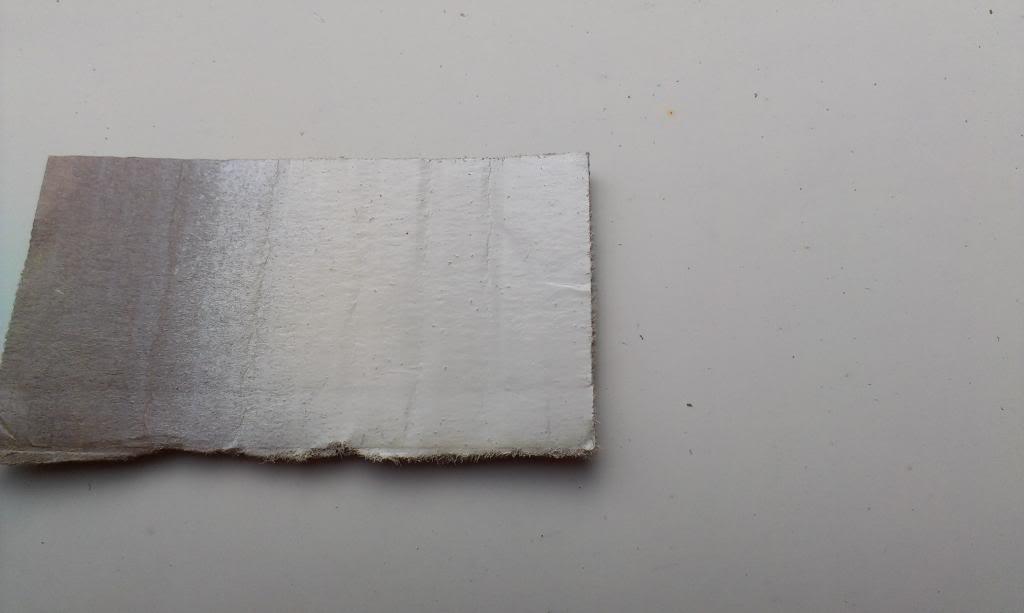
I sprayed some of the white primer, then the color, then clear coat on a piece of cardboard. But, the results don't look promising.

IMAG0925_zps002c5f6f-1.jpg


IMAG0926_zpseb1296ec-1.jpg


IMAG0927_zps1b132016-1.jpg


IMAG0928_zps485f2fe3-1.jpg


With that being said, I do not believe the "cardboard test piece" is giving me an accurate color sample, more on that later.


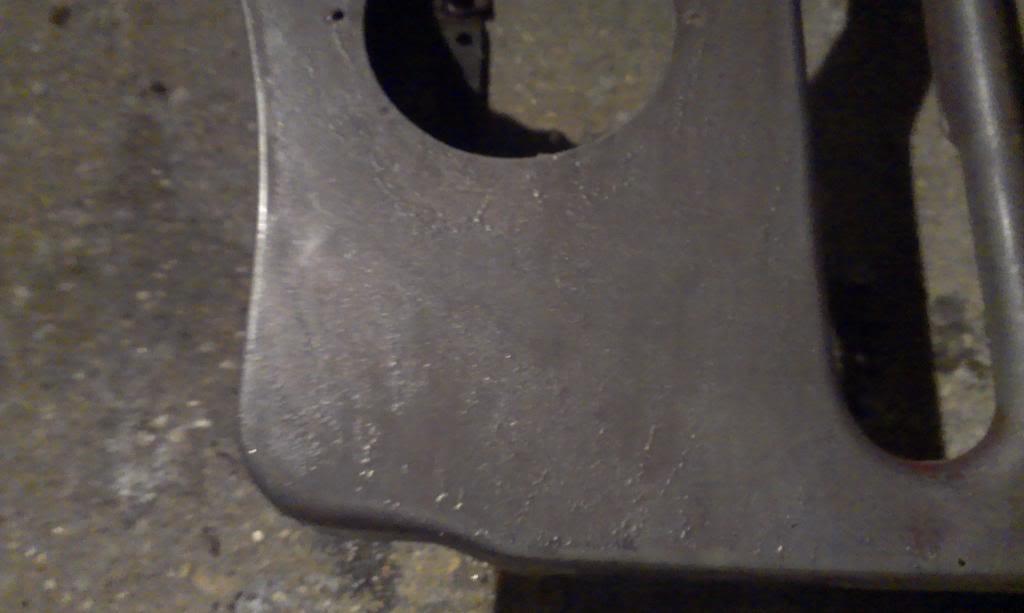
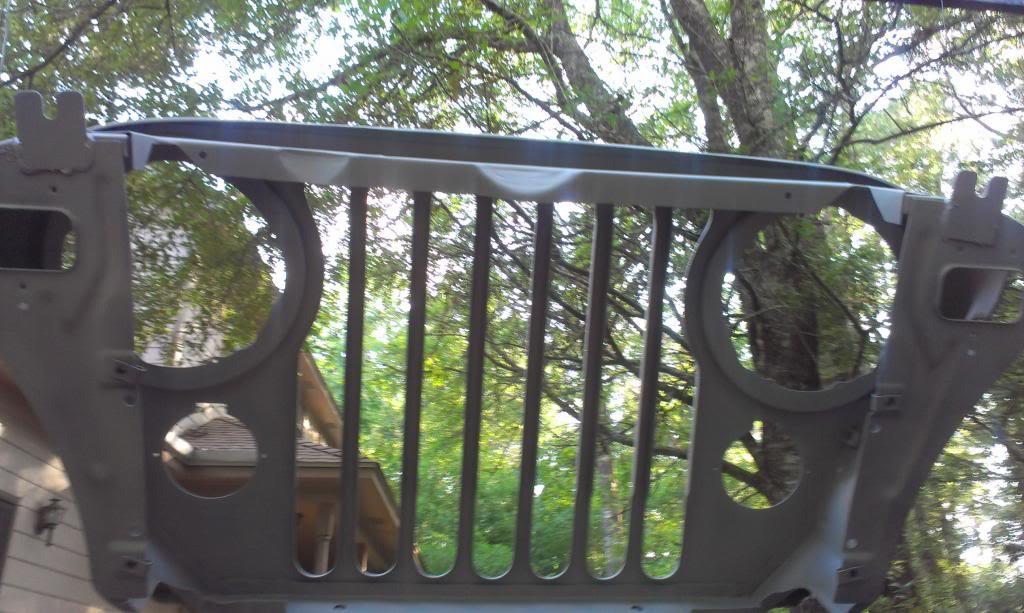
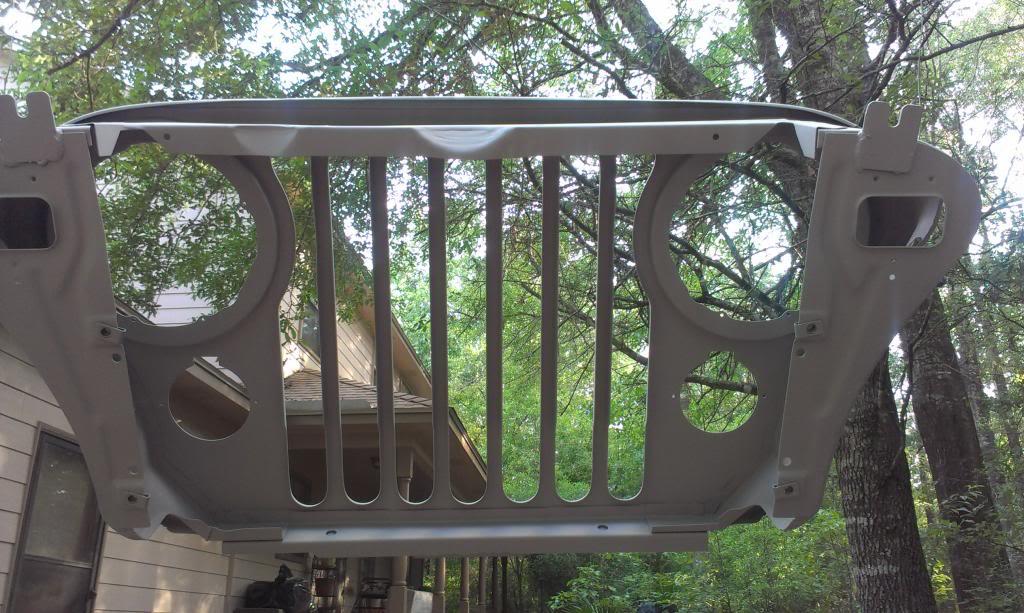
The phosphoric acid wipe down on the bare metal grill worked, no flash rust. This bare metal has been sitting for two weeks, the acid works. It does leave a crusty type film, but it sands/wipes off easily.

IMAG0923_zps840fb144-1.jpg


IMAG0924_zps0a2b9394-1.jpg


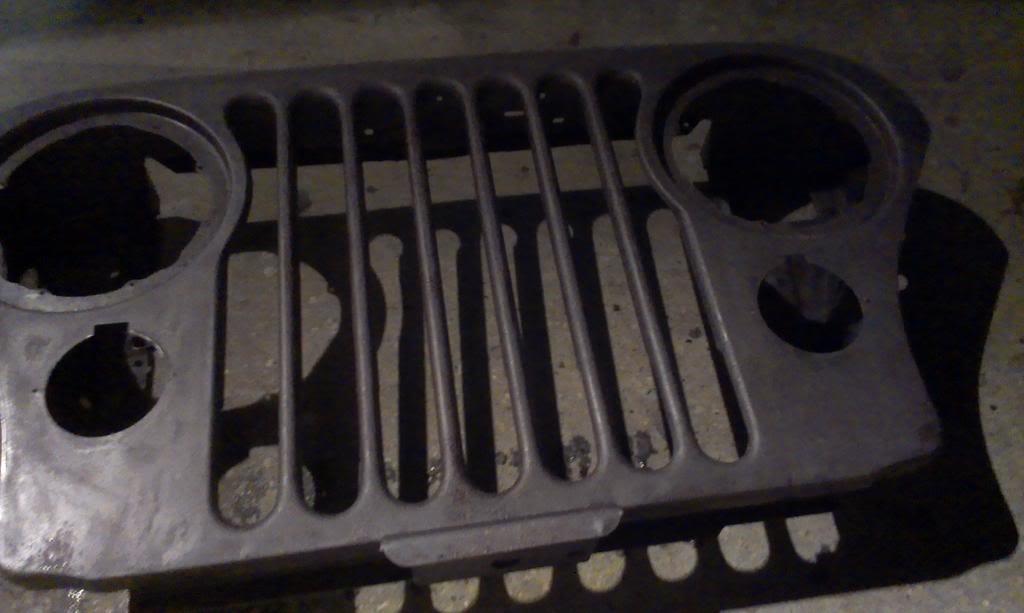
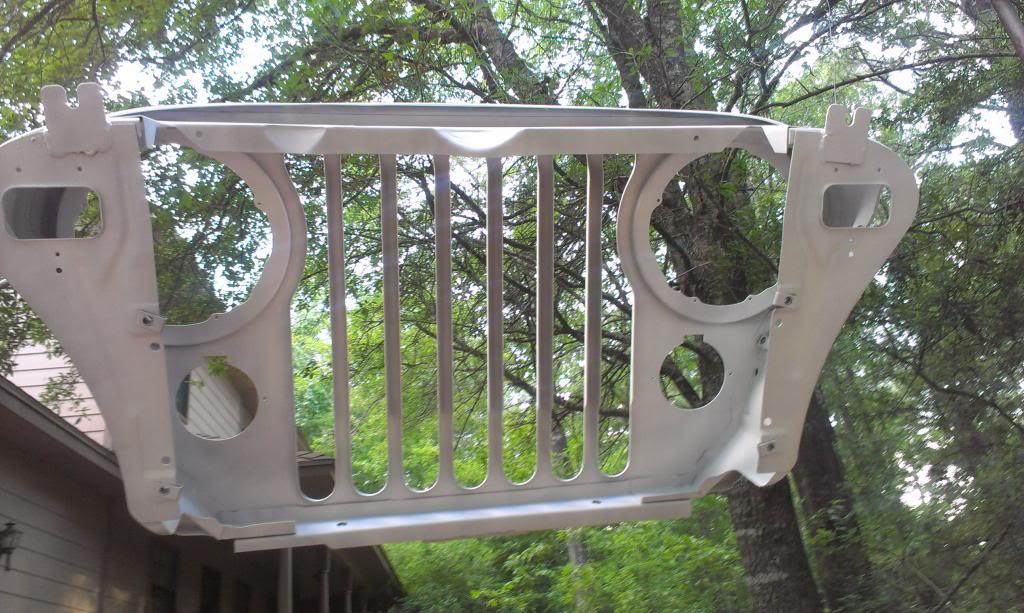
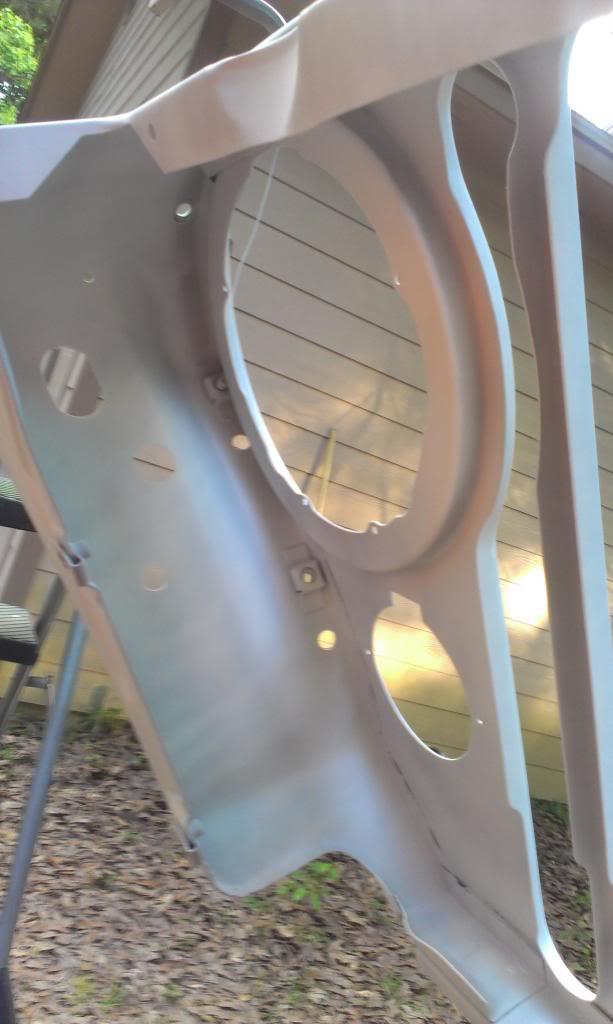
After about 2 hours of sanding, 95% of the remaining paint is gone, and all the acid coating is off.

IMAG0930_zps7e381c7e-1.jpg


IMAG0931_zpsc316b46a-1.jpg


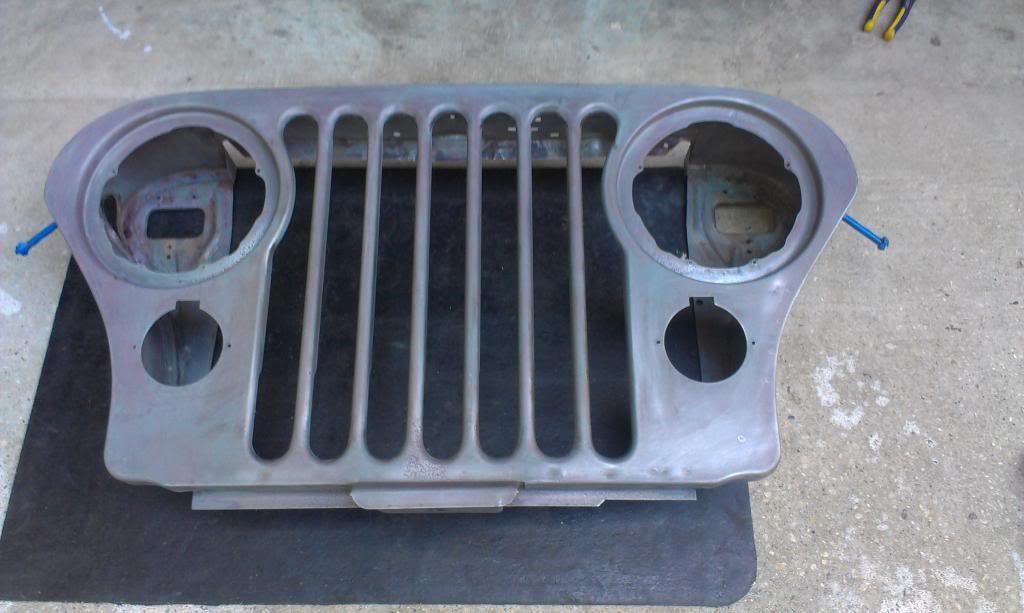
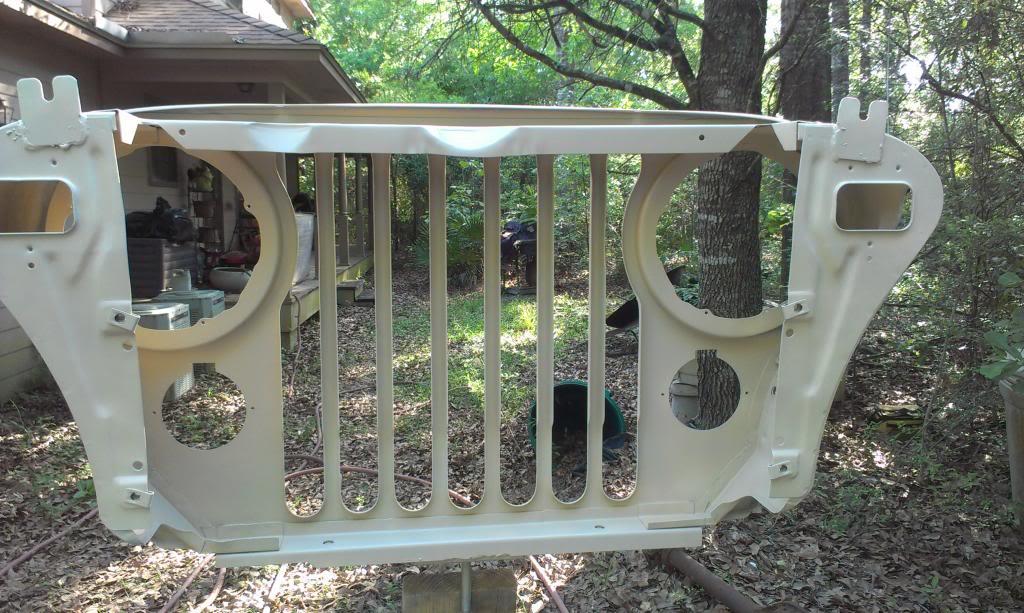
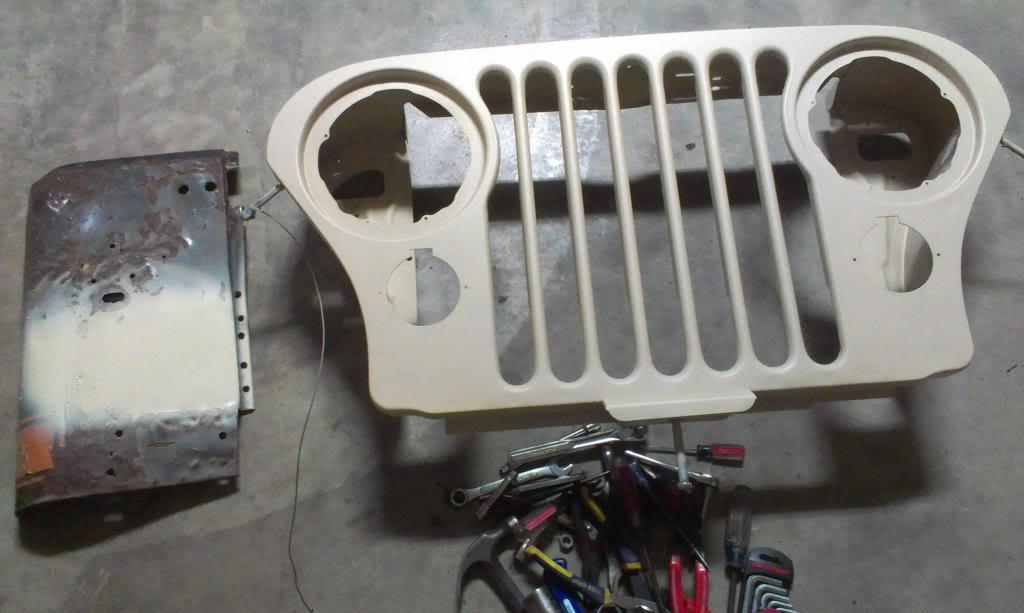
After a thorough acetone wipe down, ready for primer.

IMAG0933_zps3ff5edb0-1.jpg
 
And the grill mounted on my paint stand. One bolt on either side of the grill, a bit of tie wire, and it is ready to go.

IMAG0935_zps48183ab4-1.jpg


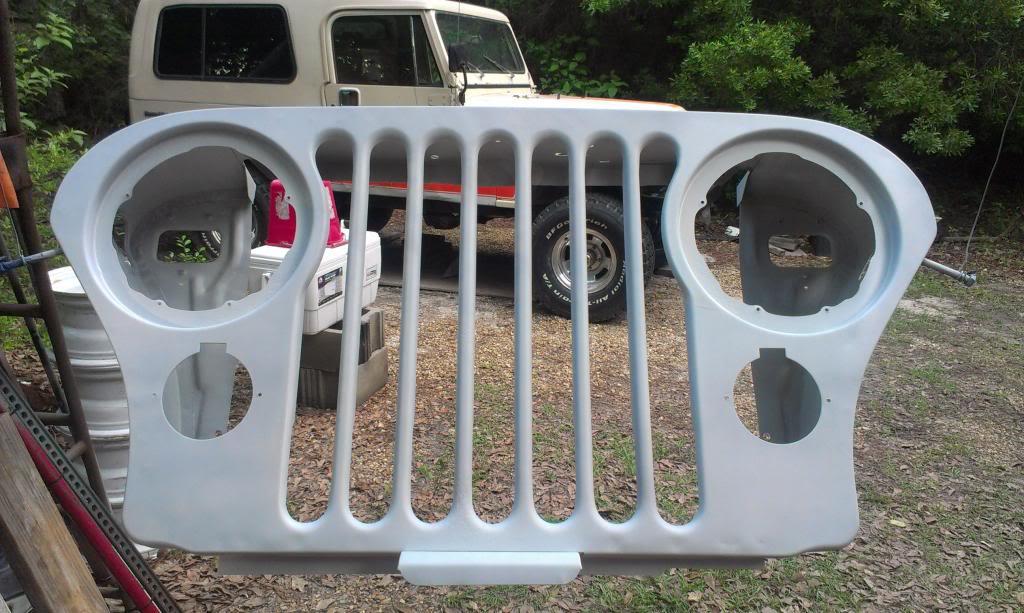
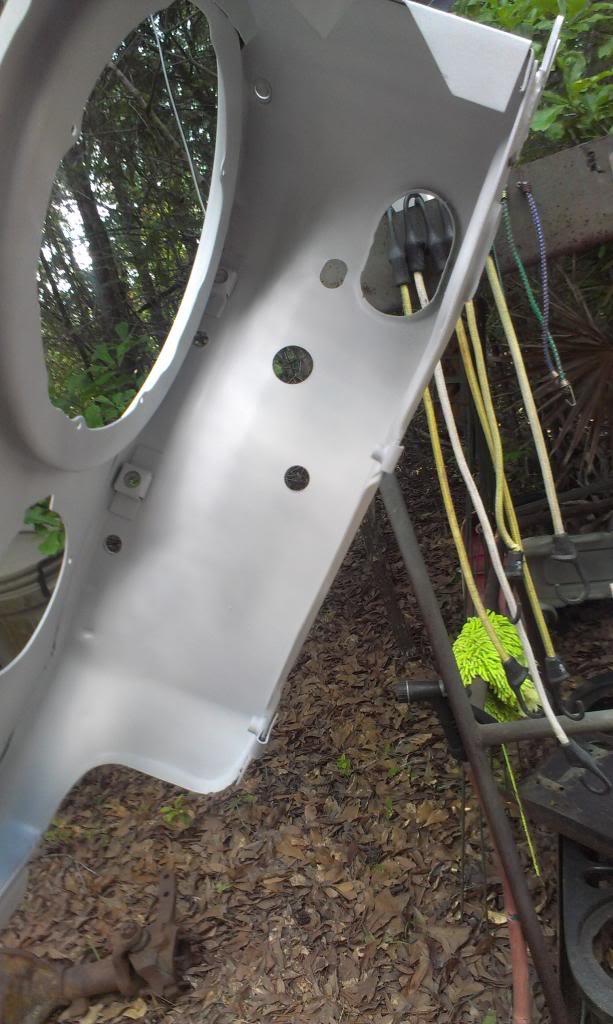
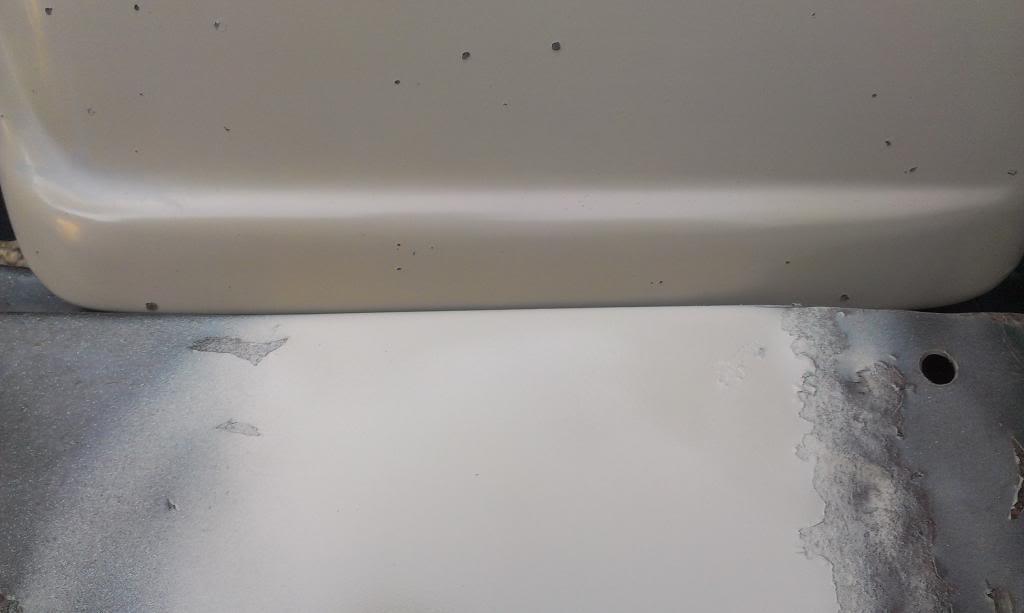
Since there was still a little bit of the red primer in places, I sprayed two cans of grey primer on the grill first. The grey colored primer will cover over the remaining red splotches better then the white primer. Note how "light" the grey primer is on the metal, a much different appearance then the cardboard sample. Very interesting.

I sprayed all the hard to reach places first, then the easy places, to avoid runs. This method always works for me.
First coat laid down.

IMAG0937_zps93d1544e-1.jpg


IMAG0938_zps759379c1-1.jpg


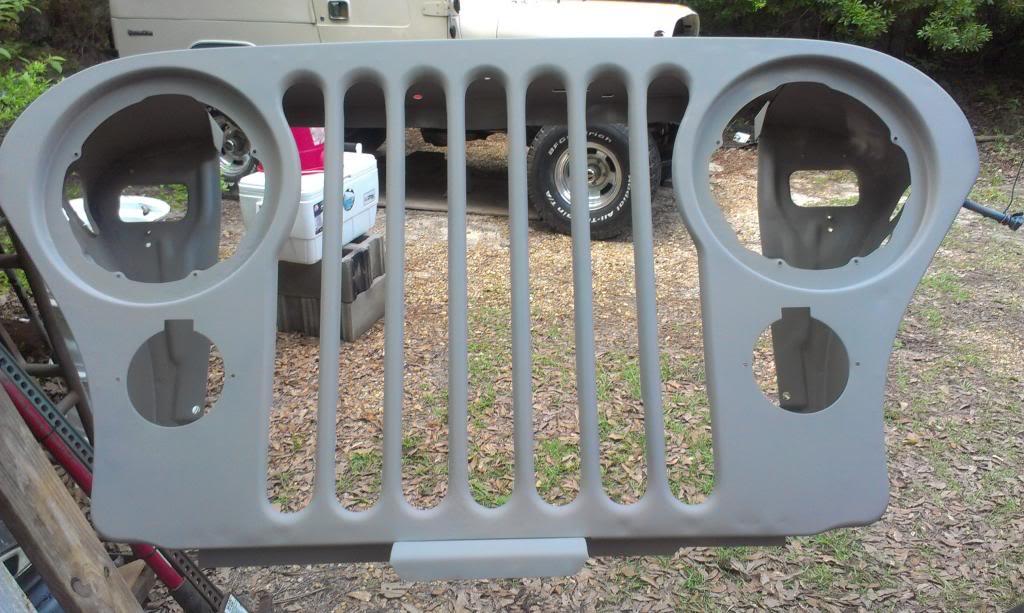
I used up 1 can per coat. And after the second can/coat, the grey primer completely covered all the metal, providing a great base coat. The automotivetouchup.com primer works well, it builds up in very light coats, and sands down smooth easily.

IMAG0940_zpsee317f50-1.jpg


IMAG0941_zps0a9f13ff-1.jpg
 
Last edited:
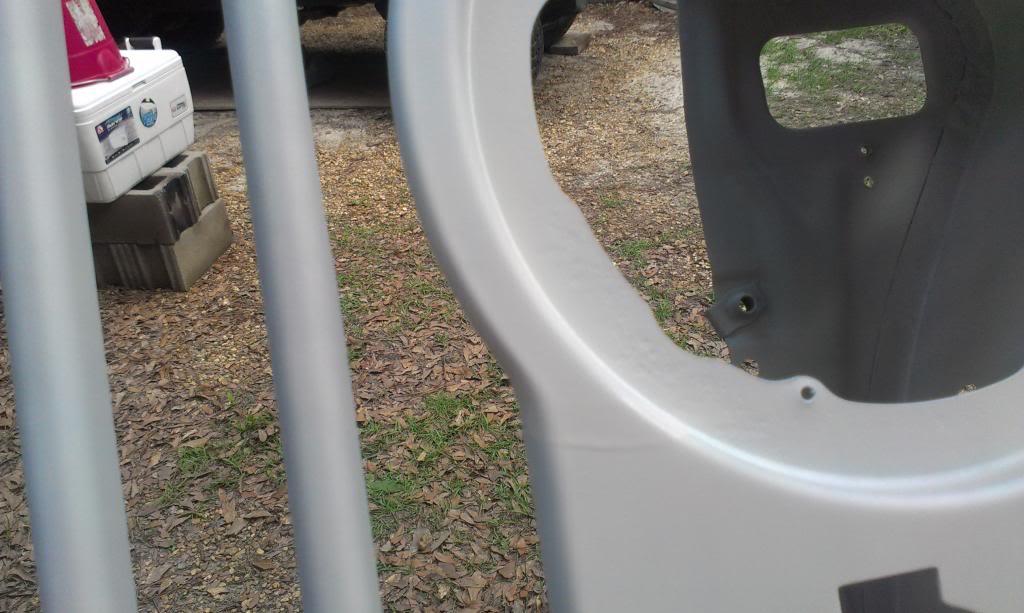
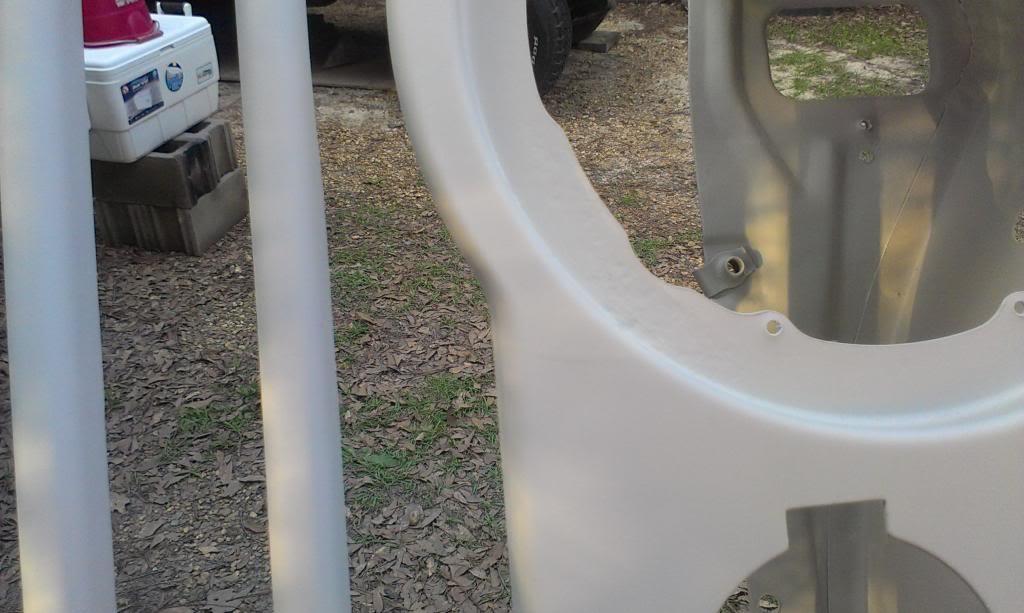
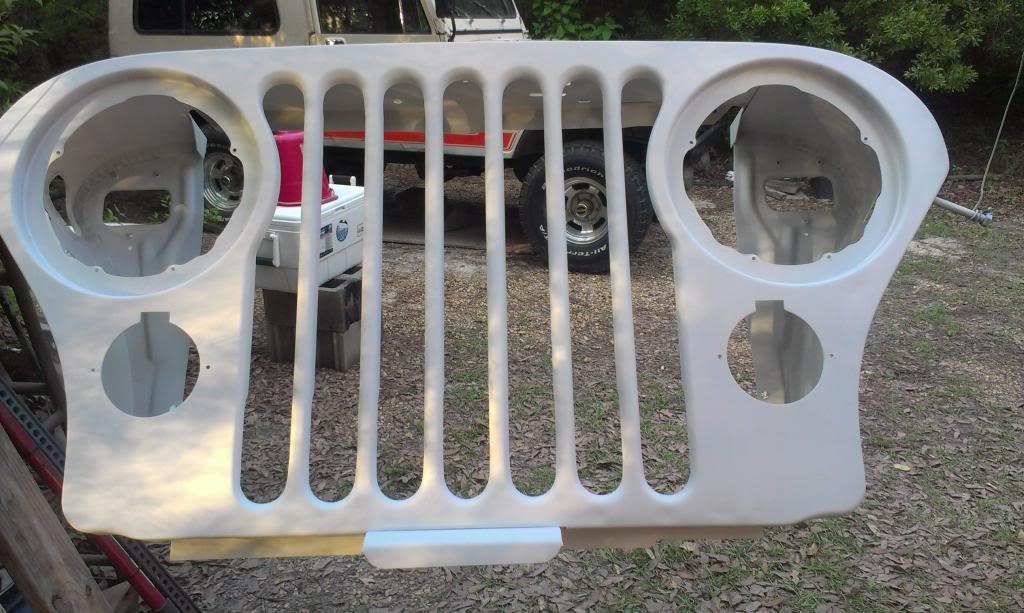
Since my final color is a very light color, I decided to spray some white primer over the grey. Seeing how light the grey primer is, this might not be necessary. But, I already had the primer, so I sprayed down two coats of white. And, seeing how faded the other paint is, maybe the white primer will make the color coat more subdued.

IMAG0942_zps4f3d4a03-1.jpg


IMAG0945_zpseb0f4e3c-1.jpg


IMAG0946_zpscb4ac1db-1.jpg


IMAG0947_zps2002cc2e-1.jpg


IMAG0951_zpse1cfda3a-1.jpg


And of course, I got one small run, and it had to be in the most visible spot!! I waited about 20 minutes, then gently sanded the run down with some 1000 grit paper, and lightly re-sprayed, problem solved.

IMAG0943_zpsabbbdc5c-1.jpg


IMAG0950_zpsb5786e24-1.jpg


Finally ready for some color, but it was getting late/dark, so no paint.

IMAG0949_zps16eb9a28-1.jpg


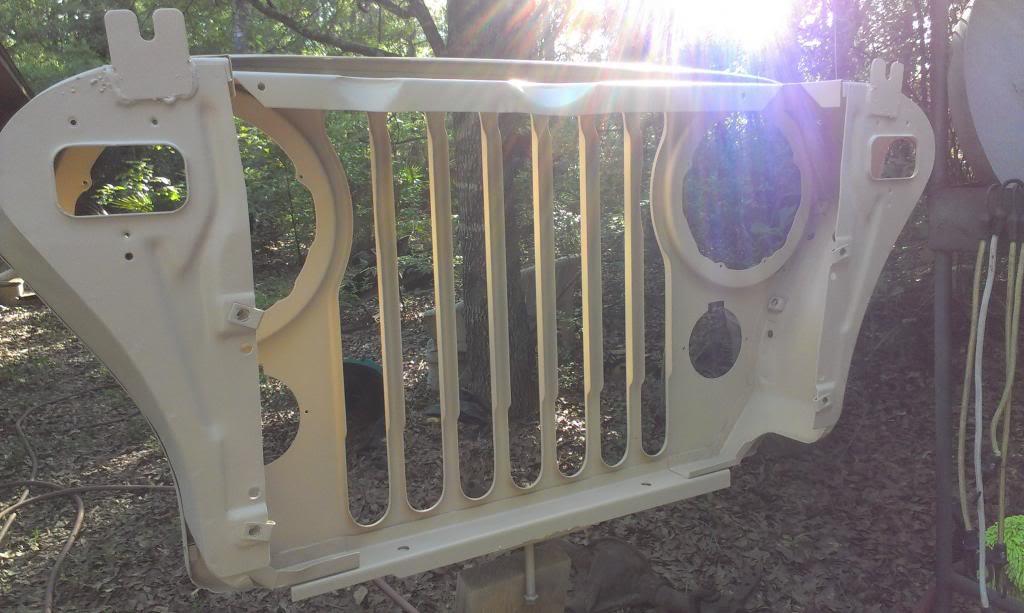
The grill is a pain in the butt to paint. There all kinds of nooks/crannies/hard to spray areas, but it came out great. Primer is a bit easier/more forgiving to spray then paint, so I will take a bit more time/exercise more patience when I go to spray the color coats.

All of my paint stripping/sanding revealed a few minor imperfections in the grill. There are a few small rust pits in places, and a few small dents toward the bottom of the grill. I could fill them, but I am going to leave it as is.

I am going to try to paint it tonight, fingers crossed the color matches!!!

That's it for now.
 
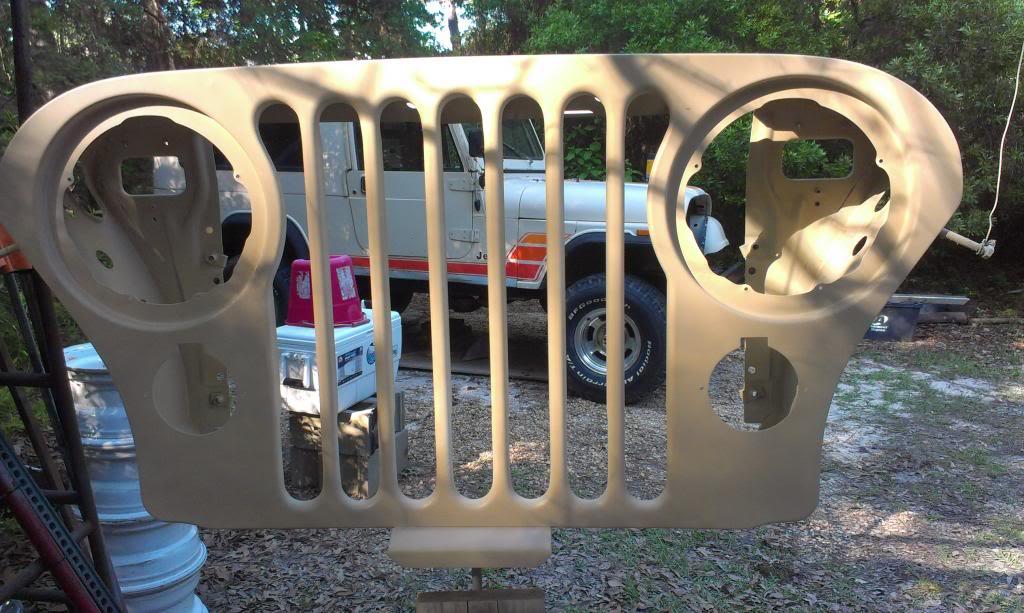
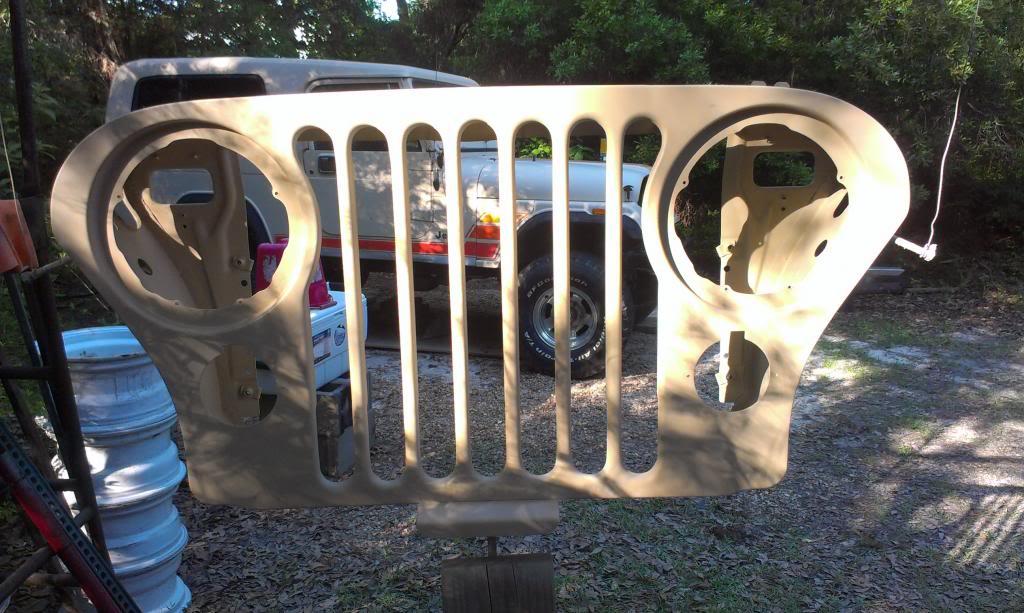
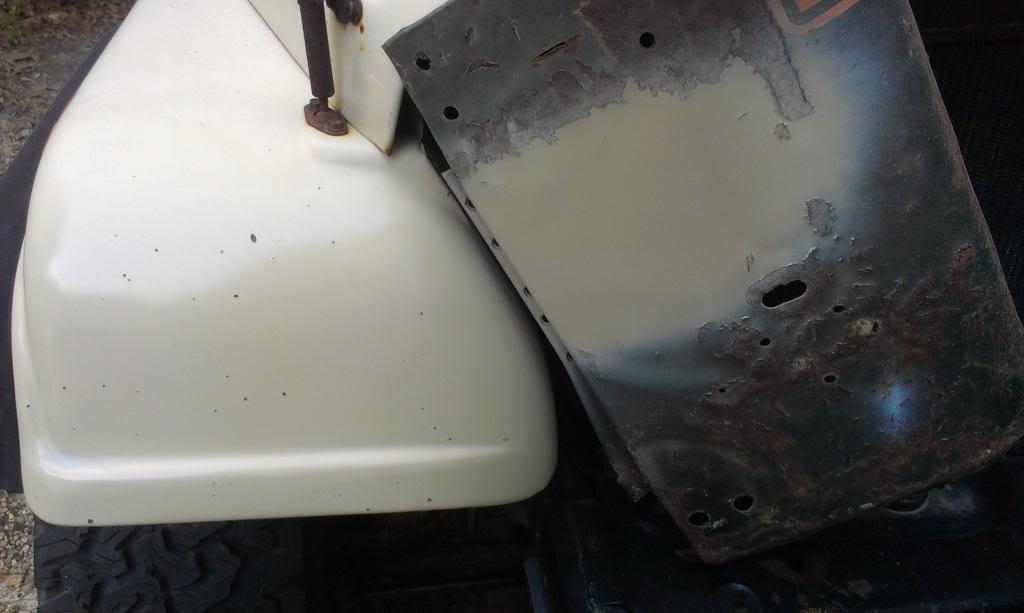
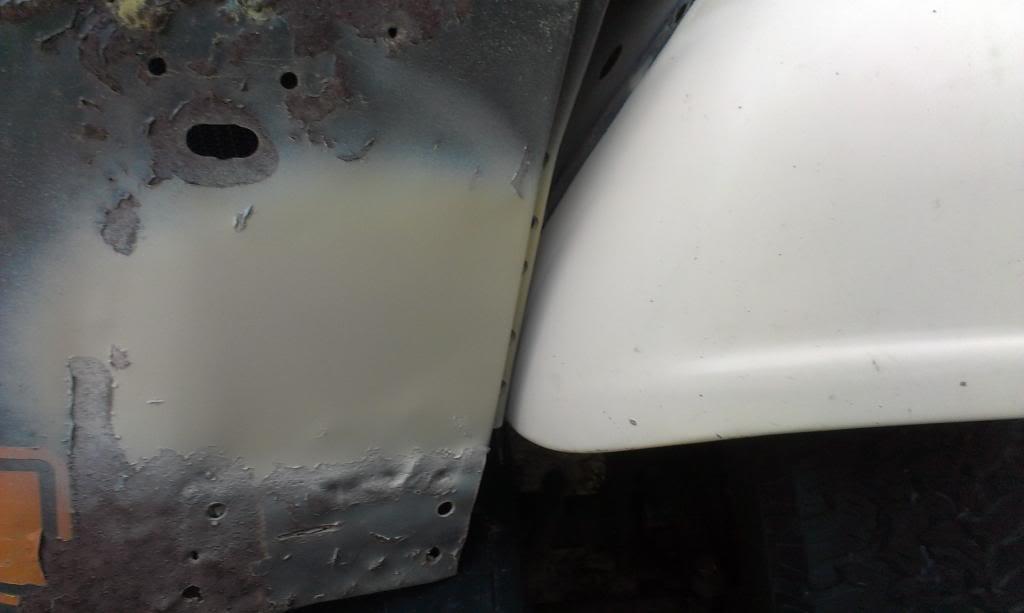
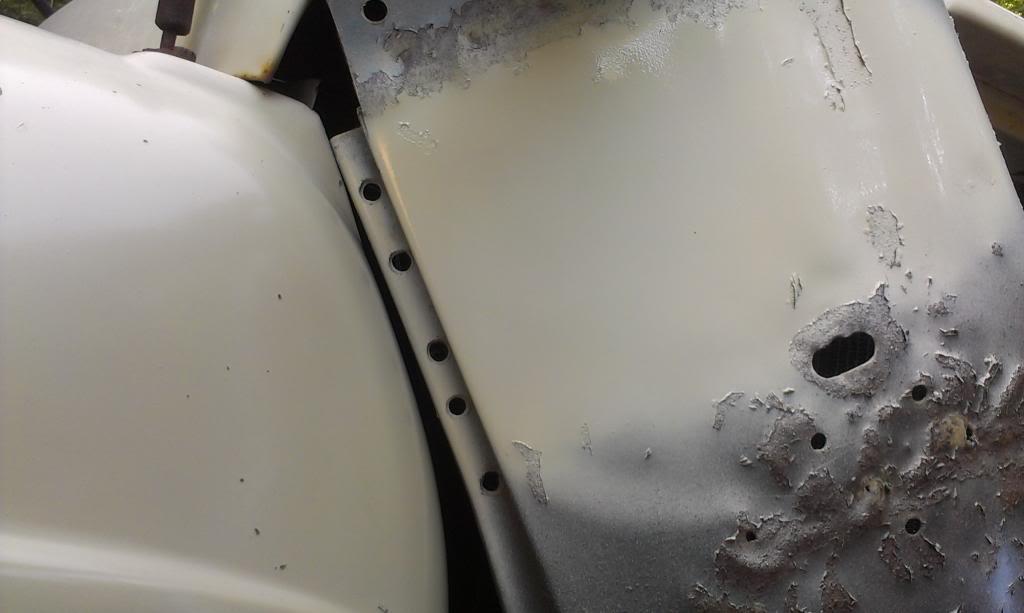
I sprayed some paint yesterday, and at first, I was really disappointed, too dark.

First coat, very thin, still looks too brown. But, notice how the "face" of the grill, with the sun directly on it, looks dark, while the back side of the grill appears lighter.

IMAG0953_zps24024723-1.jpg


IMAG0954_zpsc4ec34e4-1.jpg


Remember, this is the color I am trying to match, doesn't look close at this point.

IMAG0955_zpsb17a5bb5-1.jpg


After the second coat of paint, more of the same. I stopped after two coats. Adding more coats was not going to make the color "lighter", and I had good coverage everywhere. My two coats used two cans of paint.

IMAG0956_zps837062d8-1.jpg


IMAG0957_zps662e47c9-1.jpg


At this point, I was thoroughly disappointed. The color I sprayed is too "brown/dark" looking. I know that the original paint has faded with time/exposure, but not this much.

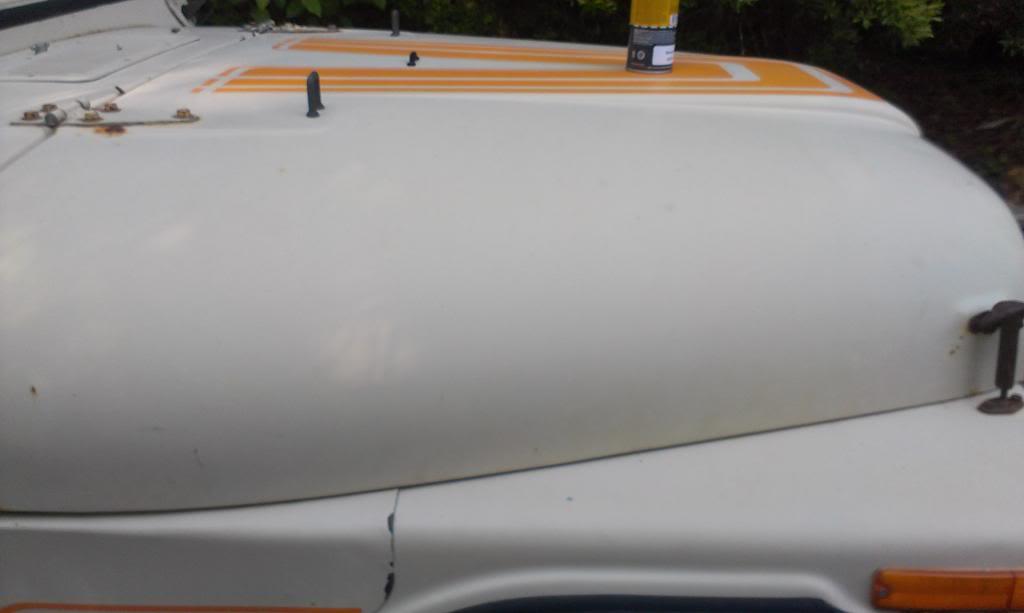
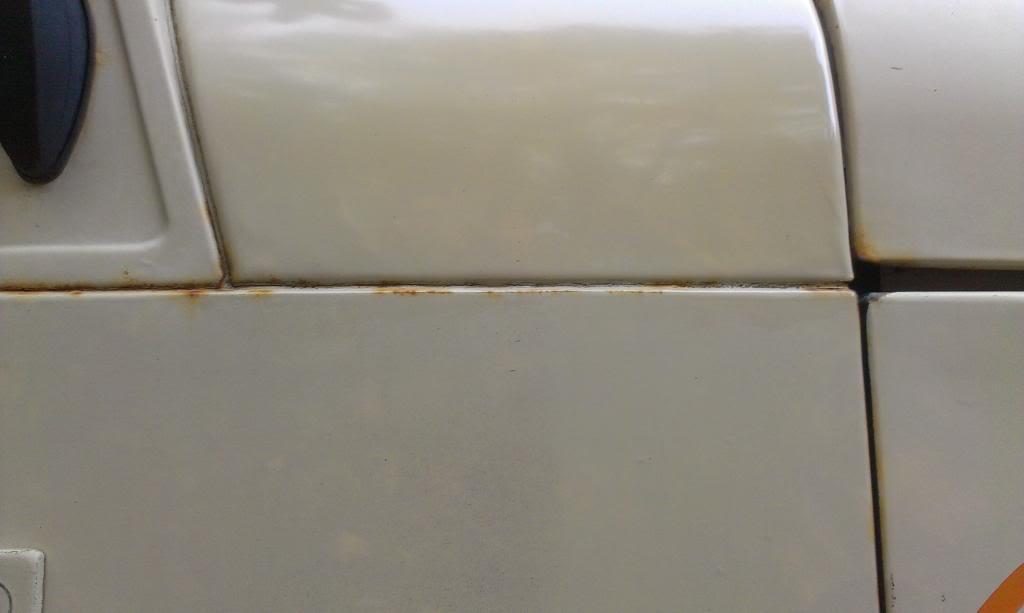
I decided to "polish" some of the old paint, on the side of the cowl, to see what it looks like. I used some "NuPolish" I had in the garage, buffed by hand. The original paint has a pretty good layer of "dead" paint on top, and surprisingly, polishes out pretty good. But, it still is not as dark as the recently sprayed grill. But, note the reflection in the first two pictures!!

IMAG0958_zps1ad11cc8-1.jpg


IMAG0959_zpsa928ff06-1.jpg


IMAG0960_zps726efd9f-1.jpg


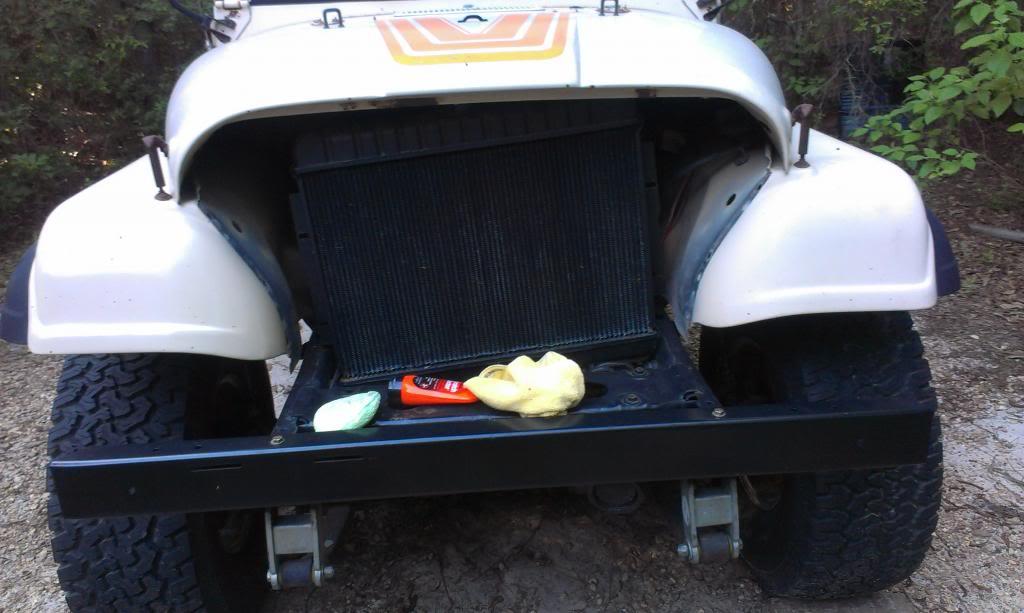
After doing the small spot on the cowl, I decided to polish one of the front fenders. The "polished side" is the passenger, unpolished is driver side. There is a difference, but it is hard to see in the pictures.

IMAG0961_zpsf7f13bf3-1.jpg
 
Last edited:
Before I did anything "rash", I did a quick experiment. I could not find any definitive information on spraying enamel (Rustoleum) over the urethane acrylic I just sprayed. So, I quickly shot a "sample piece" - white primer, urethane paint, Rustoleum Satin Almond. I wanted to see if there would be an adverse reaction. The color matches almost perfectly. Note - the paint matches the "polished" passenger side fender much better then the "unpolished" driver side fender.

IMAG0964_zps43958c9d-1.jpg


IMAG0962_zps62d69193-1.jpg


IMAG0963_zpsa135a93f-1.jpg


IMAG0966_zpsad37bdf5-1.jpg


IMAG0967_zpse7ddbfd4-1.jpg


IMAG0969_zpsc9edcb1e-1.jpg


After seeing no immediate adverse reaction between the urethane paint and the Rustoleum, and seeing how well the color matched, I had almost made up my mind to top coat the whole grill with Rustoleum. Almost....

Later on last night, I took a picture of the grill and sample piece, sitting side by side in the brightly lit garage.

IMAG0970_zpscb5bb04e-1.jpg


After curing a few hours, the urethane paint seems to have lightened up. Kind of weird?? But, this is a good thing.
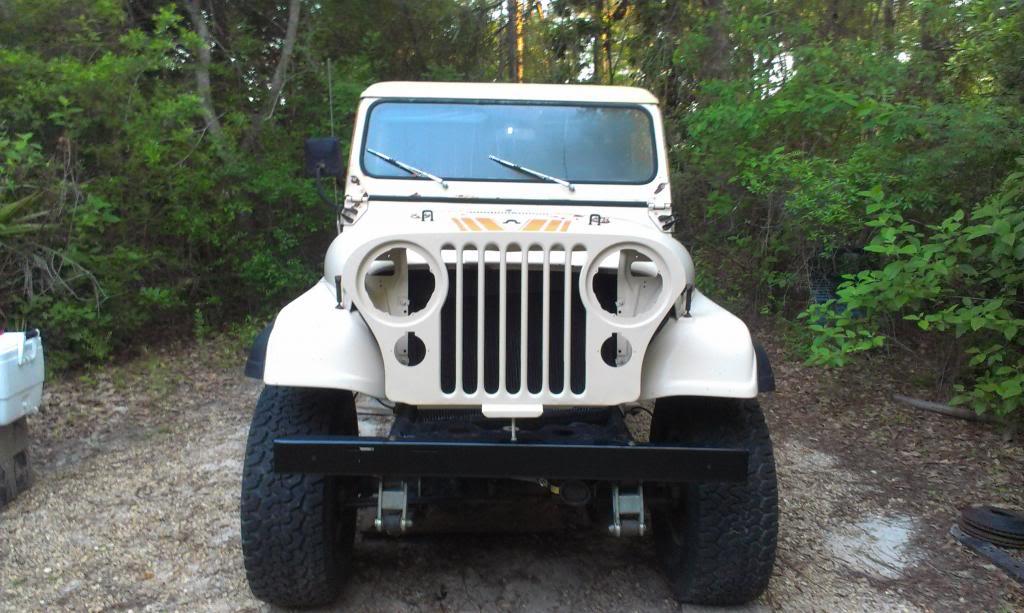
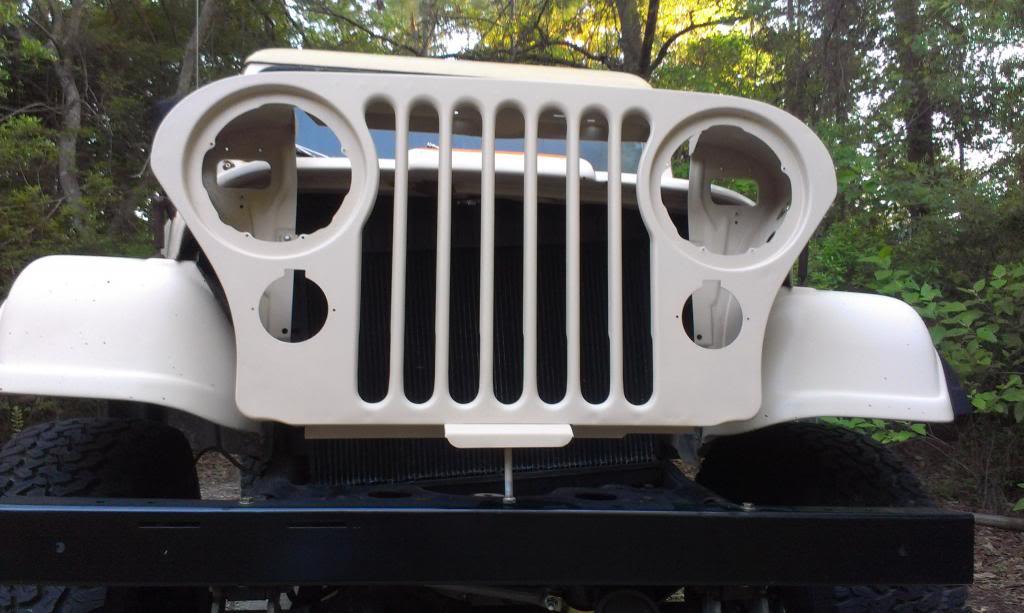
So, feeling a little bit better, I took the grill out to the Scrambler this morning to see what it looks like. And what do you know, it matches almost perfectly, as well as the Rustoleum paint.

IMAG0971_zpsbca401db-1.jpg


IMAG0972_zpsa71c8e8f-1.jpg


I would say it is still one shade "too dark", but it is really close. I plan on clear coating it now, and considering this little project done. While it might not match 100%, it matches pretty close. Some extra polishing of the 30 year old front fender paint will help.

I still do not know if it would be a good idea to top coat urethane with enamel. So far, no issues. But, maybe after a period of time the two different paints might have an adverse reaction??
Since the urethane paint matches pretty good, I am going to leave it alone.

That's it for now.
 
Back
Top