• Notice for iPhone users: DO NOT use the image size reduction option when uploading photos to the forum. This causes portrait images to post as landscape. We have added a warning to the image insert pop-up as well.

Spankrjs' 1984 Long Term Project

Went by the transmission shop today to see if they had made any progress.

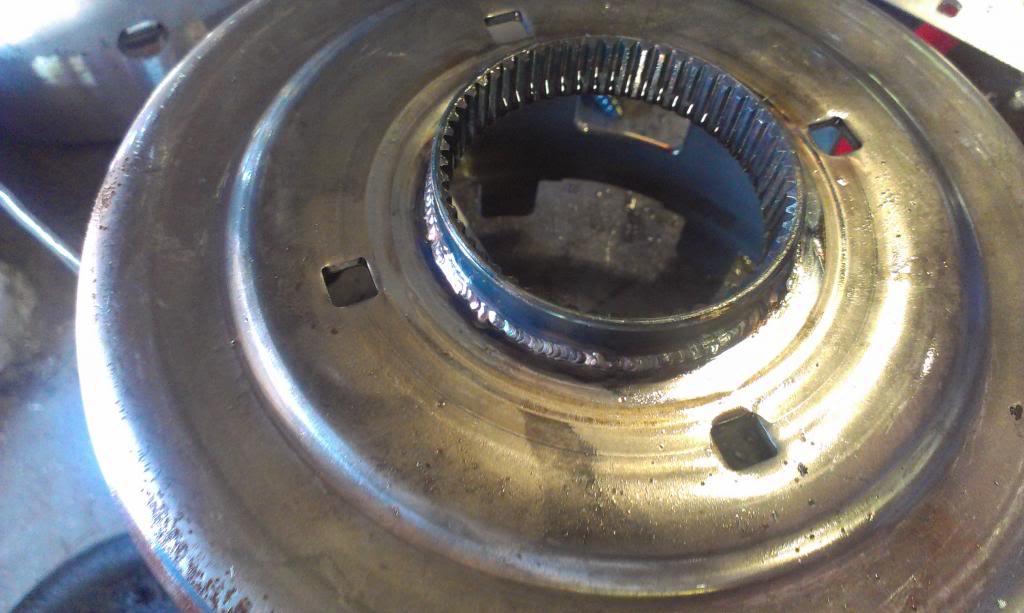
Well, they just don't build them like they used to:crazy:

NOTE - This all stuff that the CA shop did, NOT my transmission shop!!!!!!


We will just weld this back together:eek:

IMAG2209_zps1cfa6387-1.jpg


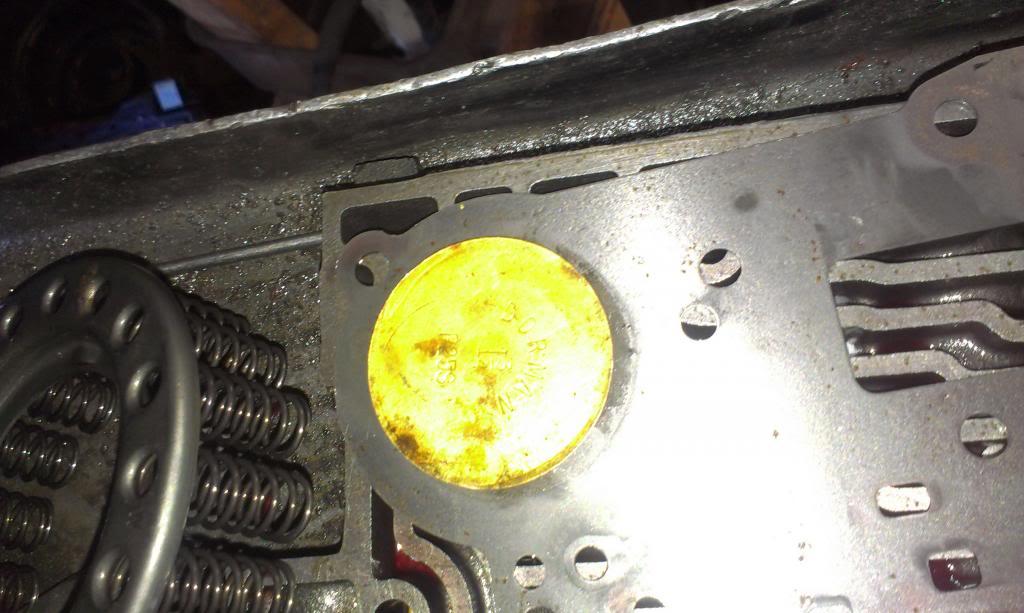
Not sure what this was doing in here, but a marine engine block plug can't hurt:shrug:

IMAG2210_zps9718f01f-1.jpg


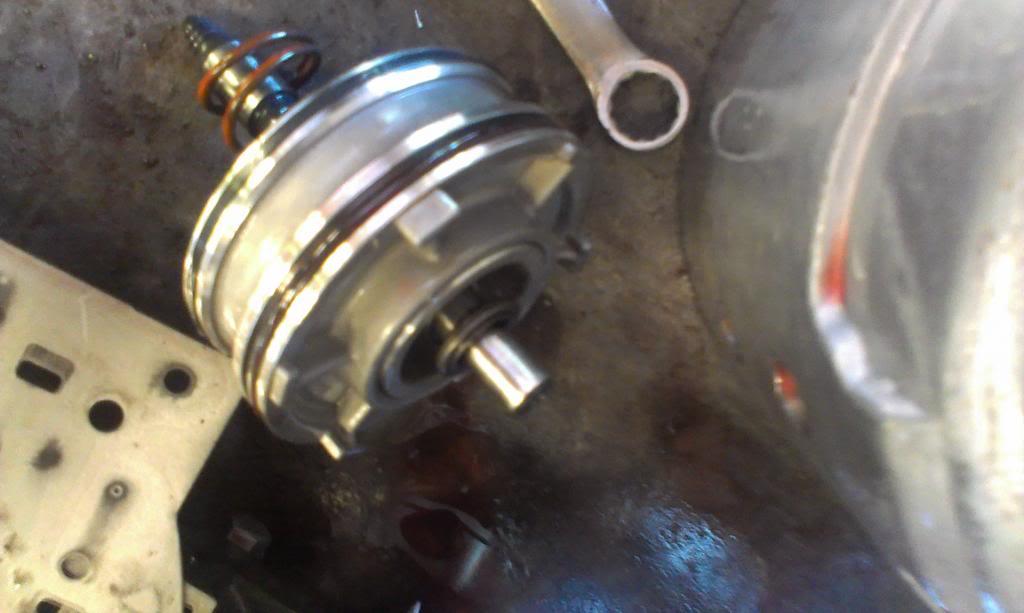
The "MADE IN TAIWAN" "CORVETTE SERVO" that is crap:huh:

IMAG2211_zps4c94bd94-1.jpg


Not pictured - holes made in some of the plates with what appears to be a punch and hammer (redneck shift kit from CA), completely glazed over bands, super loose clutch packs, and some other interesting junk.


I hope to get it back on Friday, so that's it for now:wave:
 
OUCH! :banghead:

Good news is you won't have to worry about it for a LOOOOng time now.:thumbsup:

Think Michigan!....Soft Sand...Gentle breeze...rolling Lake Michigan waves... and the sound of engines at 6000 RPM on Test Hill. :bacon: :wave:
 
OUCH! :banghead:

Good news is you won't have to worry about it for a LOOOOng time now.:thumbsup:

Think Michigan!....Soft Sand...Gentle breeze...rolling Lake Michigan waves... and the sound of engines at 6000 RPM on Test Hill. :bacon: :wave:

Hmmm
Maybe I should keep my automatic scrambler
" too"
My wife will not be happy!


OUCH! :banghead:

Good news is you won't have to worry about it for a LOOOOng time now.:thumbsup:

Think Michigan!....Soft Sand...Gentle breeze...rolling Lake Michigan waves... and the sound of engines at 6000 RPM on Test Hill. :bacon: :wave:

OUCH is right, but I wont have to worry about it now:thumbsup:

Sand+auto trans+V8=FUN:wave: If I still own it next August, it will be there for sure:thumbsup:


Hmmm
Maybe I should keep my automatic scrambler
" too"
My wife will not be happy!

Yep, everybody needs a V8/Autotrans Scrambler:thumbsup::cheers:
 
OUCH is right, but I wont have to worry about it now:thumbsup:

Sand+auto trans+V8=FUN:wave: If I still own it next August, it will be there for sure:thumbsup:


Yep, everybody needs a V8/Autotrans Scrambler:thumbsup::cheers:

Yep , when building the eagle I didn't want auto or a v8,
But after buying the black one , I'm alittle disappointed with the 6 and the T5
AND after having the YJ with EFI 4.0 and really don't like the carb


Well, after a complete rebuild, I now have a fully functional 700R4:crazy::thumbsup:
It seems to shift/work perfectly, no weird issues - slipping/noises/surges/overheating/etc.

Shifts out of first around 7mph, into third around 18mph, and goes into OD around 40mph, all under easy throttle.

It is very fun to drive now:D

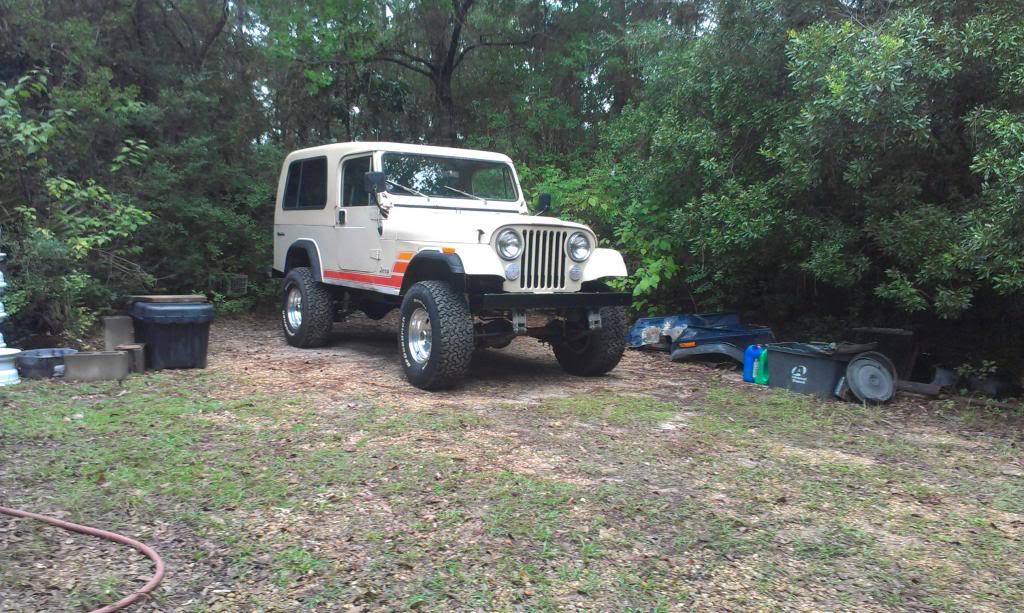
Not really picture worthy, but her is a picture, this spot in the yard was looking bare all last week:rolleyes:

IMAG2228_zpse8d8fc4a-1.jpg


Due to weather and other commitments, I did not drive it too much.

I need to hook up my PCV breather hose, install a 185 degree thermostat, and install the B&M "Super Cooler" before I drive it much more. Even without an auxillary cooler hooked up, the transmission never got warmer then 150-160 degrees, but I would rather be safe then sorry.

After the above mentioned repairs/modifications are complete, I plan on doing a little bit of work to the hard top/lift gate.

That's it for now:wave:
 
Did a little bit of work to the Scrambler last night, nothing too exciting.

I changed the thermostat from a 195 degree unit to a 180 degree unit. The engine is running around 190 degrees, so I am happy with that. I do have an "issue" where the gauge will climb to around 220 before immediately dropping to the normal temperature, not sure if the gauge is malfunctioning, or the engine is getting hot. The heater core is not getting hot, so I may need to burp the system?? The gauge only gets hot upon start up, once it drops to normal temperature it will not read high again, until you shut it down and then restart the engine. I might check out the clutch fan, too. When I had a scan tool hooked to the engine it never got above 195, so it might be a gauge/sender unit problem. But, the heater not getting hot is not normal.

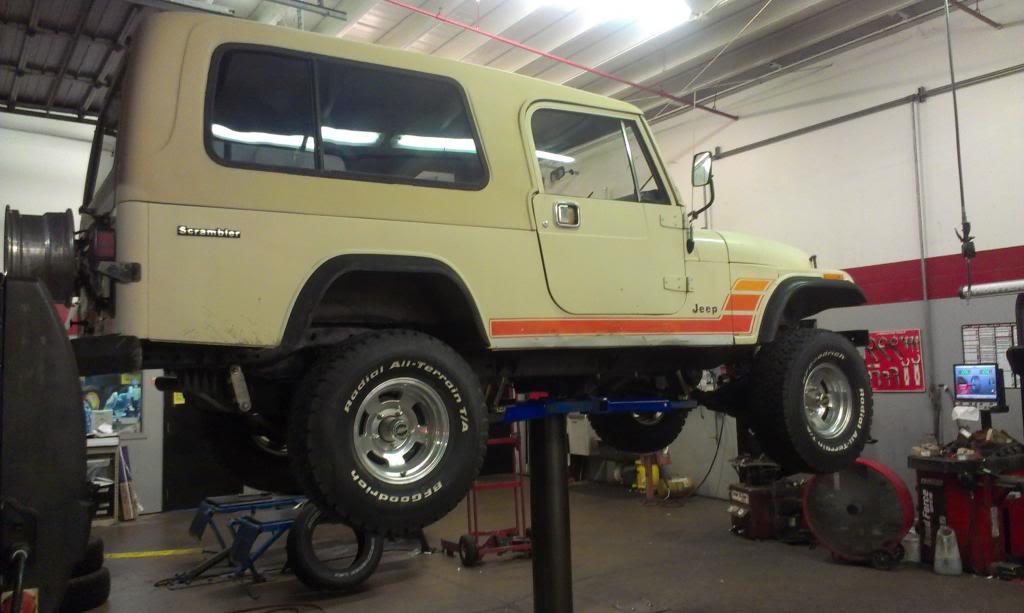
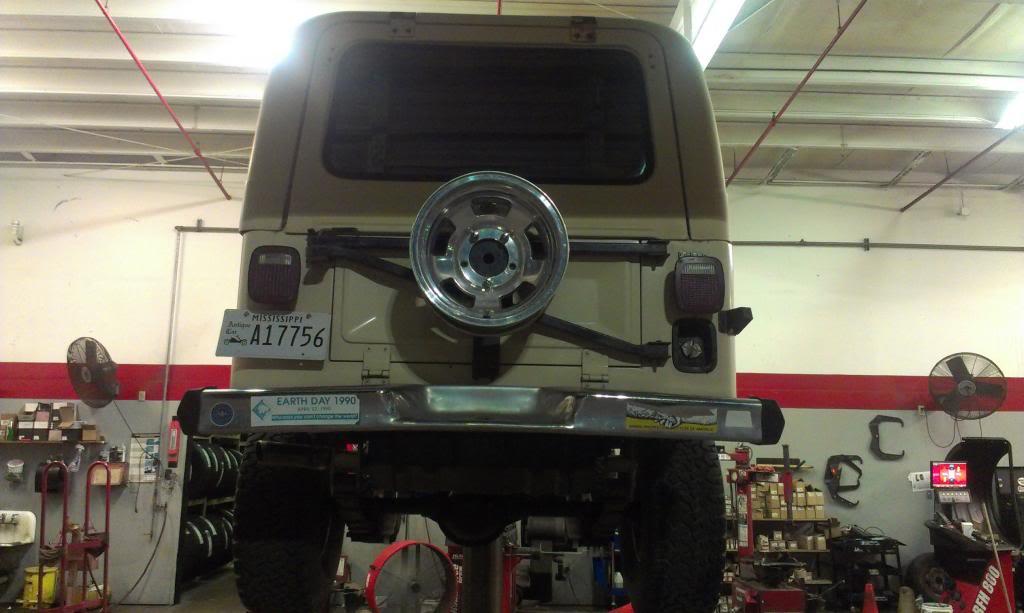
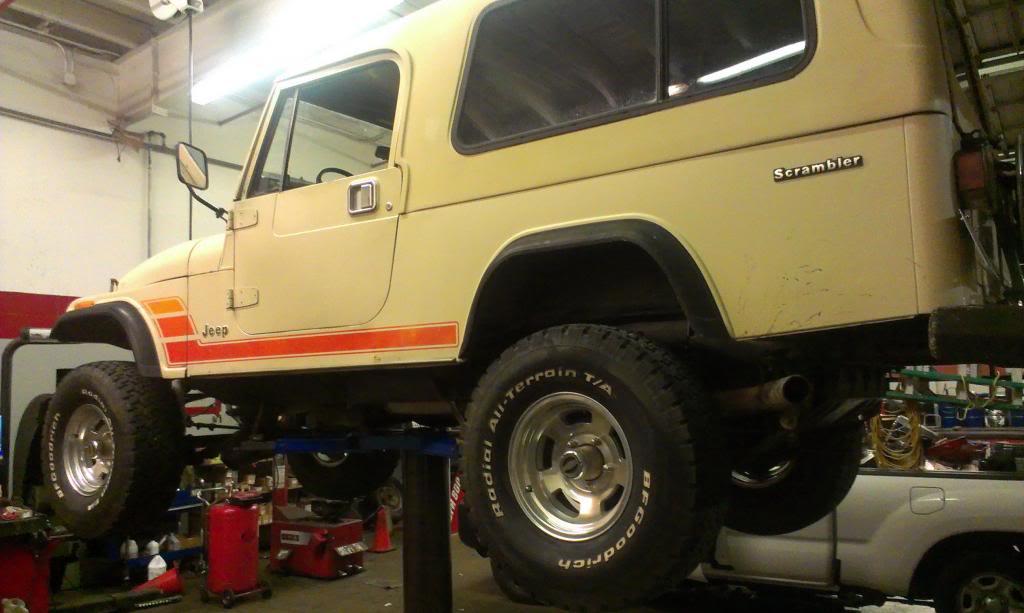
I filled it up with gas and took it on the highway for the first time. Got it up to an indicated 75 mph, but the unbalance tires were kind of "bumpy".

So, quick stop off at a tire store for a balance job.

IMAG2240_zpsb2cef0bd-1.jpg


IMAG2238_zpsddb30d1a-1.jpg


IMAG2237_zpscaddaf21-1.jpg


The tires balanced out without any issues. However, I do have one problem with these tires - they have some very small cracks in a few places between the tread blocks. The tiny cracks are in just a few places, not everywhere. But, I know this is not the best situation. However, I have a buddy with some 1 year old BFG Crawlers that already have these cracks, so:shrug: I will just keep a close eye on them for now. These tires have a three digit date code, so they were made before the year 2000. So, even though the tires are new in regards to miles, they are old. Sitting out west in the dry climate did not help them. The side walls are perfect, so the tiny tread cracks might not be anything to worry about:shrug: I need an excuse for mud tires anyway:rotfl:
After balancing the tires, I drove the Scrambler a bit more. It drives really smooth, a bit "firm" with the Superlift 4" springs, but all in all, very nice. It is very stable, and the steering is tight. The engine/transmission seem to be operating great, I was able to effortlessly peg the speedo, and still had way too much pedal:D The transmission temperature gauge stayed around 170 the entire time, but I am still going to install the B&M Super Cooler.

I also finally hooked up the PCV fresh air line, the rubber line that runs from the valve cover to the back of the TBI air cleaner spacer thing. Not a "big deal", but now the engine is sucking in filtered air instead of just unfiltered under hood air.
I need to try to fix my headlight (one of them only works on high beam), and fix the same side front turn signal (turn signal works, but no running light). After that, I can get an inspection sticker.

I am going to take it to the exhaust shop to get the catalytic converter "fixed" this Friday, the current cat's internal parts broke apart, with some of the pieces shooting out the tail pipe like flaming meteorites:evil: While it's there, I am also going to get the transfer case shifter lever bent into a better shape.

That's it for now:wave:
 
Last edited:
:bacon:

awesome!!! I foresee side by side sand drags up test hill in our future...
 
I solved the "running a bit hot" issue yesterday. I started the engine up, let it warm up a bit, then disconnected the upper heater core hose from the heater core. When I first undid the hose, no coolant came out, just a bunch of air. After that, some coolant finally came out. I ran it like this for a few seconds until a steady stream of coolant came out, problem solved. My temperature gauge is not going past 190 now:smokin:
I also installed the stock coolant overflow bottle. I still need to clean up the hose routing, the current radiator has the overflow nipple pointing out towards the passenger side, not the driver side. I will probably just bend a piece of tubing, mounted to the top of the grill, to redirect this nipple toward the driver side.

I also fixed the headlight, it just had a broken contact on the back of the light, easy fix. I also fixed the non-blinking front turn signal, a little corrosion removal from the plug contact, problem solved. Besides the reverse lights/4wd light, everything is working, so I can now go get an inspection sticker, 100% street legal. Well, at least in MS:smokin:

I hope to get a little bit of work done on the hard top this weekend, the rattles caused by the blown out "bottom of top to top of body" weather stripping are aggravating.

That's it for now:wave:
 
I bought my BFG AT's around 2000-2001 and they say "All Terrain T/A" The tires that have "Radial All/Mud Terrain" are definitely older than that.

Dad has 30x9.50 BFG MT's from around 1987 on his Scrambler. They are cracking between the lugs like you mentioned, but the tires only have 3-4K on them, so hate to trash them.

I think the only logical thing to do is find a flattie for trail use only and put these mud tires on it. No danger of high speed blow out then and the tires won't go to waste.
 
I bought my BFG AT's around 2000-2001 and they say "All Terrain T/A" The tires that have "Radial All/Mud Terrain" are definitely older than that.

Dad has 30x9.50 BFG MT's from around 1987 on his Scrambler. They are cracking between the lugs like you mentioned, but the tires only have 3-4K on them, so hate to trash them.

I think the only logical thing to do is find a flattie for trail use only and put these mud tires on it. No danger of high speed blow out then and the tires won't go to waste.

Sounds like a plan:thumbsup::wave::cheers:
 
I did a little bit of hard top repair work this weekend.


Most of the latches on my Acme hard top were busted. I replaced them with the latches JeepAddict suggested on this thread:

https://www.cj-8.com/forum/showthre...Latches-Needed-Found-Them-UPDATED-With-Photos

I used: McMaster Carr part #1864A15


They will work, but there is a slight issue with them, more on that in a bit.

The stock latches are "pop-riveted" in place, but I did not want to just "pop-rivet" the new ones on.

This is what I did:

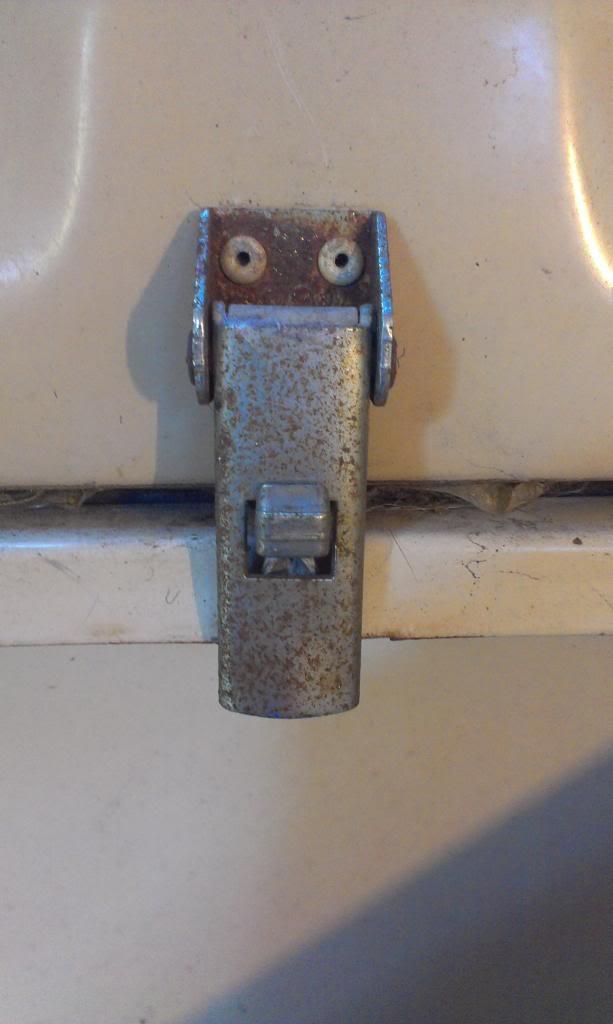
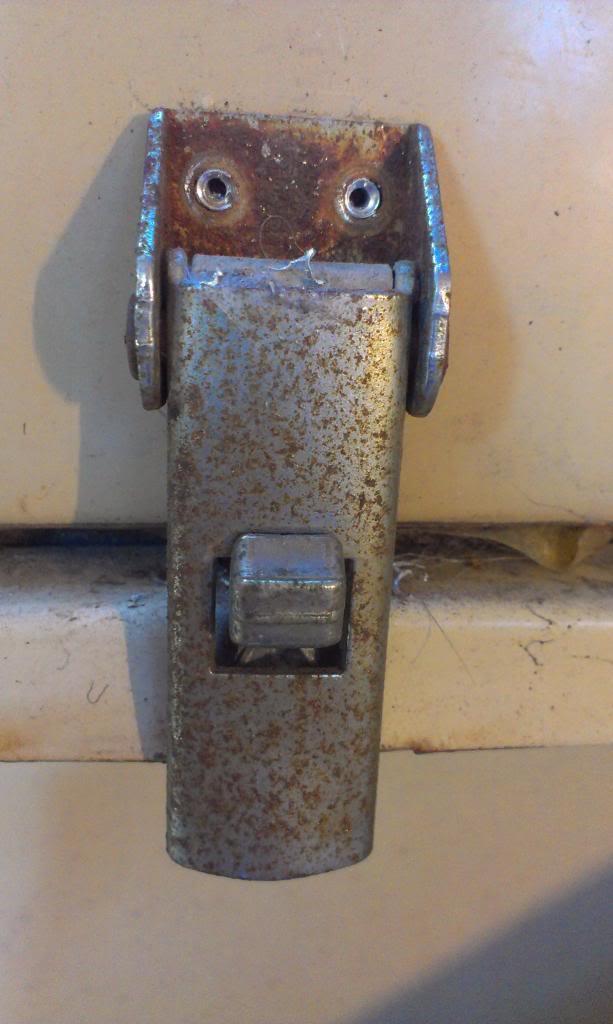
Picture of a stock latch.

IMAG2243_zps8e3aa1c0-1.jpg


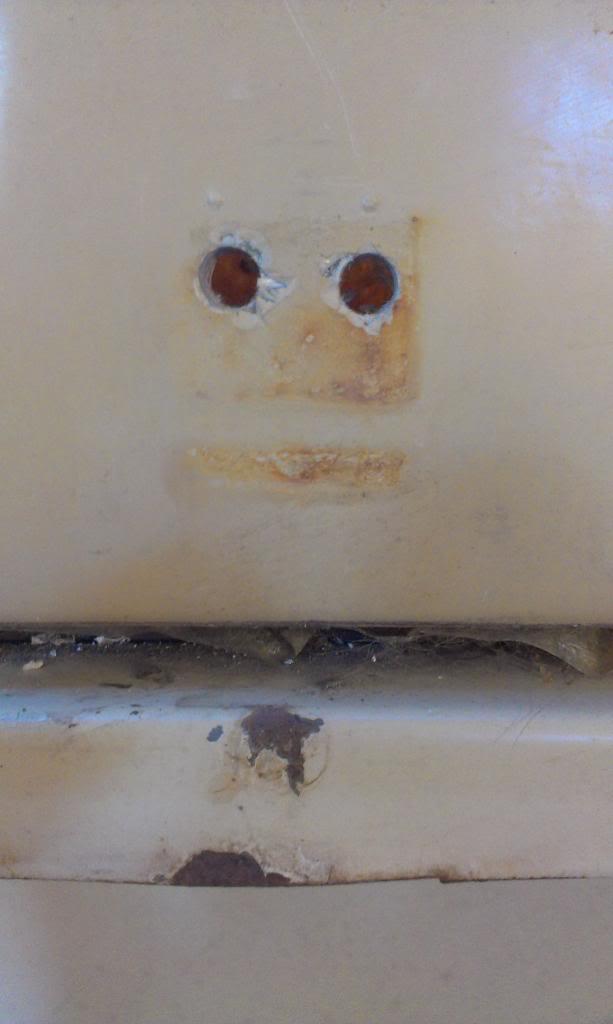
Drilled out the rivet heads.

IMAG2244_zpsd9df8561-1.jpg


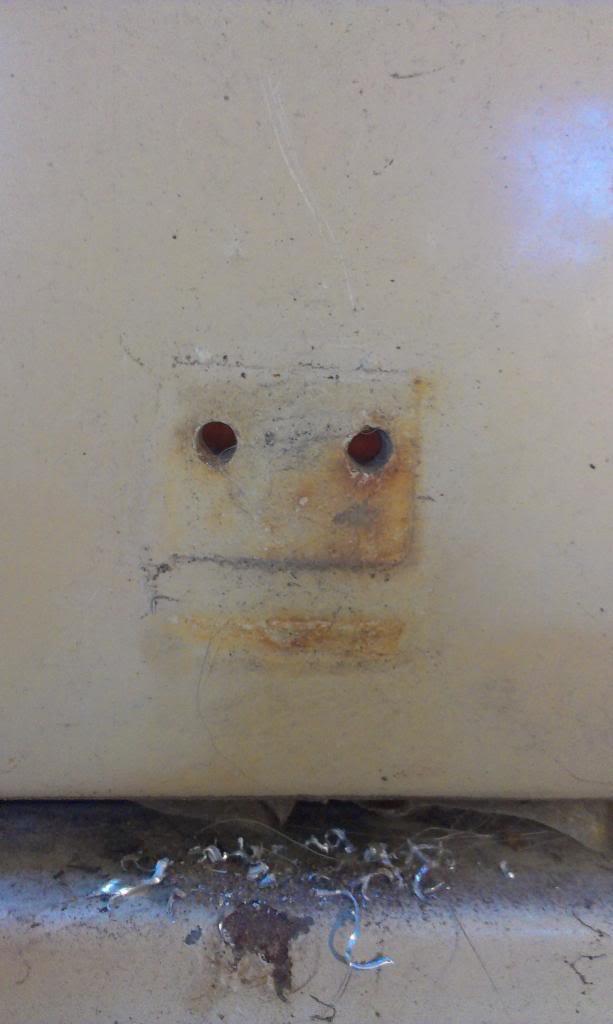
Pulled the latch off, and carefully drilled out the rivet stems.

IMAG2245_zpsd215d192-1.jpg


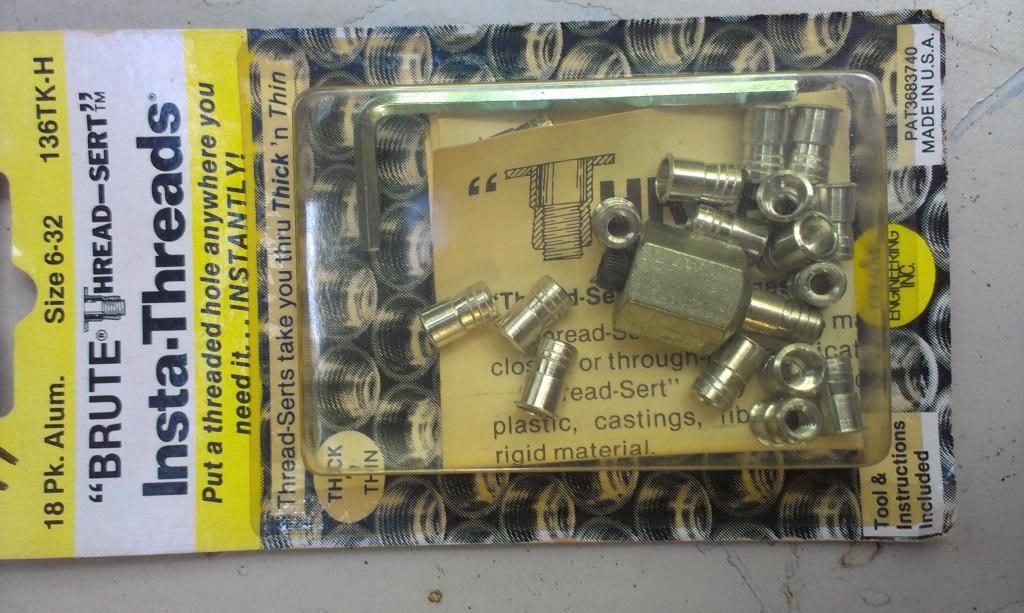
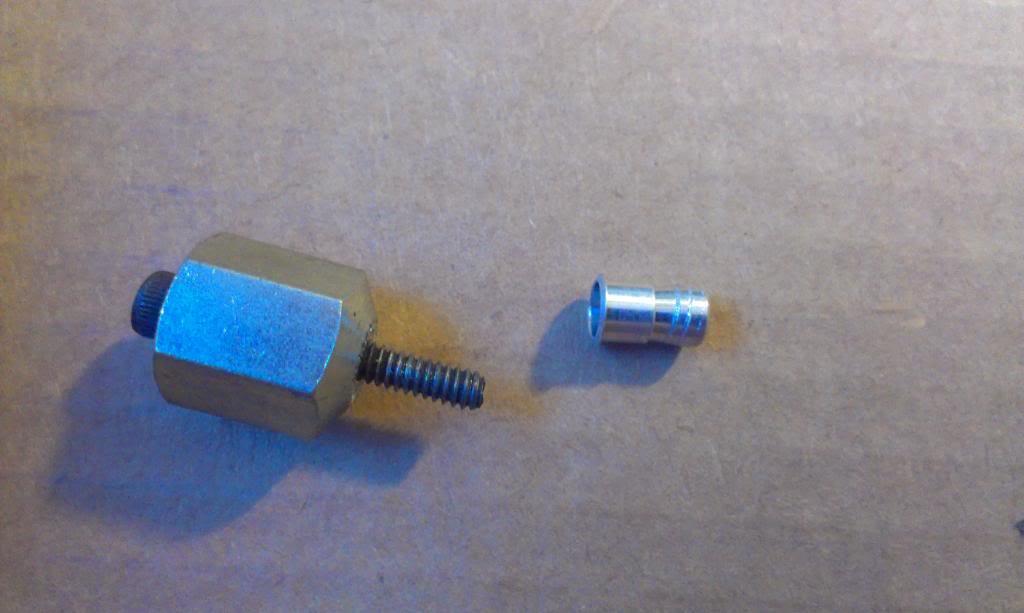
What I am using instead of rivets:

IMAG2183_zps6b65bde9-1.jpg


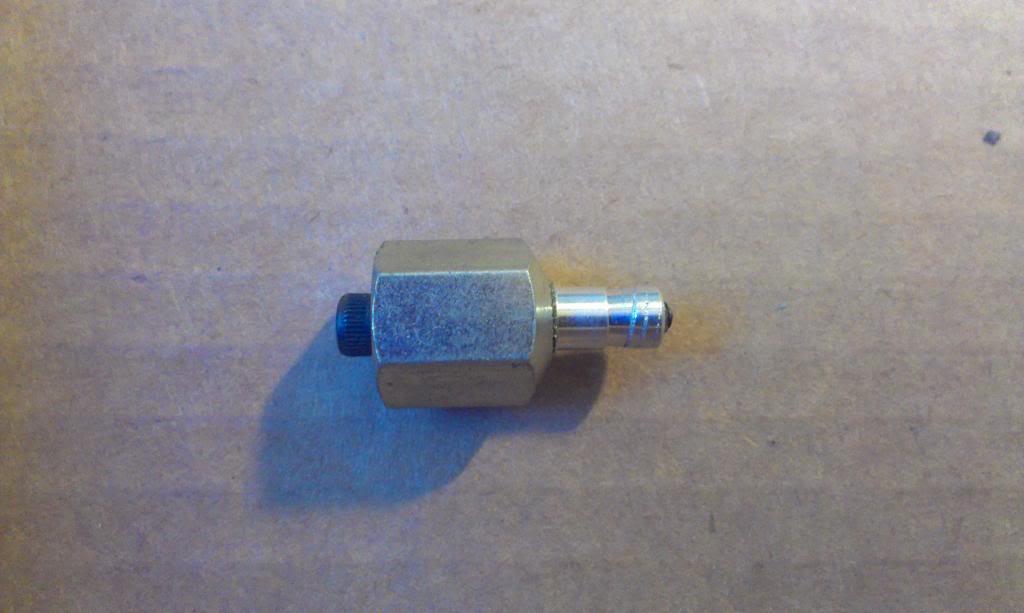
Picture of one of the inserts, next to the "install tool". They can also be installed with a special gun, but the included "tool" works fine.

IMAG2246_zpsd67cf648-1.jpg


Thread the insert on the tool.

IMAG2248_zpsbe0f5597-1.jpg


I drilled the holes in the fiberglass top out to the specified size, 7/32 IIRC. Even drilling slowly and carefully, I chipped the fiberglass slightly around the holes. No big deal, the latch covers this slight cosmetic damage.

IMAG2249_zps75fcaa58-1.jpg


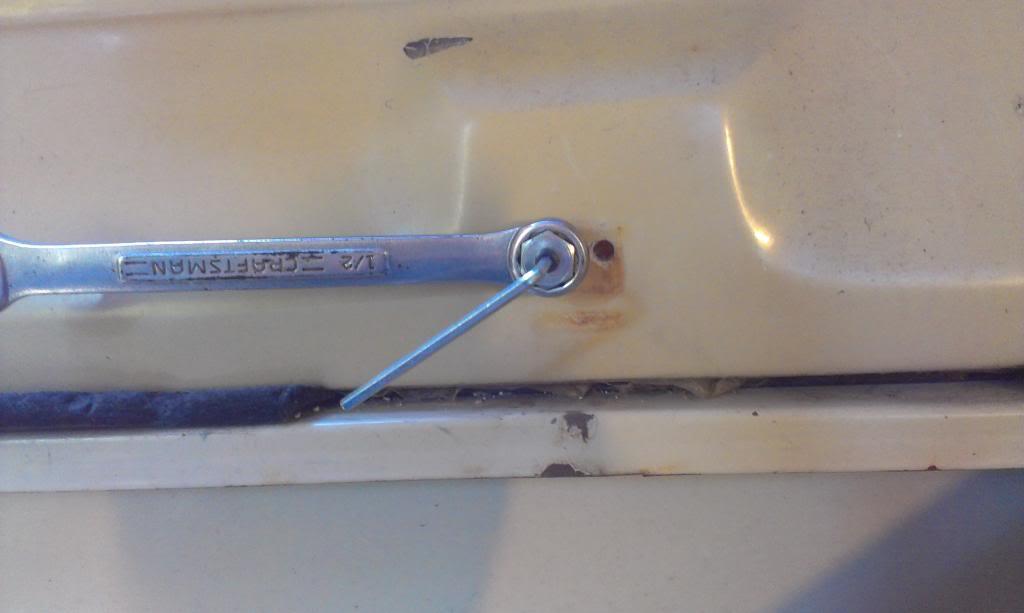
Insert the insert/tool in the hole, hold the big part with a wrench, tighten the small screw with the allen wrench. Basically, as you tighten the small screw, it pulls the threaded portion of the insert outward, and simultaneously swells the insert, locking it in place.

IMAG2251_zps2db2cf50-1.jpg


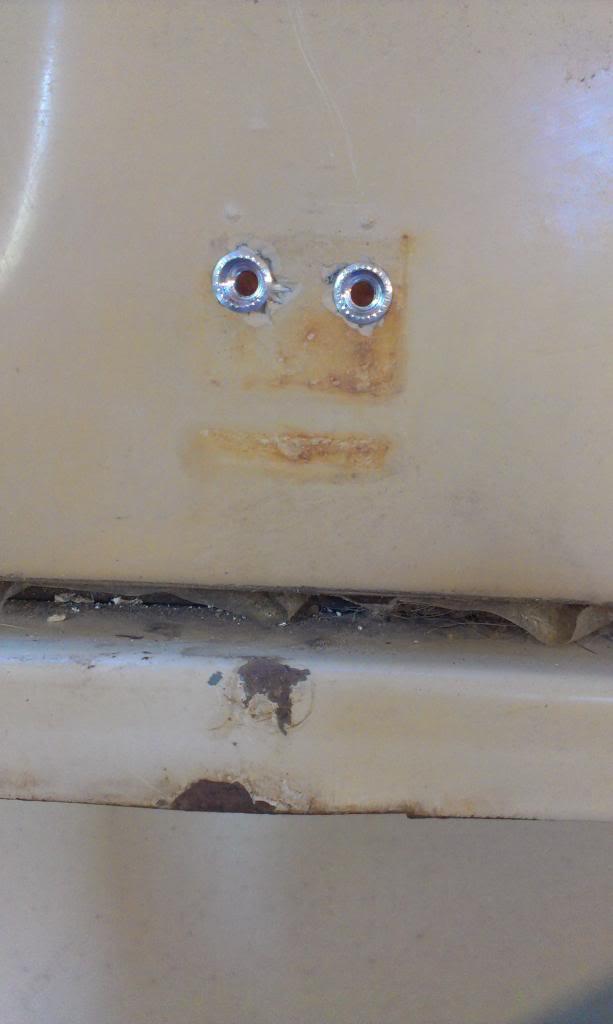
Two inserts installed.

IMAG2252_zps91fb7759-1.jpg


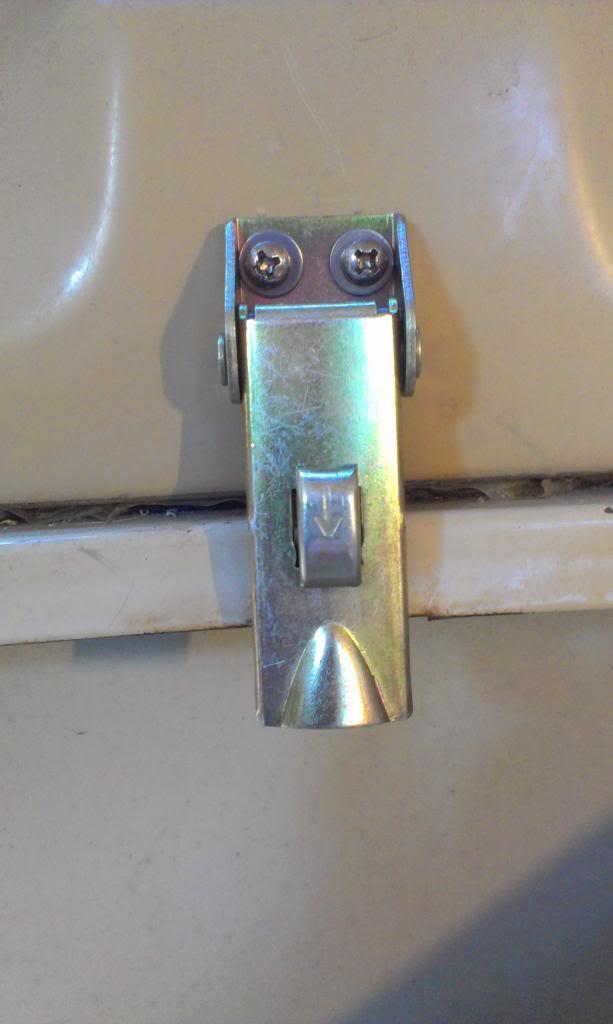
And I then simply bolted on a new latch with some #6 machine screws, finished.

IMAG2253_zpsc544af3f-1.jpg
 
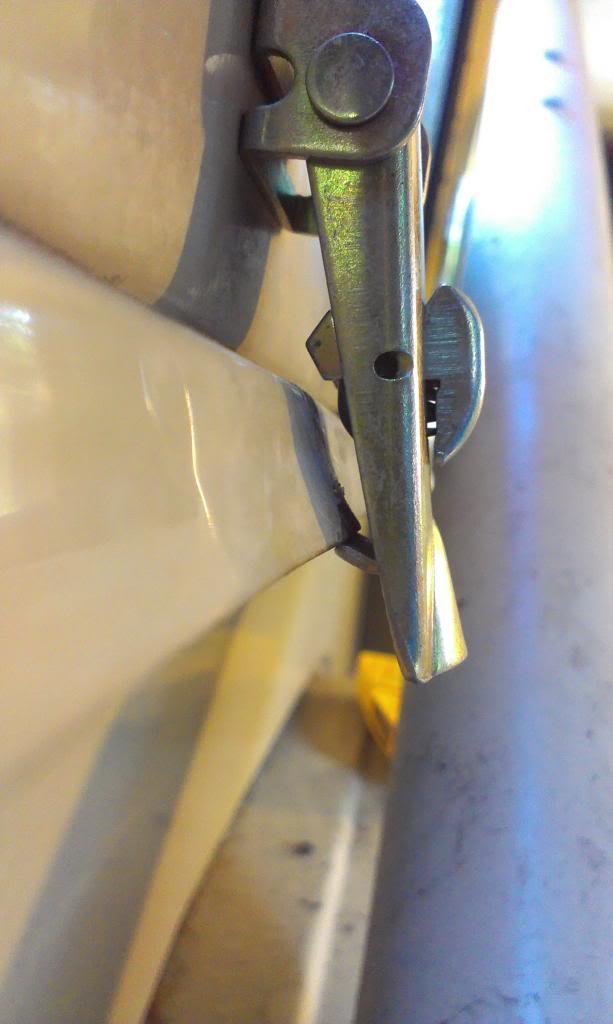
Ok, these latches will work, but there is a slight "issue":

IMAG2254_zps200f32a6-1.jpg


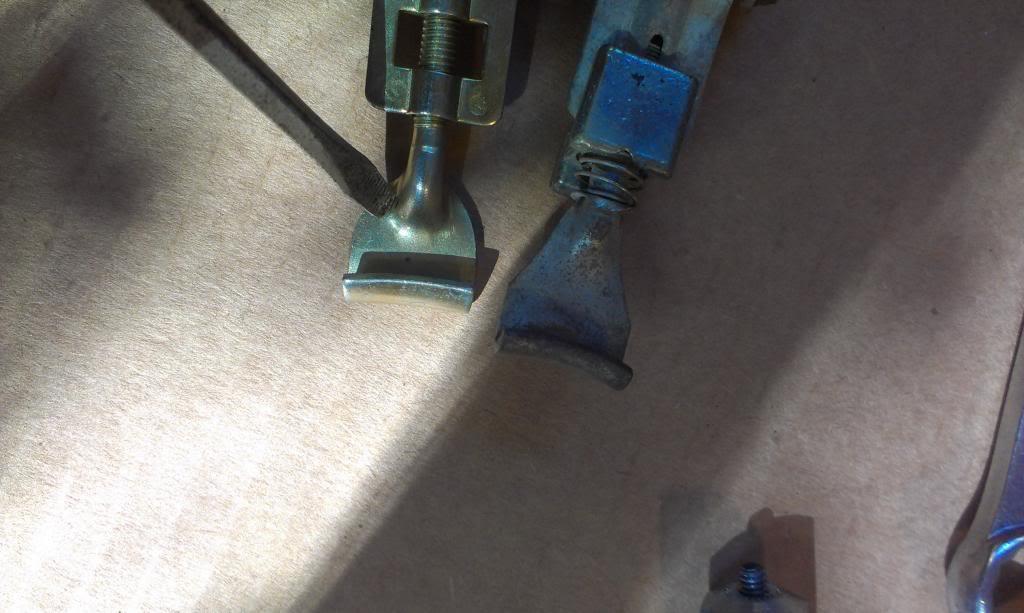
NOTE the fat "bulge" on the replacement latch. If the body tub metal, where the latch latches, is still perfectly flat, this bulge on the new latch will not allow it to work. The bulge will hit the metal before the latch mechanism catches.

IMAG2257_zpsd6d92a62-1.jpg


Two choices.

First, the metal on the body is usually bulged out where the latches go anyway, so they will work.

IMAG2256_zps5fbd9814-1.jpg


Or, the more complicated method.

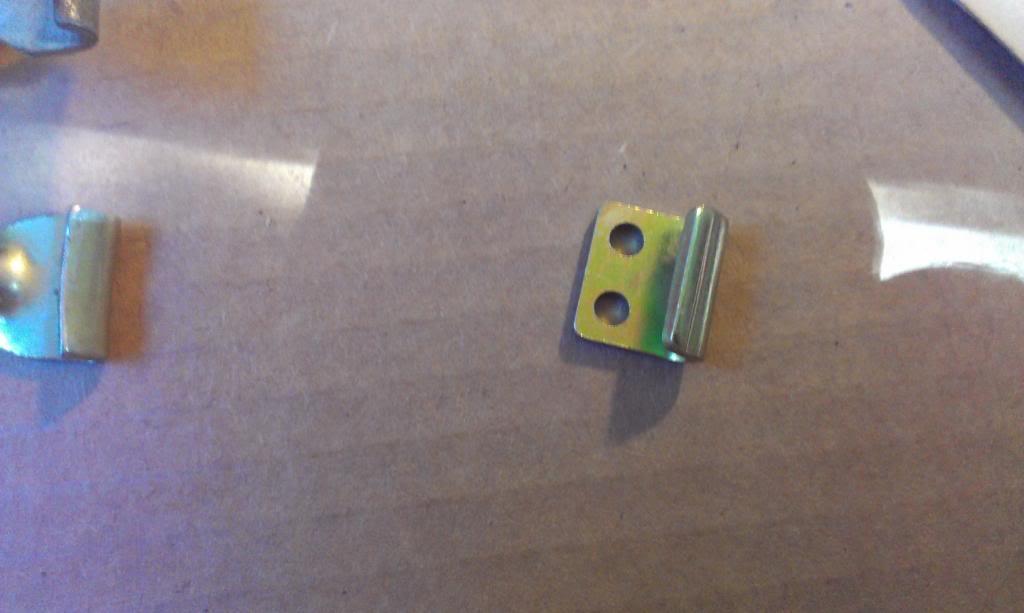
IMAG2255_zps2f78ac09-1.jpg


The new latches come with the above pictured "hook" piece. This piece can be screwed on the body tub lip, problem solved. BUT, if you install the hooks, the replacement latches become too tall, you will not be able to screw them to the existing pop rivet holes. Basically, you will have to space the latches upward and drill new holes. No big deal, but more work.

For now, all of my latches are catching, so I am happy. I am sure if my OCD kicks in, I will drill new holes and install the included hooks. If you drill new upper holes, the latch mechanism will cover up the old pop rivet holes.

I only installed the 8 latches (4 on each side) that are on the sides of the top. I have not messed with the two windshield latches yet.


Another possibility to combat the "bulge", you could probably shim the latch slightly off the top, putting it at a slight angle, resulting in a bit more clearance.

I will keep everyone updated on the "nut-rivets" long term survivability. One good thing about the nut-serts, you can now unscrew the hinges before you pull the top off, saving the dangling latches from damage.
 
While changing out the latches was a some "nice" work, this next part brought the suck.

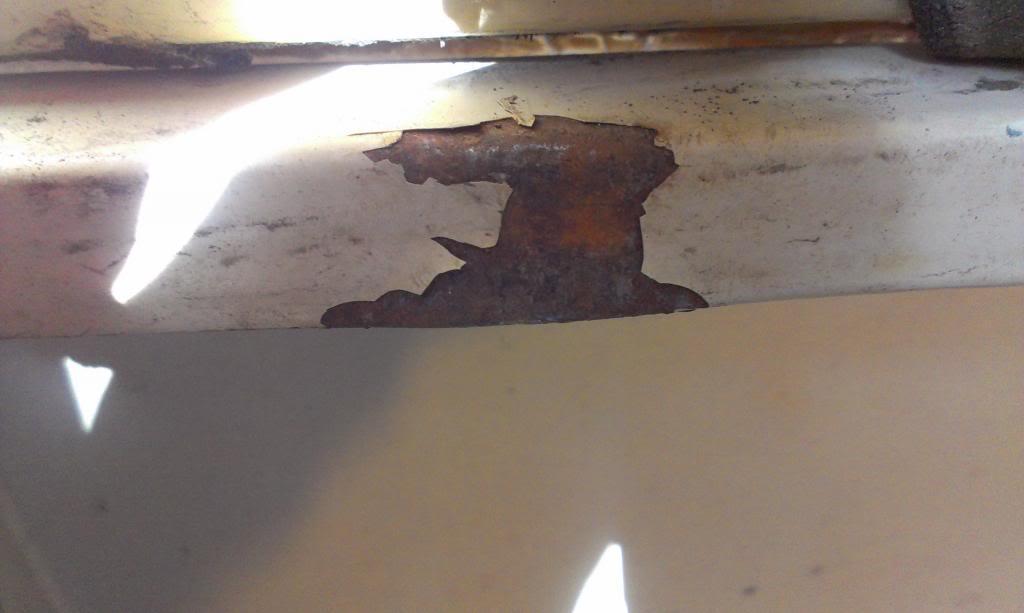
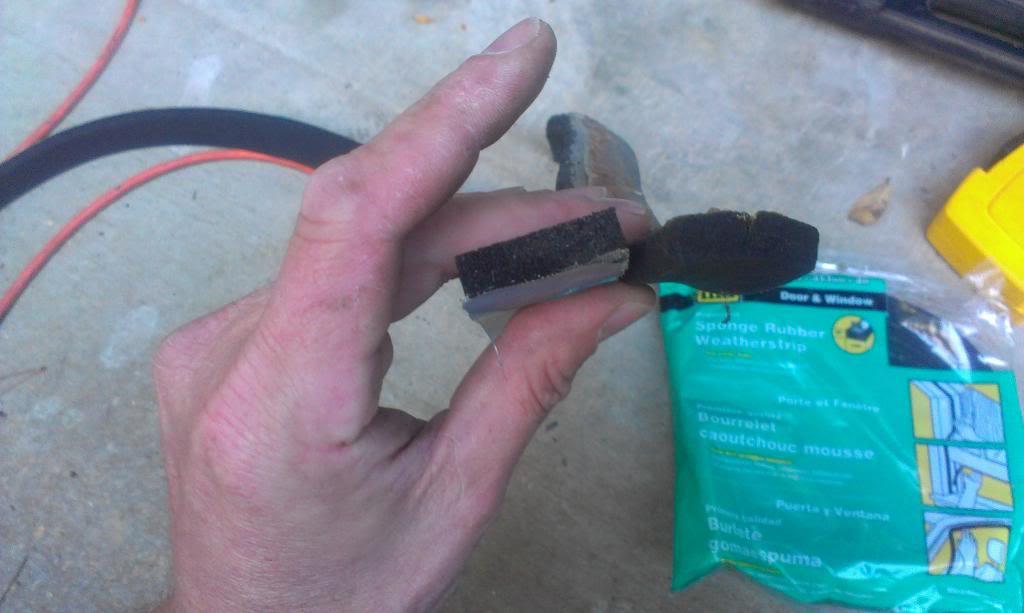
The weather stripping on my top, the pieces that go between the bottom of the top and the top edge of the body tub, is dried up/hard/torn/destroyed.

IMAG2259_zps5131a097-1.jpg


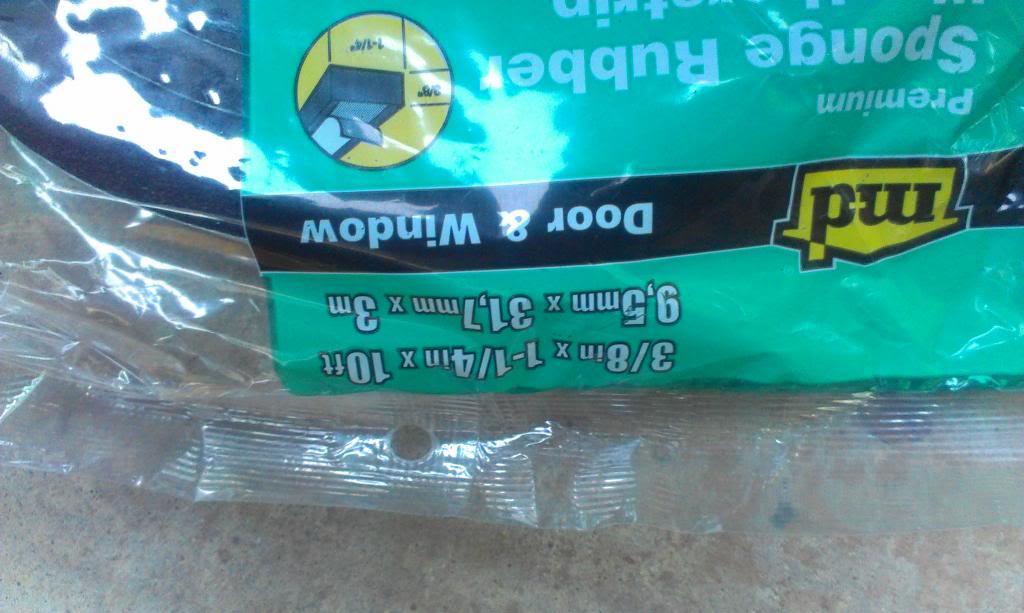
What I bought as a replacement, from Lowes.

IMAG2263_zpsa1b275ed-1.jpg


IMAG2262_zps3bf1e3e2-1.jpg


I am not 100% sure if the old stuff was the factory stuff, but pretty sure it was, judging by the next part. Anyway, the Lowes stuff will work, you need two bags, one for each side.

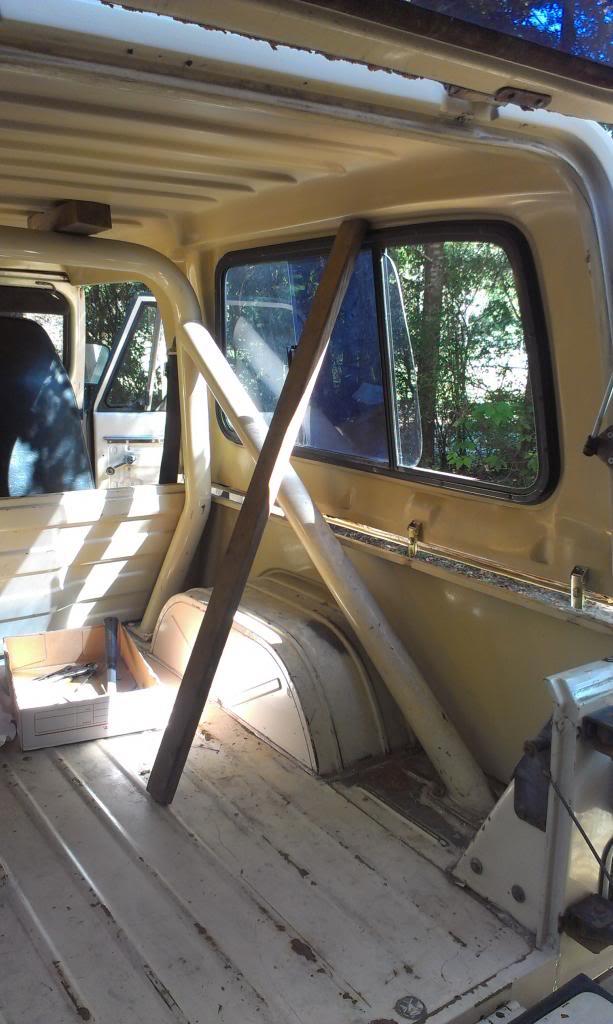
Since I was by myself, and didn't have a platoon of people to help me lift the top off, I used some wood blocking to hold the top up off the body/away from the sides. Worked out well.

IMAG2258_zpsaa44a5e2-1.jpg


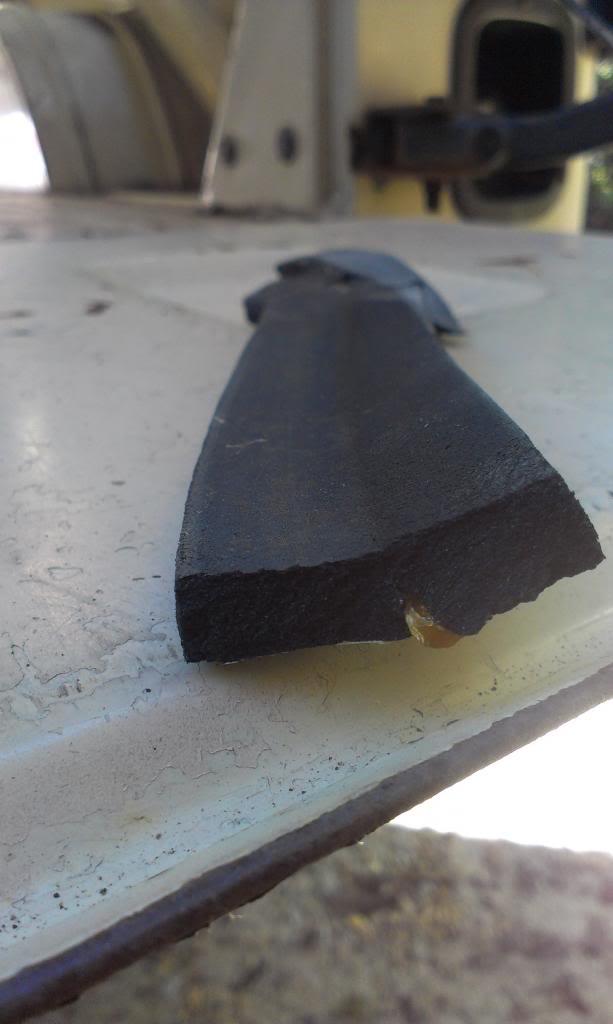
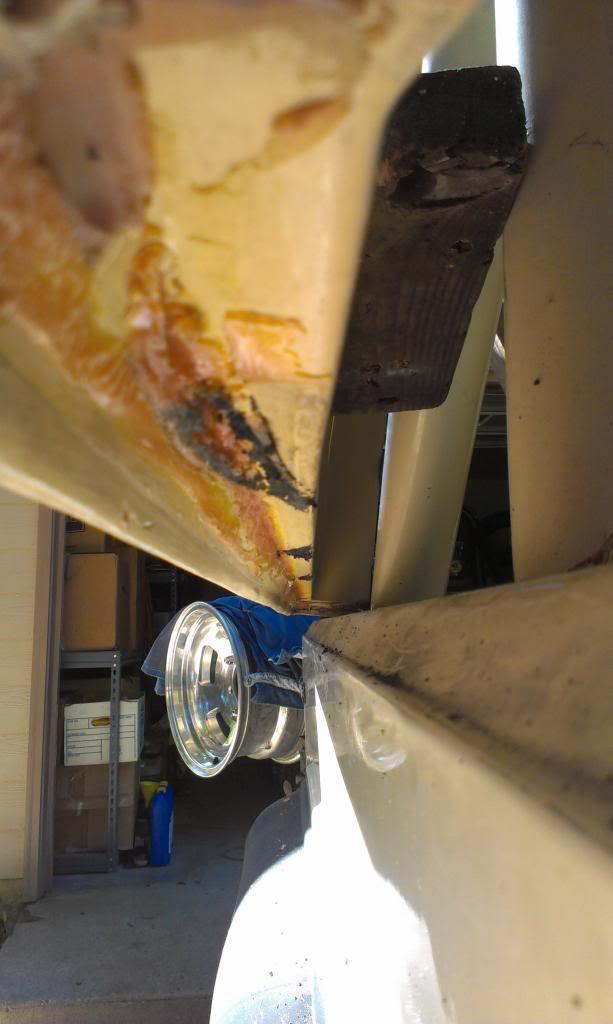
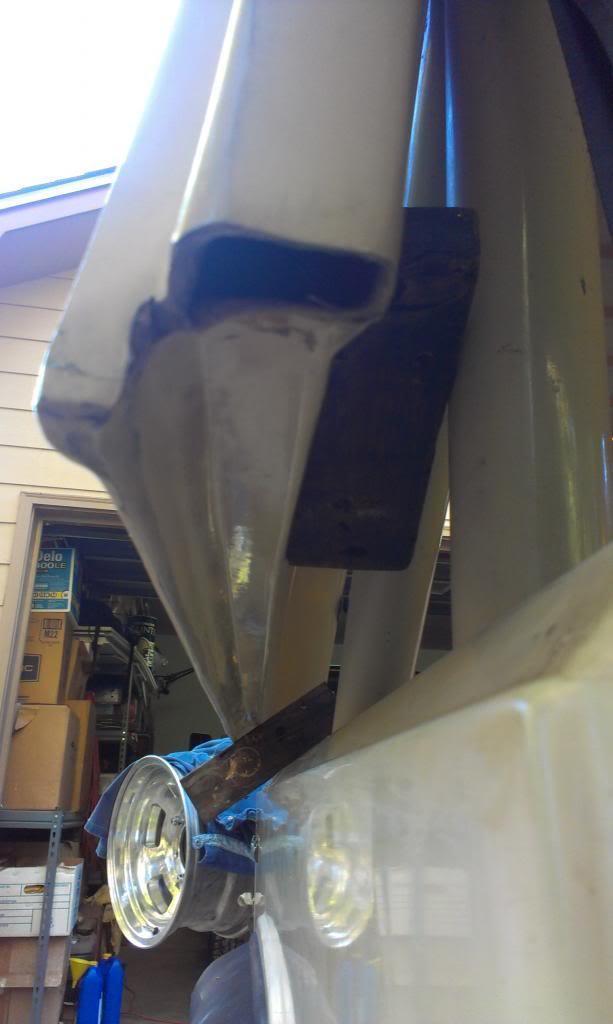
You would think changing out weather stripping wood be easy. Maybe, but my OCD got me. Anyway, from the factory, ACME must have used 5 gallons of glue, per side, to help hold the weather stripping in place!!!!!

IMAG2260_zps1d7a8028-1.jpg


I do not what kind of crap that stuff is, but it is rock hard, and still gooey, AT THE SAME TIME!!!!!

DO NOT USE HEAT TO HELP REMOVE IT, makes a big mess. DO NOT USE A WIRE WHEEL, makes a bigger mess.

After four hours of scraping, soaking with acetone/"Goo-Be Gone"/"Lift Off", I had one side finished.

IMAG2261_zps1d9769e1-1.jpg


One side down, one to go. But, after all this work, hopefully the top and latches will no longer be rattling around.

That's it for now:wave:
 
Make a "reverse" of those clips- one that has the mounting holes on the opposide side of where they currently are. Or get some tabs to rivet the clips to so they sit a bit below the rail.
 
Back
Top