

You are using an out of date browser. It may not display this or other websites correctly.
You should upgrade or use an alternative browser.
You should upgrade or use an alternative browser.
Taking Built CJ7 apart to make CJ8 For Winter Use
- Thread starter jammer1
- Start date
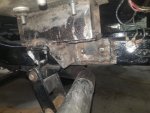
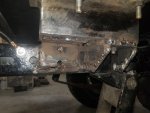
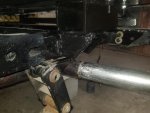
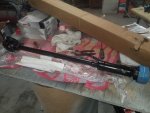
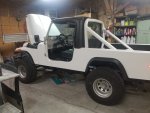
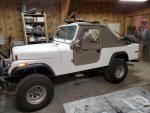
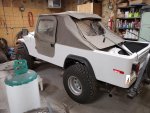
Pulled the half top off and installed the soft top from the cj7. I fabricated a door surround similar to a yj soft top surround. Seals out the water well and has the sides wrap around to cut down the rain. not sure if I like the look. Nice thing is the sides behind the door roll up into the top to become a bikini top.
Attachments
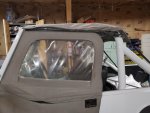
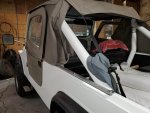
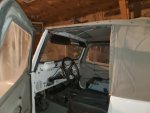
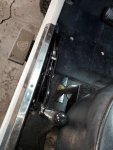
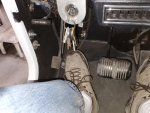
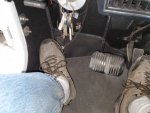
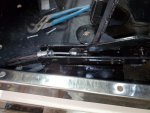
The other good thing I completed was after I cut down the brake pedal, it still didn't have the space needed (I brake with my left foot, every once in a while I would hit the side of the pedal when braking. Decided to make a hand brake and mount it on the floor between the seat and the door frame. Works great. Only inconvenience would be using a hard door. It doesn't hit the door, just would be a tight reach to set the brake with the hard door closed. I was going to hook a switch up for the parking brake light but if the brake is set correctly, you'll know the brakes on. Now plenty of room for my left foot.
Attachments


- City
- Redmond
- State
- OR
Now that I went and bought all new stainless e-brake cables I’m realizing they don’t fit with my exhaust and rear brake conversion. I may end up going with the Lokar e-brake setup. Probably mount it in the center however. Your setup looks great!The other good thing I completed was after I cut down the brake pedal, it still didn't have the space needed (I brake with my left foot, every once in a while I would hit the side of the pedal when braking. Decided to make a hand brake and mount it on the floor between the seat and the door frame. Works great. Only inconvenience would be using a hard door. It doesn't hit the door, just would be a tight reach to set the brake with the hard door closed. I was going to hook a switch up for the parking brake light but if the brake is set correctly, you'll know the brakes on. Now plenty of room for my left foot.
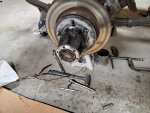
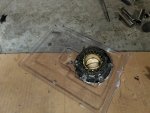
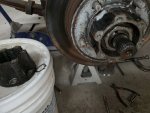
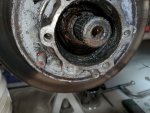
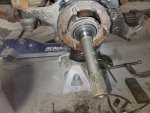
Pulled the washers and nuts off. Pulled the bearings. All were in good shape.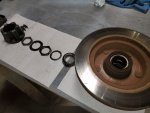
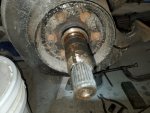
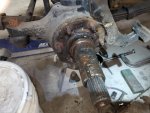
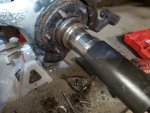
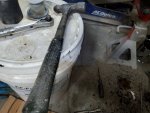
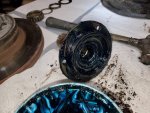
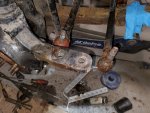
The dust shield has enough rot to justify ordering a pair. I got a spindle socket to pull the spindle (much easier than heat, screw driver and hammer). Couldn't find the slide hammer so did the next best thing. Used a hammer and hit the end of the spindle socket at the 1 oclock, 6oclock, 3 oclock then 9 oclock positions. Minor taps in that order popped the seal and worked it out. Looks like I'll have to remember to get a new slide hammer.
The dust shield has enough rot to justify ordering a pair. I got a spindle socket to pull the spindle (much easier than heat, screw driver and hammer). Couldn't find the slide hammer so did the next best thing. Used a hammer and hit the end of the spindle socket at the 1 oclock, 6oclock, 3 oclock then 9 oclock positions. Minor taps in that order popped the seal and worked it out. Looks like I'll have to remember to get a new slide hammer.

- City
- Dexter
- State
- MI
Pulled the washers and nuts off. Pulled the bearings. All were in good shape.View attachment 90646View attachment 90647View attachment 90648View attachment 90649View attachment 90650
The dust shield has enough rot to justify ordering a pair. I got a spindle socket to pull the spindle (much easier than heat, screw driver and hammer). Couldn't find the slide hammer so did the next best thing. Used a hammer and hit the end of the spindle socket at the 1 oclock, 6oclock, 3 oclock then 9 oclock positions. Minor taps in that order popped the seal and worked it out. Looks like I'll have to remember to get a new slide hammer.
if you wheel it, I’d skip the dust shield. Just holds stuff in there instead of it falling out. Just my

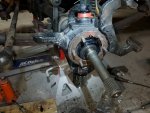
Once spindles out, pull the axle shaft out and remove the tie rod from the knuckle.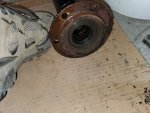
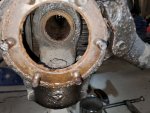
Put a socket, ratchet, and extension bar and the lower ball joint nut came out. Used a milwaukee 18v impact wrench on the upper nut, made it nice and easy. Leave the upper joint nut on (learned to flip the carriage nut so it doesn't cross the threads. Take a mash hammer and beat the upper joints nut to pop both joints from the knuckle.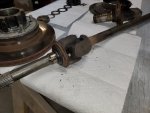
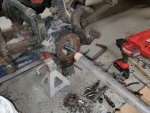
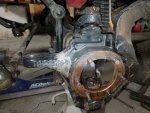
Put a socket, ratchet, and extension bar and the lower ball joint nut came out. Used a milwaukee 18v impact wrench on the upper nut, made it nice and easy. Leave the upper joint nut on (learned to flip the carriage nut so it doesn't cross the threads. Take a mash hammer and beat the upper joints nut to pop both joints from the knuckle.
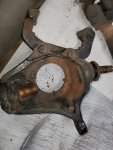
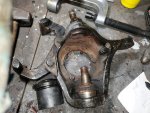
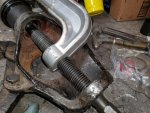
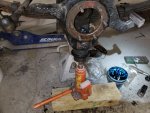
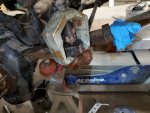
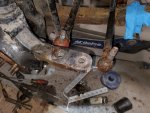
Naturally I didn't take pics of pressing the new joints in. Found it easier to press the upper joint 1st, then the lower joint. If you have ball joints that you have to grease, make sure you point the grease fittings in a position that you can grease them on the jeep.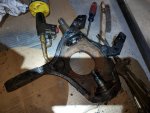
The rest is just in the reverse order. Ended up replacing the bearing seal on the shafts and repacking the bearings. Waiting for the wheel bearing seals to come in, along with the dust shields and tie rod boots.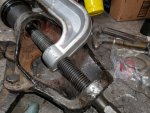
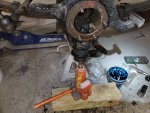
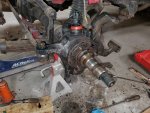
Forgot to mention, use a bottle jock under the knuckle to start pressing the lower ball joint into the knuckle (otherwise the joint of the ball joint just spins). Also after the knuckle is off the jeep their is a adjuster sleeve in the yoke of the axle. Their is a special socket to pull the adjuster sleeve out. The new ball joint comes with a new one to screw in.
Forgot to mention, use a bottle jock under the knuckle to start pressing the lower ball joint into the knuckle (otherwise the joint of the ball joint just spins). Also after the knuckle is off the jeep their is a adjuster sleeve in the yoke of the axle. Their is a special socket to pull the adjuster sleeve out. The new ball joint comes with a new one to screw in.
Attachments
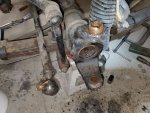
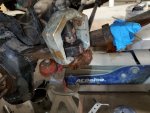
Only real problem was the drag link tie rod. Couldn't get it loose with a pickle fork, heat and penetrating oil. Finally was able to get a pitman arm puller to take hold and used the impact. I don't trust the joint so I have another that I can install on the jeep.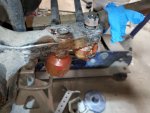
Bigwalton, that's a good idea. Between the snow, salt and mud I imagine the shields have a hard life.
Bigwalton, that's a good idea. Between the snow, salt and mud I imagine the shields have a hard life.
Did minor work on the jeep this winter/spring (new radio, install front speakers. Broke down and pulled the hard half top off. Installed stc half top hardware and half top. Been saving it and another stc half top for the last 11 years. Wanted to use on the original ch8 project but broke down and installed. Top looks good. Only problem is the pass side. The fiberglass tub is off, can't install a hard door on that side. I have no problem with a soft door (inside of hard door hits tub below door striker). That same problem has affected the soft half top. Drivers side works with manufacture measurement (dash to top of tub 36 1/16" is where you drill the hole for the vertical rod support). Passenger side, that measurement puts the vertical rod support bracket too far from the dash (end that mounts to the radius above the striker sits on flat part of tub). Had to move the hole 1/2" toward the dash to have the bracket straddle the radius. To look it with the top on it looks like it's in the correct spot. Drivers and passenger door openings look the same, soft doors fit the same on both sides. It's like the inside opening of the tub (dash to striker) is smaller. It's not the windshield frame is off, it's the tub. Here's some pics. If anyone see's something off with the top please chime in, instructions don't come with pic's of a top mounted on a jeep.
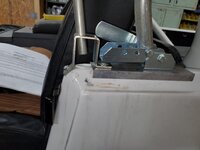
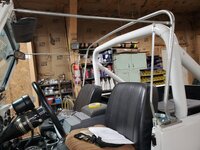
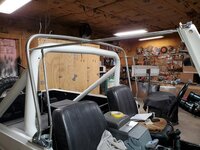
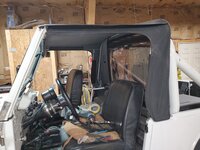
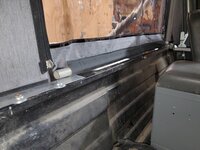
Here's some pics. If anyone see's something off with the top please chime in, instructions don't come with pic's of a top mounted on a jeep.