- City
- Fairfax
- State
- VA
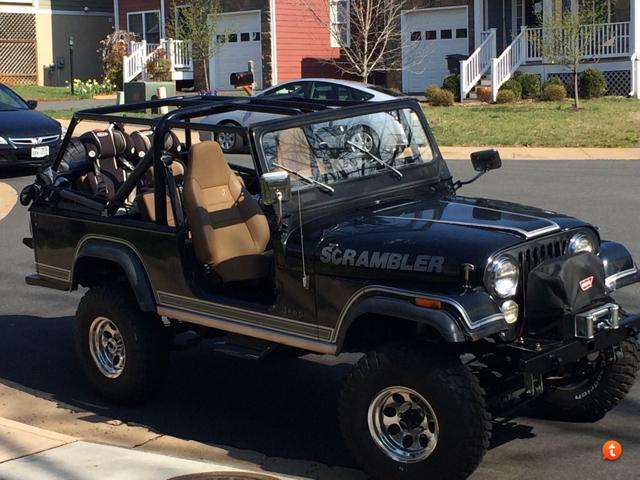
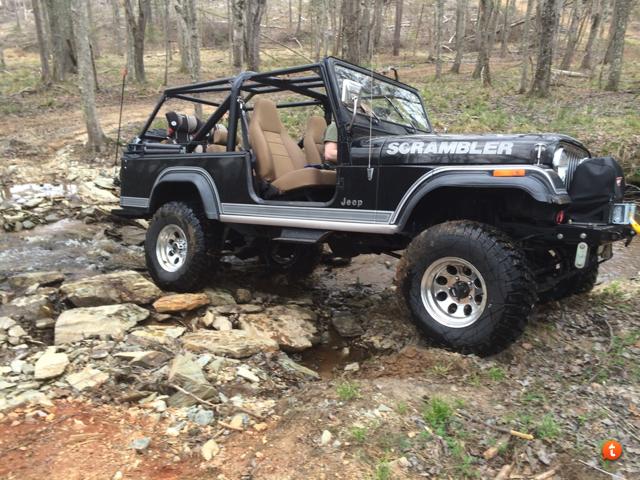
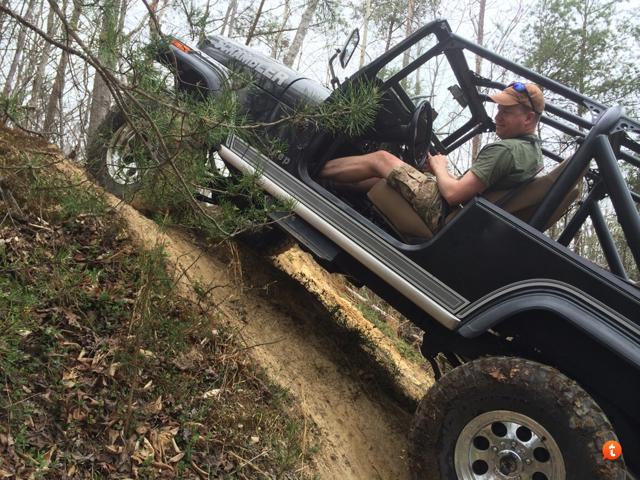
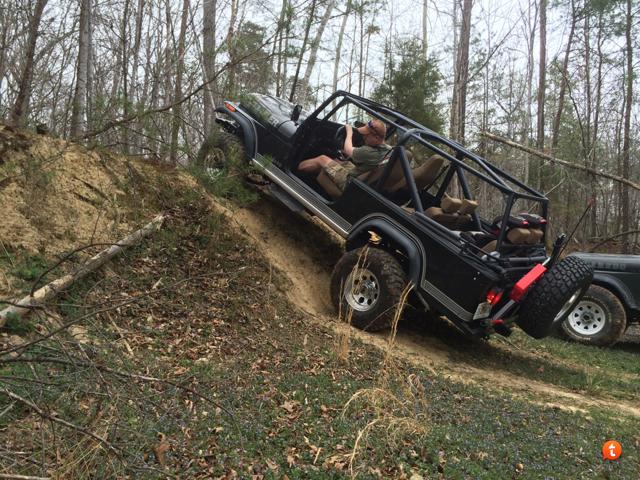
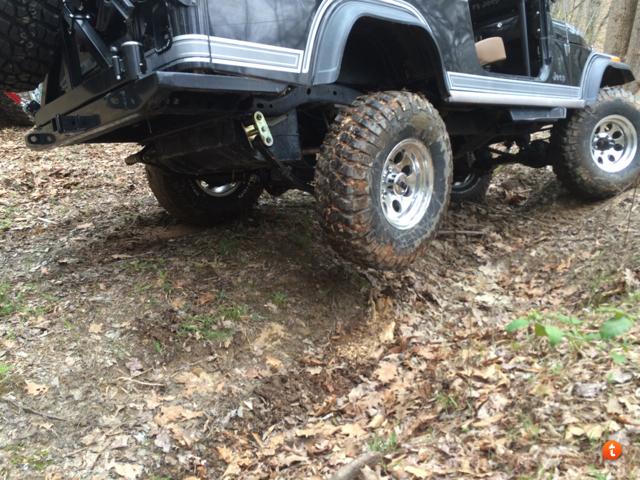
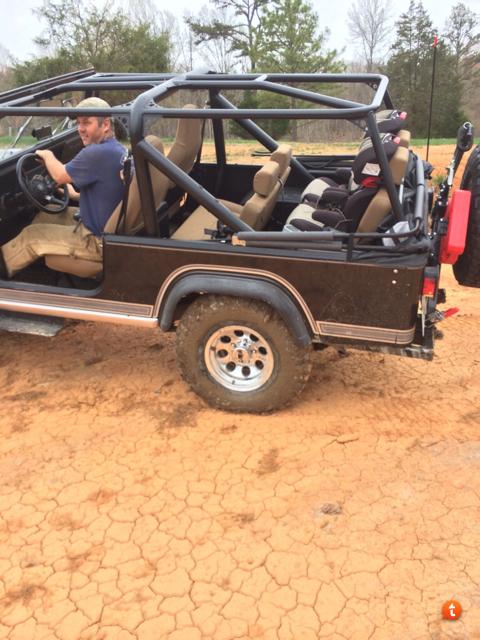
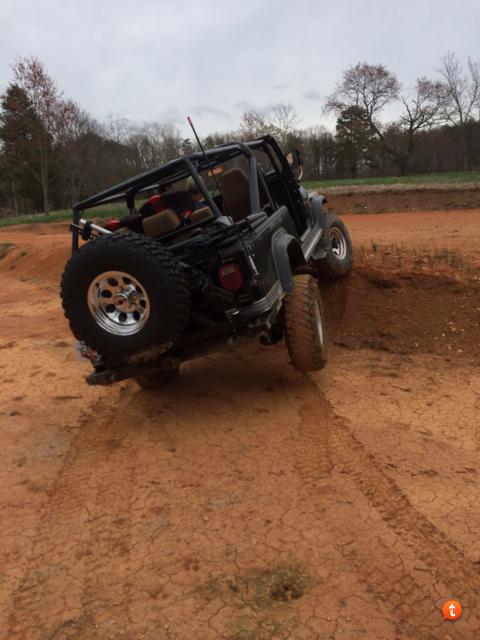
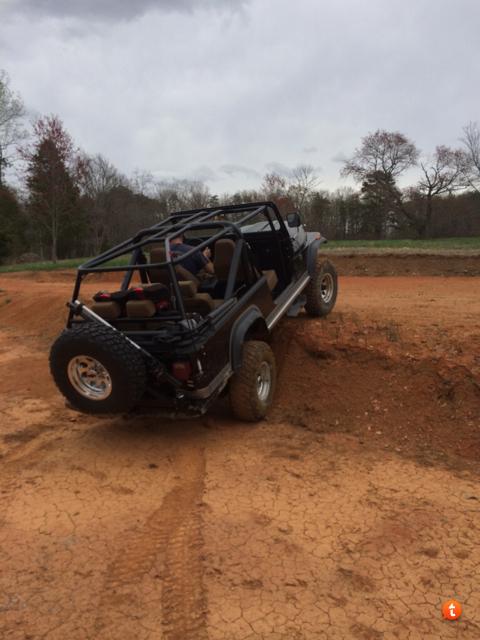
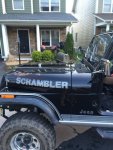
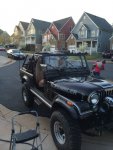
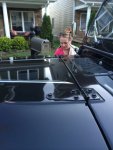
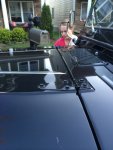
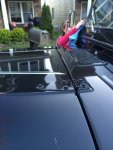
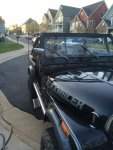
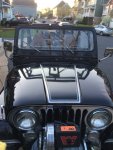
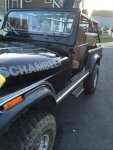
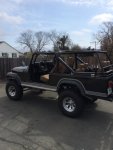
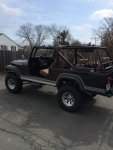
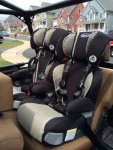
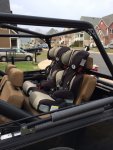
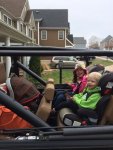
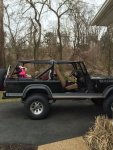
Rockin' the family of 5!
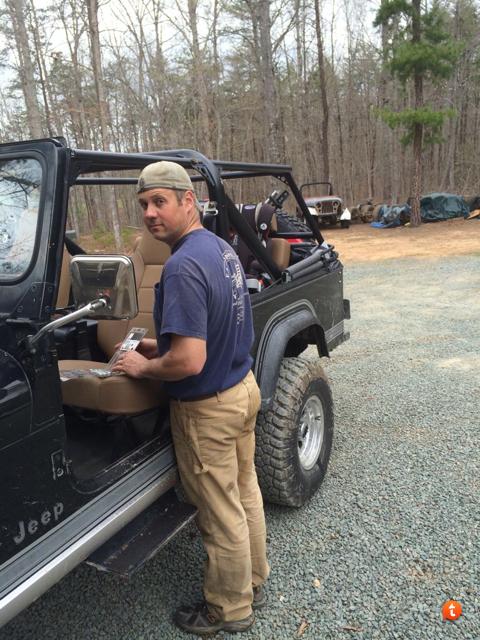
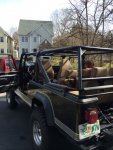
Took the time to adjust all the seat belts and for the boosters and the car seat. Took quite a bit of "tuning" but the results were AWESOME! Couldn't work better....
Loaded up the whole circus, headed out town.
Sputter, putter, sputter. Died. The look my wife gave me would have killed a lesser trained husband. So there I am, baby and two small kids, side of the road. Oh, and it's supposed to rain....of course.
When I hear hoofs, I try to think horses and not zebras - so I figured it was out of gas. I thought the gauge worked and it was showing 1/4 tank. My OCD usually doesn't let me drive with less than 1/2 tank...
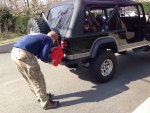
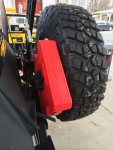
Funny thing - I had a perfectly empty rotopax gas can on the bumper. I hadn't filled it because it was a tiny little 1 gallon can and I'd planned to upgrade to a 2 gallon version. I mean, what can you do with that teeny-little can?...lesson learned.
A very nice fellow stopped in his truck - drove me 3 minutes to the gas station and waited while I threw a gallon in the can. Dropped me off and the wife was actually pretty cool...she's a bit of an expert at this since the CJ7 ALSO died on the side of road first time out with the kids!
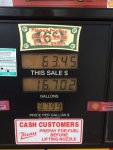
Started right up and I headed to fill it up. I added 16.7 gallons before it was topped-off. That plus the 3/4 gallons from the can...makes 17ish gallons. It should have a 20 gallon tank, right? That means, there was 2ish gallons in the tank when it "ran out." Any ideas?
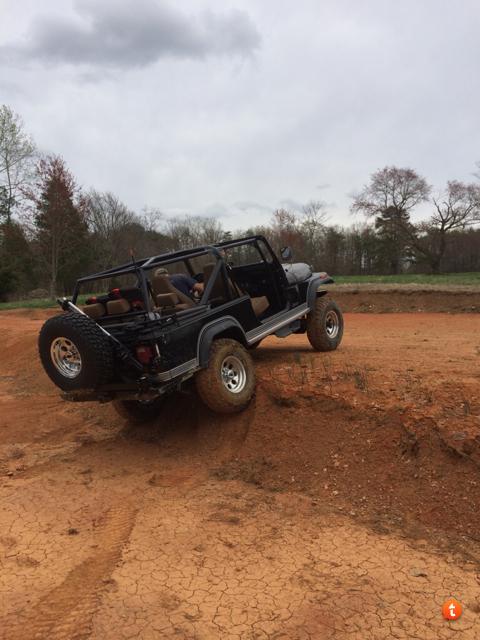
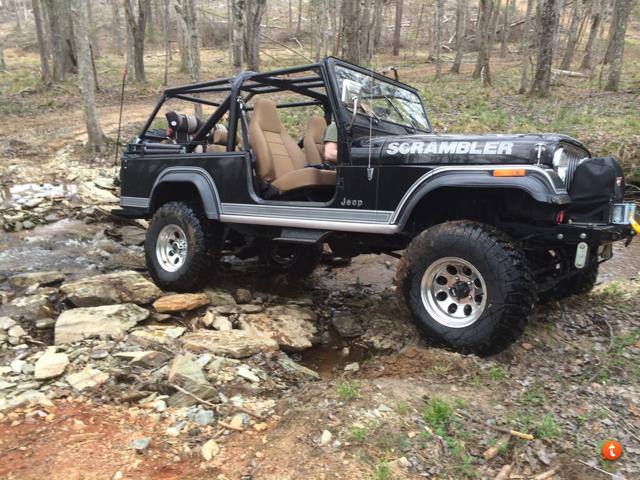
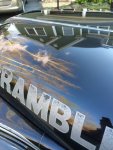
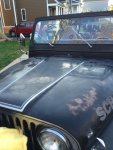
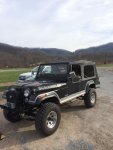
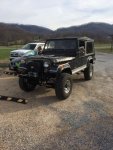
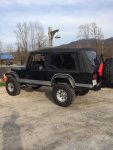
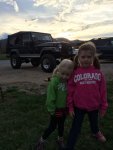
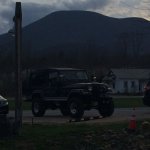
Regardless, we headed out of town and had a great drive up to Devil's Backbone Brewery. Ran up to the top of Wintergreen resort just to see what that was about. Good steep grade in third all the way to the top - stock thermostat was 3/4 pegged but no issues. Cooled down as soon as we leveled out, turned around and came down. Sunset dinner at the brewery, kids played, easy ride home. All-in-all a really great day in the Scrambler....
But most importantly....these words actually came out of my wife's mouth (BEFORE the brewery)....
"This is really great...maybe I want one for myself." She was serious....
Oh my...


Cheers,
Dylan
Took the time to adjust all the seat belts and for the boosters and the car seat. Took quite a bit of "tuning" but the results were AWESOME! Couldn't work better....
Loaded up the whole circus, headed out town.
Sputter, putter, sputter. Died.
The look my wife gave me would have killed a lesser trained husband. So there I am, baby and two small kids, side of the road. Oh, and it's supposed to rain....of course.When I hear hoofs, I try to think horses and not zebras - so I figured it was out of gas. I thought the gauge worked and it was showing 1/4 tank. My OCD usually doesn't let me drive with less than 1/2 tank...
Funny thing - I had a perfectly empty rotopax gas can on the bumper. I hadn't filled it because it was a tiny little 1 gallon can and I'd planned to upgrade to a 2 gallon version. I mean, what can you do with that teeny-little can?...lesson learned.
A very nice fellow stopped in his truck - drove me 3 minutes to the gas station and waited while I threw a gallon in the can. Dropped me off and the wife was actually pretty cool...she's a bit of an expert at this since the CJ7 ALSO died on the side of road first time out with the kids!
Started right up and I headed to fill it up. I added 16.7 gallons before it was topped-off. That plus the 3/4 gallons from the can...makes 17ish gallons. It should have a 20 gallon tank, right? That means, there was 2ish gallons in the tank when it "ran out." Any ideas?
Regardless, we headed out of town and had a great drive up to Devil's Backbone Brewery. Ran up to the top of Wintergreen resort just to see what that was about. Good steep grade in third all the way to the top - stock thermostat was 3/4 pegged but no issues. Cooled down as soon as we leveled out, turned around and came down. Sunset dinner at the brewery, kids played, easy ride home. All-in-all a really great day in the Scrambler....
But most importantly....these words actually came out of my wife's mouth (BEFORE the brewery)....
"This is really great...maybe I want one for myself." She was serious....
Oh my...
Cheers,
Dylan
Attachments
-
 971520_10153952833780058_991261136_n-1.jpg68.4 KB · Views: 346
-
 IMG_0857.jpg67.8 KB · Views: 348
-
 IMG_0859.jpg47.8 KB · Views: 344
-
 IMG_0860.jpg51.8 KB · Views: 341
-
 IMG_0862.jpg57.4 KB · Views: 348
-
 IMG_0861.jpg52.1 KB · Views: 348
-
 IMG_0864.jpg58.2 KB · Views: 348
-
 IMG_0865.jpg59.6 KB · Views: 349
-
 IMG_0866.jpg59.9 KB · Views: 343
-
 IMG_0868.jpg83 KB · Views: 341
-
 IMG_0870.jpg53.1 KB · Views: 342
-
 IMG_0869.jpg55.9 KB · Views: 343
-
 IMG_0871.jpg49.5 KB · Views: 352
-
 IMG_0872.jpg72.2 KB · Views: 343
-
 IMG_0873.jpg60.4 KB · Views: 344
-
 IMG_0888.jpg50.3 KB · Views: 340
-
 IMG_0889.jpg48.5 KB · Views: 338
-
 IMG_0897.jpg45.2 KB · Views: 344