• Notice for iPhone users: DO NOT use the image size reduction option when uploading photos to the forum. This causes portrait images to post as landscape. We have added a warning to the image insert pop-up as well.

Another Scrambler Purchase/Road Trip - UPDATE- BODY ON FRAME AGAIN

:bow: looking great !!!:bow:

do you think that stuff will remove paint and undercoating, or at-least soften it for easier removal !!!! :shrug:

i like to use my dewalt anlgle grinder with a wire wheel,works nice

Unfortunately, the rust remover stuff wont remove paint or undercoating:shrug:

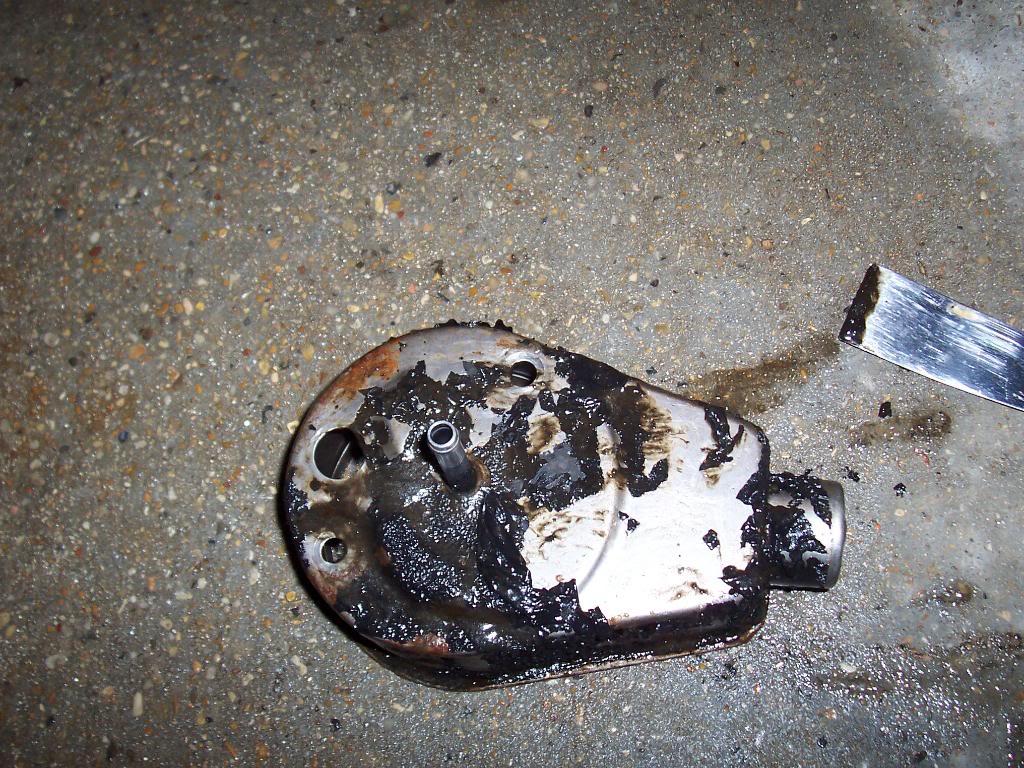
However, the "Aircraft Stripper" stuff sold at Autozone will. I bought a large can of the "Aircraft Stripper" and have had great success with it removing paint and undercoating. I believe JeepAddict has had good luck with the "Aircraft Stripper", too:cheers: I have been using the brush on "Aircraft Stripper", not the spray cans. It is a jell, you brush it on, wait about 15 minutes, and the paint should be blistering off. It might take a few coats, but it will take parts down to bare metal:thumbsup:

Appreciate the compliments:cheers:
 
Unfortunately, the rust remover stuff wont remove paint or undercoating:shrug:

However, the "Aircraft Stripper" stuff sold at Autozone will. I bought a large can of the "Aircraft Stripper" and have had great success with it removing paint and undercoating. I believe JeepAddict has had good luck with the "Aircraft Stripper", too:cheers: I have been using the brush on "Aircraft Stripper", not the spray cans. It is a jell, you brush it on, wait about 15 minutes, and the paint should be blistering off. It might take a few coats, but it will take parts down to bare metal:thumbsup:

Appreciate the compliments:cheers:

I have used both the "aircraft stripper" and the "rust remover" and was impressed by both as well. I used the "aircraft stripper" to remove the old, cloudy clear coat from the OEM Chrome Wheels and it worked perfect! Just be sure to use gloves, you will know it if it gets on your skin!
 
the places my mind goes..

you guys keep talking about "aircraft stripper" and this is what I imagine:

flightattendant-1.jpg


sorry... been a long week for me :evil:
 
I have used both the "aircraft stripper" and the "rust remover" and was impressed by both as well. I used the "aircraft stripper" to remove the old, cloudy clear coat from the OEM Chrome Wheels and it worked perfect! Just be sure to use gloves, you will know it if it gets on your skin!

Yes, the stripper does not feel good on skin:evil:
 
I was able to get some more painting work accomplished over the weekend. But first, here is a quick Before/After shot of the rust remover stuff.

BEFORE

100_5423-1.jpg


AFTER

100_5437-1.jpg


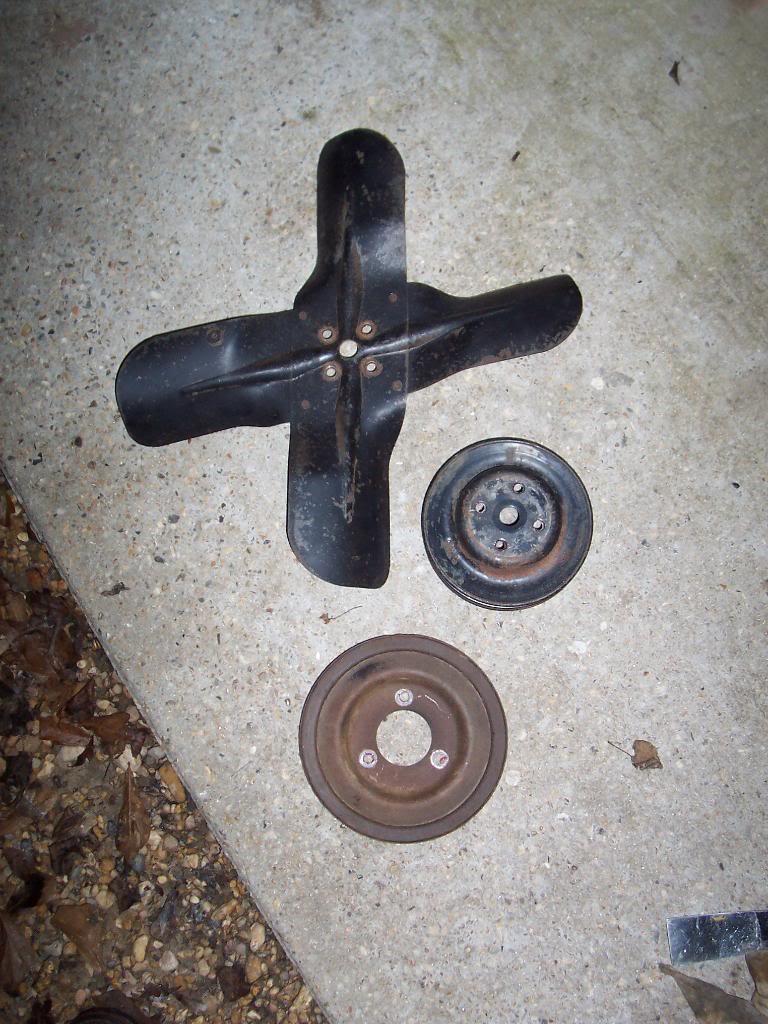
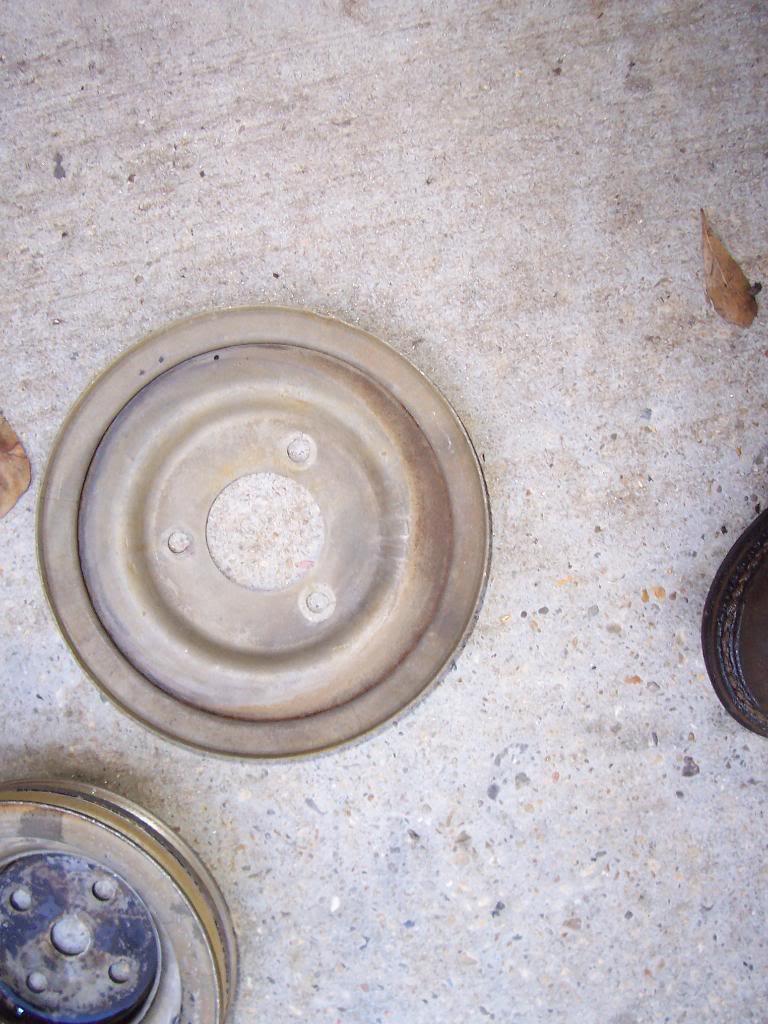
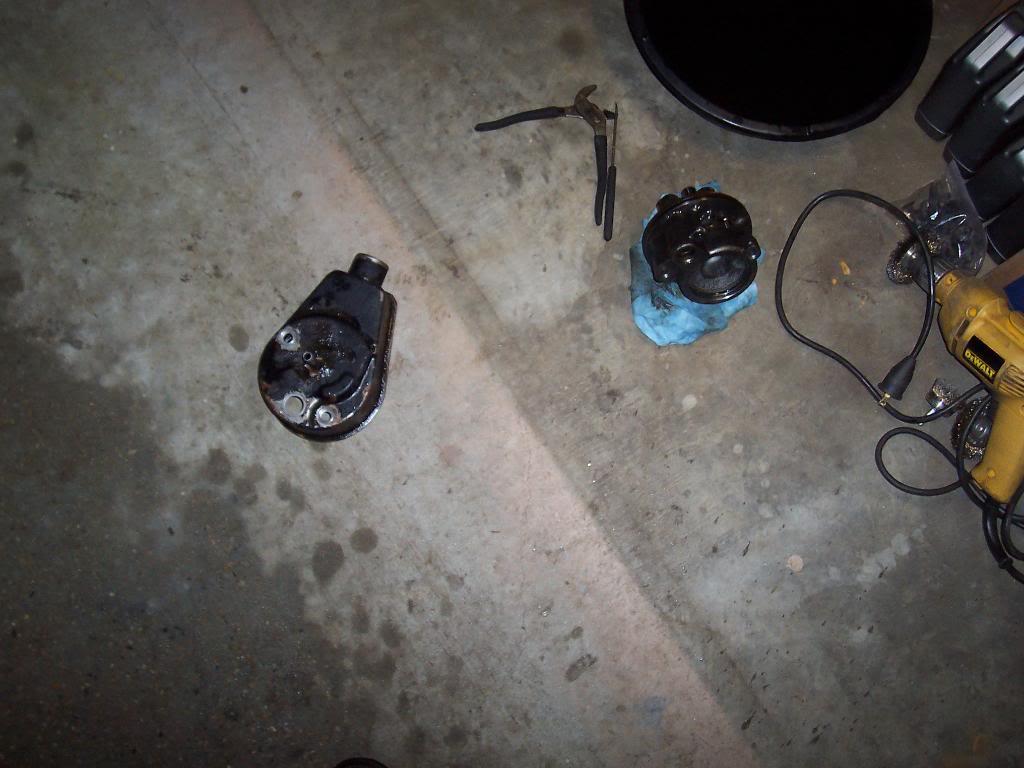
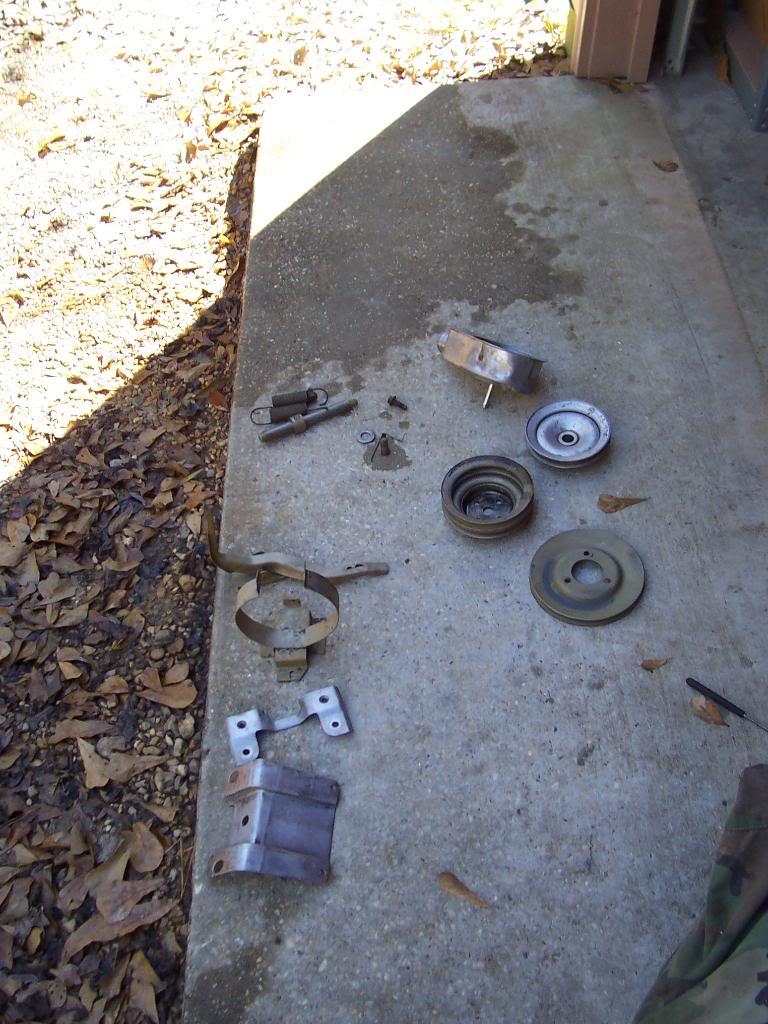
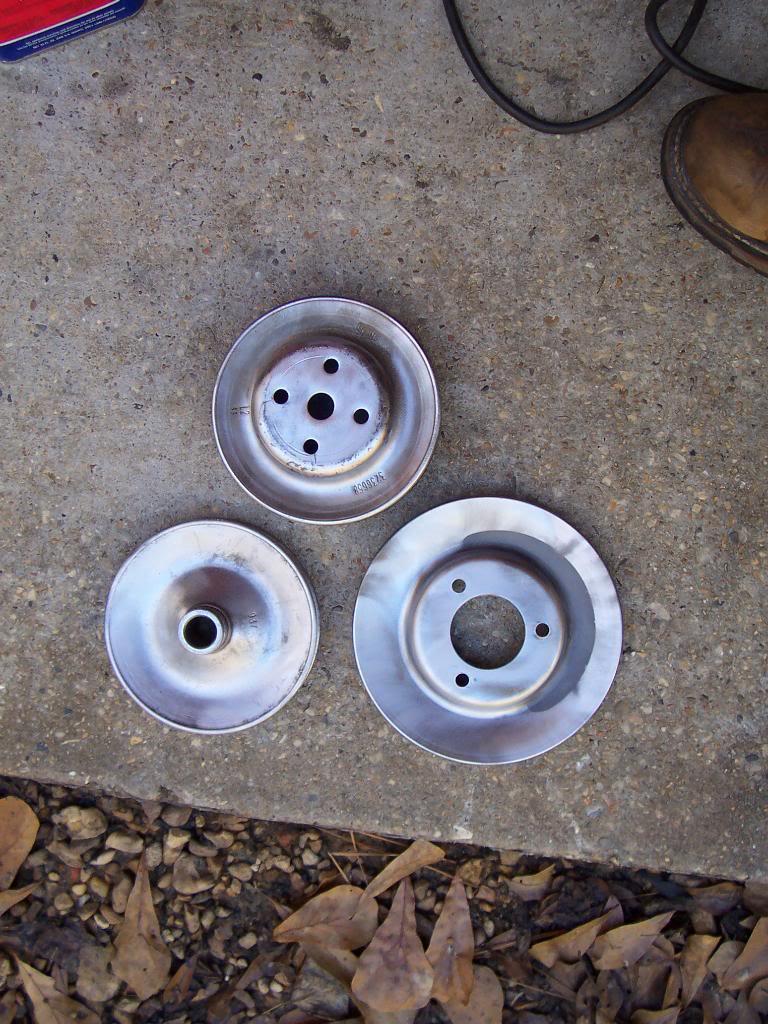
Since I was painting everything else, I figured I might as well disassemble the power steering pump/reservoir/pulley assembly for paint, too. I did not take a picture, but I had to borrow a puller to remove the power steering pump pulley. I am going to put in a new power steering pump while I have everything apart, too.

100_5435-1.jpg


Picture of the aircraft stripper at work.

100_5436-1.jpg


Picture of even more parts ready for paint. I would estimate about 1 hours time per part to get them to this stage of paint readiness.

100_5439-1.jpg


100_5440-1.jpg


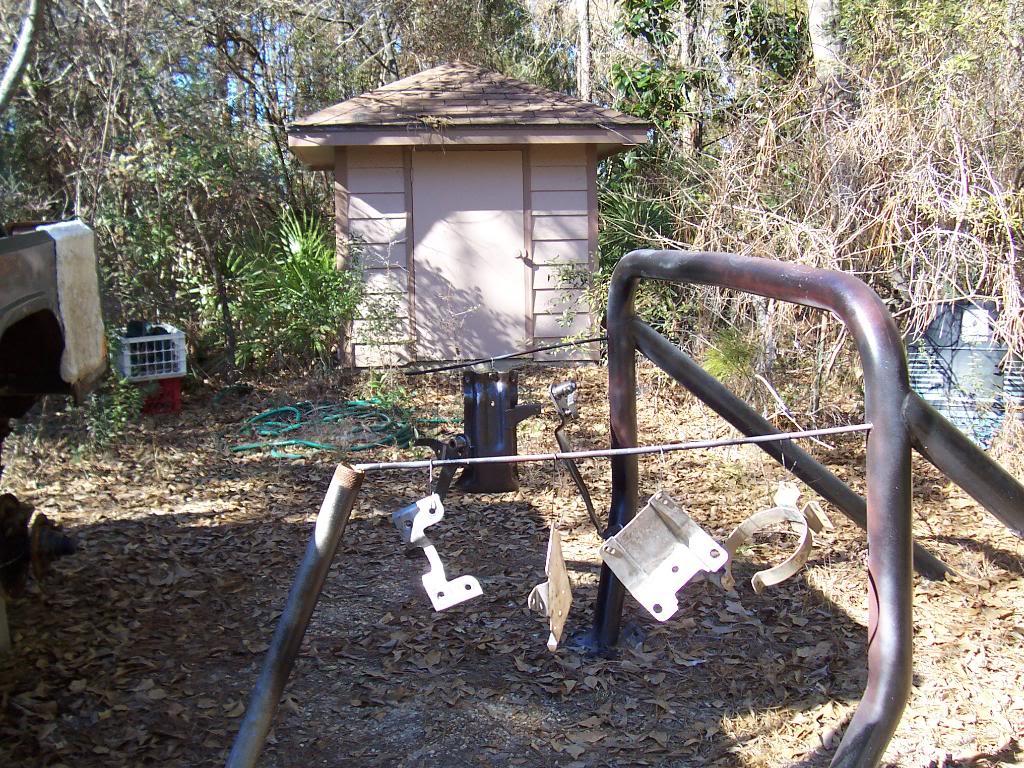
Parts I painted with regular paint.

100_5441-1.jpg


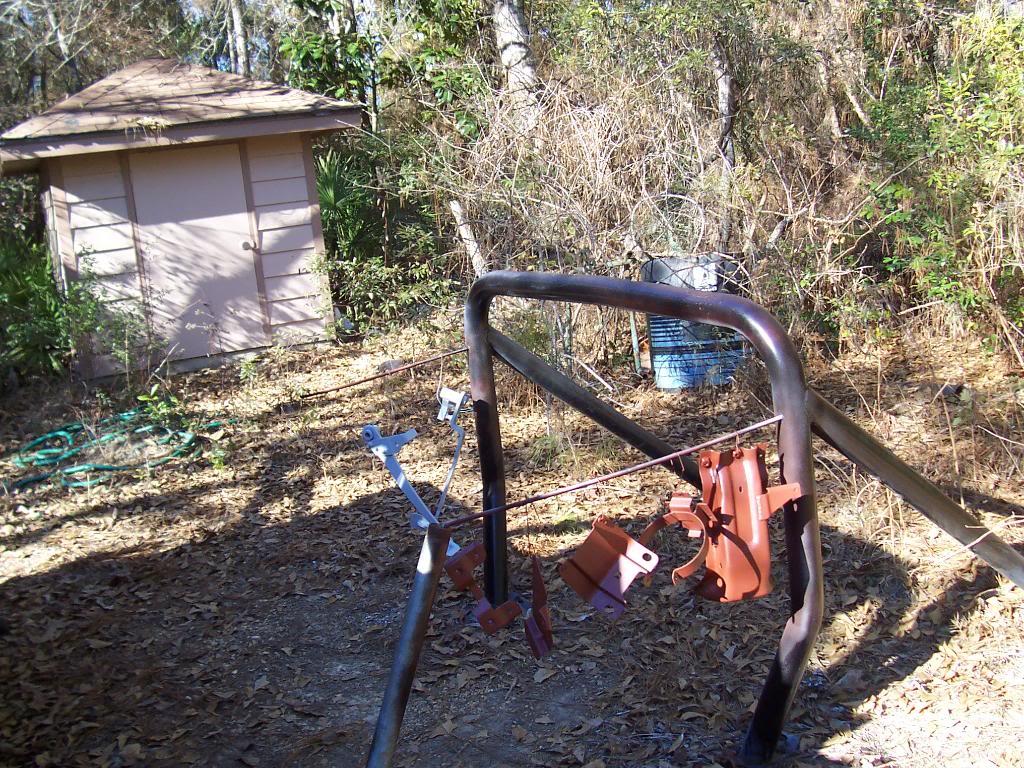
Same parts as above primed. The two pedals are primed grey because I ran out of the rusty red colored primer.

100_5442-1.jpg


And painted.

100_5444-1.jpg
 
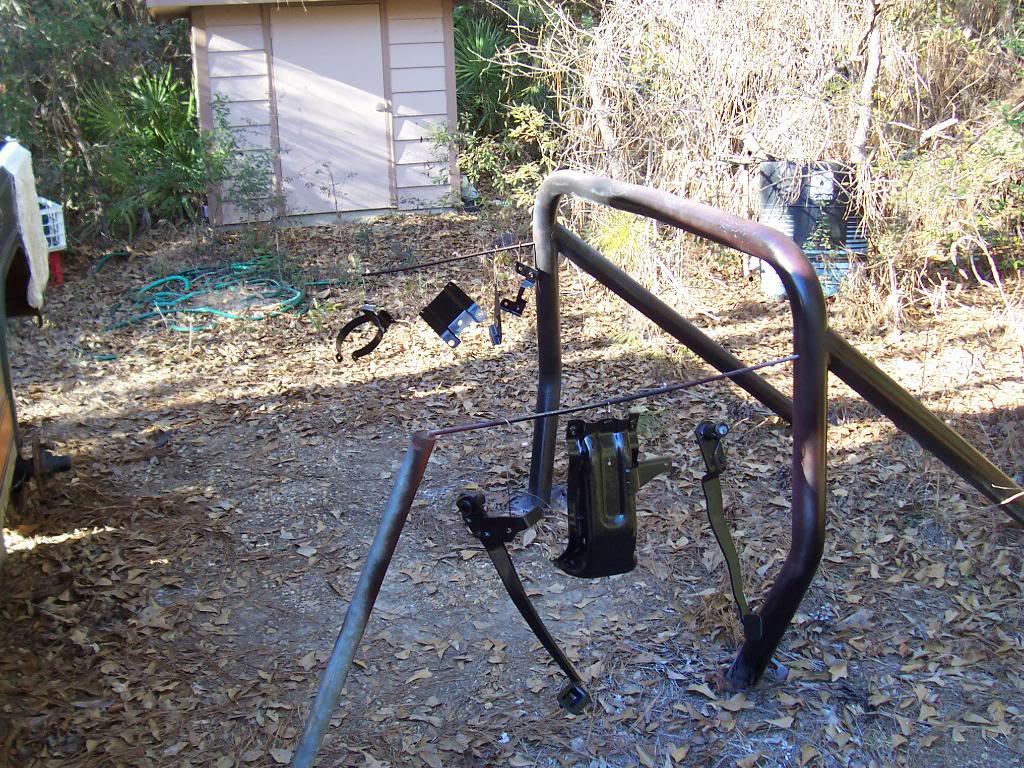
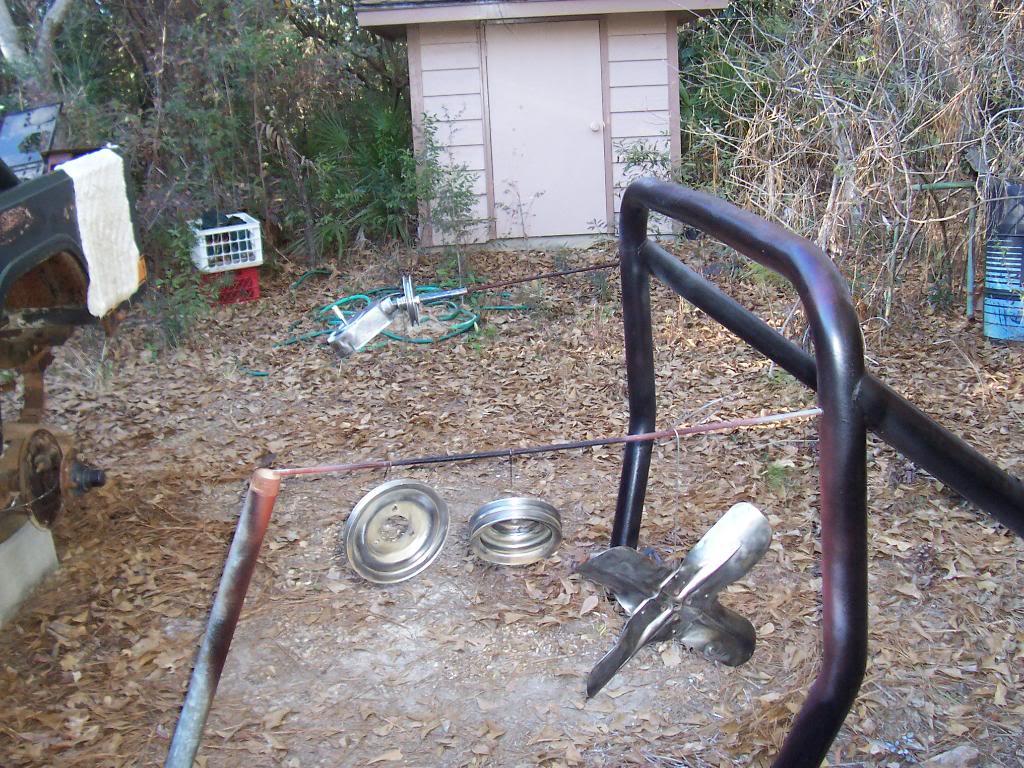
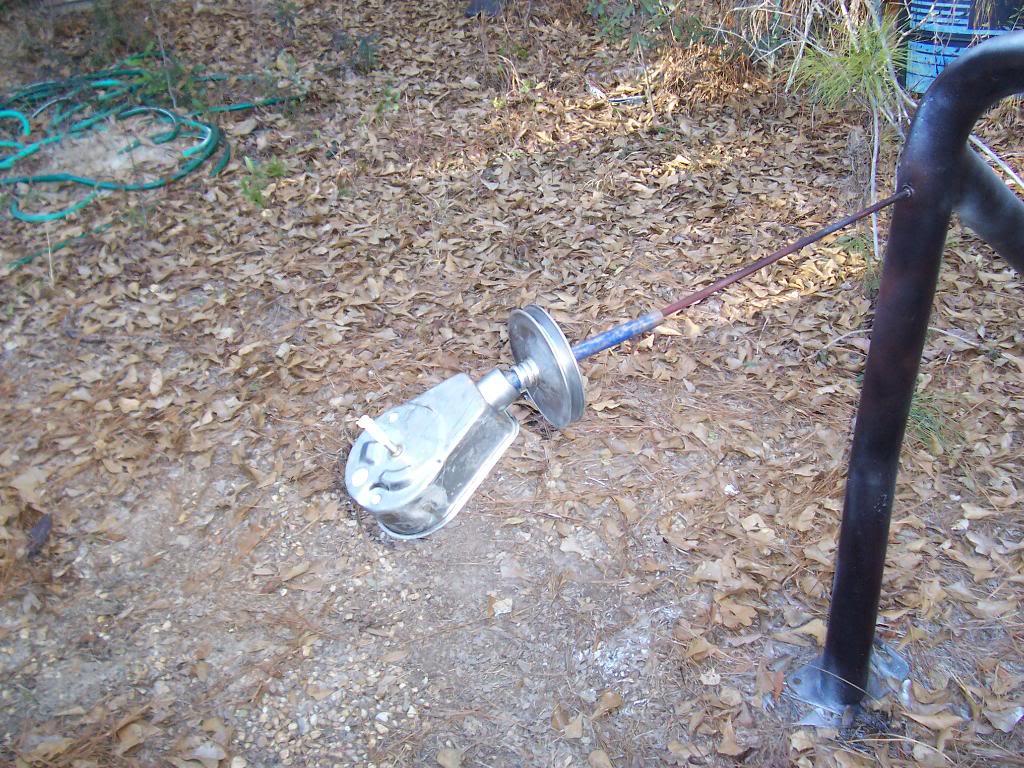
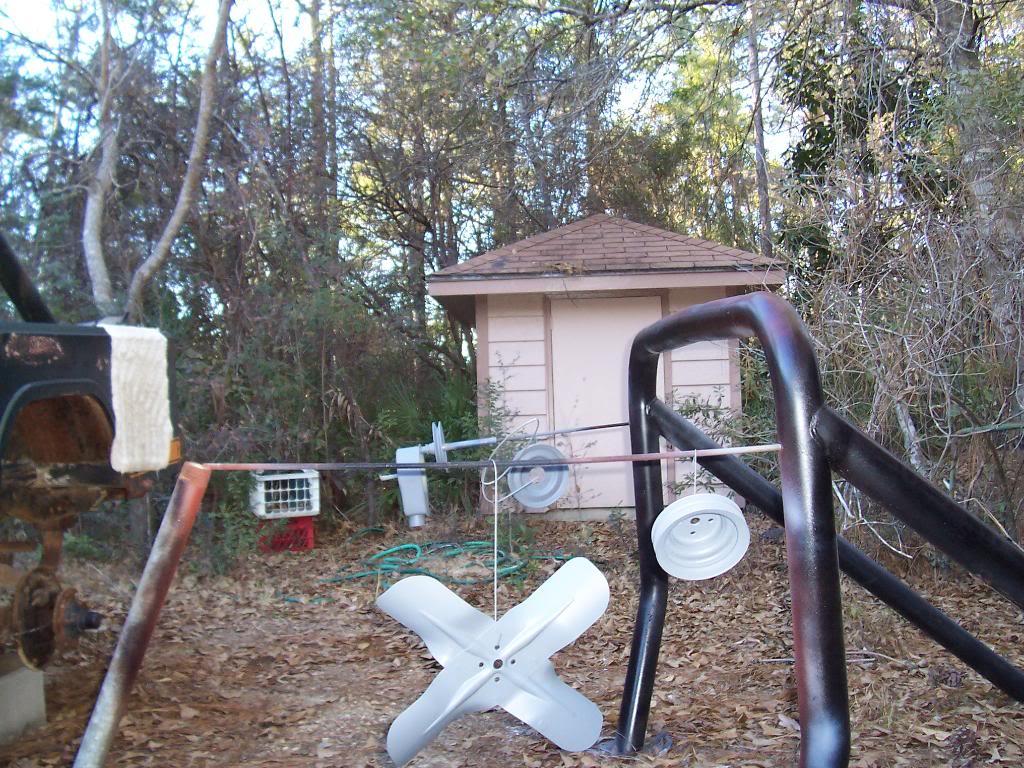
These are the parts I painted with high temp engine paint.

100_5445-1.jpg


100_5446-1.jpg


Parts primed with high temp primer.

100_5447-1.jpg


And the parts painted with high temp engine paint.

100_5449-1.jpg


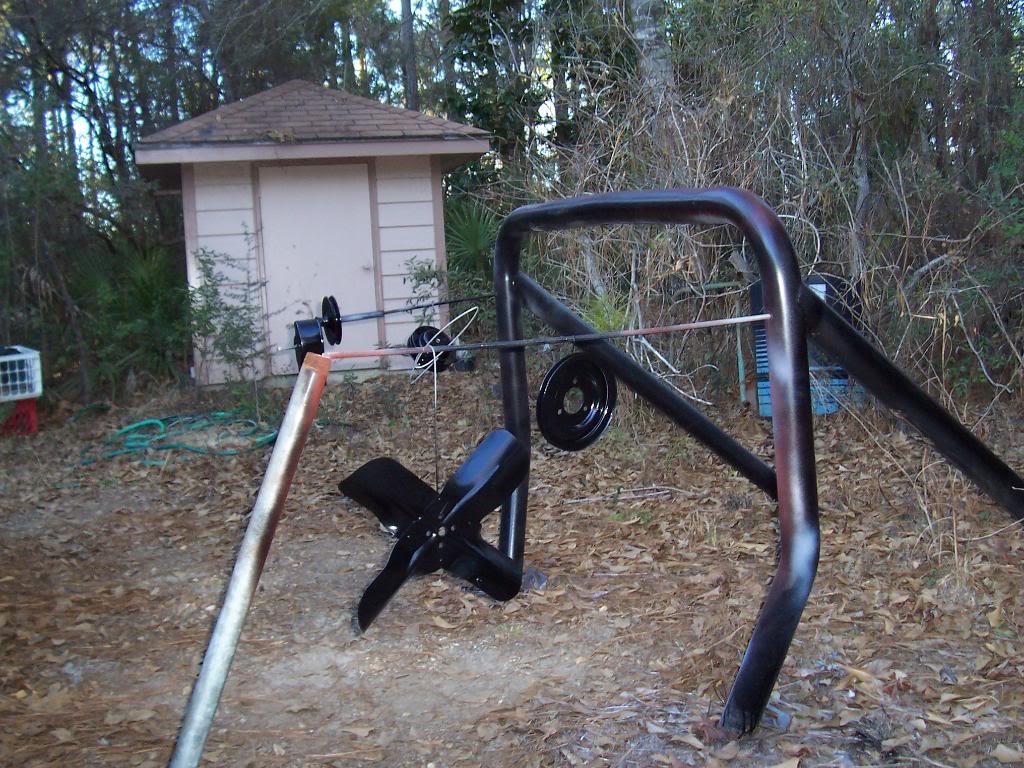
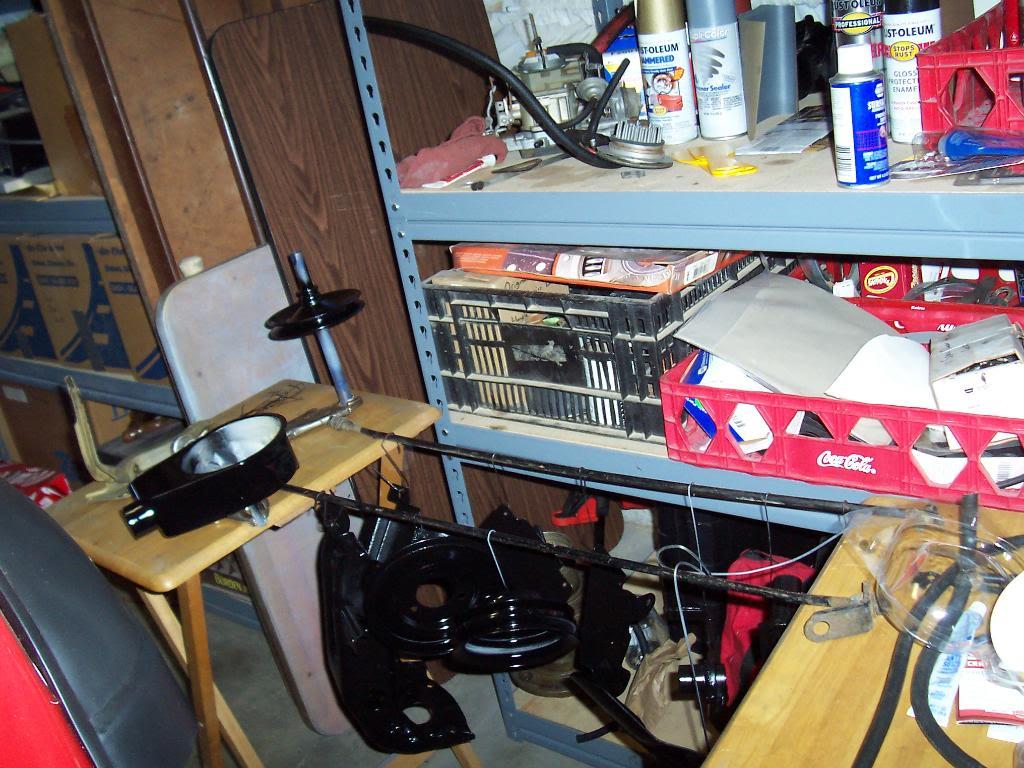
Quick pic of all the freshly painted parts "hanging out" together LOL.

100_5450-1.jpg


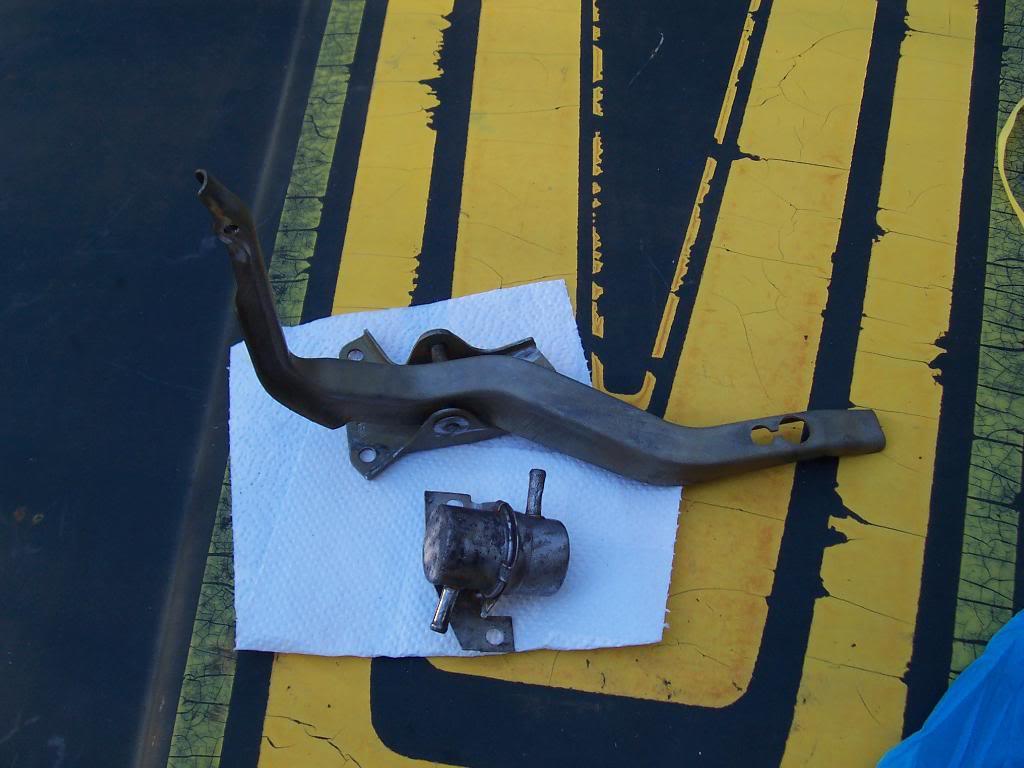
These are the only two pieces I didn't get painted this weekend: gas pedal assembly and the liquid rollover check valve thing. I didn't have any silver paint to repaint the valve thingy since my last can of silver paint blew up all over the place previously; I still need to figure out how to disassemble the gas pedal assembly so that I can paint it.

100_5448-1.jpg


That's it for now.
 
You know where that check valve goes, you could paint it pink and it's likely never to be seen again ;)

The pedal by all appearances is a press-fit assembly, I would not try to disassemble it personally.
 
You know where that check valve goes, you could paint it pink and it's likely never to be seen again ;)

The pedal by all appearances is a press-fit assembly, I would not try to disassemble it personally.

I do know what you mean about the valve never being seen again, and I thought about just panting it black like everything else, but for some reason I want to paint it a different color, don't really know why:shrug::thumbsup:

I unfortunately came to the same conclusion as you about the gas pedal assembly:banghead: I don't think it is made to be taken apart and reassembled easily. It would be a whole lot easier to paint every square inch of it if I could get it apart, but I guess I will just have to do my best and try to get the whole thing covered in paint while it is one assembly:shrug: Going to be fairly difficult to paint without getting runs, but I will try my best:fingerscrossed:
 
Since I completed a bunch of pain in the butt type work, i.e. cleaning, degreasing, sanding, grinding, cleaning again, priming, and finally painting a bunch of rusty parts, I decided to switch gears and complete a bunch of easy tasks I have to do. All of the following stuff is simply bolt back together type work.

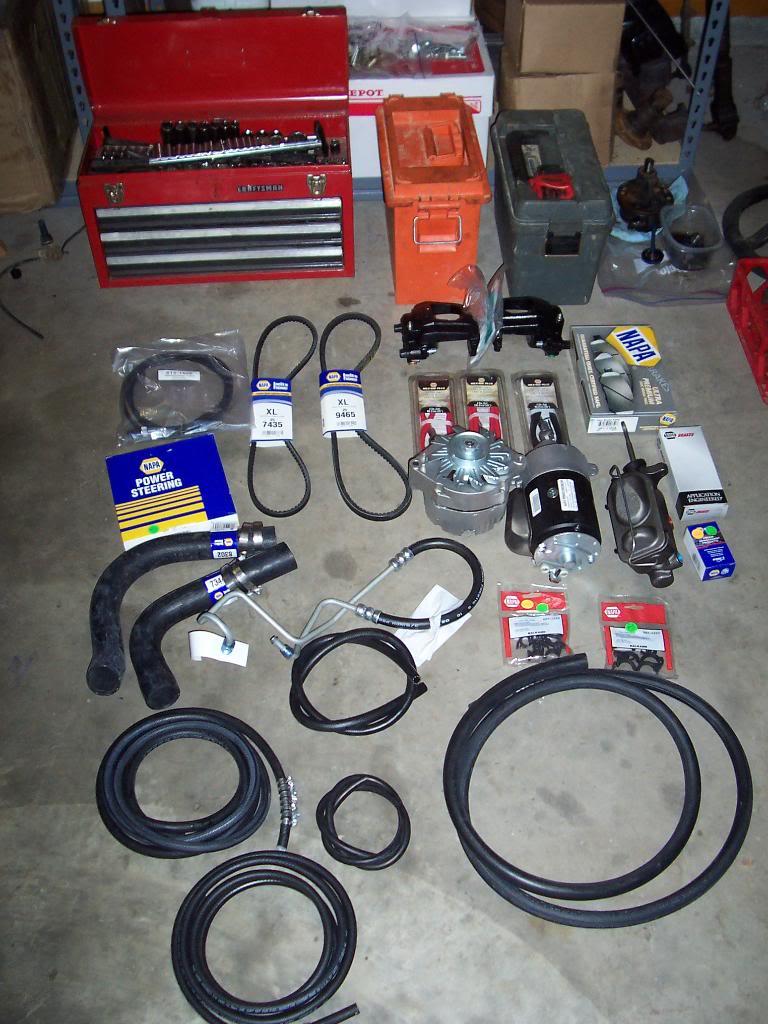
Pic of a bunch of new parts I have collected over the last few weeks. In no particular order: starter, alternator, master cylinder, power steering pump rebuild kit, radiator hoses, heater hoses, power steering pressure and return line, fuel line, vent line, brake calipers, brake pads, brake hardware, speedometer cable, battery cables, belts, and side marker light bulb sockets.

100_5451-1.jpg


I have 90% of the new bolts and other assorted pieces of hardware to bolt this stuff back on so I will concentrate on putting all these parts back on the Scrambler.


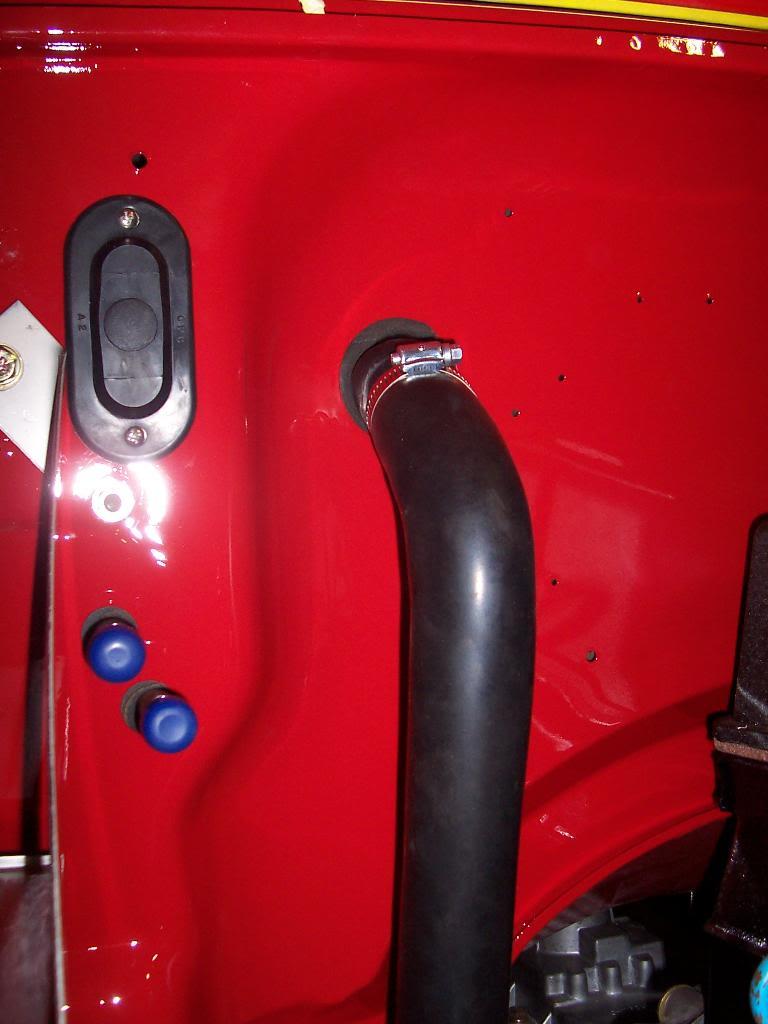
Clamped the cowl vent drain hose back on.

100_5454-1.jpg


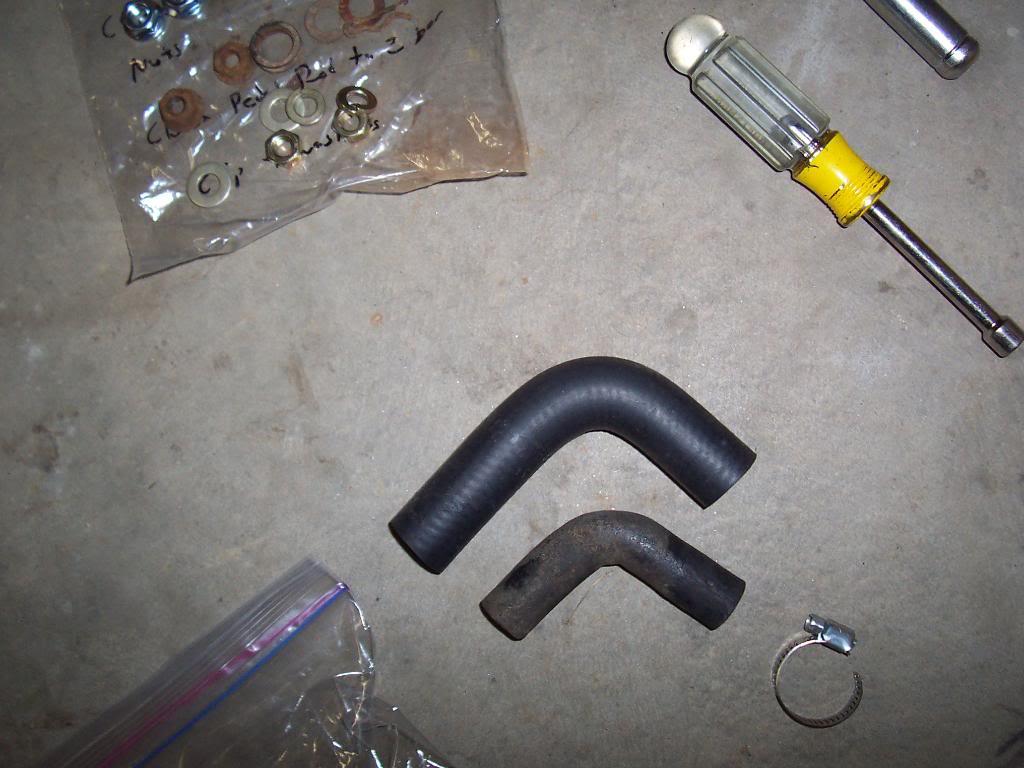
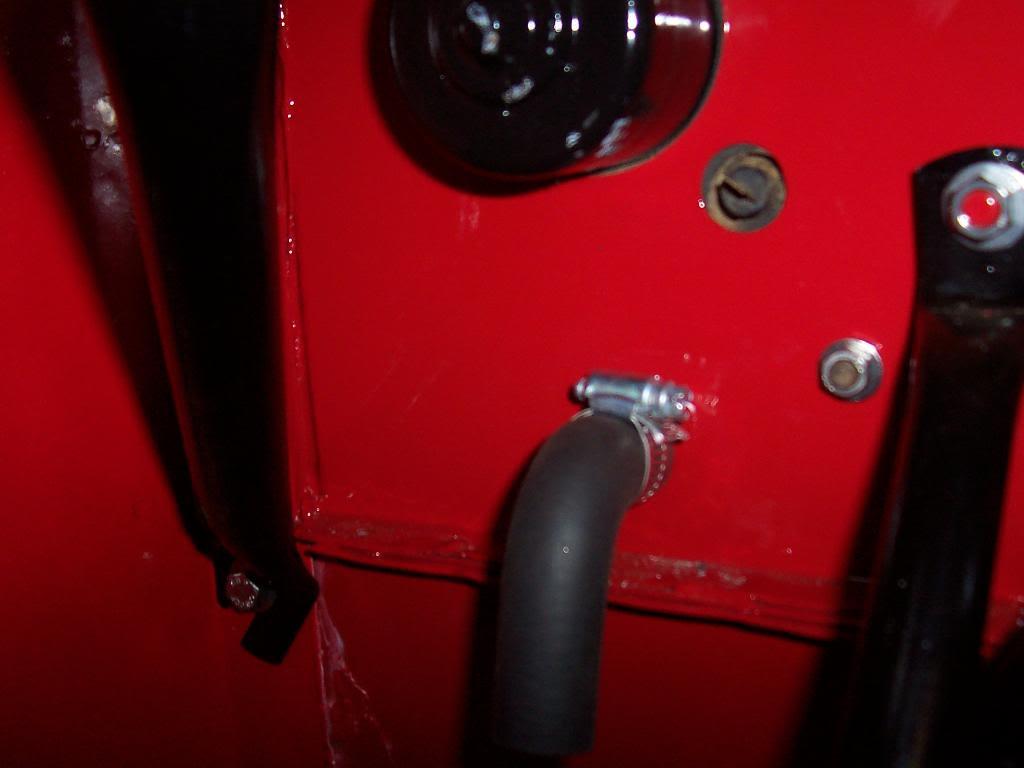
My original heater box drain hose was in bad shape, so I bought this small, odd sized radiator hose from the parts store and made a new one to clamp back on.

100_5452-1.jpg


100_5455-1.jpg


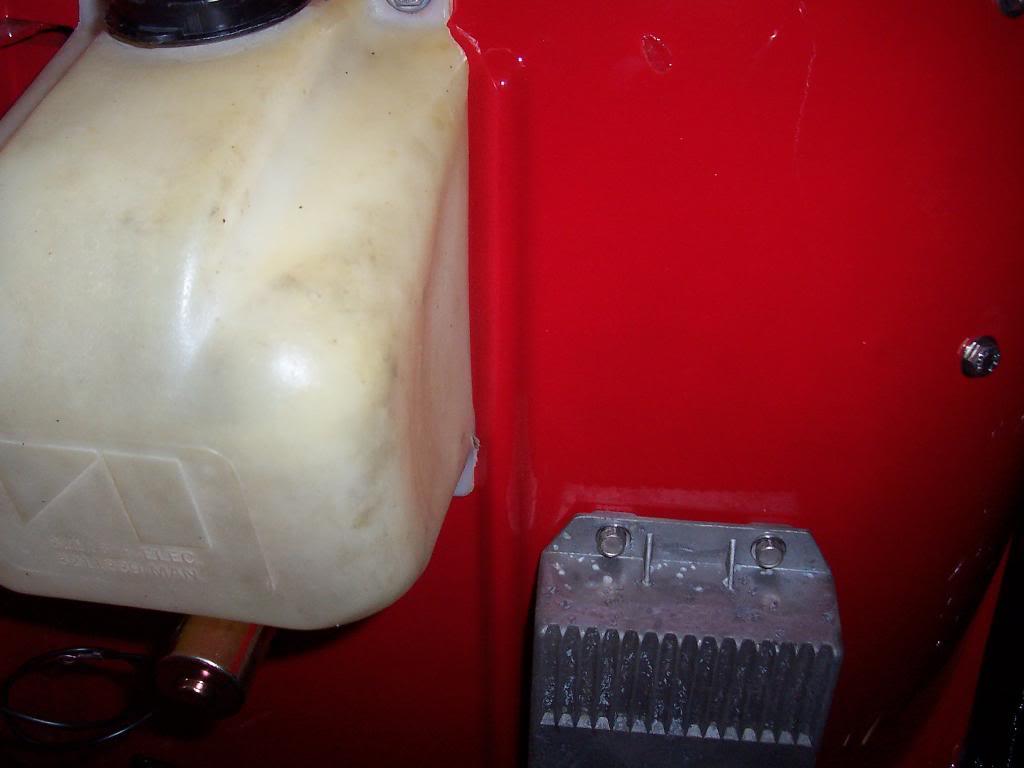
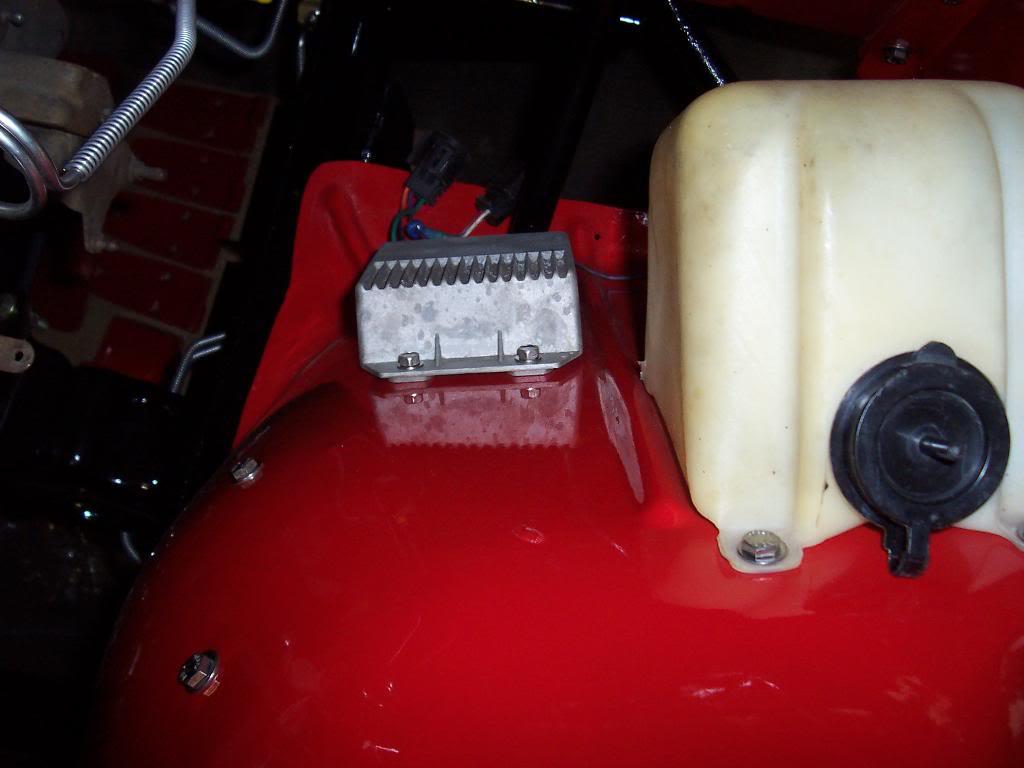
Bolted the ignition control module ("brain box") and windshield washer fluid reservoir back on. Put a new pump on the squirter bottle while I had it down. Need to see about finding a factory coolant overflow bottle to complete my under hood pieces.

100_5456-1.jpg


100_5457-1.jpg


I will be spending the next few days putting back on a bunch of these easy type parts and pieces. Not the most exciting stuff, but I figured all the pics of this stuff might be good reference material for others, especially for the "where does that part go" moments.

That's it for now.
 
Last edited:
Where did you find the block-off/replacement-grommet for the variable-venturi carb brain-box? I'm talking about the one that goes through the firewall and mounts below the air/vent box.
 
Where did you find the block-off/replacement-grommet for the variable-venturi carb brain-box? I'm talking about the one that goes through the firewall and mounts below the air/vent box.

If you are talking about the "round black cap" that I inserted into the original hole in the factory carb computer wiring harness grommet, it is simply a plastic plug/cap I picked up at Lowes. I believe it is a 3/8 plastic plug. I had to use a knife and straighten up the hole in the factory grommet a little bit, but after that, it plugged the hole perfect:thumbsup:
 
More easy stuff progress.

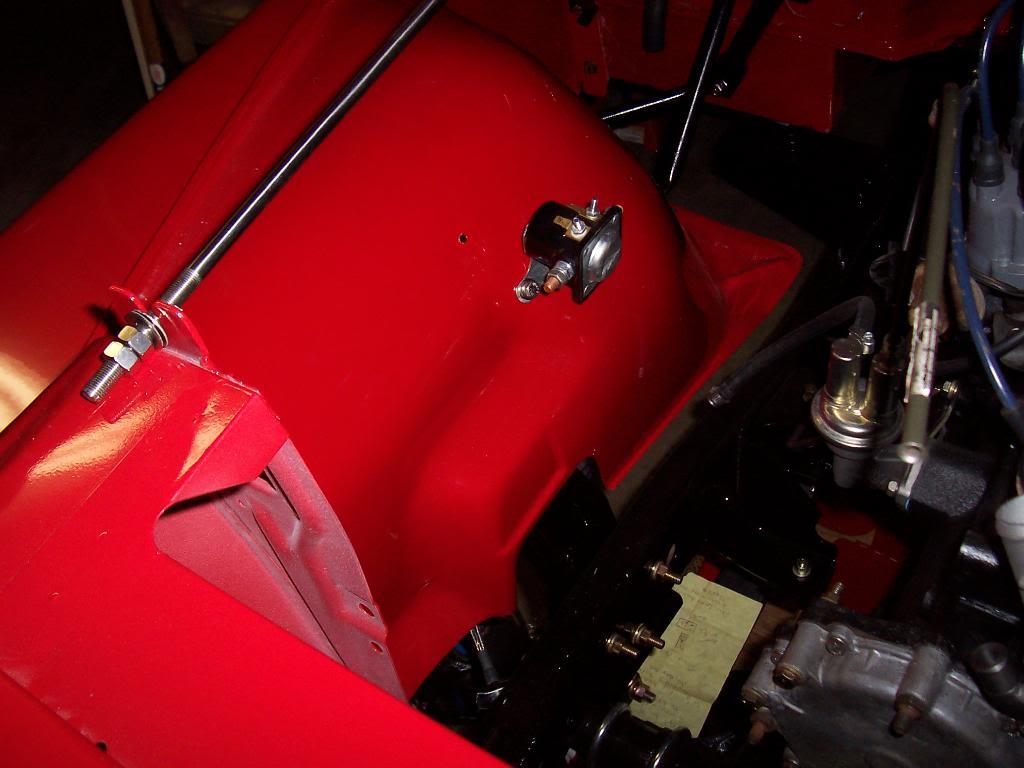
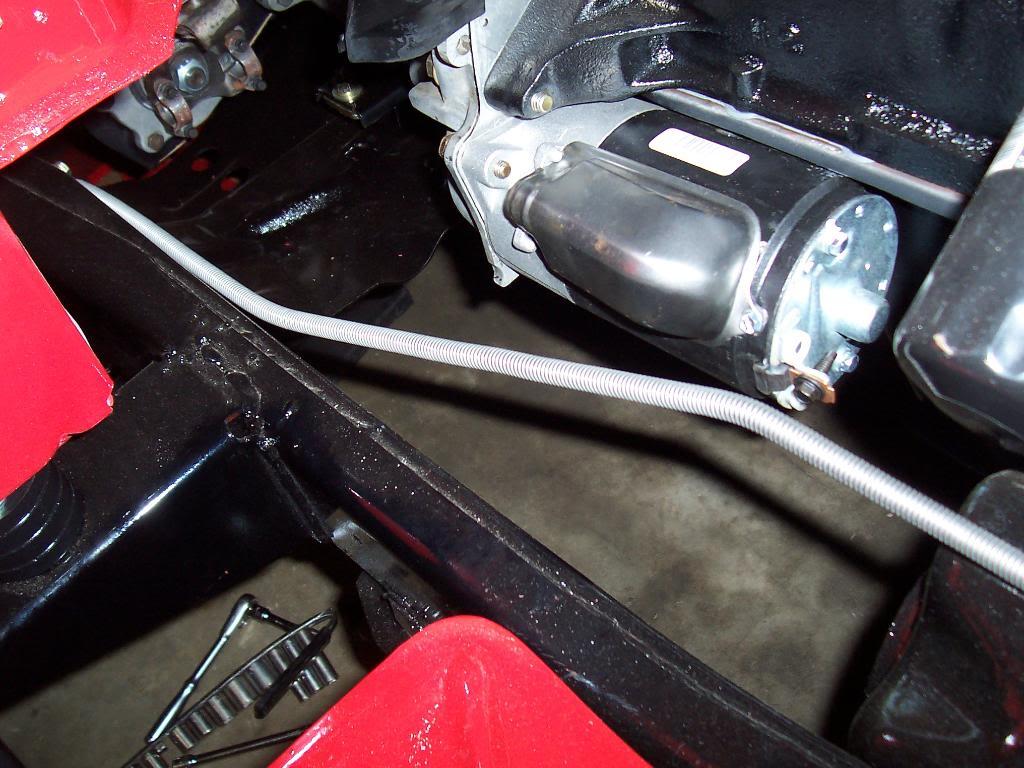
Bolted the starter solenoid to the fender.

100_5461-1.jpg


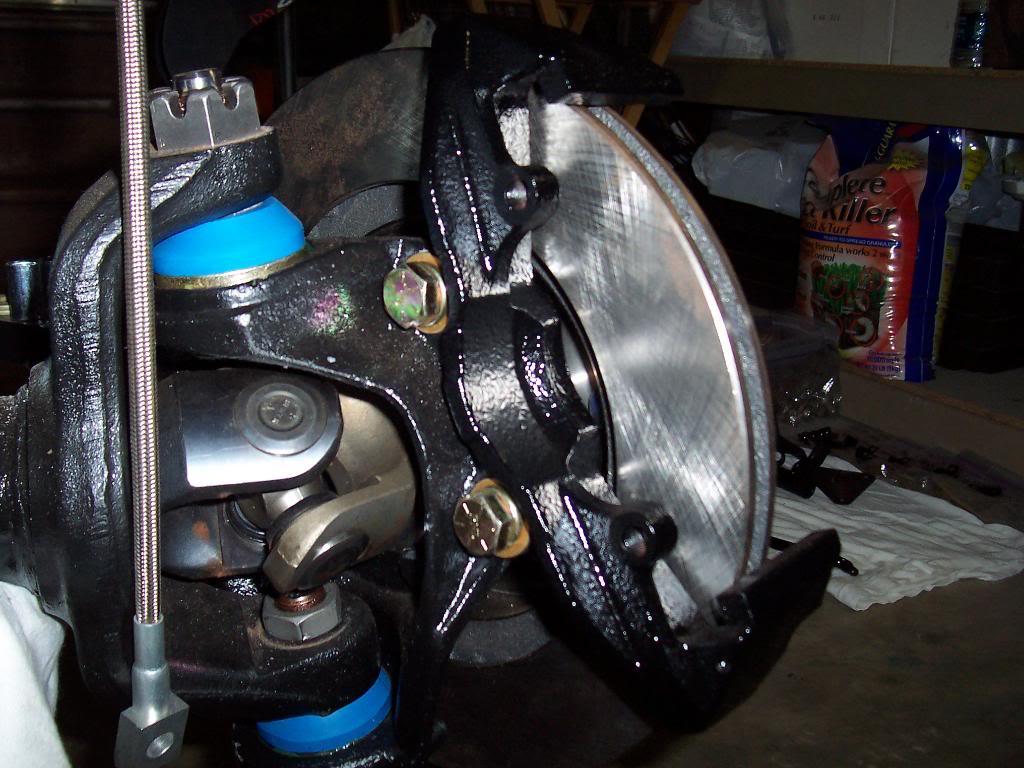
Bolted the caliper mounting brackets to the knuckles. I used regular hex headed bolts to secure these parts to the knuckles instead of the factory supplied 12 point headed bolts, mainly for ease of possible future removal.

100_5462-1.jpg


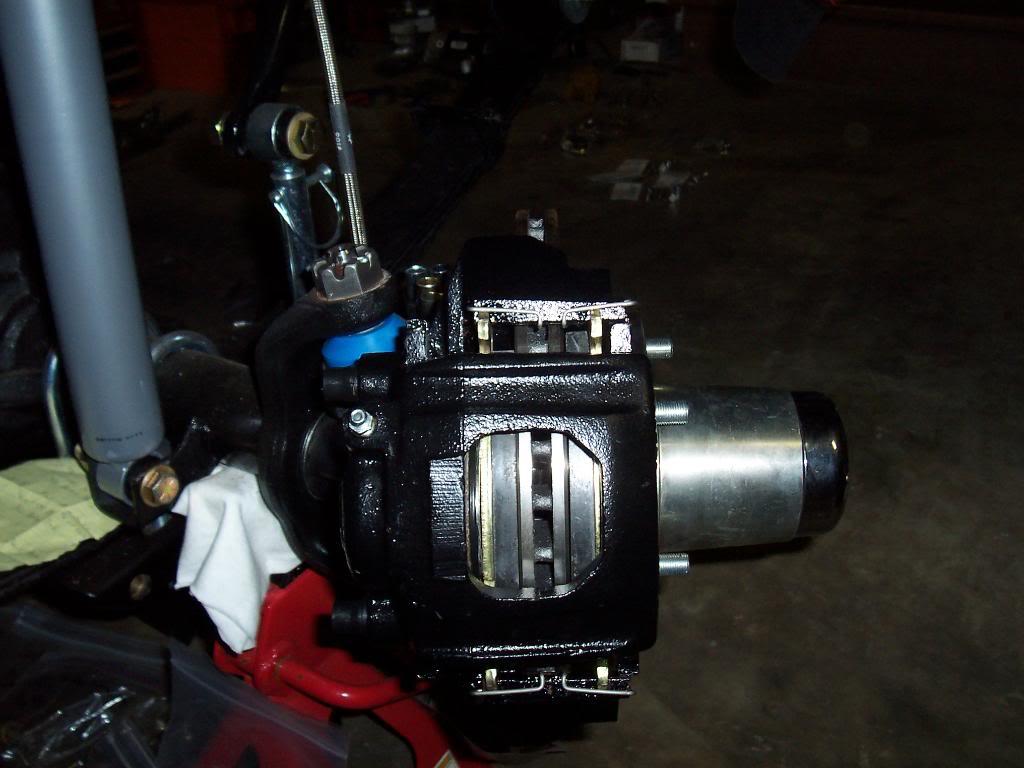
Bolted the calipers on. Still need to hook up the brake lines.

100_5463-1.jpg


Bolted on the starter.

100_5464-1.jpg


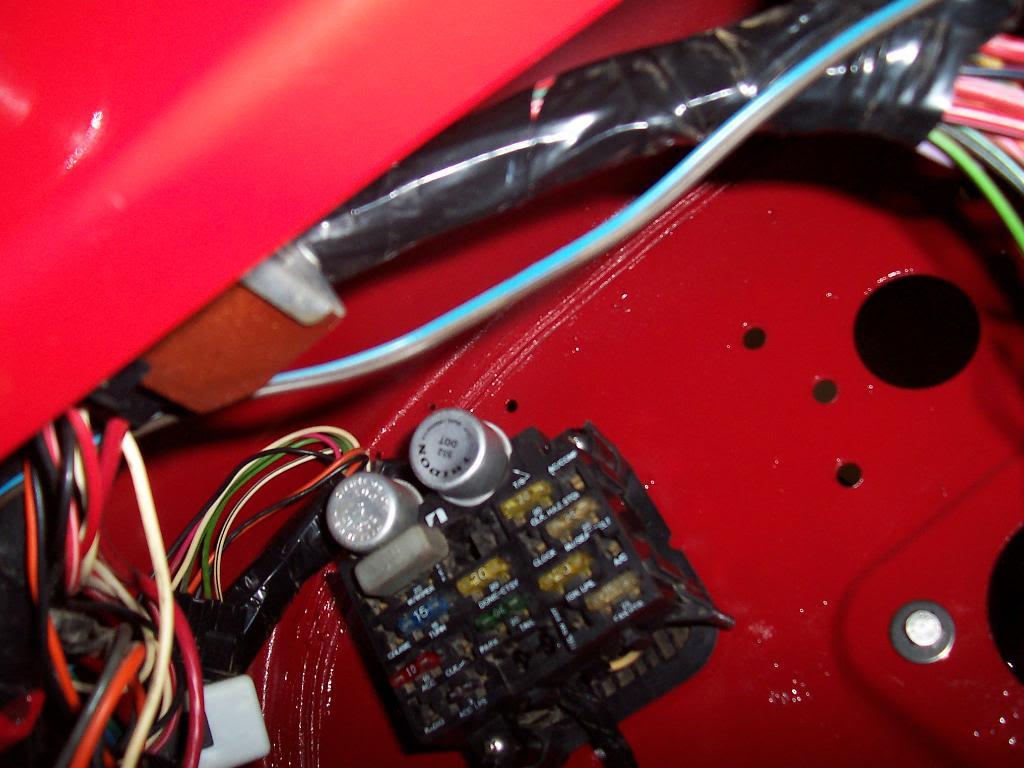
Screwed the fuse block to the firewall with some SS screws.

100_5468-1.jpg


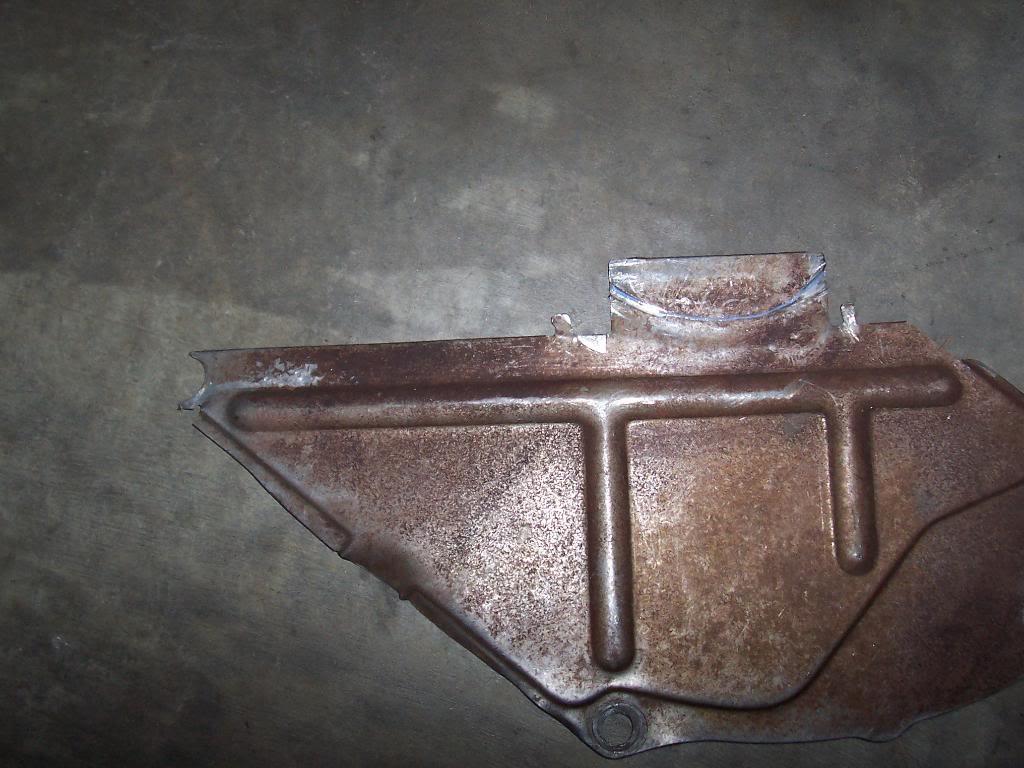
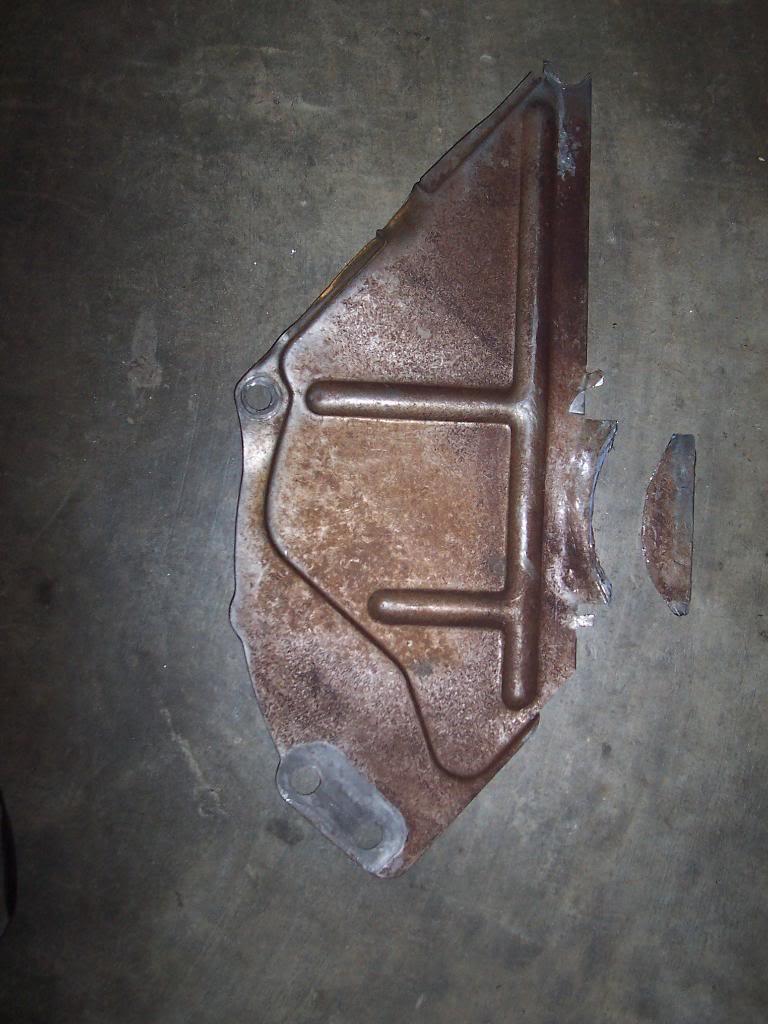
Way earlier in my thread, when I mentioned that I used slightly longer replacement bolts to secure the flywheel to the crank, someone asked if they interfered with the inspection plate. They do. The part of the inspection plate that is supposed to tuck behind the crank shaft will not fit with the slightly longer bolts. Now, when I say slightly longer bolts, they probably protrude 2 or 3 threads more from the back of the crank when compared to the factory bolts.

The interesting part, however, is that even with the factory bolts, the bolts hit this part of the cover. You can see in the pic the "groove" that was "machined" into this part by the spinning bolts.

100_5465-1.jpg


My solution, I cut off that part of the plate with tin snips. I used the "machined groove" as a cut line.

100_5466-1.jpg


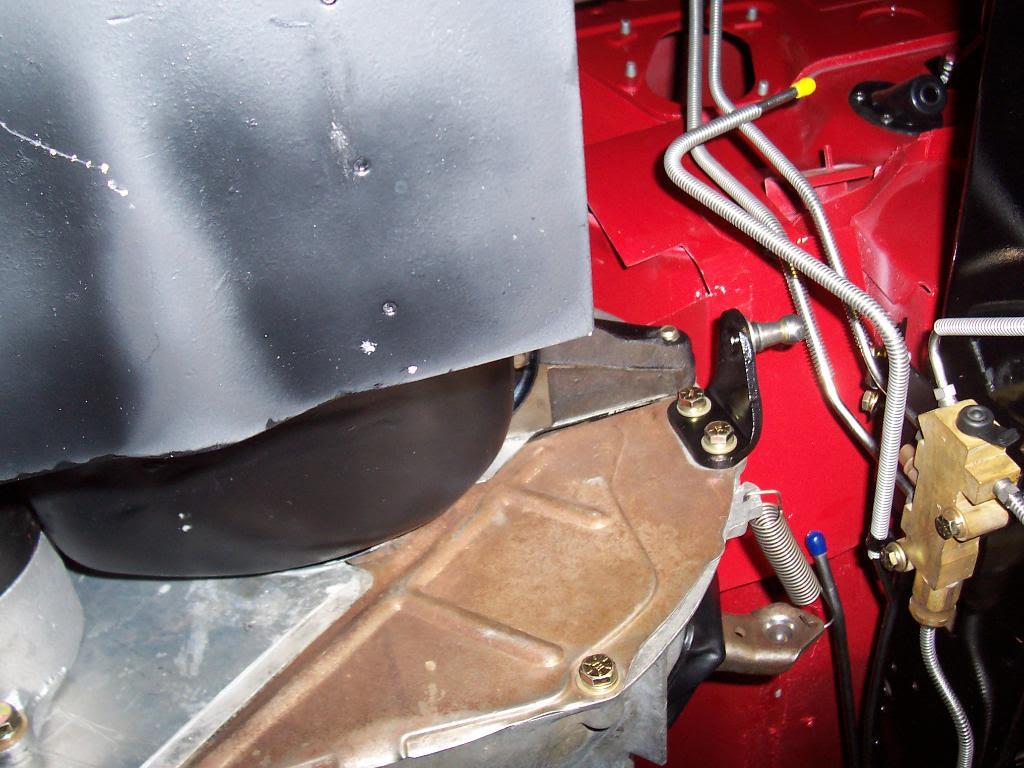
After cutting off the little tab, the access cover fits perfect, completely covers the hole, and it no longer hits the flywheel to crank attaching bolts. Since I was bolting this part on, I also bolted on the clutch bar mounting bracket that gets bolted on top of this cover.

100_5467-1.jpg


That's it for now.
 
every thing looks "AWESOME"
SIR. in your last pic, the clutch spring in that position will block the clutch rod
if this is temporary and your already aware of this ,i am sorry to point it out!!
attachment.php

attachment.php
 
If you are talking about the "round black cap" that I inserted into the original hole in the factory carb computer wiring harness grommet, it is simply a plastic plug/cap I picked up at Lowes. I believe it is a 3/8 plastic plug. I had to use a knife and straighten up the hole in the factory grommet a little bit, but after that, it plugged the hole perfect:thumbsup:

Yes, but I'm also looking for a new/used grommet.
 
Yes, but I'm also looking for a new/used grommet.

That factory computer grommet will probably be a junkyard only piece, or maybe the dealership:shrug: My factory original grommet cleaned up really well, that might be why it looks new:shrug::thumbsup:
 
every thing looks "AWESOME"
SIR. in your last pic, the clutch spring in that position will block the clutch rod
if this is temporary and your already aware of this ,i am sorry to point it out!!

It looks like it will hit the rod, but it clears with minimal rubbing:thumbsup: I always have used the outer hole on the clutch fork for the return spring, seems like it gets better leverage:thumbsup: I have never even thought to use the inside hole on the clutch fork for the return spring, might have to try it out:thumbsup:

Thanks for pointing it out, and please don't call me SIR, I'm only 34:D:D:D:thumbsup:
 
More easy work.

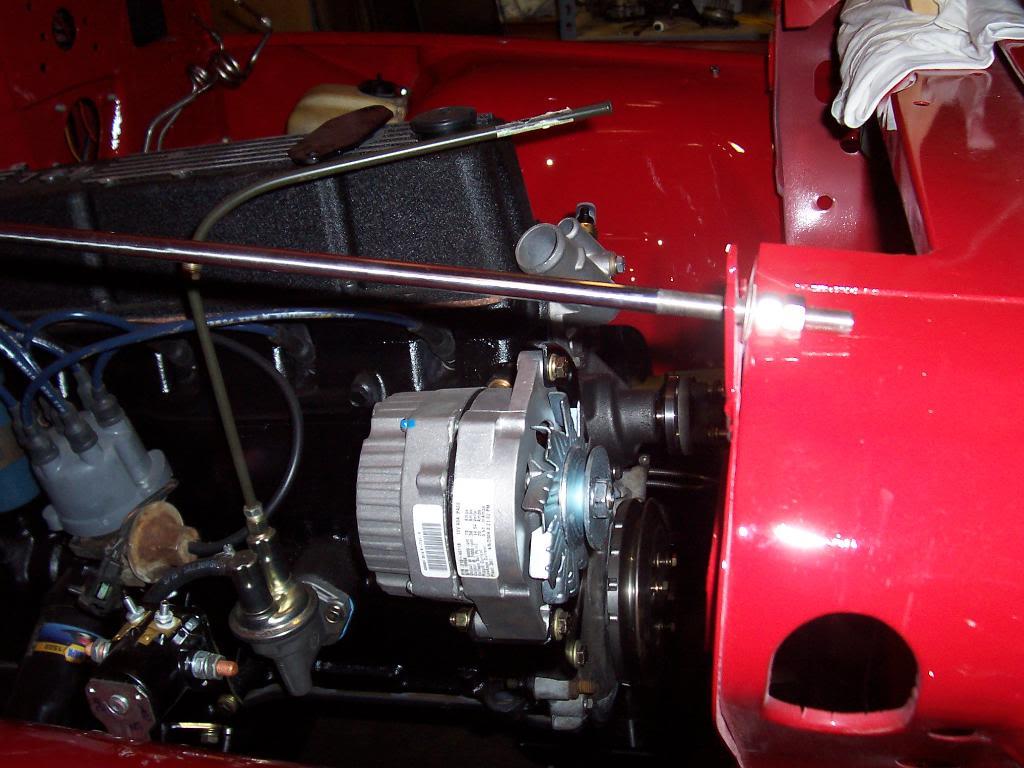
Bolted on the alternator and alternator bracket assembly.

100_5470-1.jpg


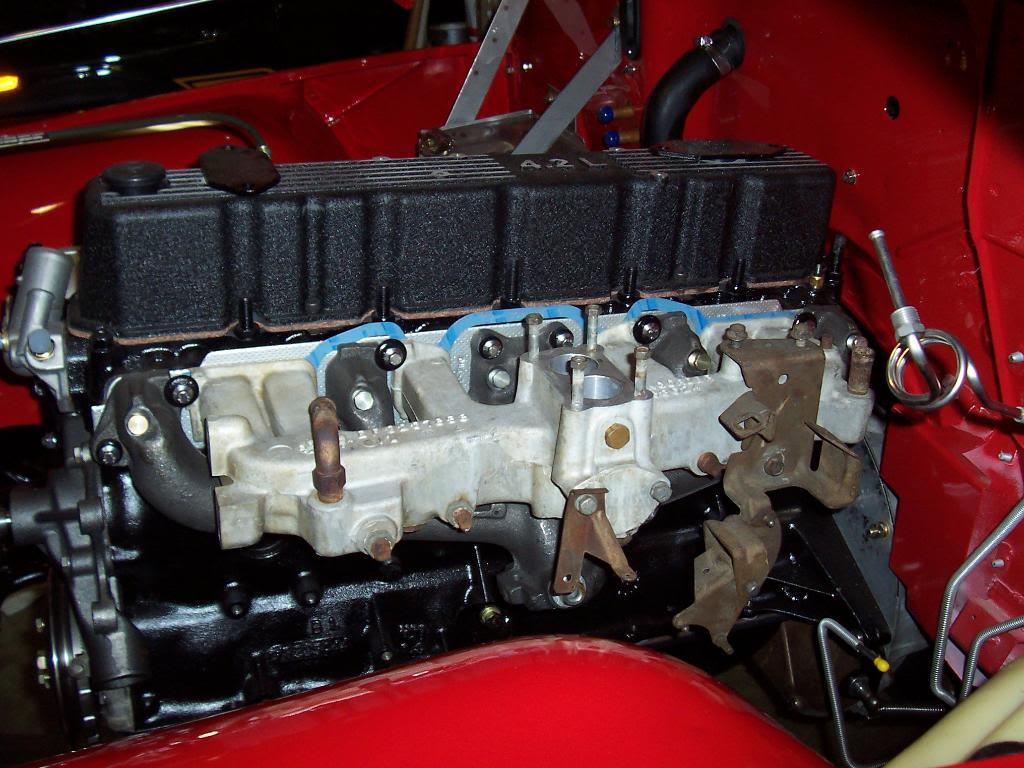
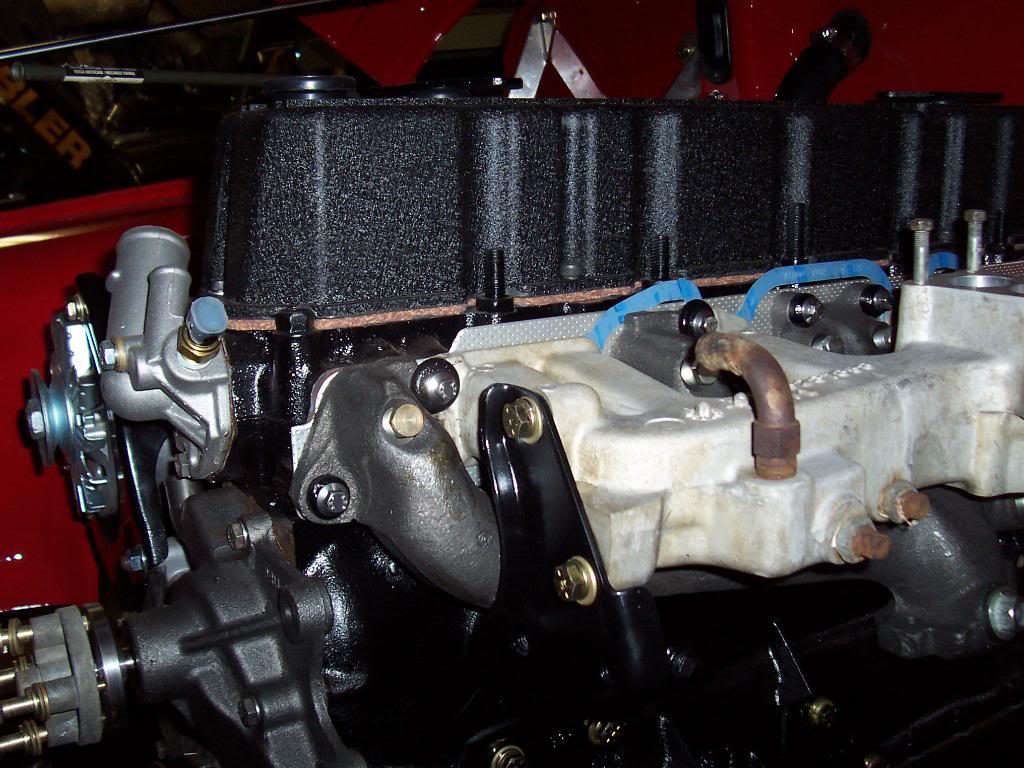
Bolted on the intake and exhaust manifolds. I forgot how much fun it is to reach those 4 bottom, center bolts that hold the intake/exhaust manifold assembly to the block.

100_5471-1.jpg


Bolted on the rear piece for the power steering pump bracket assembly. I still need to rebuild my power steering pump before I can mount it and the rest of the brackets up.

100_5472-1.jpg


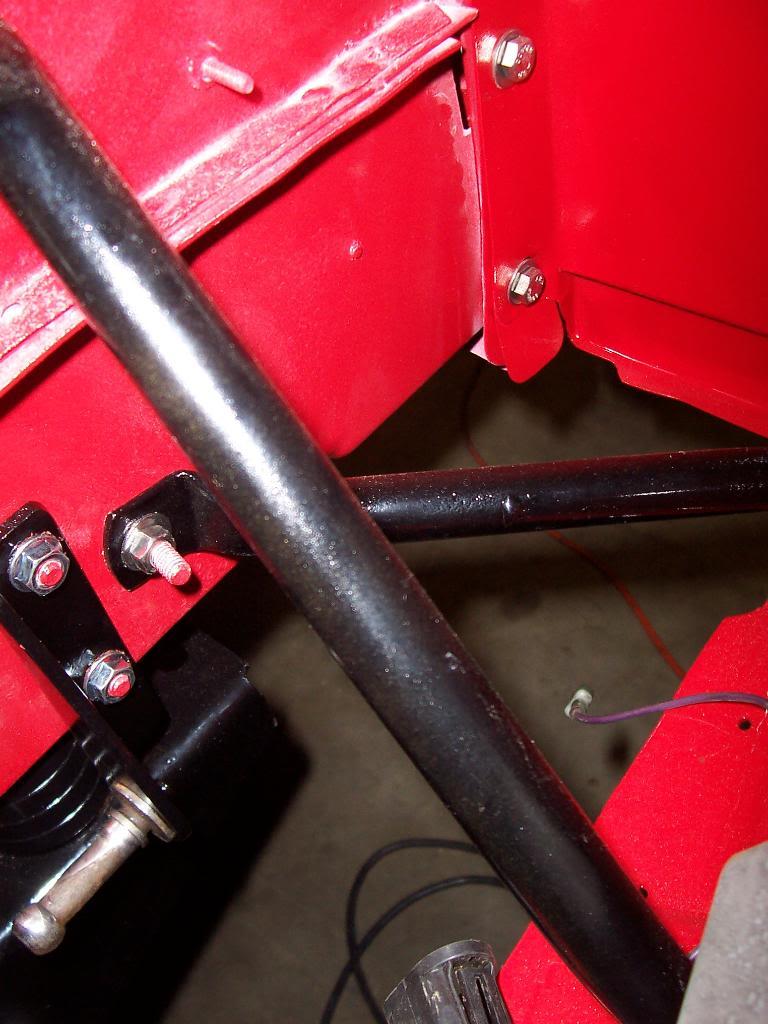
Temporarily bolted up the other clutch rod bracket. Since I have a 1" body lift, this bracket sits 1" higher then its partner bracket that is bolted to the bell housing. I might weld a piece of 3/16 plate steel to the back of this bracket, drill new holes in it, to get this bracket to line up with the other bracket. Or, I might just run it how it is and see if it works OK at this slight angle. Will probably fix it right. The bracket I am talking about is in the lower left of the picture.

100_5474-1.jpg


Was feeling pretty good about my progress until I saw these parts on the shelf.

100_5473-1.jpg


That is the intake manifold heater thing. It bolts into the bottom of the intake manifold. No way to install it once the intake and exhaust manifolds are bolted to the block. Oh well, I am getting great practice at removing and installing these two manifolds.

That's it for now.
 
Last edited:
I pulled the intake manifold off to put in the heater thing.

100_5475-1.jpg


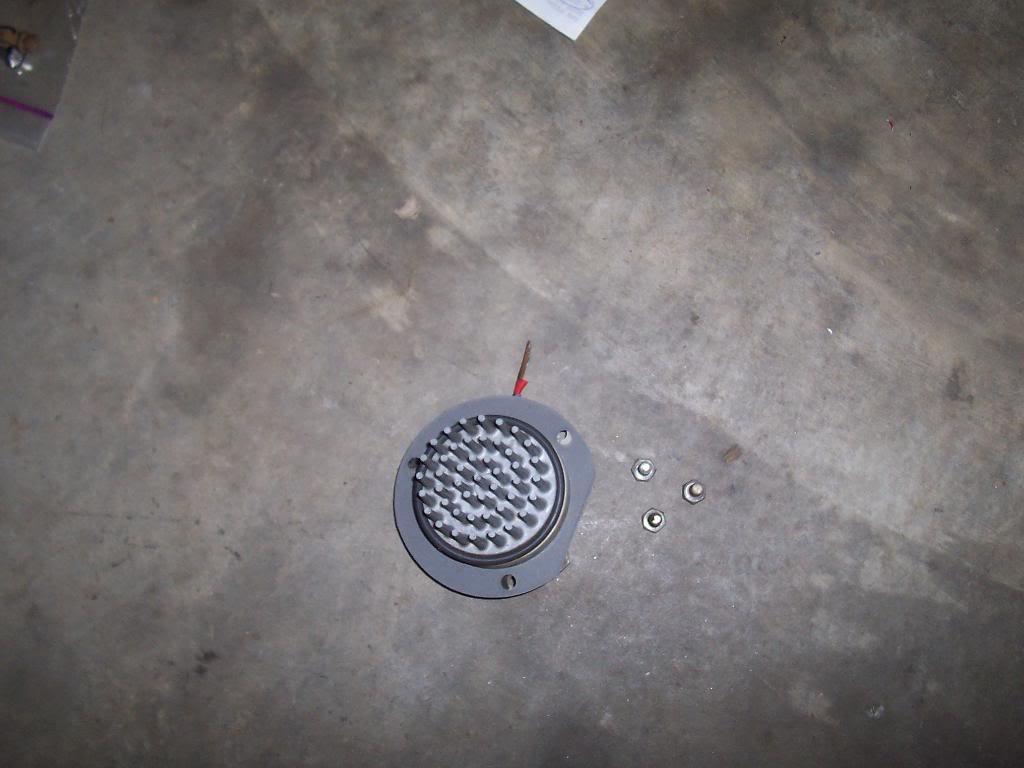
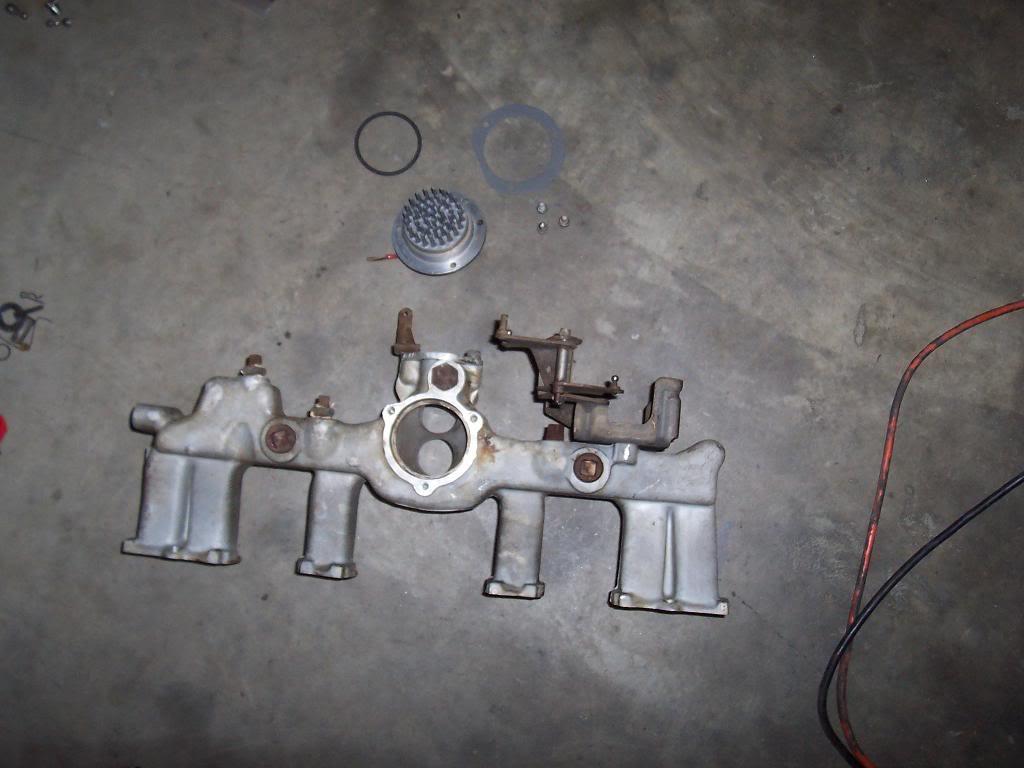
Picture of the bottom side of the intake manifold. Also pictured: the heater thing, the o-ring seal, the gasket, and the 3 bolts that secure it to the intake manifold.

100_5476-1.jpg


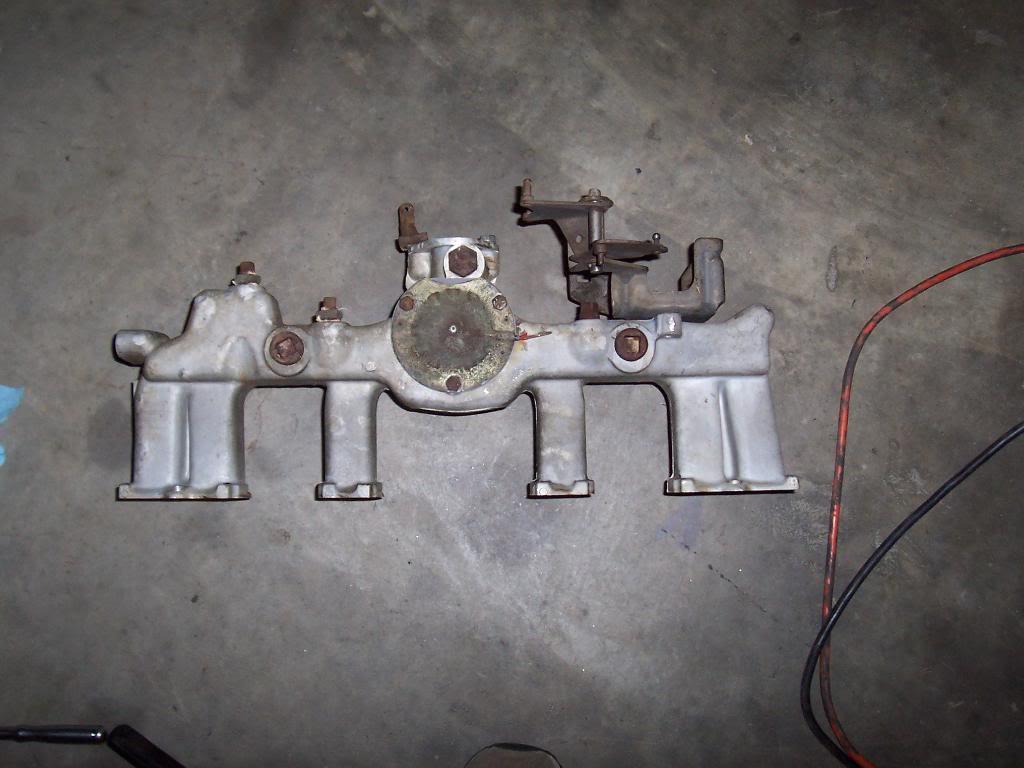
And the heater thing installed. I am probably not going to remove and repaint the various fittings on the intake manifold since it will not be on this engine for much longer.

100_5477-1.jpg


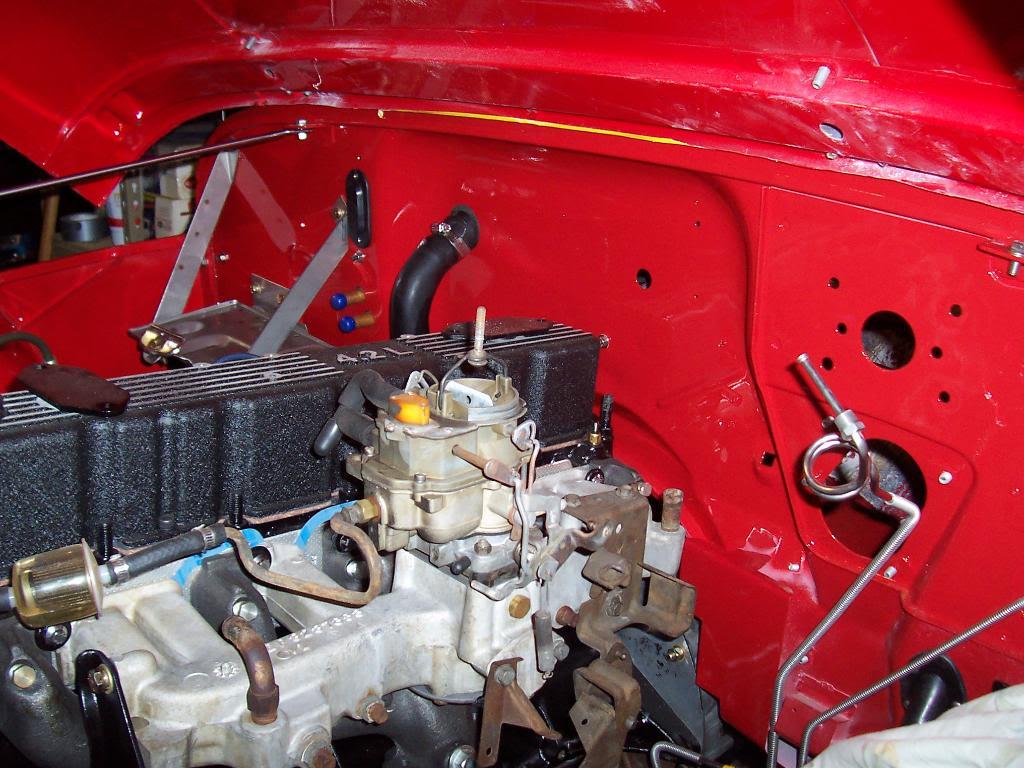
And installed. I also bolted on the carburetor at this time. I rebuilt this carburetor about 2 months before I took the jeep apart, the jeep ran great prior to its complete disassembly, so hopefully it will fire back up. Not going overboard with cleaning or detailing the carburetor, either, since it wont be under the hood for much longer, either.

100_5480-1.jpg


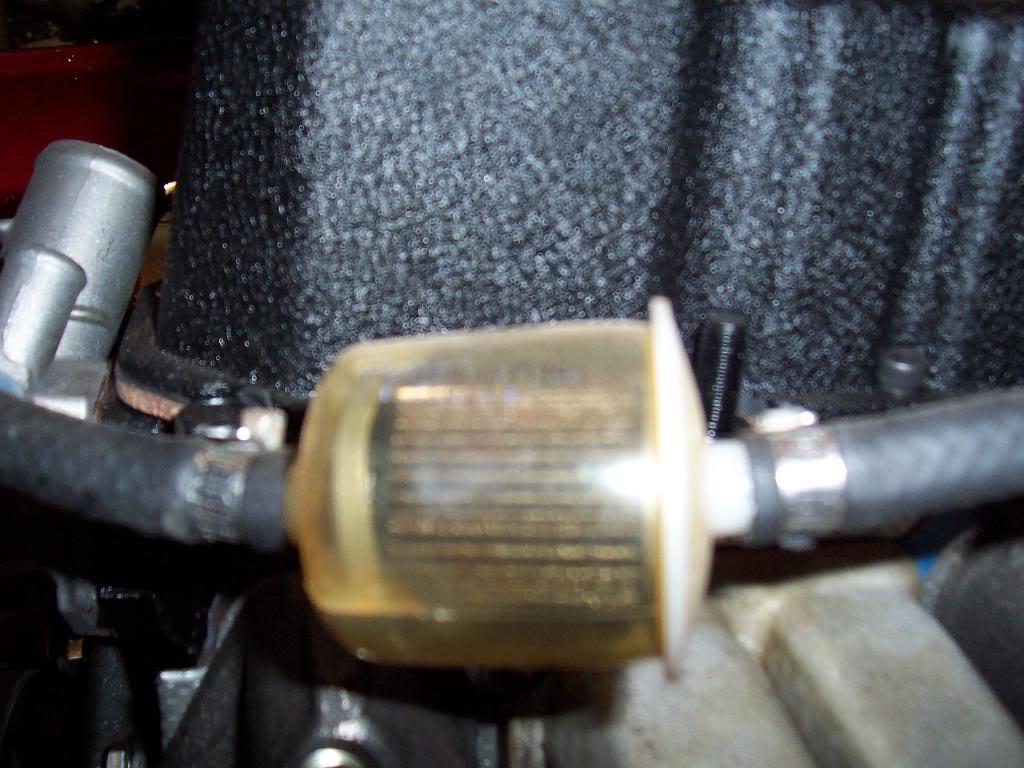
Close up of the fuel filter. It is kind of cruddy inside. Beside the "bling" factor of replacing all the fuel/return/vapor and brake lines, it was kind of necessary due to the original lines deteriorating. There was no way I was going to hook up multi point fuel injection on lines that were rusting away from the inside out.

100_5481-1.jpg


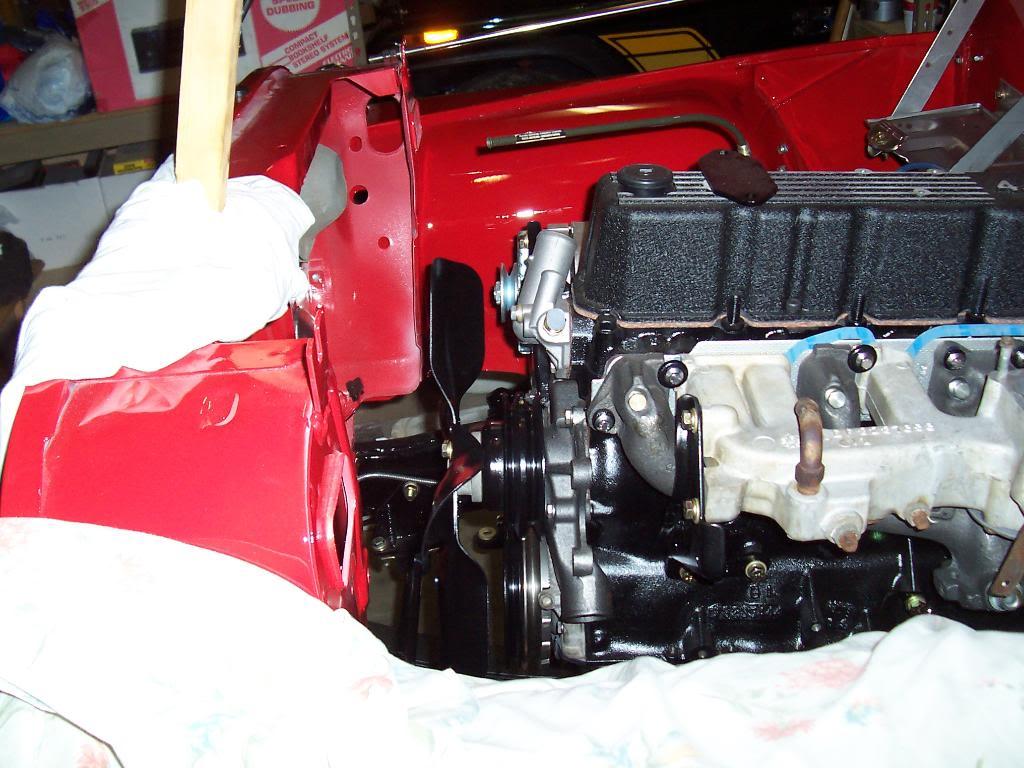
And I bolted up the freshly painted fan and pulleys. They are hard to see because I painted them black, like the rest of the motor.

100_5478-1.jpg


100_5479-1.jpg


That's it for now.
 
Once again, just EXCELLENT! I enjoy your watching you progess and look forward to the final product.
 
Back
Top