• Notice for iPhone users: DO NOT use the image size reduction option when uploading photos to the forum. This causes portrait images to post as landscape. We have added a warning to the image insert pop-up as well.

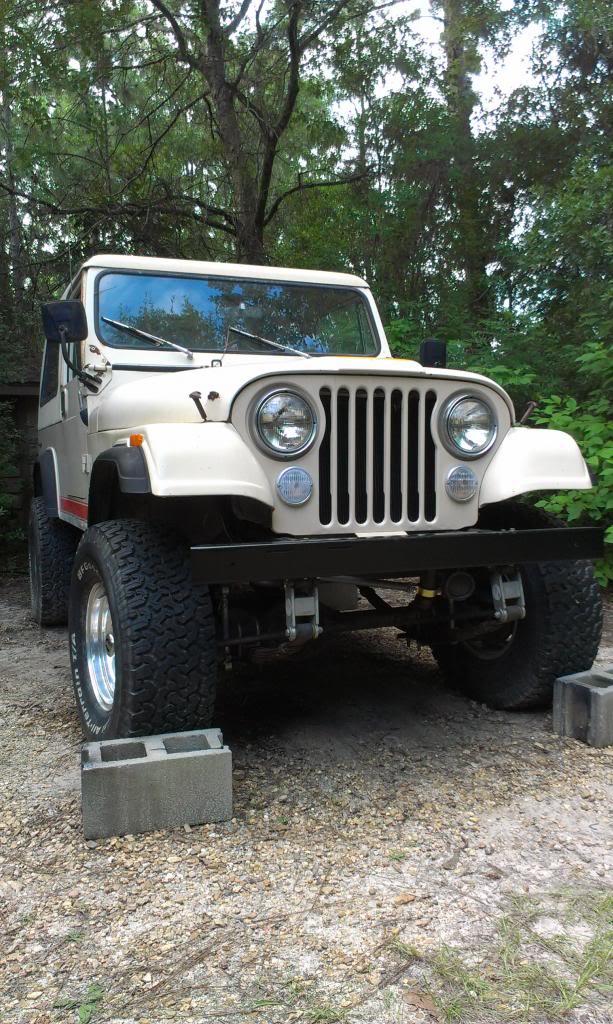
Spankrjs' 1984 Long Term Project

Small update.

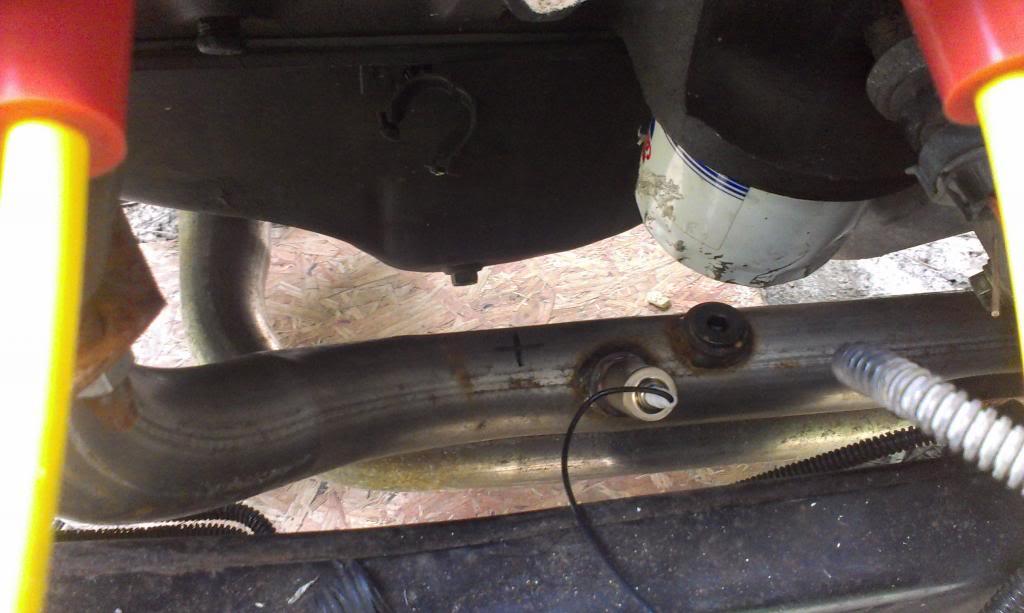
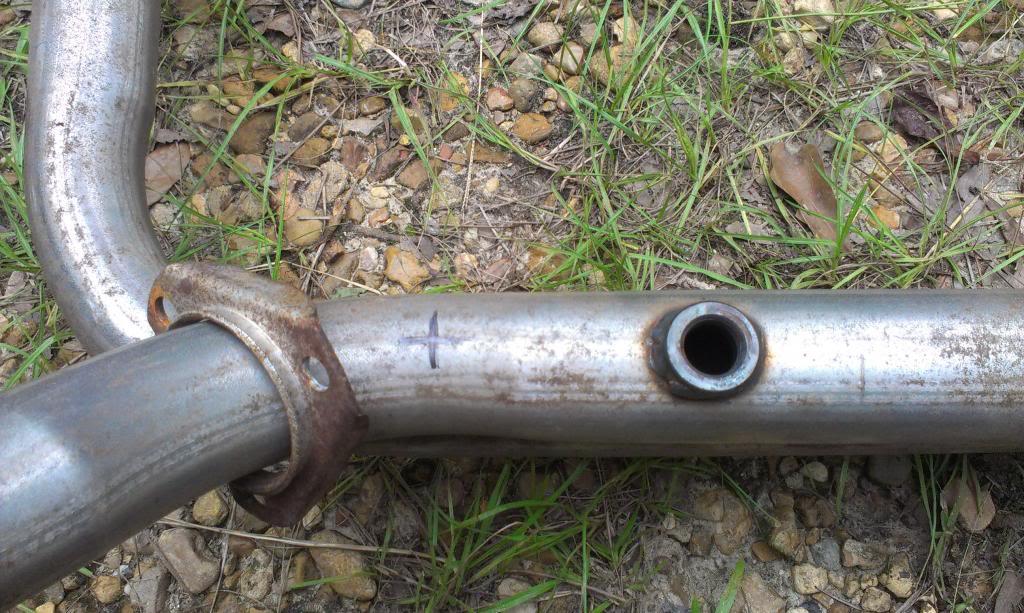
Dropped the exhaust back out, getting the blown up cat cut out, old O2 bung welded up, new O2 bung welded in.
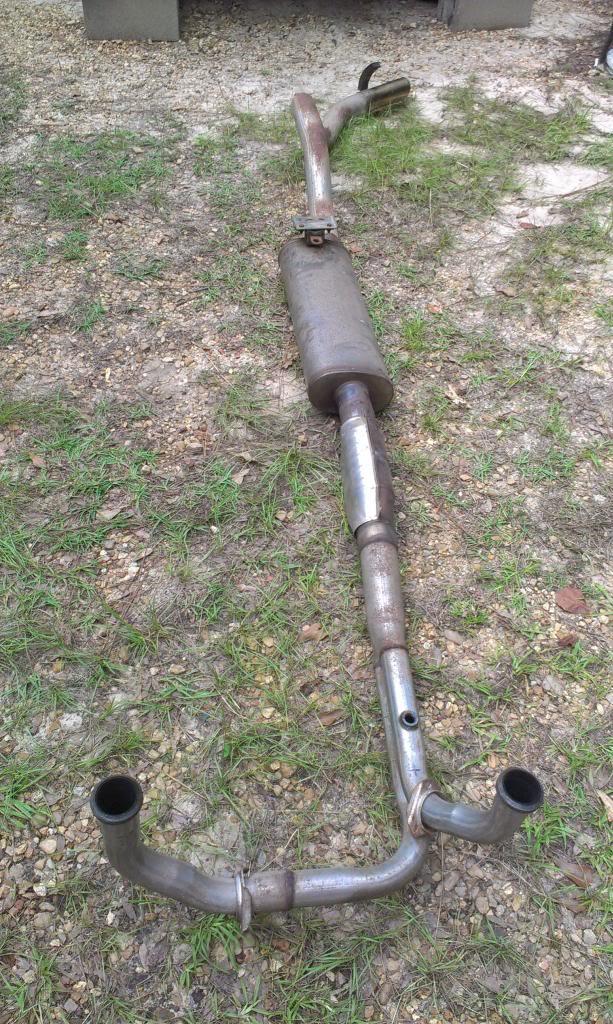
IMAG1613_zps581de943-1.jpg


"X", hopefully, marks the correct spot for the O2 sensor.
IMAG1614_zps0b991daf-1.jpg


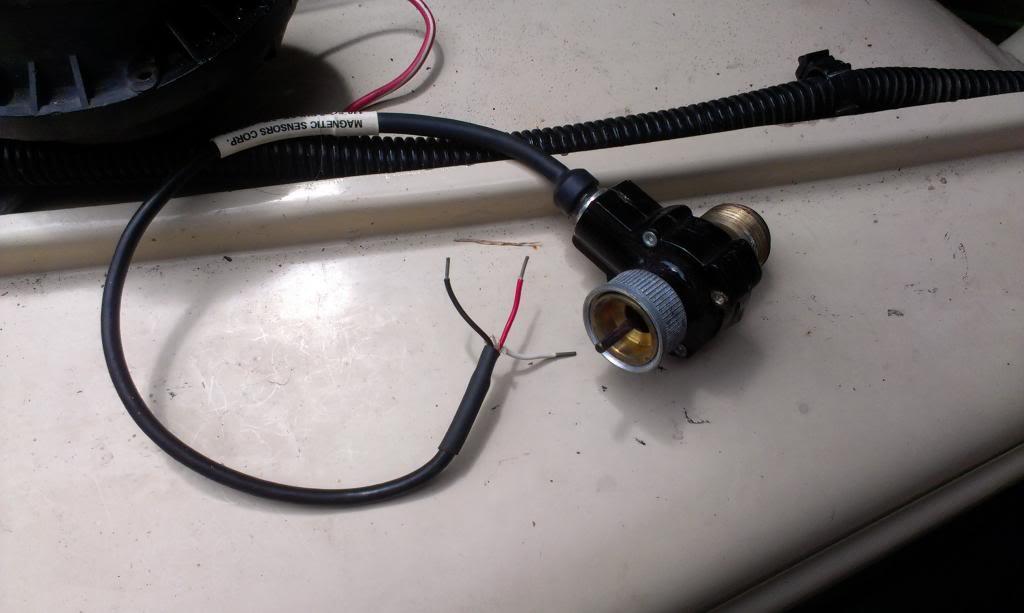
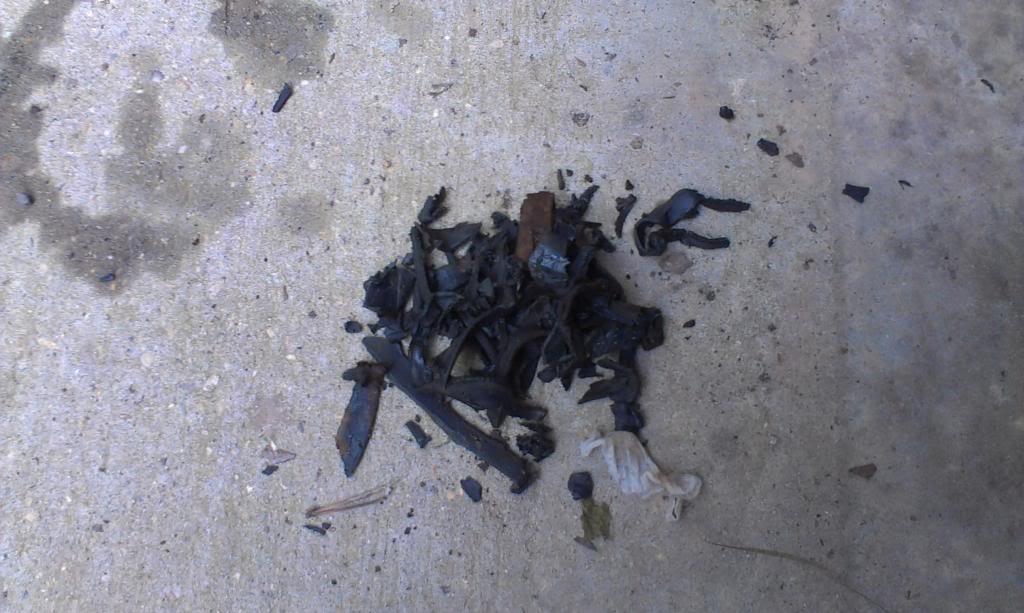
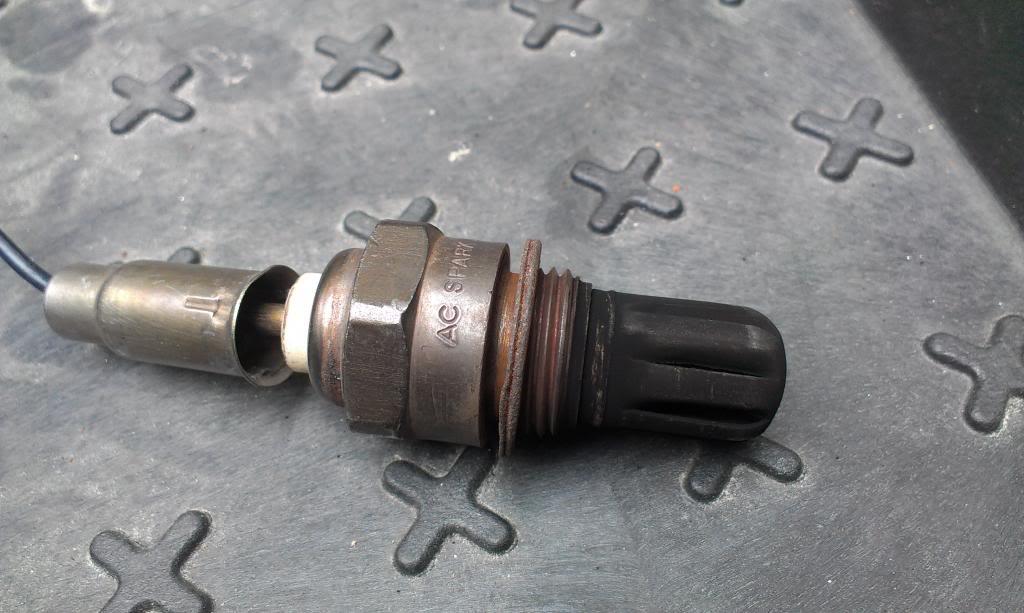
This is the O2 sensor that was installed when the cat caught on fire. The plugged cat/broke O2 sensor was causing the engine to run rich. The plugged cat also caused exhaust to back back up into the engine, it was coming out of the PCV breather out the valve cover!!
IMAG1616_zps5bffe2ec-1.jpg


Started on the wiring.

Cleaned up the wires from the alternator to the starter/positive lug.

IMAG1617_zpscc2e2574-1.jpg


IMAG1618_zps7ba12ade-1.jpg


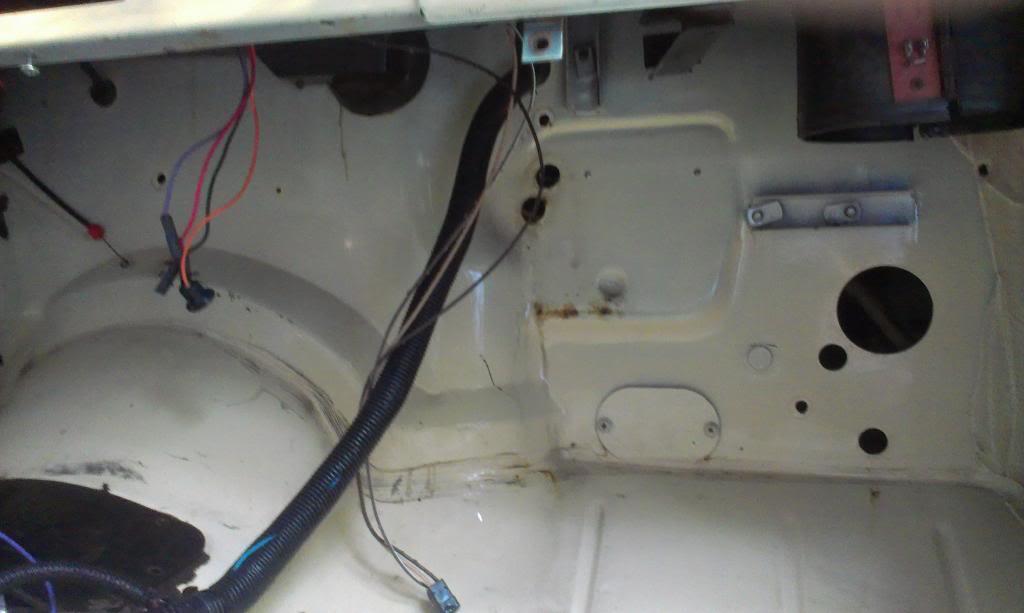
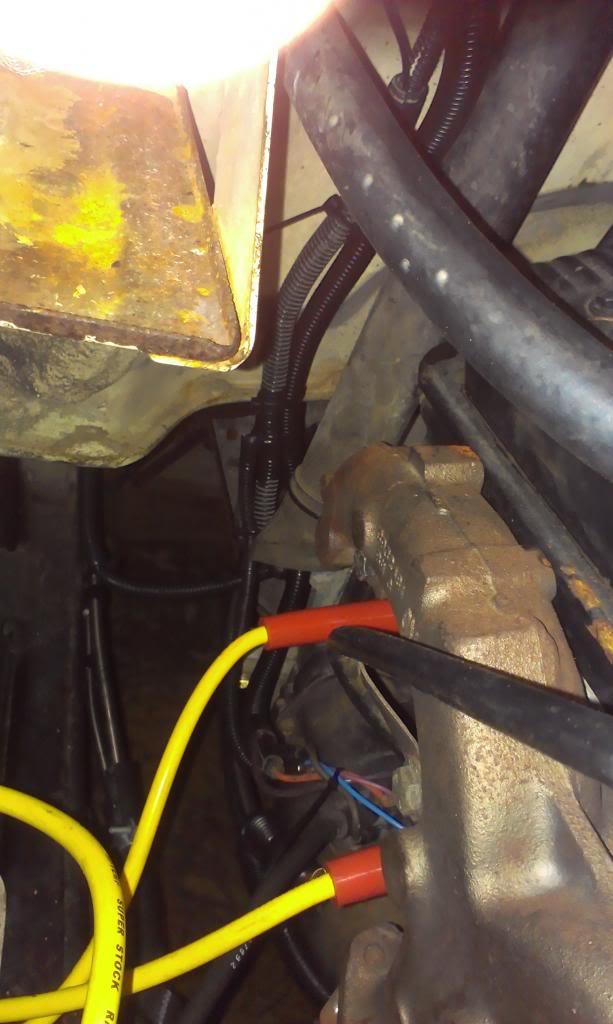
Ran the two constant hots/starter solenoid wire up the firewall. I also cleaned up the fuel pump/sensor wires. I might go back and put all of this in a single piece of plastic, but it might not look much better.
IMAG1619_zpsd3feb7c0-1.jpg


Ran the two hots/starter solenoid wire over to the diver side. The rest of the Jeep chassis harness wires need to go with this bunch, too.
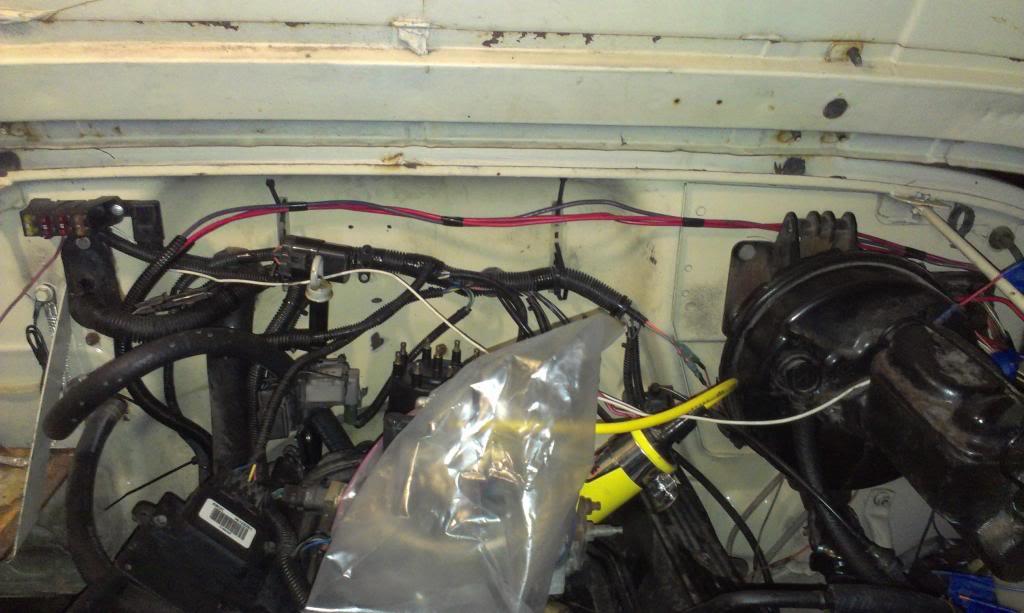
IMAG1620_zps6a005082-1.jpg


I need to run/add the following wires to the "cross the firewall bundle":

ignition hot to TBI harness wire
oil gauge sender
reverse light stuff
heater blower motor
4wd indicator light


I also need to make a "diver side to front of engine on side of intake harness" to contain:

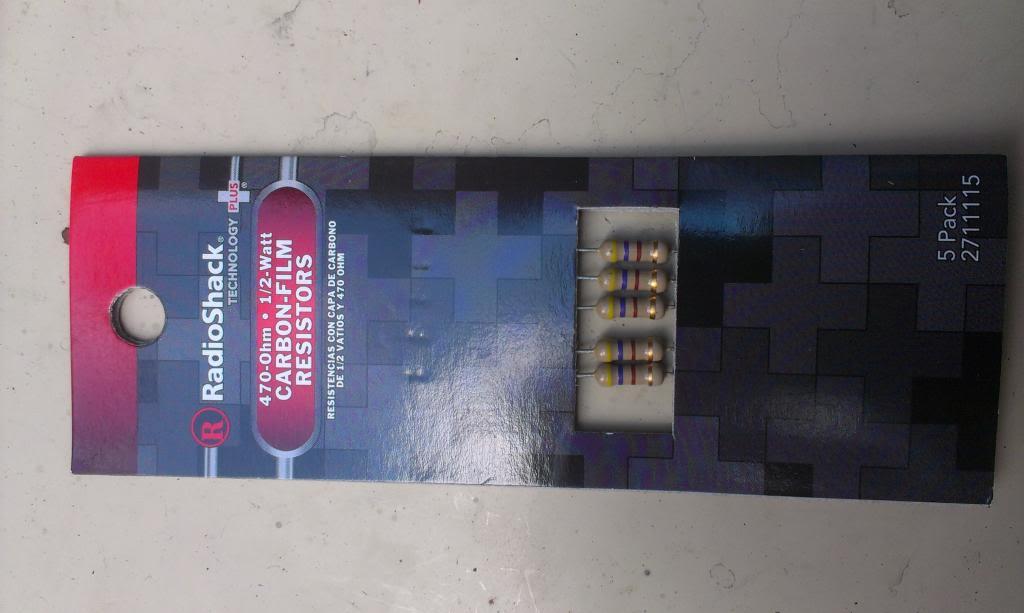
the alternator ignition feed, with a resistor
temp gauge sender wire


I also need to make/run the following harness to the transmission:

TCC harness
VSS harness


And I need to hook up the following stuff inside the jeep:

oil pressure gauge
engine temp gauge
transmission temp gauge
tach (maybe)
install computer
mount OBD port
check engine light

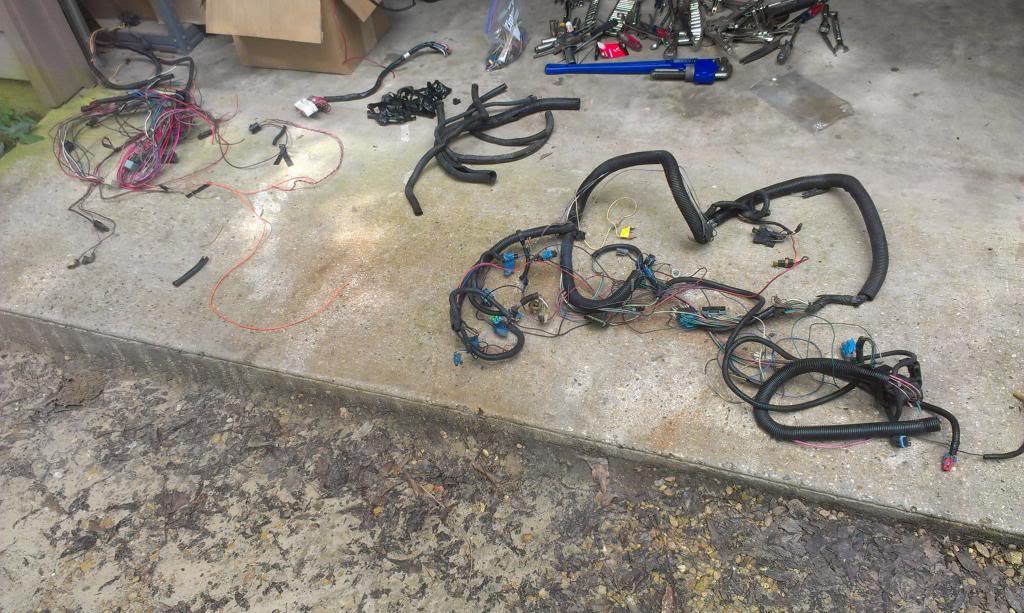
I have what's left of this Jeep's original underhood wiring, plus a complete Chevy truck TBI harness. I should be able to splice some of these wires to what I need to do, so everything matches.

I am going to "eat my broccoli" first, and complete the wiring, before I do any other "easier/funner" work.

That's it for now.
 
I am going to work on this one this weekend, but I don't think it will be ready for a 19 hour road trip to Michigan next Thursday:(

But, I am going to press on, slim chance, still a bunch to do..........................................:wave:
 
One last update before the Michigan trip, and unfortunately, this one wont be making the trip, still too much to do, I probably need another month with it.............................

Well, rain out/emergency plumbing repair Saturday, but I got a solid days worth of work done on Sunday, found some more problems, fixed some existing ones.............

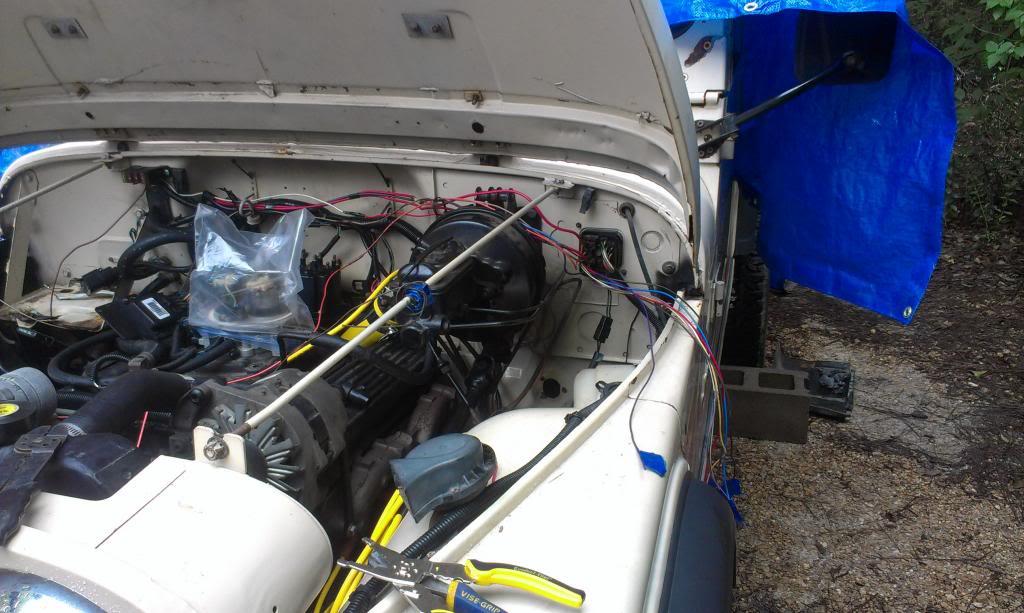
I got most of my under hood wiring finished/cleaned up. I was able to use wires off of the old Jeep and Chevy truck harnesses to lengthen wires. So, all the wires are the same color where I had to lengthen them. I am glad I kept all of the old wiring.

IMAG1621_zpsc031ea6c-1.jpg


Just a "in progress" shot.

IMAG1622_zps4e215a0e-1.jpg


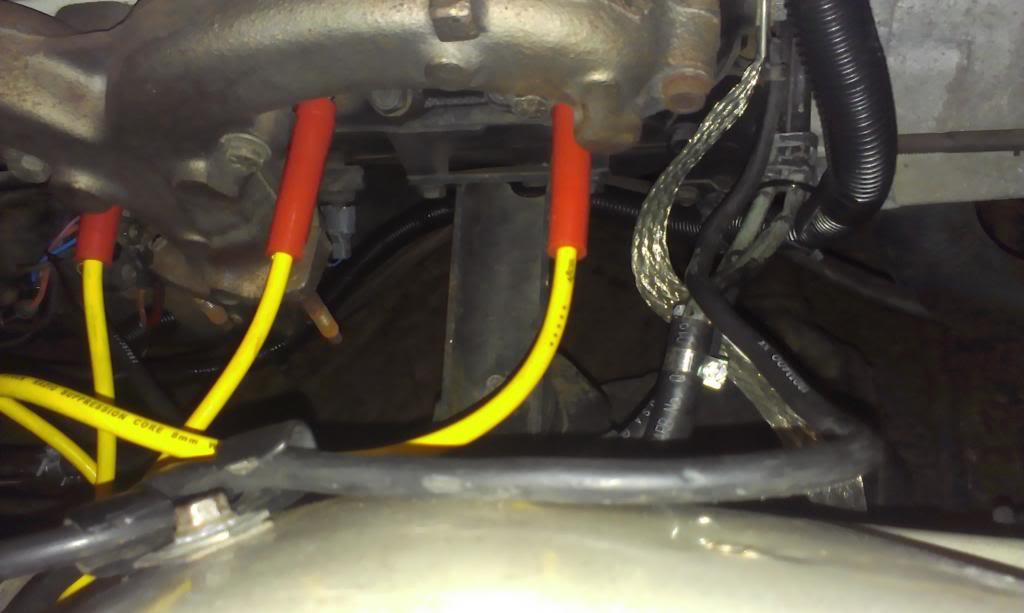
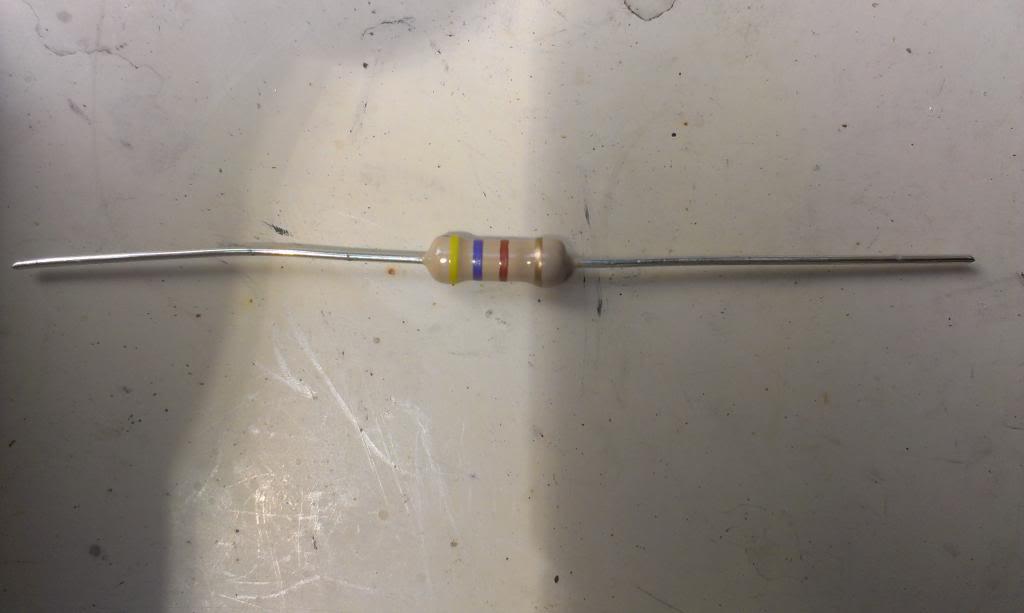
I hooked up the excitor wire to the alternator, using a resistor.

IMAG1623_zpsf8ebb123-1.jpg


IMAG1624_zps967c3211-1.jpg


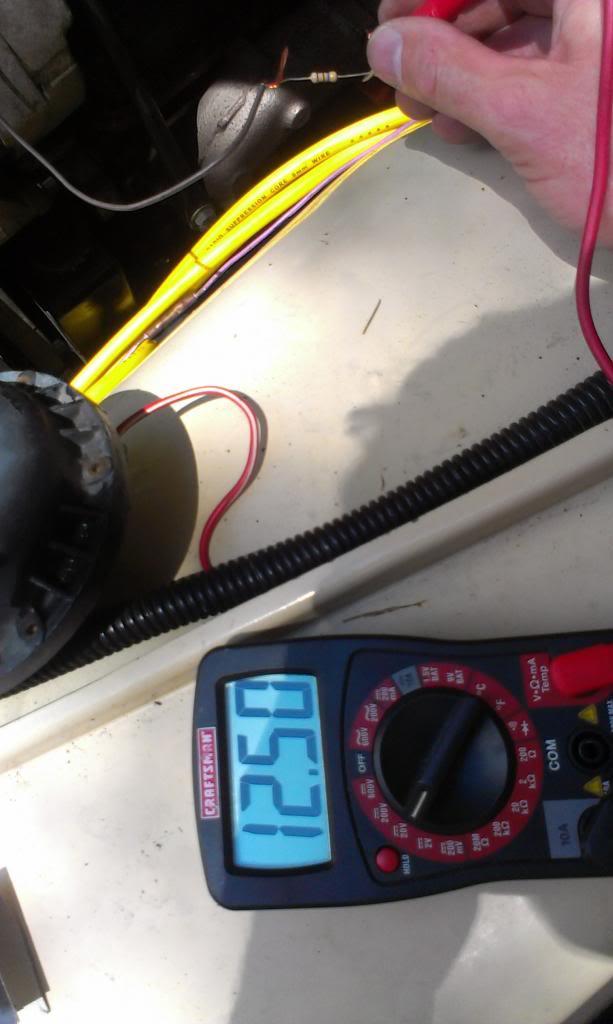
Ignition voltage goes in:

IMAG1625_zpsd547e414-1.jpg


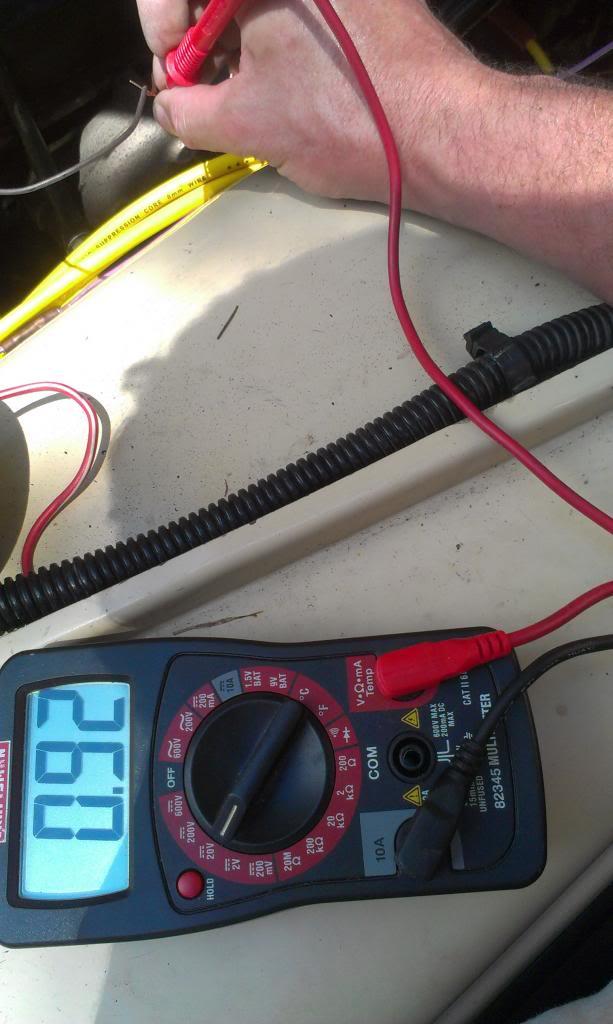
Reduced voltage comes out:

IMAG1626_zpsbbecbac5-1.jpg


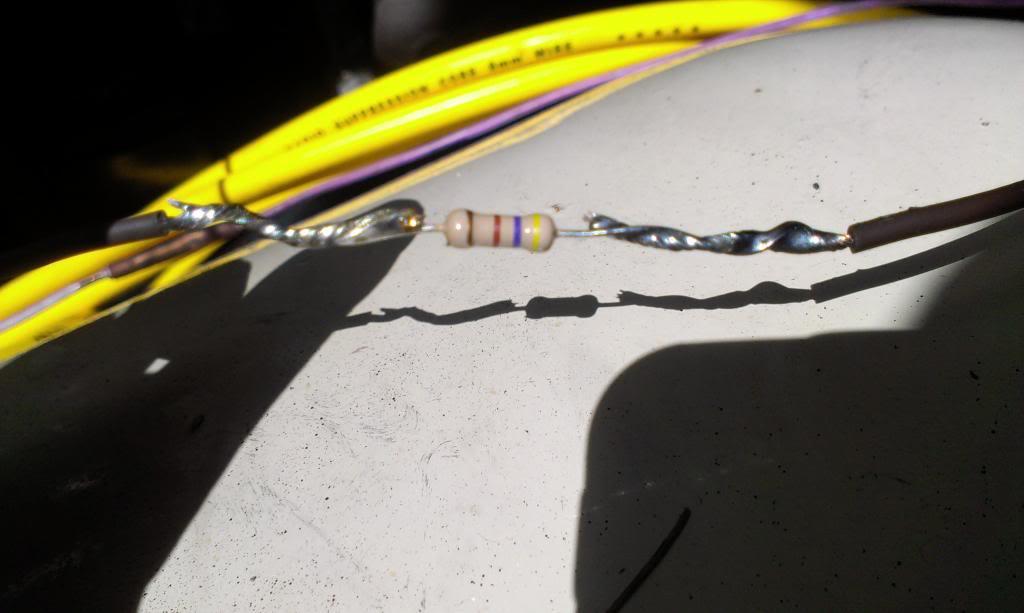
Don't laugh at my soldering job, it works!!!

IMAG1629_zps901f4a03-1.jpg


Supposedly, if you run full voltage to the alternator it will burn up. After soldering in the resistor, and starting the Jeep up, the alternator is charging, so should be good to go.

I still need to wire up the VSS to the computer, and the reverse light switch up on the shifter, and hook up/fabricate both shifters.

IMAG1630_zps6f867268-1.jpg


The new O2 sensor bung is good to go. I left the "empty cat" in place, for now.

IMAG1631_zps78193fdb-1.jpg
 
Last edited:
Once I got the engine fired back up, found some "previously unnoticed problems".

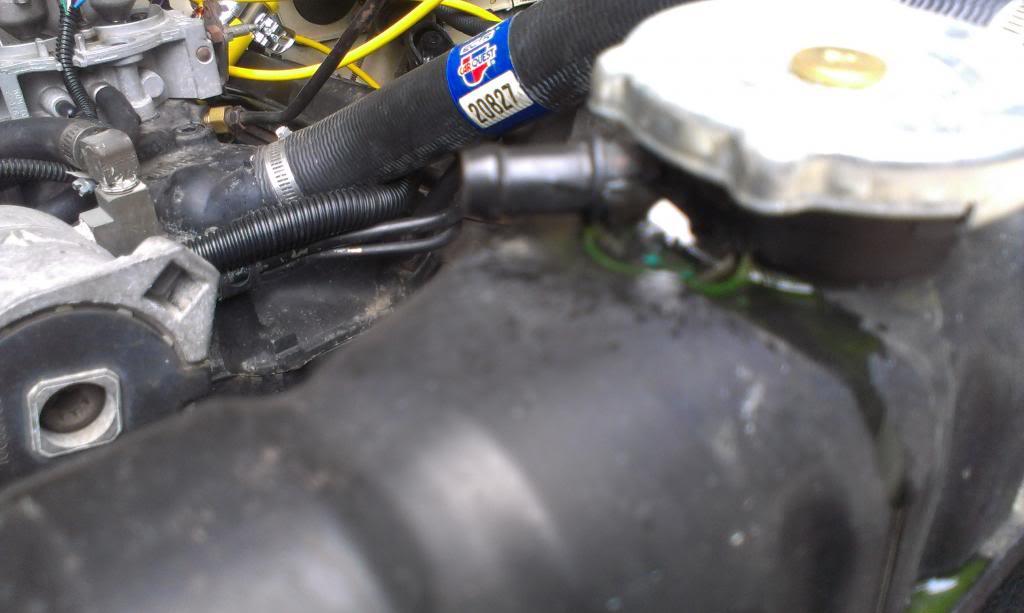
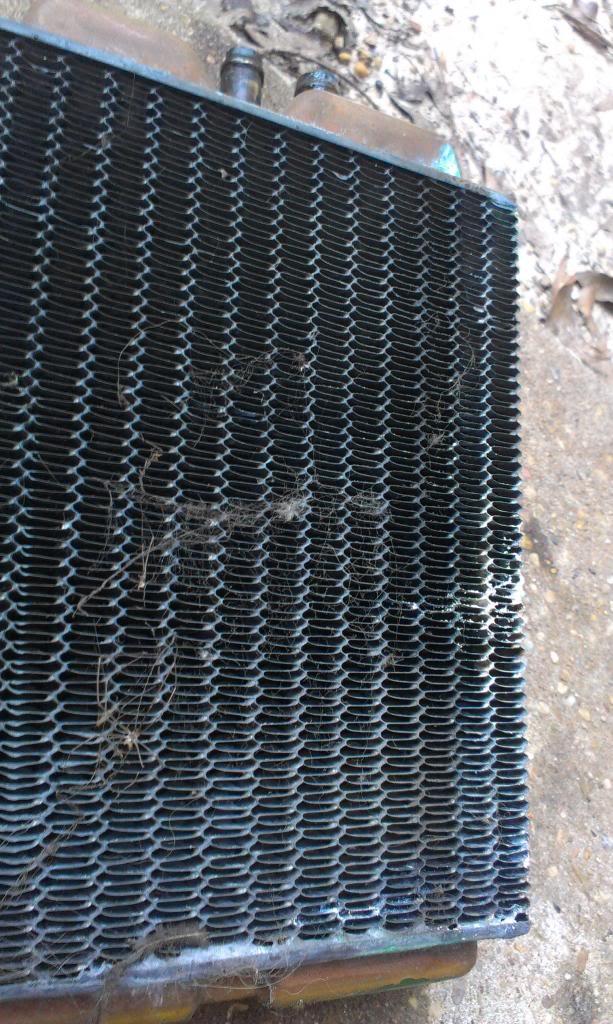
The radiator is blowing bubbles out of the filler neck. There is a hole here, easy to plug with some solder or JB weld.

IMAG1632_zpsb4a04919-1.jpg


The heater core is leaking like Snowden.................

IMAG1634_zps03a90419-1.jpg


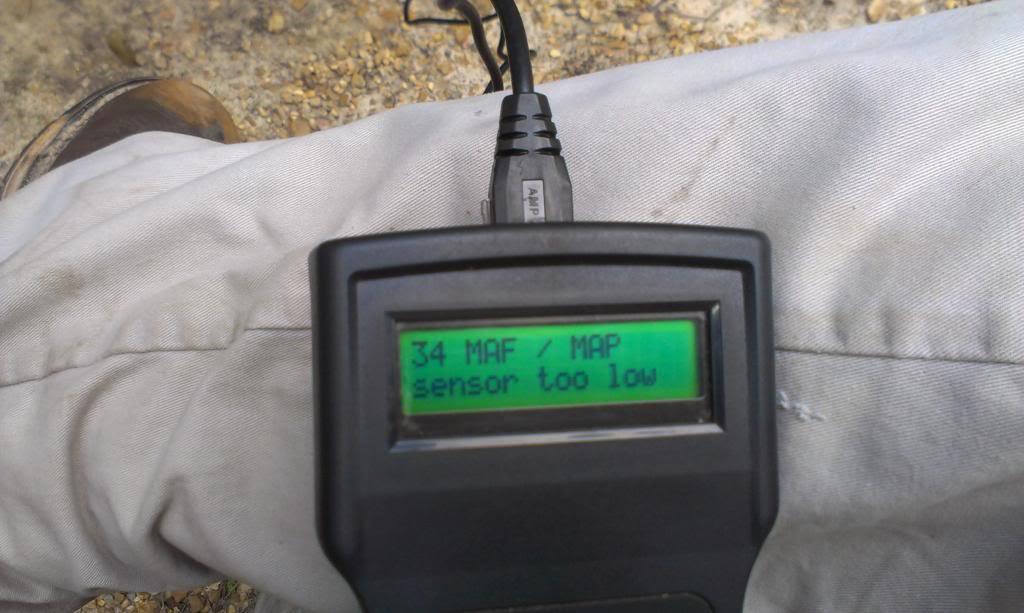
I ran a scan on the computer, one trouble code:

IMAG1635_zps7aba53ba-1.jpg


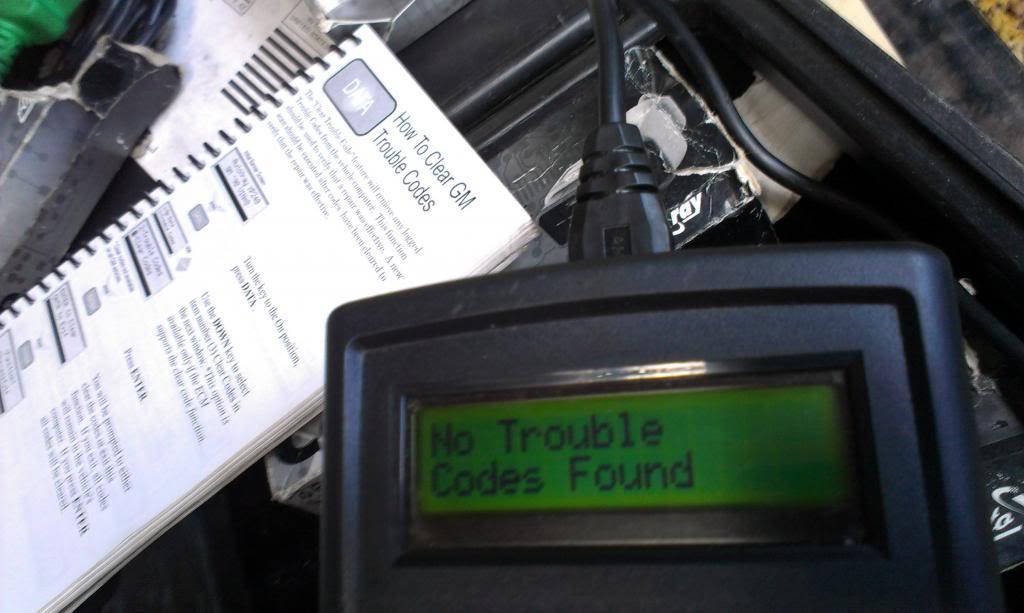
A new MAP sensor, and a battery disconnect later, no more trouble codes.

IMAG1645_zps3a017226-1.jpg


The new MAP sensor made a huge difference in the idle quality. I also hooked up the EGR valve, that also improved the idle. It still runs/starts a little rough, I think that is the timing. The instructions that came with the TBI harness say to set the base timing at 6-8 degrees advance, I am at 0. I think a little advance will clear up the last of my troubles.

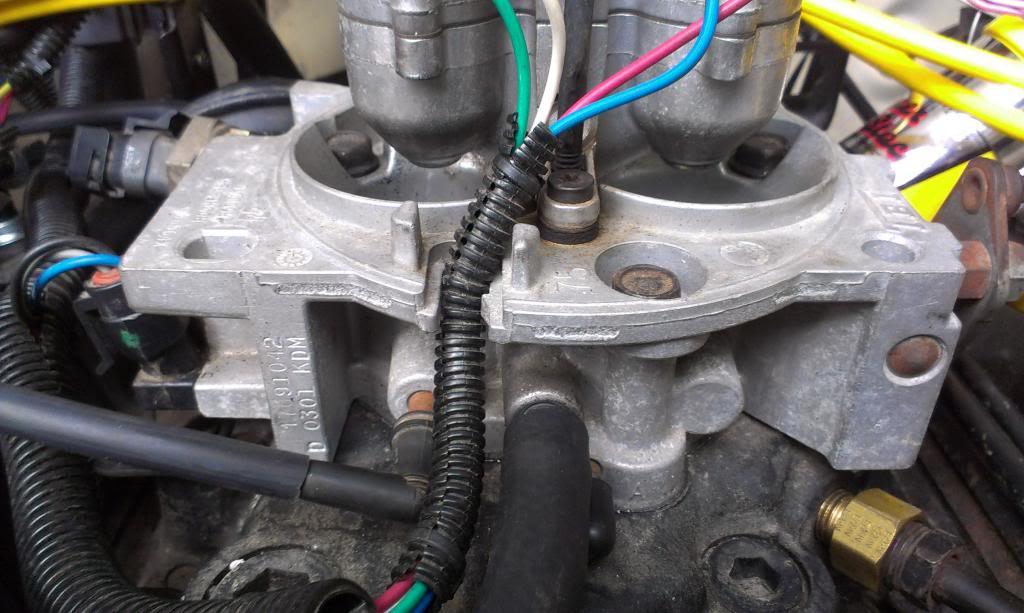
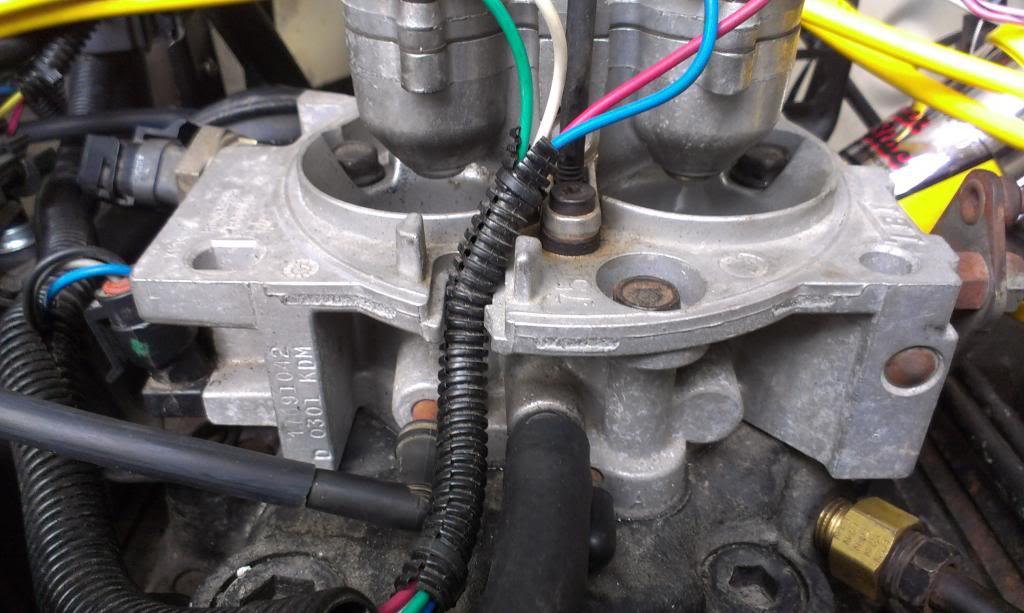
Quick picture of the injectors firing. They both fire at the same time, but the pictures show one at a time, I guess they alternate faster then what the human eye can detect.

IMAG1642_zps7091711f-1.jpg


IMAG1643_zps4750083f-1.jpg


One last problem, the engine will not shut off with the key. This might be a bad ignition switch, or I could have dislodged something while pulling the column, or a wiring issue. Hopefully it wont be too hard to find.

The engine goes into "closed loop", verified by the Scan tool, but it still smells a hair rich. But, with the timing at 0, this might cause it to not be "quite right". After adjusting the timing, I will scan it again. Everything else seems fine.

One last picture, I wont be messing with this Scrambler again until after Sandblast. I wish it could have made it.

IMAG1649_zps1fa0d129-1.jpg


That's it for now.
 
Looks like your photobucket bandwidth was exceeded. :banghead:

Now the rest of us have to wait until Thursday to see you update. :angry:
 
I think you set the timing to 0 with the white wire disconnected. Once timing is set, you reconnect and the computer takes over.

Looks good so far!
 
Very close. Getting there and looking great.

Appreciate it:thumbsup:


Looks like your photobucket bandwidth was exceeded. :banghead:

Now the rest of us have to wait until Thursday to see you update. :angry:

Yep, I am still too cheap to upgrade my Photobucket account:rotfl::wave:

I think you set the timing to 0 with the white wire disconnected. Once timing is set, you reconnect and the computer takes over.

Looks good so far!

I appreciate it Randy, and thanks for all of your feedback/suggestions/tips:thumbsup::cheers:

I initially just twisted the distributor by ear to set the timing with the little wire plugged in, and it ran great. I then disconnected the wire, set the timing to zero, then turned the jeep off, plugged the wire back in, and started it up. It does not run/start as good as it did before. The instructions that came with the TBI kit said to set the timing 6-10 degrees advance, with the wire unplugged in, then plug it back in. This contradicts the GM information, but maybe Turbo City flashes the stock computer a bit different then stock:shrug:

I will have to do some more experimentation when I get back from Michigan:thumbsup:
 
No problem, my bigger fear is that you are running out of scramblers.

Nope, I plan on doing some work to my Sherwood Green '83 Scrambler when I get finished with this one:thumbsup: It will just be some simple maintenance/cleaning type activities, but I can document that stuff, too:thumbsup:

Plus, there is an all original '85 triple black CJ-7 Laredo I have my eye on..............................:crazy::thumbsup::wave:
 
I know where there is a dozen or so more if you get bored my friend.


Took a few weeks away from this one, started back on it last night.

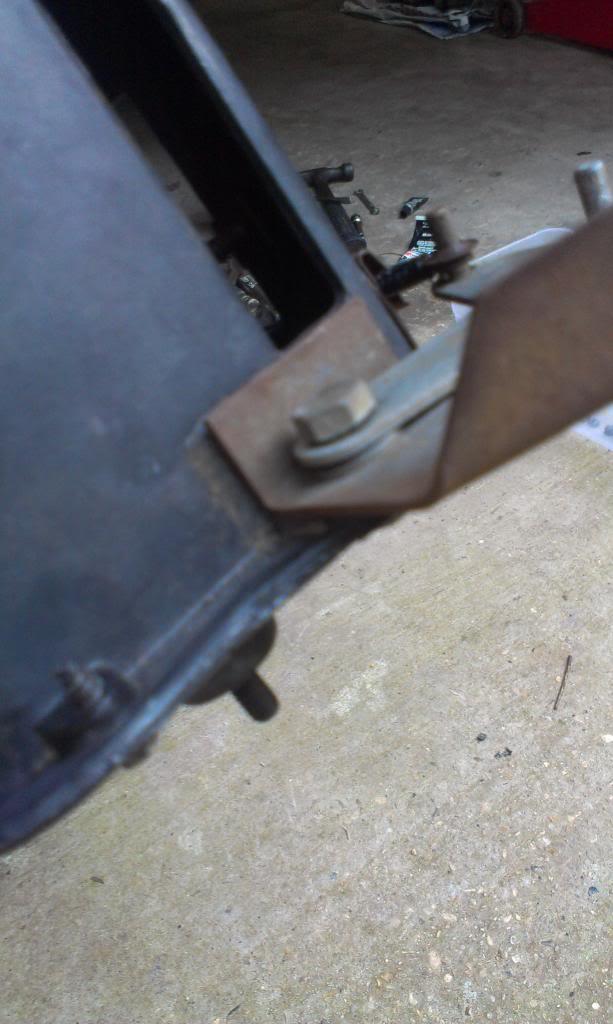
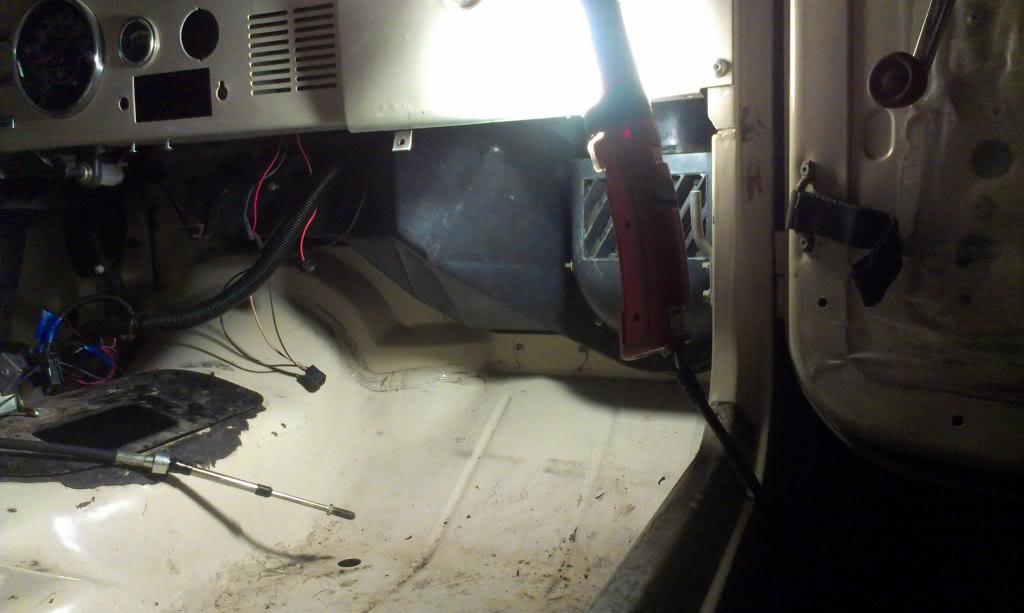
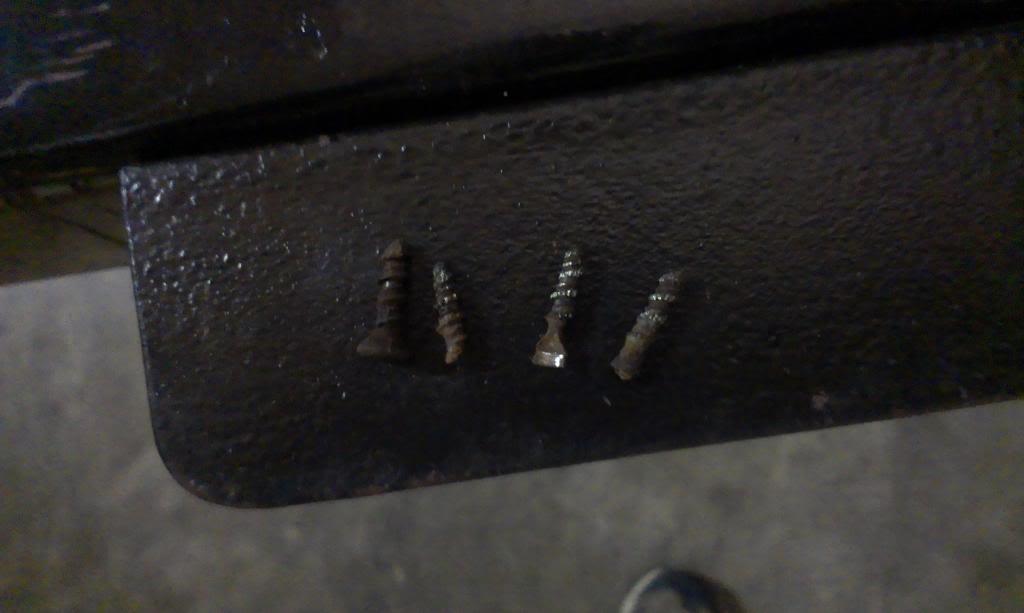
The heater core is shot, so I am replacing it. I was going to loosen the upper air chamber to ease removing the lower air chamber, and found that the 4 screws that hold it up are rusted out.

IMAG1844_zps148c97c8-1.jpg


IMAG1845_zps45a2bf6a-1.jpg


One screw came out, the other three are damaged. I ended up removing the lower box with out having to loosen the upper box, so no big deal.

IMAG1846_zps8f67f8d2-1.jpg


I need to clean up the heater box, install the new core, and then I can reinstall the assembly. I need to remove the three broke "upper air chamber" screws and replace them. Not a big deal, seems these screws on every CJ I mess with are damaged.

That's it for now.
 
Got the heater core replacement project just about finished up.

Cleaned all the parts, they are in really good shape, no "real" rust or faded/chalky plastic.

IMAG1852_zps5069c7e8-1.jpg


I quickly washed the floorboard/fire wall. Again, pretty good shape, a little "light" surface rust, and a few rust stains.

IMAG1853_zpsdda4bb0d-1.jpg


IMAG1855_zpscb585228-1.jpg


Scraped off all of the old sealant, the stuff that seals the front plastic case to the metal back piece. I resealed it using black RTV, kind of messy, should have sealed it back with foam tape like I have done previously.

IMAG1856_zpsb9913cb3-1.jpg


The old, leaking heater core.

IMAG1857_zpse55aefd2-1.jpg


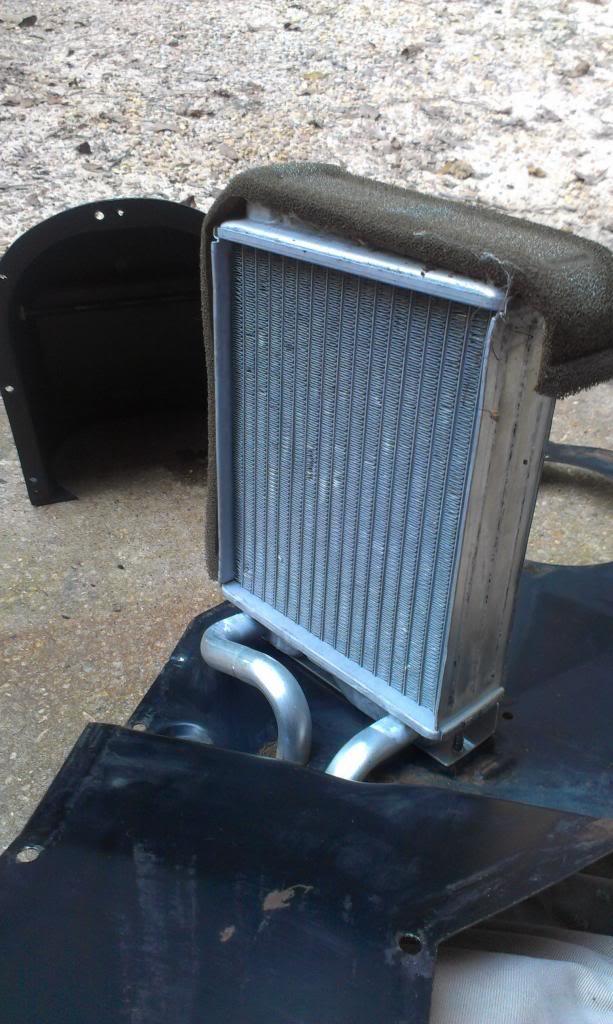
The new, hopefully not leaking heater core. I placed the original foam strip on the new heater core.

IMAG1858_zps84b9fe06-1.jpg


And the heater box reassembled.

IMAG1859_zps6ea3bcd5-1.jpg


Close up of this part, how it is put back together:

IMAG1860_zpsc14c9178-1.jpg


And after a short fight, the heater box reinstalled.

IMAG1863_zpse5d412b4-1.jpg


I removed the previously described "rusted out cowl to upper plenum" screws. I replaced them with some stainless steel screws. I removed these broke screws with small vice grips, by screwing them through the bottom of their holes. The bottoms of these screws stick out into the cowl, so you can grab onto the ends of them and simply twist them out.

IMAG1867_zps4a5d61f3-1.jpg
 
One last coolant leak problem:

IMAG1869_zpsb6444727-1.jpg


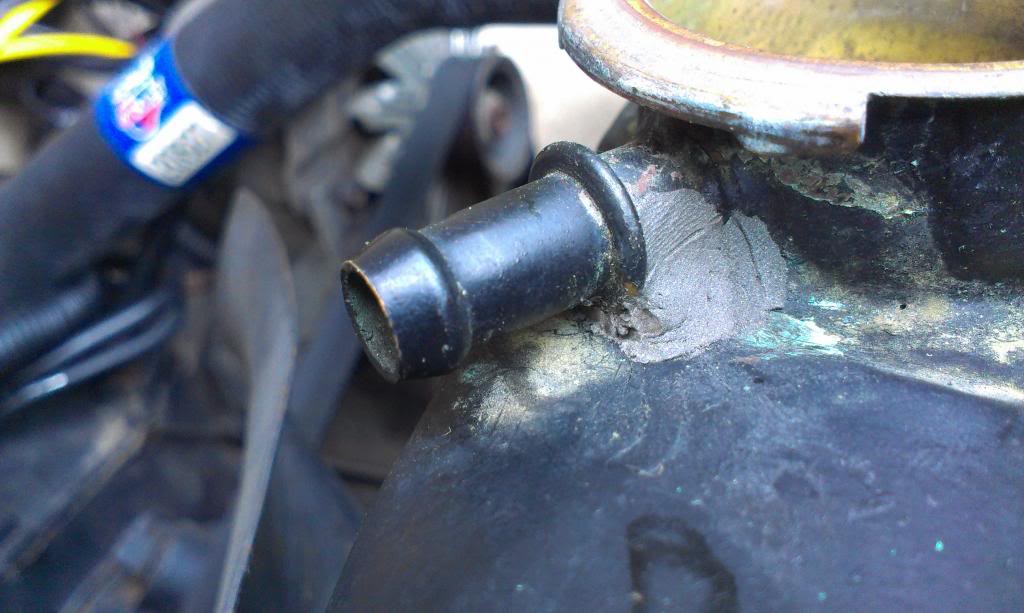
There is a small pinhole on the radiator neck, below the overflow hose tube. I need to scrap the paint off, and then plug it with some "JB Weld" type stuff. Minor problem, but for a new radiator, kind of aggravating. At least I didn't buy the radiator, it came with the Jeep, so I guess I did buy it......................

Hope to get some work done this weekend, depending on the weather................

That's it for now.
 
I have been kind of dragging since I got back from Michigan, but starting to feel better, and more importantly, making progress, again.

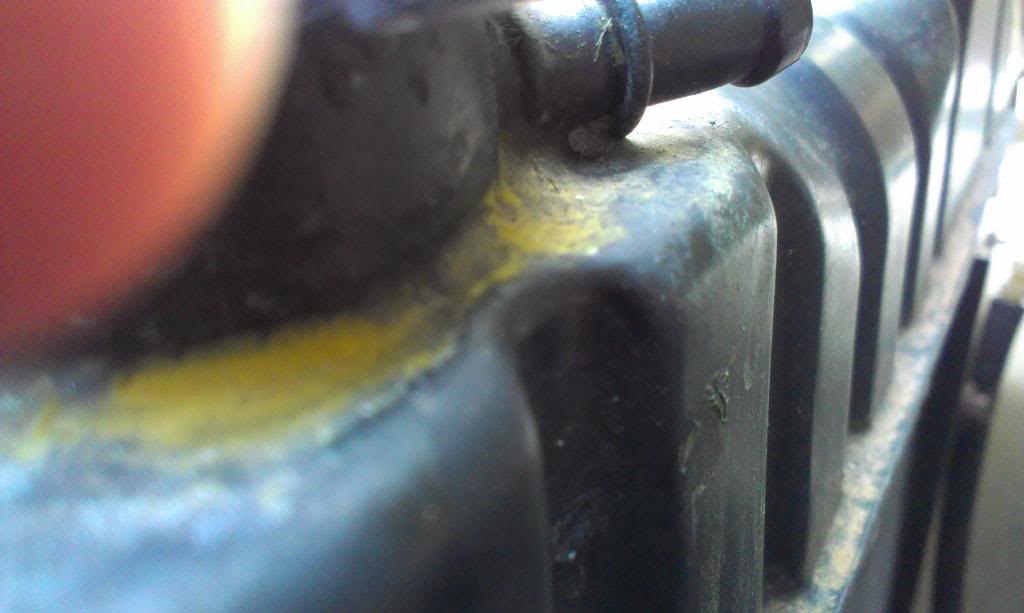
I used some JB weld, after sanding the paint off the radiator, to plug the tiny pin hole. I put a big blob, since it is hard to get to the tiny hole. A little overkill, but no leaks. I had to cram a big blob in this tight spot to get it to the pin hole.

IMAG1882_zps92fc7bc8.jpg


IMAG1885_zps2d9a751f.jpg


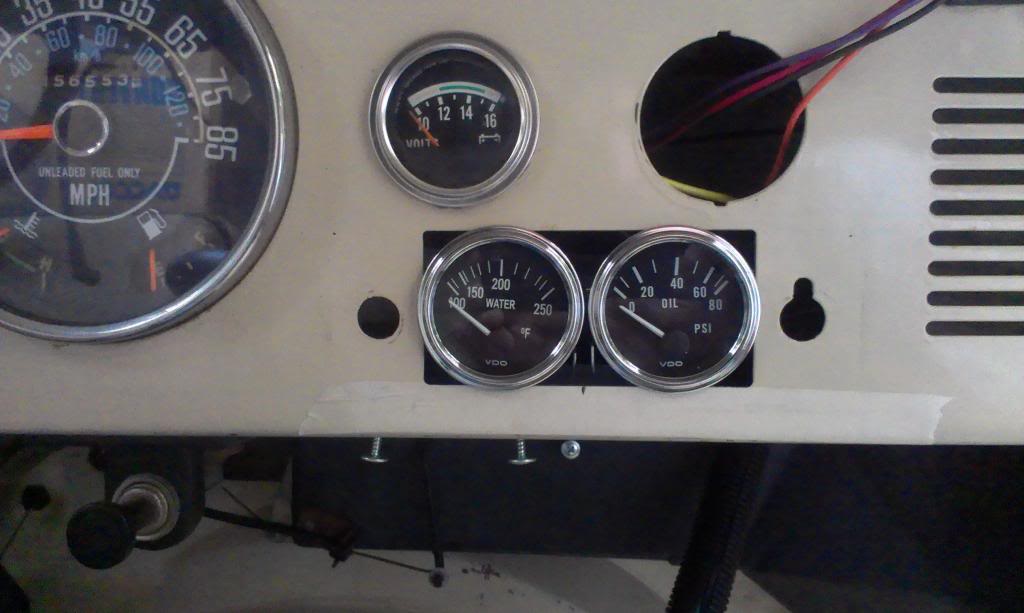
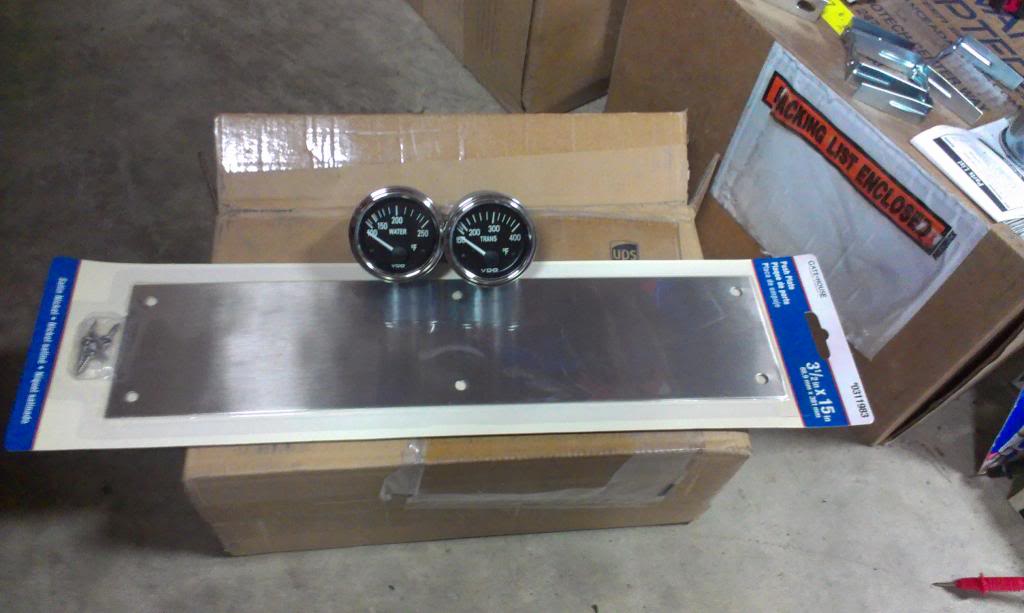
Once the coolant leaks were stopped, I decided to hook up some gauges. The factory fuel gauge and volt gauge work, but the factory temp gauge will not work with the GM engine (I think??), the oil pressure gauge was MIA, and I wanted to add a transmission temperature gauge.

I did not want to drill any more holes through the dash, since it is in great shape, and I did not want a bunch of gauges hanging off the bottom of the dash. So, this is what I did: oil pressure gauge in the factory location, two temperature gauges in the stock radio hole:

IMAG1886_zps9eeb72c2.jpg


IMAG1892_zpsc6aaf1f3.jpg


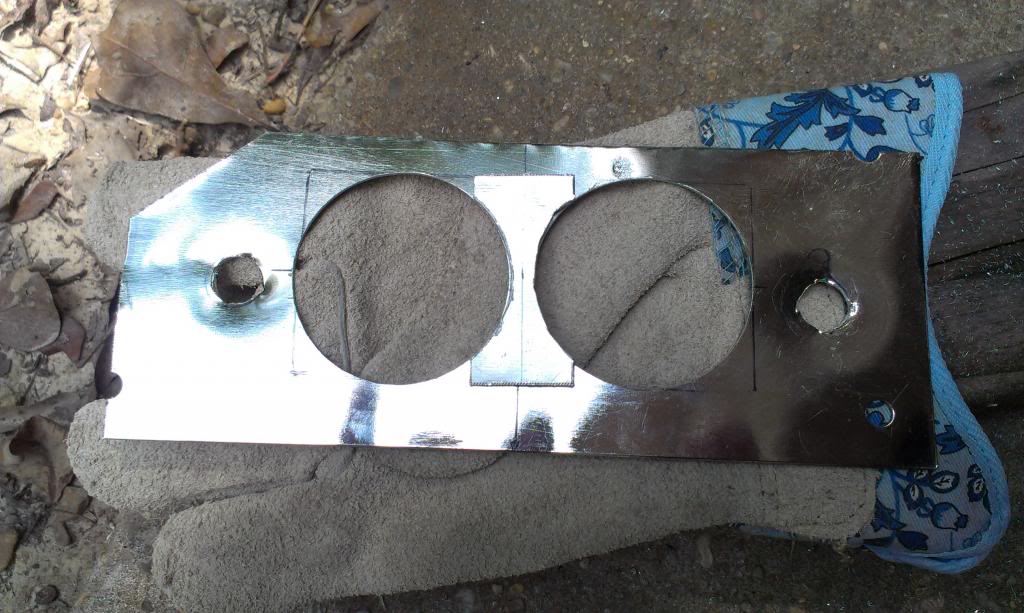
To fill in the "void", which results from the round gauges in the square hole, I picked up this metal "push plate" from Lowes to use as a filler piece.

IMAG1887_zps3c5fa8b8.jpg


IMAG1888_zps95badf89.jpg


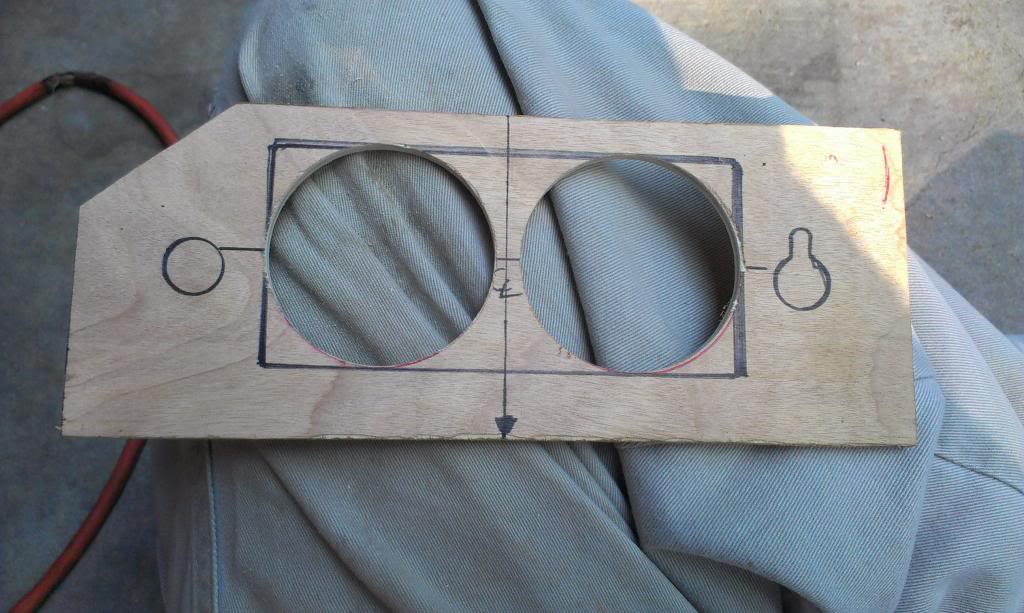
Didn't have much metal, but I had a bunch of wood, so made a quick template for mock up.

IMAG1893_zps0217bf62.jpg


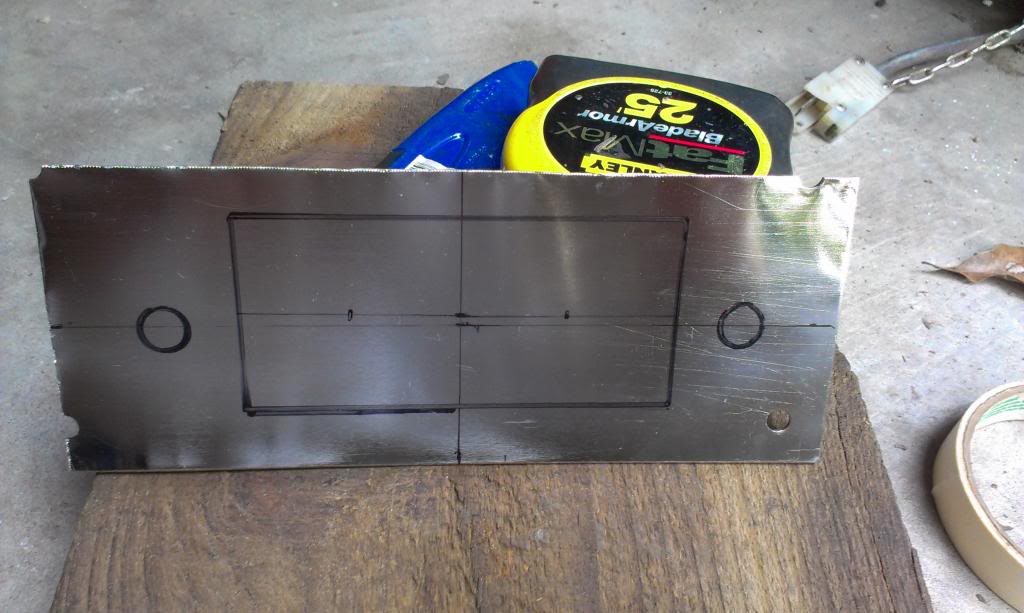
And transferred to the metal (I think this is a picture of my "wrong" piece":

IMAG1890_zps4bc24ee6.jpg


I used the dead center of the square hole for both center lines. Form the middle vertical center line, each hole center line is 1-1/8" -1-3/16" off center. The two gauge actually bare on the dash board everywhere except dead center. The filler plate just acts to fill the hole.

I am using stainless carrage bolts to bolt the plate in place/fill the radio knob holes. I was able to pull the bolt throught the plate to make the "square hole".

IMAG1894_zpsab7a3564.jpg


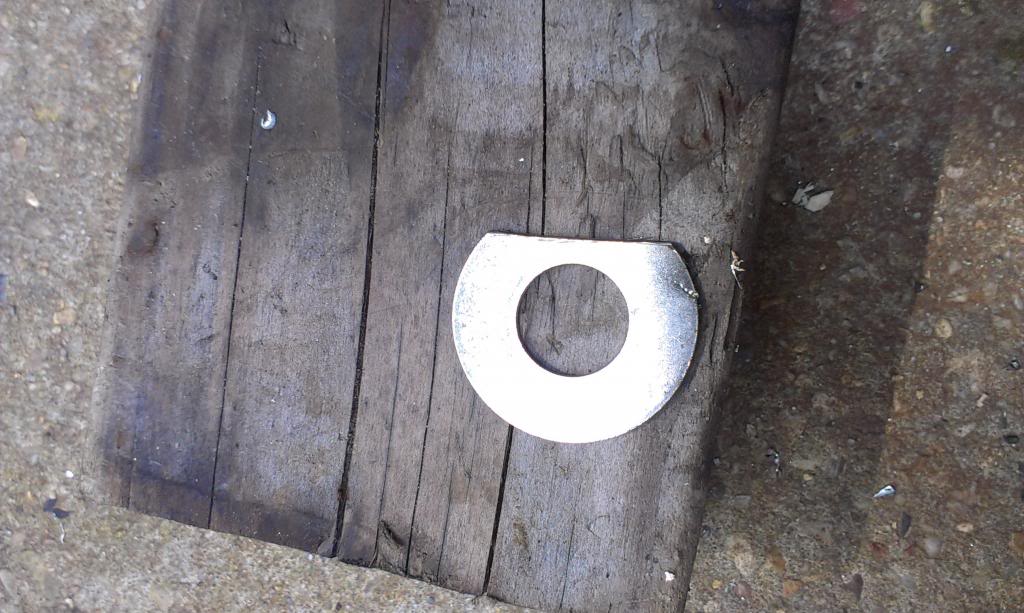
I had to notch the behind plate washer on the speedo head side to clear the edge of the gauge.

IMAG1895_zps15f9e7ae.jpg
 
The finished backer plate.

IMAG1896_zpsedeea145.jpg


Temporarily installed before paint.

IMAG1899_zpsf65dbd61.jpg


And finished. I painted the backer plate black.

IMAG1900_zps653a1c29.jpg


All in all, I think it worked out well, and it filled a big, unused hole.


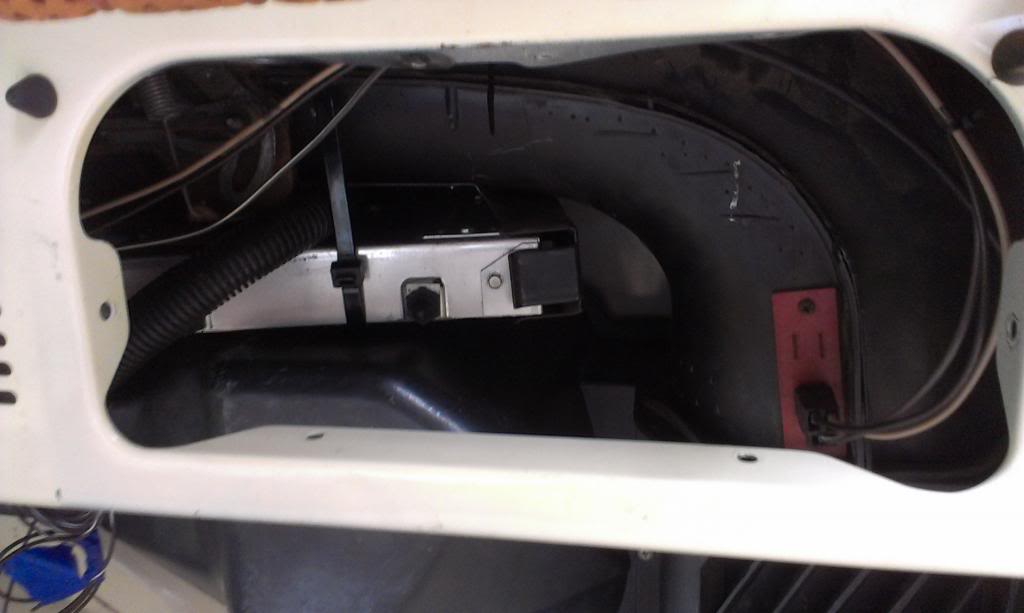
I mounted the TBI computer in the stock Carter Carb computer location. I secured it with a large cable tie. Not the most "professional" way to do it, but it works fine.

IMAG1901_zps912de81c.jpg


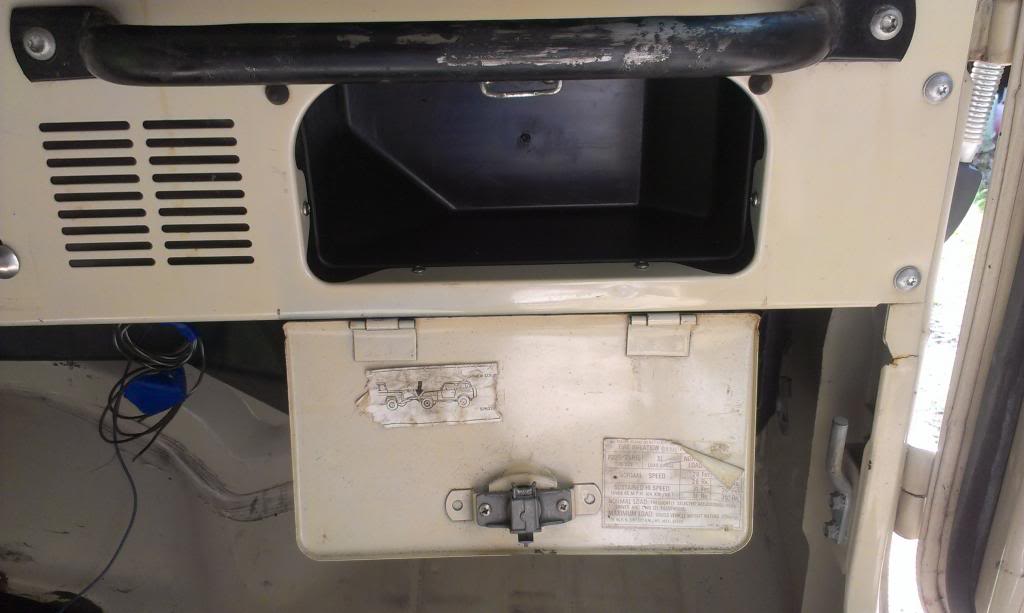
Since I was working on the dash, this Scrambler was missing the factory glove box, so I installed a plastic replacement. Note the factory stickers inside the glove box door - they call for a 235 sized tire, kind of confirming this was a "base" model Scrambler. This Scrambler did not come with the "SCRAMBLER" decals on the side of the hood, but it did come with the metal "Scrambler" badges on the rear quarter panels, again kind of confirming this as originally a base model. Does not really matter, since it has a GM engine/transmission, but still kind of neat to know, I guess???

IMAG1902_zps59c37a18.jpg


But, even though this was a "base" model, it came with the lockable glove box door, and the stock "Jeep" door key locks and unlocks it still. I also removed the faux leather wrap form the grab handle, need to repaint it.

IMAG1903_zpsbaacc17d.jpg


More gauge pictures, working:

IMAG1908_zps32f8386a.jpg


And off:

IMAG1911_zps4830815e.jpg


Great oil pressure, the transmission is not getting too hot just sitting there in Park, but the engine is running hot. The engine overheat issue could be due to the fact that it is about a gallon low on coolant, easy fix, but I might replace the thermostat, too, cheap/easy insurance.

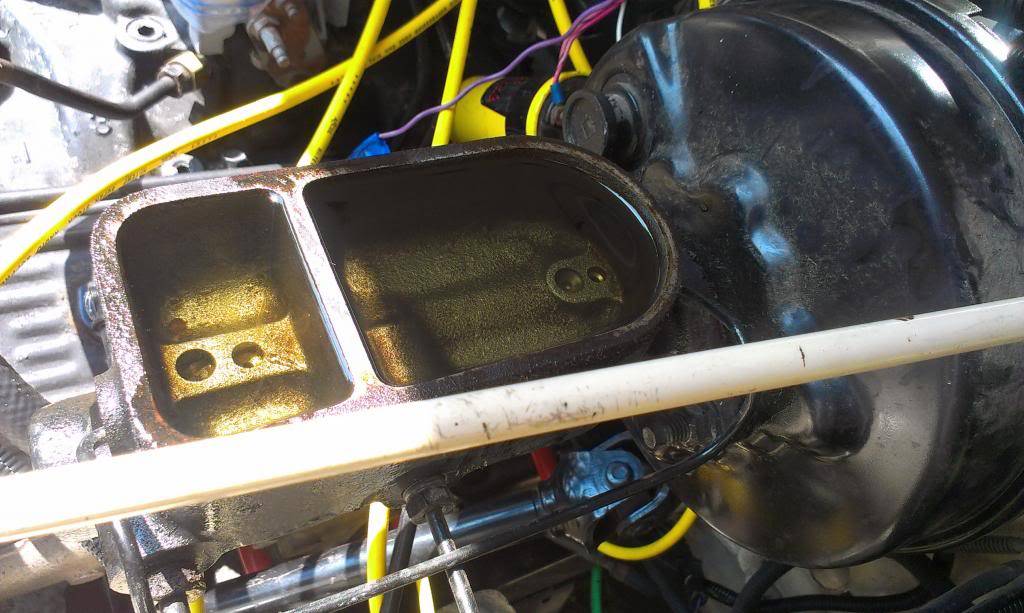
This Scrambler came to me with the master cylinder filled with old, nasty fluid. I scooped it out, cleaned out the surface rust, and refilled it with new fluid.

IMAG1904_zpsa033b773.jpg


I gravity bled the brakes, and flushed most of the old fluid out. Might do this again, to try to get all new fluid in. I went around and bled the brakes once, pedal seems to be firming up, and no leaks, so happy about that!!!!!


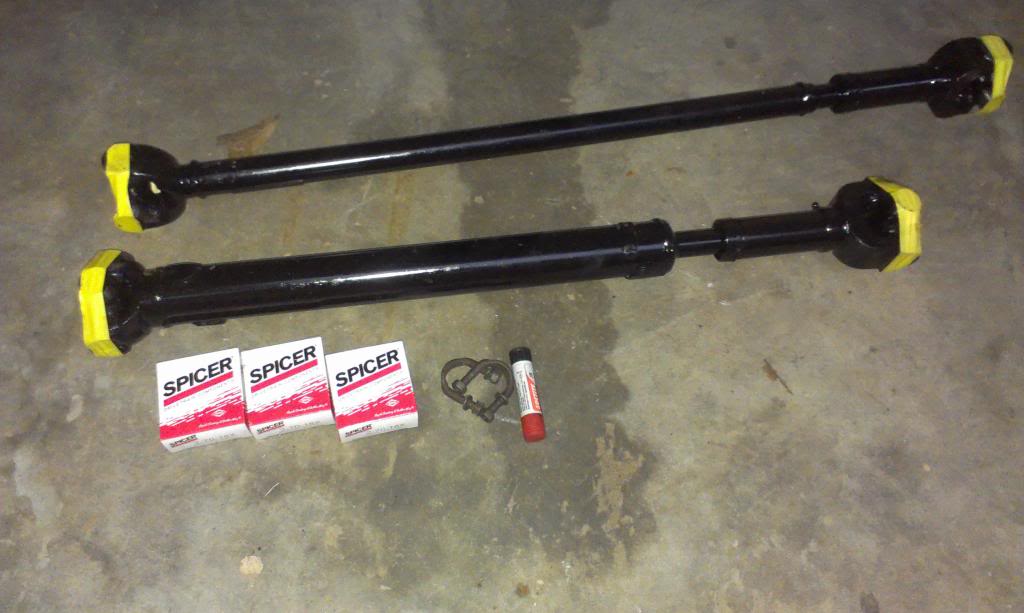
Another easy task, bolted in the drive shafts. I am using three strap kits, but the Advance Adapter HD rear output shaft yoke is made for u-bolts, so I am using u-bolts here.

IMAG1914_zpsf36c62bb.jpg
 
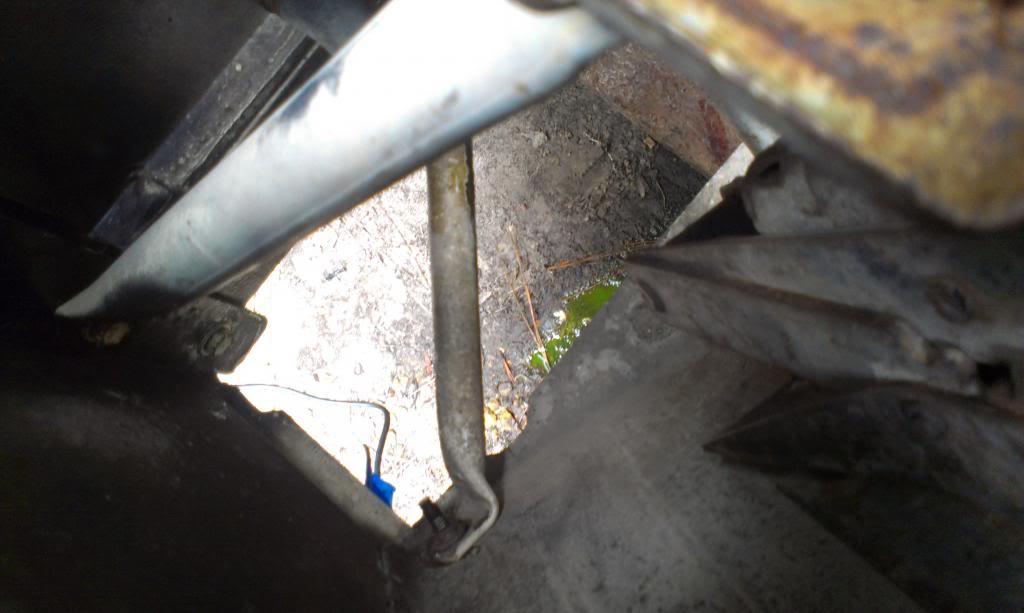
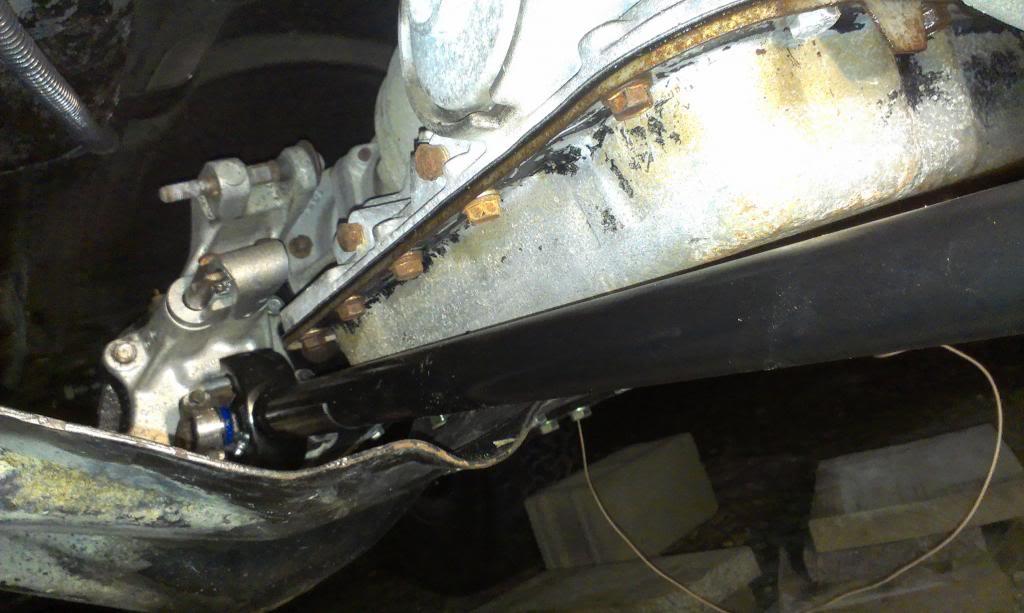
Fortunately, when the previous owner welded in the engine mounts, he offset the engine to the driver side. By doing so, a stock sized front driveshaft clears the very wide GM auto transmission. You can also see my "temporary transmission temper gauge sending unit wire" dangling in the background LOL.

IMAG1917_zpsc549539f-1.jpg


IMAG1919_zpse23673ce-1.jpg


IMAG1920_zps703760b3-1.jpg


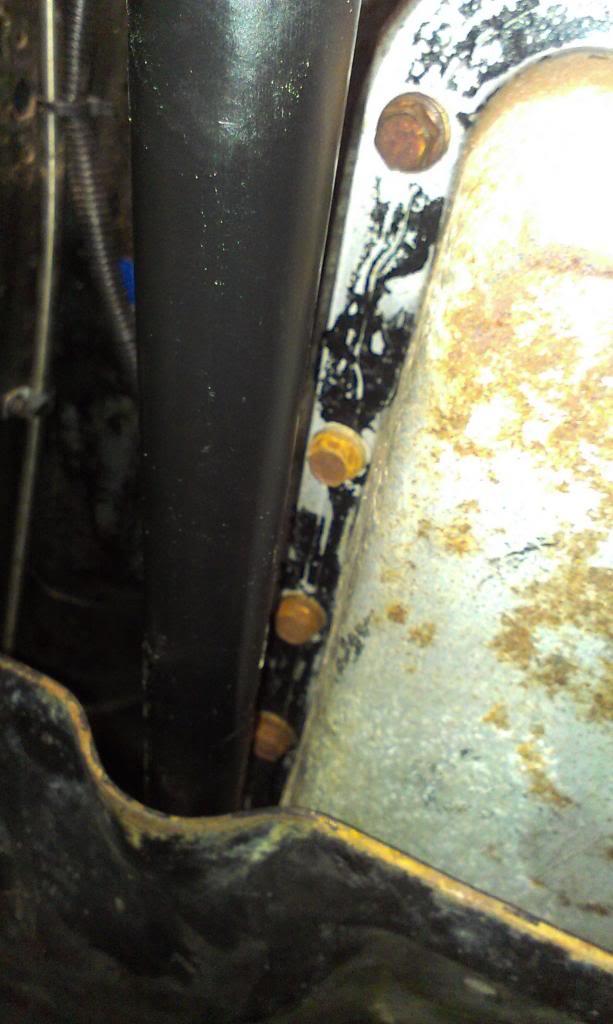
And at it's closest, I can still get a finger in between the transmission pan and the front driveshaft. Very happy this worked out in my favor!!!

IMAG1921_zps9ec94cc3.jpg


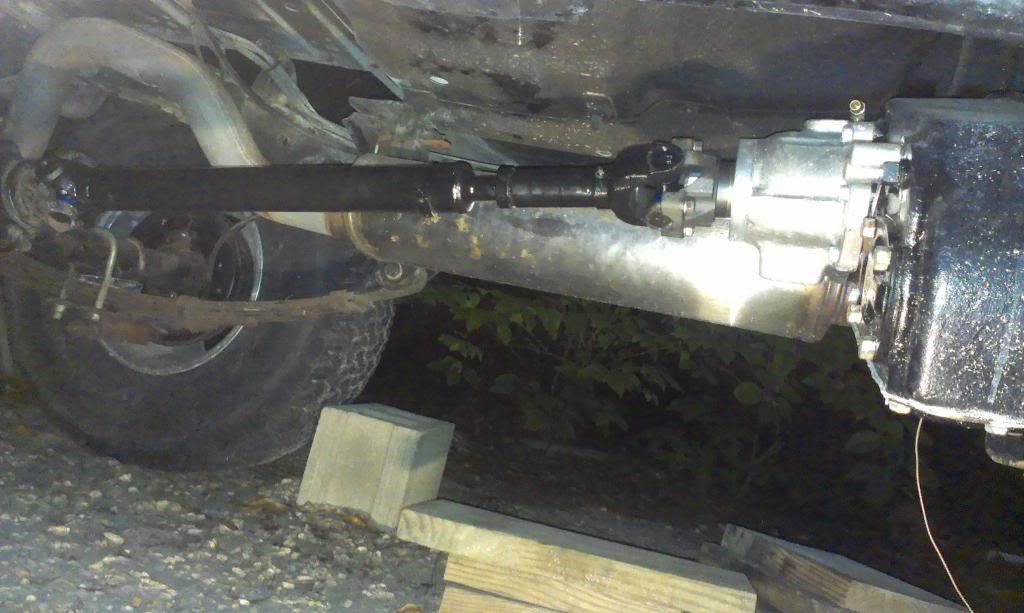
And the back driveshaft, no drama, nice angles.

IMAG1922_zpsa669c808.jpg


Still lots to do, but getting close to an initial test drive!!!!!

That's it for now.
 
Last edited:
Looks good!

As far as tire size goes, the base model with stamped steel wheels got something like a P205/75/15. Upgrade to Wagon wheels got you the 235's. They were available as an option on the base model though. Dad ordered his with the base wheels (stamped) because he wanted MT's and figured it was dumb to order and pay for factory "off road" tires, so he took the base wheels, and bought American Racing white spokes with BFG MT's. The American Racing wheels are nice and rusty even though they have almost no miles on them, so I found a set of NOS white spokes a few years ago that I picked up, and if I can ever get the old man's credit card I'm going to put some 31x10.50 BFG MT's on them and get rid of the cracked/rotten 28 year old BFG's that are on there now (that still have the nubbies on them).

Still have the stamped wheels with the 205 Michelins on them that came on the Jeep when it was new. They've been stored indoors and actually appear to be in great shape (no cracking).
Wish they still made the KM. I don't like the looks of the tread patter on the KM2's.

Sorry for the Hijack.
 
Back
Top