• Notice for iPhone users: DO NOT use the image size reduction option when uploading photos to the forum. This causes portrait images to post as landscape. We have added a warning to the image insert pop-up as well.

Spankrjs 1985 Spring Special CJ-7

spankrjs

Scrambler Junkie
Lifetime Member
SOA Member
City
Biloxi
State
MS
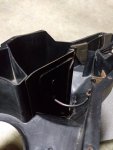
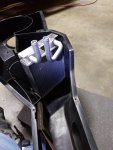
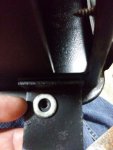
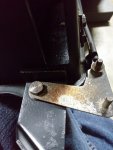
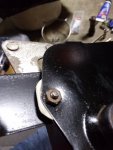
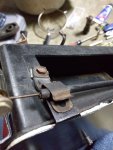
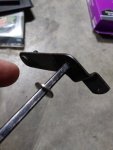
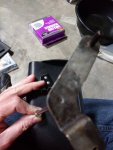
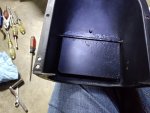
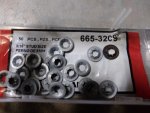
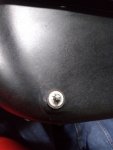
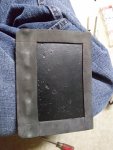
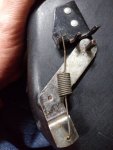
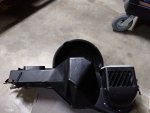
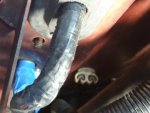
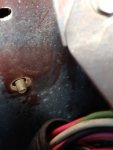
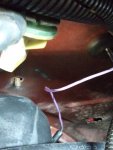
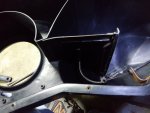
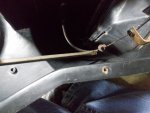
I installed the heater flap next, it will only go in one way. Secure the cable with the little push clip washer thing:
20200121_221223.jpg

20200121_221235.jpg

20200121_221305.jpg

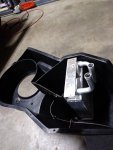
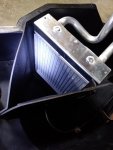
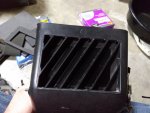
I installed the heater core next.
20200121_222823.jpg

20200121_222828.jpg

20200121_222849.jpg

20200121_222906.jpg

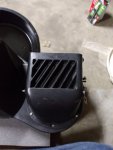
I test fit the metal back panel next, and I had to slightly "tweak" one of the heater core outlet pipes to get it to all line up. Be careful with any "tweaks", could cause a "leak". I crack myself up.

Some people install foam around the heater core. I did not. In the above pictures, this core fits tight to the box, I can't see how adding any foam around it would help? Some cores need a piece of foam on the top or bottom to fit tight, this core fits tight as is.

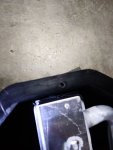
Also, check your heater core to back panel attaching screws BEFORE installing the back panel. On some cores, if you use a screw that is too long, the screw tip can make contact with the core and cause a leak. On this core, it would appear that the upper tank is not directly underneath the two holes in the heater core attaching bracket. I'll take a picture and post it later, BUT the core I removed is not like this, and if the attaching screws are too long, they will make contact with/through the heater core tank!!!!!!!!!!!!

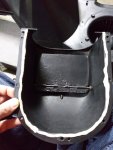
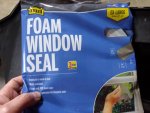
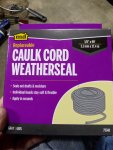
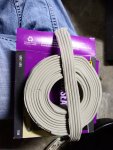
I decided to use this stuff to seal the plastic portion of the heater box to the metal back panel:
20200121_223052.jpg

20200121_223133.jpg

20200121_224706.jpg

It is a sticky, Play-Doh, type stuff. I used this stuff to stick the wax paper to the metal door skins on my red Scrambler, seems to work well. Also, no where near as messy as RTV or other goop. When I disassembled this heater box, it had remnants of some similar substance on it, maybe the factory used something similar, who knows?

That's it for now!!
 

spankrjs

Scrambler Junkie
Lifetime Member
SOA Member
City
Biloxi
State
MS
Finished up the heater box rebuild last night, got it installed, too.

Rear cover, fan motor, heater core screwed down:

20200122_192127.jpg

I used a washer under each heater core attaching screw, the hole in the metal plate was a bit oversize. These are the two screws you have to be careful with, not too long or they can puncture the heater core:

20200122_192133.jpg

The old heater core, showing how too long of screws can cause problems. The holes on top of the plate, on either side, are directly over the tank:

20200122_192159.jpg

20200122_192209.jpg

Bolted this cable lever thing back on, in the following order:

20200122_192552.jpg

Metal bracket sits on plastic housing:

20200122_192601.jpg

Shoulder bolt goes through swing arm:

20200122_192620.jpg

Washer sits between swing arm and metal plate:

20200122_192637.jpg

Bolt, swing arm, washer, all align with hole in metal bracket, go through housing assembly:

20200122_192704.jpg

And the nut on the back side holds it all together:

20200122_192822.jpg
 

spankrjs

Scrambler Junkie
Lifetime Member
SOA Member
City
Biloxi
State
MS
Near the swing arm, the cable attaches to the back of the housing with a metal clip, like so:

20200122_192900.jpg

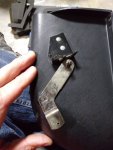
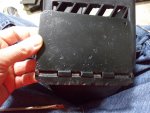
Next, I reinstalled the flap in the fresh air box thingy.

With the flap closed, the arm/shaft are at this orientation:

20200122_193834.jpg

If you are looking into the box, the flap is oriented this way:

20200122_193903.jpg

I had some questions about how the bushings/washers secure the arm/shaft/flap to the box, so I looked at my green Scrambler.

Inner end, toward the middle of the Jeep:

20200122_194655.jpg

Outer end, toward the outside of the Jeep:

20200122_194718.jpg

On both ends, the plastic bushing "flange" goes to the outside of the box, there is a washer/spacer on the arm side to give the arm clearance from rubbing the side of the box.

I lost the original plastic washer, so I used a #10 washer. I went back later and added a second washer.

20200122_195039.jpg

Hole in the side of box, one of the plastic bushings, note the flange on the bushing:

20200122_195123.jpg

Washer on arm, bushing on arm, slide rod through hole in box:

20200122_195142.jpg

Place the flap inside the box, push the rod through the flap. The rod will only go through the flap one way, There is a flat side, and a round side on the arm.

20200122_195213.jpg

And all the way through:

20200122_195622.jpg
 

spankrjs

Scrambler Junkie
Lifetime Member
SOA Member
City
Biloxi
State
MS
I used these "push lock washer things" to replace the original, Balkamp/NAPA part #

20200122_195646.jpg

Once the bushing is installed in the other end of the box, the whole assembly is secured with one of these push locks. Don't push it on all the way super tight, you want a little "side to side float" so the arm/flap swings easy:

20200122_195752.jpg

Then take all back apart to install your new felt on the flap. I ended up using the thin foam seal I made from the Michael's foam. Self adhesive on one side, so i stuck it on, seems to work good, time will tell:

20200122_200435.jpg

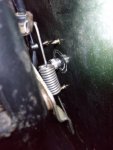
Little spring on the side goes like so:

20200122_200934.jpg

Finished with this part:

20200122_201009.jpg

Used some more of the same sealant on the back of this unit:

20200122_204107.jpg

Screwed on:

20200122_204405.jpg

And of course, the OEM seal on the top of this part was missing/tore up.

20200122_204531.jpg

I used this to make a new one, seems OK:

20200122_204542.jpg

20200122_204546.jpg
 

spankrjs

Scrambler Junkie
Lifetime Member
SOA Member
City
Biloxi
State
MS
Home made seal installed:

20200122_205045.jpg

Completed heater box assembly, finally:

20200122_205104.jpg

No real step by step on installing it, JUST DO NOT FORCE IT!!!
I started by rolling it up into position on the outer side, got the drain pipe/motor through the hole, then worked over till the two heater core pipes poked through:

20200122_205942.jpg

Once those three things were through the fire wall, I gently wiggles the box until the outer most stud by the fender went through it's hole:

20200122_210221.jpg

Then the PIA one under the battery tray:

20200122_210352.jpg

Then the one by computer wire harness hole (not pictured), then the fun one behind the valve cover:

20200122_210403.jpg

I then gently snugged up the four nuts. NOT SUPER tight or you could break the hosuing/stud.

Ta-Da:

20200122_213306.jpg

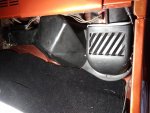
Reconnect the cables under the dash, plug in the resistor wire plug, don't forget about the blower motor wire under the hood, and the drain pipe elbow thing (need to add a clamp to it):

20200122_213336.jpg

Trim/install the two heater hoses:

20200122_214559.jpg

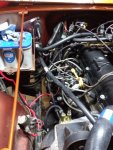
And finished:

20200122_215050.jpg

I still need to "bleed" out the heater core again, but this project is crossed off the list.

Going Jeeping in the Red Scrambler this weekend, so no work on this one for awhile.
 

spankrjs

Scrambler Junkie
Lifetime Member
SOA Member
City
Biloxi
State
MS
Did some more easy/basic maintenance items this past weekend.

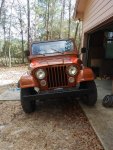
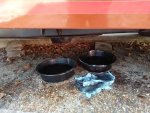
Changed the transmission, T5, and the Dana 300 fluid. Parked the Jeep on a slope, makes draining the fluid faster:

20200201_141624_HDR.jpg

I did this work outside, because the gear oil usually stinks, and I always make a mess.

20200201_141636_HDR.jpg

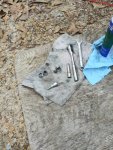
Not too many tools/parts involved.

20200201_141640.jpg

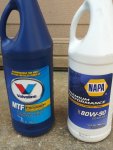
I have been using the MTF stuff in my T5's and AX15, seems to work well. Regular gear oil in the Dana 300.

20200201_141656.jpg

The stuff that came out of the transmission was strange. Not ATF or gear oil, not the AMC "fish oil" stuff, maybe Syncromesh?

20200201_142930.jpg

Old T5 fluid on the left, old gear oil out the Dana 300 on the right.

20200201_142937.jpg

Neither fluid looked too bad/contaminated, but no telling how old it is. Pretty simple chore.

I also pulled the cover off the front Dana 30 and changed the fluid. Again, stinky, and nice weather, outside work.

20200202_101103_HDR.jpg

No water/mud/dirt contamination, but this fluid was nasty. I warmed up the fluid by driving the Jeep around for about 30 minutes with the hubs locked in. The old stuff was kind of foamy, with a layer of thicker deposits on the bottom of the axle housing.

20200202_101705.jpg20200202_101715.jpg
 
  • Like
Reactions: SKT

spankrjs

Scrambler Junkie
Lifetime Member
SOA Member
City
Biloxi
State
MS
I let the axle fluid drain for about an hour, two cans of brake parts cleaner cleaned it up. No damage anywhere, everything looks good.

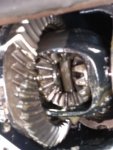
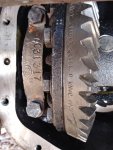
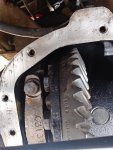
A few random pictures of some of the markings I found on the ring gear/axle housing:

20200202_115400_HDR.jpg

20200202_115413_HDR.jpg

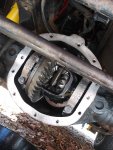
Cleaned out and dry, ready for the cover and gasket.

20200202_123109.jpg

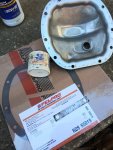
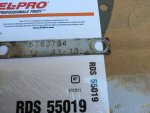
I used a Felpro paper gasket, glued it to the cover ONLY with the aviation sealant, torqued bolts to 20 foot pounds, no leaks so far.

20200202_123039.jpg

Close up of the front diff cover tag:

20200202_123046.jpg


I also changed out the fuel filter. I still have a slight "stumble/miss/surge", at light throttle/cruising speed. Figure i would change/check the fuel filter first.

Some small flakes of rust, nothing major. I imagine this is coming from the original chassis mounted fuel lines/sending unit. Tank is the stock 20 gallon plastic unit, no worries about it rusting out.

20200201_154922.jpg

20200201_154938.jpg

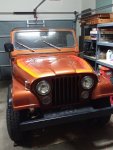
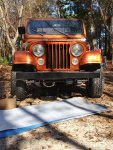
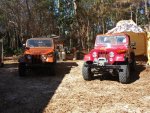
Stock height/tires, vs lift and 33's:

20200202_133205_HDR.jpg
 

spankrjs

Scrambler Junkie
Lifetime Member
SOA Member
City
Biloxi
State
MS
So, I still have my "light cruising speed surge/miss". I unplugged the EGR valve the other day, thinking maybe it was causing the issue, but no change.

While messing with the EGR valve, I decided to clean it. A gasket is cheap enough, worth a shot.

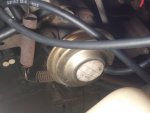
This is the EGR valve, on the side of the intake manifold. Pretty sure it is a replacement part, judging by the sticker.

20200203_173656.jpg

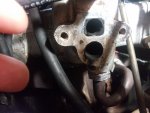
When I pulled it off, both bolts were loose, the gasket fell apart, and a little bit of crud in the intake manifold:

20200203_174121.jpg

20200203_174132.jpg

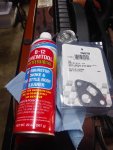
The gasket was like $3, the carb cleaner stuff cost more LOL:

20200203_175019_HDR.jpg

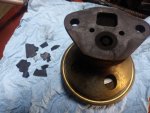
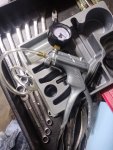
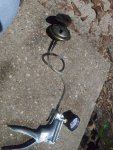
An intact EGR valve will NOT hold vacuum. But, I still used my little vacuum pump to move the pintle back and forth while soaking it with cleaner. You can also depress the diaphragm with your fingers through the holes in the EGR housing IF your fingers are small enough.

20200203_175734.jpg

20200203_175855.jpg

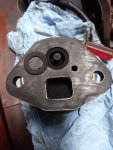
The cleaned up EGR valve. It was really not too dirty. Note the little washer thing that goes in the round port. I'm not an EGR expert, but I think the replacement EGR valves come with different size washers to make the replacement valve port size math the OEM size. I am going to assume this is the corret washer for my application.

20200203_181637.jpg

I have talked about this PIA "crossover tube" before. Basically, this metal tube attaches to both the exhaust manifold and the intake manifold. Exhaust gasses go through this tube, when the EGR valve opens, exhaust gas gets sucked into the intake manifold to be burned in the engine.

20200203_181648_HDR.jpg

You do NOT want the EGR working all the time, especially on a cold engine, or at idle. So, the EGR gets a vacuum signal from ported vacuum. BUT, this signal goes through two sensors:

1) The "CTO valve" - basically, this valve will not allow vacuum to travel through it until the coolant reaches a certain temperature. This Jeep is a California emissions model, so it has the 5 port switch. Some of these are 2/3 ports

20200203_181737.jpg

2) The thermal vacuum switch in the air cleaner - even if the vacuum signal travels through the CTO valve once the engine is warmed up, it will NOT travel past the TVS switch in the air cleaner unless the air temp is over 40/50 degree.

20200203_181747.jpg

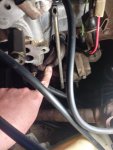
Pretty easy to check these two things out. I put a vacuum gauge on the "vacuum line from the CTO that goes to the TVS switch", NO vacuum when the engine is cold. Once the engine warms up, vacuum signal. On the TVS, hard to test down here, since it is rarely below 40 degrees. I guess you could stick the air cleaner in your freezer and test it, I'll assume its good LOL.

With the engine warmed up and idling, runs smooth. If you apply vacuum, or manually depress the EGR diaphragm, the engine will start to stumble/miss really bad.

Anyway, my EGR stuff appears to be working fine. I will have to check out some other stuff.

I will probably disconnect/plug off the vacuum advance signal to the distributor next, eliminate the vacuum advance mechanism. If that eliminates my "light cruise speed surge", I will test the vacuum advance mechanism.

I will also check out the fuel pump pressure/output. BUT, I don't think it is fuel, could be wrong. The engine starts/idles/accelerates hard all the way to red line fine, it just developed this annoying "surge/miss" at light throttle cruising conditions.

That's it for now.
 

Randyzzz

Blown Budget
BENEFACTOR
Gold Member
Lifetime Member
SOA Member
City
Redmond
State
OR
Your write-up tutorials are amazing.
 

Jeep Addict

Scrambler Junkie
Lifetime Member
City
Baton Rouge
State
La
Thanks for all the useful rebuild info. I did really well following your first rebuild thread 10 years ago. Hopefully, soon I’ll be to the point of rebuilding my heater box too :rotfl:


1D3ABF55-25D7-43E0-ACE2-700B54ECAB1B.jpeg
 
Top