• Notice for iPhone users: DO NOT use the image size reduction option when uploading photos to the forum. This causes portrait images to post as landscape. We have added a warning to the image insert pop-up as well.

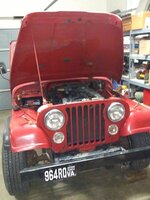
1985 4 cylinder Base Model CJ-7

I rebuilt the carburetor this weekend.

Not really a "step by step", but some high lights.

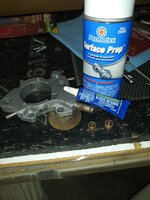
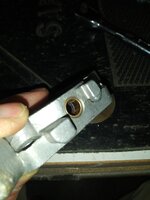
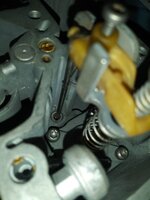
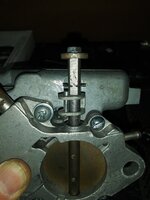
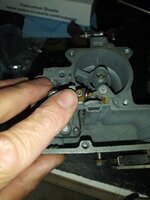
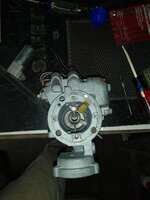
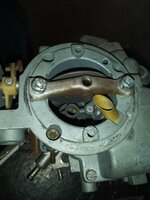
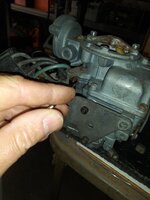
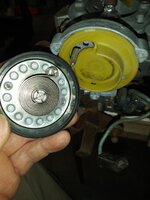
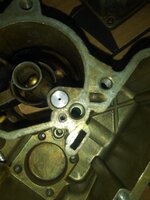
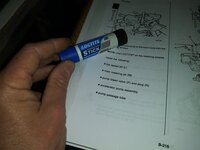
Used sleeve retainer/activator to install the new throttle shaft bushings. Used a bolt as an install tool.

20220319_150830.jpg

20220319_152902.jpg

The bore on the return spring side is a good tight fit. The bore on the other side was not as tight.

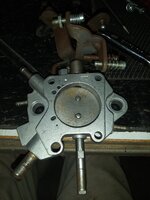
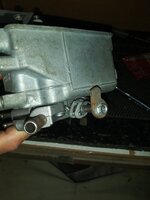
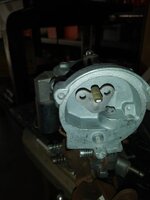
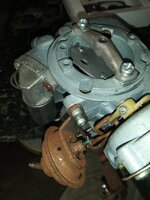
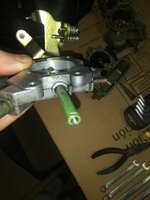
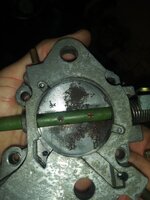
Installed the throttle plate/shaft:

20220319_154330.jpg

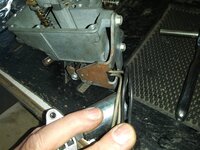
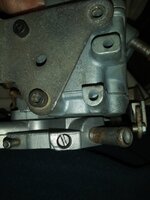
Per FSM, used LocTite on the screws that hold the throttle plate to the middle housing:

20220319_154424.jpg

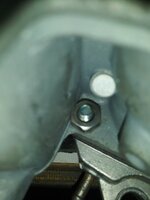
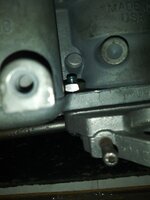
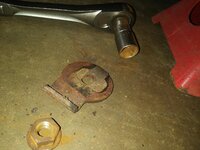
On the one stripped out hole I used a ground down nut on the top side, worked great!!

20220319_160645.jpg

20220319_160657.jpg

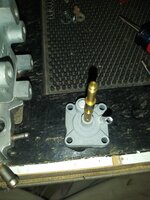
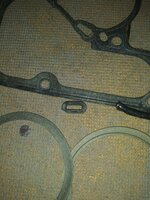
Installing the accelerator pump, note gasket orientation:

20220319_161920.jpg

Some lube helped installing this little tube a bit easier, still a PIA:

20220319_163513.jpg

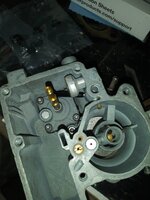
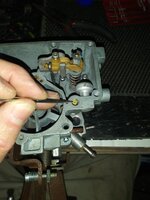
Accelerator pump assembly/metering rod:

20220319_164946.jpg

20220319_164953.jpg
 
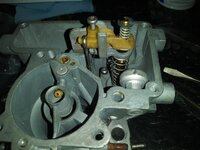
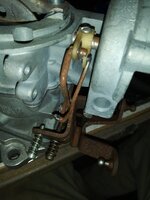
Throttle shaft to accelerator pump connection:

20220319_171029.jpg

20220319_171038.jpg

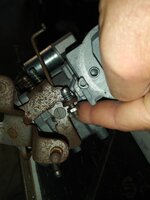
Attaching WOT switch:

20220319_171323.jpg

Adjusting metering rod:

20220319_173243.jpg

Adjusting/checking float height/drop:

20220319_174935.jpg

20220319_180320.jpg

Installed check ball/weight:

20220319_180533.jpg

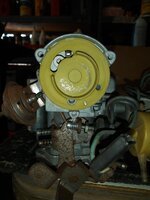
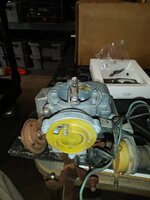
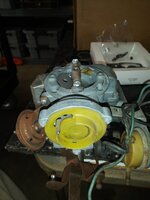
Installed the top of the carburetor:

20220319_181639.jpg

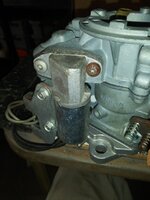
Installed "idle mixture solenoid":

20220320_094321.jpg

Installing choke "switch/arm":

20220320_094333.jpg
 
Hooking up choke rods:

20220320_095343.jpg

Bolting the air cleaner stud mounting bracket back on:

20220320_095349.jpg

Installing choke shaft into housing:

20220320_095353.jpg

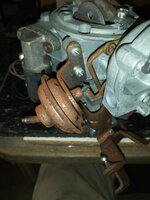
Choke vacuum pull off:

20220320_095836.jpg

Bolting on the "Sol-Vac", found two more stripped out holes:

20220320_101131.jpg

20220320_101137.jpg

Installing all the choke components:

20220320_101316.jpg

Choke open:

20220320_101320.jpg

Choke shut:

20220320_101333.jpg

Choke bi-metallic spring thingy:

20220320_101558.jpg
 
Hard to see, adjusting choke idle speed screw on the stepped cam:

20220320_102705.jpg

Hooking up choke pull off:

20220320_102710.jpg

Idle mixture screw uses an o-ring (old one was rotted up in the throttle plate bore):

20220320_102940.jpg

Installed. Screwed in until it seated, turned out 2.5 turns. On the BBD's I will turn these screws out 2.5 turns, then do the "RPM drop" to dial them in, leaving them out about 2-2.25 turns. On this YFA, not sure.

20220320_103150.jpg

Bolted the carburetor back onto the intake manifold:

20220320_113416.jpg

Installed replacement screws to hold the radiator/shroud in place, #14 IIRC:

20220320_145201.jpg

Temporarily reconnected all the wires/vacuum lines, filled the engine back up with coolant:

20220320_145208.jpg

Blew out the return line to check for blockages. In doing so, I pressurized the entire fuel system, which forced fuel through pump into the carburetor, excess blew out the disconnected port on the fuel filter. One way to fill the float bowl!!!!!!

Pumped it three time, choke set, fired right up and ran surprisingly well!!!!!!!!!

20220320_150716.jpg

Ran it for 5 minutes, changed the oil. The engine is only supposed to hold 4-4.5 quarts. The crank case was full of about 7 quarts, the excess being gasoline from the leaking accelerator pump!!!!! Held around 25 pounds of oil pressure before the oil change, around 60 psi now. Not good for raw fuel to be in the crank case!!!!!! This helps to explain why the inside of the engine was so clean, the gasoline in the motor oil works as a great "flushing agent". The drained oil was just like if you buy a commercial "engine flush" and drain your oil.

After the oil change, drove it around for about 20 minutes (not too long or far, I only have the cat hooked up/dangling):

20220320_171625.jpg

Engine runs well, brakes and PS work well, T5/Dana 300 work, 4wd works.
 
So, it runs a million times better then before, but still not "right". I am going to rebuild/reinstall another carburetor on this one, too many stripped out holes on this one, and the throttle shaft to bushing has too much play on one side, probably causing a vacuum leak.

Some notes/plan of action:


Choke is weak, either need to adjust it tighter or replace

Re-check carb to intake, intake to head bolts/nuts

Replace quite a few miles of questionable vacuum lines

Loose ground wire in MCU harness, figure out what it is, ground if need be

Reinstall all exhaust components (muffler/tail pipe/head pipe) BEFORE going any further with engine/tuning

Big one - no idle speed adjustment on this carburetor. There is an "anti-diesel" screw that looks like an idle speed screw but it is not for idle speed adjustment. The "idle mixture solenoid" controls the idle speed on this carburetor. When I first started the engine up, it idled around 600-700rpm with no Raymond adjustments, which seemed great. After 20 minutes of driving, it is idling around 1,000rpm. I am thinking this is caused by a vacuum leak, NOT an MCU or solenoid issue.

Change out O2 sensor, pretty sure it is fouled judging by how much raw gas was dumping through this engine/exhaust

Adjust idle mixture screw with a dwell meter hooked up to two pins on the diagnostic port, according to FSM.

Check/adjust the "Sol-Vac" idle thingy

Readjust base timing (I set it when the engine was running on three cylinders and with a blown carburetor


The MCU appears to be working. The "shift light" comes on if you do not upshift fast enough for its liking, and I can hear the "trumpet" type sounds of the pulse air system trying to do its thing. This Jeep only has around 70,000 miles on it, the MCU harness is intact, all the components are in place, so worth a shot preserving this one like OEM. I could just swap on a Weber, but where is the fun in that :thumbsup:

So, some basic work first (exhaust system install & swap carburetors), then a bunch of mundane tuning/tracing/testing/checking/verifying feedback system components.

Even though this one is not "right" yet, it still runs/starts/stops well. Definitely not an MPI equipped 4.2/4.0, but it runs well. I got it up to 40mph, seemed like it had plenty more to give!!!! I put it in 4 low and climbed the ditch that connects my yard to the street, climbed it no problem, did not feel weak. It did diff out when I hit at an angle, but with open diffs, this is to be expected.

Anyway, that's it for now, glad to have this thing finally drivable :D
 
Watching the carb rebuild brings back so many memories. Makes me realize that I’m either injecting the 225 on the Jeepster I bought, or putting in some sort of injected engine. I have nothing but respect for you, Raymond- and anyone who still use carbs.
 
Watching the carb rebuild brings back so many memories. Makes me realize that I’m either injecting the 225 on the Jeepster I bought, or putting in some sort of injected engine. I have nothing but respect for you, Raymond- and anyone who still use carbs.
Yeah and figuring out all that other emission crap that came with the Jeep and getting it all to work almost 4 decades later. Weber = piece of cake and the 20 % more power that was stated at the time.
 
Yeah and figuring out all that other emission crap that came with the Jeep and getting it all to work almost 4 decades later. Weber = piece of cake and the 20 % more power that was stated at the time.
No challenge in that :thumbsup:

In all seriousness, yes, removing the factory carburetor/feedback system would ease diagnostic/maintenance time, and if this was a daily driver or trail Jeep, I could agree with that sentiment. Whatever JeepAddict or any future owner decides to do with it is on them, I'm just going to try to preserve as much OEM as I can, since it is all there/intact.

And besides, a Weber would not entail figuring all this stuff out :crazy:

20220322_183145.jpg
 
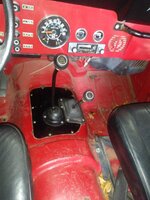
Back to work on this jewel, hitting some easy stuff first. Put it in the garage, much better then fighting with this stuff in the dirt.

20220401_161326.jpg

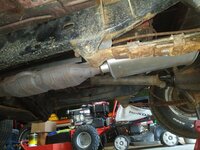
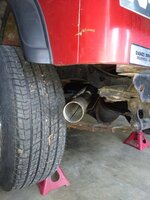
Installed the cat heat shield, new muffler and tail pipe. Much quieter now.

20220401_175520.jpg

Not 100% happy how the tail pipe will not be hanging from the very rear hanger, but will make it work.

20220401_175542.jpg

The exhaust will have to be removed. I have a leak at the front pipe where it meets the catalytic converter, and the cat is shot. Ordered a new cat, should get it next week. If this Jeep did not have all the feedback stuff/pulse air parts in place and intact I would have just removed the cat and ran a straight pipe in its place

Think it needs a new transmission mount!!

20220401_182643.jpg

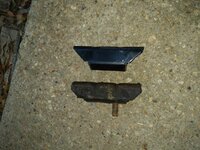
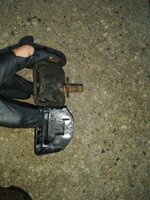
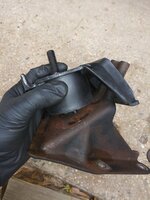
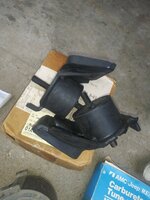
New versus old. The old one was shot, and was missing one stud completely, the other nut was loose. The torque arm stud/mounts were OK, but someone had been messing with it.

20220401_185940.jpg

20220401_190004.jpg
 
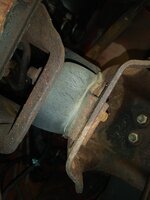
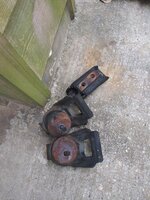
Motor mounts were not much better.

20220402_090624.jpg

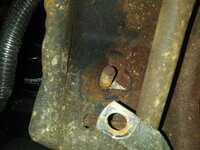
The four cylinder mounts are very different from the 258's. They also have this little tabbed washer behind the lower nut.

20220402_090630.jpg

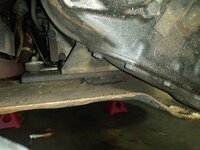
The destroyed transmission mount, coupled with the smooshed motor mounts, shifter the entire power train to the rear. The transmission mount studs would not go through the skid plate until the motor mounts were loosened, and the engine pulled forward about 1/2".

20220402_090648.jpg

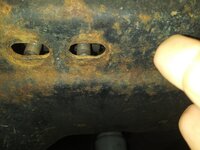
You can see how engine mount studs were all the way to the rear of the frame bracket slots.

20220402_090638.jpg

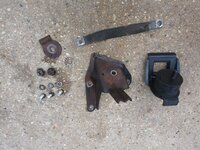
The passenger side motor mount/bracket and associated parts.

20220402_110148.jpg

You can kind of see how the mounts/brackets key/fit together.

20220402_110205.jpg

Mission accomplished.

20220402_130355.jpg

Installed new T5 shifter shaft isolator parts. No drama this time. This stuff fits together tight, had to place a wrench on the shifter and hit it with a hammer to drive it all the way home.

20220402_154720.jpg

You know its home when the little metal clips tabs pop through the little window in the shifter shaft. Don't put the shifter on backwards!!!

20220402_154727.jpg

New shifter boot, nice improvement, finished.

20220402_171448.jpg

No pictures, but also reinstalled the liquid/rollover check valves and associated hoses for the fuel tank.
 
Last weekend I had to make a run over to Baton Rouge, so I made a pit stop at @Belizeit home to grab some parts/talk Jeeps/and look at his really nice 1984 CJ7 that he has had since new.

First off, @Belizeit :

20220402_171537.jpg

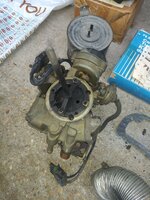
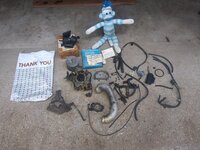
He gave me his old carburetor, a pair of new motor mounts, some vacuum lines, and other doo-hickeys. Thanks again!!!

20220402_171519.jpg

20220402_171529.jpg

20220402_171510.jpg

20220402_171505.jpg

20220402_171459.jpg

That's it for now!!
 
I will update more tomorrow, but this thing runs great!!!!!! Will spin out on dry pavement, grab 3rd gear in the yard/pines straw/leaves!!!!

I'm sure OEM tire size and 4.10 gears really help the little 4 cylinder, but up to 60mph it is strong. Haven't drove it on the interstate yet, ran out of gas, but this little engine has more then I thought it would :headbang:
 
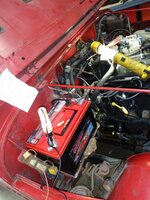
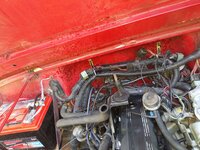
I completed a bunch of under hood inspection/diagnosis/adjustments/head scratching this weekend. Not really picture worthy, but here are some highlights.

This ungrounded ground wire is the wire you ground if you operate a "regular altitude model" at higher elevations:

20220403_103950.jpg

The FSM says it is over by the coil, like a 258, but on this 4 cylinder it was not. It was up on the firewall, dead center with the engine. It could reach one of the rear head bolts that is already occupied by some ground wires.

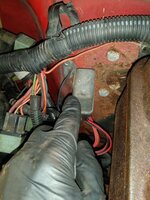
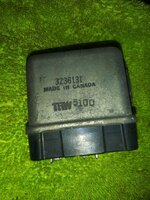
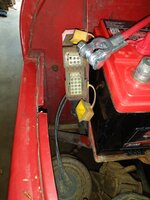
Hooking up the battery cables, something would "click" under the hood. Sounded like a relay, but it was not one of the typical square relays. It was this thing:

20220403_104002.jpg

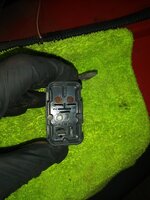
I have not seen one of these on a six cylinder Jeep before, must be a 4 cylinder only part. A few more pictures:

20220403_104202.jpg

20220403_104207.jpg

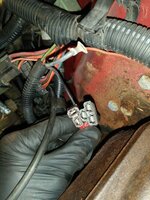
These two wire plugs go into it, it grounds to the firewall:

20220403_104218.jpg

The ground was bad/loose, so fixed that. I am 99% sure this thing communicates/operates either the YFA's "idle mixture solenoid" or the electrical portion of the "Sol-Vac Idle controller. A regular relay feeds it, then wires go to MCU/toward carburetor. The 4 cylinder carburetor does not have a "stepper motor", and there is not a "conventional" idle speed adjustment. Anyway, both the "idle mixture solenoid" and the electrical portion of the "Sol-Vac" work, so good news there.

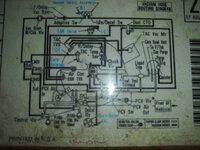
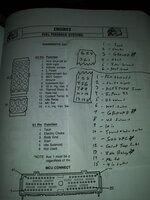
Just some notes. The FSM "map" is upside down compared to reality, so made a cheat sheet to keep from frying my brain:

20220403_110646.jpg

See what I mean:

20220403_110655.jpg

Just showing how you can use this "diagnostic port" to check/trace/identify wires/circuits. In this picture, proving the unhooked ground wire was indeed the altitude jumper wire:

20220403_110937.jpg

Another random note:

20220403_113742.jpg

The wire plug on the brake proportioning valve was disconnected. Hooked it back up, dash warning light stays lit up. You can not engage the parking brake, the master cylinder was full of sludge, and the rear brakes are non-operational. While the Jeep was off the ground, you could push down the brake pedal and still easily rotate the rear tires. At minimum, I need to flush the system, pull off the drums, see what is froze up back there. There are no leaks, but no rear brakes, either. That being said, the front brakes still stop the Jeep fine, but I need to figure this out.

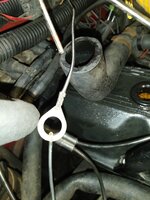
Pretty good blow by out of both valve cover ports while engine is idling. Actually, most of that is from the rear port (fresh air port). I have been driving this Jeep around with nothing in this hole, so it will blow out some oil!!!!! This amount of oil was after probably an hour of driving/idling with nothing in the rear port, and a loose PCV valve. Not overly alarmed by this considering how the Jeep fires right up/power level. The "super running rich" hopefully did not damage the rings. I don't think it operated like this for long, so should be good. Might compression check the engine at a later date if I have any lingering doubts.

20220403_114215.jpg
 
Last edited:
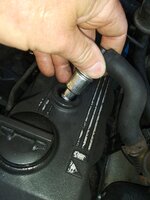
Another issue with the PCV system:
20220403_115431.jpg

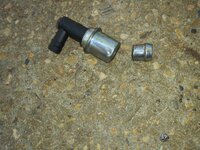
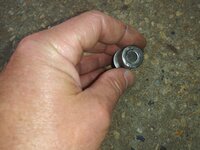
You can still purchase the correct 4 cylinder valve, BUT I can not find a grommet to fit it correctly. My solution, and it works:
20220403_143237.jpg

20220403_143242.jpg

You can cut the lower extension off with no ill effects. The valve will now fit in the grommet snug, AND it will not bottom out on the internal baffle. Or, just buy a regular 258 PCV valve.

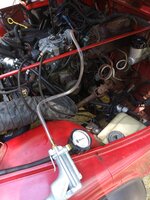
Adjusting the idle on this thing is a 3 part process, and one step is foreign to me, but pretty neat.

First, adjust the vacuum idle on the Sol-Vac, per FSM/under hood decal (1,000 RPM IIRC):
20220403_123809.jpg

Then adjust the electrical portion of the Sol-Vac:
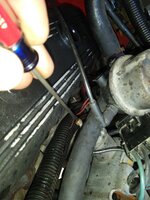
20220403_125005.jpg

The neat thing about the electrical portion of this: The power steering pressure hose has a sensor. When you steer the vehicle at idle, the Sol-Vac will kick up the idle to keep from bogging down the 4 cylinder engine. And, it still all works!!!!!!!!! You can turn the steering wheel at idle, watch the Sol-Vac extend and kick up the idle. I did this for a few minutes, I know, I'm a redneck, still thought it was neat!!! The electrical portion will also extend if you have AC when the compressor clutch engages.

Now, the strange part. You have to adjust idle mixture with a dwell meter. So, kick up the idle to 900 RPM IIRC, hook up your dwell meter to the two specified diagnostic ports (7 and 14 IIRC), then adjust idle mixture lean or rich depending on your readings.

Initial set up:
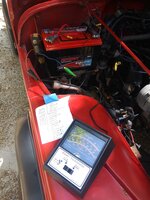
20220403_130308.jpg

You want it to read around 30, which I achieved:
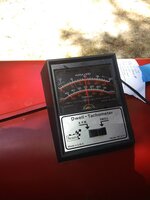
20220403_130823.jpg

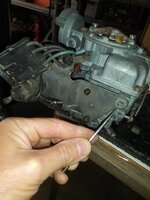
It is a PIA to access the idle adjustment screw. It faces the valve cover. A short/small screw driver is needed. IIRC, I initially only had this screw out 2.5 turns. According to the dwell meter, I was lean. If i were to guess, I am probably around 4 turns out now.

I also readjusted the timing. I set it before when it was only running on 3 cylinders, not sure if that matters, but it must. It was a bit retarded, took about 6 degrees advance to get it to 12 @1600RPM with vacuum/electrical disconnected. Runs great now.

So, good idle (mostly), starts right up (hot or cold), and accelerates and runs really well. Two issue, more on this in a bit.

Since I had all my crap out, decided to hook up the AMC Feedback tester:
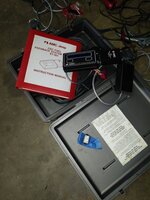
20220403_165121.jpg

Unfortunately, my 4 cylinder chip is shot:
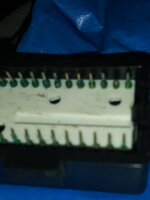
20220403_165144.jpg

I checked it with the 6 cylinder chip, but it kept saying "check stepper motor". This makes sense, the 4 cylinder does not have a stepper motor. Anyway, I am 95% confident all the feedback system components are functioning. I still need to change out the O2 sensor, pretty sure running so rich ruined it. I need to scour eBay to see if I can find the 4 cylinder module for the feedback tester.

Two "problems" I have with the engine/carburetor:

(1) The damn throttle shaft will stick sometimes and only allow 20% throttle. It is not any emissions thing/Sol-Vac/linkage issue, the throttle shaft will bind. I can also wiggle it and change the idle. Thank goodness @Belizeit I have another carburetor to rebuild.

(2) Not really a problem, but "different". On a cold start, push the pedal down once to set choke/shoot some fuel into intake, engine fires right up. On a hot restart I have found it will not just fire right back up. If you pump the gas pedal, even once, it will almost flood out. BUT, if you hold the gas pedal down about 15-20%, then turn the key, it will fire right up. Not sure if any other AMC 4 cylinder owner's have noticed this, or just something peculiar to me/this Jeep/this carburetor???????????

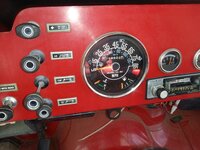
When the throttle shaft does not stick, this thing is actually quite fun to drive. It will spin out on black top, catch 3rd gear in the yard. Good power, responsive acceleration, decent pep. I mentioned earlier, stock tires and 4.10 gears really help in this department. I have not drove it on the interstate yet, I am sure the lower power will be noticeable. As it sits now, with stock tires/4.10 gears, I can shift into overdrive around 35 mph with no issues. I have noticed the OD in the 4 cylinder T5 is not as deep as the 6 cylinder T5, so you do not drop the same amount of RPM.

Anyway, for a stock Jeep, just cruising and light 4-wheeling, I could see a properly operating 4 cylinder as a viable option. Definitely not a 258 or V8, but really not terrible, either.

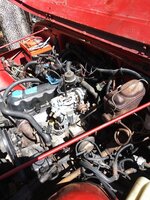
So I leave it like this for now:
20220403_172022.jpg

Need to:

1) install new catalytic convertor/front pipe/O2 sensor
2) rebuild/install my other carburetor, and adjust like above
3) sort out the brake parts
4) quit working on JeepAddict stuff and start working on mine :D

That's it for now!!!!!!!!!!!!!
 
Last edited:
On the rear brakes, check the rubber hose from the hard line to the axle. That was the issues with no rear brakes on the Overlander. That is assuming you get no fluid from the bleeders.
 
Glad you got it running pretty well. The only real power problem I really ran into was interstate and off camber on the side of a mountain running rich. I figured after 36 years I wanted some bigger tires and fuel injection. Otherwise I really had no problems with the 4 banger.
 
Back in the saddle again:

20220408_195726.jpg

Not going to post a bunch of pictures, just some high lights.

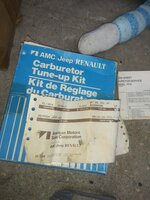
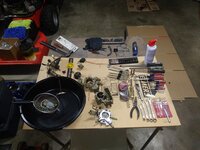
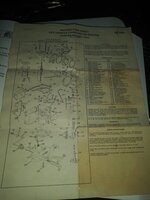
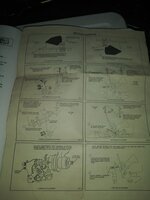
AMC rebuild kit instructions:

20220408_195751.jpg

20220408_195805.jpg

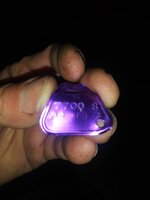
Carburetor ID tag:

20220408_195951.jpg

20220408_200001.jpg

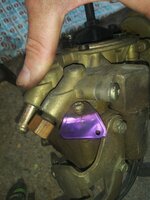
Slop free throttle shaft, note green plastic coating:

20220408_195838.jpg

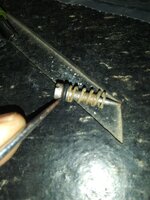
Original deformed screws that hold throttle plate to the throttle shaft:

20220408_195845.jpg

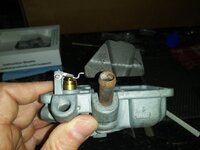
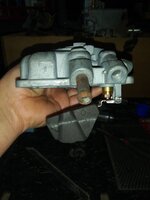
One difference: this carburetor had a seal/seal retainer for the square accelerator pump shaft that goes into the float bowl area. The previous carburetor I rebuilt did not have these pieces.

Little square seal:

20220408_195858.jpg

Where it goes:

20220408_195906.jpg

So far, this carburetor appears to be in much much better shape then the one that was on this Jeep. Hope to get it rebuilt and installed soon.

Thanks again @Belizeit !!!
That's it for now!
 
I was surprised that the instruction sheet lasted 33 years in my attic. Even the silver fish bugs didn’t eat it, where in my garage long term I have had paper and pictures nibbled on.
 
Back
Top