• Notice for iPhone users: DO NOT use the image size reduction option when uploading photos to the forum. This causes portrait images to post as landscape. We have added a warning to the image insert pop-up as well.

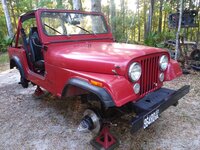
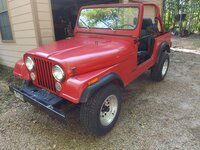
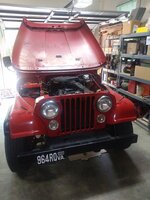
1985 4 cylinder Base Model CJ-7

Late start but got a good amount of work accomplished today.

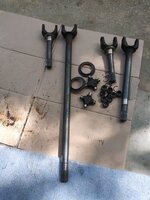
Got the old u-joints out:
20220424_102859.jpg

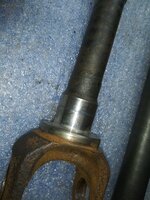
I also removed the "large spindle shield races" off both stub shafts due to excessive corrosion. If these are in good shape I reuse them.

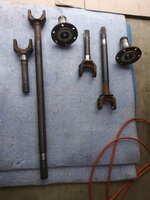
Cleaned the axles and spindles up, mainly removing rust:
20220424_114703.jpg

Cleaning rust off the back of spindles. All the important areas are rust free, I mainly just wanted to clean up the back side bore. The large seal will not hit the outer ridge, but just wanted to clean it up.
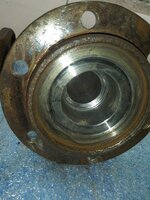
20220424_114710.jpg

Stub shafts are in good shape, too:

20220424_114716.jpg

Not the best picture, one minor nick in one of the axle shaft u-joint cup bores, smoothed it out with a file.
20220424_114726.jpg

Cleaned the knuckles and splash shield up, too. Both splash shields were in pretty good shape so I will reinstall them.
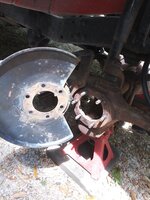
20220424_114745.jpg

Installing these metal spindle seal things is a PIA. I could not press or smack them on. So, I treated them like a ring gear on a flywheel. I heated them up with the torch for about 5 minutes then slid them over the stub shafts. Worked like a charm.
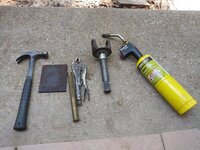
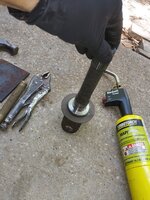
20220424_123258.jpg

20220424_123308.jpg

Successfully installed both front axle u-joint assemblies without damage or making a trip to the parts store for another u-joint, always proud of myself when I do that!!! Also pressed in the new spindle bearings
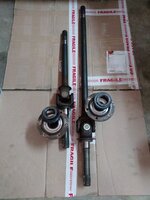
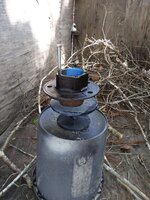
20220424_144902_Burst01.jpg
 
I was going to go ahead and install the axle shafts/spindles, but decided to go ahead and finish all the subassemblies before installing anything.

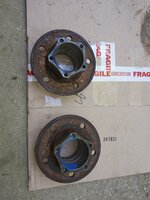
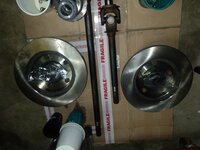
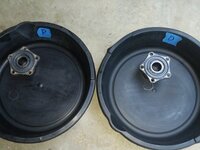
Removed the old rotors, bearings, and seals from the wheel hubs. Cleaned them up, they are still in great shape. I was a little concerned because all four spindle nuts were loose, but no harm, and no slack in the steering. Pretty sure the seized up calipers kept the wheel hubs running true!!!

20220424_160228.jpg

The tape inside just tells me which side is which. I believe JeepAddict is going to put "base model" OEM steel wheels on this one eventually, so I didn't want rusty hubs poking through.

RedenckRay Rotisserie paint booth device:

20220424_160639.jpg

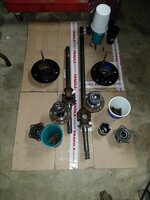
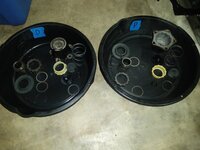
Called it a day, parts somewhat organized by side, not that it really matters, but OCD:

20220424_163031.jpg

Still need to:

Clean and tap all 10 lock in hub bolt holes
Press in bearing races/rotors
Pack wheel bearings with grease
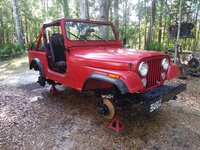
Install bearings/hub seals
Clean and lube the OEM lock in hubs

And reinstall all this stuff.

That's it for now :wave:
 
Packed the wheel bearings:

20220425_173018.jpg

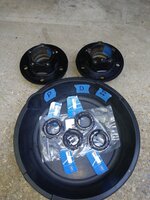
Installed new rotors on the wheel hubs, pressed in all four races, installed the inner bearings followed by the hub seals:
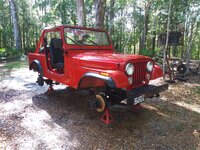
20220425_185647.jpg

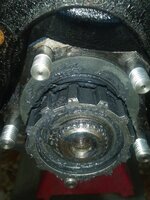
Disassembled and cleaned the lock in hubs, ready to be greased and reassembled:

20220425_194325.jpg

After I reassemble the lock in hubs it will all be ready for reinstallation on the front axle.

That's it for now :woot:
 
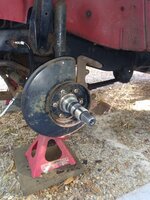
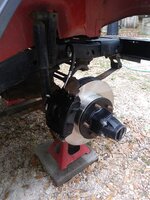
Installed the axle shafts and spindles:

20220426_172745.jpg

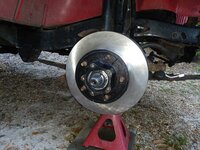
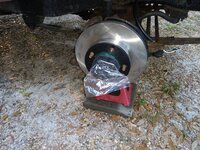
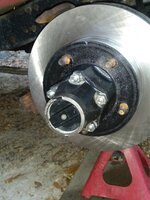
Installed the wheel hubs, adjusted wheel bearings, bent over lock tabs:

20220426_184433.jpg

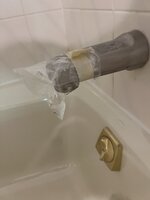
Sandwich bags to keep dirt/moisture out until I install the lock in hubs:

20220426_184609.jpg

That's it for now!!

20220426_184625.jpg
 
More piddling.

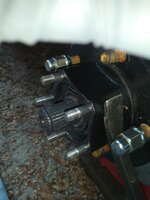
Installing studs in the wheel hubs for the lock in hubs:

20220427_174527.jpg

20220427_174535.jpg

Rebuilt the lock in hubs:

20220427_185457.jpg

Slide the inner part on, don't forget the little clip!!

20220427_190005.jpg

And temporarily bolted them on/tested:

20220427_190957.jpg

That's it for now :bacon:
 
Ah, the old bag trick. Saw it on a bathtub refinish this week.......

View attachment 102370
I like the stud idea. The non threaded part takes up a little more space than a full thread bolt. The last time I put my hubs on my Scrambler I went though a bolt bin looking for a bolt that still a had the not threaded part about the some length as the hub thickness, It made the bolt to long so cut the threads off for the correct length. I also used what we called anti-vibration 2pc washers. I have never had a problem with the hub working loose.
 
I like the stud idea. The non threaded part takes up a little more space than a full thread bolt. The last time I put my hubs on my Scrambler I went though a bolt bin looking for a bolt that still a had the not threaded part about the some length as the hub thickness, It made the bolt to long so cut the threads off for the correct length. I also used what we called anti-vibration 2pc washers. I have never had a problem with the hub working loose.
On my green Scrambler, I installed these same studs with "Nord-Lock" 2 piece washers (starts at post #504):


When I went through my bolt bin, I came to the same conclusion as you, I would have to "make" some bolts :cheers:

In the end, I went with the studs because the OD of their non-threaded portion is slightly larger than the OD of the non-threaded portion of the bolts I had on hand.

With the five studs installed, the lock in hub is a super tight fit, no "wiggle" between the hub holes and the studs (as long as the holes in the aluminum bases of the hubs have not been wallowed out by past movement).

I figure the fat portion of the studs is what is really keeping the hubs from wanting to "rotate", and thus wallow out the holes, and then causing the bolts to loosen. This leaves the nuts to just keep the hubs from wanting to "slide outward".

After messing with the Nord-Lock two piece washers, and the way they cut into the hub body/back of nut (or bolt head if you use bolts), they alone may be enough to prevent loosening :shrug:

I went totally overkill on my green Scrambler: studs, Nord-Lock washers, AND "top lock" self locking nuts. I do not see how the studs/nuts could come loose!!!

On this Jeep, I might just install some Nord-Lock washers and "nylock" nuts, to make future maintenance easier :twocents:

Even though I used the "sleeve retainer" compound on the studs, I still think that when the metal self locking nuts are loosened, they might just take the studs out with them. Not the end of the world, but I am hoping the sleeve retainer stuff will "permanently" keep the studs in place :shrug:
 
Cleaned the rotors, installed the brake pads/PIA anti-rattle clips, brake calipers, and hooked up the rubber brake lines to the calipers:

20220428_173654.jpg

Just need to bleed the brakes, then I can call this part of this project complete.

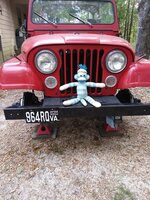
Part's Monkey came out of hiding to hopefully lend a hand in the brake bleeding process:

20220428_174648.jpg

That's it for now :thumbsup:
 
Cleaned the rotors, installed the brake pads/PIA anti-rattle clips, brake calipers, and hooked up the rubber brake lines to the calipers:

View attachment 102378

Just need to bleed the brakes, then I can call this part of this project complete.

Part's Monkey came out of hiding to hopefully lend a hand in the brake bleeding process:

View attachment 102379

That's it for now :thumbsup:
Looks like a parts monkey enjoyed himself
 
Bled the brakes:

20220430_164752.jpg

Quick wash, should polish up nice:

20220430_153849.jpg

Back on four wheels:

20220430_181846.jpg

After a quick test drive:

20220430_184449.jpg

Brakes working well, bearings feel fine. Nothing hot, no smoke, should be good to go. Brake lights stuck on after all the pedal pumping, will look at it tomorrow when I swap on a new carburetor. The current whistle from the throttle shaft leak is starting to hurt my ears!!!
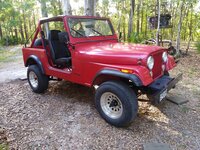
That's it for now!!
 
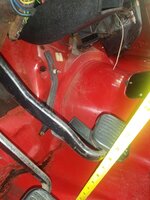
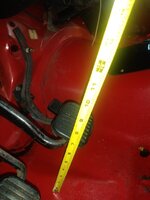
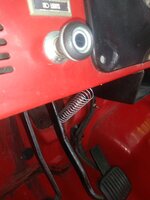
Diagnosed the brake light staying on issue, weak pedal return spring.

Pulling the pedal all the way up by hand against the stop:

20220501_122816.jpg

As far as the spring brings it up:
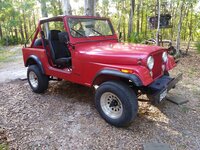
20220501_122829.jpg


The switch needs that extra inch to keep the lights switched off. For now, a spare throttle return spring dies the job:
20220501_145320.jpg
 
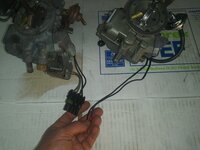
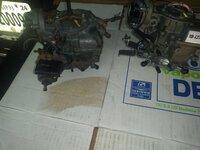
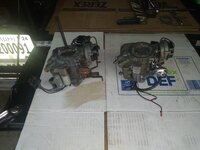
Installed a third carburetor on this Jeep today, this time one from eBay, National Carburetor IIRC. And of course, not a direct bolt on, it was missing some stuff, some stuff I did not like.

National on right, the idle solenoid wiring is meh, and missing WOT switch:

20220501_123303.jpg

20220501_123314.jpg

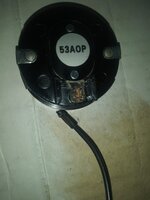
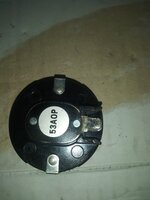
The National Carburetor did NOT come with a Sol-Vac:

20220501_123330.jpg

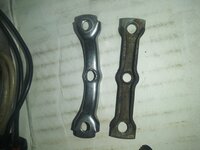
The air cleaner lid stud retaining bridge was stripped out/damaged:

20220501_124117.jpg

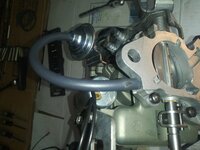
The choke pull off vacuum line came with an extra hole pre-installed:

20220501_124124.jpg

Not a problem per say, but the OEM choke wiring would not plug on to their choke housing connector. So, knife, solder iron, Dremel, took care of that issue:

20220501_133845.jpg

20220501_140809.jpg

After about an hour and some spare parts off of the other two carburetors I had the replacement ready to install:

20220501_141038.jpg
 
Quickly bolted it on, hooked up the fuel line and vacuum hoses, plugged in the two wiring connectors. It fired up after fuel made it into the float bowl.

20220501_142741.jpg

It seems to run/idle/start/stop OK, so buttoned up the install for now.

20220501_145401.jpg

I still need to set the choke/base/vacuum/electric idle speeds, then fine tune the idle mixture, but it runs pretty good as is, and no whistling throttle shaft!!!

Took it for a 30 minute test drive, drove fine. Got it up to/maintained 65 mph no problems. One thing I will say about 4 vs 6: with a 6 cylinder, you might leave it in a higher gear and kind of lug/accelerate back to where you want to be, no problem. With the 4 cylinder, it will, but you can feel the torque difference. So, you tend to downshift where with a 6 cylinder you wouldn't have to.

But, fun to drive, will easily keep up with city traffic no problem. It does take a bit more time/time between gear changes to get it up to 65, but once there, it seemed happy. I am used to/prefer the 6 cylinders, but this little 4 cylinder is not terrible, especially with OEM tire size/4.10 axle gears. And besides, it has a friggin shift light to tell you when to shift!!!!

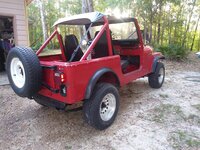
Parked it for night, check out that flex!!!!

20220501_163722.jpg

Plan on adjusting all the idle speeds this week and a few other odds and ends. But for now, a complete fully operational Jeep again!!!!


Pump the gas pedal three times my @$$!!!!!

That's it for now :thumbsup:
 
Installed a third carburetor on this Jeep today, this time one from eBay, National Carburetor IIRC. And of course, not a direct bolt on, it was missing some stuff, some stuff I did not like.

National on right, the idle solenoid wiring is meh, and missing WOT switch:

View attachment 102423

View attachment 102424

The National Carburetor did NOT come with a Sol-Vac:

View attachment 102425

The air cleaner lid stud retaining bridge was stripped out/damaged:

View attachment 102426

The choke pull off vacuum line came with an extra hole pre-installed:

View attachment 102427

Not a problem per say, but the OEM choke wiring would not plug on to their choke housing connector. So, knife, solder iron, Dremel, took care of that issue:

View attachment 102428

View attachment 102429

After about an hour and some spare parts off of the other two carburetors I had the replacement ready to install:

View attachment 102430
More reasons to hoard Jeep parts!!
 
Quickly bolted it on, hooked up the fuel line and vacuum hoses, plugged in the two wiring connectors. It fired up after fuel made it into the float bowl.

View attachment 102431

It seems to run/idle/start/stop OK, so buttoned up the install for now.

View attachment 102432

I still need to set the choke/base/vacuum/electric idle speeds, then fine tune the idle mixture, but it runs pretty good as is, and no whistling throttle shaft!!!

Took it for a 30 minute test drive, drove fine. Got it up to/maintained 65 mph no problems. One thing I will say about 4 vs 6: with a 6 cylinder, you might leave it in a higher gear and kind of lug/accelerate back to where you want to be, no problem. With the 4 cylinder, it will, but you can feel the torque difference. So, you tend to downshift where with a 6 cylinder you wouldn't have to.

But, fun to drive, will easily keep up with city traffic no problem. It does take a bit more time/time between gear changes to get it up to 65, but once there, it seemed happy. I am used to/prefer the 6 cylinders, but this little 4 cylinder is not terrible, especially with OEM tire size/4.10 axle gears. And besides, it has a friggin shift light to tell you when to shift!!!!

Parked it for night, check out that flex!!!!

View attachment 102433

Plan on adjusting all the idle speeds this week and a few other odds and ends. But for now, a complete fully operational Jeep again!!!!


Pump the gas pedal three times my @$$!!!!!

That's it for now :thumbsup:
I really enjoyed driving Copper with the Iron Duke and the T176. It was a lot of fun tearing through the gears- winding it out and shifting. I guess I appreciate the ability to feel like you’re driving it “hard” and still not going fast enough to get into trouble.

Drive the LS hard and you’re going to jail or worse…
 
Was fighting the flu/cold last 10 days or so, finally felt a little bit better this weekend, so got to work on this project, again.

Pulled it in the garage on Saturday, working directly in the sun/heat when you don't feel good sucks!!!!!

20220514_100911.jpg

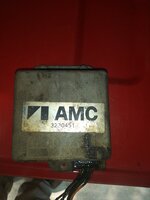
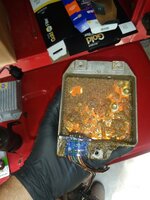
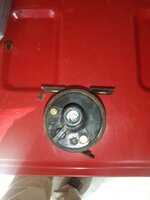
Probably the reason for the intermittent cut outs, original ICM was sketchy, to say the least!!! (might have been one JeepAddict swapped in, no bueno either way!!!!!!!!)

20220514_103341.jpg

20220514_103347.jpg


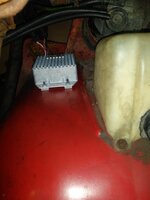
Another interesting thing about this four cylinder model: it did not come with a coolant overflow bottle, AND the inner fender does not have the holes for mounting the overflow bottle. Makes changing out ICM's easy!!

20220514_111428.jpg


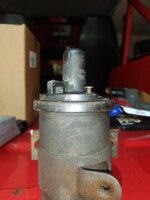
Decided to change the ignition coil, too, it was also original. First two pictures show how the coil is oriented in the bracket. On a 258, no big deal, on the AMC four cylinder, due to the coil location, it is important.

20220514_103359.jpg

20220514_103408.jpg

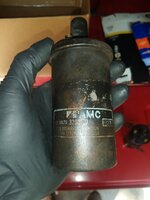
Original coil:

20220514_103634.jpg

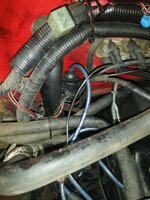
Like I said, the mounting location on the four cylinder models sucks. Fuel pump, under hood wiring, cowl drain hose, air injection hoses/valves, heater core lines, etc:

20220514_105205.jpg

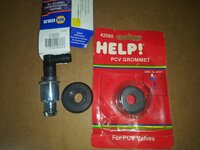
I also installed the "correct" PCV valve, AFTER I found the correct PCV valve grommet. Note the part number(s), especially on the grommet:

20220514_112208.jpg

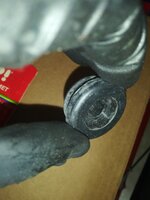
Note the inner "step":

20220514_112216.jpg
 
Back
Top