• Notice for iPhone users: DO NOT use the image size reduction option when uploading photos to the forum. This causes portrait images to post as landscape. We have added a warning to the image insert pop-up as well.

Another Scrambler Purchase/Road Trip - UPDATE- BODY ON FRAME AGAIN

Where did you get the AX 15 from? I am thinking I may need to do this in the near future...

Novak:thumbsup:

But, I am not sure how many more they have with the lower 4.3:1 First gear, they had to dig around to find this one:shrug:

They do have plenty of the regular First gear type, though:thumbsup:
 
This might be a bit off topic but want to say thanks for your write up on the MPFI Mopar kit back in page 45-47. I have had one for years but did just did a painless wiring kit for the whole Scrambler and your notes were perfect. Fired up today no problem!

Thanks again
 
This might be a bit off topic but want to say thanks for your write up on the MPFI Mopar kit back in page 45-47. I have had one for years but did just did a painless wiring kit for the whole Scrambler and your notes were perfect. Fired up today no problem!

Thanks again

No problem, I am glad all this stuff is useful:thumbsup:

I am still loving the Mopar MPI, one of the best mods that can be done to the 4.2:twocents::cheers:
 
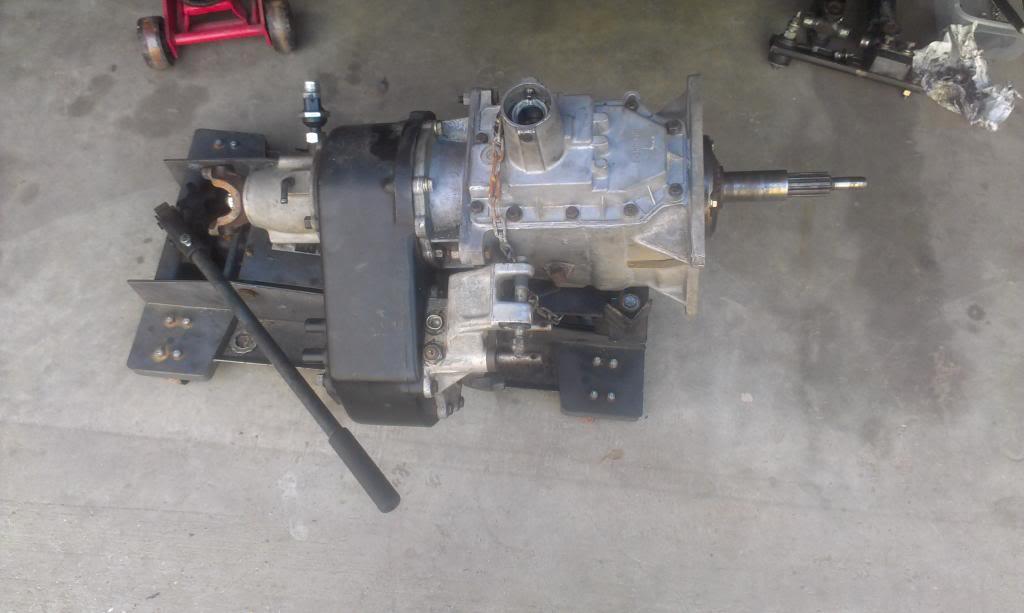
Well, finally got started on swapping in the AX15:thumbsup: I was able to remove the T176/Dana 300 combo with no issues:

IMAG2921_zps6b8e9e9b-1.jpg


Putting the new stuff in will be take a bit more time, due to Mardi Gras ball stuff this weekend, and hopefully a trip to Texas the following weekend:fingerscrossed:

I will take more pictures/explain the details of my swap once I get started on the actual swap/adaptation/install, but it shouldn't be too difficult, famous last words:crazy:


One important thing to think about, and maybe (but I doubt it) something that caused me problems with my T5's - checking the run out on the bell housing.

My Scrambler originally came with a 4.2/T176 combination. At some point in the past, the original engine was swapped out for a rebuilt unit.

My first point - I have never had any problems with the T176 in my Jeep, or weird pilot bushing wear, or funny shifting problems. So, I "assume" that my current T176 bell housing to 258 crank run out is acceptable. But, before I install the chunk of money that is currently on the floor, I am going to verify that the run out is within the acceptable range.

The run out I am referring to is the relationship of how the crank spins centered in the round bell housing hole. This relationship is critical. If it is "out", the transmission input shaft can be "cocked", causing unnecessary wear to the pilot bushing, front transmission bearing, etc.

I plan on checking the run out in the next few days. Basically, I will install the bell housing to the engine block, minus the clutch. I will pull all the spark plugs out, so I can turn the engine over by hand. Then, stick the dial indicator on the crank, turn engine slowly, and measure the run out. But, I am fairly confident it is fine with my T176 bell housing.

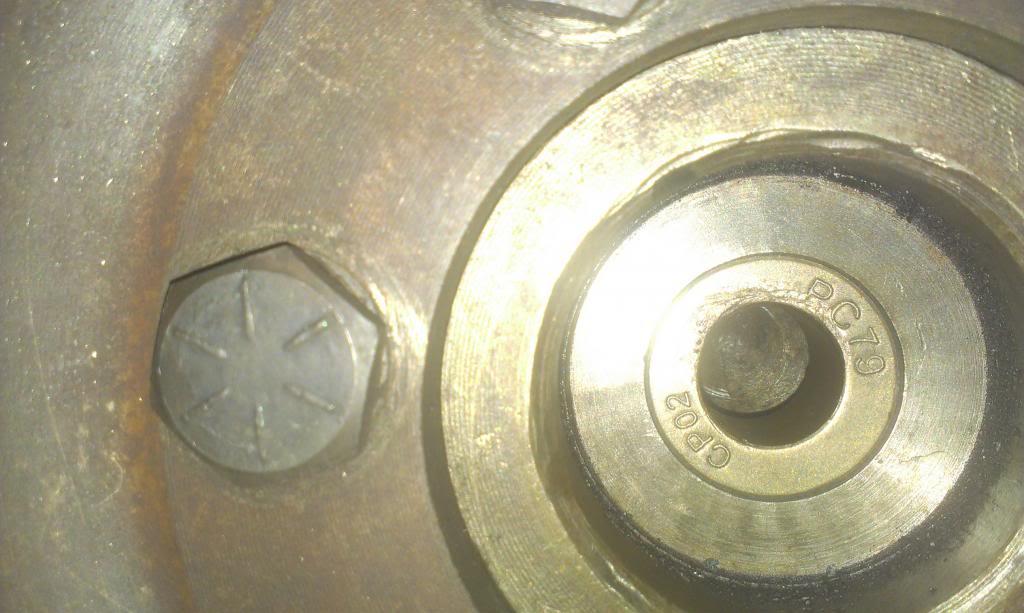
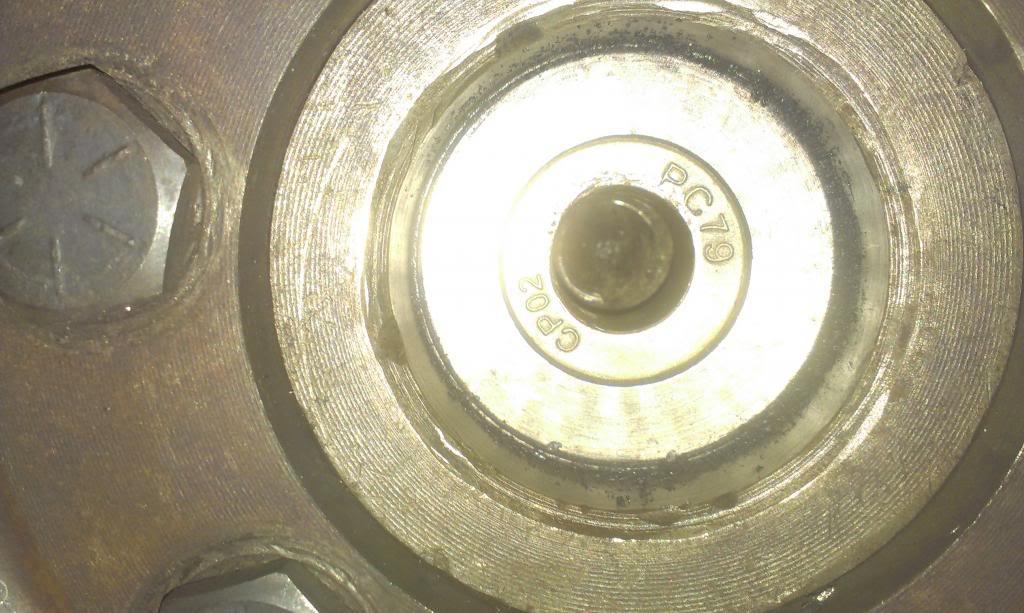
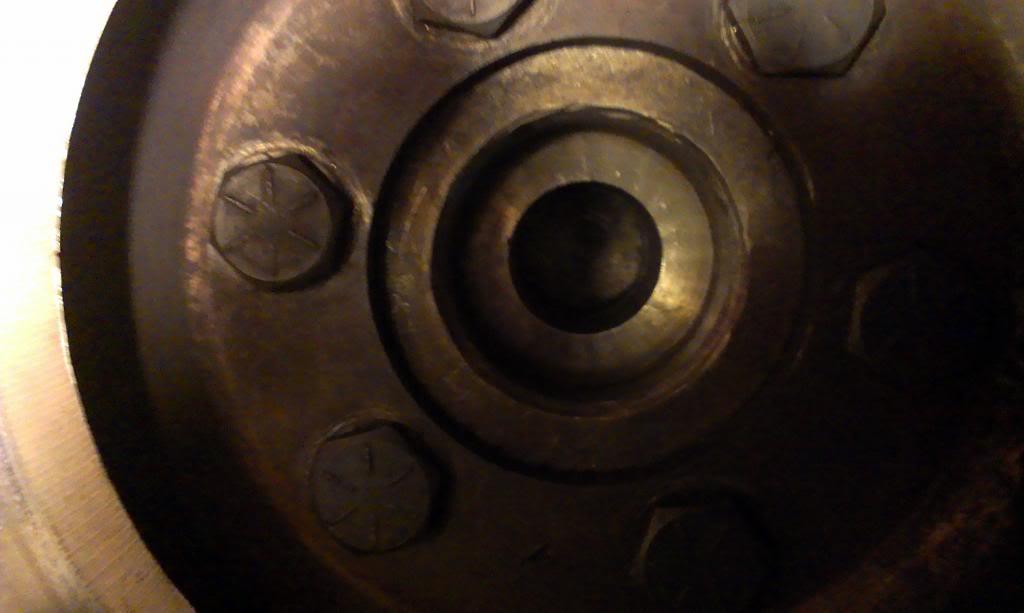
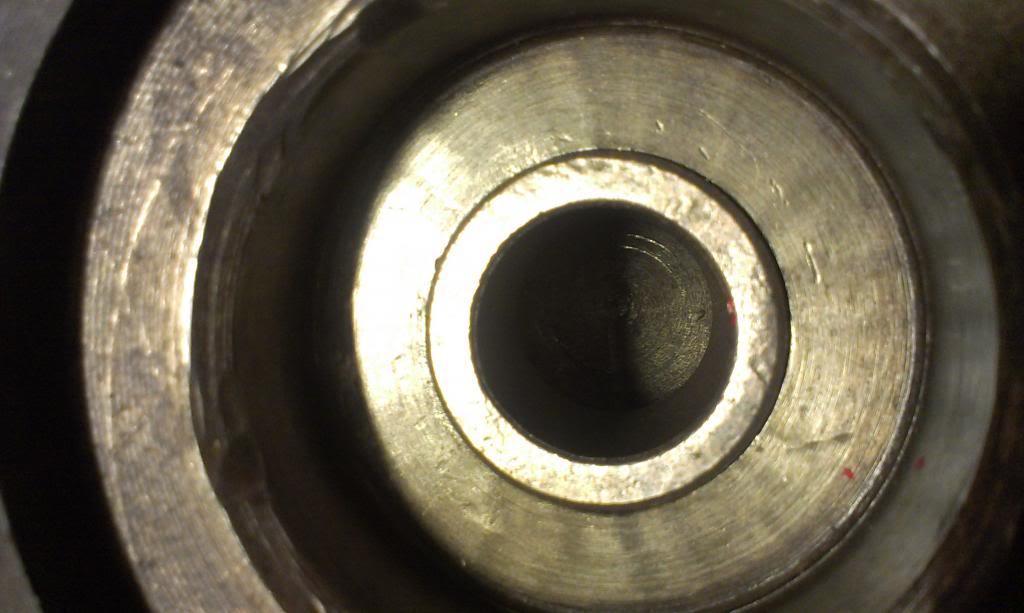
Two quick pictures, showing the pilot bushing I was using with the T176. It has some slight cosmetic damage to the upper face, where the transmission input shaft hit it when I was installing it. But, the center bore is still perfect, no funny wear.

IMAG2922_zps0bf26017-1.jpg


IMAG2924_zps6655cb05-1.jpg


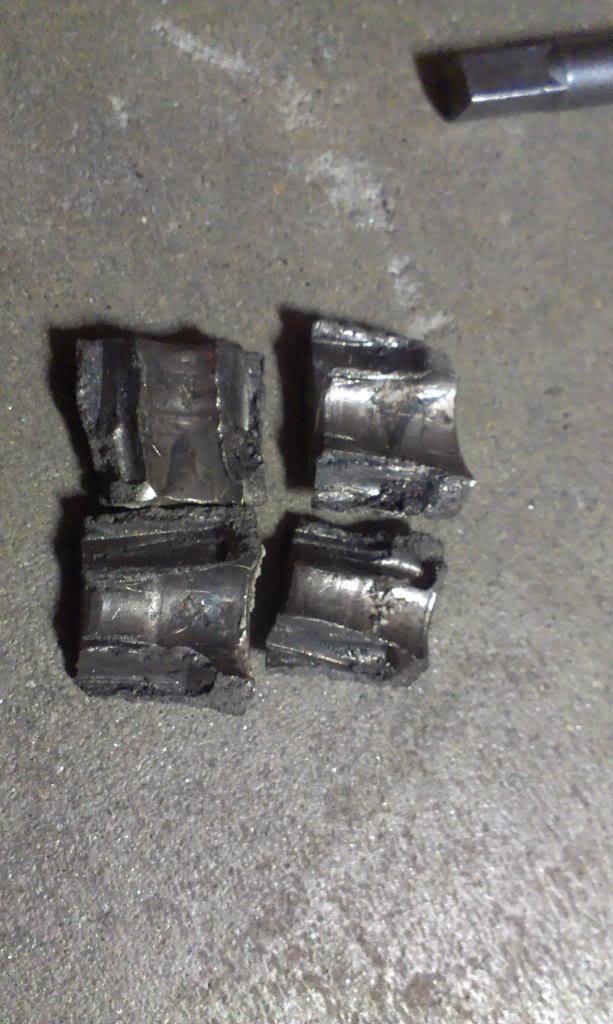
Too bad I have to install a new pilot bushing for the AX15. I had to drill/chisel the above pictured bushing out, so it is now in four pieces on the floor.


I might check the T5 bell housing I was using, just for the hell of it. The first two T5's that blew up had no pilot bushing wear. The third one that blew, when I pulled the transmission, the pilot bushing was trashed. But, it is almost impossible to tell if the bushing blew, then the transmission, or vice versa. Sort of like "what came first, the chicken or the egg"??? But, considering that all three blown T5's still had front bearing that are in perfect shape, I do not think my problems were caused by a misalignment:twocents:


Anyway, I will be updating my findings/swap info over the next few weeks. Until then, that's it for now:wave:
 
I'm paying close attention. I've got a AX-15 sitting on the floor, and I'd look to do the same swap. Take pictures.

Please.
 
best way to remove a pilot bushing is to fill the hole with grease and insert a metal rod into the hole. (rod must be pretty much the same size as the hole) Gently hammer on the end of the rod. The pressure from the rod will actually make the grease push the bushing out... assuming its a tight enough fit between the rod and bushing.
I have done this many times and 60% of the time it works all the time. ;)
 
best way to remove a pilot bushing is to fill the hole with grease and insert a metal rod into the hole. (rod must be pretty much the same size as the hole) Gently hammer on the end of the rod. The pressure from the rod will actually make the grease push the bushing out... assuming its a tight enough fit between the rod and bushing.
I have done this many times and 60% of the time it works all the time. ;)

Yes, with old bushings, I have had about a 50/50 success rate with the old "pack 'er full of grease" removal trick:thumbsup:

This time, no bueno:shrug: I even used bread instead of grease:smokin:

It is quicker for me to just drill 4 small holes through the bushing, then bust it with a chisel. Less messy, too:thumbsup::rotfl:
 
I'm paying close attention. I've got a AX-15 sitting on the floor, and I'd look to do the same swap. Take pictures.

Please.

I will:thumbsup:

For my swap, I am using the stock T176 bell housing, stock clutch linkage. So, it is a pretty basic swap on the engine side.

For the Dana 300, I am just using a Novak supplied clocking ring, pretty basic.

The trick will be the shifter linkages/transmission mount, but they shouldn't be too big of obstacles:thumbsup:
 
Spankrjs, I just got a quote from Novak. I might go with the AX-15HD. Brand new tranny. I'm on my 3rd T5. Holding up now. I haven't driven it since October. I will be following along. About a 1/2" difference where comes up through the floor. That is close.

Good Luck. I will be watching.
 
Isn't the t5 drive shafts a different length than for the T176? If so, which ones are you going to have modified? I did the same thing you did, I'm running a T176 bellhousing with the adapter to the AX15. But I haven't gotten to the drive shafts yet. And by the way, I blame you for me being a forum lurker for the longest time! just kidding. Almost any question I had you answered for me in this thread. I greatly appreciate all the info and pictures you give.
 
Spankrjs, I just got a quote from Novak. I might go with the AX-15HD. Brand new tranny. I'm on my 3rd T5. Holding up now. I haven't driven it since October. I will be following along. About a 1/2" difference where comes up through the floor. That is close.

Good Luck. I will be watching.

1/2" will be close, but I think it will easily work with the T5 floor cover plate:fingerscrossed:
I hope that my T5 luck isn't contagious:crazy:
I should finish the swap by the middle of March, Mardi Gras and TX road trip will slow me up some:thumbsup:

Appreciate the encouragement:cheers:


Isn't the t5 drive shafts a different length than for the T176? If so, which ones are you going to have modified? I did the same thing you did, I'm running a T176 bellhousing with the adapter to the AX15. But I haven't gotten to the drive shafts yet. And by the way, I blame you for me being a forum lurker for the longest time! just kidding. Almost any question I had you answered for me in this thread. I greatly appreciate all the info and pictures you give.

Yes, T5 and T176 use different drive shafts. I will modify my T5 rear shaft, get it shortened, and get a new front shaft made. I am going to keep all of my T176 swap stuff together. I will have all the stock T176 swap in parts except a bellhousing. Since I plan on never running another T5 (besides my green Scrambler), no since keeping my old T5 drive shafts:D

Like you, I felt using the T176 bell housing/stock clutch stuff was the easier swap option, especially since I am "under the gun" a bit:twocents:

Glad all this stuff I posted has been interesting/educational/encouraging and responsible for draining bank accounts:crazy::thumbsup:
 
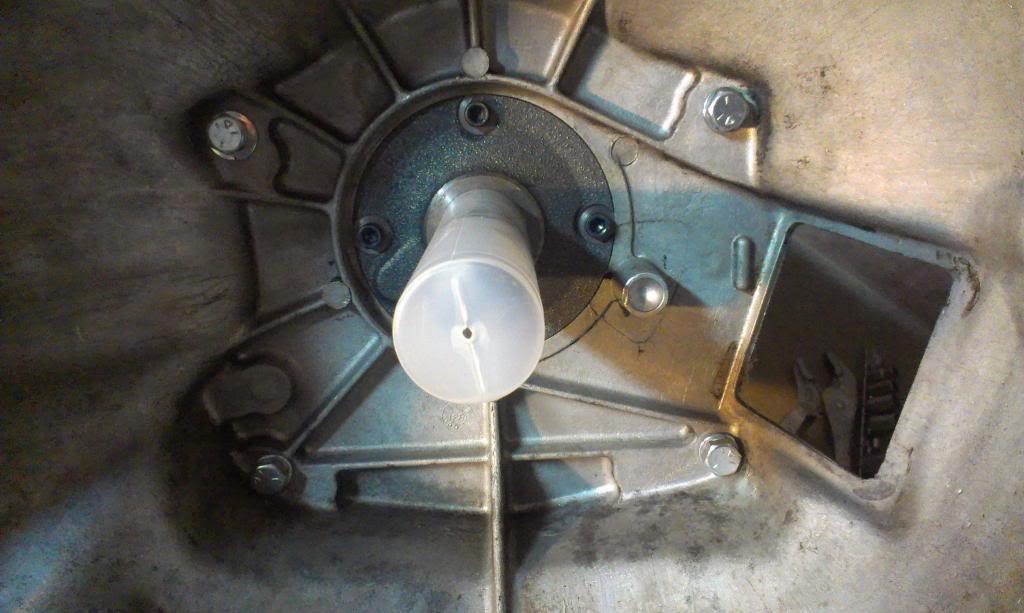
I did a little bit of work last night, adapting the existing T176 bell housing to the Novak installed adapter plate, which came bolted to the front of the AX15.

Unlike the stock CJ setup, where the transmission bolts thread into the bell housing, on this Novak setup, the bellhousing bolts thread into the adapter plate, from inside the bell housing. Note the four 7/16" bolts, located in each corner.

IMAG2928_zpsf9750e4d-1.jpg


These four threaded holes on the adapter plate line up with the four threaded holes in the stock T176 bell housing.

IMAG2930_zpsdfc6a346-1.jpg


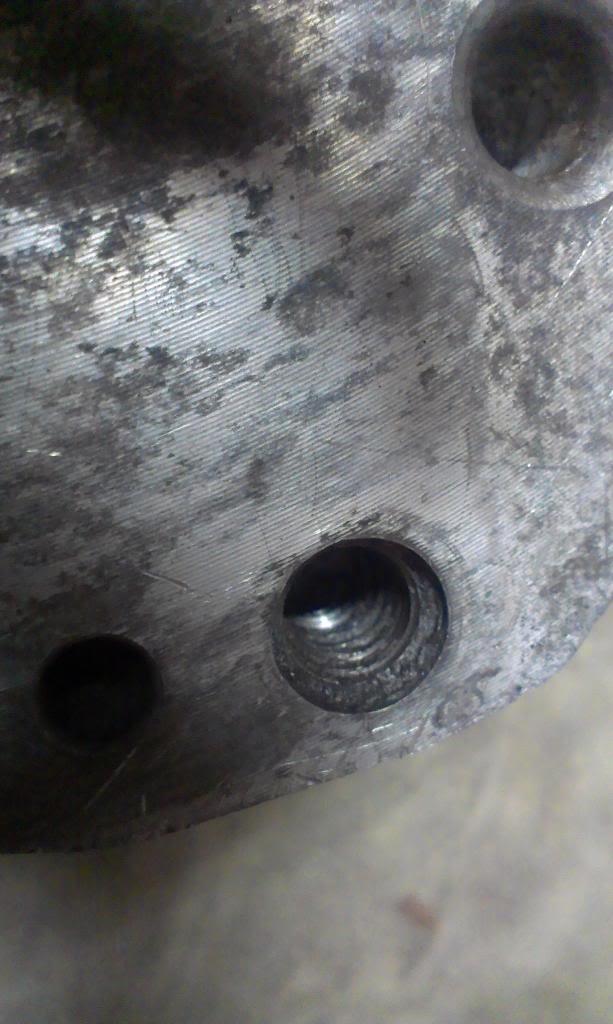
The problem is, the bell housing holes are threaded for 7/16" bolts, so a 7/16" bolt will not "slip through" the existing bell housing holes.

IMAG2929_zps7b1b5f9e-1.jpg


I did not want to overly enlarge the existing holes, so I drilled them out with a 7/16" bit first, which pretty much eliminated the threads. This was not enough, so I re-drilled the existing holes with a 15/32 bit. I was able to bolt the bell housing to the adapter plate, but it was a hair too tight. I am going to drill out the bottom two holes with a 1/2" bit, should fit perfect.

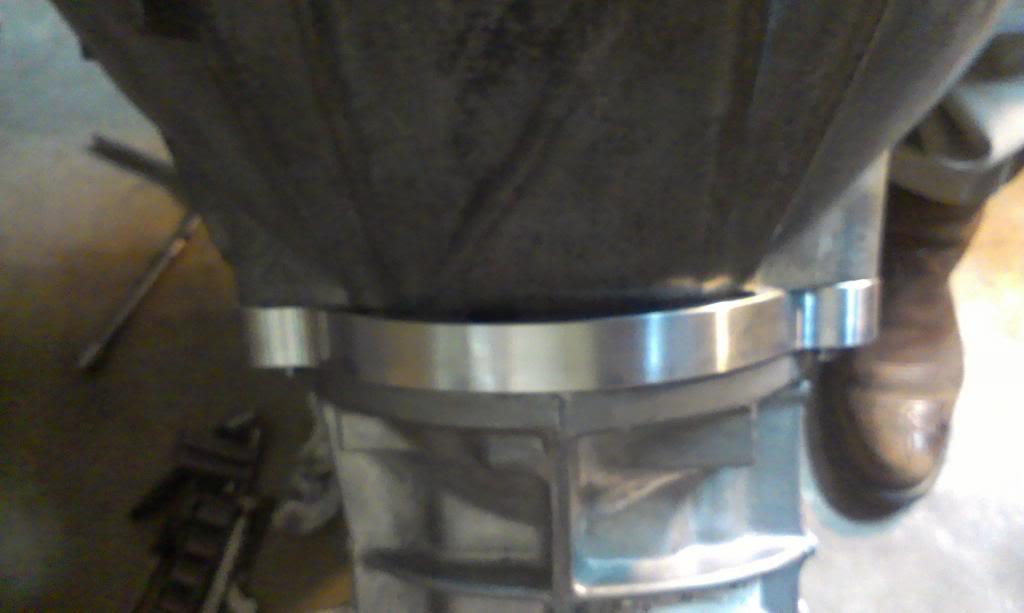
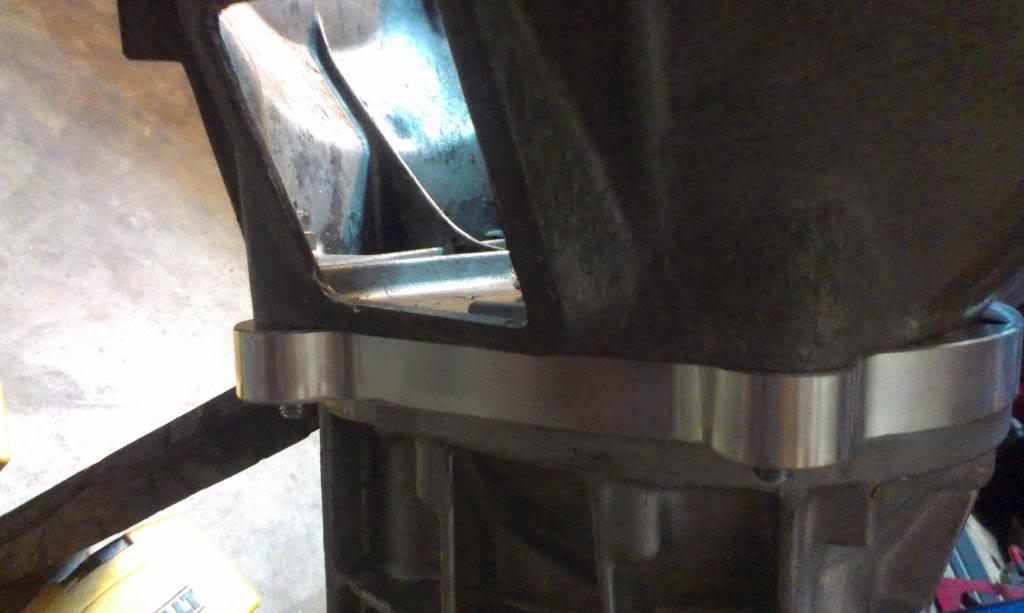
Quick pictures of the bell housing bolted to the adapter plate. It fits nice and tight all the way around.

IMAG2931_zpse248a93d-1.jpg


IMAG2932_zpscd2bae21-1.jpg


IMAG2933_zps632c027f-1.jpg


IMAG2934_zps873cd1aa-1.jpg


And now, a few notes.

1) Be careful if buy your transmission from Novak. Mine came filled with fluid, which I discovered when I tilted it on its end!!
2) Be careful threading the bolts into the adapter. Make sure it all fits correctly. I imagine it would be easy to strip out the threads in the aluminum.
3) Novak supplied the four bolts/lock washers. They are a hair too long, I will need to use a flat washer on each bolt, too.


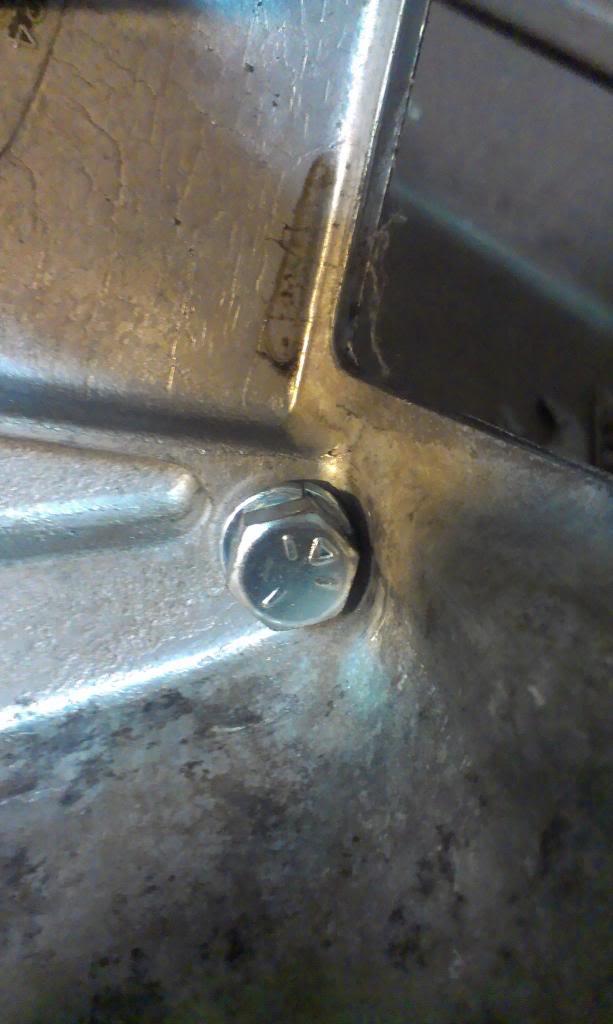
The bolt that goes in the bottom, next to the hole for the clutch linkage, is a tight fit.

IMAG2935_zps5b5cf9f7-1.jpg


I had to use the open end of a wrench to finish tightening it down, a socket will not clear. I may substitute this hex headed bolt with a Allen headed bolt, for easier installation.

That's it for the mock up. I need to get a few washers, maybe one new bolt, and bolt it all back together, this time with the clutch linkage installed. And that's it. Pretty simple to adapt this transmission to the factory engine/clutch linkage.

The transfer case end will be next, but due to my 4:1 gears, the work on this end will be a bit more involved. That's it for now:wave:
 
A little bit more work complete, slowly crawling forward on this project.

Old pilot bushing on the floor:

IMAG2959_zps523fa502-1.jpg


I used a small drill bit to drill a hole at 12,3,6, and 9 o'clock, then busted the bushing with a chisel. Grease/soap/bread would not get the old bushing out.


Clean crank bore, no issues:

IMAG2960_zpsf16f8c2d-1.jpg


I placed the new pilot bushing in the freezer for about a week. I then installed it, using a piece of wooden shovel handle as a driver. The install went well, mostly.

IMAG2963_zps02314f36-1.jpg


The new pilot bushing went in straight and true, no problems there. The "issue" I have is that it is sticking out from the face of the crank approximately 1/32 of an inch. I have always drove the stock bushings in flush with the crank face. The new bushing will not sit flush, it is bottomed out, it wont go in any further. I contacted Novak, I will probably pull a few measurements, :fingerscrossed: it is not an issue.

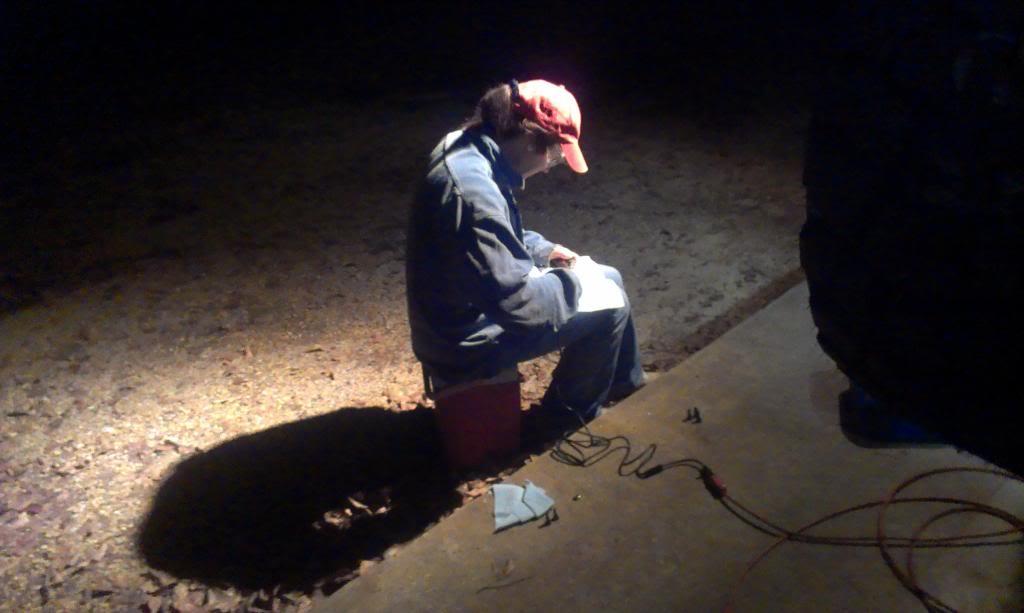
Since my GF Tiffany is coming with me to Moab, I told her she has to help put the new transmission in. She has been a great help. Here she is cleaning old LockTite off of the clutch/bellhousing bolts:

IMAG2962_zpse25fd889-1.jpg


I am going to check the bellhousing/crank run out in the next few days. if it checks out, and if the pilot bushing "issue" is not a problem, I should be able to get the transmission back in soon. I am going to install the transmission without the Dana 300, I still need to do some work to it.

That's it for now.
 
Tiffany always stealing the spot light...
 
Great to see Tiffany helping. When you get old and forgetful, she can remind you how it's supposed to be done. :thumbsup: :wave:
 
Tiffany always stealing the spot light...

Great to see Tiffany helping. When you get old and forgetful, she can remind you how it's supposed to be done. :thumbsup: :wave:

Yep, she is doing great:thumbsup:

I had her pulling spark plugs/marking plug wires last night, while I managed to drop, and break, the old Starrett dial indicator:banghead::banghead:

Yes, you can take the indicator apart to fix it, but should it ever be trusted again:shrug::twocents:

Had to order another one today:eek:
 
Ok, about to dive into some pretty deep stuff, probably way more then what is ever necessary for 98% of all Jeep owner's:twocents:

The instructions from Novak were very clear about checking the "crank to bell housing bore" run out. In a nut shell, in a perfect world, the center of the crank should be located in the exact dead center of the front bearing retainer hole in the bell housing. The transmission input shaft should be perfectly aligned with the crank center, give or take .005" or so. This is all fine and good, makes sense to me, should be. If there is an alignment issue, you can have all kinds of problems: vibrations, wore out pilot bushings, wore out front transmission bearings, wore out synchronizers, clutch sticking issues, high rpm shift problems, etc. etc.

Now, I have just recently blown up three T5 transmissions, so I am being super extra anal about installing this brand new AX15. With that being said, on all 3 blown up T5's, I had no bearing wear, synchronizer problems, shifting problems, etc. On the first two blown T5's, the pilot bushing was still perfect. The last blown up T5 took out the pilot bushing, but I think that had something to do with the fact that I drove a blown up transmission 200 miles at 70mph!!

Ok, so this is what I did:

IMAG2970_zps240db3ca-1.jpg


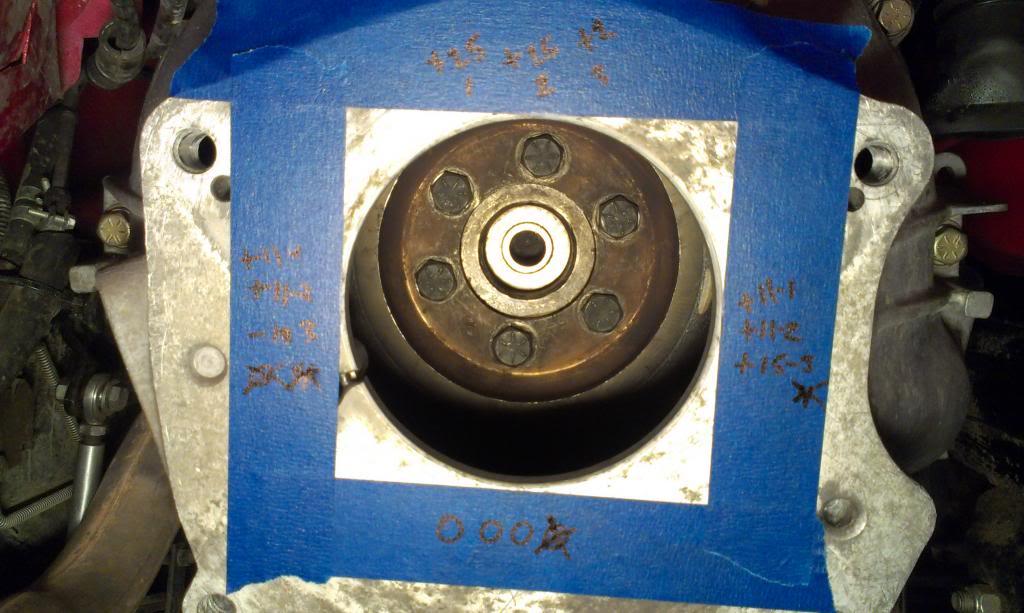
I wish that picture would have shown the dial indicator, sorry. I stuck the dial indicators base to the flywheel/center of the crank, and checked the run out on the inner lip of the bell housing bore. I checked the run out all the way around, and recorded it at 12, 3, 6, and 9 o'clock. To check the run out, I turned the engine over by hand, thus spinning the crank/flywheel, which rotates the dial indicator around the bell housing lip. I zeroed the dial out at the 6 o'clock position. I stuck blue tape on the bell housing to record what I found.

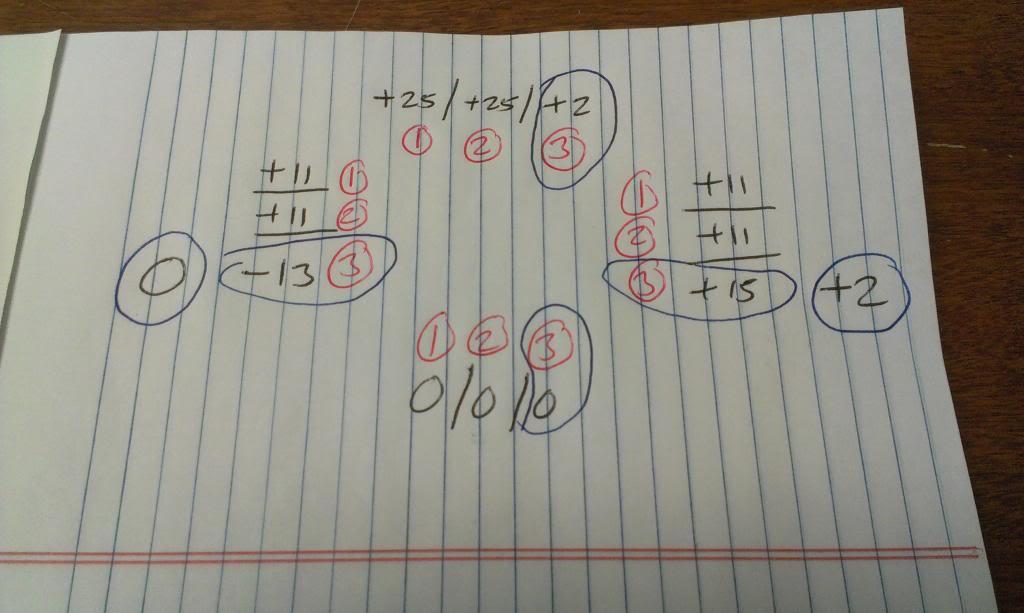
The above picture is hard to read, here is a better picture:

IMAG2972_zps2f76079b-1.jpg


The black numbers represent the run out, in .00"'s.
The red numbers next to them represent which time I recorded (I did this about 20 times)
The circled ones are the most important.

The first two times I did this, I had really weird readings. I was getting +25 thousandths out between 12 and 6, and getting +11 thousandths out in both the 3 and 9 o'clock positions which is really messed up.

BIG IMPORTANT NOTE: Everything needs to be super clean, and torqued down correctly, or you are wasting your time.

So, I took it all back down, cleaned the face of the bell housing, back of the block, and both sides of the spacer ring. I also lightly sanded the bell housing bore down with some super fine emery cloth, to knock down any burrs, and to polish it.

Third time was the charm.

With the dial zeroed at 6 o'clock, I am reading +2 thousands of an inch at 12 o'clock, super.
Now, the reading at 9 o'clock is -13 thousandths, and +15 thousandths at 3 o'clock, seems weird. But, when you go back and zero the dial at 9 o'clock, you get +2 thousandths out at 3 o'clock, super.

Confused? Think about it, -13 + 15= =2 thousandths. Since the dial is not centered, you are just checking for run out between two points. Also, you should add the readings up and divide by 2:

12 + 6 o'clock/2
9+ 3 o'clock/2

So, I am approximately 1 thousands of an inch out, well within the .005-.010 range, depending on who you talk to. To make mine perfect, you would have to use offset dowels to shift the bell housing. Not necessary if you are under .010:twocents:

So besides a broken dial indicator ($125) and a couple of hours of my time, I guess I gained piece of mind:rotfl:

But in all seriousness, how many of you have ever done this? I never have. And in my 21 years of driving/owning/breaking/fixing CJ's, I have never had any problems that were caused by a misaligned crank to bell housing. I am sure it happens in the AMC/Jeep world, but must be rare:twocents:

This does seem to be a problem with Chevrolet/GM engines/bell housings, so this might be worth the time to do if you are swapping in a GM engine/manual transmission. Seems to be more of an issue with very high horsepower applications.

Now, back to me. So, everything is just peachy. Maybe:twocents:

My bell housing actually bolts to Novak's adapter, which is bolted to the face of the transmission. There is an indexing ring that is built on to the adapter, which fits into the bell housing bore. But, it is NOT a super tight fit, so theoretically there could be an alignement issue here, adding some itsy bitsy's.

Also, you should check your crank run out. If the crank has play, you are adding more itsy bitsy's.

Also, the bolt holes in the bell housing could be slightly wallowed, adding even more itsy bitsy's.

Also, check to see if the bell housing face is parallel to the crank, adding more itsy bitsy's.

So, just because I am fine at one point, you are stacking itsy bitsy's. If enough itsy bitsy's stack up, you can have problems:twocents:

OK, so I am fine now, But, when I pull off the bell housing to install the clutch, maybe the bell housing will shift slightly, changing this measurement. Think about it, the bell housing to block bolts DO NOT FIT SUPER TIGHT though the holes in the bell housing. They are tight, but not that tight. The same thing can be said for the block to bell housing dowels fitment, it is tight, but not .0000001 tight:twocents:


After all of that, I should be fine. Feel free to discuss. My mechanic at work, who has been working on all kinds of stuff for over 50 years, knew what I was talking about, but he has never checked this run out, or had issues, be it with Ford, Chevrolet, Jeep, Chrysler, Case, John Deere, Kobelco, etc. etc.

Maybe somebody that messes with high performance aplications can add something here:thumbsup:

Going shopping in TX this weekend, but will start some the install work soon, that's it for now.

 
Back
Top