• Notice for iPhone users: DO NOT use the image size reduction option when uploading photos to the forum. This causes portrait images to post as landscape. We have added a warning to the image insert pop-up as well.

Another Scrambler Purchase/Road Trip - UPDATE- BODY ON FRAME AGAIN

Stupid question I know, but what is single stage? just the paint without the clear coat?

I'm not an expert, and I am sure someone with more knowledge then me will chime in, I beleive that single stage is a kind of paint that doesn't require a clear, maybe a thicker base coat:shrug:
 
Just remember...................

:needpic:

Need pics of the glorius occasion, this afternoon!

(plus I wanna see how you get the tub home, since I'll be in the same boat here in a few months)
 
Went and picked the body parts up yesterday, everything except the grill and a few small parts.

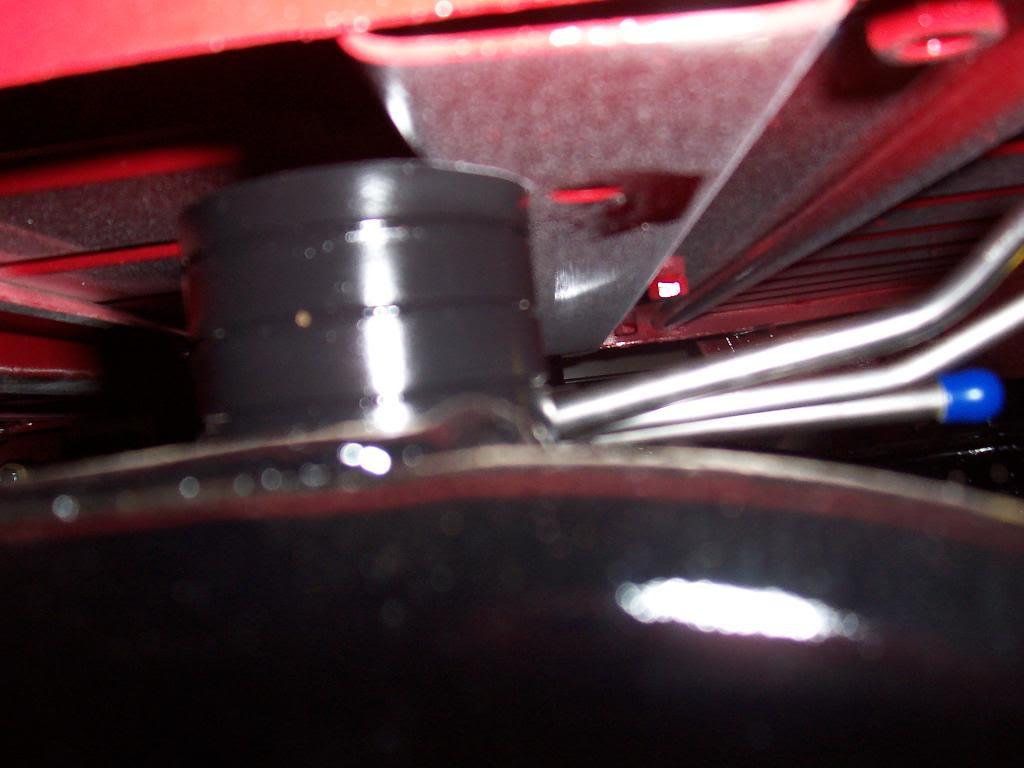
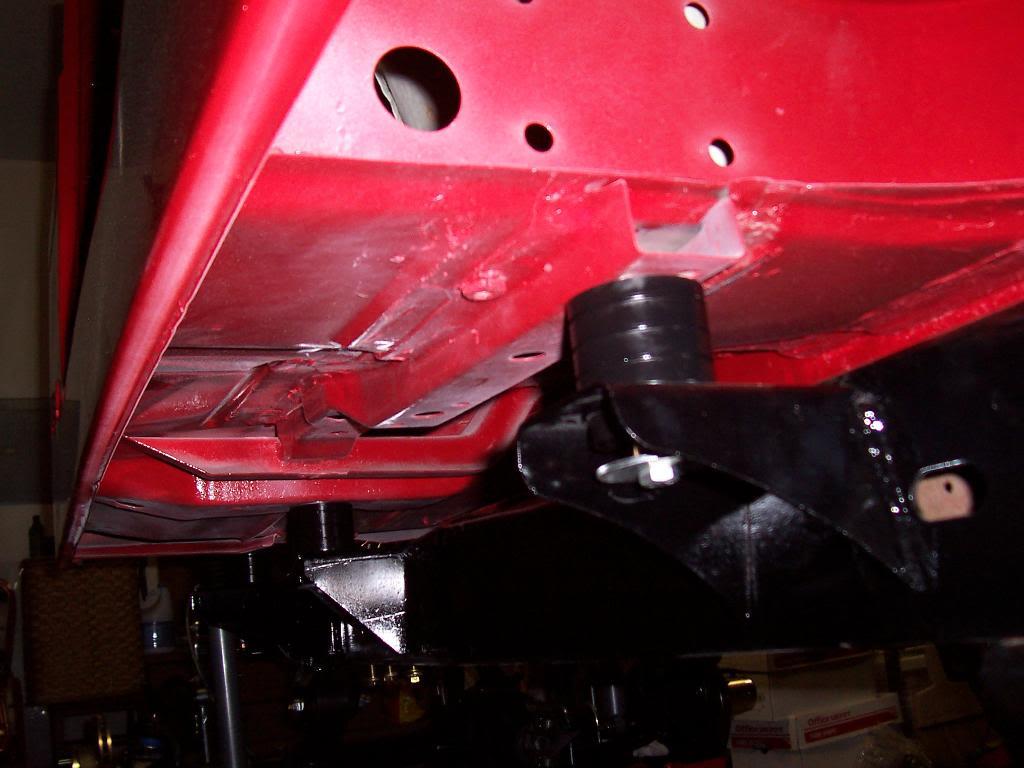
Pic of body mounts on frame.

100_5199-1.jpg


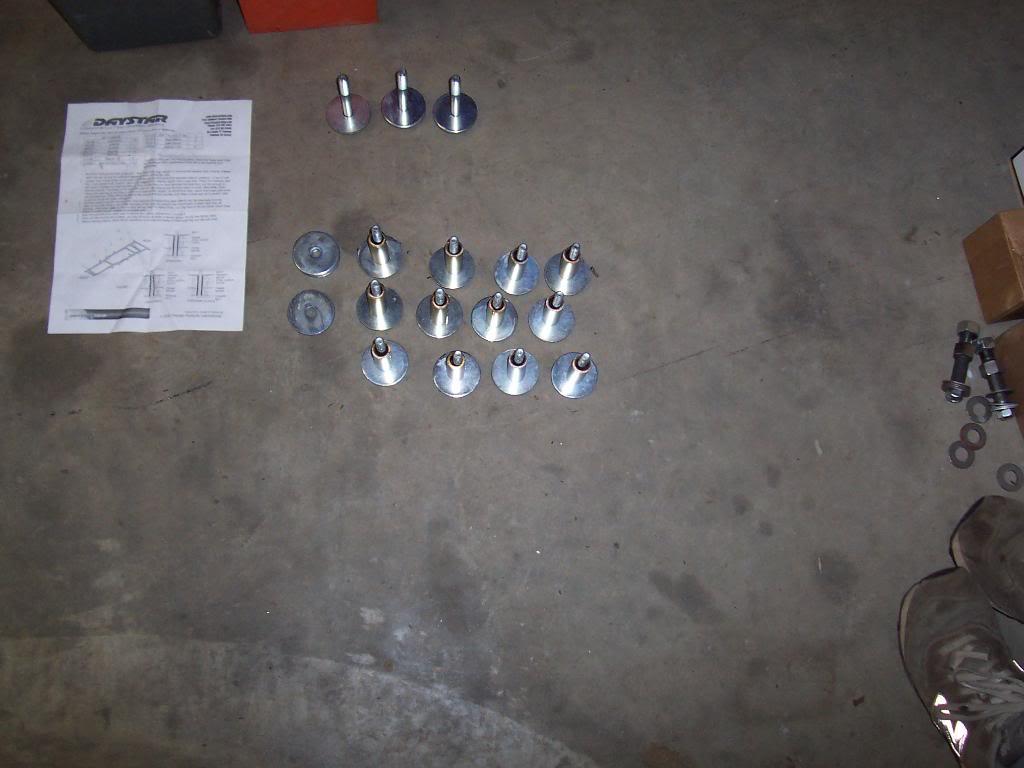
Pic of new body mount bolts, sleeves, and washers.

100_5200-1.jpg


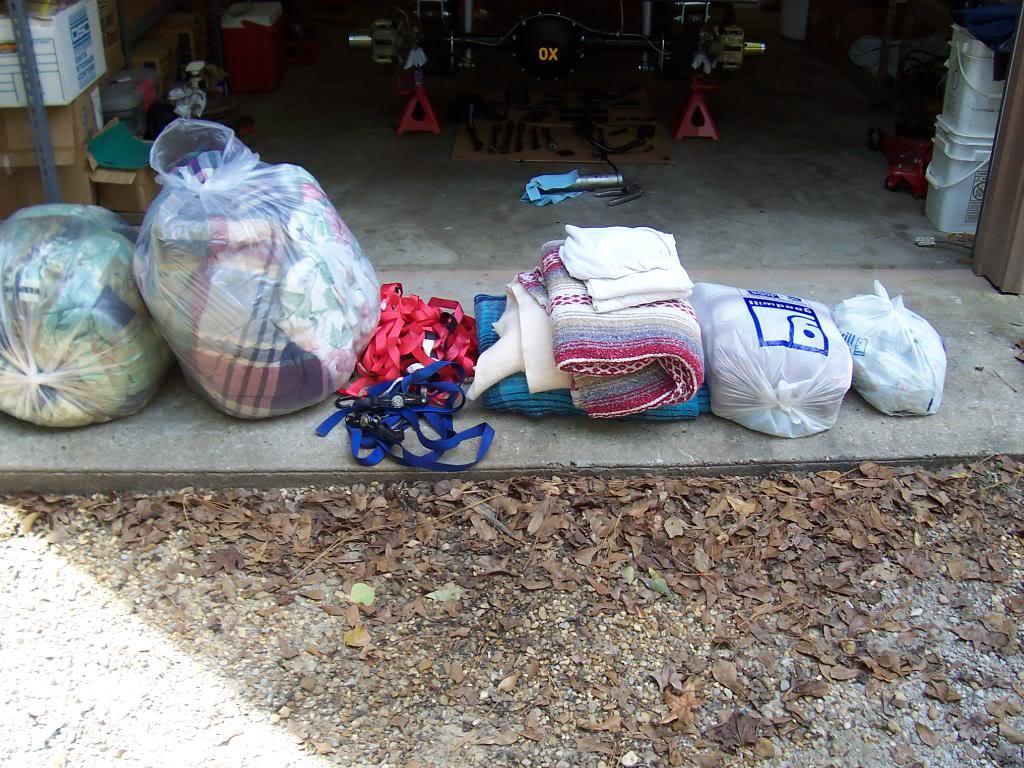
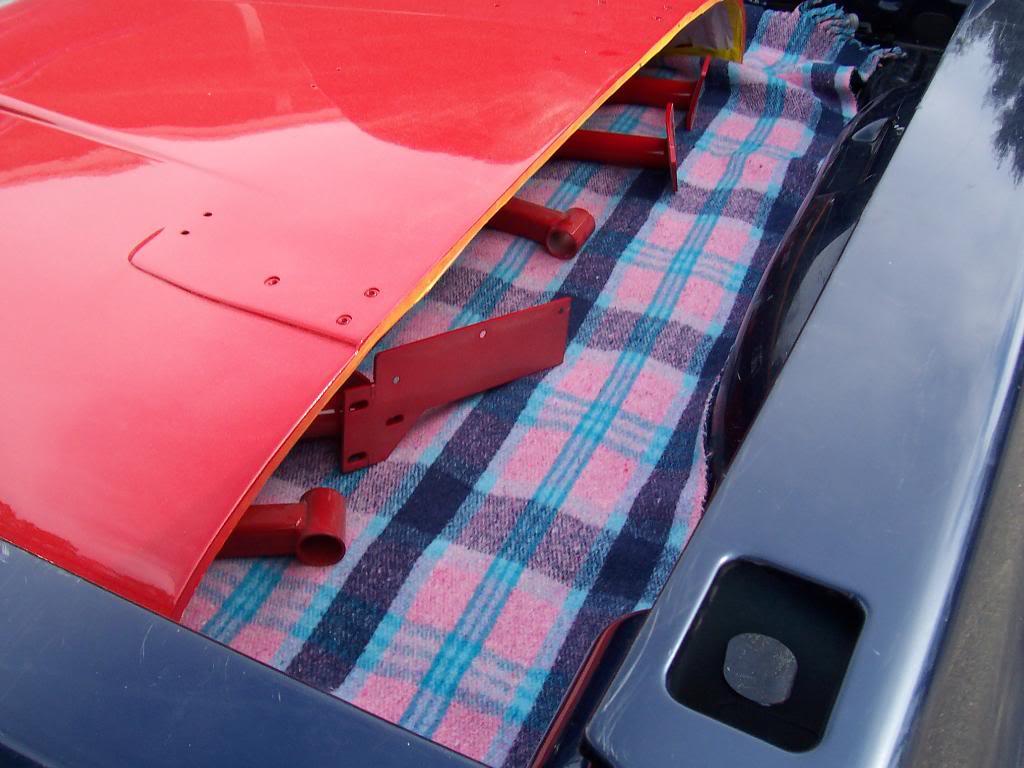
I bought a bunch of used blankets from Goodwill and Americas Thrift Store. I used them to help protect the body parts during the ride back to my house. I will return all the blankets back to a Goodwill drop box when i am finished with them.

100_5198-1.jpg


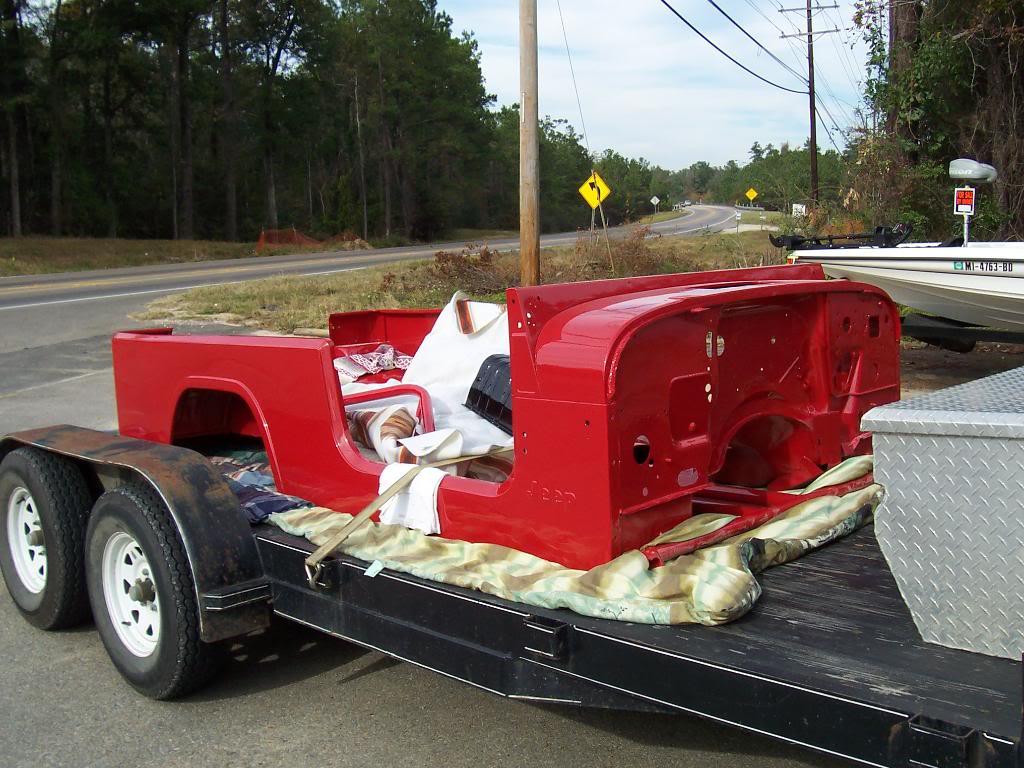
Put two blankets down on the floor of the trailer. Set the body tub on top, secured it with one strap going across the door openings.

100_5201-1.jpg


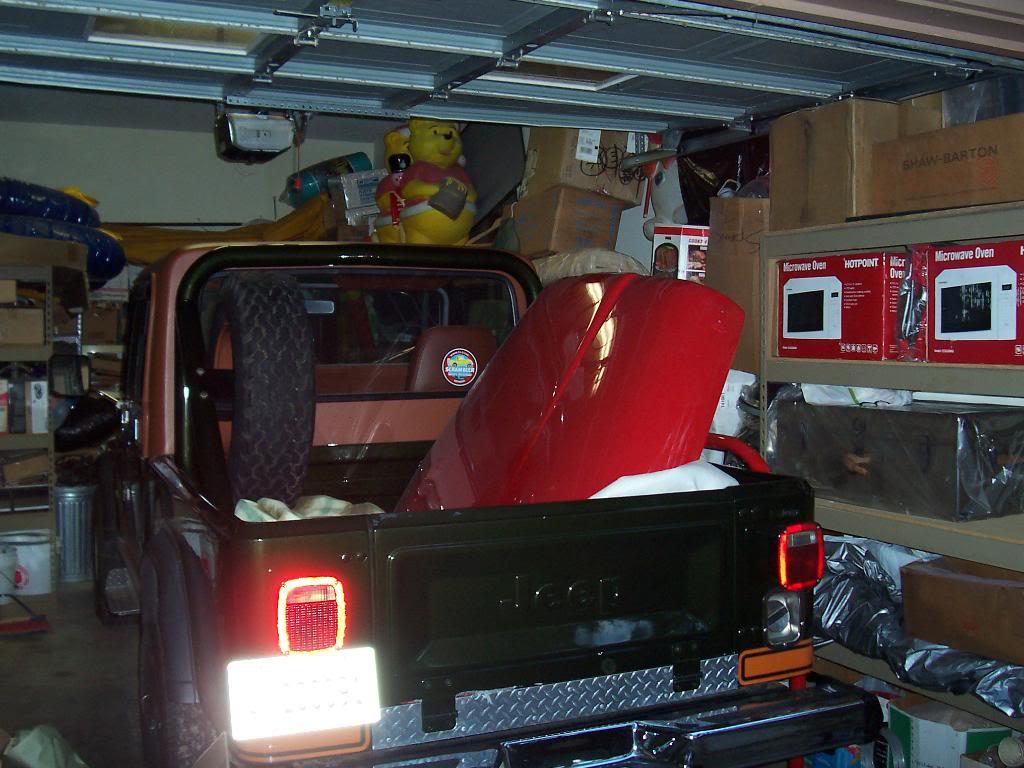
We left all the masking on the underside of the hood to protect the paint. Put a bunch of smaller parts under the hood in the back of the truck.

100_5202-1.jpg


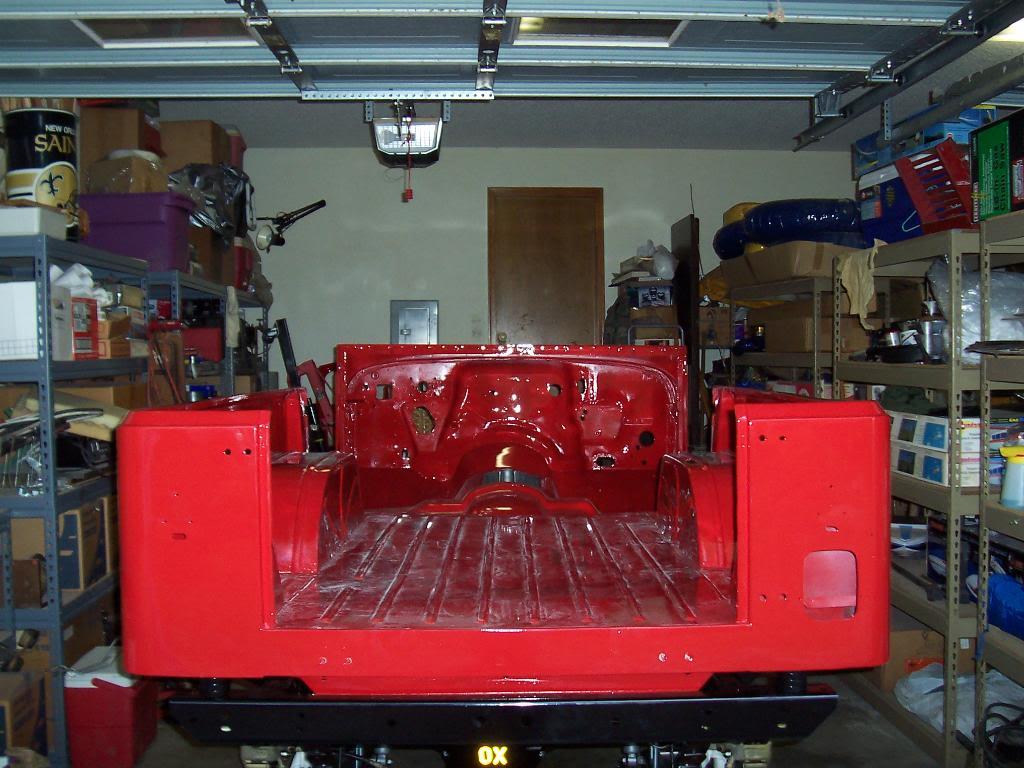
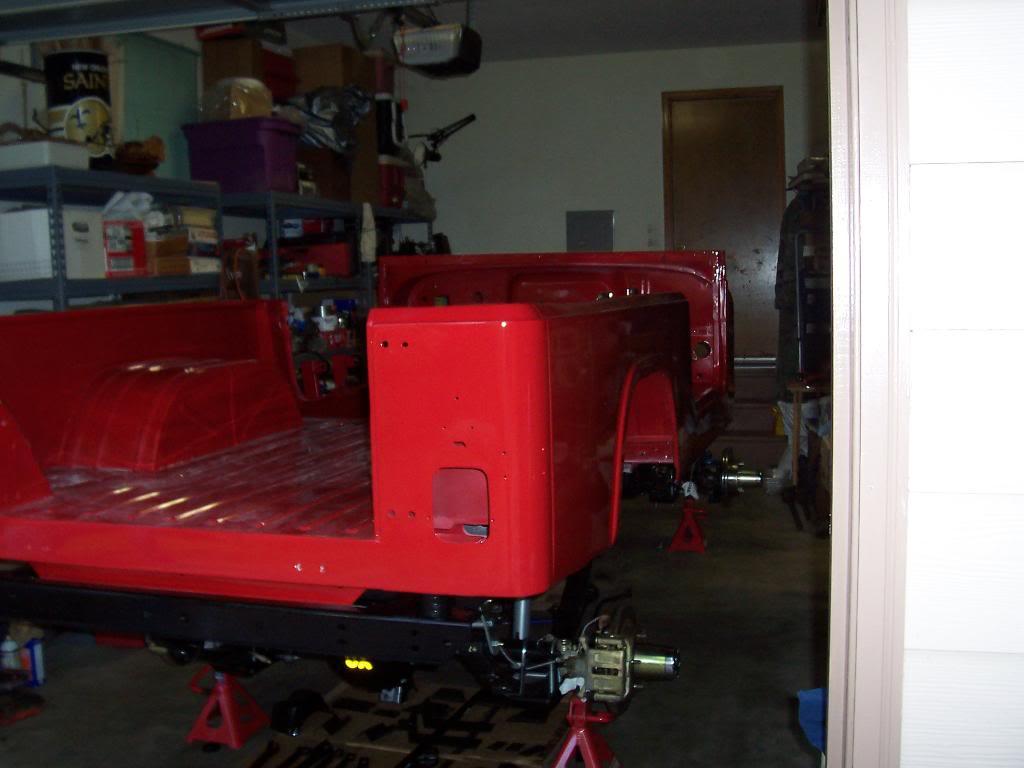
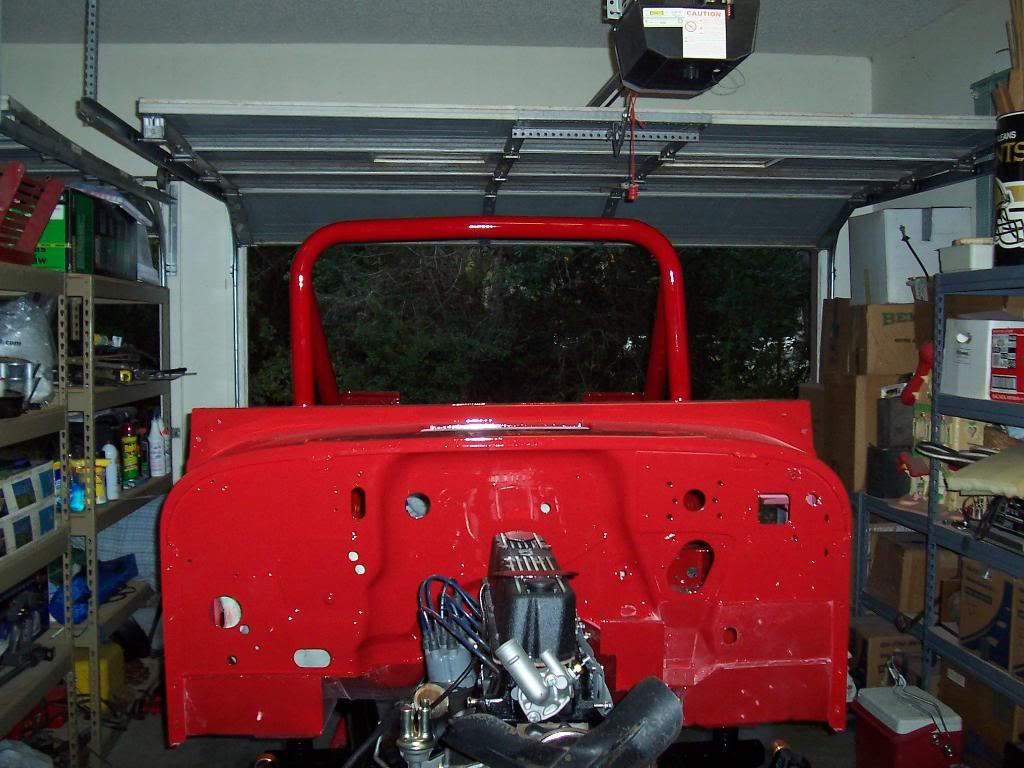
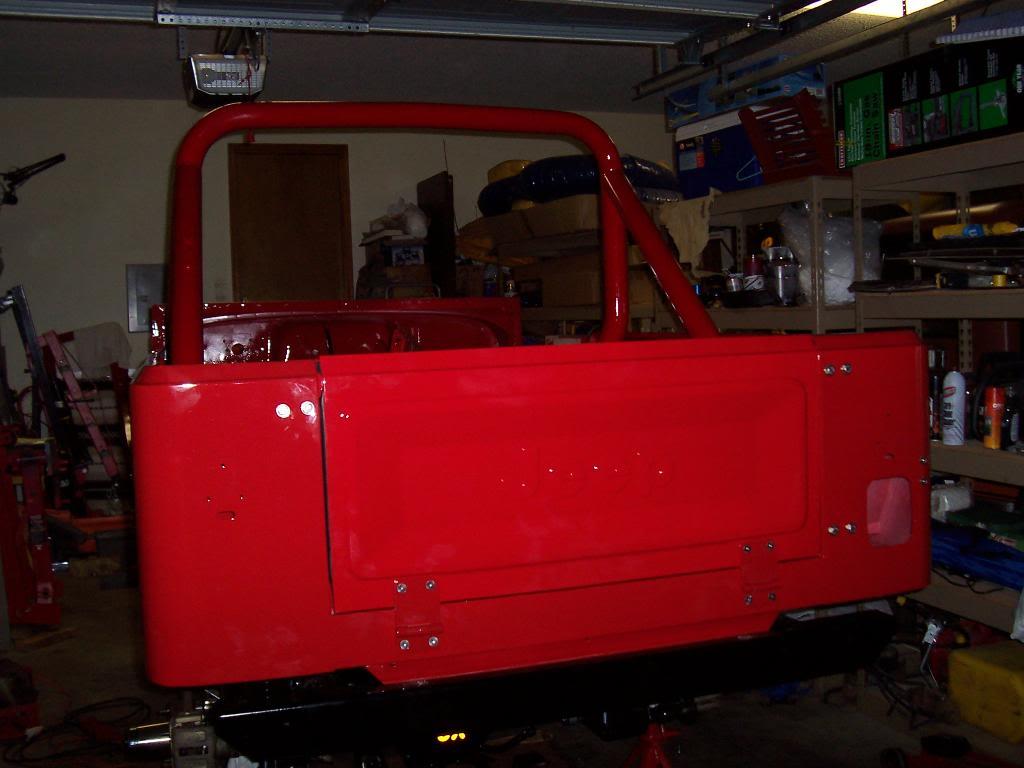
And voila, body is back on the frame.

100_5203-1.jpg


100_5204-1.jpg


100_5205-1.jpg


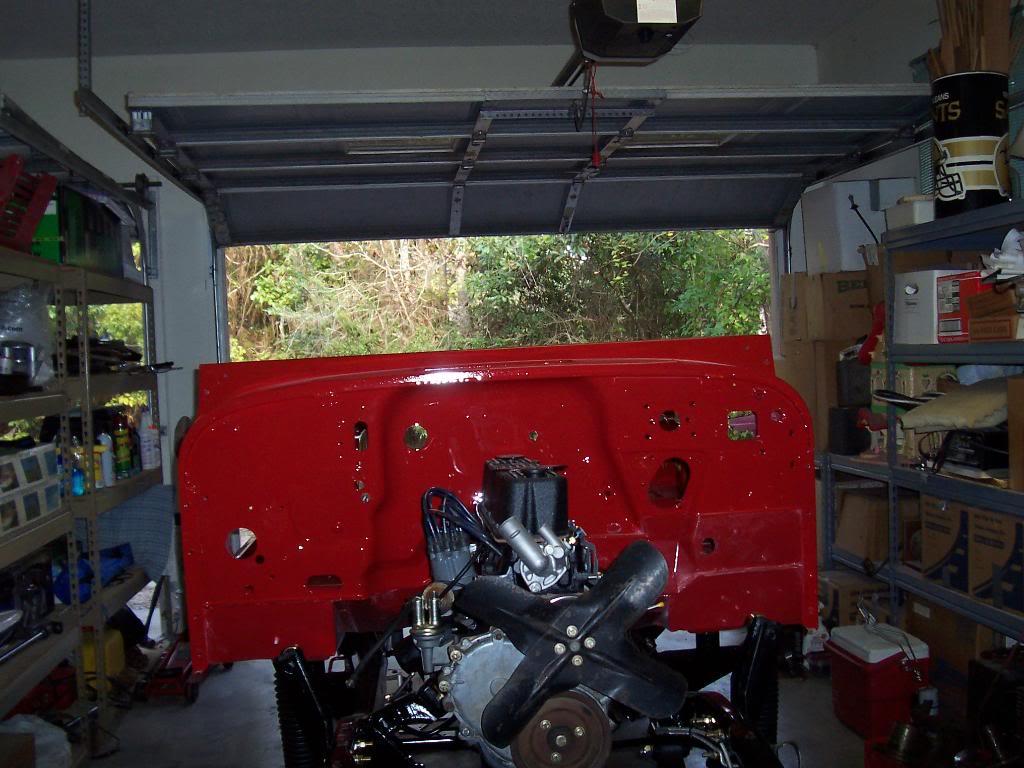
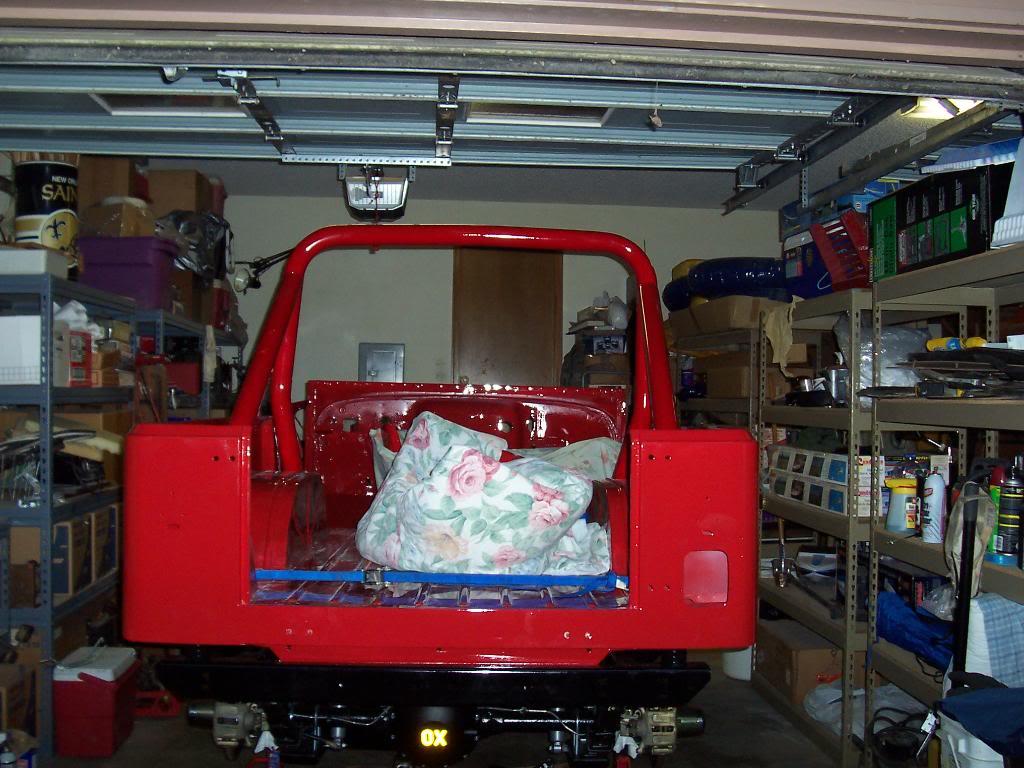
Took a bit of work, but managed to get the roll bar placed inside the tub. Pretty tight clearance with the overhead garage door, having to pick it up over the tub. Next time I will put the roll bar inside the body tub before putting it the tub on the frame. Still have a bunch of holes to drill before I can bolt the roll bar back in, due to replacing 3 of the 4 bed floor corner pieces.

100_5206-1.jpg


100_5208-1.jpg
 
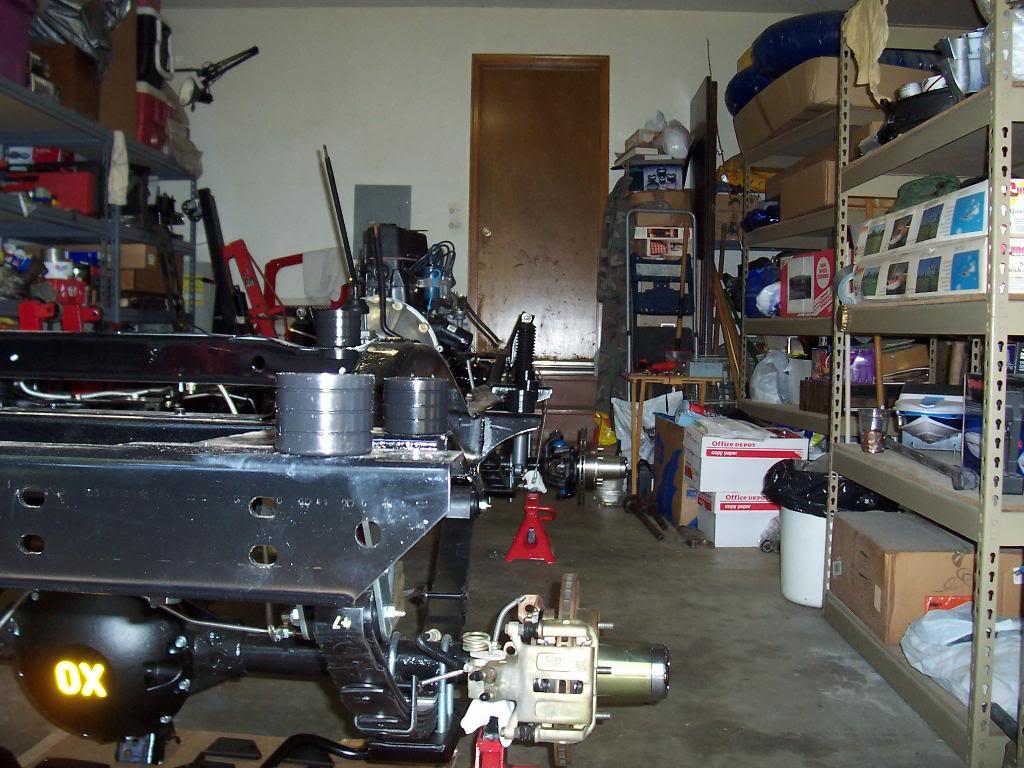
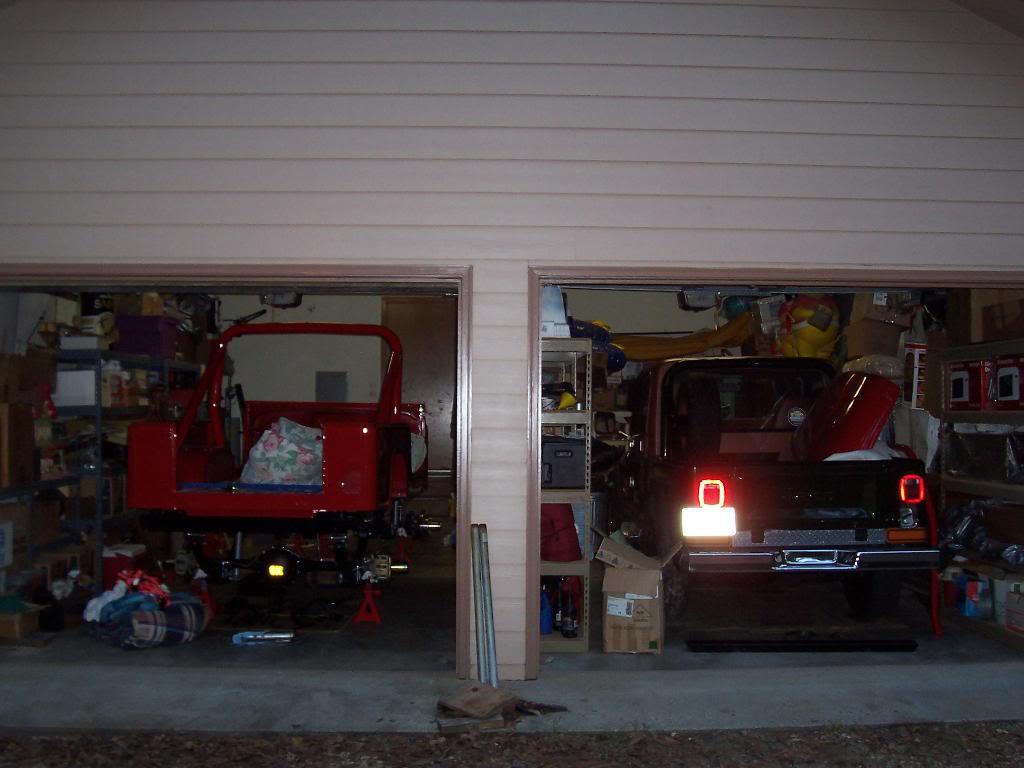
I am having to use the green CJ8 as storage LOL.

100_5209-1.jpg


Getting tight in here again. Notice the height difference between the two. The red one is close to ride height, even though it is on jack stands, center of hub to floor 14.5 inches. The suspension should compress some more in time.

100_5210-1.jpg


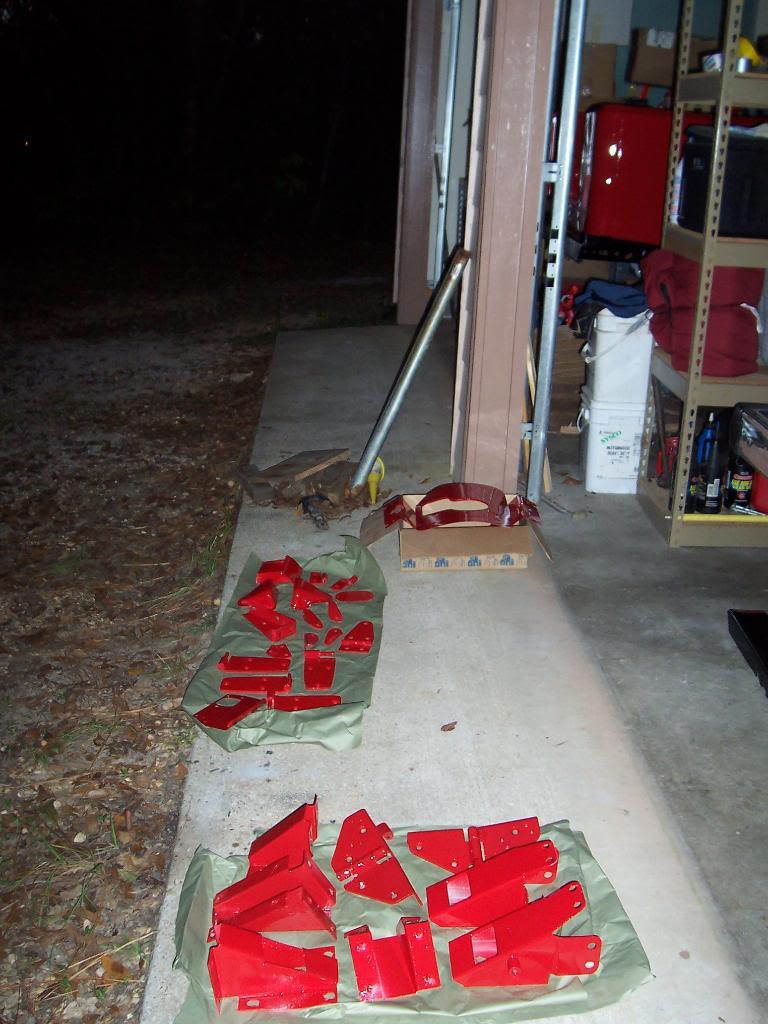
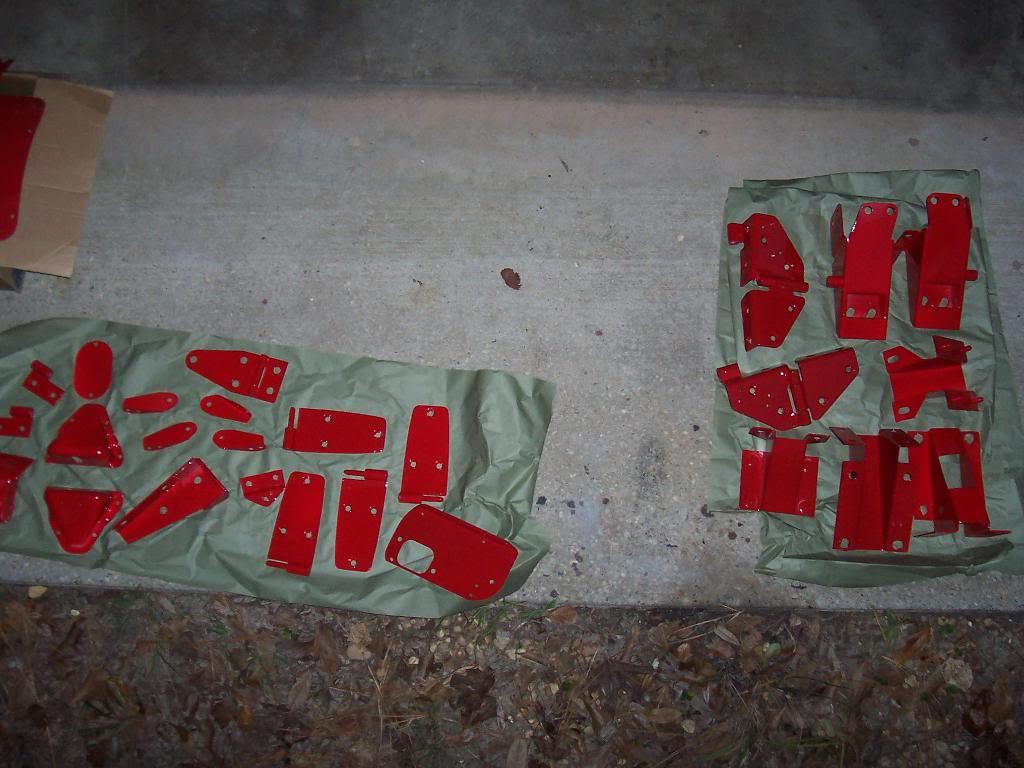
Pic of a bunch of small brackets, braces, etc.

100_5211-1.jpg


100_5213-1.jpg
 
But of course, not everything worked out perfectly when I put the body back on the frame.

Problem #1

Passenger side rear corner - the little threaded plate that inside the body structure was present when I took the body off. Sometime during all the subsequent moves it fell out of place. No big deal, I will just drill an access hole into this sheet metal box to insert another nut or threaded piece of plate steel.

Hole all the way to the left, you should see a threaded insert, but it is gone.

100_5215-1.jpg


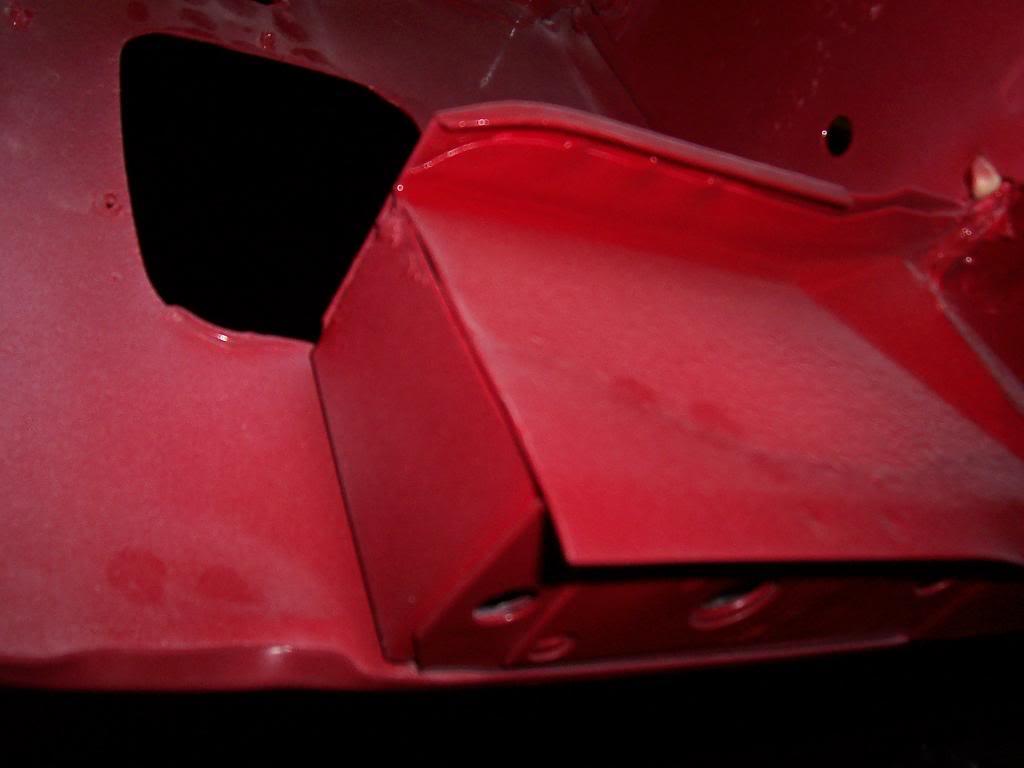
It will be easy enough to drill an access hole into this "box" to insert a new nut. Pic of "box".

100_5216-1.jpg


Problem #2

The jig they use for these rear bed floor pans must be off, or maybe just the one I got is defective. I checked my other two Scramblers, which both have their original bed floors, and this re-pro piece is off by about 2". The problem has to do with the 3 reinforcement channels that are spot welded to the bottom of the floor. One of these channels should line up directly above the body mounts (the mounts that are inboard of the frame by the gas tank). As you can see, this channel is about 2" from being over the center of the body mount.

100_5217-1.jpg


All of my other body mounts lined up perfectly, and since I made no changes to the frame in regards to these two body mounts (one on each side), I think it is safe to say this piece was made wrong. It is a little too late now to burn off the spot welds and re-weld it, and I guess ultimately I blame myself, I guess I should have verified this piece before installing it, but I assumed (notice the first 3 letters of "assume" LOL) that it would fit since it was described as being a direct replacement. Live and learn. I already figured out a way to rectify this problem that doesn't deal with torches, welders, and ruined paint jobs, so I am not too upset anymore.

Pic of the other body mounts lining up.

100_5218-1.jpg
 
Last edited:
I'm just impressed you have not one, but TWO microwaves, on the shelf, still in the box! :rotfl:

Nah, seriously, that looks awesome! Thanks for posting up the pics of the trip home. GREAT idea on the blankets from Goodwill. I'll probably copy that exact idea, then give them to the homeless folks that I see panhandling on my way to work each morning.

How did you go about placing the tub back on the frame? Engine hoist, a bunch of buddies?????

Keep the pics coming! Great stuff.
 
:woot:


How are you going to reassemble the body without messing up the paint? I'm just curious because I'm trying to decide if I want my body to be painted in one piece like the factory or separate. It would be more convenient to paint it separate but I want that "factory paint" look also. And based on your work so far it looks like you're going for that also:bow:
 
I'm just impressed you have not one, but TWO microwaves, on the shelf, still in the box! :rotfl:

Nah, seriously, that looks awesome! Thanks for posting up the pics of the trip home. GREAT idea on the blankets from Goodwill. I'll probably copy that exact idea, then give them to the homeless folks that I see panhandling on my way to work each morning.

How did you go about placing the tub back on the frame? Engine hoist, a bunch of buddies?????

Keep the pics coming! Great stuff.

The microwaves are for when a "snack attack" happens:D

As far as putting the tub back on the frame, me and 3 buddies just picked it up off the trailer and carefully set it down on the body mounts. I got them to help me move it around enough to get all the body mount bolts started (except for the above mentioned 3). Later on I will have to "fine tune" the bodies placement, i.e. make sure it is sitting square on the frame etc.

Appreciate the compliments, I still have a long way to go:cheers:
 
:woot:


How are you going to reassemble the body without messing up the paint? I'm just curious because I'm trying to decide if I want my body to be painted in one piece like the factory or separate. It would be more convenient to paint it separate but I want that "factory paint" look also. And based on your work so far it looks like you're going for that also:bow:

As far as reassembling all the body parts without damaging the paint, I guess I will just have to be careful:fingerscrossed: But seriously, I don't really see any potential paint scratching reassembly work. I will probably get some buddies over to help me reattach some of the larger parts (fenders, hood, windshield) to prevent me from trying to do to much by my self, i.e trying to hold a fender in place while simultaneously trying to bolt it on, fingers slip, nice big ratchet scratch, cursing, tool throwing, etc:eek:

The smaller parts wont pose too much of a risk upon reassembly (corner braces, windshield hinges, door strike covers, wiper motor cover, etc). One thing I will mention, though, is that I am having to go back and re-tap any and all threaded holes upon reassembly to get all the paint and primer out of the threads. This adds alot of time upon reassembly. Something that should take less then 5 minutes to bolt back on takes about 20 minutes when you figure you have to re-tap holes, apply anti seize, etc:crazy:

Appreciate the compliments:cheers::bow:
 
So you have some bolts painted already for all the hinges and such?

I am just going to use the bolts that came with the "Totally Stainless" bolt kit. All of my exposed bolt heads will be stainless, not painted:shrug: If I was "restoring" one I would have had all the bolt heads painted the body color, but since this is more of a driver/trail rig the ss bolt heads wont bug me:cheers: The ss looks kind of neat against the bright red background, helps to break it up:D
 
Did a little work Friday night.

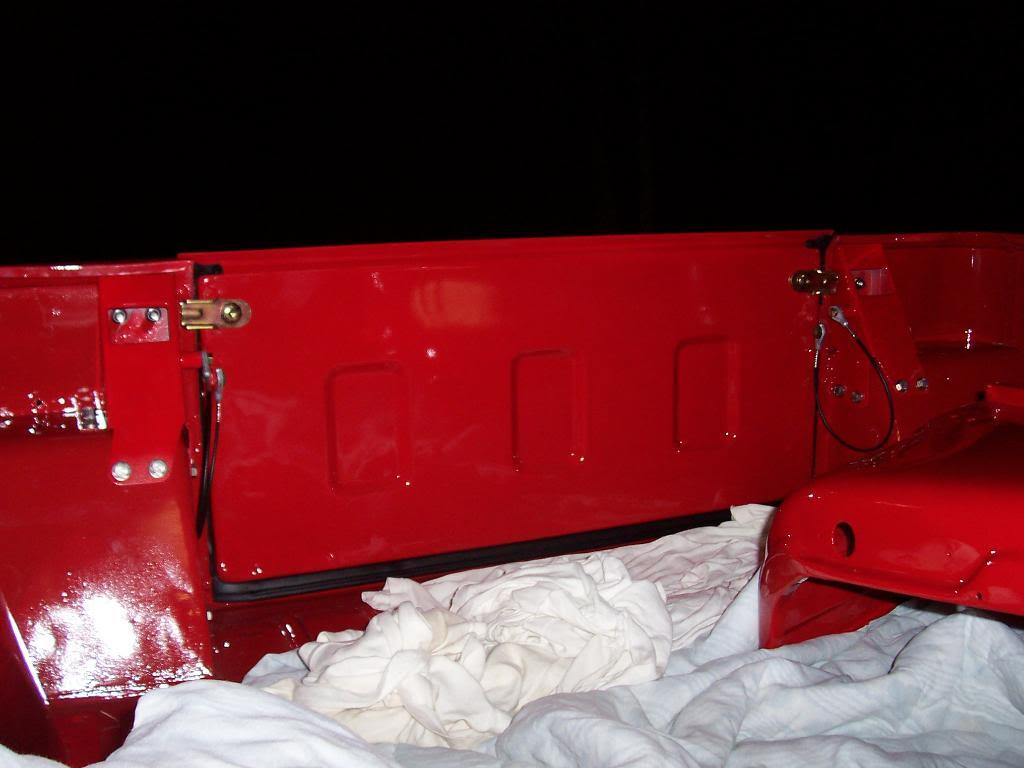
Bolted up the tailgate and all the other rear body brackets. Lots of holes to tap. You can see how the SS bolts really show up against the red background.

100_5230-1.jpg


100_5231-1.jpg


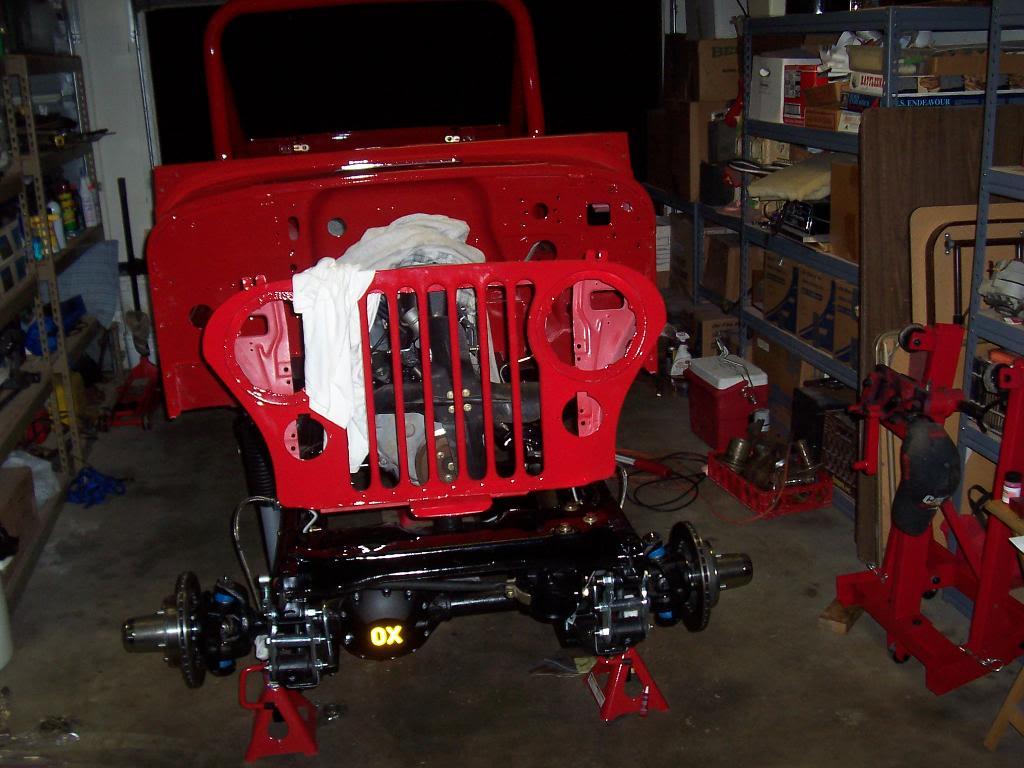
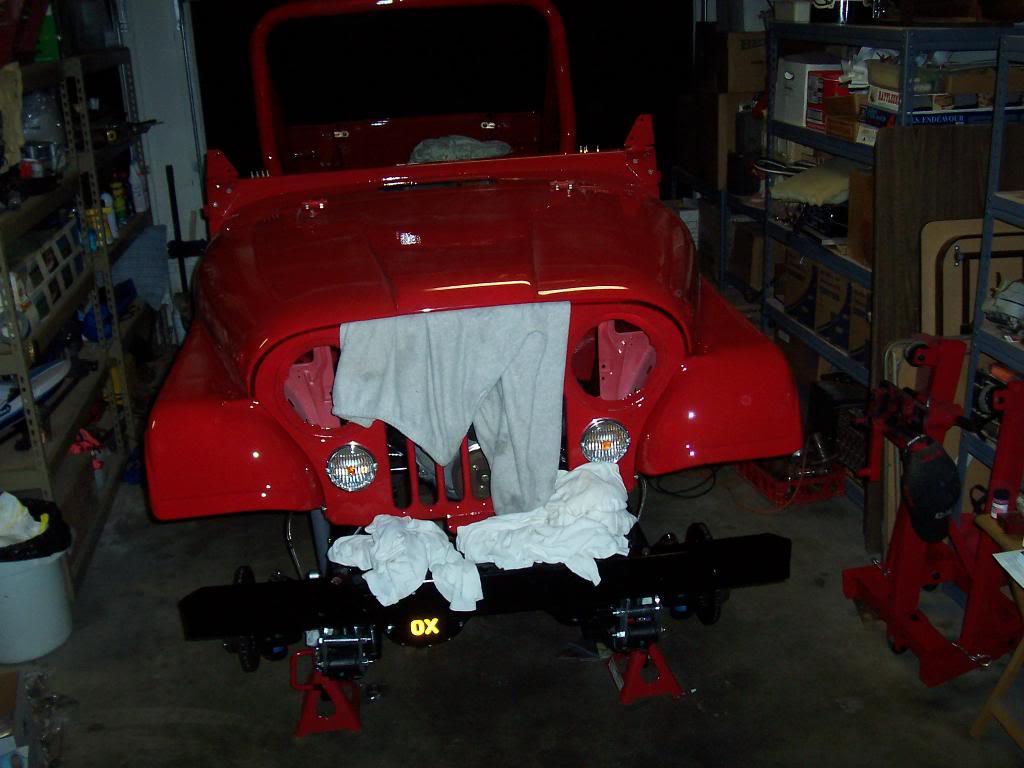
Bolted up the grill next.

100_5232-1.jpg


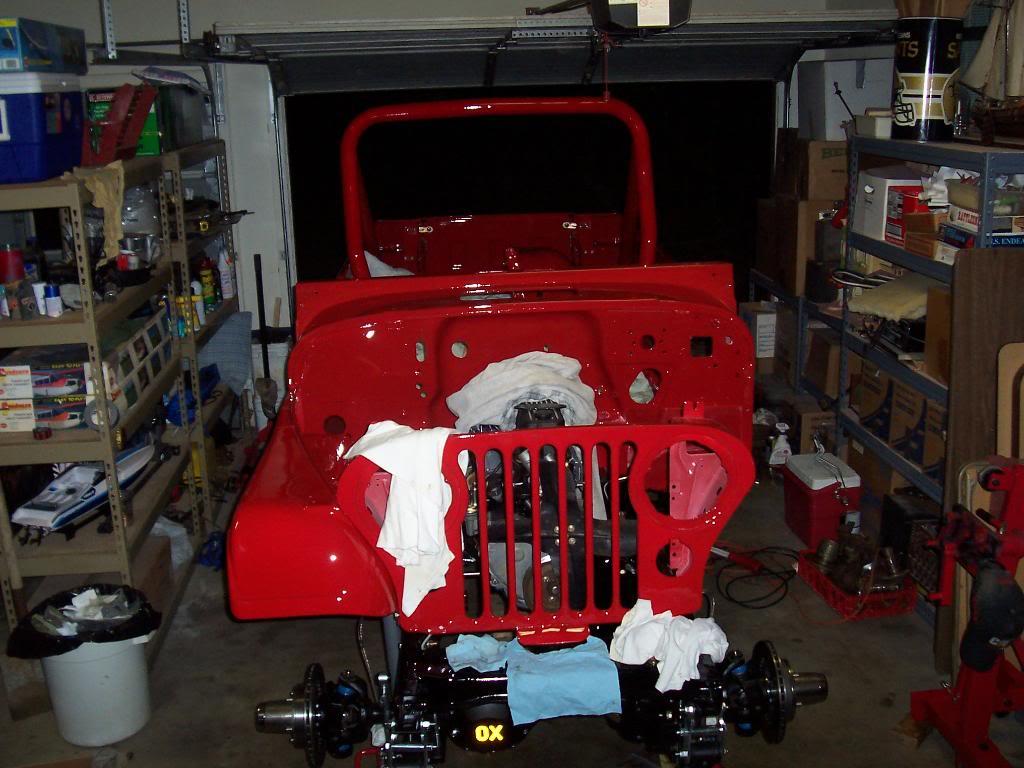
Passenger side fender.

100_5233-1.jpg


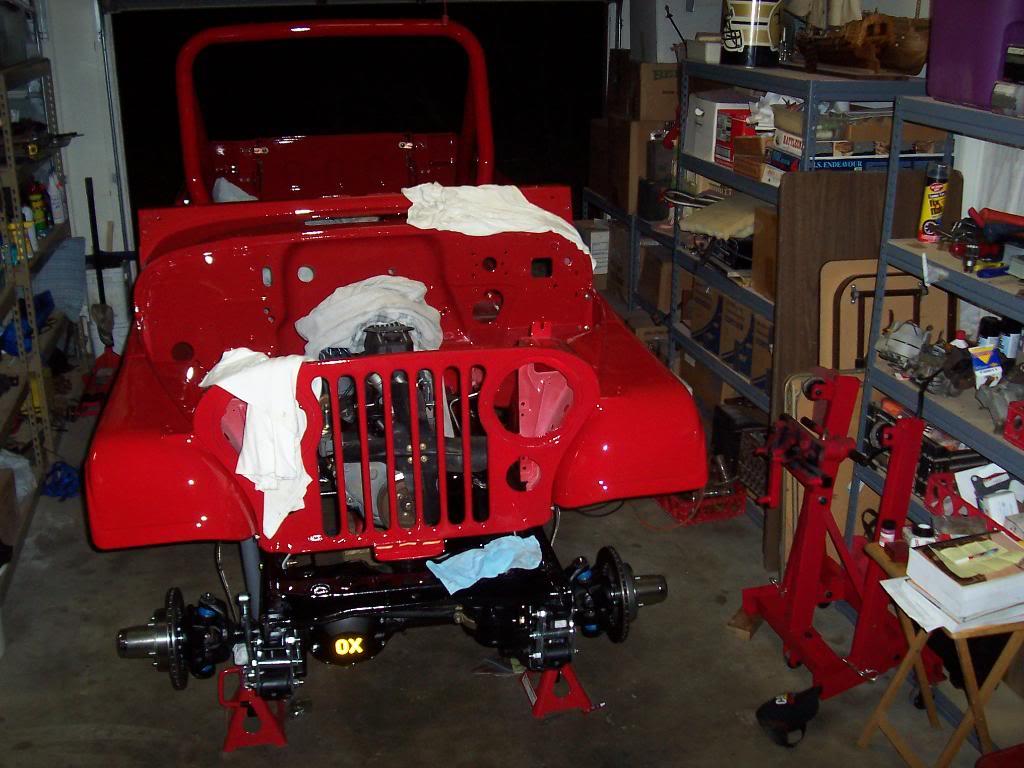
And then the drivers side fender.

100_5234-1.jpg


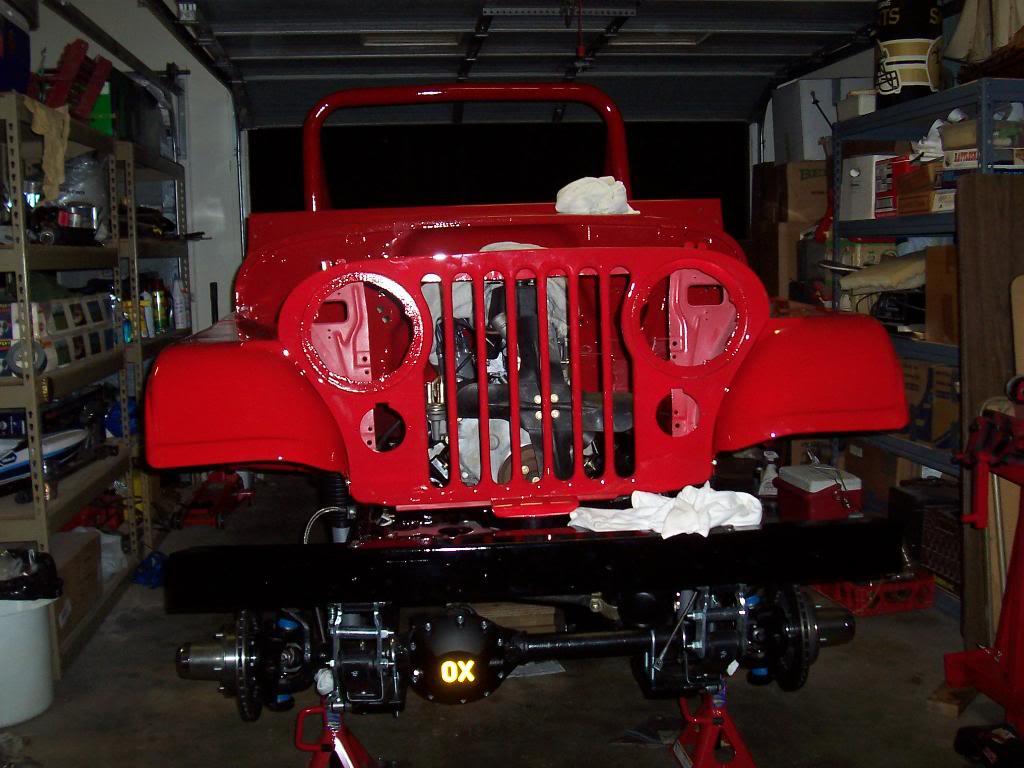
Then the front bumper.

100_5236-1.jpg


And then the hood.

100_5237-1.jpg


Starting to look like a Scrambler again.
 
Last edited:
I like those SS bolts.

Is it too much trouble to ask for a video when you're all finished?:D
 
LOOKING GOOD

FYI I think the tail gate hinges are upside down? NEVERMIND I guess I'm not around the back side much BUT IT LOOKS DAMN GOOD
 
Back
Top