• Notice for iPhone users: DO NOT use the image size reduction option when uploading photos to the forum. This causes portrait images to post as landscape. We have added a warning to the image insert pop-up as well.

Another Scrambler Purchase/Road Trip - UPDATE- BODY ON FRAME AGAIN

Man that sucks. It seems like the worst part was getting rear ended by your friends boner bar. Even though you say ya'll were taking your time it looks like he hit it pretty good. If I were you I'd put him in the front next time. I'm sure there will be more damage in the future but hopefully not so painful for you.
Look good dirty too.

:rotfl::rotfl::rotfl::rotfl::rotfl:

Yep, the dirt/mud cover up the scratches and dents:D
 
Sorry about the damage, but I get what you mean about it being liberating. I bet Moab is that much more fun as a result.

Big ol' :thumbsup: and :cheers: for using the thing how it was meant to be used :D
 
Nice.

Sorry to hear about the damage, but You've always said it was built to use. :thumbsup:

:wave:
 
Glad to see the Scrambler performed well; you definitely didn't baby it! The first dent/scratch always hurts the worst! At least any repairs should be fairly easy to fix/touch up eventually since they are confined to the rear tail light panel. I would much rather have to fix a dent or two than repair rust! The dent just adds character and like Bigwalton said, now you don't have to worry about getting the fist on at Moab! :thumbsup:
 
Sucks about the damage but it's gonna happen sooner or later if you wheel it! That is why I'm not super concerned about mine being extremely nice when I'm done, I know it will get scratched and dented. Good to hear it is working well for it's intended purpose!
 
Sorry about the damage, but I get what you mean about it being liberating. I bet Moab is that much more fun as a result.

Big ol' :thumbsup: and :cheers: for using the thing how it was meant to be used :D

It's like a weight has been lifted from my shoulders, I knew it was going to happen eventually, it's just all part of going on the trails that I plan on using this thing on:cheers::thumbsup:

I'm just happy the first dents happened in the woods, and not at the mall parking lot:rotfl::rotfl:
 
Sorry to hear about the damage, but You've always said it was built to use. :thumbsup:

:wave:

Yep, unfortunately, you know as well as I do, using these things does tend to scuff them up a bit:shrug:

But don't worry, now that the first little bit of damage has happened, it does not mean I am ready to completely smash it up, hopefully that will never happen:thumbsup:
 
Glad to see the Scrambler performed well; you definitely didn't baby it! The first dent/scratch always hurts the worst! At least any repairs should be fairly easy to fix/touch up eventually since they are confined to the rear tail light panel. I would much rather have to fix a dent or two than repair rust! The dent just adds character and like Bigwalton said, now you don't have to worry about getting the fist on at Moab! :thumbsup:

Yep, I just hope in a couple of years everyone is not commenting on how much "character" I have given this thing, kind of like not so pretty girls and personality:thumbsup:

The rear corner panel is a good place to take a lick, it is kind of isolated, and the back end is so "busy" with tail lights, bumper, spare tire, etc, its not that noticeable:thumbsup:

I definitely "used" it this past weekend, and had a blast:cheers: It is definitely more fun to drive it then to look at it. The 4:1 Dana 300, Front/Rear Ox Lockers, MPI, etc. make this a fairly capable little stock Scrambler. I am very happy with it:cheers:

Yep, can't wait for Moab:cheers:
 
Sucks about the damage but it's gonna happen sooner or later if you wheel it! That is why I'm not super concerned about mine being extremely nice when I'm done, I know it will get scratched and dented. Good to hear it is working well for it's intended purpose!

Yep, it is working great, just a few more minor bugs to work out:cheers:

I left a small dent or two in the body when it was being repaired. I told the body shop guys I did not want it "perfect" because I was going to wheel it. They looked at me like I was crazy:thumbsup:

I have kind of slowly "broke" in the body. First trips I had some mud stains. Next few trips, some brush scratches. Next trip, scuffed the soft top, and the last trip, the inevitable dents. I just hope that this is as far as I go up the old body damage ladder:fingerscrossed::fingerscrossed:
 
I'm just happy the first dents happened in the woods, and not at the mall parking lot:rotfl::rotfl:

That's a great attitude to take! I am 100% with you on that

I had hoped to run up to Moab while you are there and maybe dent it for you some more but unfortunately it doesnt look good for me to be able to get free then. Things could change but around here they seldom change for the better

Have fun!
 
That's a great attitude to take! I am 100% with you on that

I had hoped to run up to Moab while you are there and maybe dent it for you some more but unfortunately it doesnt look good for me to be able to get free then. Things could change but around here they seldom change for the better

Have fun!

Appreciate it, but for now on, I want to be the only one to put dents in it :rotfl::cheers:

I was hoping to get to wheel with a fellow Scrambler owner in Moab, hopefully things change for the better:thumbsup:
 
Appreciate it, but for now on, I want to be the only one to put dents in it :rotfl::cheers:

So keep your rear end away from boners? ;)

Okay am I the only child who's been thinking this?

But seriously, good attitude for a real trail runner. Once the first injuries are over, you don't have to worry about that first dent or scrape. :cheers:
 
Yep, I just knew my little wording "faux paux" would bring out the kids in all of us:rotfl::thumbsup::cheers:

As long as no one say this:

:needpic:

We should be OK:shrug::rotfl::thumbsup:
 
One last "push" before Moab. A few pictures/updates on some things I have been working on. Like they say, these things are never done.


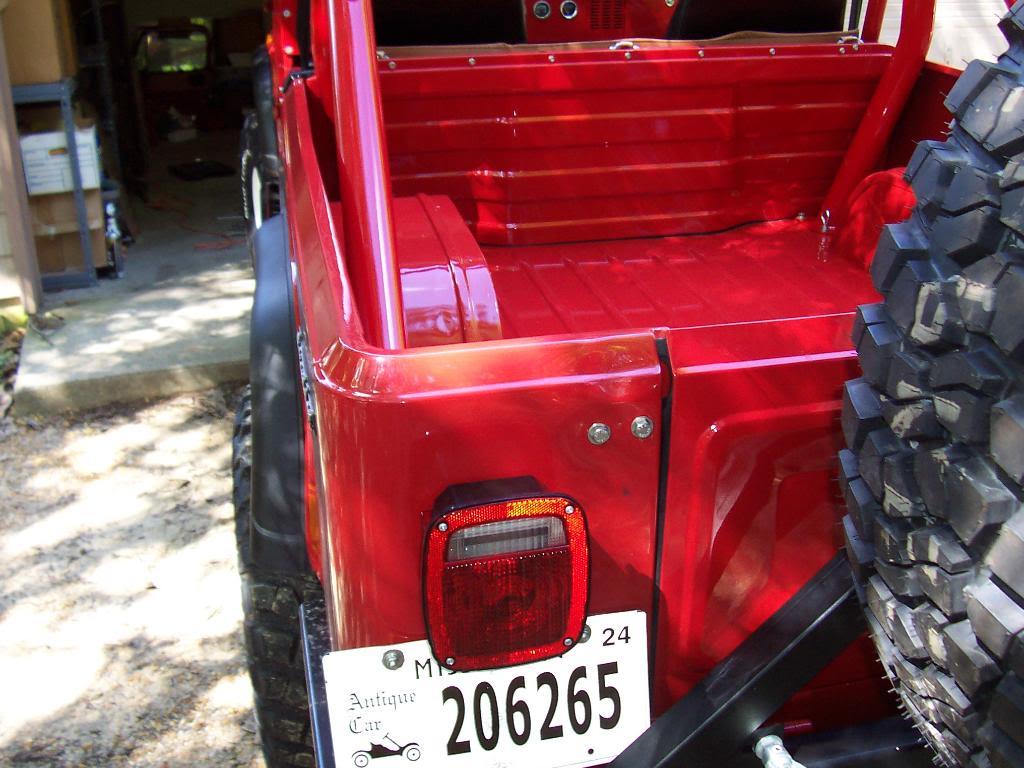
First up, the dent on the back doesn't look too bad, hardly noticeable, especially with the new tail light installed.

00146-1.jpg


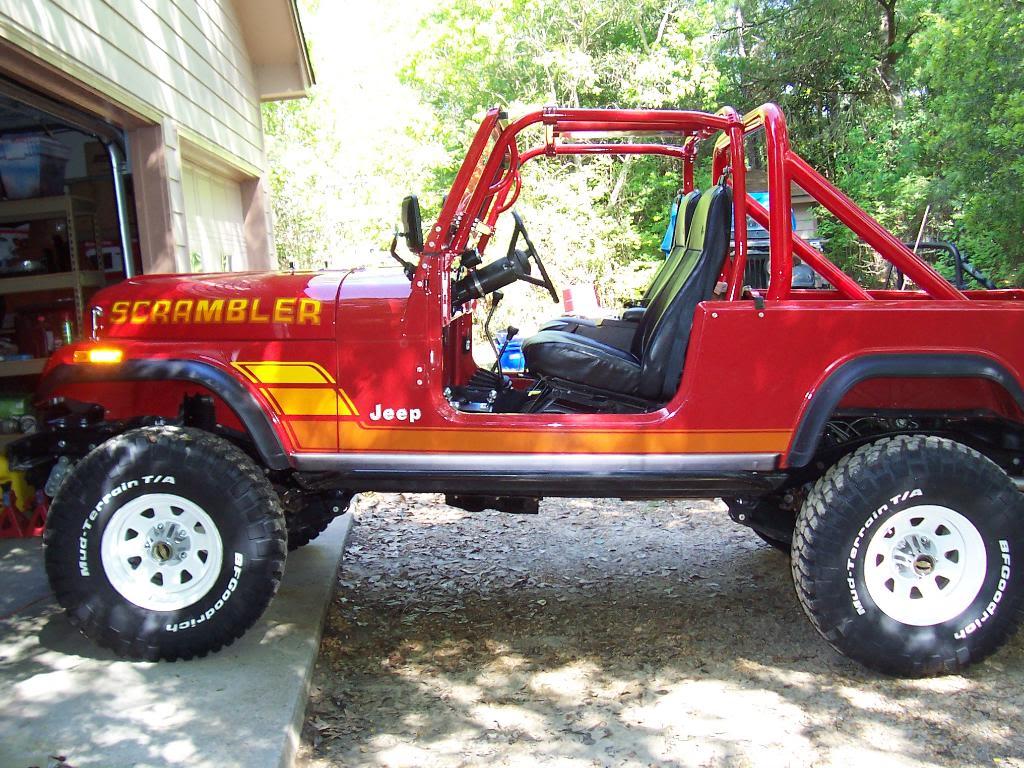
I also installed the factory rocker mouldings. These should help prevent scuffing up the side paint when people use the rock sliders as steps. They also cover up my little bit of passenger side rocker damage. I did not take a picture, but I used all new "T-Bolts" from Collins Brothers to install the rocker mouldings. Just be warned, the Collins Brothers set is two T-bolts short for a CJ-8. You can also tell that I installed my side decals a little bit "down hill", i.e. the rocker piece covers up the bottom edge of the decal when it gets close to the rear tire. I guess my word of advise on this is: If you want to run the factory rocker mouldings, install them first, or make sure you put the side decals on level LOL.

00249-1.jpg


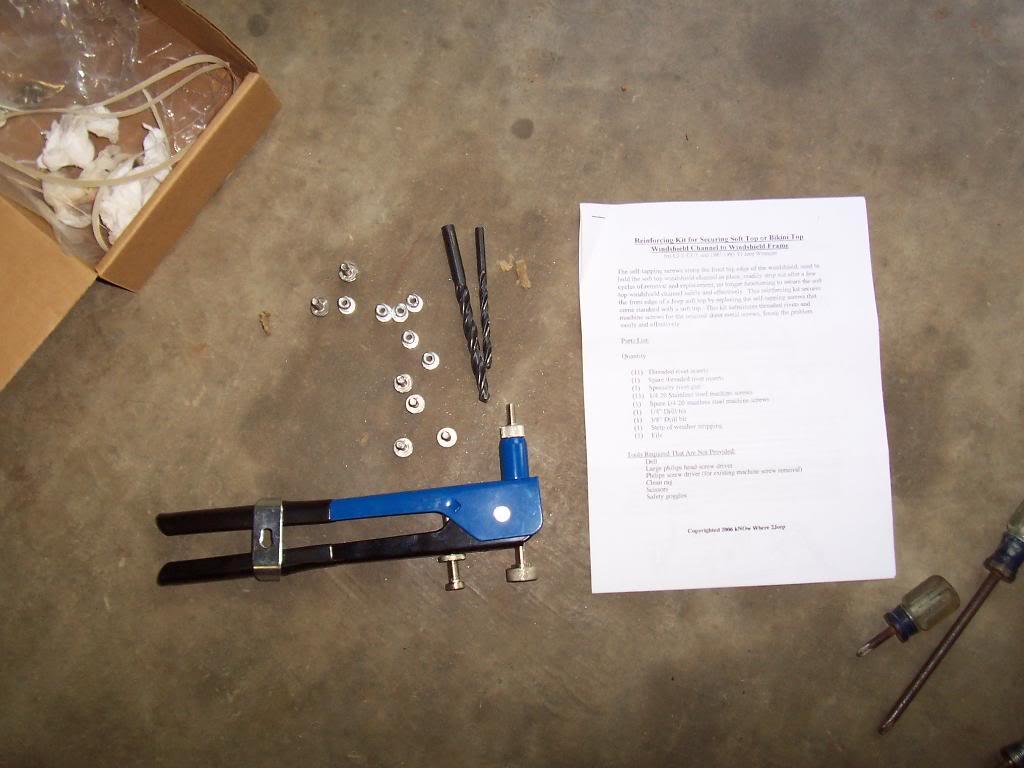
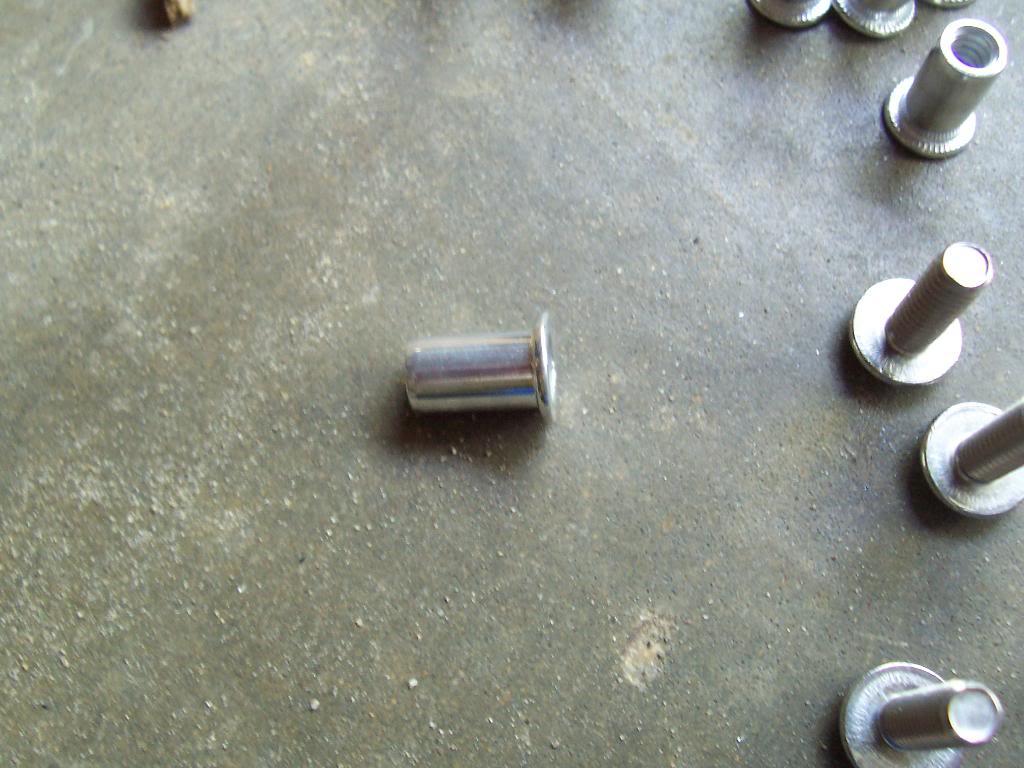
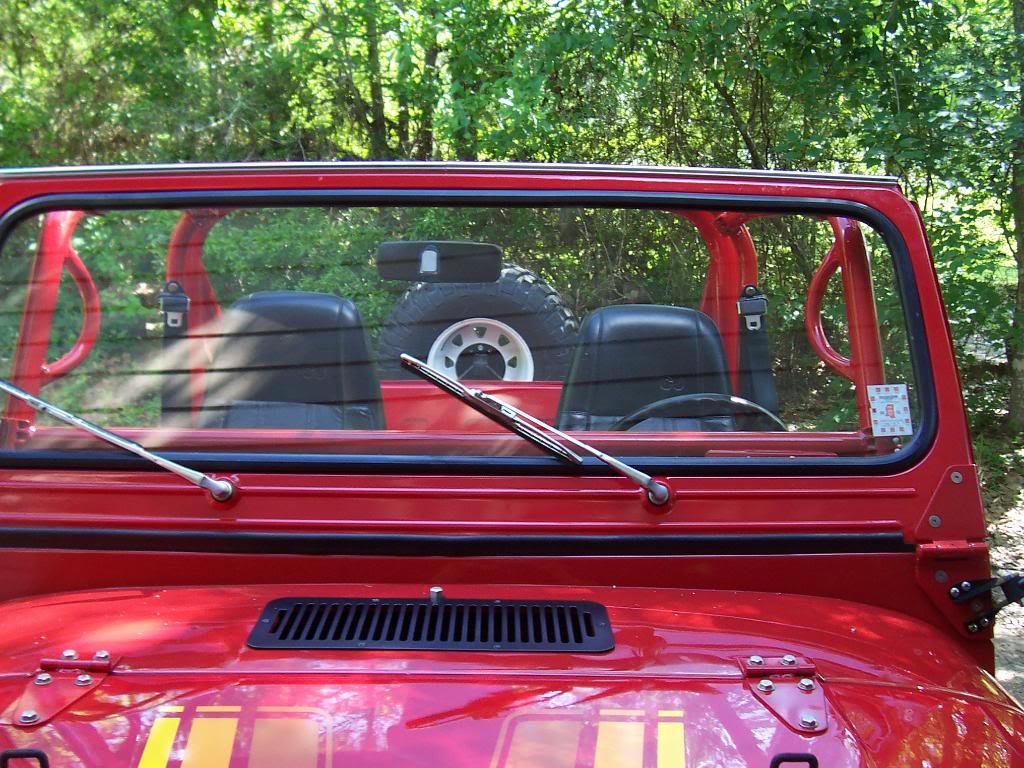
I also fixed my windshield frame soft top header. When I was at Hawk Pride my soft top hit a tree. The header piece pulled two of the self tapping sheet metal screws out of the windshield frame. I temporarily repaired this by re tightening the screws, but they came loose again. I ended up buying one of those header repair kits. They work great. You basically drill out the screw holes and use the included aluminum rivet inserts.

00441-1.jpg


00539-1.jpg


00343-1.jpg


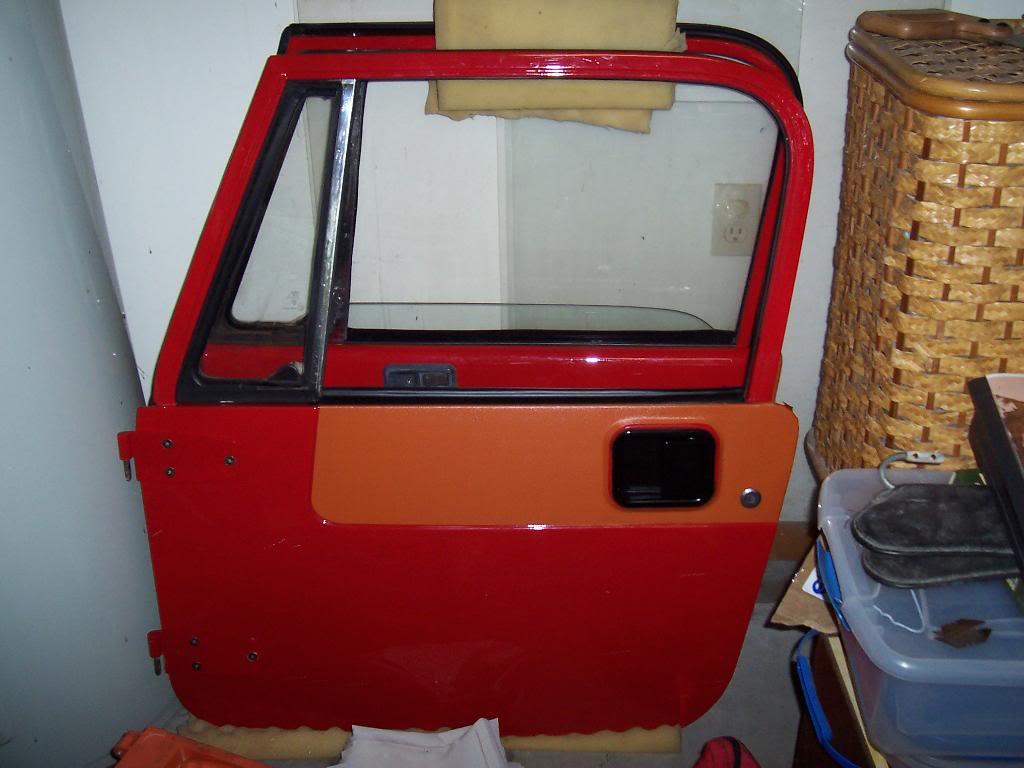
I finally installed my door decals. I ordered these with the other decals, just never put them on. I had to remove the lock cylinders to install these, but other then that they went on easy enough. I am having a problem with these decals wanting to peel up around the rear top edge, where they wrap around the door. I will probably have to cut off this "wrap around" portion. I tried to super glue it down, but it did not hold. I also need to install the little metal trim ring that goes behind the door handle to cover up the slight red ring around the door handle. From the factory, if the doors came with these decals, they installed the above mentioned door handle "trim rings" to cover up the gap where the decal does not go all the way to the hole in the door.

00634-1.jpg


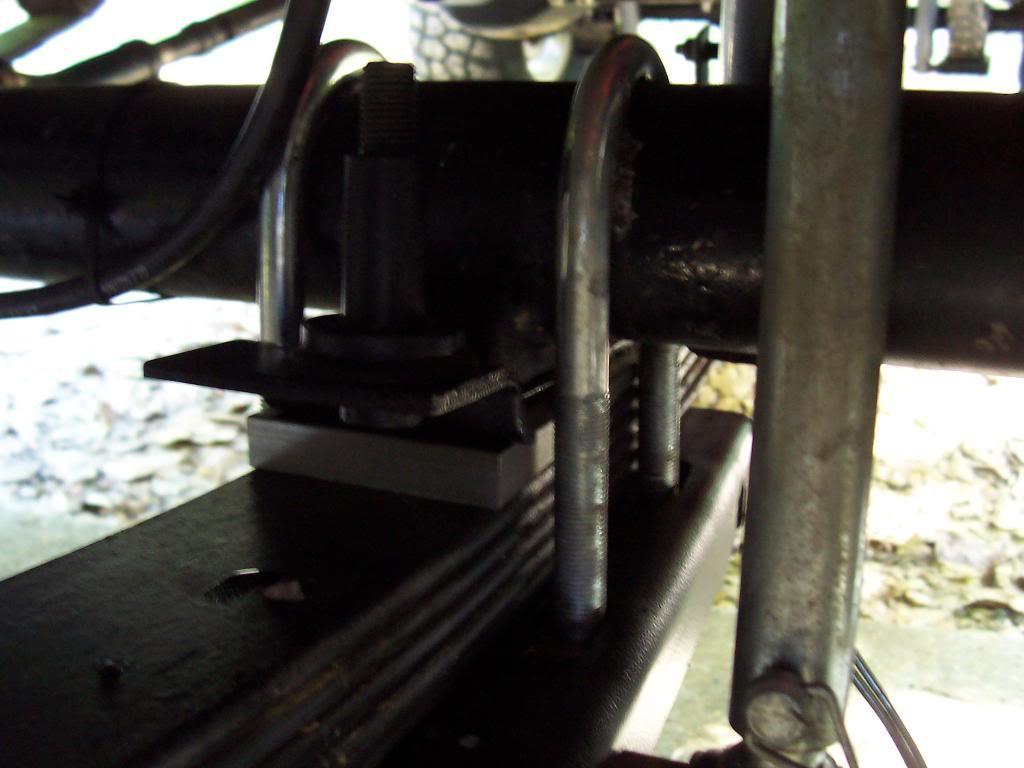
I had my front end alignment checked last week, and as a result of the lift, my caster was at 3 degrees positive. It should be at 6 degrees positive, per the FSM. The incorrect caster caused mt two issues:

1) Very slight front end shimmy/death wobble at around 45-50 mph.
2) Very poor "return to center" steering characteristics

I installed 4 degree steel shims from Rubicon Express. In order to install these shims I had to buy longer spring center pins. These steel shims are installed with the center pin passing through the center of them, tying them to the leaf spring pack. I am not worried at all about them popping out or breaking.

After installing the shims, I had the alignment checked/adjusted. My caster is now at positive 6 degrees, the shimmy is gone, and the steering returns to center.

00732-1.jpg


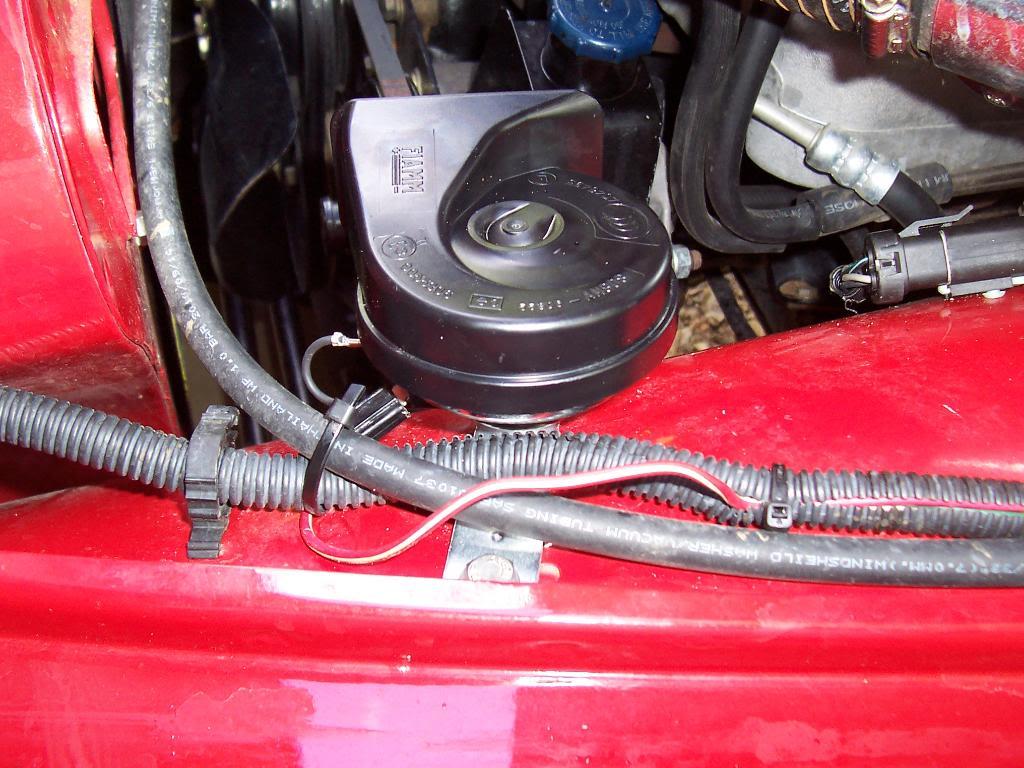
I also installed a horn. Bought this one from Napa, hooked it up, and it works perfectly. Just one of those little things I have been meaning to do.

00927-1.jpg
 
Last edited:
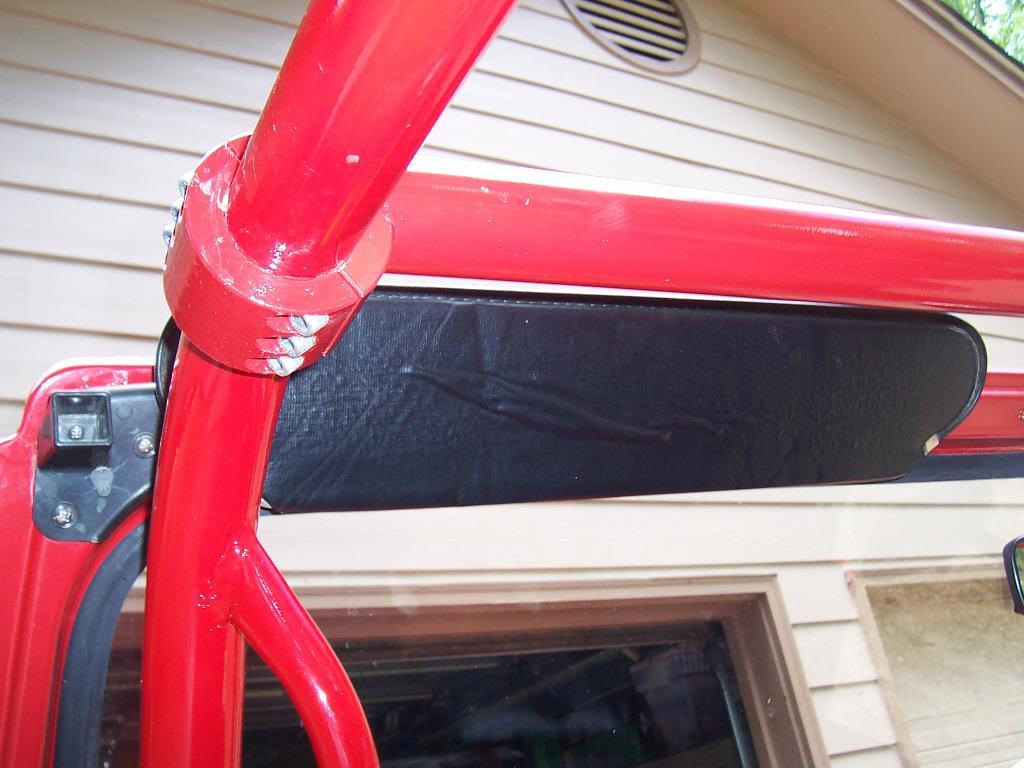
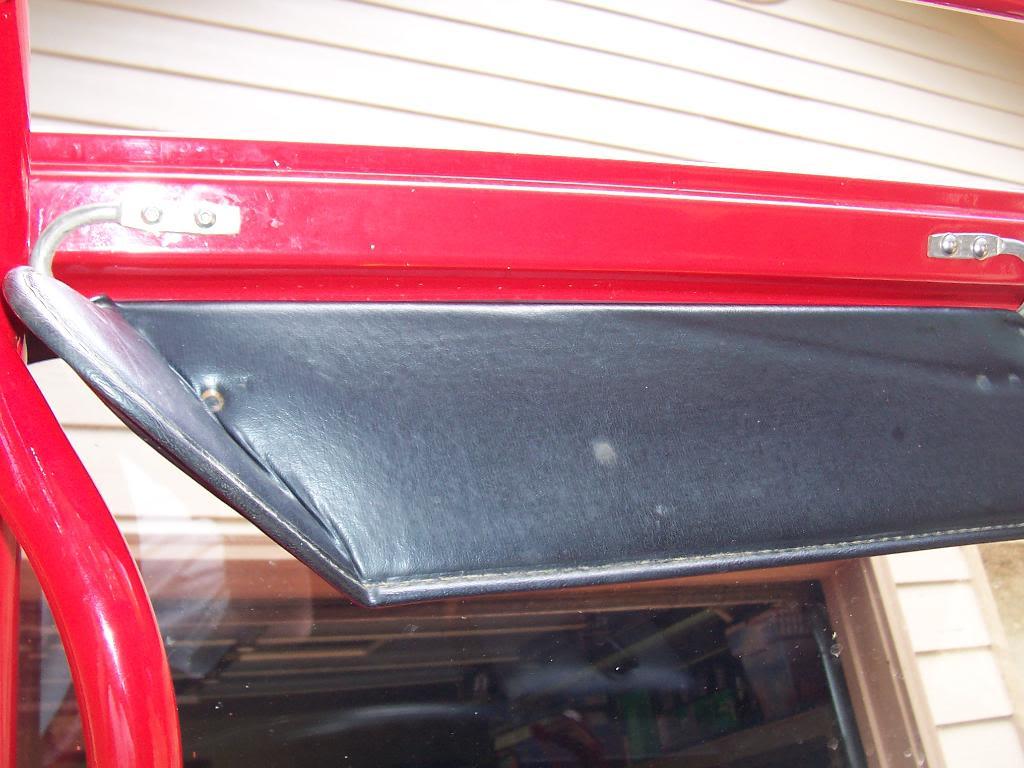
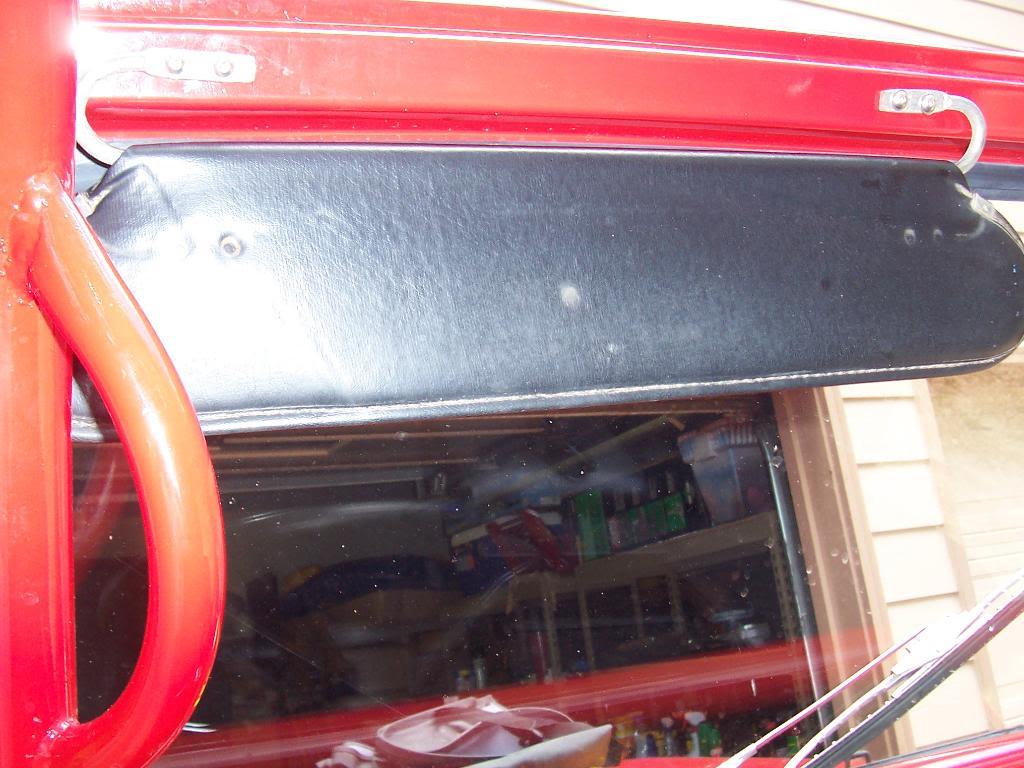
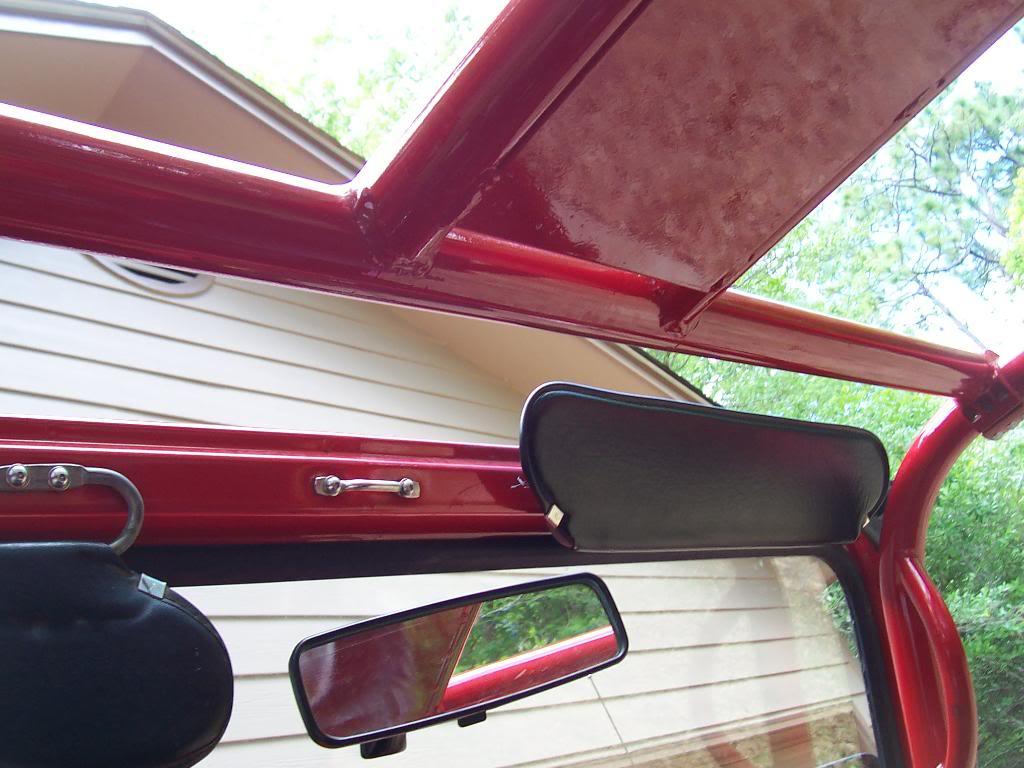
After heading west into the setting sun, or heading east into the rising sun, one too many times, I finally installed my sun visors. They will work with the in cab roll cage, but you do have to kind of bend them/force them down. If you have perfect condition sun visors, you might not want to do this.

01025-1.jpg


01121-1.jpg


01219-1.jpg


01318-1.jpg


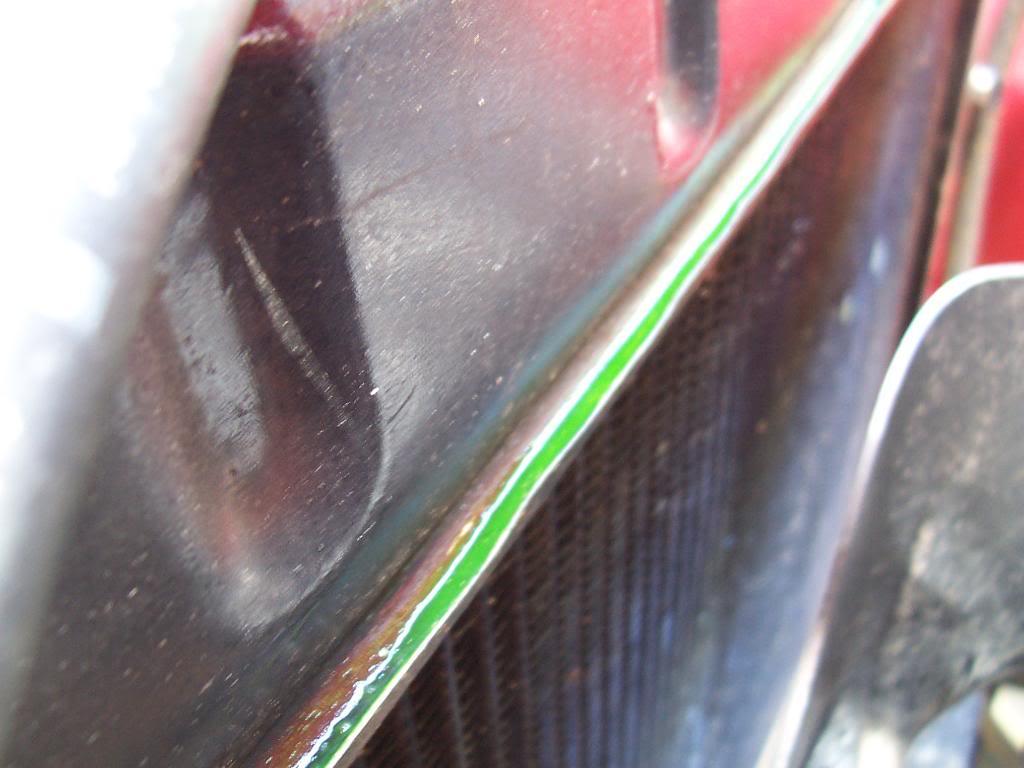
I have two nagging leaks that I need to fix. The first leak is from my new radiator. It is leaking coolant out of the top tank seam. It only leaks after you shut the engine down. Since the radiator has a warranty on it, I am going to pull it out and replace it. It is fairly simple to remove my radiator, one overflow hose, four bolts, and two hose clamps and it is out. This is an easy leak to fix.

01415-1.jpg


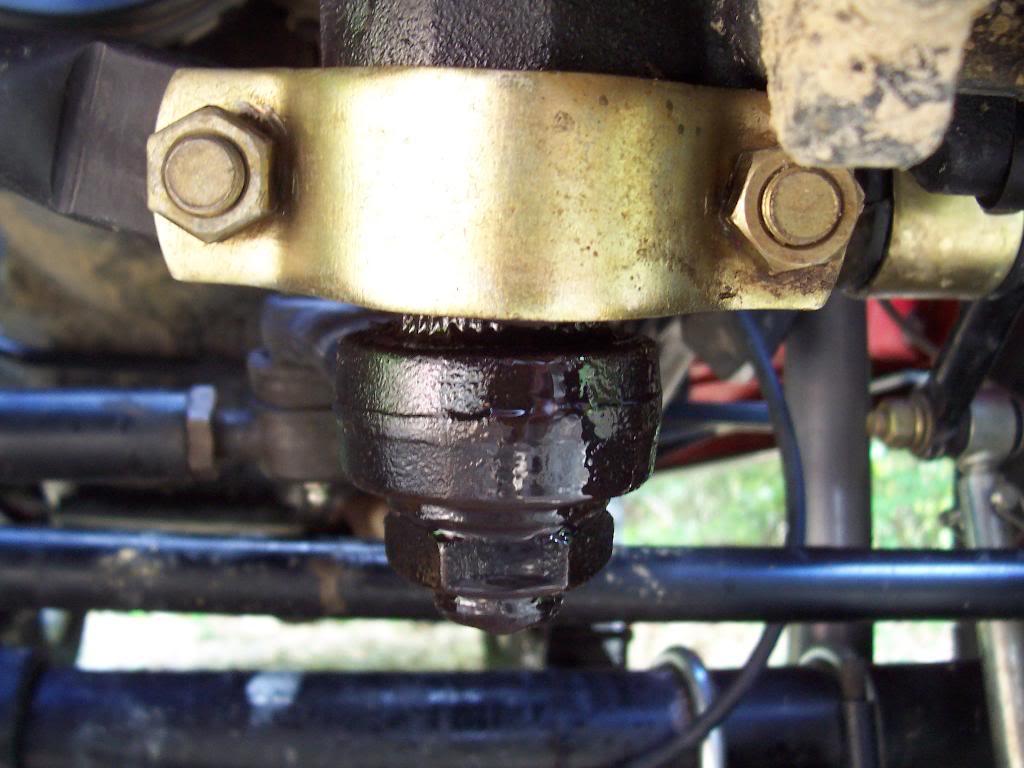
My second leak is a bigger pain in the butt to fix:

01513-1.jpg


That's right, the power steering box. This is the one component that I did not change out when I completely rebuilt this Scrambler. I guess it serves me right. If you have never changed out a CJ steering box, get ready for a world of fun. My change out was also complicated by the three other factors:

1) I have a winch that covers up the top mounting bolts ( a winch that I promptly dropped on the end of my finger, smashing it so hard it cut the end of it off almost all the way off) which I had to remove to gain access to the bolts.

2) A steering box brace, which ties into the passenger side shackle hanger bolts, which has to be removed, too.

3) One of the factory nut insert in the driver side frame that hold the steering box in place is missing from my frame. I dropped a bolt down through this hole to secure the box. But, in order to remove this mounting point, I have to slip a wrench inside the frame to keep the bolt head from spinning, In order to do that, I have to remove the winch mounting plate off the frame rail.

After securing the frame on jack stands, removing the driver side tire, holding up the unsprung weight of the axle with two floor jack (Remember, you have to remove the driver side shackle hanger bolts to remove the steering box. If you leave the weight on the suspension, well, lets just say bad things could happen.), a bunch of bleeding, followed by cursing when power steering fluid runs into an open cut, and about 6 hours later, my new steering box was installed.

The new steering box works great. It does not leak, which is priority number one. My old steering box did not feel loose at center, but this one feels tighter. So, my already tight steering is even tighter.

That's it for now.

 
The dreaded CJ steering box change out! Such a simple sounding task that turns into one of the biggest PITA's ever! The job always takes more than a few hours due to something (or many things) not cooperating! And it seems like the boxes only start to leak once the Jeeps are all back together. I have had very few CJ's that haven't had leak issues with the steering box and of course the leaks won't develop until a week or two after I have had parts removed from the Jeep that would have given me decent access to the steering box. Glad you got it changed out with minimal blood loss!
 
The dreaded CJ steering box change out! Such a simple sounding task that turns into one of the biggest PITA's ever! The job always takes more than a few hours due to something (or many things) not cooperating! And it seems like the boxes only start to leak once the Jeeps are all back together. I have had very few CJ's that haven't had leak issues with the steering box and of course the leaks won't develop until a week or two after I have had parts removed from the Jeep that would have given me decent access to the steering box. Glad you got it changed out with minimal blood loss!

Yep, minimal blood loss is always the key:cheers:

The steering box is definitely one of those components that is locked in place by about 1 billion other items. Since I only installed this box about two years ago, and ran new lines, it came out fairly easy. The 1"body lift gives adequate clearance for removing the lines before you drop the box. The lines that use metric sized fittings:angry:
 
Nice

Sooner or later this Jeep IS going to be DONE! :rotfl: I do believe this one is the closest to being finnished in 40+ years of playing with them. Once againg nise work my friend. :thumbsup:

:wave:
 
Looks great! Did you polish out the rocker trim? If so how did you do it? Mine were painted and when I removed the paint they are partially black. I'm not sure how to get them shiny again other than paint.
 
Back
Top