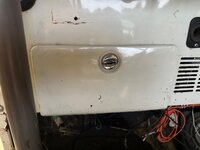
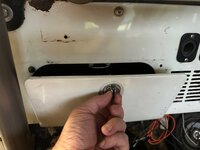
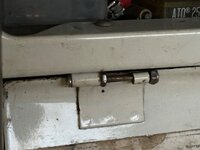
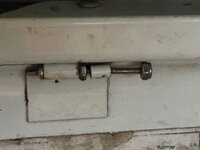
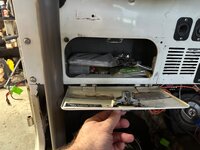
I found it somewhere. Not my idea. Note that I ground down the threads on the “slider” portion. Works perfectly and haven’t touched it since I did it years ago.
In other news… got the hatch frame mounted. Drilled out and countersunk the four bolt holes on the short sides for stainless screws/locknuts. The frame isn’t going anywhere and I like this a lot better than the rivets all over. Debated filling the other rivet holes before painting but didn’t just in case there was some reason I’d need to add more fasteners.
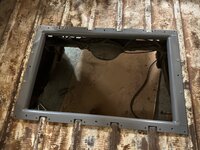
I plan to run some gasket material of some sort on the edge of the cover, the screws for it to attach to the frame are just a hair long and hit the bed, that will solve the issue without having to shorten the screws (I don’t want more holes in the bed) and allow for some tightening “cushion” to hopefully keep them from rattling loose.
Then moved onto the Tanks Inc pump unit. Ended up lengthening the last slot in the upright maybe 3/16” to allow the baffle tray to sit flush on the bottom of the tank. I got the “deep” tank version with extra long return and supply lines. Simple setup per the instructions. Wish they included a 1/4 npt cap for the vent line if you don’t order a vent fitting. Can’t believe I didn’t have one in my bins. That’s all it’s missing to be done.
Went with the Tanks Inc fitting/filter/hose kit and doing everything in AN running up and back on my drivers side, away from the exhaust. (Old setup had one on each rail).
Stroker fuel rail is set up for return and AN fittings as well. I’ll reuse my Mallory adjustable regulator after the rail somewhere on the drivers side of the firewall. Got to find a good fuel filter mounting spot.
Supply/return fittings aligned to head up the drivers side and confirmed that I’ll be able to get to the mounting screws. Pic is before the AN fittings went on. Wiring bulkhead connectors are sweet.
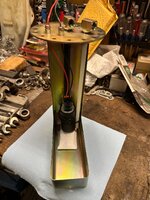
Hoping to get some time out there tomorrow to get the mounting holes in the tank and get the tank in.