• Notice for iPhone users: DO NOT use the image size reduction option when uploading photos to the forum. This causes portrait images to post as landscape. We have added a warning to the image insert pop-up as well.

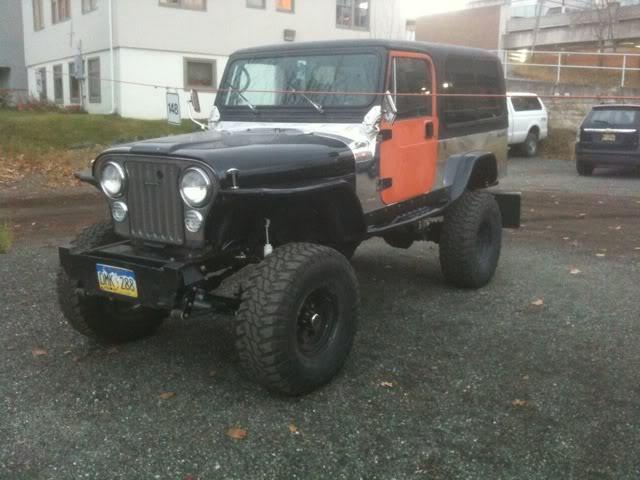
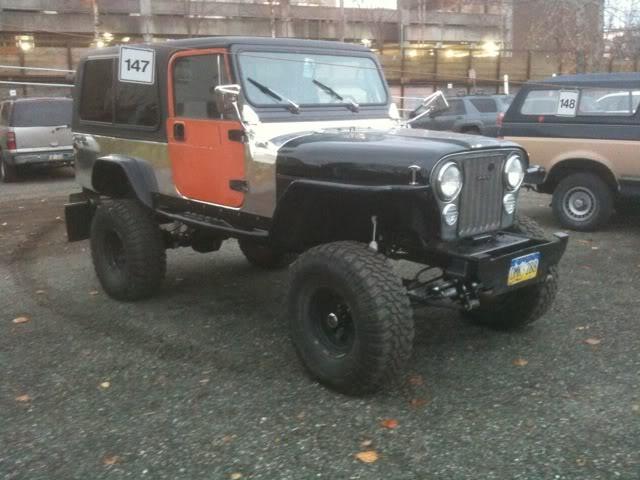
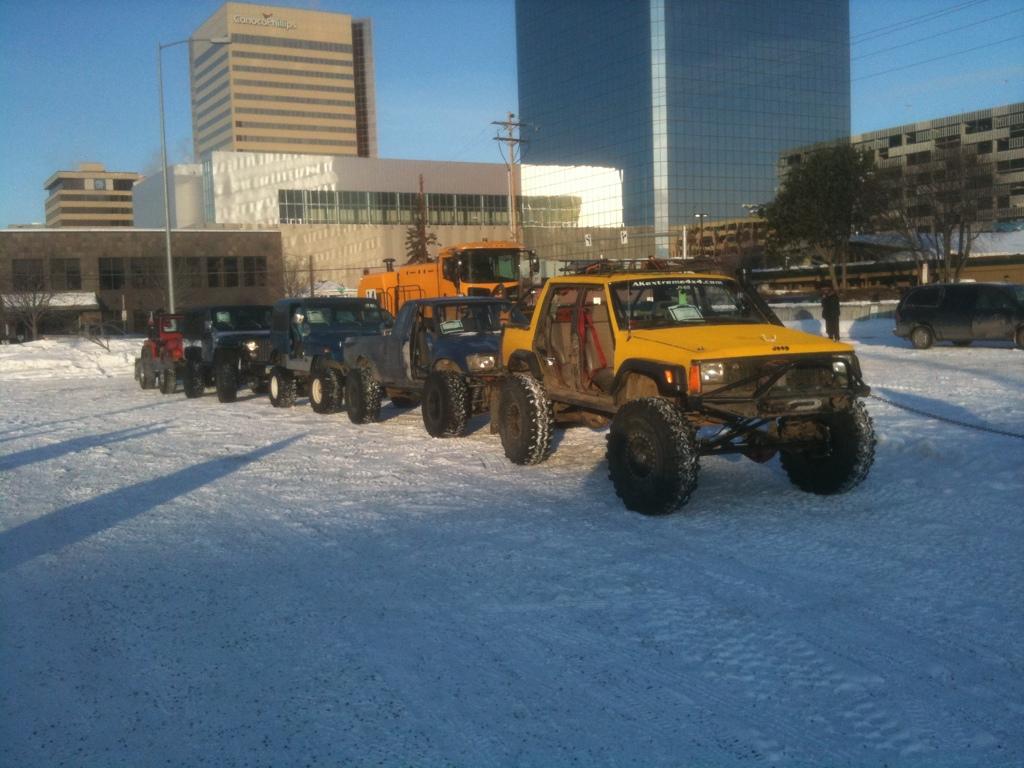
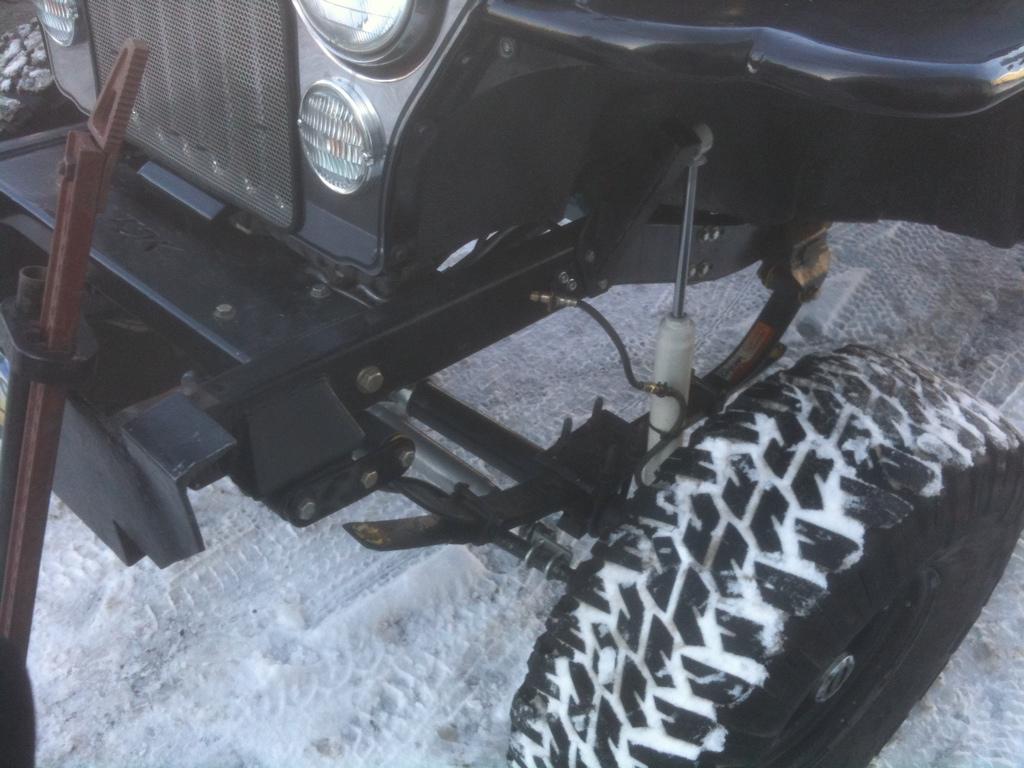
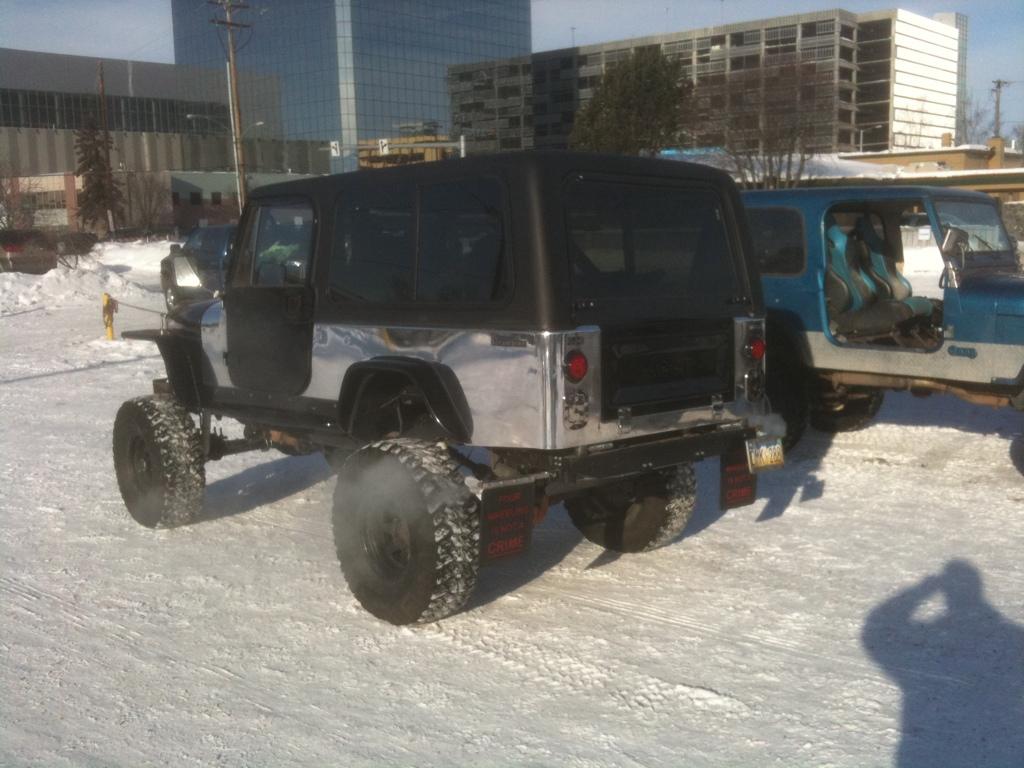
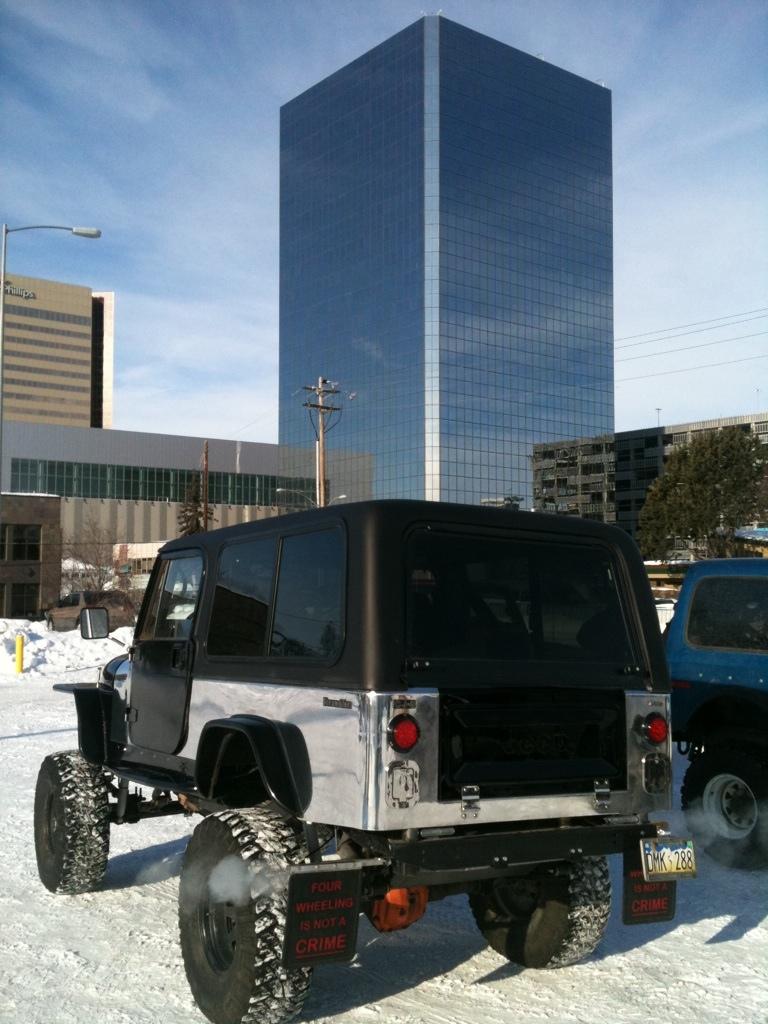
My "new" dream Scrambler

ae6db1b1-1.jpg

Closer! A guy in my club came over with an extra hand to help me get the engine back inside the frame.


Nice build. I'm finishing up mine as well.

What diameter tail lights are those, 3" or 4".

Also in two weeks I'm having my exhaust done and taking him the mufflers/dumps. I'm sure I need a passenger hanger. Where did you buy your or did it just get fabed up.

Thanks,
Jim

Getting close after 7yrs :)
4" lights with an overall width of 5.5".

The three non-factory exhaust hangers are all stock for a TJ. The rear ones I mounted upside down to get the clearance I wanted.
 
Last edited:
5fb17211-1.jpg

I got bit by the I-can't-put-those-dirty-parts-on-the-new-clean-engine bug.

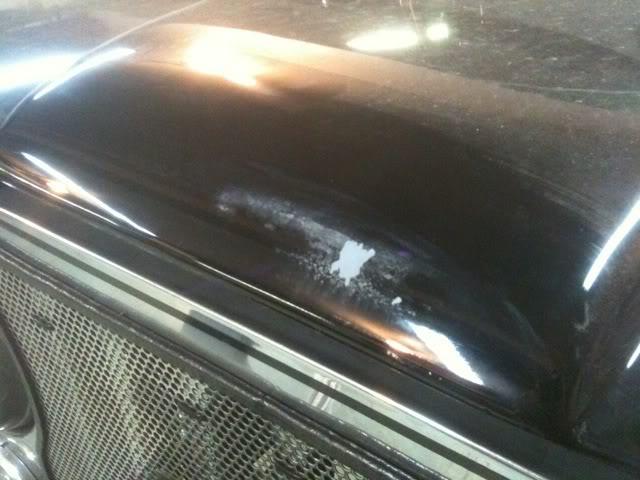
I also got to looking at the Jeep and realized that we pushed the whole Jeep back about six inches while putting the engine in. With the hood flipped back, I was careful to put a towel between it and the windshield frame, but pushing the whole Jeep back made the hood contact and push up against a beam in the garage. So we spent about two hours with the hood rubbing back and forth on the beam, taking all the paint off down to the primer. I'm a sad panda. :(
 
1037307a-1.jpg

The paint damage to the hood. :(


My fiancé granted me garage privileges, so Saturday afternoon I got most of the engine reconnected before we had a Scrabble date.
1c58b5fa-1.jpg

EFI, engine accessories, and right exhaust. I also filled it with a special Valvoline racing oil that has a high ZDDP content, along with the Comp Cams break-in fluid.

ed596a42-1.jpg

And it lives! I need to clean up all the wiring, and probably re-use one of the old Live Wires for #2 since this configuration is so tight. But the engine immediately fired when cranked! It shut down on it's own twice until I tracked a loose connection to the distributor. Also had a minor coolant leak at the heater core, but tightening the clamps seems to have fixed it.

Need to dump the oil an get the top bolted down and I may be able to drive it again this week!
 
That is great:cheers:

I always tend to have those coolant leaks out of the heater hose to heater core connection at the firewall after I mess with the coolant system, too. Ususally just a loose clamp:thumbsup:

That is a cool engine color:cheers:
 
Organized the plug wires, reusing an old one for #2 so I could have the correct length. I ran into this problem 10 years ago when I first mounted this DUI in the 360 I used to have in my 7. The "solution" is to ALWAYS set up the distributor in a particular orientation, but it fell in so easily and gave up #1 TDC so easily I just couldn't bring myself to change it. Plus it oriented the distributor nose away from the belts. I also got the rest of the EFI wiring taped back up and tucked away (I need to change out for some proper wire loom). And of course changed the oil. My hot idle pressure after breaking in the cam was low: 12-15 psi. That had me worried. I went with Shell Rotella-T 15W-40 with a bottle of Comp Cams break-in fluid (high ZDDP additive) and a NAPA Gold (Wix) filter. I also realized I forgot to connect the defroster duct from when I pulled the lower box. It turns out I need a new reostat.

To keep the top down, at least long enough for me to get to a gas station, required minor creative thinking. The 97 miles I had with all the idle time, combined with breaking-in the new engine, had me worried about fuel level given the unpredictability of CJ sending units. So my plan was to drive directly to a gas station and home. On my way home from work I swung by Home Depot and picked up eight 1" C-clamps. Those went on the rails, an after giving it a good tug, it didn't seem to move. I mounted up the hard doors as best as I could make them fit for now, and gingerly idled out of the garage.

a284c55b-1.jpg

66862a39-1.jpg

909e0614-1.jpg

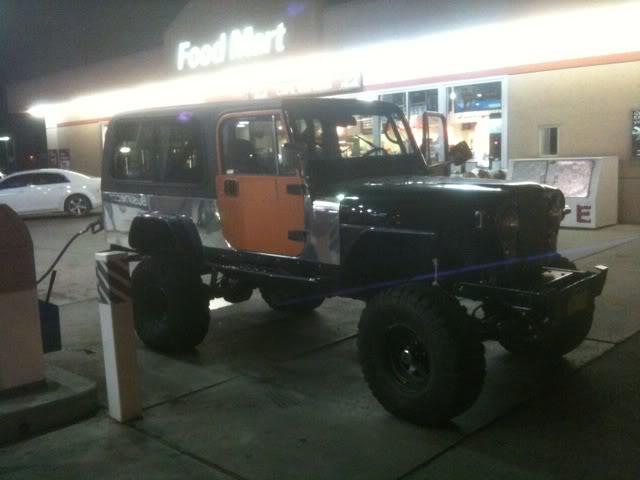
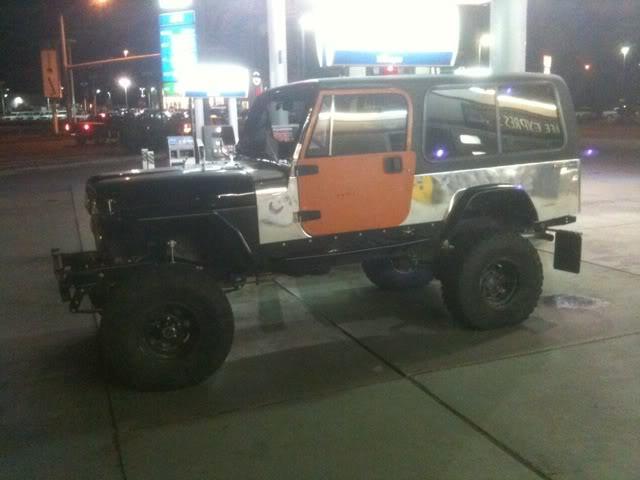
No problems to the gas station. Auxiliary tank was completely empty and took 6 gallons. Turns out the sending unit in the main tank is working accurately since that one only took 14. The gauge showed I had 1/3 of a tank, but I've grown used to 1/4 tank = empty in a CJ.

I decided that a short late night drive was OK, so I put some air in the rear tires (which had to be deflated to get the Jeep into the garage with the hard top) and hit the gas...carefully. It's got some torque. I also heard what I thought was some engine knock, but without having the laptop connected to the ECU I couldn't see what was actually happening with the engine, and since this was "just a gas run" I didn't bring the laptop. Nonetheless, it still ran great and I had a huge smile on my face! Hot oil pressure at 2500 rpm was a rock-solid 50 psi. It still dropped back to 17ish at idle, but if it gives me that kind of operating pressure I'll be happy. It cranked up to 70 psi hot when I ran the tach up.

With the engine installed and both fuel tanks full, it BARELY squeaked into the garage without letting tire pressure out. I might just have to drive my Scrambler to work tomorrow!
 
0bc90a55-1.jpg

ca6a8bee-1.jpg

More gratuitous pics: I drove it to work today!

I also talked to my paint shop to ask about fixing the hood and painting the doors. The owner/manager wasn't there, but one of his employees who worked on at least some of my parts looked at the hood and said it shouldn't be hard to fix.
 
Last edited:
I haven't done an update in a bit, but I haven't worked much on it either. Winter hit here with a fury, and I'd prefer not to "learn" how my new Jeep handles in the snow . . . with MTRs. Normally we get a few flurries, then melt, then flurries, then melt, etc., from Halloween until at least Thanksgiving and sometimes after. We typically have snow sticking on the ground by Thanksgiving, but it's not unusual to have that melt off at sea-level before Christmas, and I can even remember a few years when I was younger where we were dreaming of a white Christmas.

Not this year. It snowed for the first time on Halloween, and it stuck. Then it snowed more, and more. Now it's already in the single-digit temperatures. Since I'm paranoid about people crashing into me (and me crashing into them, especially with MTRs), I'm being excessively cautious about taking it out of the garage.

One of the big things I needed to do was get the hard-top mounted properly and the doors adjusted.


9b6a491a-1.jpg

44fdb6d7-1.jpg

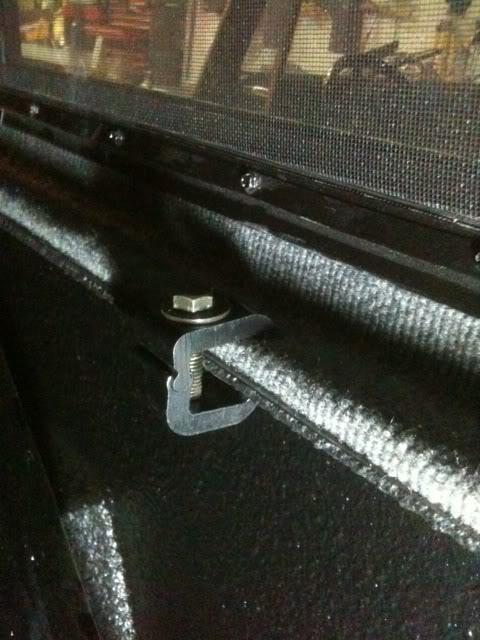
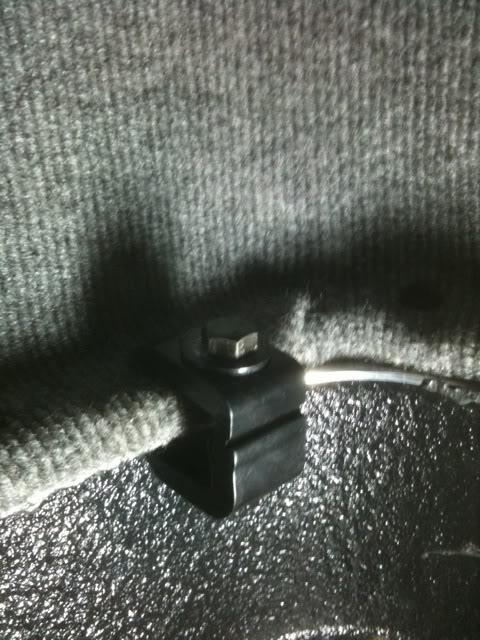
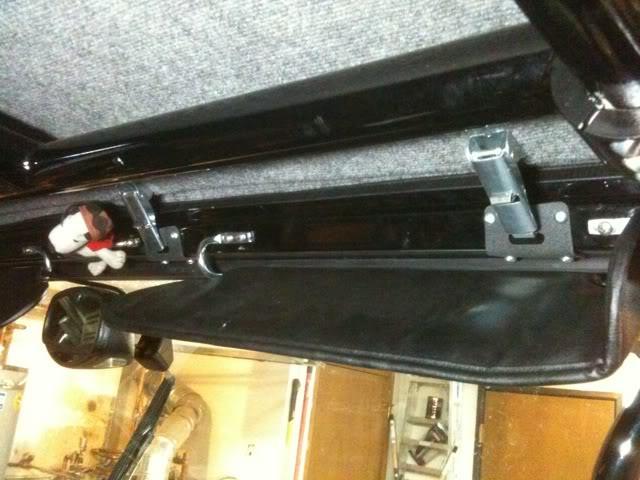
I picked up these clamps from a local aftermarket truck shop. They're for tonneau cover installations. $6.00 each, and I figured eight would be sufficient. This obviated the need to drill more holes in the rails, and I think I prefer the clamps to the nuts/bolts that were included with the top anyway!


301df291-1.jpg

All this hard-top latch hardware was included, but none of it was installed so you can set the brackets where you want. There's also a seal that just lips-on over the edge of the windshield frame and compresses when the top is installed. It's trimmed to fit, took no hardware to install, and will be easy to pull off/on when it's summer time and I'll be running the soft-top.


e769087d-1.jpg

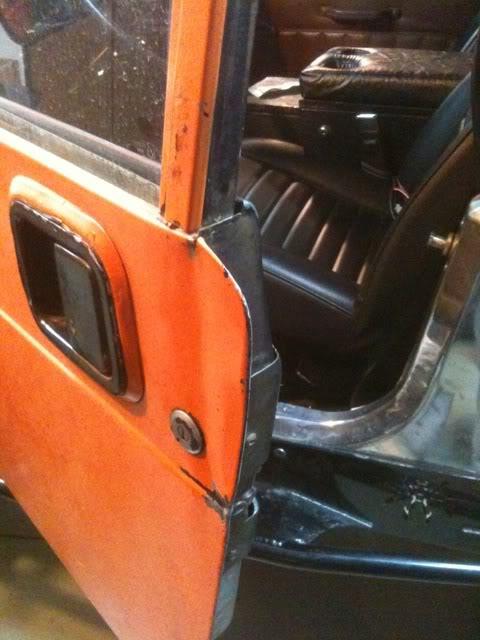
My S.O. wanted to help when I got to the point of adjusting the doors. As much as I love her, I wasn't very happy when the door fell off where it was resting on the rock-rail while she was working with it. These were PERFECT doors from an '87 or '88 YJ. This was as good as I could bend it back. :( Oh well; they have to go to the body shop for paint anyway.


5b91aa98-1.jpg

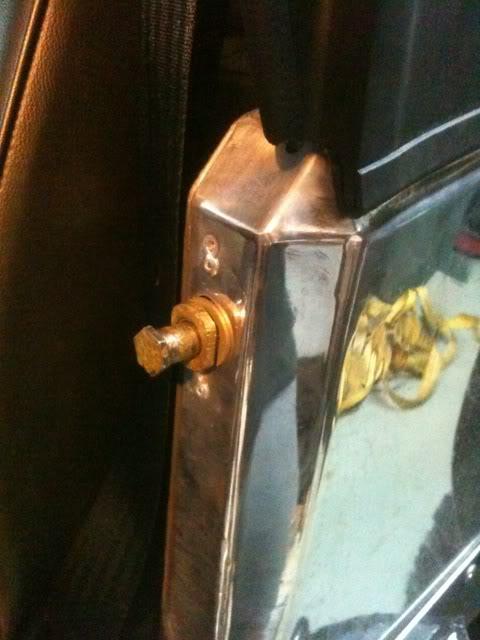
I had to lower the door to get it to fit with the top, and then I was out of adjustment in the striker-pin, so I had to lower the capture nut and hog-out the hole for the actual pin. Out of everything I've cut/drilled, these are the only "extra" holes in the whole Jeep (so far).

 
Last edited:
5b91aa98-1.jpg

... Out of everything I've cut/drilled, these are the only "extra" holes in the whole Jeep (so far).

Very frustrating .. but impressive that these were the first. Nice build, inspirational.

Just read the entire thread, thanks for sharing!
 
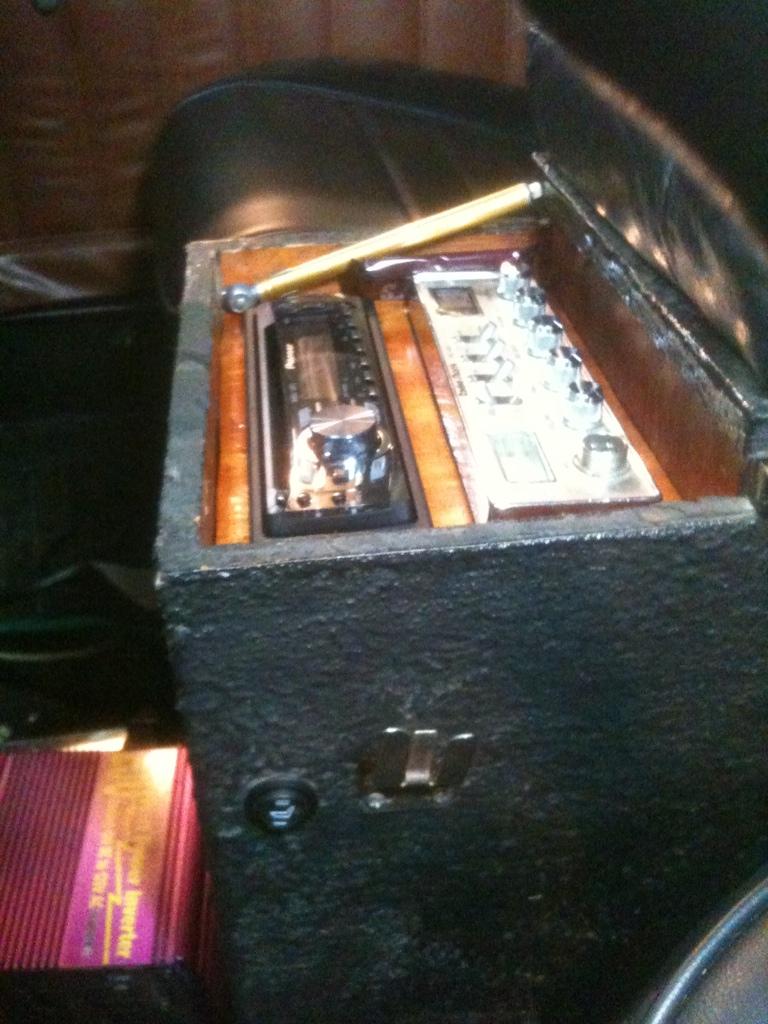
It's been awhile since an update, mostly because I've been working on ZJs lately. I did get a new stereo unit for Christmas that I started to wire up, but to really finish it I need to build new speaker boxes and get some 6x9s. I'm thinking I'll build them out of pressure-treated plywood and then do a Herculiner coating, but I haven't even started to consider the shape yet. I also started into the wiring for the seat heaters.

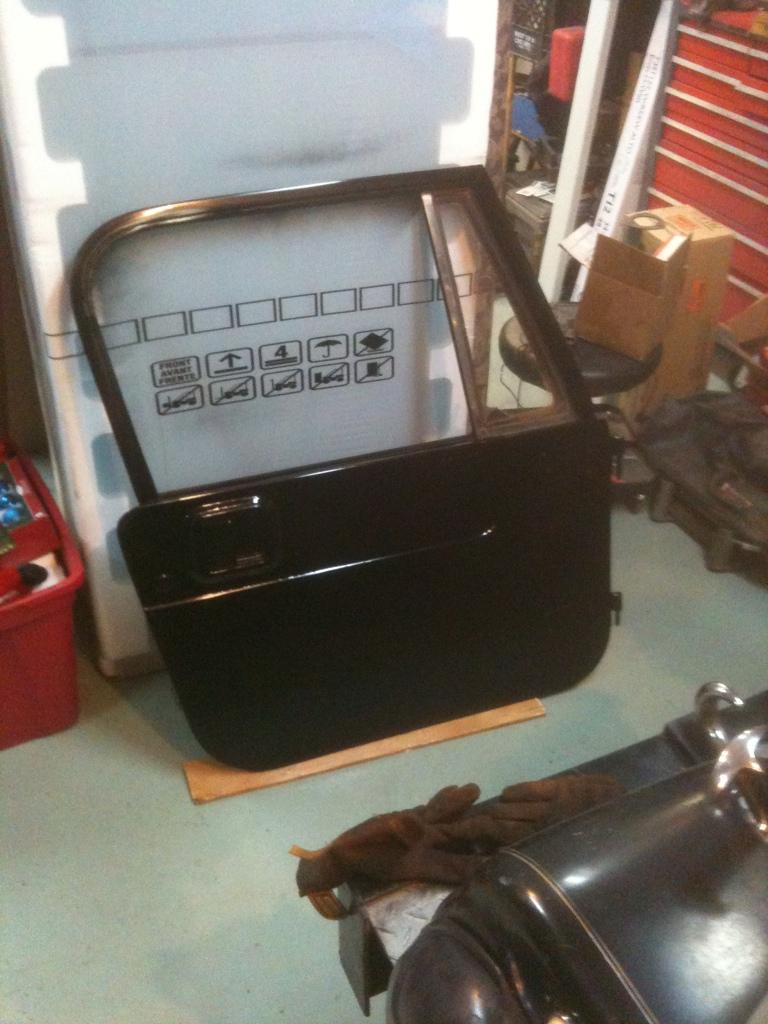
My club is in a parade tomorrow, so that inspired some garage time this evening. Since it's warmed up to 15 degrees, I wanted both seat heaters working, as well as a fully functional stereo, in addition to having the Scrambler looking good. I ran the polishing tool around the tub and decided to rattle can the doors too:

9cc20eba-1.jpg


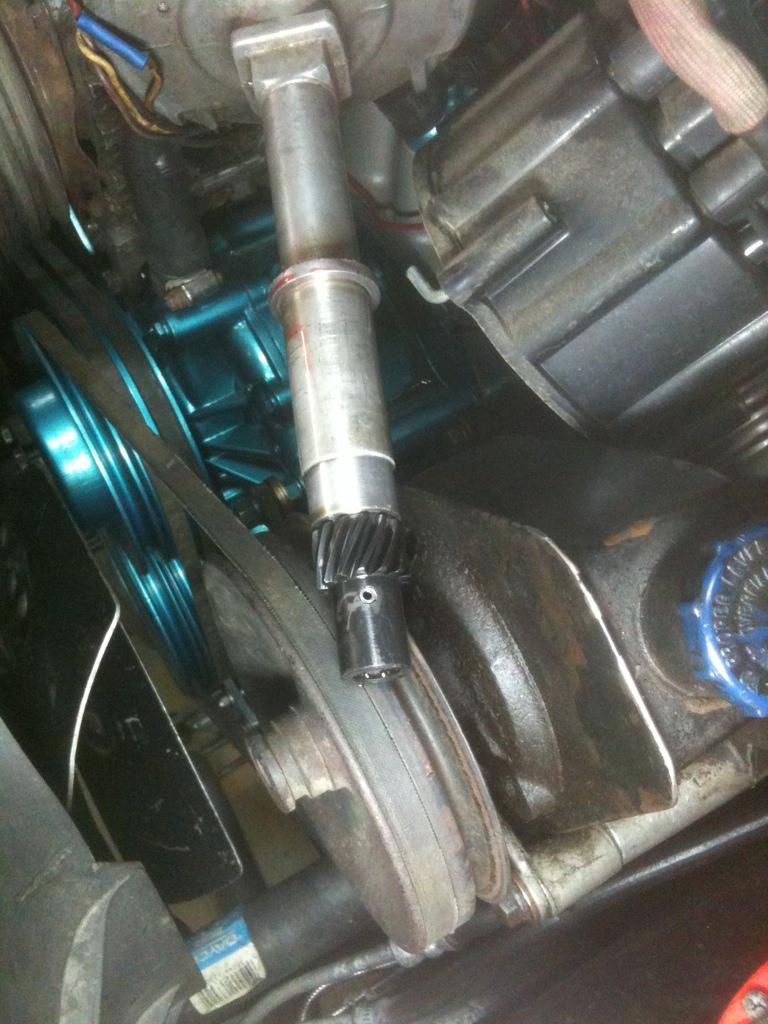
I also pulled the distributor now that I have approximately 100 miles on the engine so I could check the wear on the gear:

42e80b9f-1.jpg

Everything looked perfect!


I'll post a few more pics tomorrow. No wheelin' trips yet until I get an anti-wrap device built and tow points.
 
7029e8e8-1.jpg

Seat heater switch installed. The passenger side butt-part wasn't working today, but I think I might have pulled a wire out when flipping the seat forward. I need to extend the wires a little there. These are NICE!!! It was between 7 and 20 degrees today, and I actually had to turn mine to the low setting and occasionally off. My SO has insisted we put a set in her ZJ!


21d69923-1.jpg

f414b55b-1.jpg

a5247ec1-1.jpg

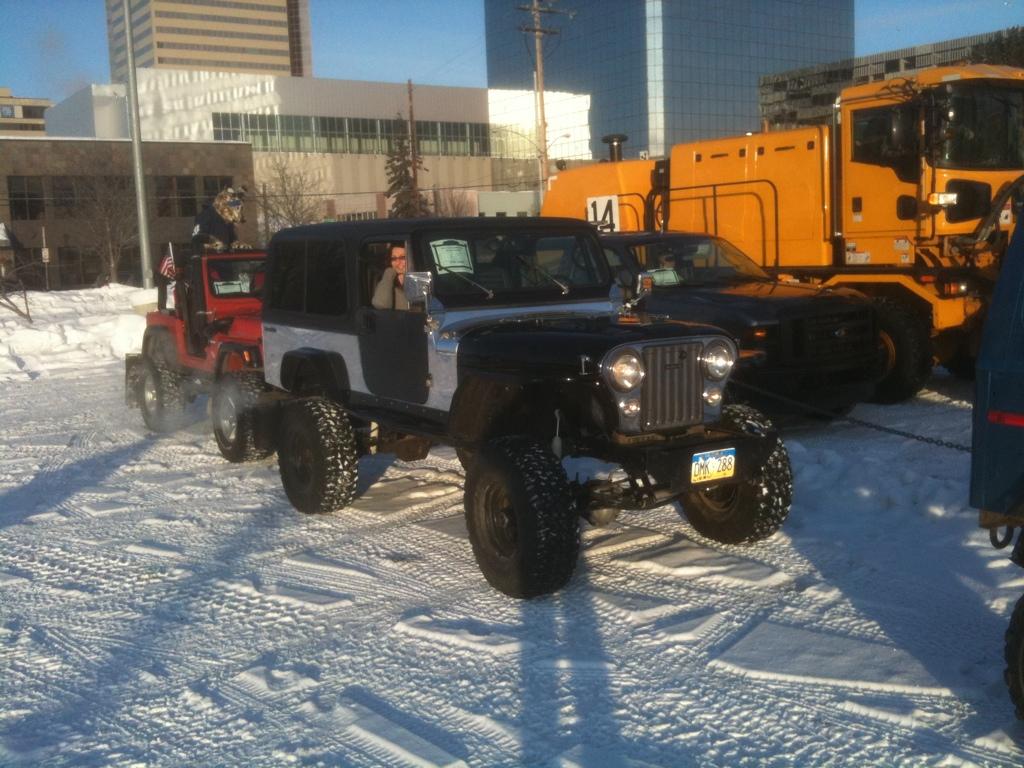
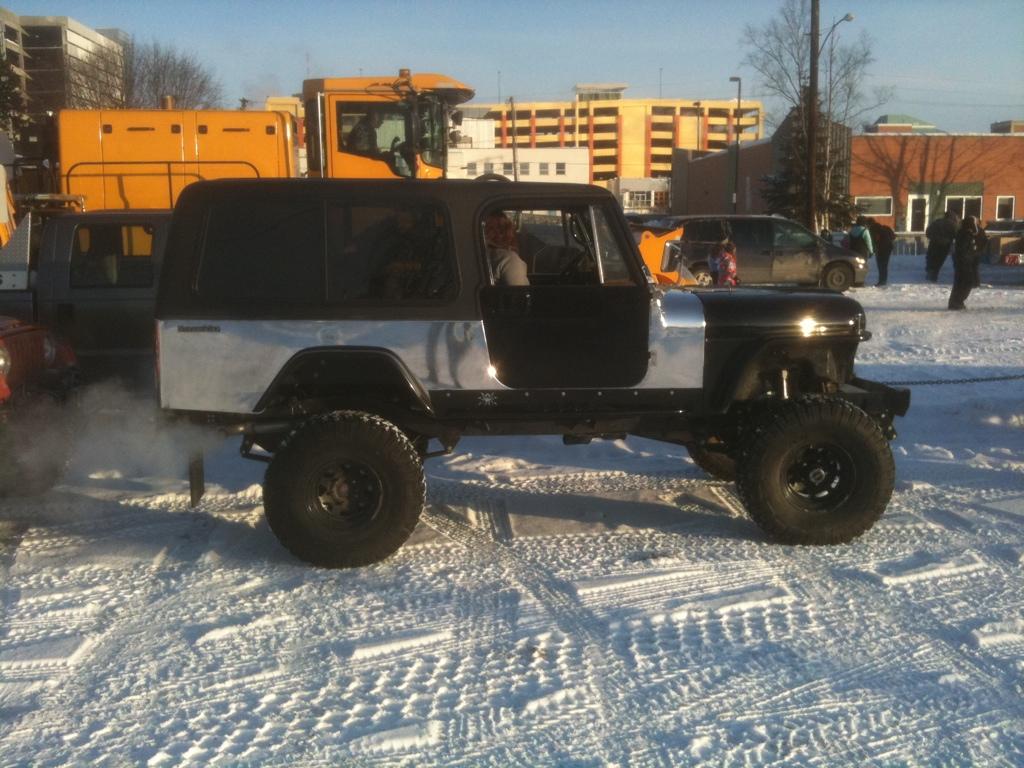
Getting lined up for the parade.


c93d41de-1.jpg

No-doors allowed during the parade!!!


24c9dce9-1.jpg

Yes, I bent a spring during a parade on 5th Avenue in the middle of downtown Anchorage. We were going to do a "demonstration" in front of the VIPs by ramping on the tires of the Toyota, and since I'm locked front and rear, that naturally meant I was going to be a ramper. On the way when we had pauses, a couple of us drove over the Toy. When I came up to do a practice run, at some point the shackle inverted. Doh! I ran the rest of the parade this way.


d5e1eccd-1.jpg

Shackle straightened. (Her iPhone doesn't have the case and takes better pictures than mine.)


483ef0f1-1.jpg

188f684b-1.jpg

Glamour shots before we left.
 
582c3ae6-1.jpg

0e315449-1.jpg

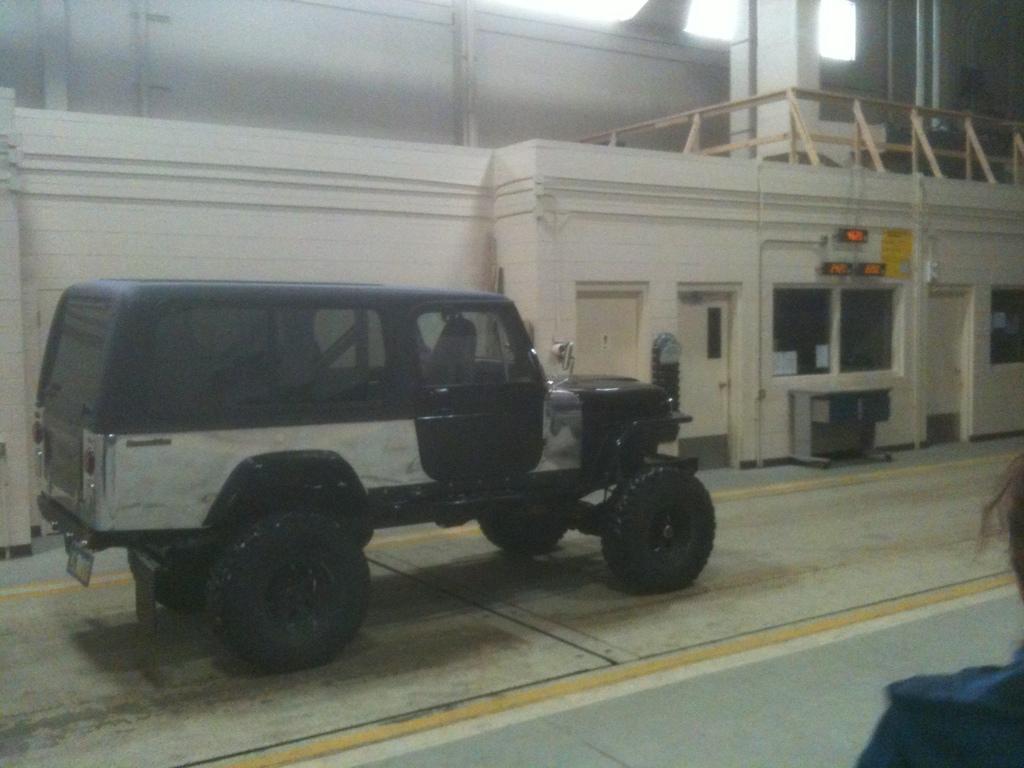
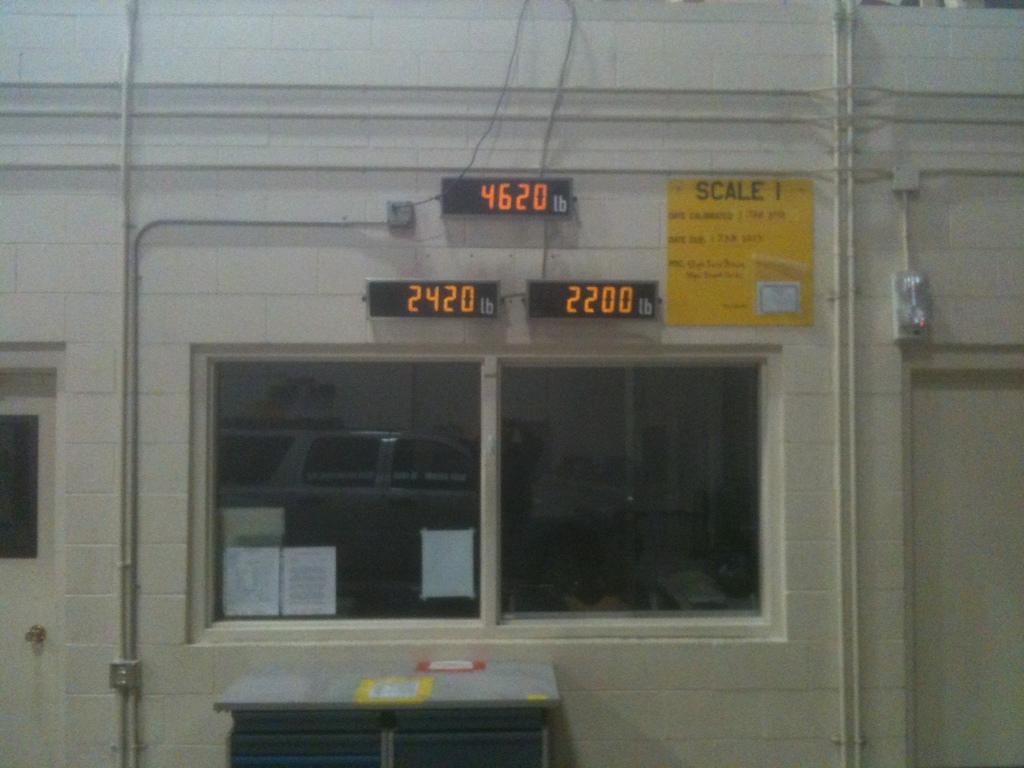
A buddy invited me on to Joint Base Elmendorf-Richardson where he had access to a scale to see how much this guy weighs. Half-tank of gas, full-size spare in the back with the dog. No winch bolted on yet, and no rear bumper. It actually weighs more than I expected.


db2e7772-1.jpg

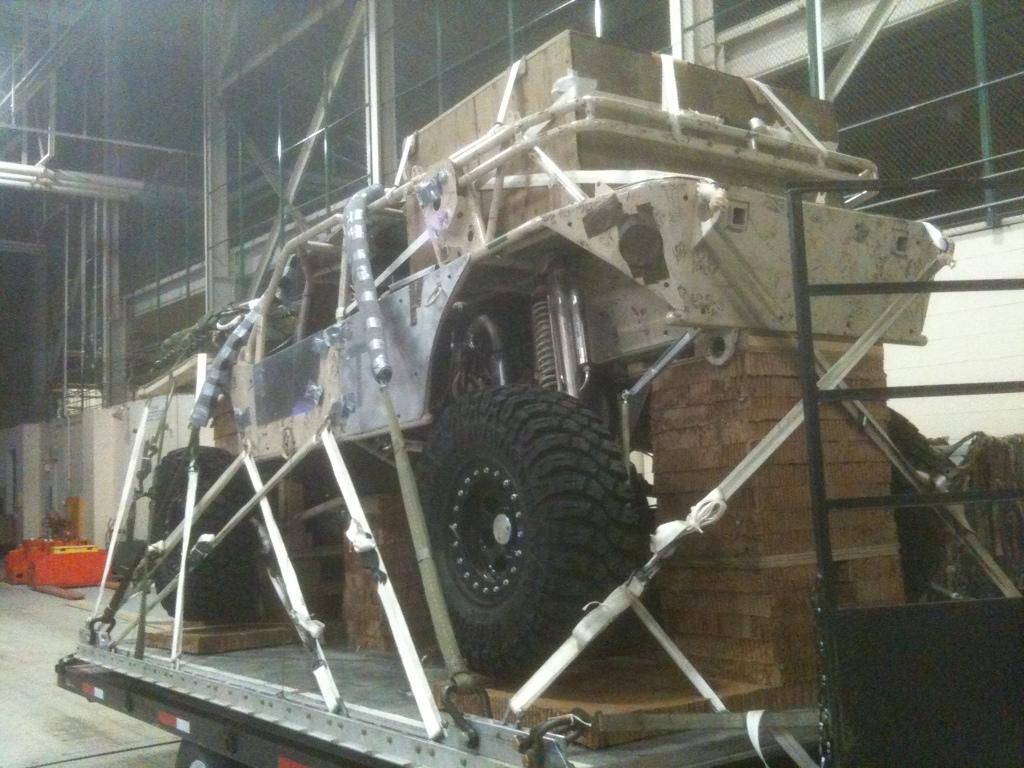
Next to the scale was a packaged-up (non-classified) special-ops buggy that's up here for arctic testing. It's all packaged up so they can drop it out of an airplane tomorrow (depending on weather). This thing is straight out of Johnson Valley, and would easily compete in King of the Hammers. All the tech was the same: full-hydro steering, all linked suspension with coil-overs and remote-reservoir shocks, high-pinion Ford nine inch axles with Dana 60 outers, bead-locks, Detroits, Lowrance, LS-1, Atlas transfercase, UHMW (or maybe teflon?) skids, I could go on. One thing that the KOH buggies don't have: turret mount. I have a few more pics of the inside if people are interested, but they aren't super-good pics given my iPhone camera and case.
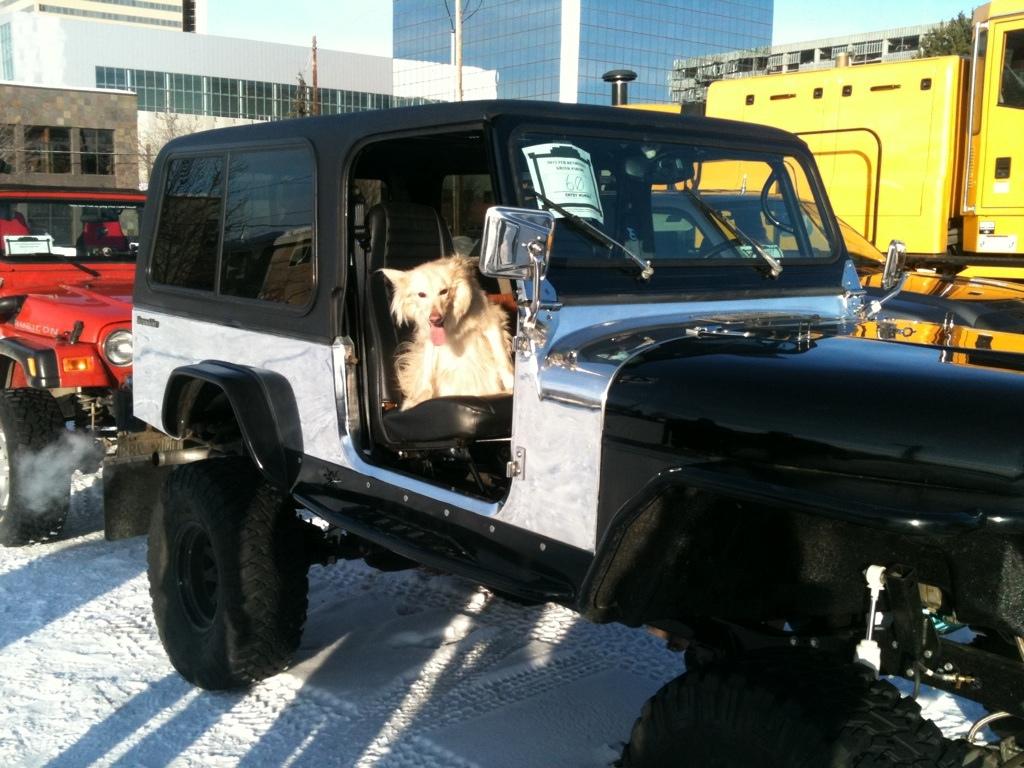
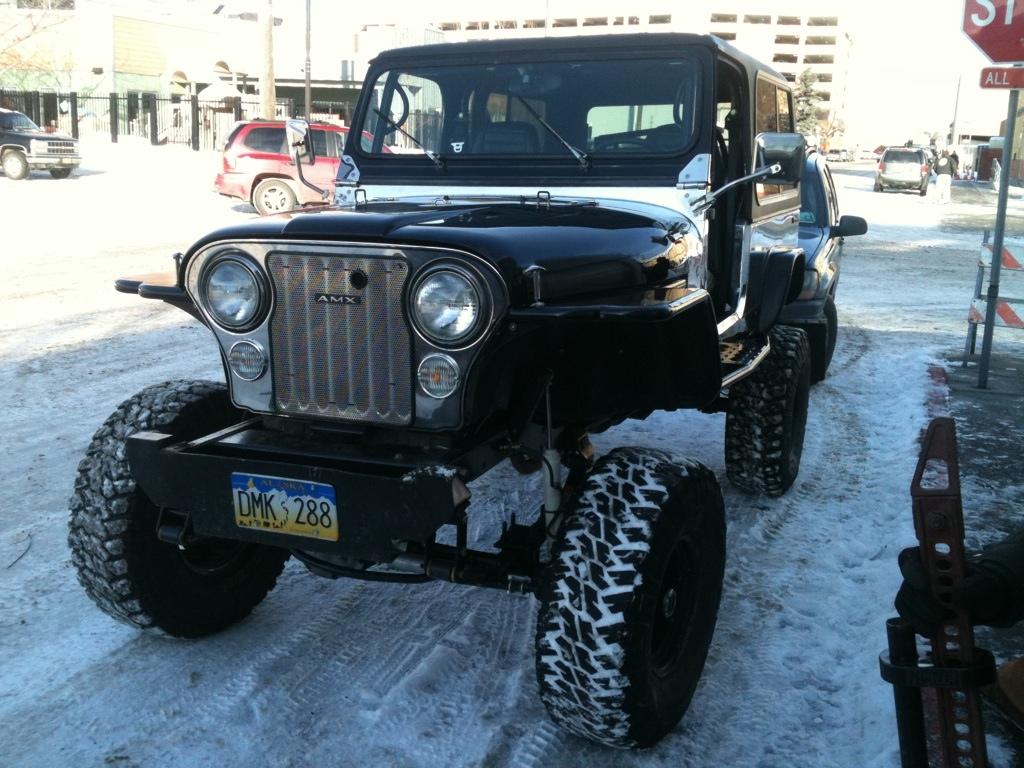
 
More pics!

Do we want more pics of the Spec-Ops buggy...? DUH! hahaha... PLEASE! :)
 
Back
Top