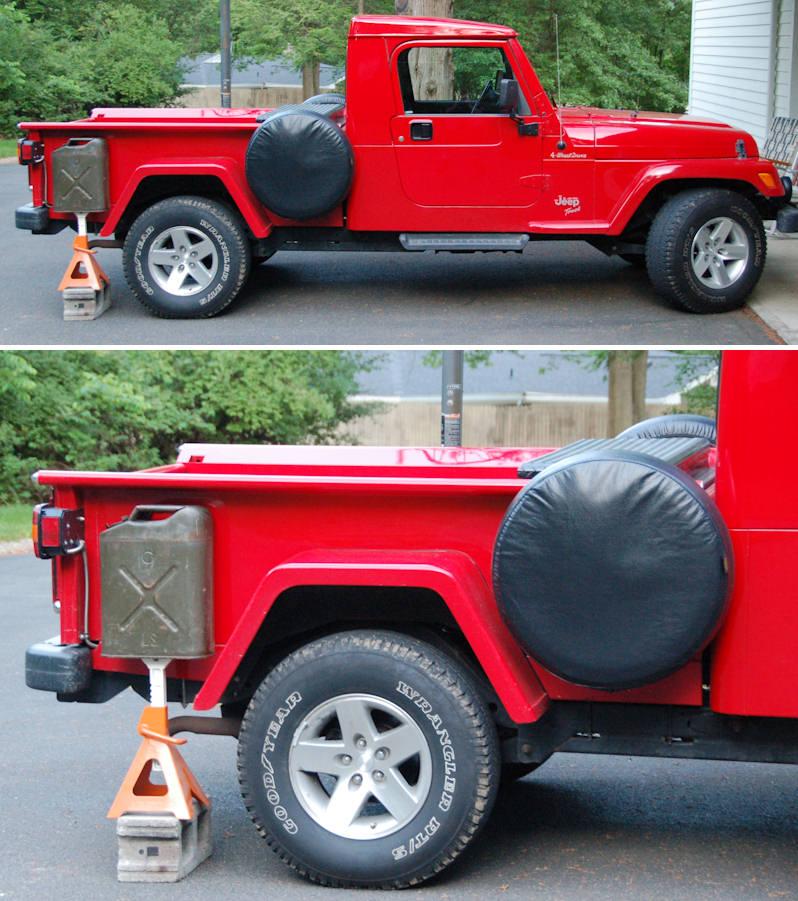
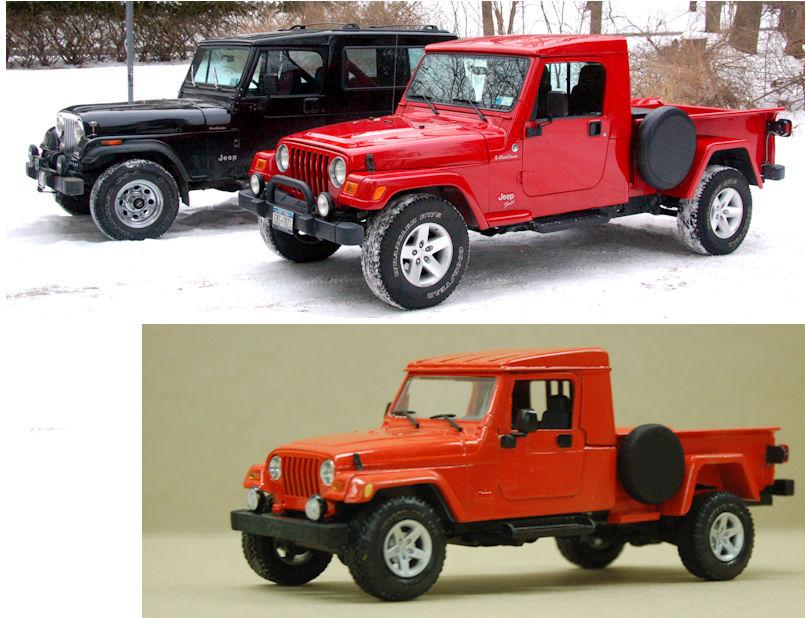
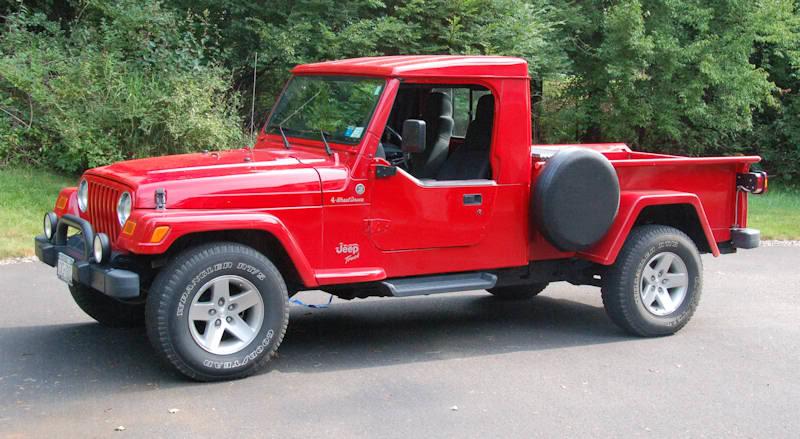
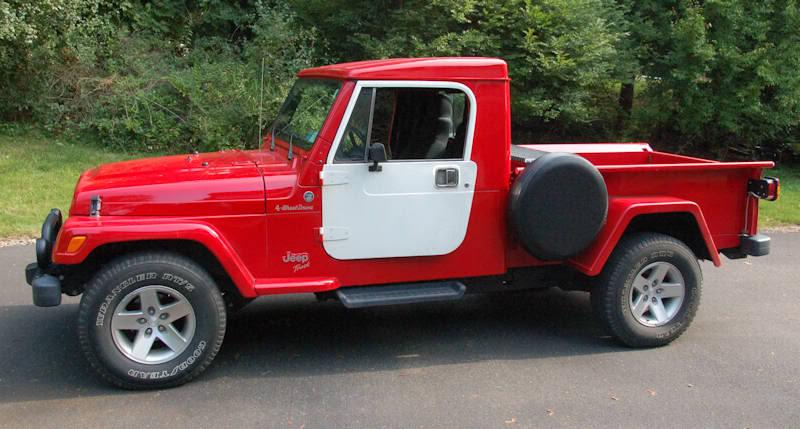
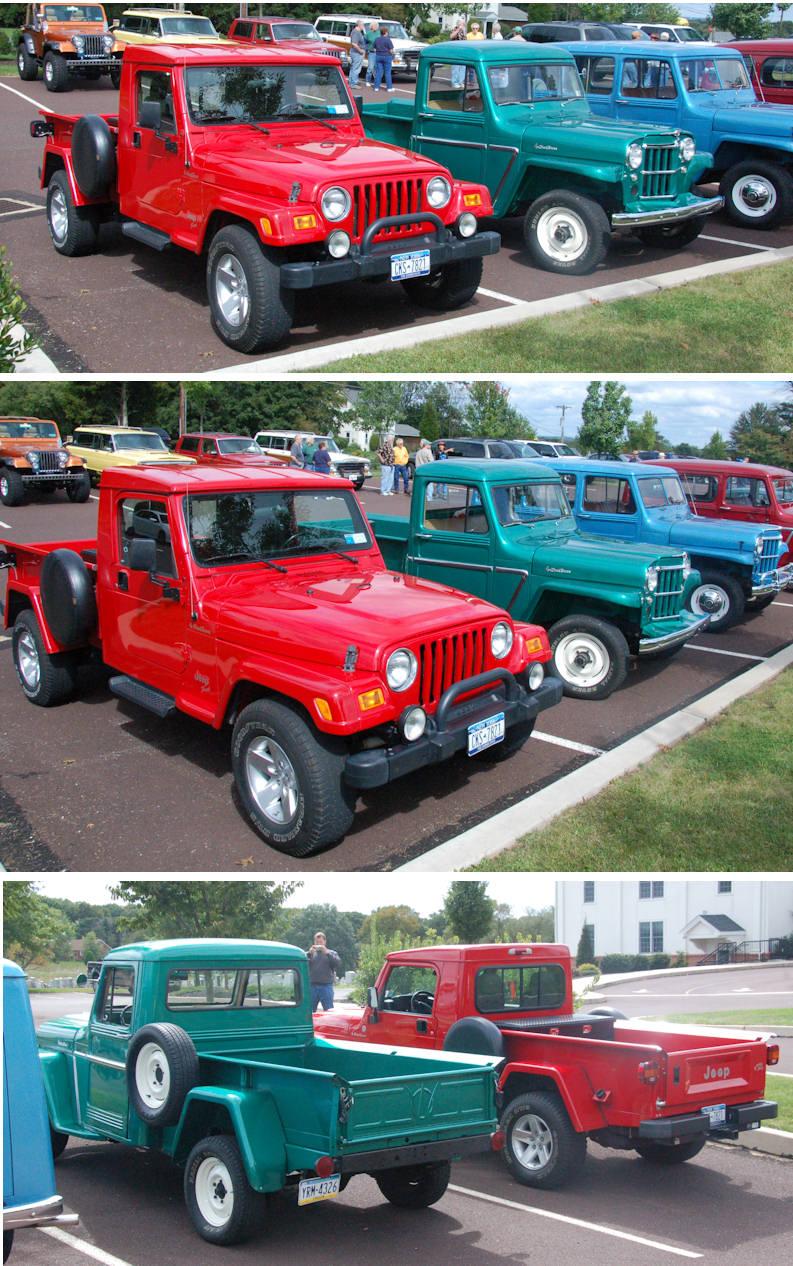
I decided that as long as I was getting all geared up to do fiberglass work for the Gaucho project, now is a great time to build new fenders for the Retro as well. One of the few "What would you do differently?" things on the Retro is the rear fenders. The ones I've got on there now look great, but to be 100% perfect, I'd change a few dimensions a little bit. The current fenders are 12" wide, and to perfectly match the tire overhang of the front flares, they should be 11 1/2" wide. The side faces of the current fenders (the part that's parallel to the sidewall of the tire) are 2 1/2" wide, and to be a perfect match for the front flares they should be 3" wide. You might think I'm crazy for going to the trouble to build new fenders just for 1/2" here and there, but also the current fenders have taken some road abuse and will need to be painted someday anyway, so I've decided now's the time to make them perfect.
I'm making a new "mold master fender", which I'm constructing in a similar way to the original fenders I made, but with a few differences I'll point out along the way to make it a better master for a mold (and to avoid unneccesary work not required for a mold master).
Photo 1 below, shows the trailer fender I'm starting with. It's 10" wide, and it needs to be widened to 11 1/2". Also, and it has a 3/4" side face which needs to be widened to 3". And the spread of the "legs" is 36", which needs to be 42" to properly fit the Retro.
Photo 2, I've marked a line down the center of the trailer fender, and I'm cutting it in half on the bandsaw.
Photo 3, I've got a 1 1/4" strip of 16-gauge steel and I'm using intergrip panel clamps to hold it in place for butt welding. First I tack welded the straight center portion, then I worked it around the corner by hand, tacking as I went, then I clamped and tack welded the straight part along the legs.
Photo 4, the strip is tacked to one half of the fender, now it's time to weld the two halves together. In photo 1, and also in photo 6 you can see a line I scribed across the top of the fender to ensure that when I rejoined the two halves I got them lined up properly.
Photos 5 and 6 show the widened fender. If I were building this to be a usable fender, I'd next have to complete the welds all along the seam, but since this is just going to be a "use-once" mold master, I'll just put a few more tack welds in, grind them flush, and finish the seam with filler. This will be a lot quicker, won't risk warping the metal due to shrinkage from welding, and will be plenty strong enough to make the mold from. Also, when I welded the two halves together, I made the seams slightly concave - if you put a straightedge across the width of the fender, you'd see that the center where the strip is welded in is about 1/16" lower than the edges of the fender. This ensures that I'll have no metal high spots on the flat parts of the fender. I can easily fill these areas with filler and use a long board sander across the width of the fender to achive perfectly flat surfaces.

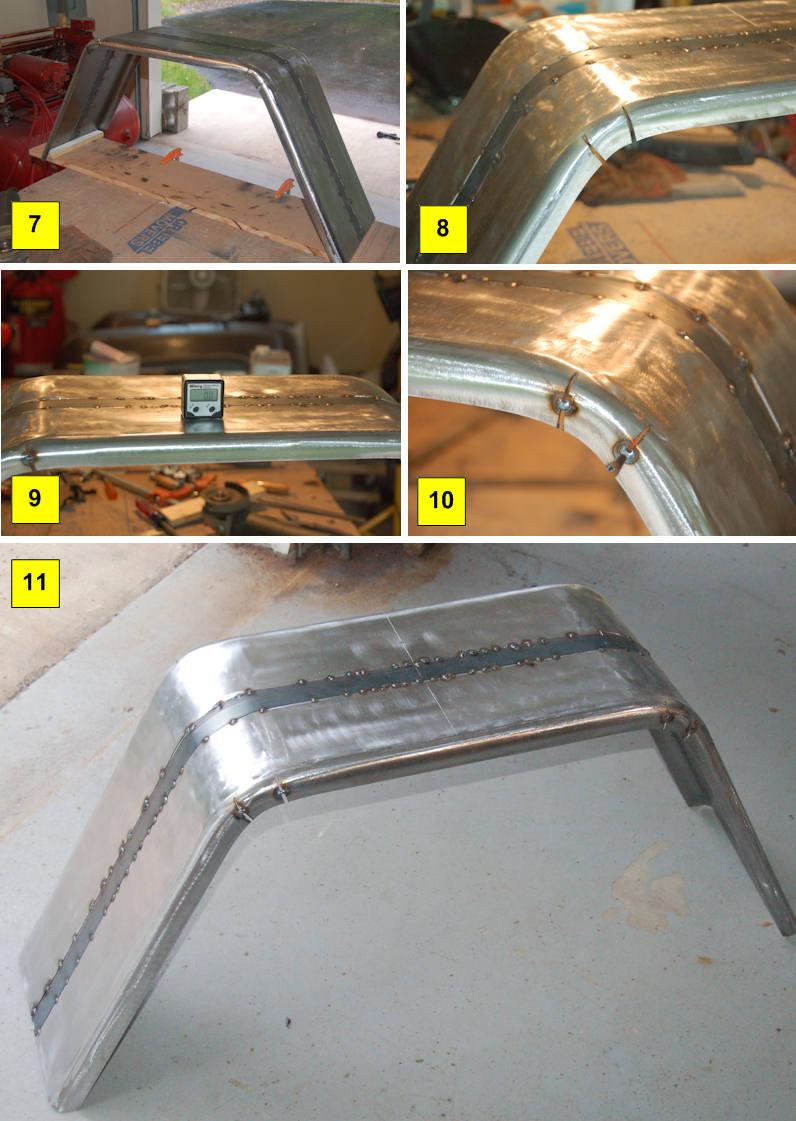
Next up was to widen the legs. First I made a wooden jig with two cleats at the right spacing to hold the fender, shown in photo 7.
In photo 8, I've made two cuts in each corner bend of the fender so I can change the radius to widen the legs.
In photo 9, I'm using a digital angle gauge to check that the top of the fender is level. I zeroed the gauge on the jig, so adjusting the top of the fender to be level ensures all the angles are the same. But just to be sure, I used a carpenter's protractor to check the angles of the legs and they were both the same with the top level, so I tack welded the corner cuts in that position, shown in photo 10.
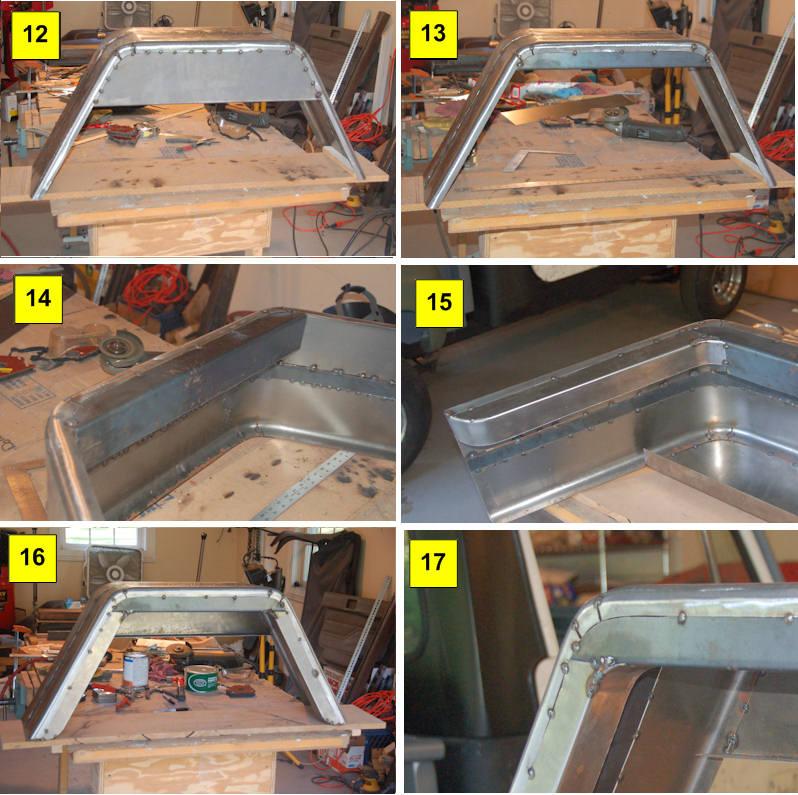
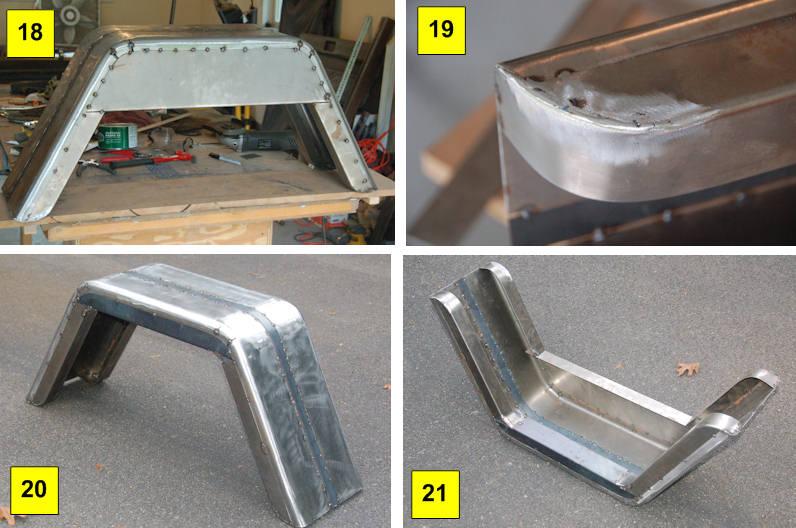
And photo 11 shows the fender at this point in the process, it's the right width, and the legs are spread the right amount. Next I'll work on widening the face from 3/4" to 3", photos of that tomorrow.