• Notice for iPhone users: DO NOT use the image size reduction option when uploading photos to the forum. This causes portrait images to post as landscape. We have added a warning to the image insert pop-up as well.

Project "AZZ DRAGGER"

ok.. I hate seeing little pictures in my build thread... so here you go!

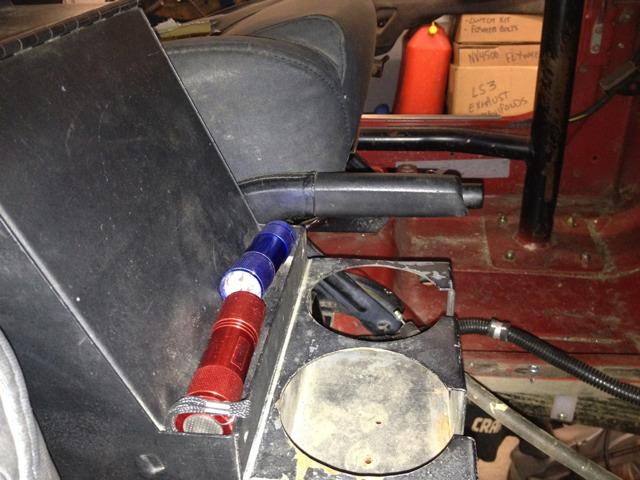
Best part of this ebrake install??? The Scrambler is now fully equipped with Porsche parts!!! 8) Ok its more like Porsche part... ebrake handle is out of an old Porsche 951 turbo s2. 8) 8)

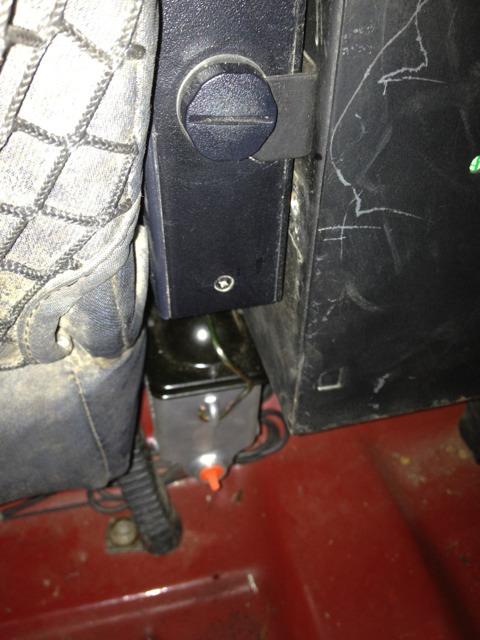
Final mount. It looks like it belongs there. (i think anyways)
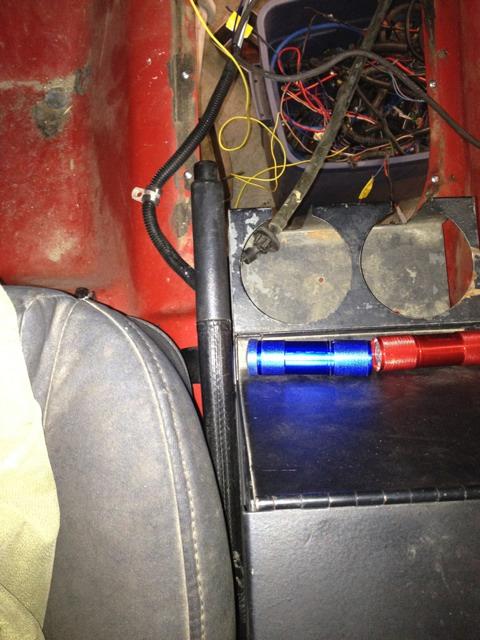
scramebrake6-1.jpg


scramebrake7-1.jpg


Everything is hidden but accessible and serviceable just by flipping seat forward. Its a tight fit!!!
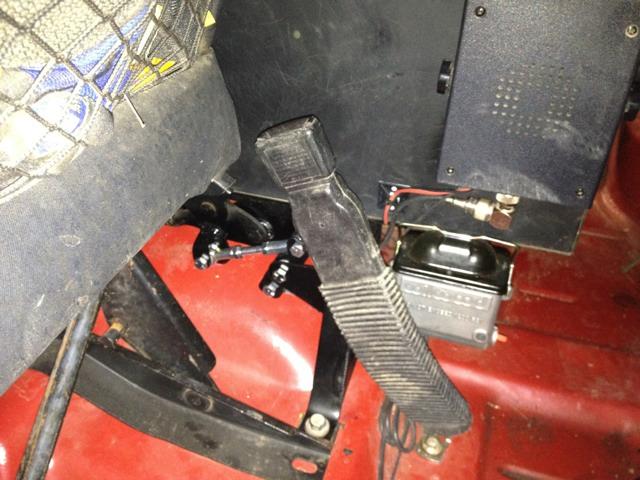
scramebrake8-1.jpg


scramebrake9-1.jpg
 
Well I'm laid off! :D:D:D (not a bad thing, its part of the job)
been in the garage alot already, but havent gotten much done.

LM7 is almost ready to be put in. (Jeep isnt ready though)
-installed LS3 exhaust manifolds
-installed Camaro oil pan (with the help of Connie)

still have to make harness hanger/holders because truck oil pan has provisions for these, but Camaro oil pan doesnt.

once those are made, engine will be ready to go in...

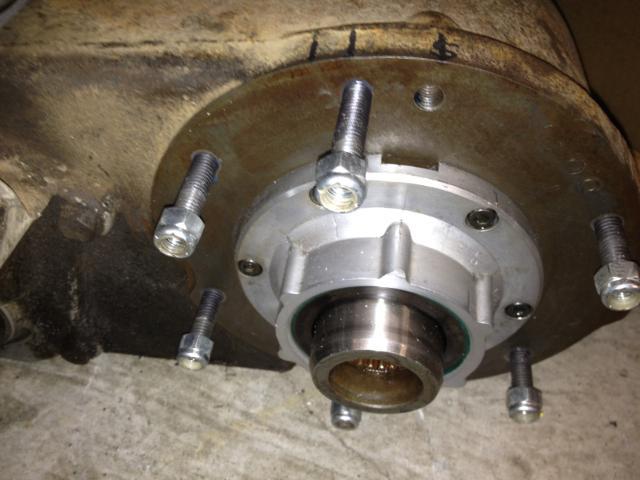
Next big step is to swap out the output shaft on the NV4500 to be able to mate the 300 to it. Still unsure if i'm going to do it myself or have it done. (think i'll do it...)

thats it for now, will post pics when i take some..
 
Rather than swap the output of the 4500 you should be able to install a spacer/clocking plate and swap the input of the D300 to 31 spline. No trans disassembly required then....
 
already have the nv4500 adapter. prefer to swap that since breaking a t-case is more likely than breaking the trans. alot easier to swap in a tcase if its still in stock form.
 
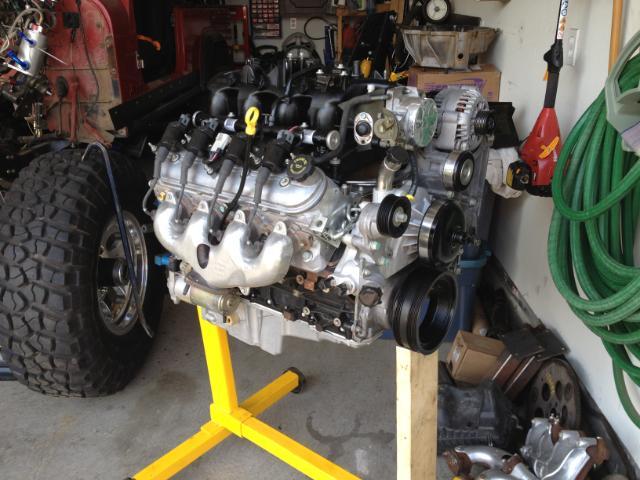
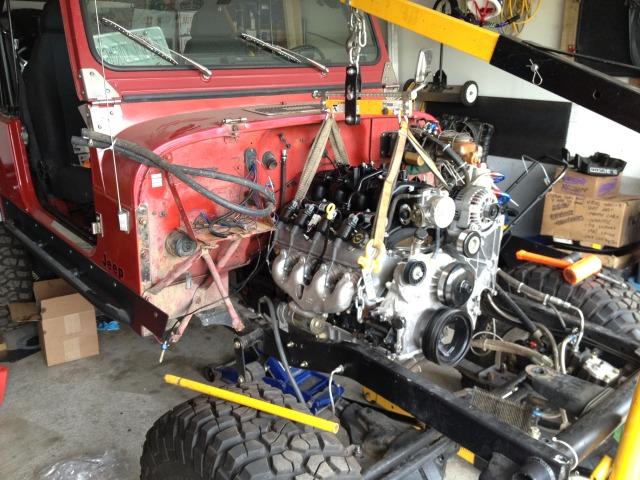
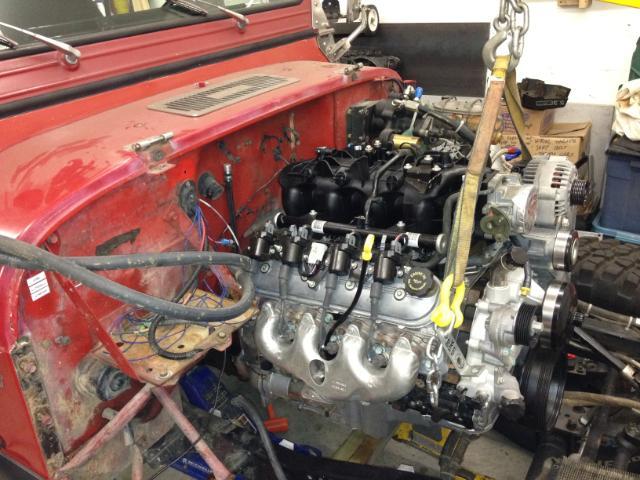
Engine is ready to go into the Jeep now...

IMG_0554-1.jpg


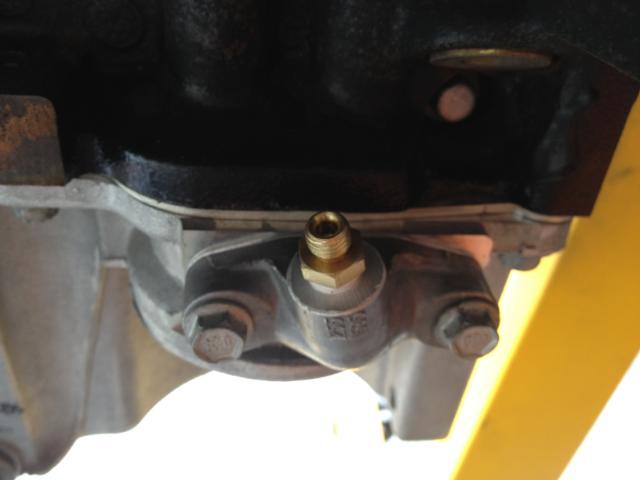
drilled and tapped the block off plate for my mechanical oil pressure gauge. (easy)

IMG_0556-1.jpg


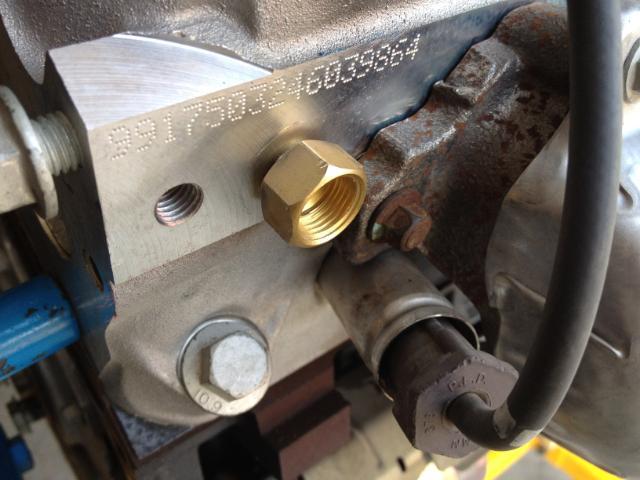
drilled and tapped the head for the water temperature gauge sender... (SCARY!!!)

IMG_0555-1.jpg


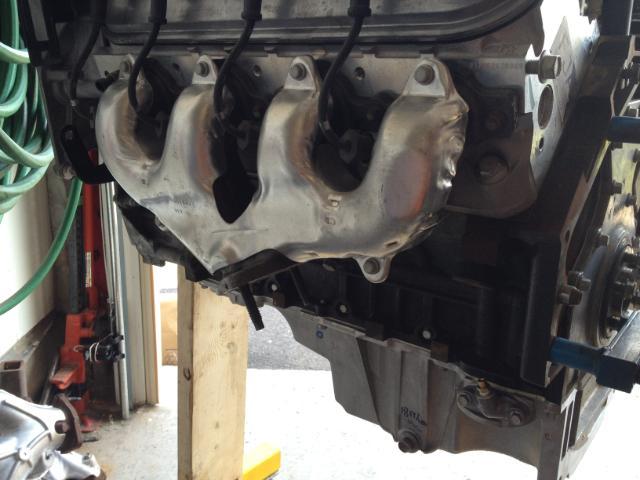
side shot with LS3 manifolds...

IMG_0557-1.jpg


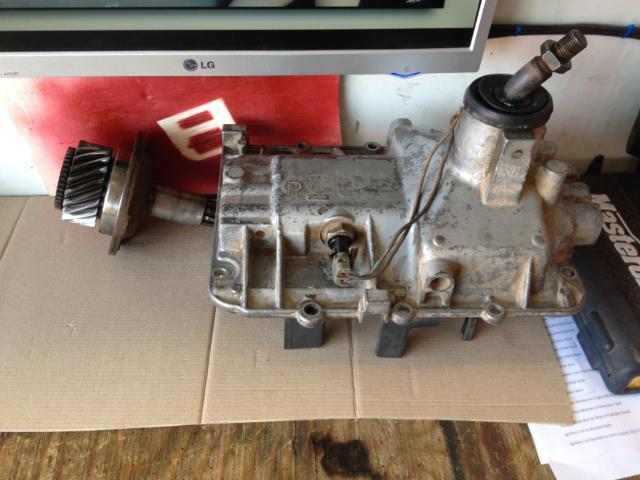
the NV4500... not ready to go into the Jeep...

Top cover is off and input shaft is out...

IMG_0558-1.jpg


input shaft out, but I dont have the socket to get the nut off thats holding the balancer on the output shaft off. I ordered one. Hopefully it will be here soon..

IMG_0559-1.jpg
 
Having all kinds of issues trying to find a throwout bearing that will actually work. Ordered the one from Advance Adapters, too short. Ordered a longer one for a 69 Camaro... still too short. Found the longest one I can get, its for a 1962 Chevy Bel Air. Waiting for it to come in. Hopefully it works. We'll see.

Had some fun today...
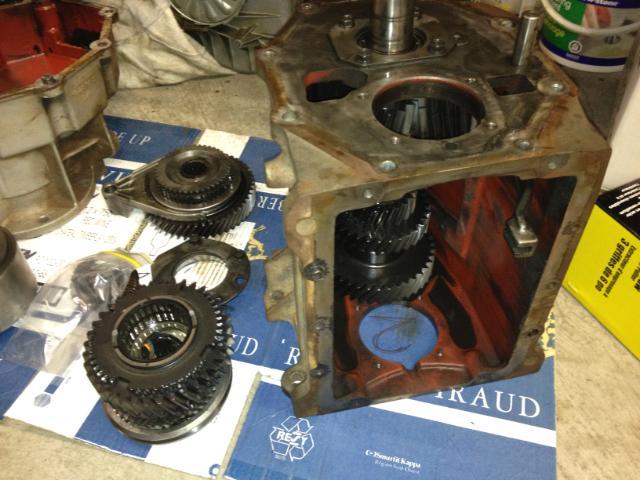
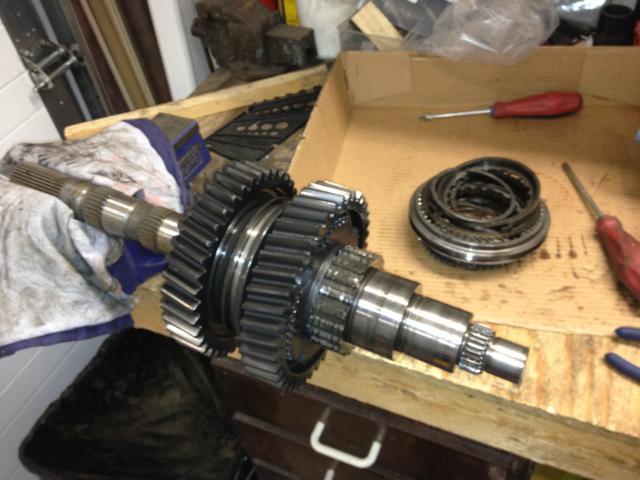
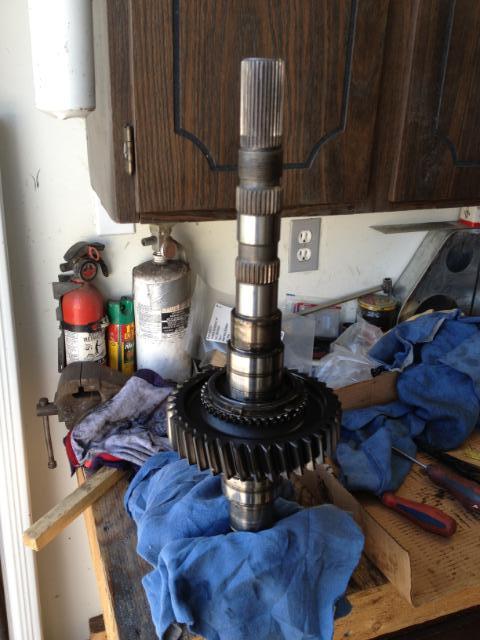
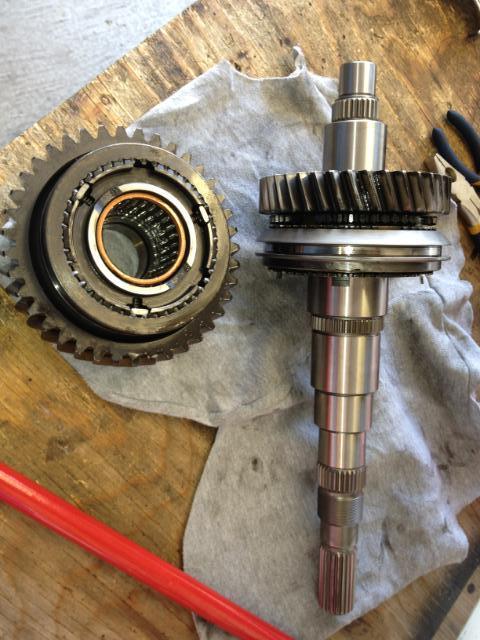
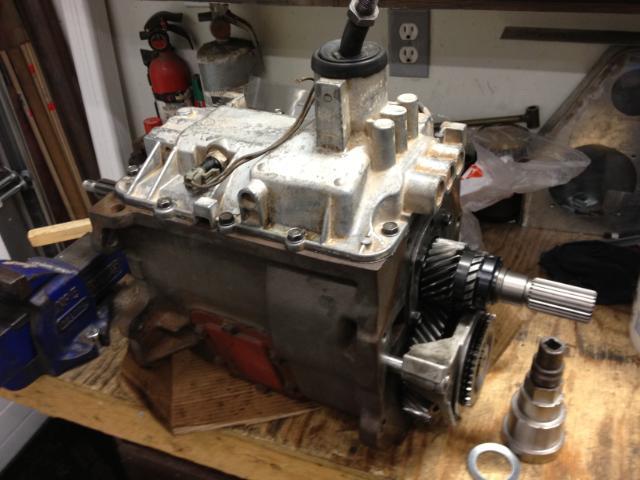
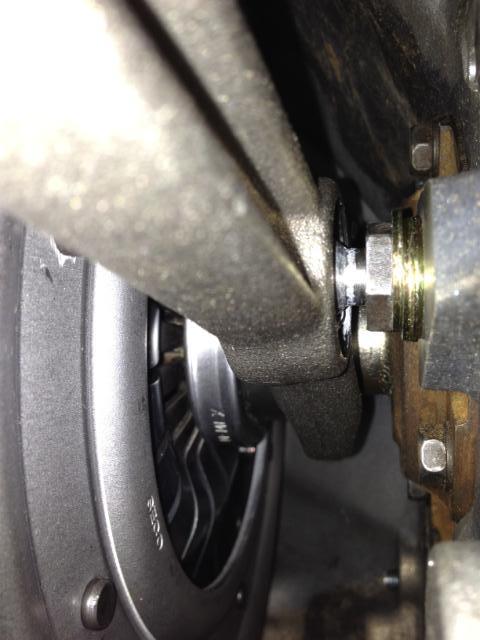
changed out the output shaft on the NV4500. I was nervous since I have never fully stripped a transmission before. It was VERY easy!!! All I have to do is modifly the socket so I can tighten the 5th gear nut. Then bolt on the tail housing and its done.
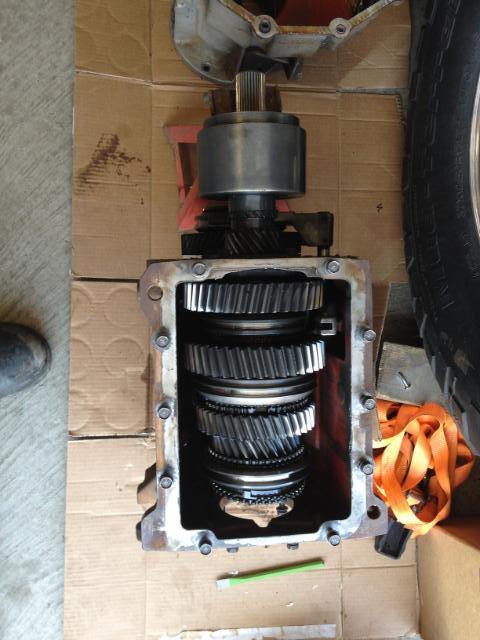
Case torn down

IMG_0585-1.jpg


Stripping original output shaft

IMG_0586-1.jpg


IMG_0588-1.jpg


assembling new output shaft

IMG_0587-1.jpg


amost done... just tail housing and 5th gear nut torque

IMG_0589-1.jpg
 
I think jeepdreamer just posted something about an issue with that 5th gear nut where it fails or comes loose and you either lose 5th or get stuck in it, IIRC. I believe this was a known issue with properly set up/built trannies. Did you see it or are you aware of the issue?

If I'm mis-remembering, I apologize, but since you're right there working on this.....

Edit for link: http://www.dieselbombers.com/24-val...ns-98-5-02/95146-nv4500-5th-gear-nut-fix.html
 
its more of an issue with diesels because of the vibration. I have the aftermarket 5th gear nut. It has 2 little set screws in it. If that doesnt work, I'll tack it, but I'd rather not tack it.

Tranny is done... just waiting on the throwout bearing. expected arrival, in 6 days :(
 
Heres a little teaser shot... more later. :)

its going in now!!!!
IMG_0605-1.jpg
 
Alright, proper update time...

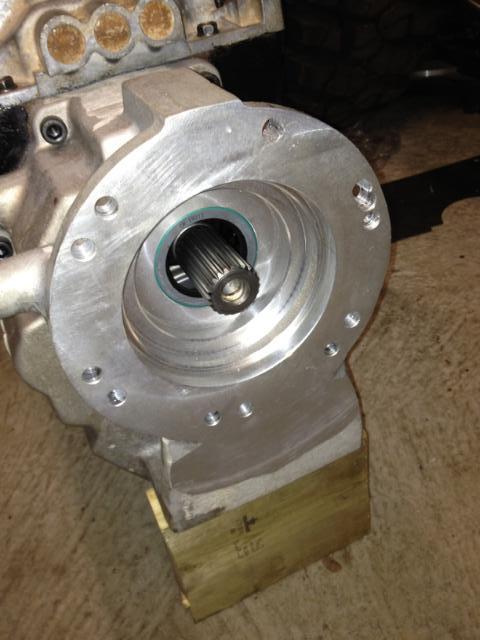
I swapped out the output shaft of the NV4500. Assembled the whole thing. Test fit the t-case. Since I had a clocking ring on it, the input shaft of the 300 didnt go far enough into the 4500. There is a seal that the input shaft rides on to seal the expensive 4500 specific oil. My solution? Take off the tail housing and drill it out to clock the t-case where I wanted and eliminate the clocking ring...

note: the 3 holes at the 3 o'clock position, is not a screw up. Advance Adapters puts an extra hole there for some reason.
IMG_0601-1.jpg


Top hole on the 300 wouldnt work with the 4500, so I drilled and tapped the 300.

IMG_0602-1.jpg


I have been waiting for my new throwout bearing for over a week now. (had to be special ordered) Apparently no one keeps a throwout bearing for a 1962 Chevy Bel Air in stock... :shrug:
Well got it this morning... and it was still to short. I did some figuring and was able to get it all to work by shimming out the pivot ball with 3 washers. Does the trick...

IMG_0604-1.jpg


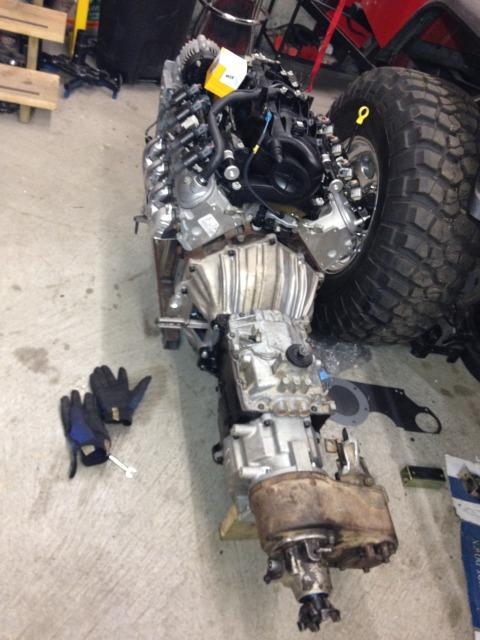
Drivetrain all mated together...

NOTE: dont attempt to mate the 4500 to the bellhousing without a cherry picker. You're not that strong. (I know I'm not anyways...)

IMG_0605-1.jpg


In the frame rails...

IMG_0608-1.jpg


Sitting pretty much in the final position. Was able to install the drivetrain so I dont have to modify my driveshafts! :D:D
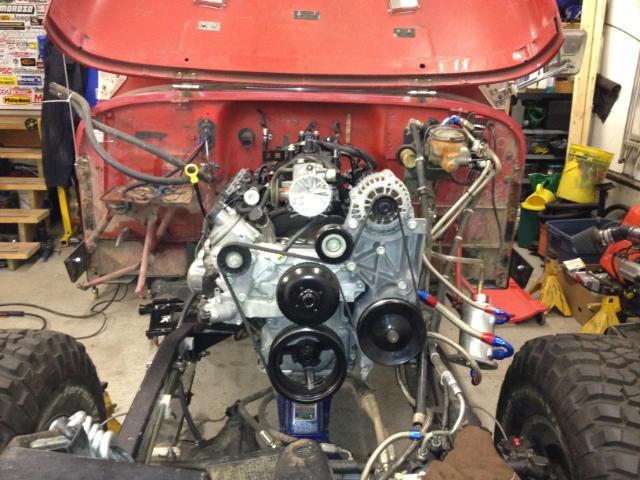
IMG_0611-1.jpg
 
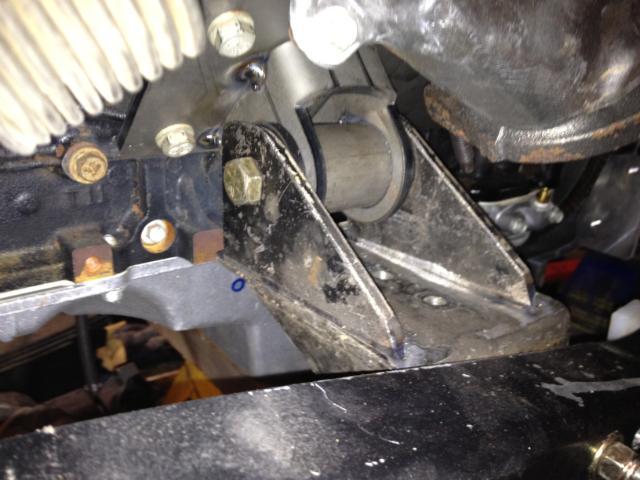
Didn't have to build completely new motor mounts either. Was able to cut the tabs off of my frame mounts and reuse them.

IMG_0609-1.jpg


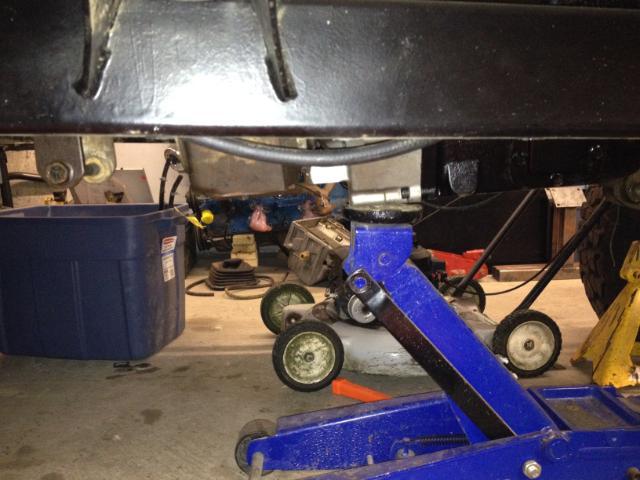
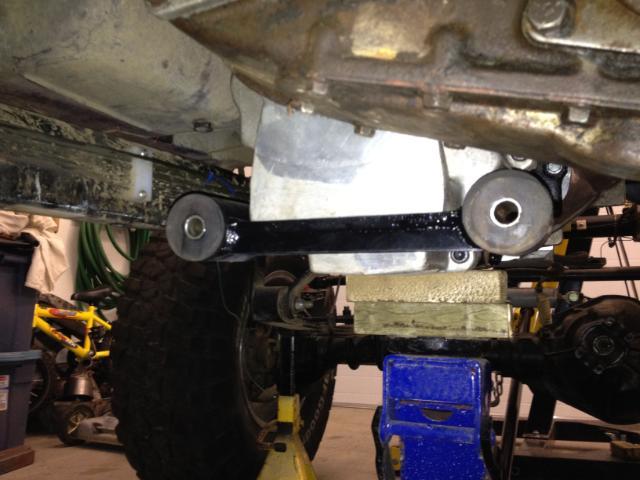
Trans hangs below the frame, but I'm not putting a body lift on the Scrambler. I hate body lifts, no matter how much or little they are...

IMG_0610-1.jpg


More work will be done tomorrow. Passenger side motor mount is painted and drying. Driver's side has to be welded. I will be making a t-case cross member tomorrow. Once thats done, Gonna have to start figuring out the exhaust and all the little details.

:smokin:
 
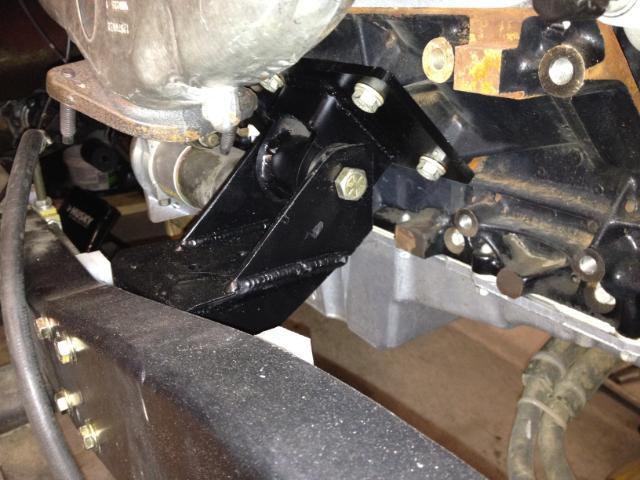
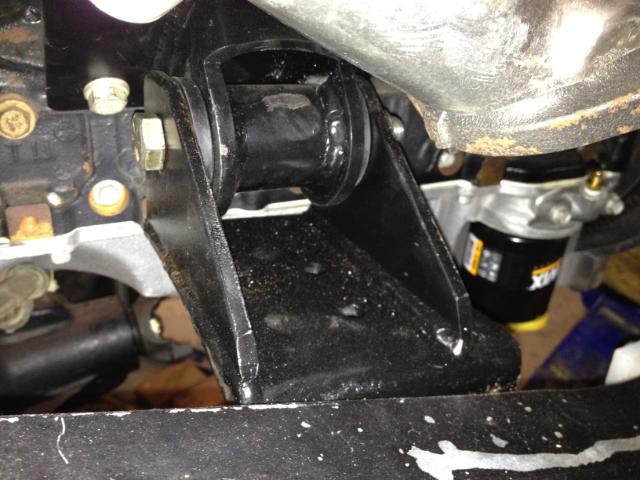
Motor mounts done...

IMG_0615-1.jpg


IMG_0616-1.jpg


Transmission mount done...

IMG_0614-1.jpg


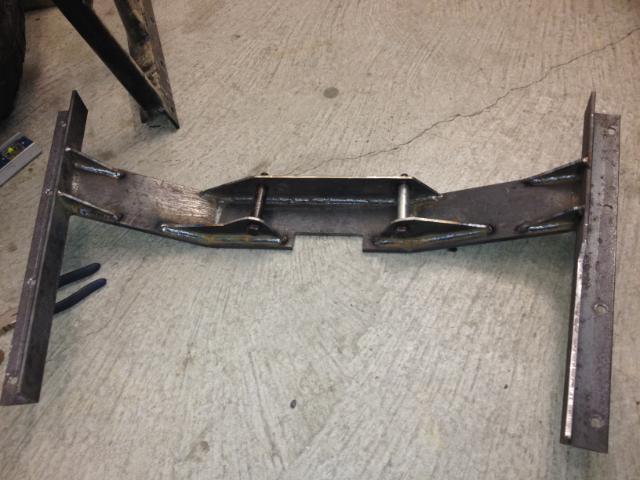
Cross member is done. Just need to clean it up and paint it. That wont be done until I fab up skid plates, which wont be for a
while. Kind of looks like a something that belongs on Star Trek...

IMG_0613-1.jpg


Drool shot... :D :D :D (drive train is offset 1" to the drivers side to allow t-case to be clocked a bit...)

IMG_0617-1.jpg
 
Back
Top