• Notice for iPhone users: DO NOT use the image size reduction option when uploading photos to the forum. This causes portrait images to post as landscape. We have added a warning to the image insert pop-up as well.

Randyzzz Scrambler Restification Thread!

It Fits!

I knew the 5.3 would fit, but I was worried about my clearances. I set/welded the frame mount towers and built the engine plates by just measuring-many times. Looks like the fit is good. The 4l60E/241OR combo is a lot longer than a T176/D300, but it looks like it will fit fine under an unmodified floor. I only have 5/8"-3/4" between the radiator and fan clutch body, I may modify the mount plates to give an extra 1/2" clearance. (The cardboard in the pic is just to keep the grille upright.) The exhaust clears great, and tomorrow I am going to start on the trans mount/crossmember. Here's the pics...
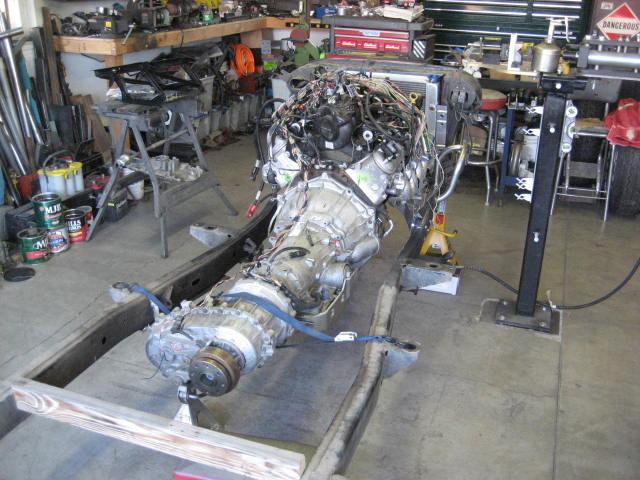
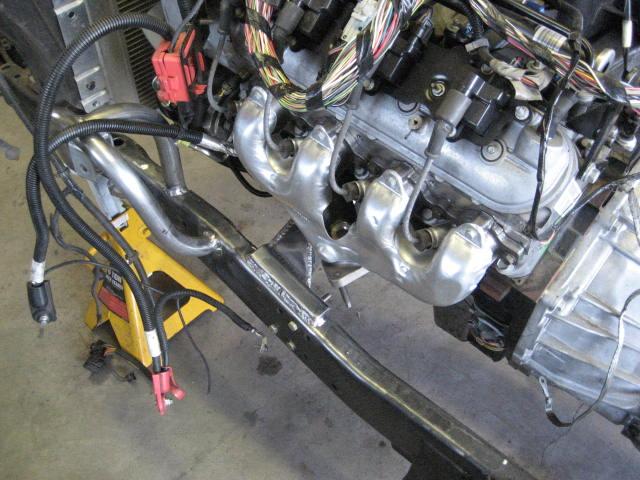
Enginefitting1006-1.jpg


Enginefitting1004-1.jpg
 
Last edited:
Thanks!

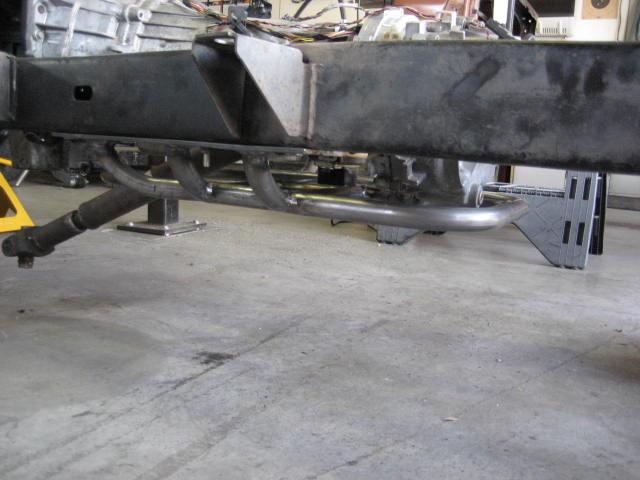
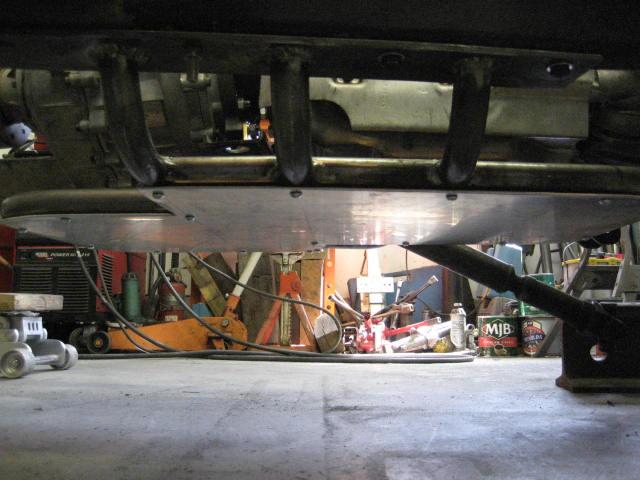
As promised, I built a transmission crossmember today. I just didn't trust that blue rachet strap in the previous pics! :D (Since my job now has me working Monday and Friday, I seem to get alot more done Tues-Thurs- go figure!)
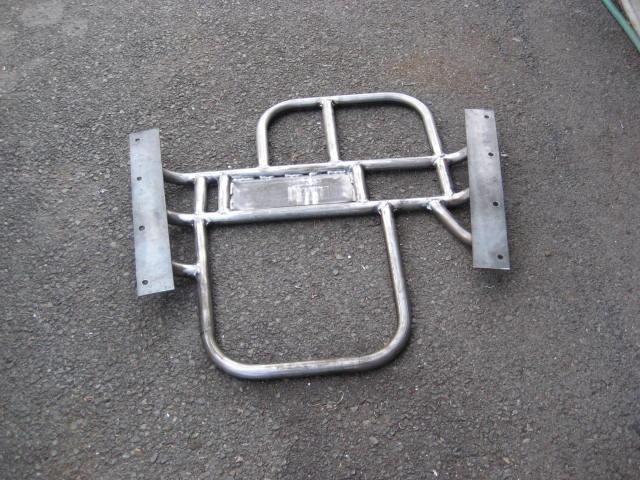
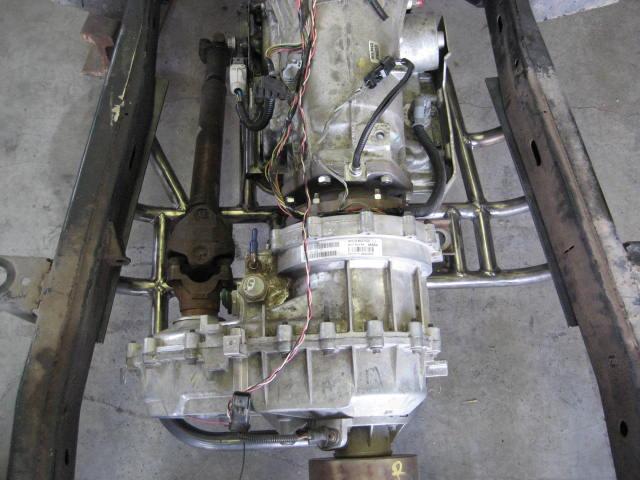
First I took two pieces of 1/4" X 3" and drilled them so they would catch all 4 frame inserts. I then got the engine at the right angle, and measured the low point. 3 1/2" below the frame. Not too bad... I then bent up and welded the two side to side pieces. All tubing is 1 1/4" .120 wall. Then just went to town measuring and bending and welding. There is a loop that protects the transfer case, yet still allows access to the drain plug (barely). The other loop goes outside the perimeter of the trans pan, so it can be dropped when needed. I am using an Energy Suspension poly trans mount with a matching poly torque arm bushing kit. An open area for the driveshaft and it's almost done. Tomorrow I need to weld on tabs for the skid plate. Here's the pics!

TransCrossmember001-1.jpg


TransCrossmember003-1.jpg


TransCrossmember004-1.jpg
 
Last edited:
Beautiful!

Going back a bit, on the fuse center, were all of your modifications just reorganizing which wires went where and to what connector? Nothing inside the actual box?

I love the idea for two reasons, simpler and lower power wiring behind the dash like you mentioned and replacing all the old wiring in the stock harness (two of which already gave me quite a scare a while back when the starter solenoid switched + shorted to a constant +12V wire as I was driving down the road :eek) Just curious on the work it took.
 
Eric- I actually eliminated the fuse box under the dash. The ignition switch now activates relays in the Power Distribution Ccenter that feed the switched fuse blocks. There are also fuel pump, starter, and horn relays there. The headlamps are also on relays. The lighting (running, tail, brake, backup, and gauges) are all LED's which are have low draw. The only high draw items that still go through the ignition switch are the radio and the Heater/A/C unit. When I initially started this I thought I would end up with a bunch of wires going out, and back in, but it's not so. The CJ wiring system, once cleaned up, is remarkably simple.

I did have to do quite a bit of modification to the basic PDC setup. It was originally designed as an auxiliary panel for police service. Six Maxi fuses fed the relays which went straight to external feeds, and two other Maxi fuses fed all the smaller fuses. I now have three of the relays feeding the smaller fuses, triggered by the ignition switch. It took probably 2 days to design the wiring system and perform the modifications. I printed a schematic for it all, 'cause I probably won't remember what goes where a few years down the road.

I am really pleased with the concept, and I think it will work out perfectly. I actually bought a second PDC off EBay for a spare just in case.
 
Awesome engineering on the crossmember! :bow: Sure wish we didn't live on opposite sides of the country :( I'd like to be your apprentice! :D
 
i was looking at your first pic of the crossmember thinking thats sweet...

then i thought to myself....
wait a sec *scratches head* something doesnt look right. (still only looking at the first pic) the front driveshaft is gonna hit the front tubing..... thats dumb, i fugured you' be smarter that that.....

then i scrolled down to look at the next pic.... drivers side drop.... what can i say, its early, i just got up 15 minutes ago...

looks good!!! even if teh driveshaft is on the wrong side!!! :D :bow:
 
Having the driveshaft on the "wrong" side solved so many problems... and I was lucky enough to get the narrowed D44 front housing for free and the 240OR transfer case for next to nothing!:)
 
Skid plate

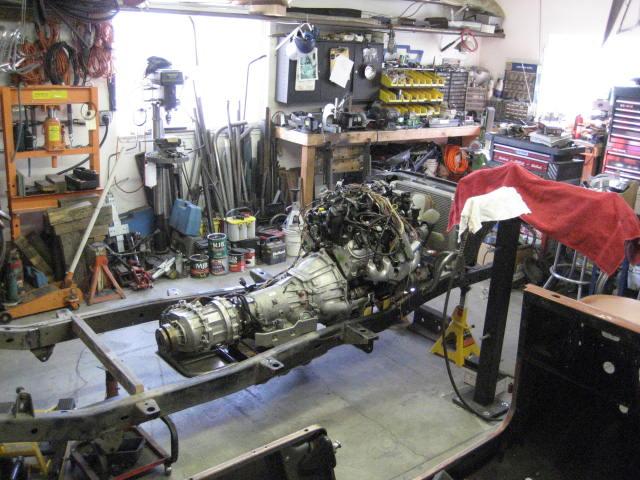
Nothing too exciting...finally used the chunk of aluminum plate I have been dragging around for years. It's only about 1/4" thick, but feels pretty strong. I don't know if I would want to jack the Jeep up under an unsupported area, but it's installed and it was free. I still have to countersink the bolts, that can be done at any time.

TransCrossmember012-1.jpg


Next week....I'm thinking time to paint the frame and start the assembly.

But maybe I should clean the garage first.... :rolleyes: Stuff's starting to pile up along the perimeter...
TransCrossmember013-1.jpg
 
Last edited:
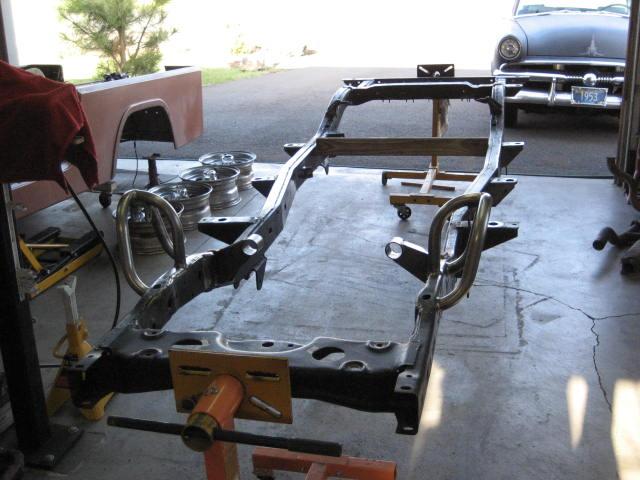
Ok, stripped down the frame again and carted it off the the car wash for pressure washing. Amazingly only small bits of surface rust on the rear body mounts appeared. Looks like rocks from the tires are the cause. I sure feel lucky! Brought the frame back home, and got to thinking that it would be nice to have a rotisserie. Hmm...I do have 2 spare engine stands... and it worked!

Springhanger018-1.jpg


So I got to cleaning and wiping down with brake cleaner...looks like new in most places! I'm still planning on repainting it with black Hammerite, though. Going to spray it unthinned out of my airless sprayer next week...at least that's the plan. The local paint store promises it will work.

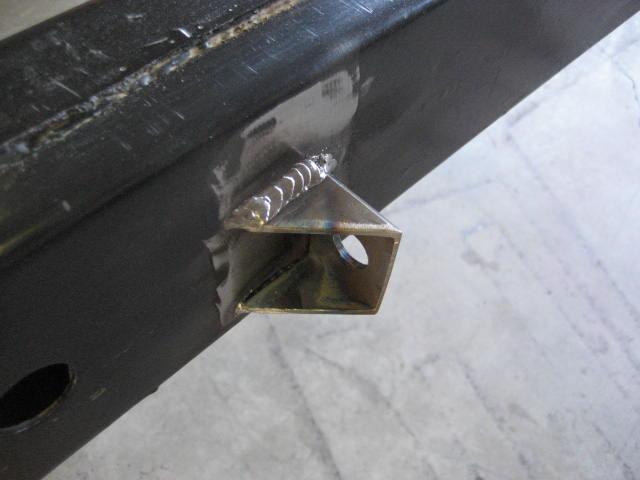
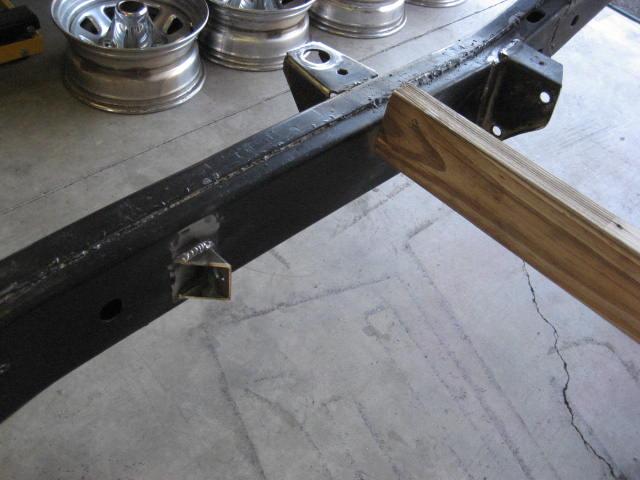
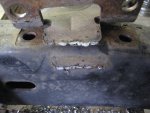
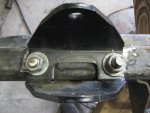
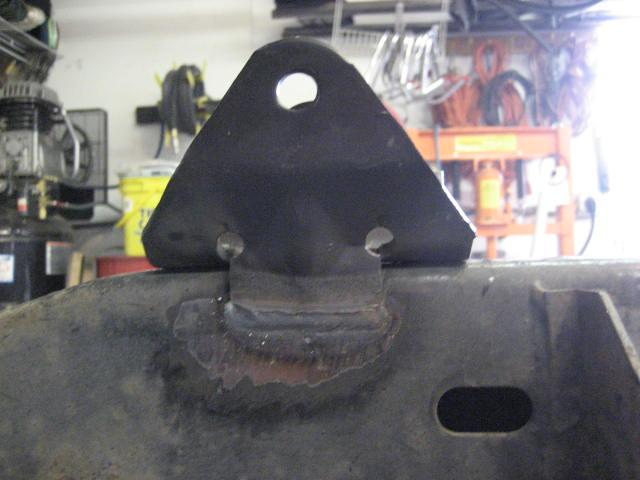
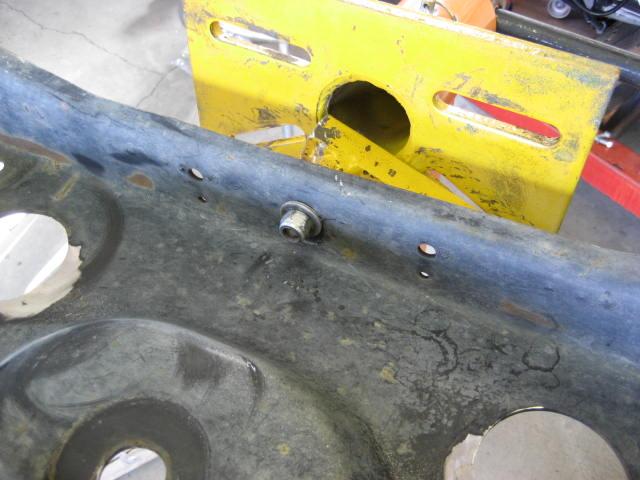
Anyways...while doing the cleanup I noticed one of the rear spring hangers seemed bent. Got out the level, sure was! I had a pair of NOS Wrangler hangers, so I replaced both sides. Scary how poor the welds were...from the factory they're held on by the two rivets and a short weld on the frame side tab. I was able to break the weld with my bare hands on one side!:eek: I made sure the new ones wouldn't go anywhere.... 2 good welds and some 9/16 grade 8 bolts.


attachment.php


attachment.php


attachment.php


Springhanger015-1.jpg


I also relocated the parking brake cable brackets to the passenger side, and built a new anchor tab. This is in preparation for a console mounted hand actuated lever instead of the pedal on the left. Oh- that's how clean the frame looks after pressure washing and then wiping down with brake cleaner!

Springhanger017-1.jpg


Springhanger016-1.jpg


So...next week there should be painted frame pics here, and then reassembly starts!
 

Attachments

  • Spring hanger 013.jpg
    Spring hanger 013.jpg
    62 KB · Views: 666
  • Spring hanger 014.jpg
    Spring hanger 014.jpg
    57 KB · Views: 666
Last edited:
I love western sheetmetal! :thumbsup: My J20 frame is the same way...the painted factory assembly stencils look like they were just put on yesterday! Mine came from the Arizona desert, but I didn't realize Oregon didn't use salt...you do get snow occasionally, right?

BTW, I like your new "crossmember" just forward of the rear upper shock mounts :D

Looking forward to your reassembly, as I'm sure you are, too!
 
.you do get snow occasionally, right?

BTW, I like your new "crossmember" just forward of the rear upper shock mounts :D

Looking forward to your reassembly, as I'm sure you are, too!

We get a fair amount of snow. They don't use salt, they use cinder or ground basalt rock for traction purposes. They also use FreezGuard Zero, a magnesium chloride mixture with anti corrosives. It doesn't rust steel like salt, but it doesn't like aluminum...:mad:

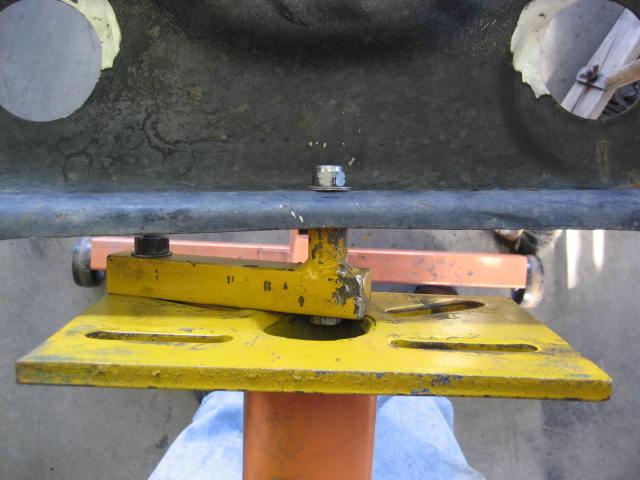
The 2X6 crossmember....just temporary.:p My frame seems to be "mis-jigged" from the factory. There is no evidence if any impact, yet the area under the firewall, by the spring hangers, is "pinched" in about 1/2". The first time I ever removed the factory crossmember the last bolt on one side felt bound, and when I got it out it "popped" and the holes would no longer line up... It's an even taper on both sides from the bend in front of the rear hangers. So...the 2X is spreading the frame to the proper width...until the tubular crossmember is reinstalled. I welded a strip on the inside of each plate where it bolts to the frame so the new crossmember will spread the frame without placing all the stress on the mounting bolts.
And yes, I am really looking forward to reassembly!:D
 
Hey Randy,

Can you show how you connected the frame to the engine stands.

Truck
 
Redneck rotisserie-

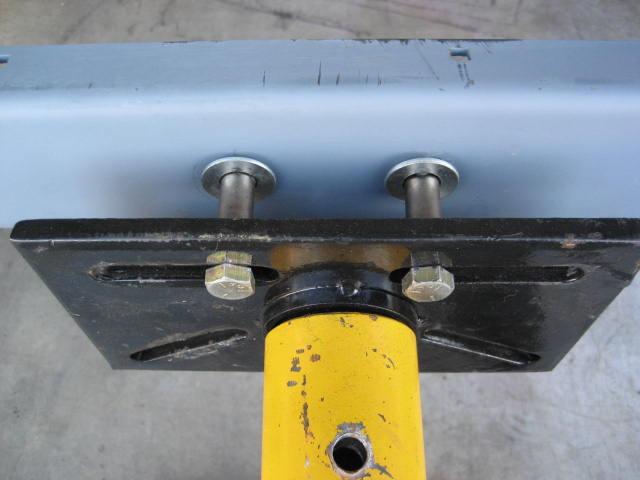
Here's how I did it. Front is a simple bolt through the existing hole in the crossmember and one of the stand arms. The frame pivots on the bolt, the stand head stays stationary. On the back, I removed all the arms and ran a couple long bolts through some shock spacers that had welded washers about an inch out. Pass the short ends through the two holes in the rear crossmember, add a washer and lock nut and you're done. The frame slides on the spacers, because the stand head is not perfectly vertical. You have to adjust the rear to be a little bit off center because the stand isn't tall enough to clear the crossmember as it rotates. So you don't get a full 360* of rotation, but it still works great.

I'm thinking about a low-buck way to build a body rotisserie-

And tomorrow....if the weather cooperates...Paint!

redneckrotisserie004-1.jpg


redneckrotisserie003-1.jpg


redneckrotisserie003-1.jpg


redneckrotisserie001-1.jpg
 
Last edited:
Painting....

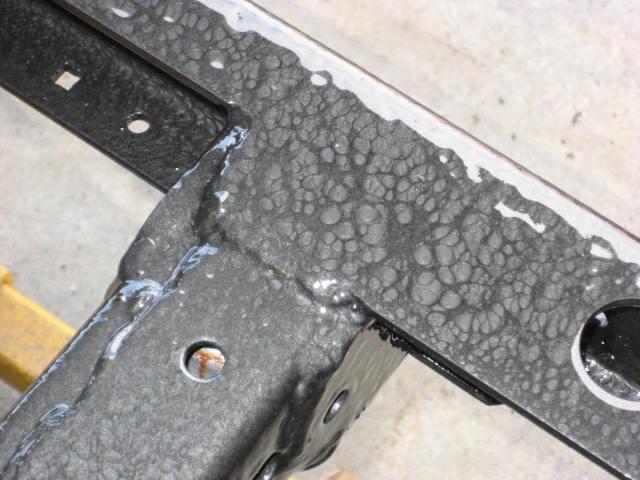
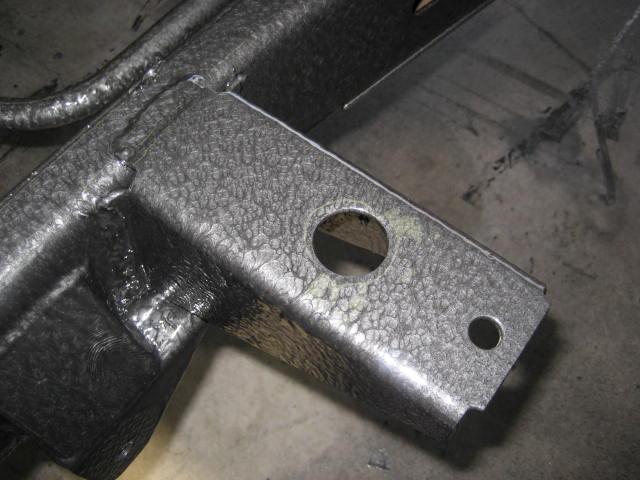
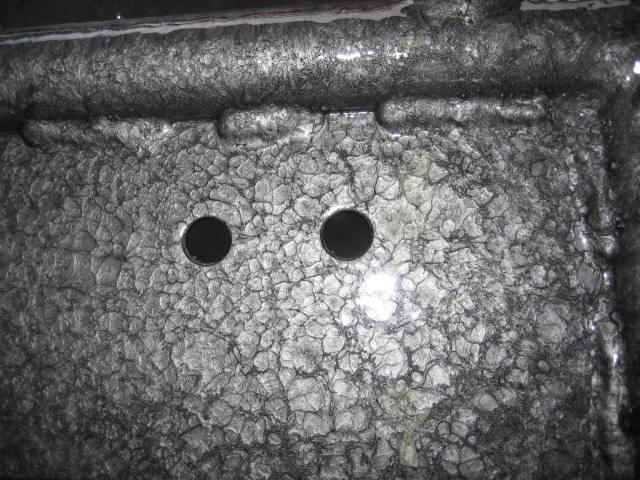
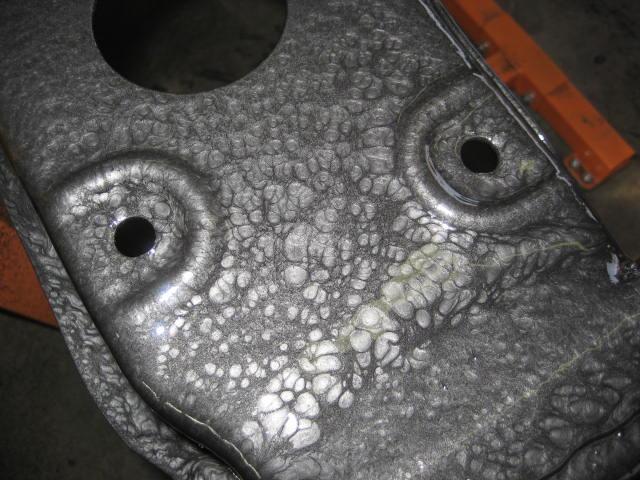
Ugh...Painting sucks. Actually, using a respirator when you have a cold sucks.:rolleyes: And spraying Hammerite with an airless sprayer is like spraying mud on a picket fence. They recommended 2-3 coats for a 4 mil thickness. 2 coats and 3 quarts later it's painted. More like coated, actually....it's goes on there thick, because they don't recommend thinning. This stuff hides everything. Biggest concern is I'm having to flip the frame every 30 minutes to keep the sags away. But once it hardens up, I think it will be bulletproof. I'll post up some pics later...I need a shower and a cold one.
 
Ok, here's the pics. Jury's out on this....it's so shiny! I know that won't last...but there is a "lumpy" texture too, all I can say is it looks sorta cool in a strange way. I think once I get everything mounted back up it will look better...or at least stand out less.

I've sprayed POR15 before, and it levels itself really well. This Hammerite in the quarts is nothing like the rattle cans...it seems like it builds the hammered effect as it dries. Check out the pictures!

framepaint005-1.jpg


framepaint004-1.jpg


framepaint003-1.jpg


framepaint002-1.jpg


attachment.php


attachment.php


attachment.php


attachment.php


attachment.php
 

Attachments

  • frame paint 006.jpg
    frame paint 006.jpg
    73.1 KB · Views: 601
Last edited:
One word popped into my head when I saw it: wicked!

I think it's sweet!
 
Back
Top