• Notice for iPhone users: DO NOT use the image size reduction option when uploading photos to the forum. This causes portrait images to post as landscape. We have added a warning to the image insert pop-up as well.

Spankrjs' 1984 Long Term Project

i used some Duplicolor bedliner rattle-can on my gas tank skid (buried somewhere in the resto-mod thread).. gives a pretty good texture/appearance.. it did peel/scratch on me when I had to lower the tank with a floor jack so.. perhaps more cosmetically good than durable..
 
i used some Duplicolor bedliner rattle-can on my gas tank skid (buried somewhere in the resto-mod thread).. gives a pretty good texture/appearance.. it did peel/scratch on me when I had to lower the tank with a floor jack so.. perhaps more cosmetically good than durable..

I am leaning more towards the "Rustoleum Rusty Metal Primer/VHT Chassis/RollBar/Bumper paint" as a painting solution:rotfl::thumbsup:

I might have it sand blasted and "properly" painted, not sure:shrug:
 
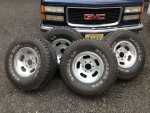
Holy moly! :drool: I just flat out love the look of that style mag rim. Looks even better with the tire on. :woot: I honestly think that the similar rims on our Cherokee were at least half the reason I bought the thing. Makes me want to find a set to put on the Postal now... well, they are both 6-lugs. Hmmmm.

I'd fill the holes in the backwards stems with black sealant. Water/mud/sand :D sitting in there could rot out the valve from the backside. I bet they work fine as a solution.

Yep, I think they look pretty sweet, too:cheers: IIRC, the FSJ/Renegade slot mags are only 6-7" wide, the Mickey Thompson/Alcoa Challengers came in 8" and 10" widths, making them a good choice for 12.50 tires:thumbsup:

I can't wait to get them mounted on the Scrambler:drool:

Now you can see why I am going through so much trouble to get these rims safe/usable:thumbsup:

Just curious on the rims... I like the look, but why the decision to go with them vs. stock design? I re-read and didn't see the reasoning.
I do admit, I like them, reminds me of the old Renegade Slot setup that my wife has on her 5... I spent a long time getting those back in shape... no fingerprints for weeks!

http://certifiablejeep.com/images/slotwheels/large/IMG_3795.jpg

cb


The rims that came on the Scrambler were in good shape. They were not factory wheels, probably American Racing. No real reason to change except for aesthetics, I figured the "plain colored" Scrambler could use a little "bling":thumbsup:

As for polishing, I lucked out. These rime are still in great shape. I have not even washed them yet, so they are still very dusty/dirty. With a little polish, they will really shine:thumbsup:

But, it sounds like you have good wheel polishing skills, do you want to practice your trade on these :D:
 
Holy moly! :drool: I just flat out love the look of that style mag rim. Looks even better with the tire on. :woot: I honestly think that the similar rims on our Cherokee were at least half the reason I bought the thing. Makes me want to find a set to put on the Postal now... well, they are both 6-lugs. Hmmmm.

I'd fill the holes in the backwards stems with black sealant. Water/mud/sand :D sitting in there could rot out the valve from the backside. I bet they work fine as a solution.

Eric hit the nail on the head- on both points! Those are awesome wheels...and I'd fill the backside of the stem too.
 
Good point on the width... the renegade slots were 15x7... and they are fine for a 31x10.5x15 tire, but yes, I can see how the larger sizes will help the larger tires.

As for my polishing skills... I am retired from that now. It was a ton of work, I love how they came out, but they had some deep ridges and I went through various stages of dry and wet sanding just to get them to where they were able to be polished out with the magic red ball.

cb
 
Holy moly! :drool: I just flat out love the look of that style mag rim. Looks even better with the tire on. :woot: I honestly think that the similar rims on our Cherokee were at least half the reason I bought the thing. Makes me want to find a set to put on the Postal now... well, they are both 6-lugs. Hmmmm.

I'd fill the holes in the backwards stems with black sealant. Water/mud/sand :D sitting in there could rot out the valve from the backside. I bet they work fine as a solution.

Yup the slots do it for me too. Slots for 70s and wagon wheels for 80s doesn't get any better than that IMHO. U got me thinking on the width of a FSJ slot. Had this pic of some wheels and tires I bought last summer. Tires are 32x 11.5. Gotta check if these are 7 or 8 inch wide. My wag has 7s but maybe they could be had in 8 in wide.

ImageUploadedByTapatalk1363278101.452505.jpg
 
Eric hit the nail on the head- on both points! Those are awesome wheels...and I'd fill the backside of the stem too.

I might do something else to plug the extra holes, not sure yet, but they do look good:cheers:

Good point on the width... the renegade slots were 15x7... and they are fine for a 31x10.5x15 tire, but yes, I can see how the larger sizes will help the larger tires.

As for my polishing skills... I am retired from that now. It was a ton of work, I love how they came out, but they had some deep ridges and I went through various stages of dry and wet sanding just to get them to where they were able to be polished out with the magic red ball.

cb

Yep, I can imagine it would take a long, tedious amount of time to really bring a set of aluminum rims back to life, but when you are done, it sure makes it worth while:thumbsup:

I keep hearing great things about the "magic red ball", might have to give one a try:thumbsup:

Yup the slots do it for me too. Slots for 70s and wagon wheels for 80s doesn't get any better than that IMHO. U got me thinking on the width of a FSJ slot. Had this pic of some wheels and tires I bought last summer. Tires are 32x 11.5. Gotta check if these are 7 or 8 inch wide. My wag has 7s but maybe they could be had in 8 in wide.

View attachment 32316


That would be great if the FSJ had an optional 8" width, it would definitely expand tire choices for FSJ owners and for people who swapped axles on a CJ:cheers:

I might end up running a chrome grill overlay on this CJ8, still not sure:shrug:
 
I actually did some "real" work on the Scrambler last night, packed all 8 wheel bearings.

IMAG0482_zpsd2487d05-1.jpg


I installed the bearings and seals into the rear hubs, packed the hubs with grease, then put some zip lock bags over them to keep dust out until I install them.

IMAG0483_zps07036d2a-1.jpg


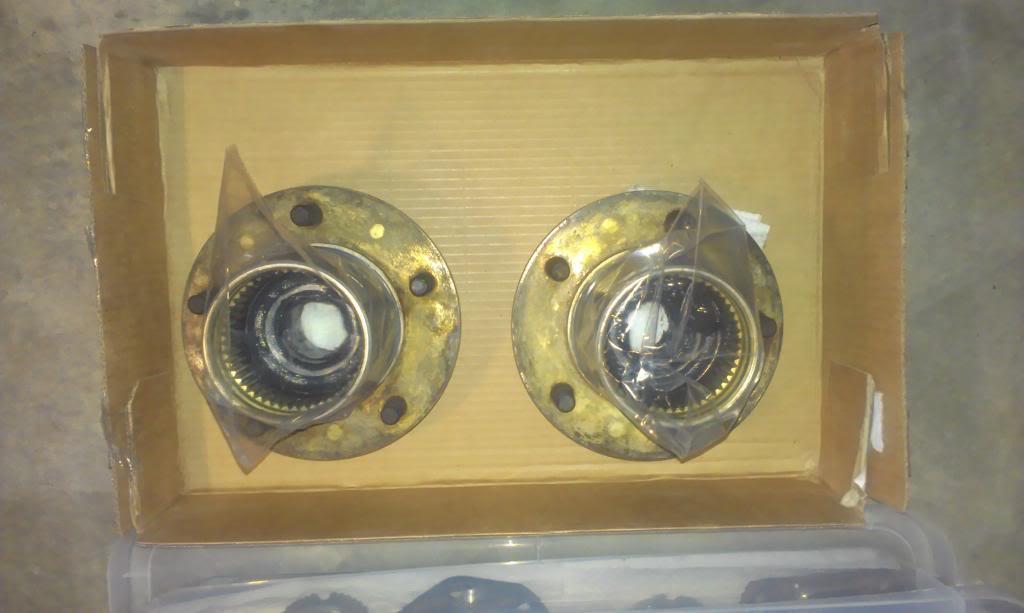
I have the new studs about 95% installed into the front hubs, but since it was late, I didn't want to piss off the neighbors, I will wait till day light hours to finish driving them in. I ran out of grease to pack the front hubs, so I will finish them up tonight.

IMAG0484_zpsb47b0931-1.jpg


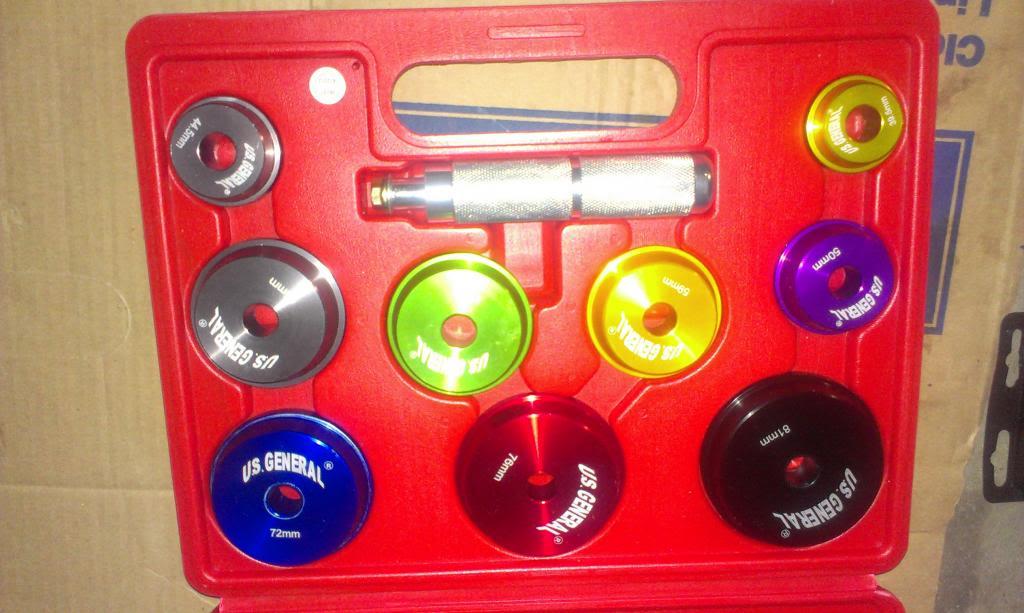
Since I had so many races/seals to install at once, I went out and treated myself to a cheap ($32.00) Harbor Freight Race and Seal Driver. It actually works really well, but since the part are made out of aluminum, it will not hold up to daily use. But, for "recreational" use, it should last awhile. And the best thing, no more searching for sockets and pipes:D I WOULD NOT use these pieces with a hydraulic press:twocents:

IMAG0485_zpsd59754b7-1.jpg


I am going Jeeping tomorrow, but I hope to get the rear axle back together by Monday.

That's it for now.
 
Would it be possible to do a step-by-step install write-up on the rear Warn FF kit? Reason I ask is that I have this kit that I bought used and I do not have any instructions and have never done one before. It also might be something we could include as a stand alone tech article that would be a great resource for others to use since you can only find this kit used or NOS but may or may not include instructions. No big deal if you don't want to go into that much detail with it but you seem to be very good at explaining things and taking good pics. Thanks!


Would it be possible to do a step-by-step install write-up on the rear Warn FF kit? Reason I ask is that I have this kit that I bought used and I do not have any instructions and have never done one before. It also might be something we could include as a stand alone tech article that would be a great resource for others to use since you can only find this kit used or NOS but may or may not include instructions. No big deal if you don't want to go into that much detail with it but you seem to be very good at explaining things and taking good pics. Thanks!

Yes, I can do a "step by step" on it, no problem :thumbsup:

I think i have some details on my Red Scrambler thread, too. It is a fairly straight forward installation, but I will "comment" on some of the trickier parts.
 
Sweet! Thanks a ton! I remember your install on the red Scrambler and I refer to that thread a lot! It sometimes takes me a while to find what I'm looking for just because of the length of the thread.


Sweet! Thanks a ton! I remember your install on the red Scrambler and I refer to that thread a lot! It sometimes takes me a while to find what I'm looking for just because of the length of the thread.


Here you go, Red Scrambler Full Float install:thumbsup:

https://www.cj-8.com/forum/showthre...TE-BODY-ON-FRAME-AGAIN/page13&highlight=float

Link to this site where someone posted the instructions:

https://www.cj-8.com/forum/showthread.php?35254-Warn-Full-Float-Kit-Wide-Track-AMC-20-CL-200/page2
 
Update on the progress from this past weekend, which due to Jeeping on Saturday, not too much.

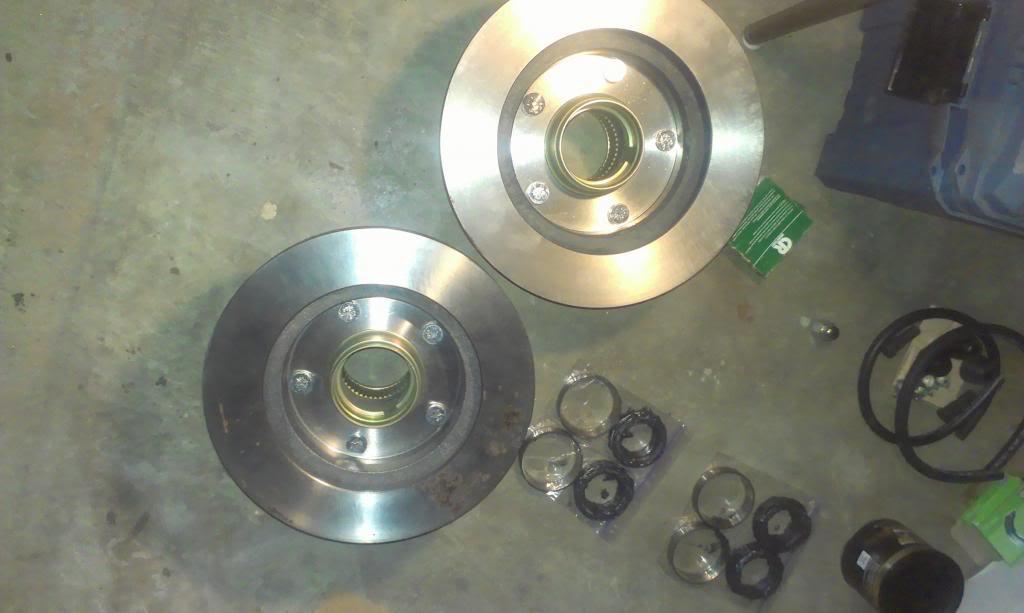
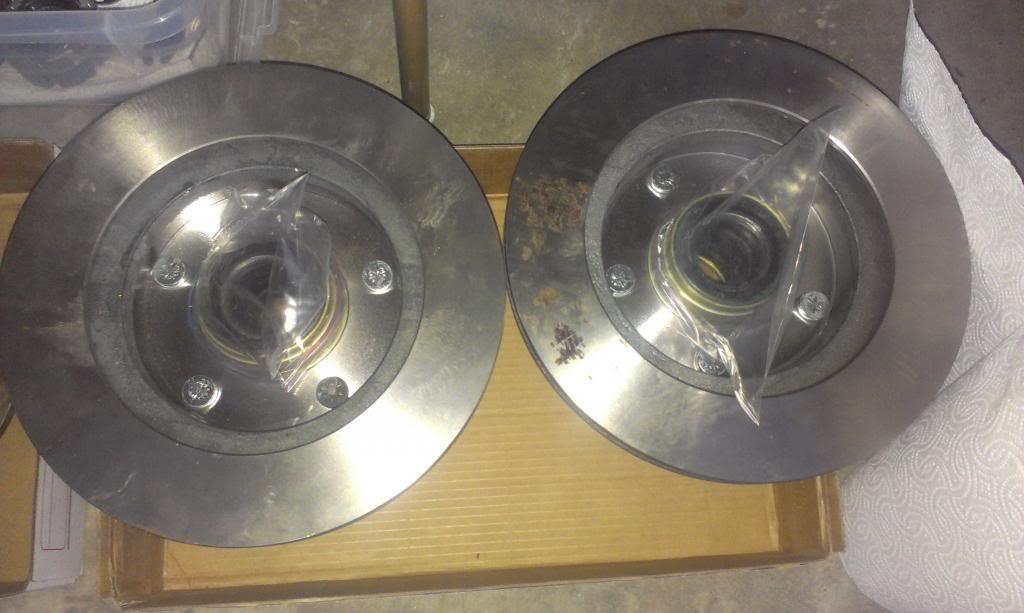
Installed the new rotors on to the new Warn hubs with new studs, installed the wheel bearings and hub seals. All I need now is a front axle.

IMAG0486_zps598385c1-1.jpg


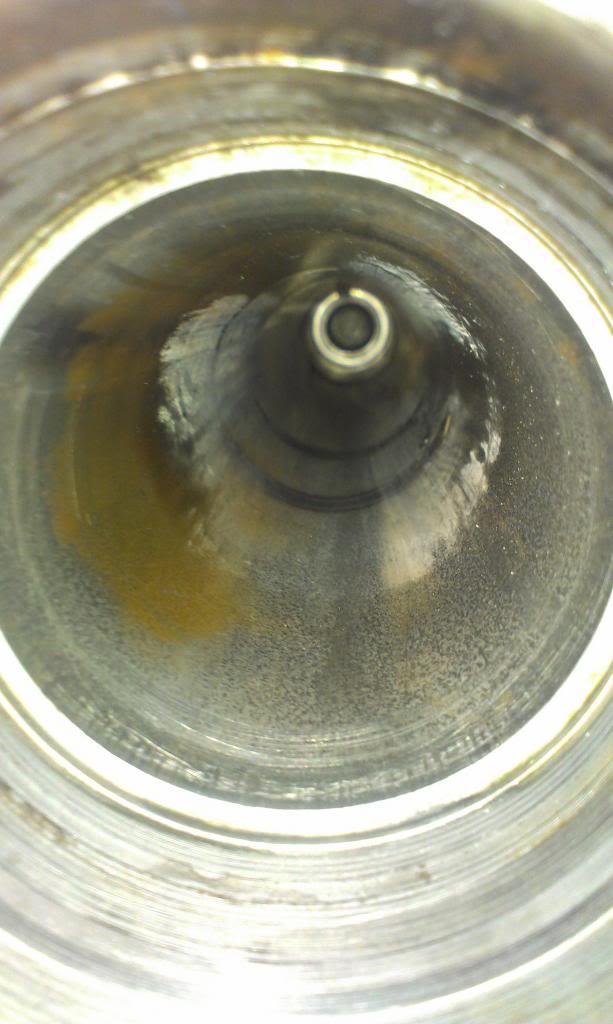
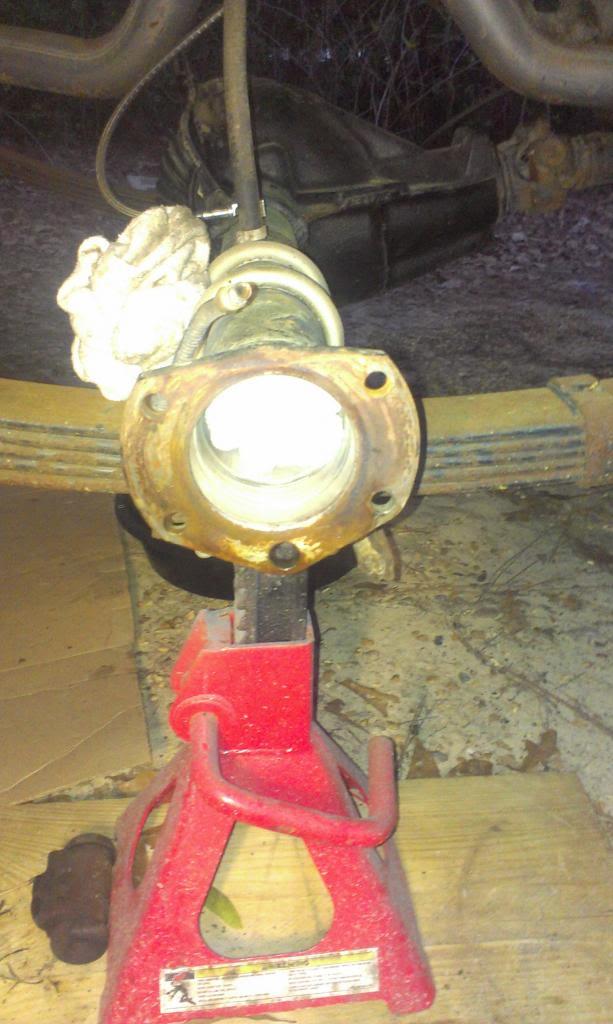
I also cleaned out the rear axle tubes in preparation for the axle/spindle/hub reinstallation. The tubes are very clean/rust free.

IMAG0487_zps3809ed5c-1.jpg


IMAG0488_zpsf4ebcff9-1.jpg


And since this Jeep is sitting outside, I stuffed some socks inside the ends of the axle tubes to keep moisture out.

IMAG0489_zps2714e7d6-1.jpg


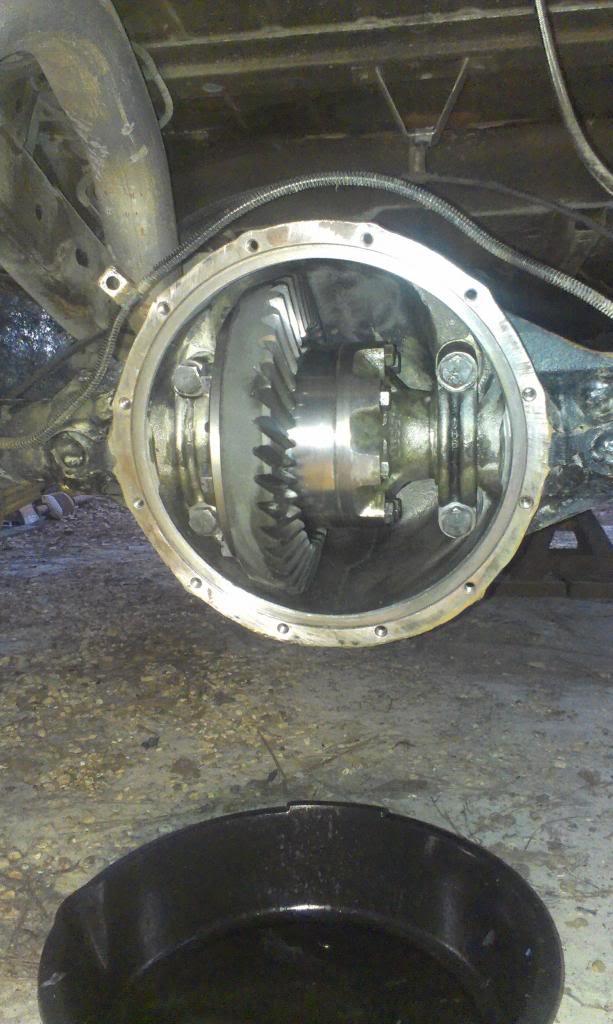
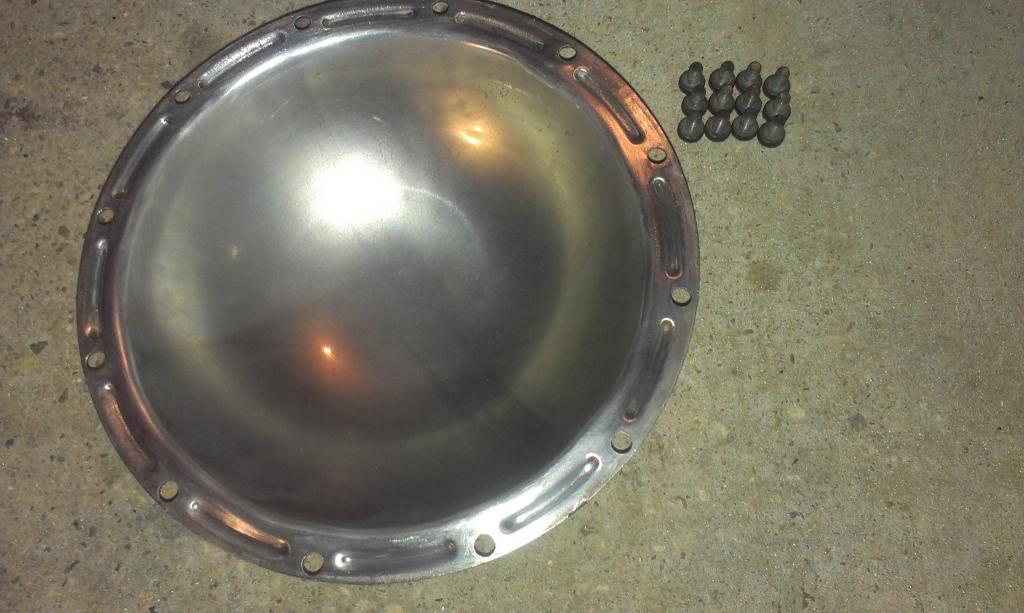
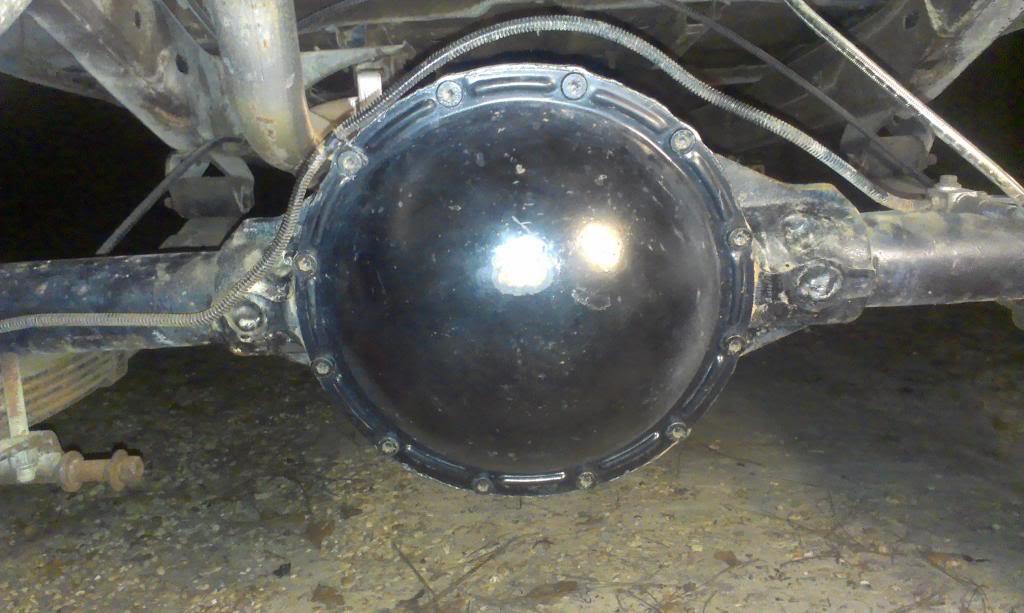
I cleaned up the rear differential, cover and bolts. Everything is shiny and rust free, just like new.

IMAG0490_zpsbbed5792-1.jpg


IMAG0491_zps2264c0bc-1.jpg


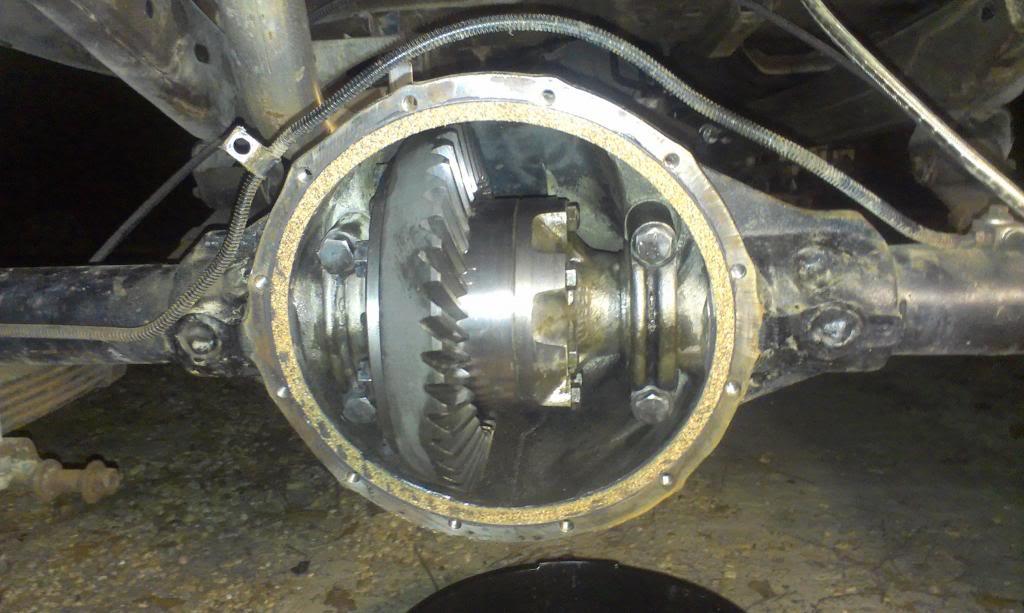
And then glued the gasket and cover back on.

IMAG0493_zps261f984e-1.jpg


IMAG0494_zpsd867bcc7-1.jpg


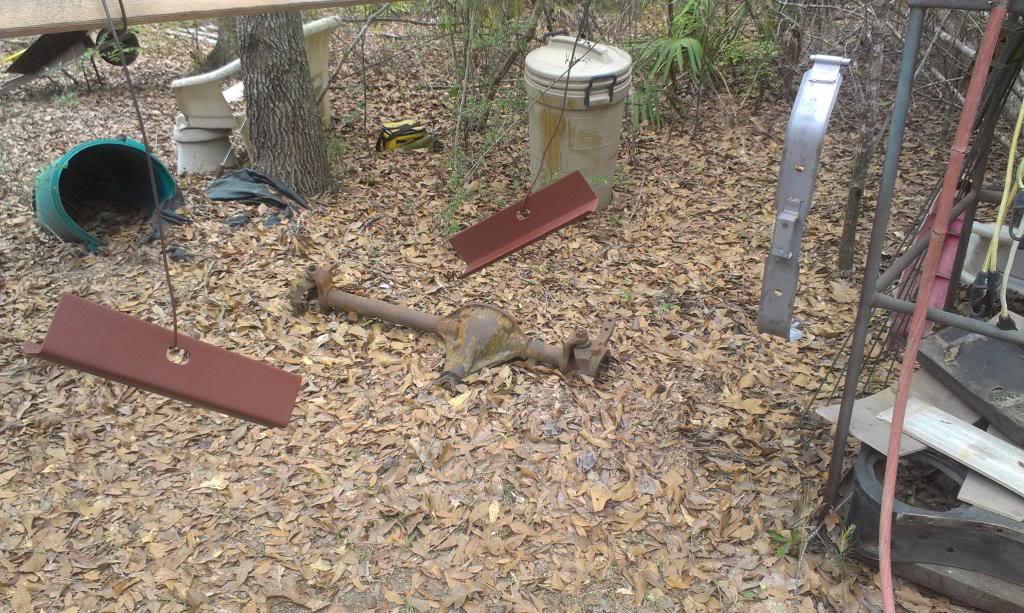
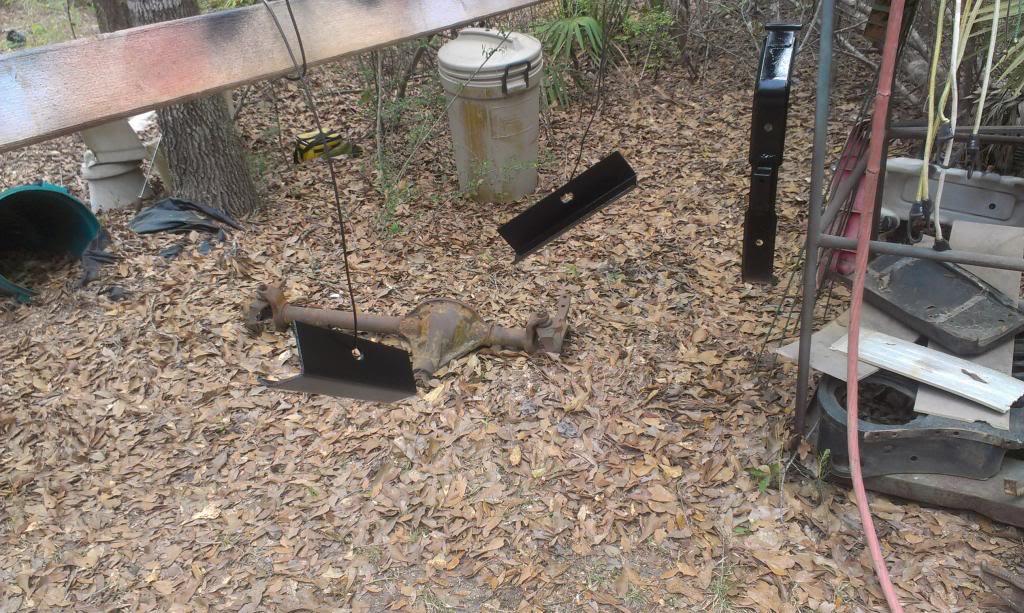
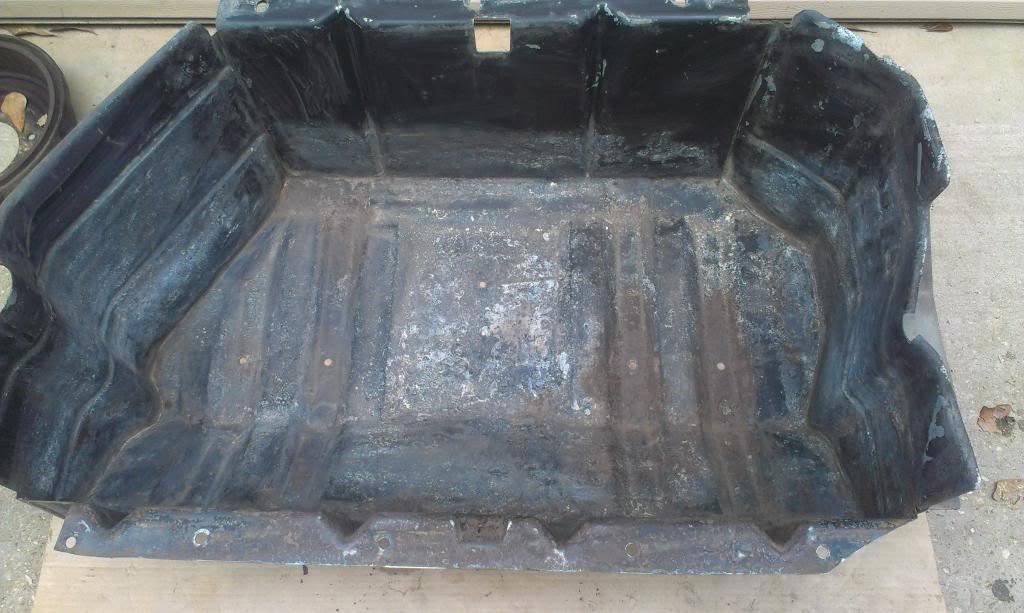
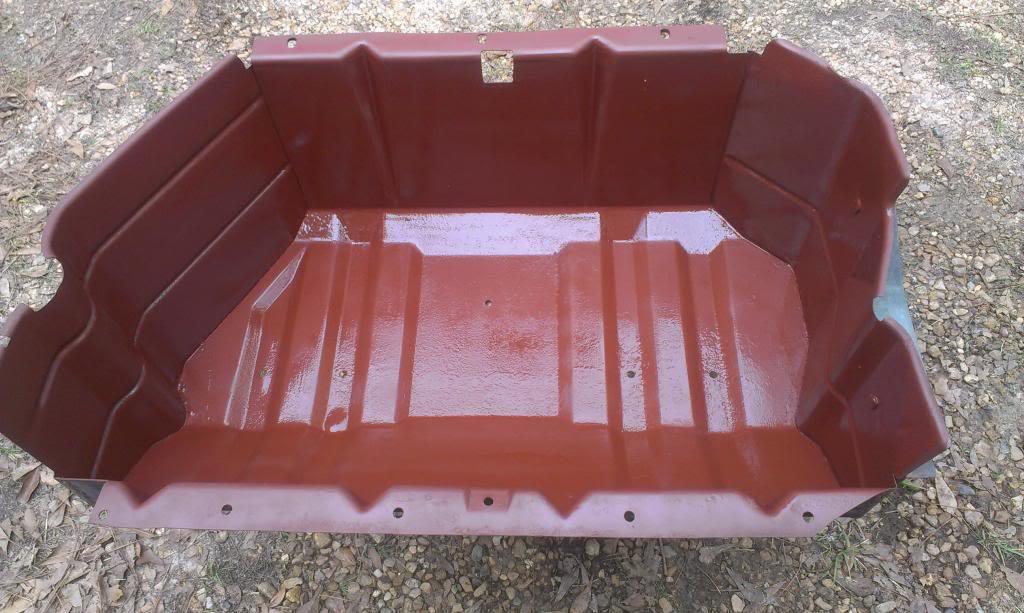
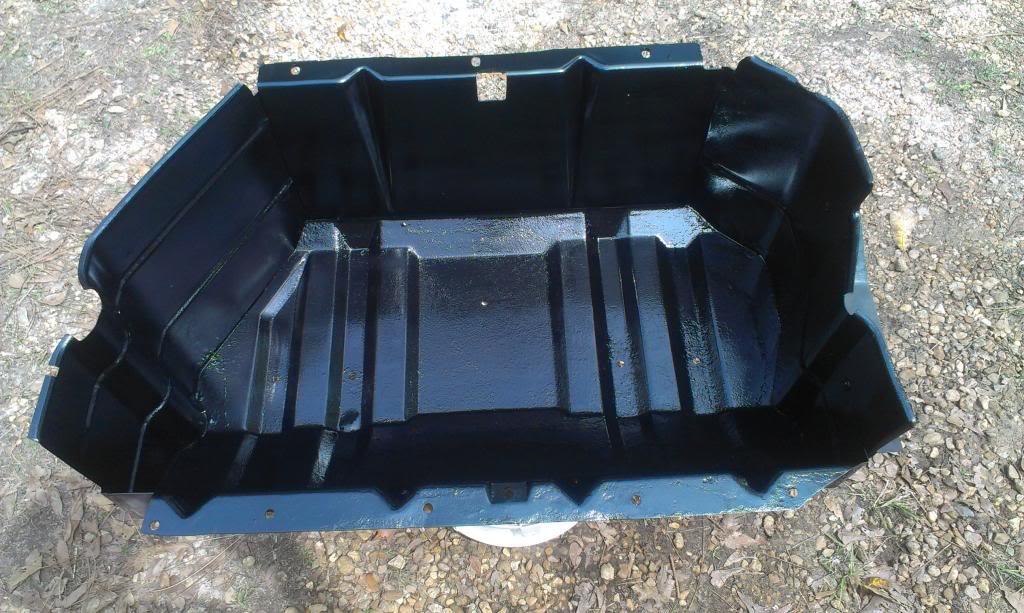
Since it was nice weather, I primed and painted the gas tank parts. Since the center strap was galvanized, I did not prime it. I painted directly to the metal. The paint I used is supposed to be "self priming", so I hope it "sticks".

IMAG0495_zps0655f8ea-1.jpg


IMAG0497_zps5eeee512-1.jpg
 
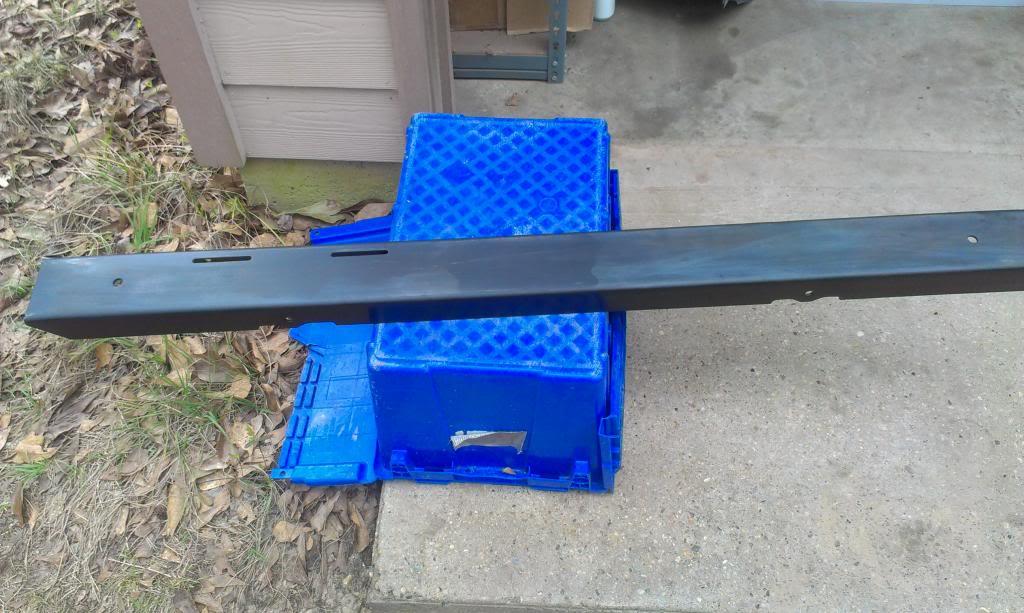
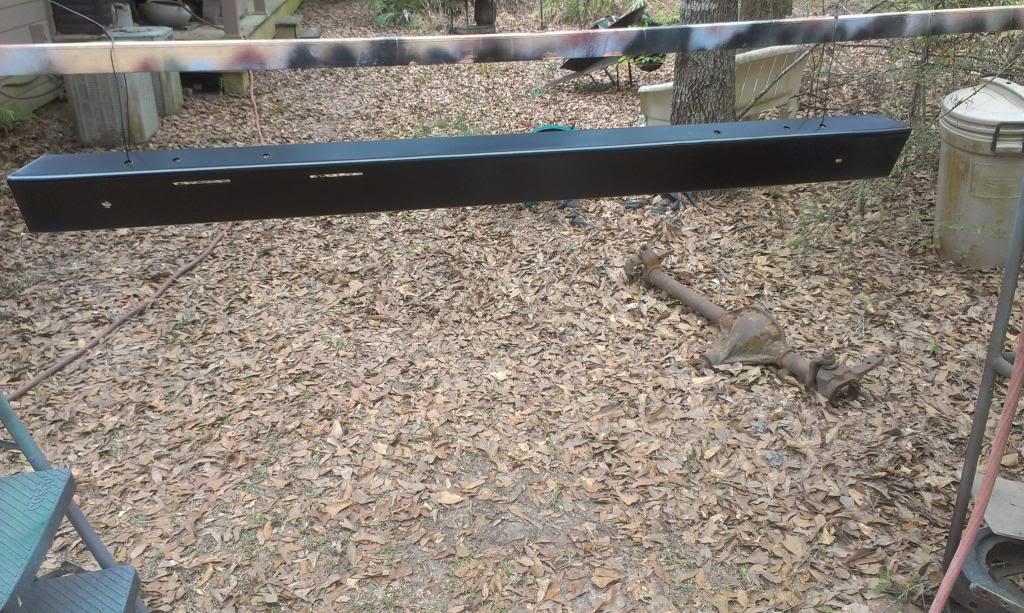
I also repainted the front bumper that was given to me. It is in great shape, rust/dent/bent free. The paint on the face of it was kind of faded, so a quick sand and paint cleaned it up.

IMAG0496_zpsf309f85e-1.jpg


IMAG0498_zps05b174d1-1.jpg


After about two hours of sanding, the gas tank skid plate was ready for paint.

IMAG0499_zpsf9d05ad0-1.jpg


IMAG0500_zps47b2d8e3-1.jpg


IMAG0501_zpscb7fee31-1.jpg


WARN FULL FLOAT INSTALL PART 1
NOTE - READ PART 2 FOR AN IMORTANT FINDING/CHANGE


And since Polarfire asked nicely, the next series of pictures and descriptions are all about the Warn Full Float axle installation.


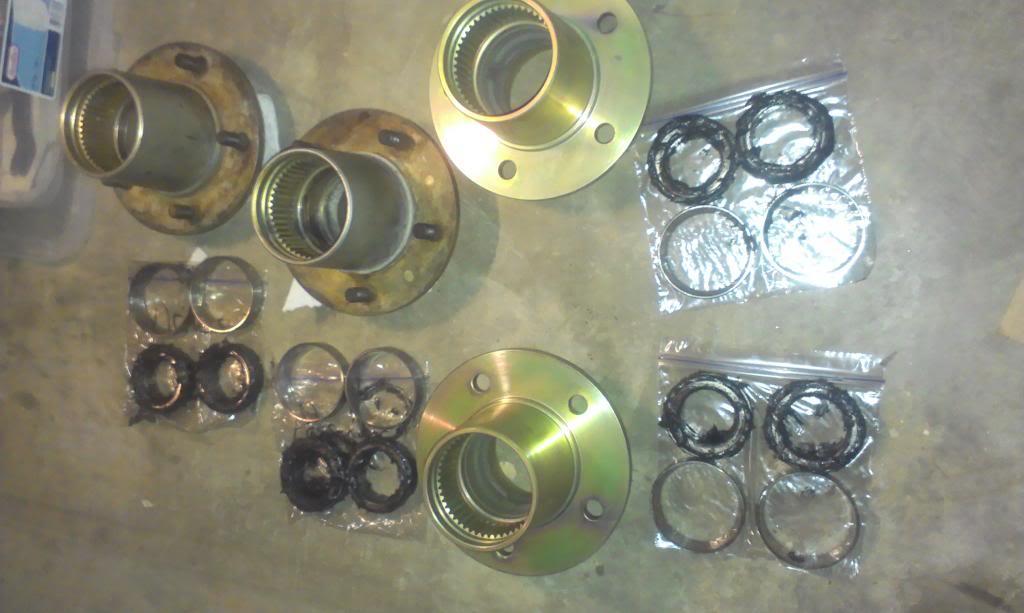
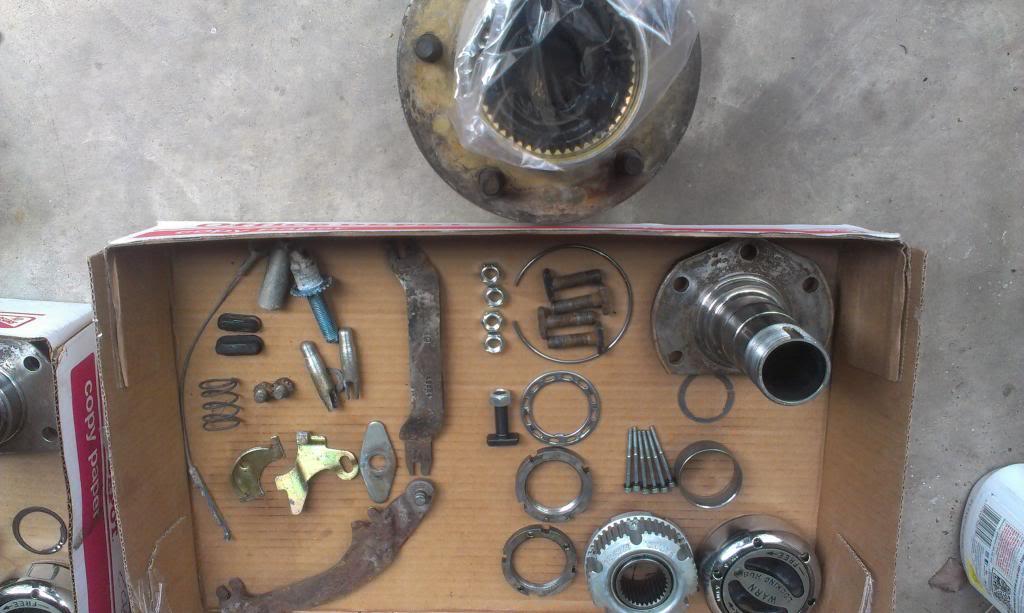
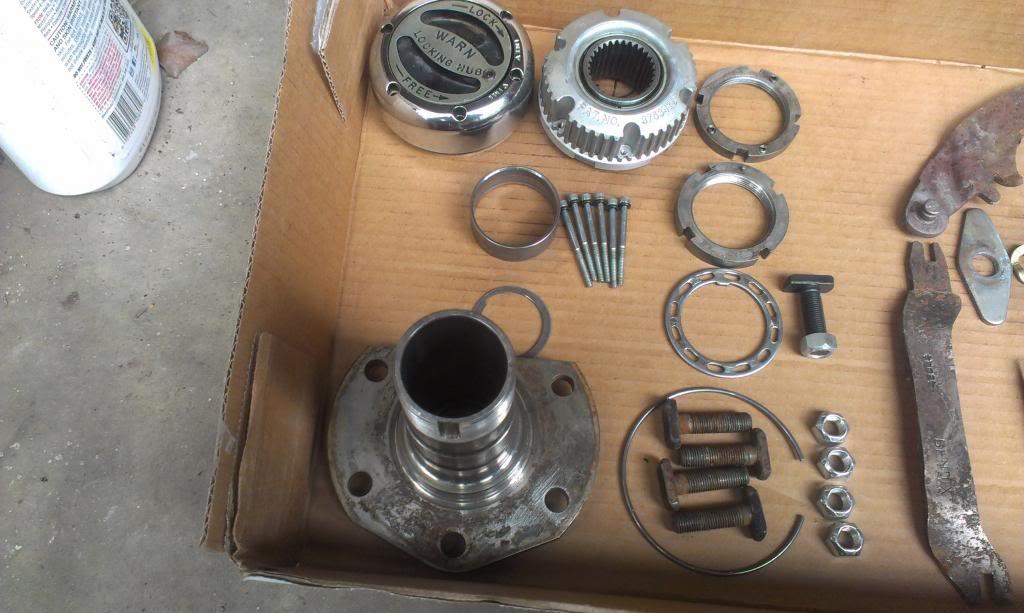
A few pictures of what the kit includes. The parts in the first picture to the left are brake parts not included with the kit. Not pictured are the axles shafts, and the bearing thrust washers, which were missing, more on that later. I also had to add two more "T-bolts" which were also missing. You should have ten "T-bolts".

IMAG0502_zps924a3a8e-1.jpg


IMAG0503_zps9e209a91-1.jpg


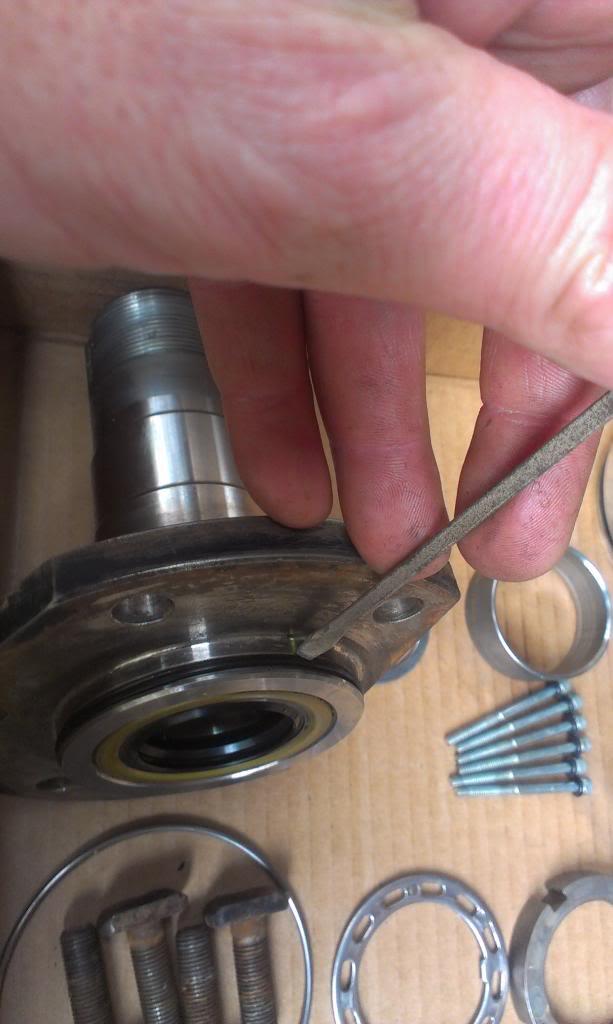
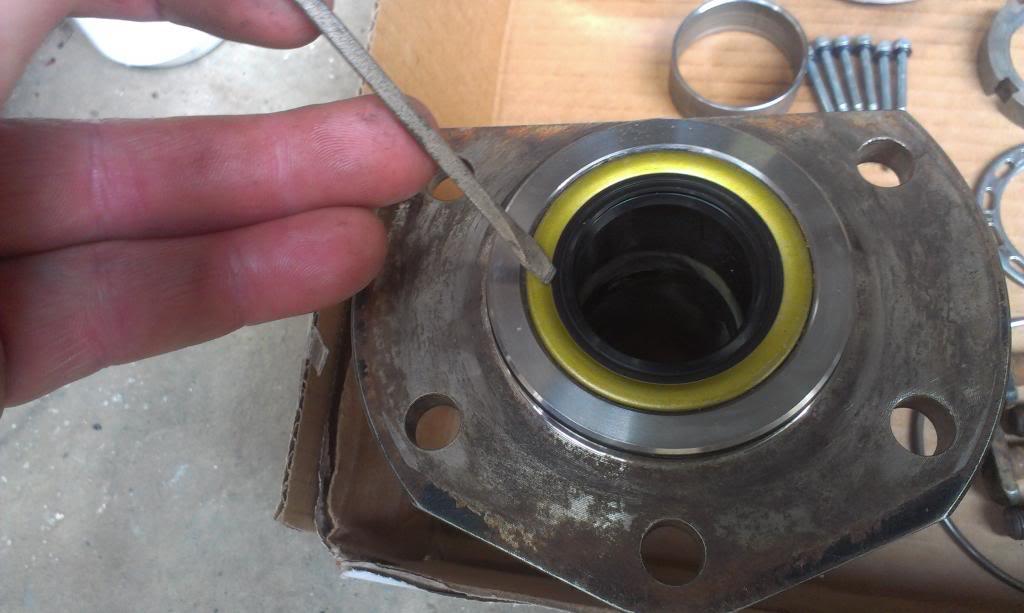
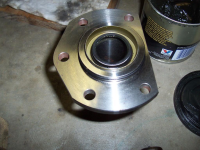
The first thing I did was install the bearings and hub seals into the hubs. I did not take pictures, but the procedure is identical to a front hub. Two races, two bearings, and one hub seal per hub.

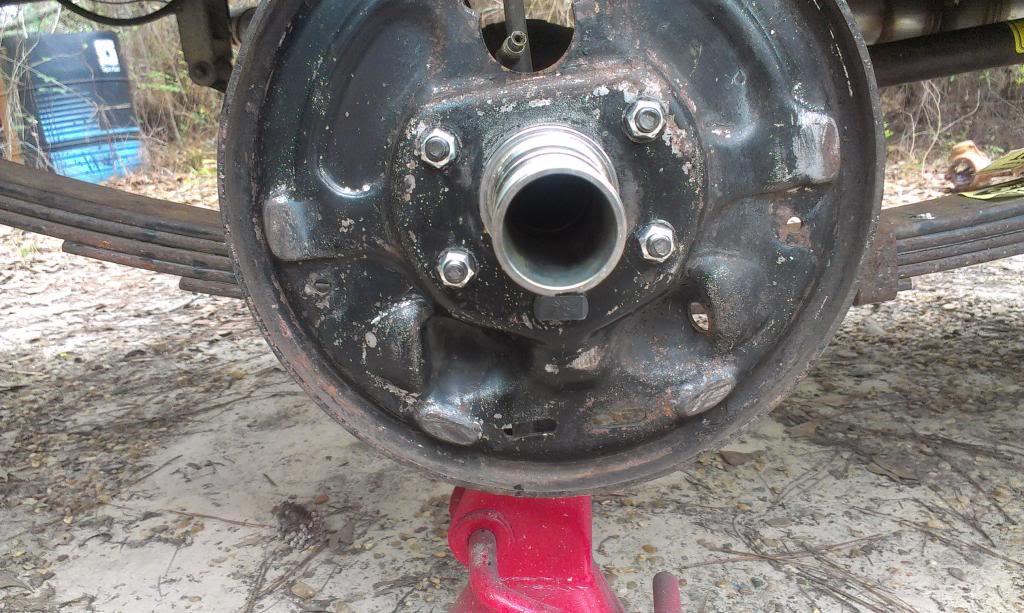
Next, I installed the spindle seals. The first picture shows the kit supplied O-rings that go around the spindle to help seal up the axle tube. The second picture shows the installed spindle seals which keep gear oil out of the bearings.

IMAG0504_zpsb2349074-1.jpg


IMAG0505_zpsafae2ab2-1.jpg


EDIT - 99% sure I installed these spindle seals backwards, this is why they leak gear oil into the hubs.

I just removed the spindles off my red Scrambler, where Warn had installed the spindle seals. Yep, I installed the above seals backwards. Looking at the picture above, the seal has to be the other way since the axle slides into the seal from the outside. This would explain gear oil getting into the hubs. :banghead:

This is how the spindle seal should be installed:

1657551584130.png
 
Last edited:
The Warn instructions are kind of vague in this regard, and on my red Scrambler I did not install the inner axle oil seals. But, since I had new seals, I went ahead and installed them. So far, after over 2 years/10,000 miles, I do not have any gear oil in the red Scrambler's wheel bearings. I guess the spindle oil seals are doing there job. Also note the clean housing end and axle bore. The bore must be clean and smooth or you will tear the spindle o-rings. I ran a thin bead of RTV inside the axle tube before installing the seal.
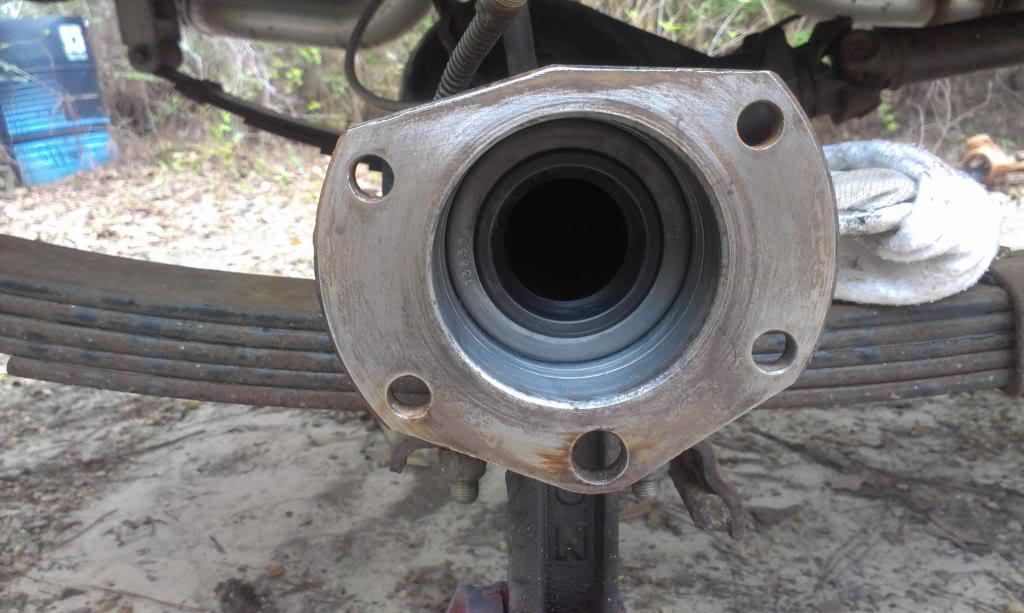
IMAG0506_zps49f25b0e-1.jpg


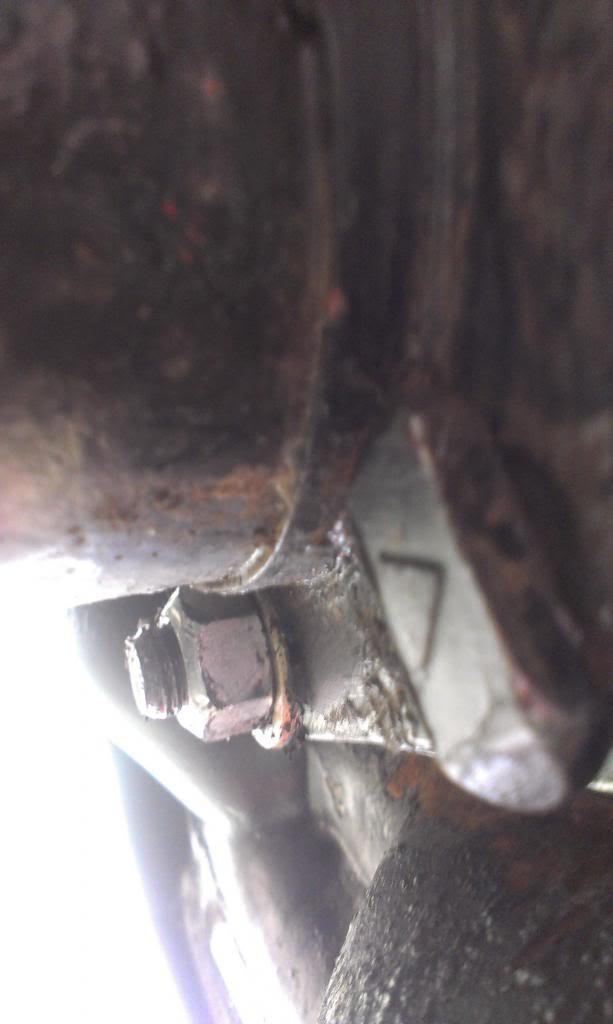
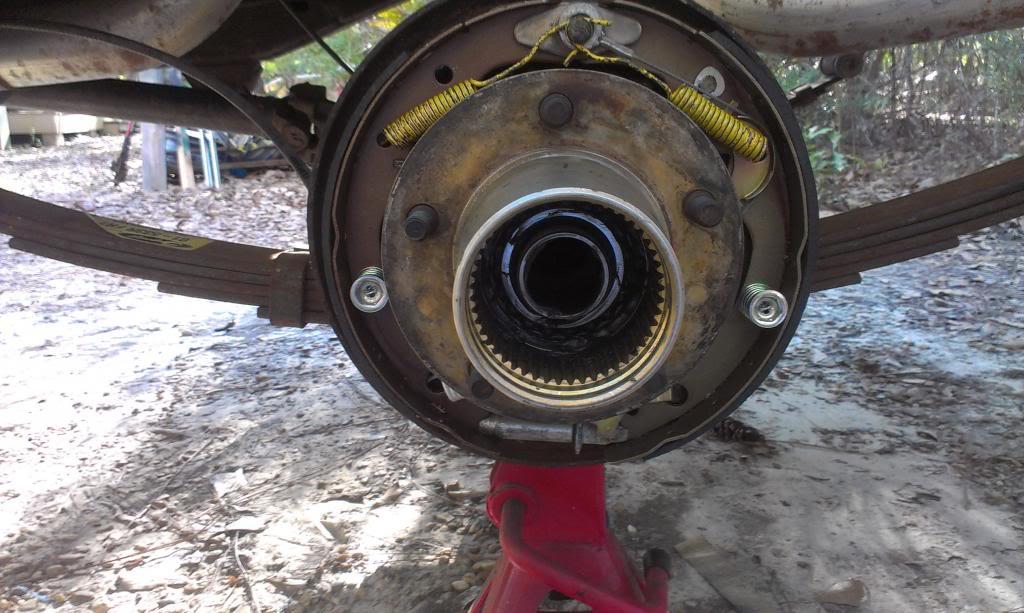
Next, I installed the spindle, followed by the brake backing plate. I used a little bit of RTV at the spindle to axle house bore interface, both on the surface and outboard of the o-ring. The top four t-bolts install as shown, the bottom t-bolt goes in as pictured, backward from the rest. IMPORTANT - the bottom t-bolts head must be perfectly horizontal. In the picture, mine is slightly crooked, and it hit the hub when I went to install it. Make sure it is perfectly horizontal. All nuts torque to 50 foot pounds.

IMAG0507_zpsf90a682c-1.jpg


The bottom t-bolt nut requires a washer for the nut, or it wont make good contact/will pull through the axle housing end. The kits come with a washer, but a regular grade 8 washer will work, with no modifications.

IMAG0508_zps99456843-1.jpg


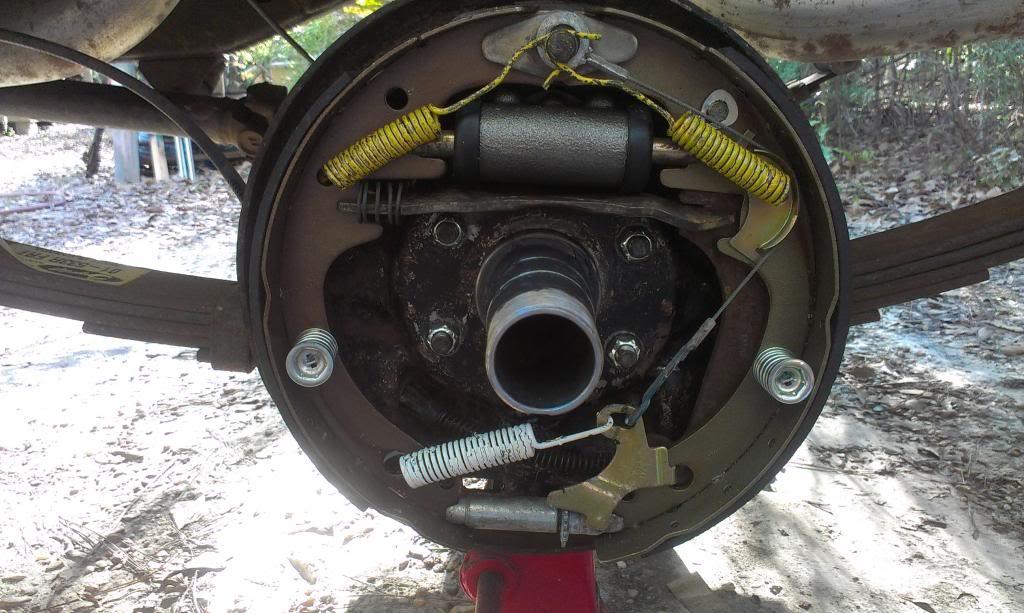
Next, I installed all the brake parts. It is really easy to get to/install everything without the wheel hub in the way.

IMAG0509_zps834dbca6-1.jpg


A little grease on the spindle, then the wheel hub slides right on.

IMAG0510_zpsa9451353-1.jpg


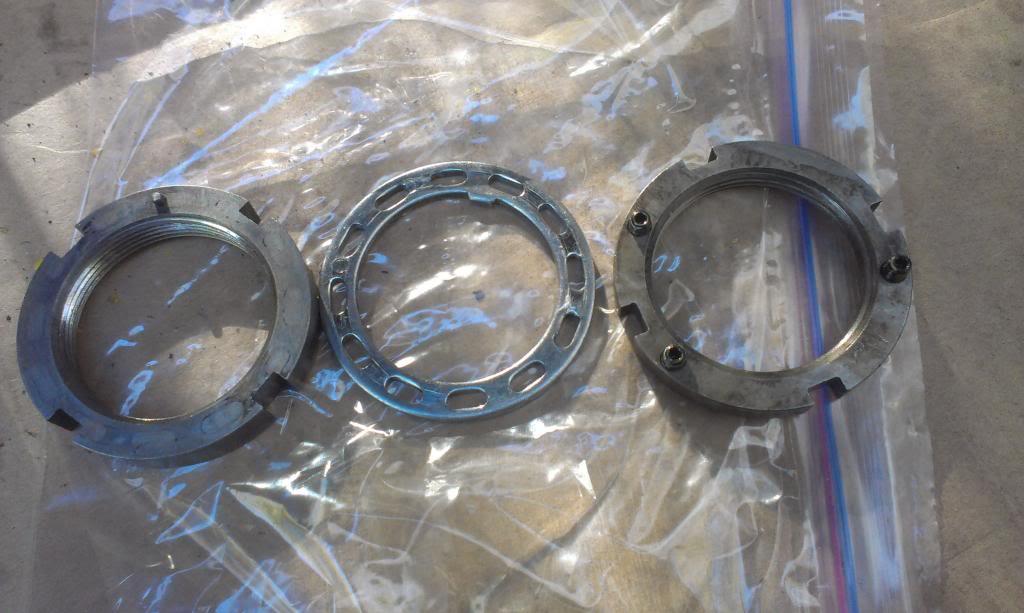
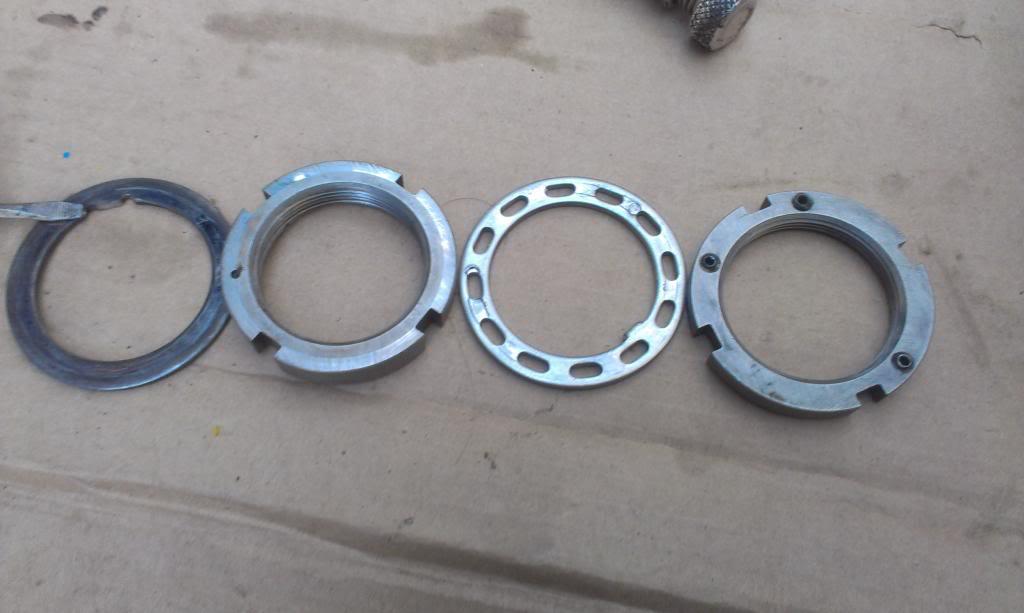
Whoever installed this kit DID NOT use the bearing thrust washers, and they were missing. They had the spindle nuts installed as pictured below, left to right: nut against bearing, in between washer, outer nut.

IMAG0511_zps6f60864d-1.jpg


The Warn instructions call for a thrust washer, which I do not have. So, I grabbed two old front wheel bearing thrust washers, cut the inner "tabs" off (screw driver is pointing at modified tab), and used them. They work perfect. I had to cut the tabs off since the Warn spindle machined "notch" does not go all the way back to the end of the threads like a front spindle. I am not sure if this thrust washer is needed, but since the instructions called for it, I installed them.

IMAG0512_zps52697a2f-1.jpg


Torque inner nut to 50 foot pounds, back off 1/2 turn. Re torque to 5 foot pounds. This will eliminate any in-out movement, but will allow the hub to spin bind free. Next, in between washer goes on, make sure the raised "tit" on the inner nut goes through one of the holes in the washer. Next, torque outer nut to 125-150 foot pounds.

IMAG0513_zps3e14b1ff-1.jpg


My outer nuts came with the nifty set screws to lock them to the in between washer. The instructions make no reference to this feature, and the two other kits I installed came with plain outer nuts. I found a reference to this feature in a Moses Ludel book. If you look at the above picture, you can see that one set screw, upper left, is deeper then the other two. This set screw hole lined up perfectly with one of the in between washer holes, and pins the nut in place. I do not see how this nut will work loose in service.


Next, I slid the inner hub on to the end of the axle and secured it with a snap ring.

IMAG0514_zps31314833-1.jpg


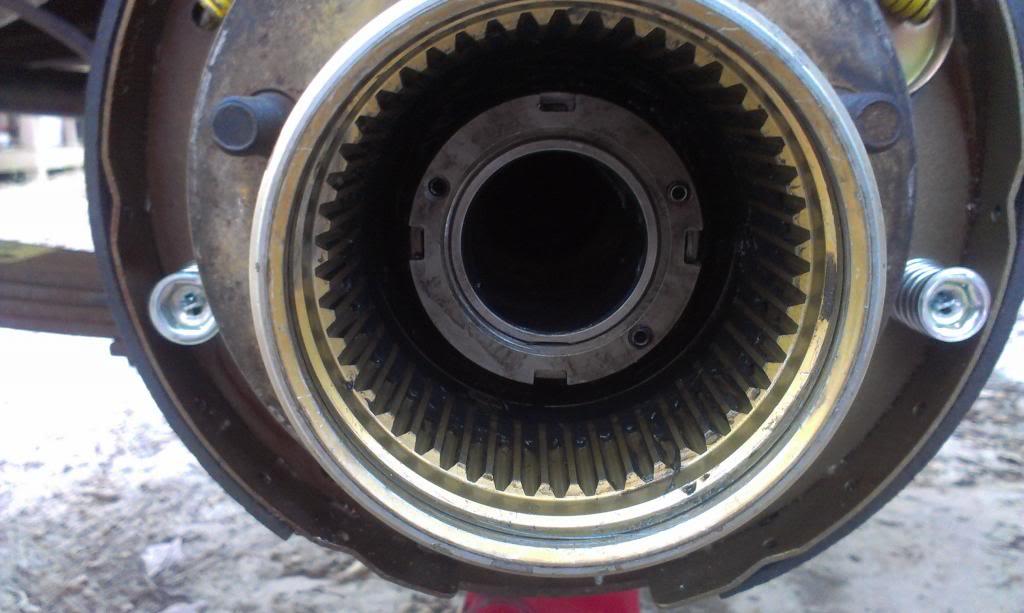
I then greased the splines, to protect the seals, and slid the axles in. Once the shafts are installed, the inner hub is secured by a large snap ring.

IMAG0515_zpsd9c21903-1.jpg
 
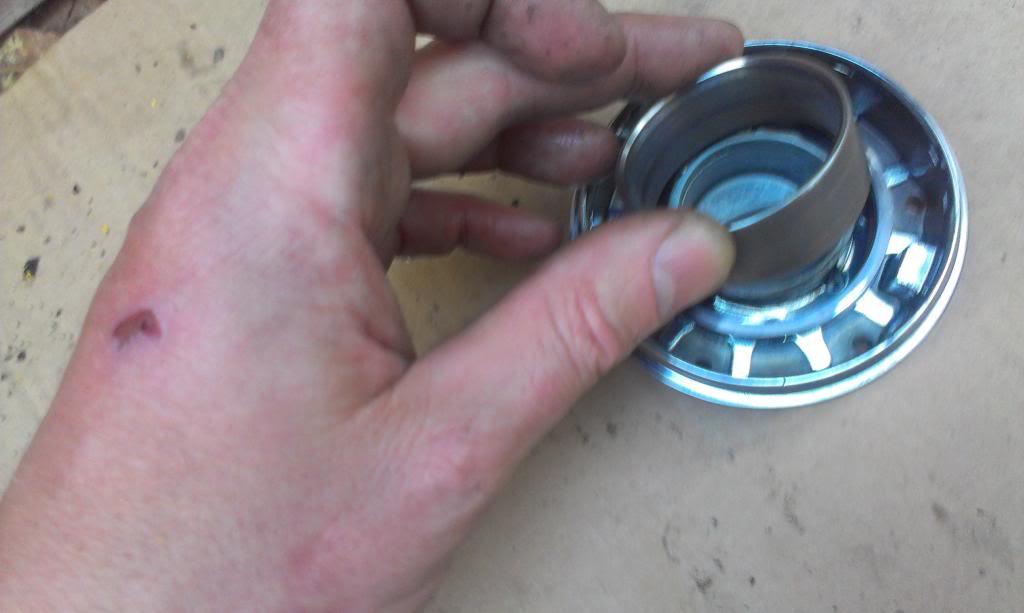
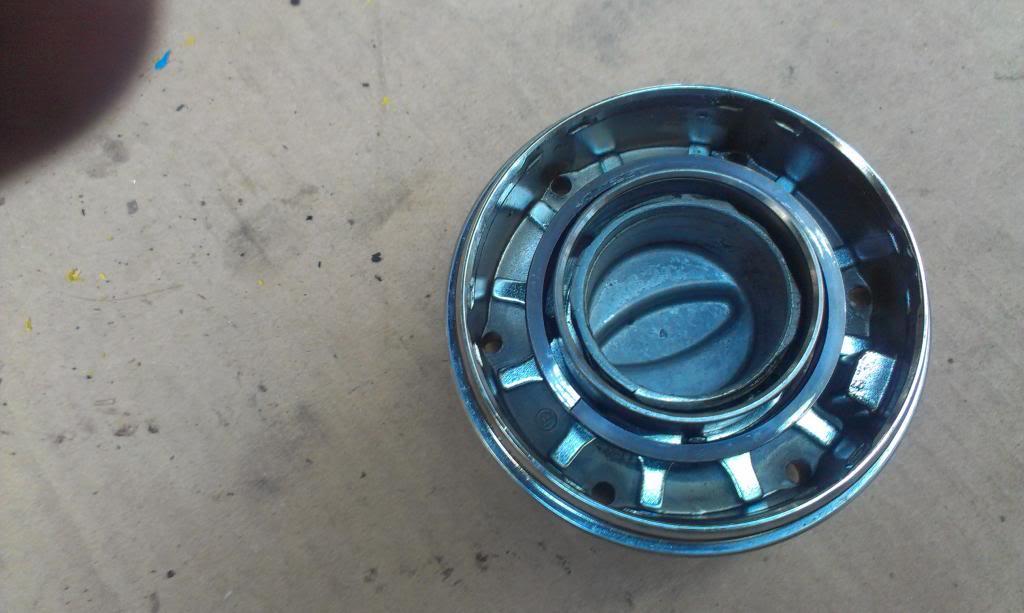
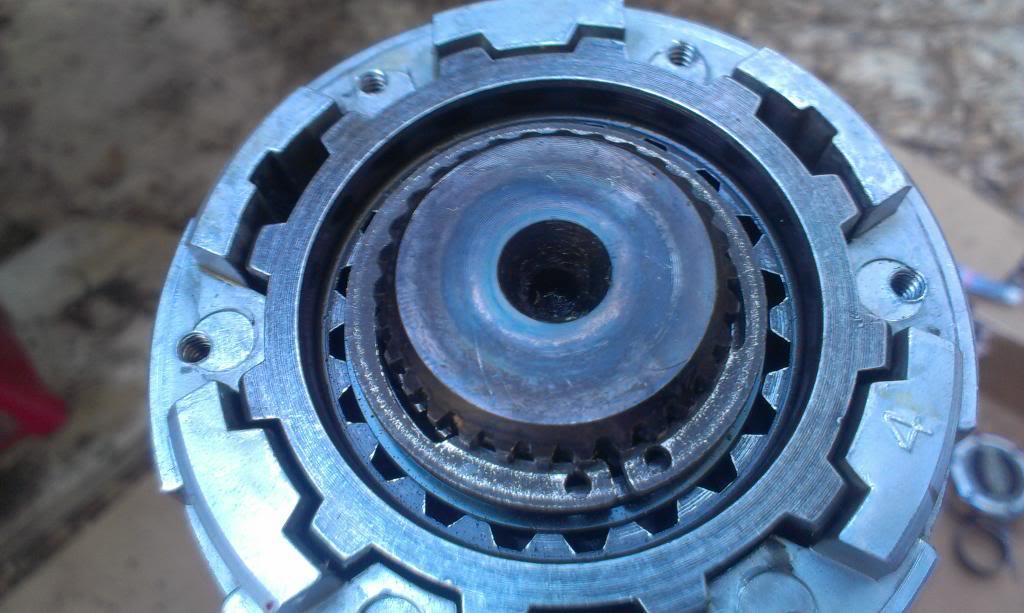
Almost done. The next two pictures show the special "ring" that is installed inside the dial of the lock in hub. This ring makes the hub dial difficult to turn, and prevents the hubs from self unlocking.
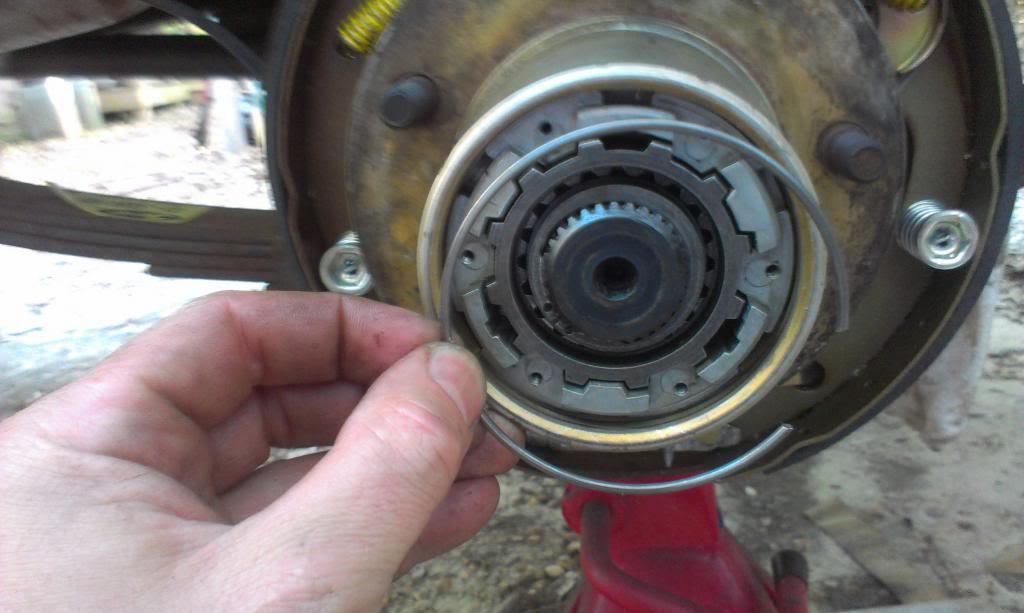
IMAG0516_zps810cfc9d-1.jpg


IMAG0517_zps83acd52c-1.jpg


Next, the outer hub lock is slid into the wheel hub and secured with the six screws. Make sure the hub dial is in the "Free" position when installing. I forgot to take a "finished" pic.

One more note: the dials will not twist to lock like a front hub. You will be able to turn it part way, then you have to turn the wheel forward and back, turn the dial some more, rock wheel again, and then it will move to the "Lock" position. The first side is easy, if you have an auto locker like me, the second side will take a little more twisting and turning. Once the dial is at the '"Lock" position, gently screw down the set screw in the hub dial face to further help prevent the hub dial from any unwanted movement.

This completes the full float axle installation.

That's it for now.
 
Nice. You are quite the asset to our group. Great job! :thumbsup: :wave:
 
Nice. You are quite the asset to our group. Great job! :thumbsup: :wave:


Appreciate it Toby:thumbsup::wave:

As long as all this stuff is useful/helpful/entertaining/informative for others, I don't mind posting it up:thumbsup:
 
Appreciate it Toby:thumbsup::wave:

As long as all this stuff is useful/helpful/entertaining/informative for others, I don't mind posting it up:thumbsup:

I just said to Connie a couple hours ago... "I long reading through Raymonds posts."
 
Back
Top