• Notice for iPhone users: DO NOT use the image size reduction option when uploading photos to the forum. This causes portrait images to post as landscape. We have added a warning to the image insert pop-up as well.

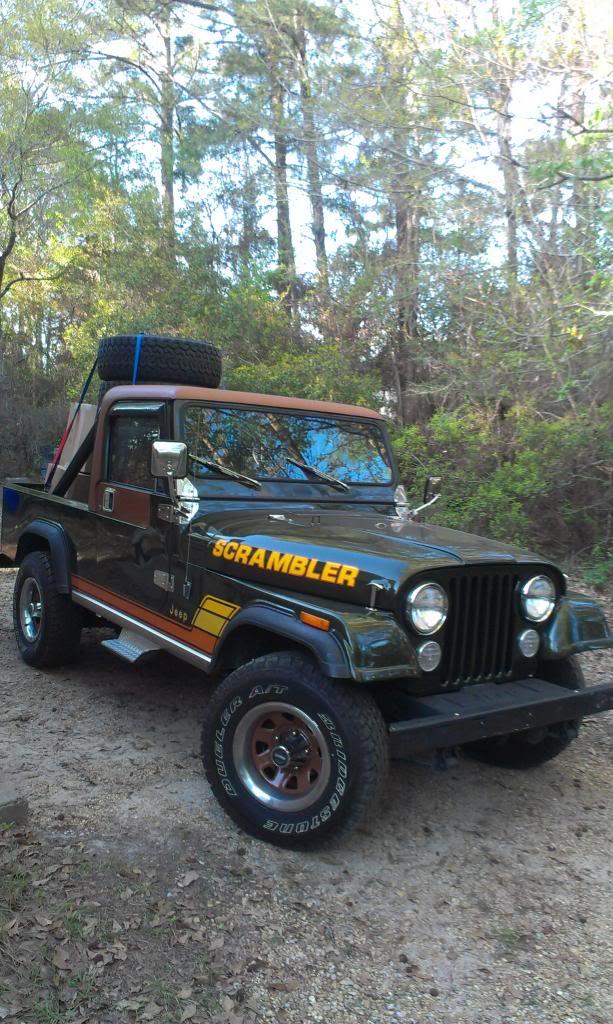
Spankrjs' 1984 Long Term Project

^LOL....I think we are always looking....we just wish we had a garage like yours...

but what a beautiful jeep...hope to see it one day.

^I need to edit that, but I can't .....sorry Spankrjs.....but I love that jeep you found

No problem:thumbsup:

And appreciate it :thumbsup:

Come on down to "Sand Blast" in August for a closer look, it should/better be there :fingerscrossed::fingerscrossed::wave:
 
With the black bumper i think a painted grill would look better. I have never really been into chrome on a jeep. Just my two cents worth.
 
Come on down to "Sand Blast" in August for a closer look, it should/better be there :fingerscrossed::fingerscrossed::wave:

Love to....but the disc in my back re-herniated and I can't see driving long distances in my jeep for a long time :(
 
With the black bumper i think a painted grill would look better. I have never really been into chrome on a jeep. Just my two cents worth.

I am "leaning" more that way, too:thumbsup:


Love to....but the disc in my back re-herniated and I can't see driving long distances in my jeep for a long time :(

Get well soon, August is still a good way out:fingerscrossed::wave:
 
A bit more progress.

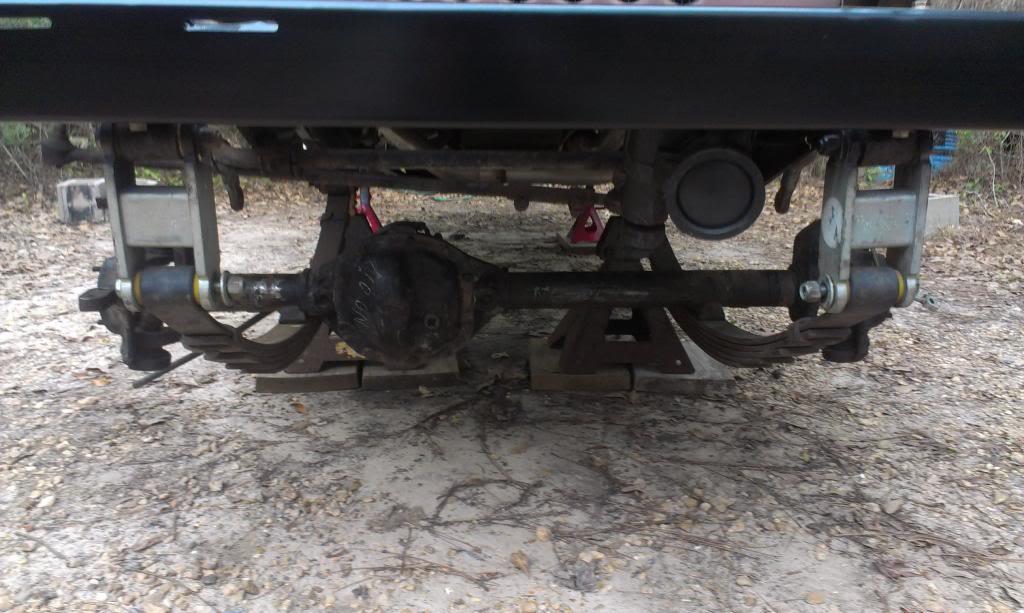
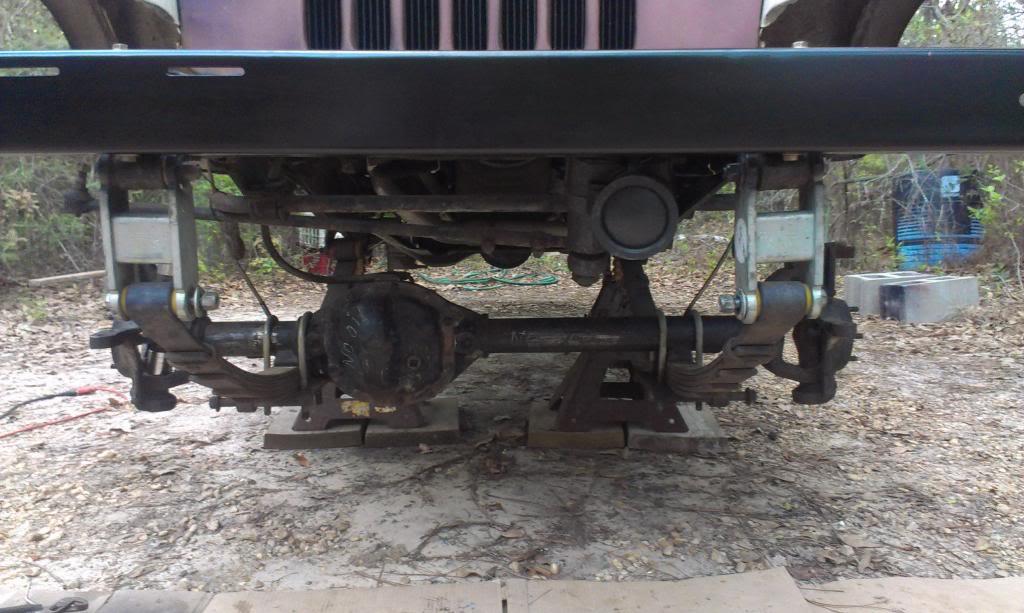
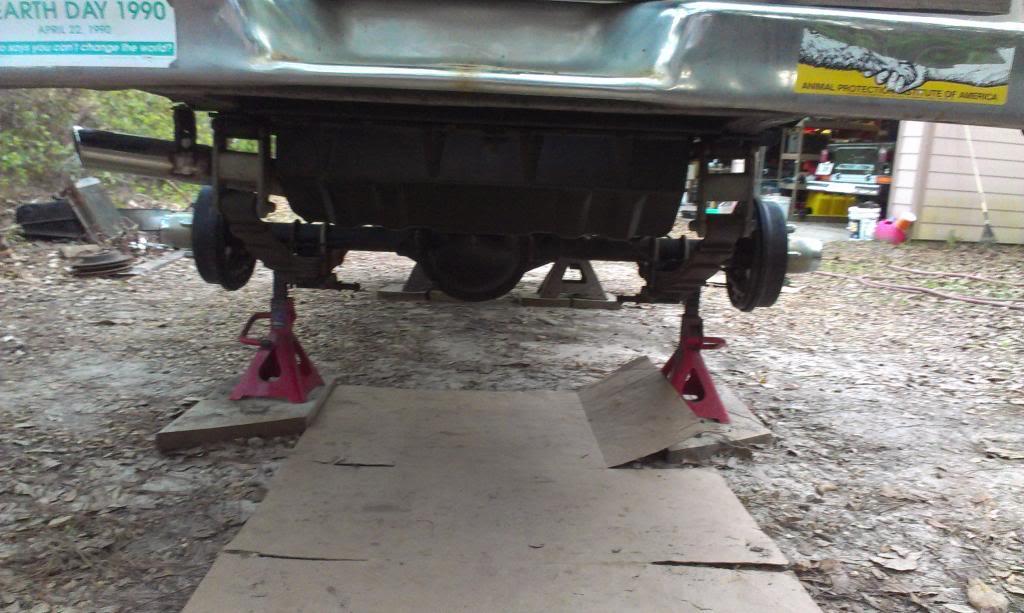
Got the front axle back, set it on the springs, then torqued down the u-bolts.

IMAG0562_zps3a73ad04-1.jpg


IMAG0570_zps5ab888cc-1.jpg


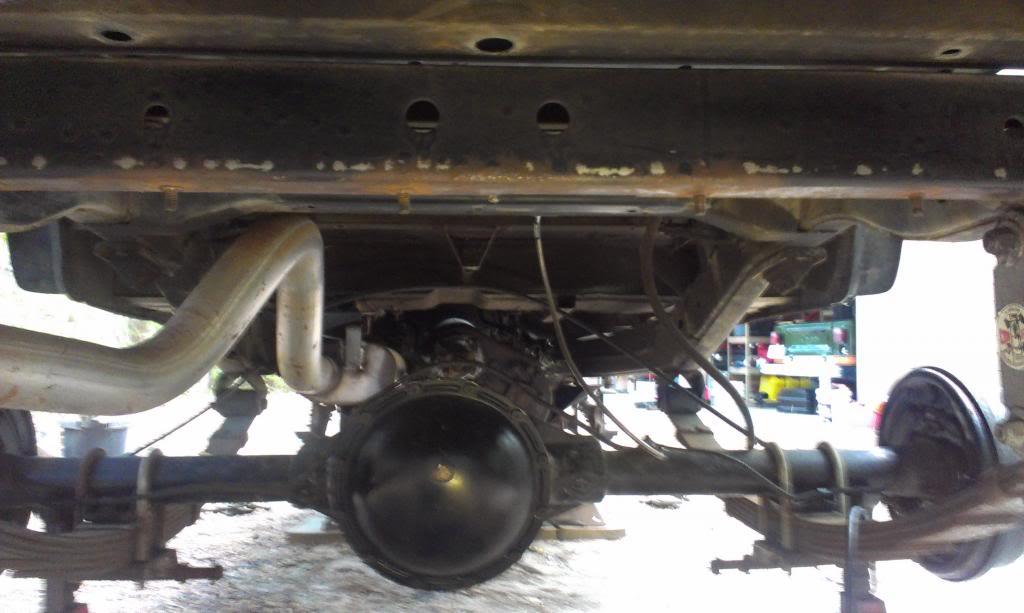
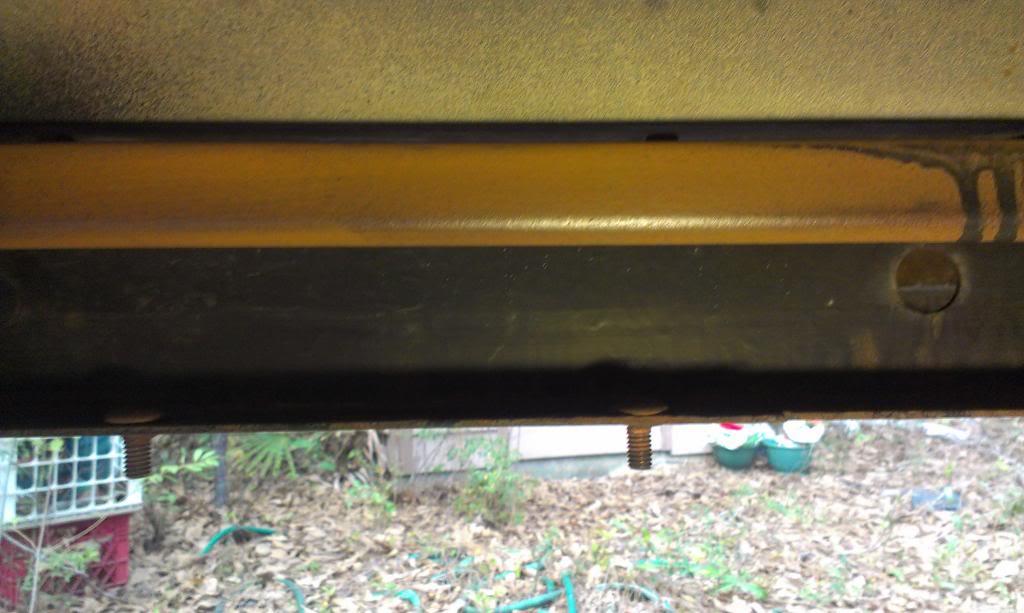
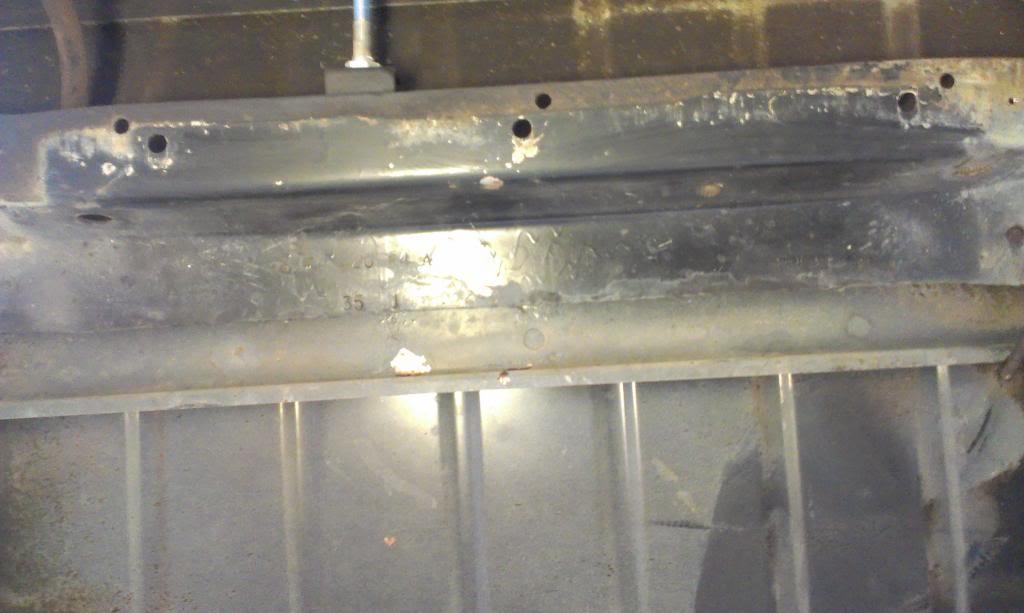
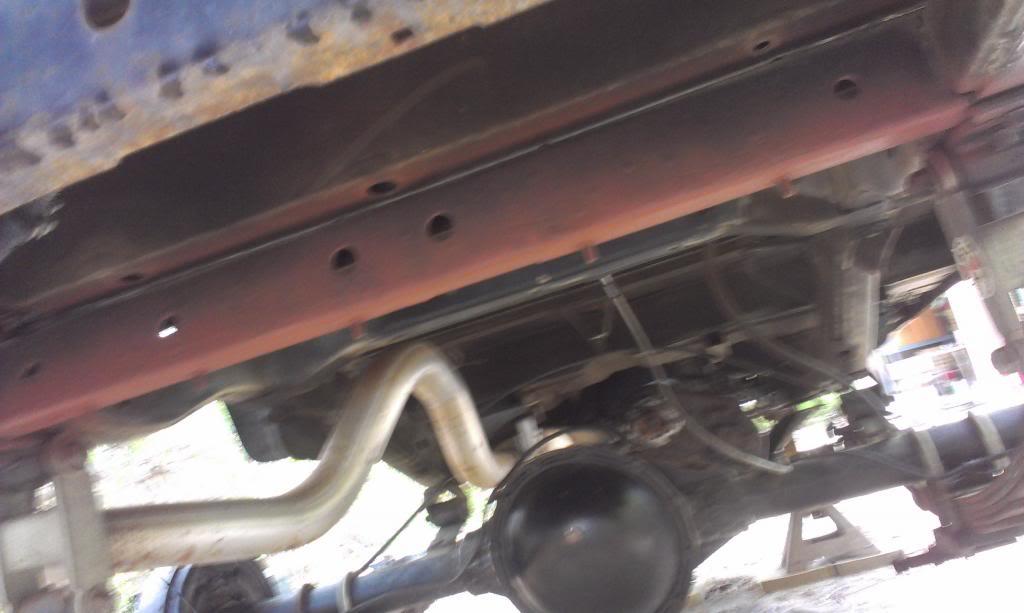
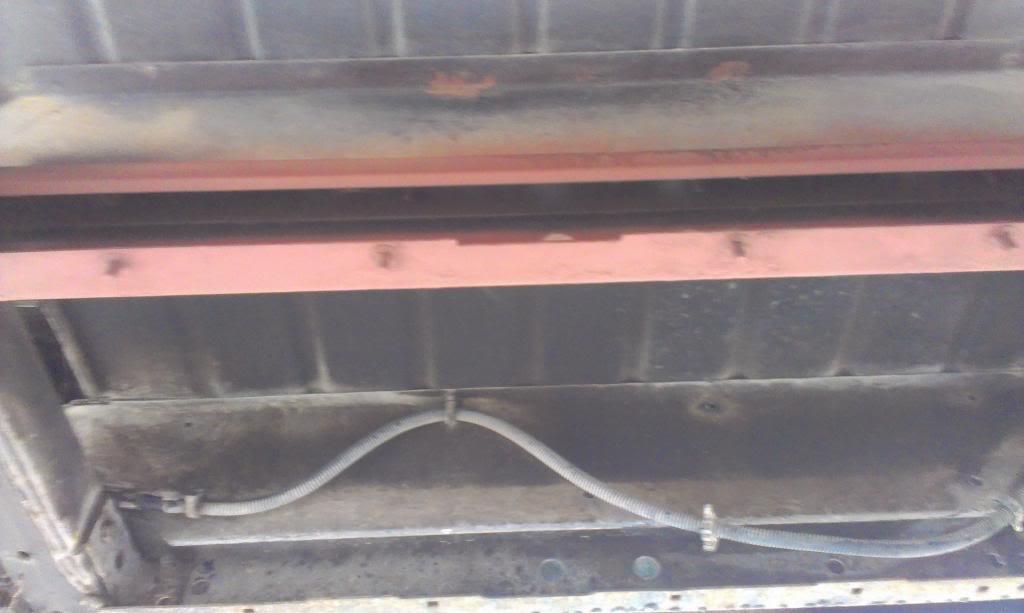
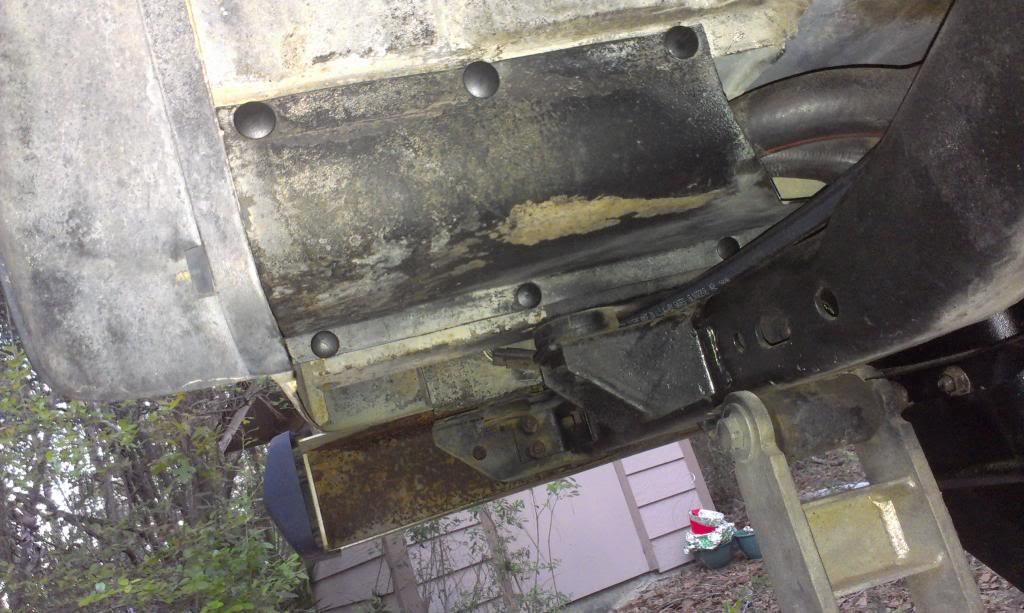
While I had day light, I cleaned up the little bit of surface rust that was present on the rear cross member that holds up the back of the gas tank skid. "Yard Scrambler" had the same issues, almost like this particular cross member was not prepped correctly, or primed, before painting at the factory. I still need to paint this before putting the tank/skid plate back in.

IMAG0565_zpsaeb03d7b-1.jpg


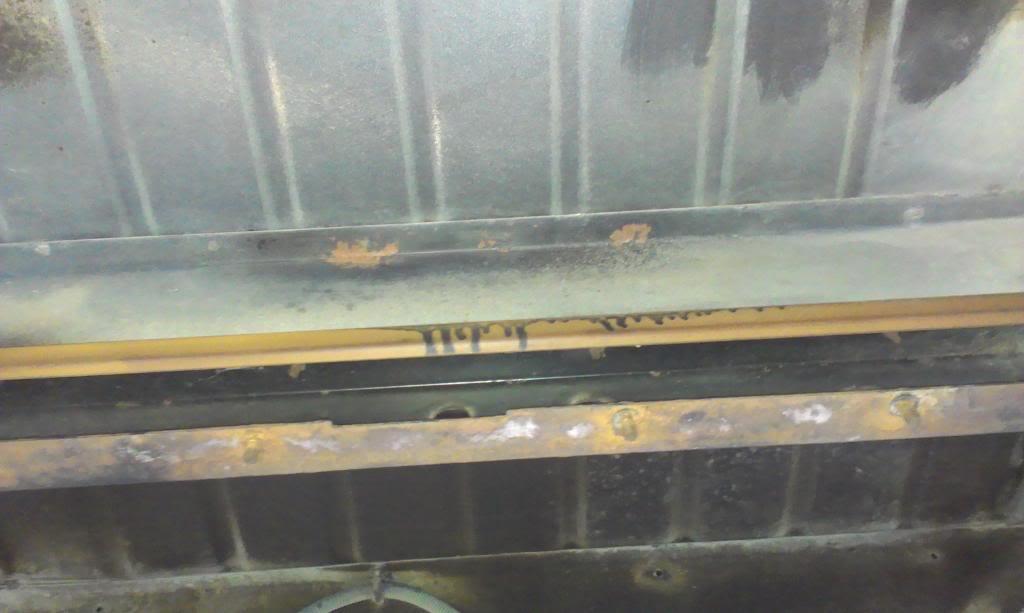
IMAG0567_zps6ab42cc3-1.jpg


Note the big flakes of paint that came right off the cross member, this is identical to "Yard Scrambler". I wonder if this is a common "paint adhesion problem area"?

IMAG0569_zpsd5b2c1ea-1.jpg


The added "protector strip" was never even painted!!

IMAG0566_zps0f286caa-1.jpg


Besides a little road grime/grease, the forward cross member is good to go.

IMAG0568_zps94f0a478-1.jpg


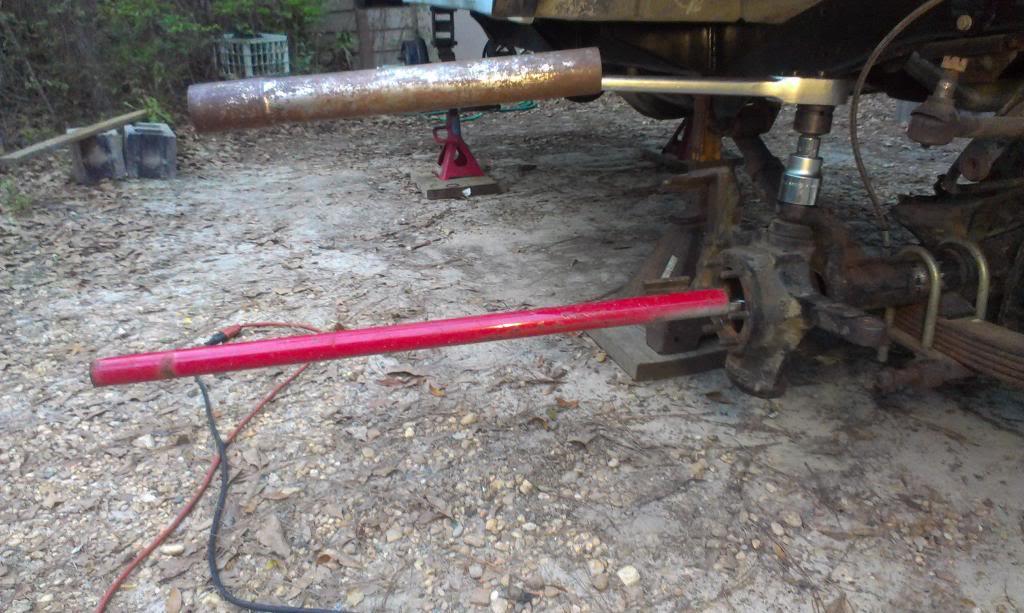
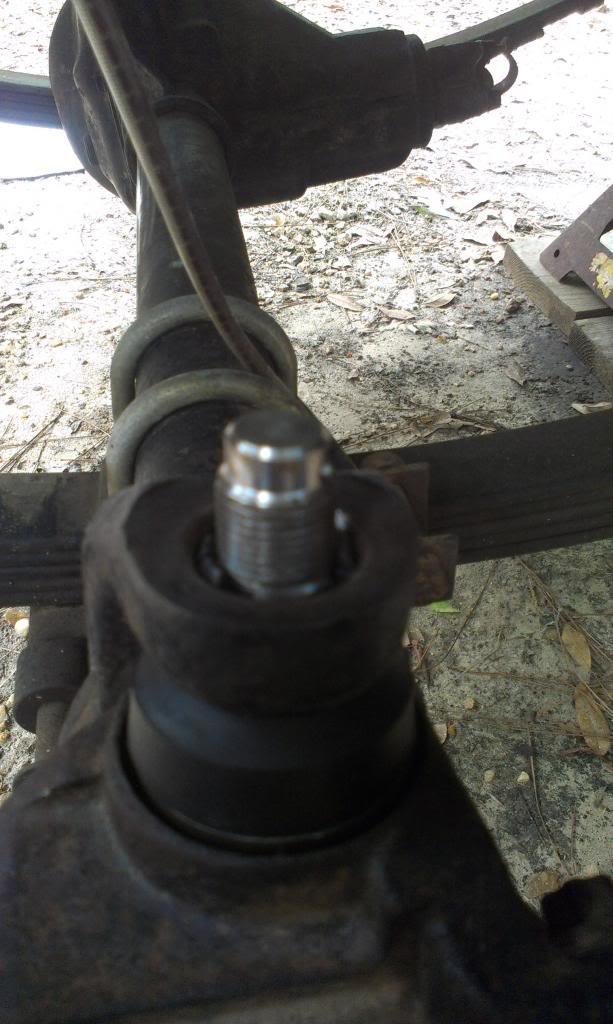
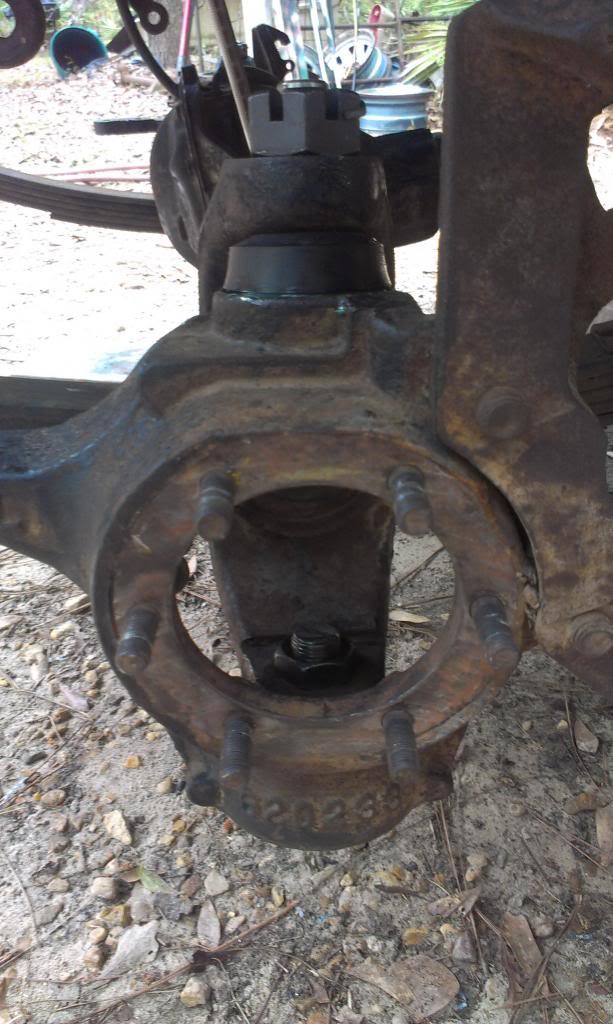
After bolting down the front axle, I removed three of the 4 ball joint nuts. Note the "leverage" bars I had to use to break the nuts free!

IMAG0571_zps50cc5fe6-1.jpg


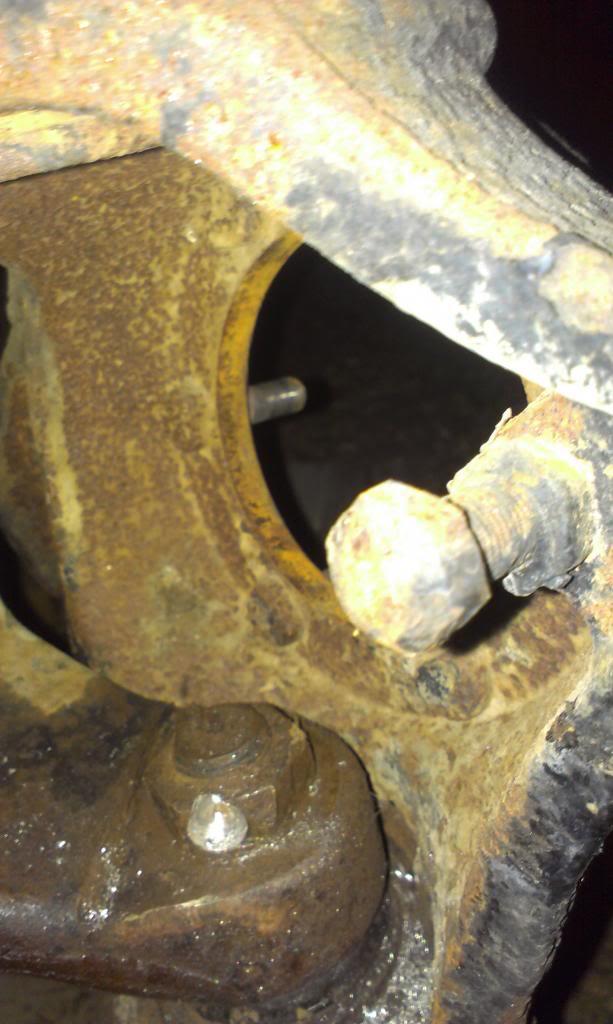
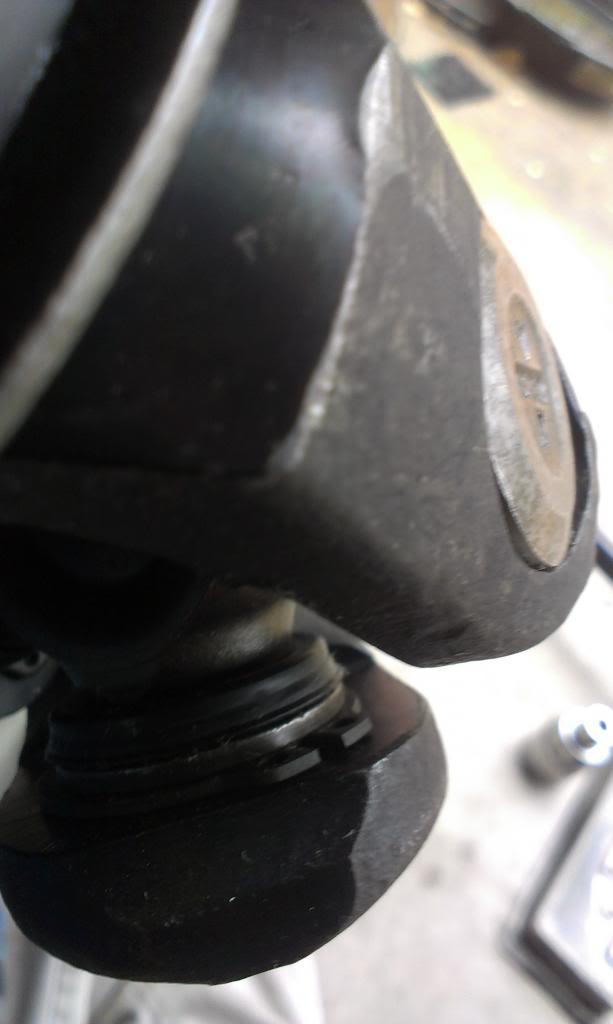
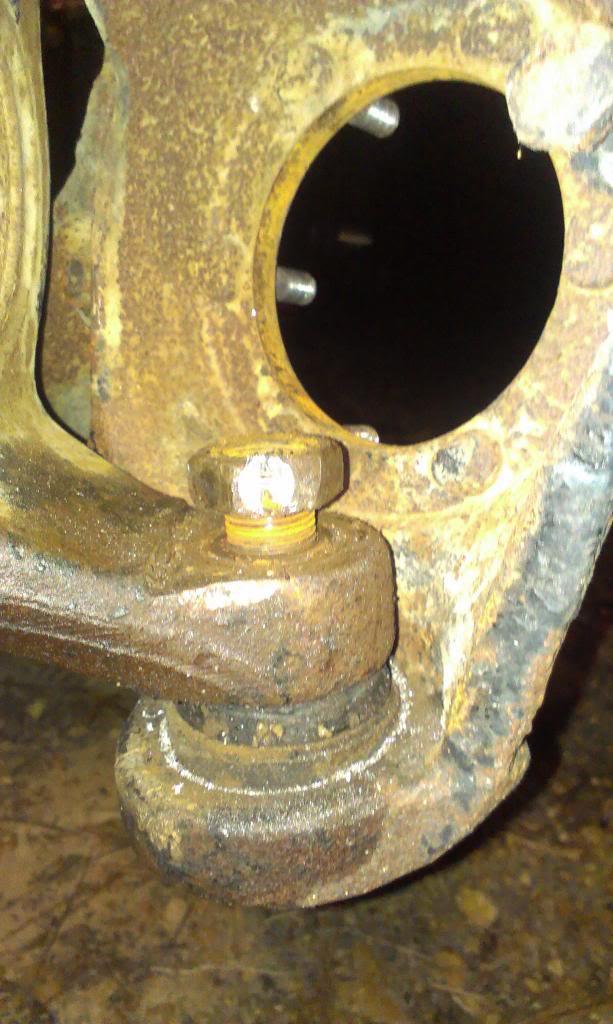
The fourth nut, driver side lower jam nut, will not come off. This lower ball joint is slightly loose in the bore, allowing it to turn with the nut. I drilled a hole through the face of the nut to allow me to cut it in 1/2 with a chisel.

IMAG0573_zpsc6c9e8ea-1.jpg


Depending on the weather, I hope to get the front axle completely back together. But, that depends on how much fun I have removing/replacing the ball joints.

That's it for now.
 
Yup the slots do it for me too. Slots for 70s and wagon wheels for 80s doesn't get any better than that IMHO. U got me thinking on the width of a FSJ slot. Had this pic of some wheels and tires I bought last summer. Tires are 32x 11.5. Gotta check if these are 7 or 8 inch wide. My wag has 7s but maybe they could be had in 8 in wide.

View attachment 32316

As I was scouring for slot wheels, white waggies, chrome waggies, and turbine wheels, i came upon a set of 15x8 supposedly...

http://allentown.craigslist.org/pts/3688522793.html

3Kb3F23M55Gc5H55Jdd3i033993cb0f9b10db.jpg

cb
 
I got a pretty good amount of work done this weekend, so lots of pictures.


After drilling the stuck lower ball stud nut, I split it with a punch, and it loosened up.

IMAG0576_zps3c53975b-1.jpg


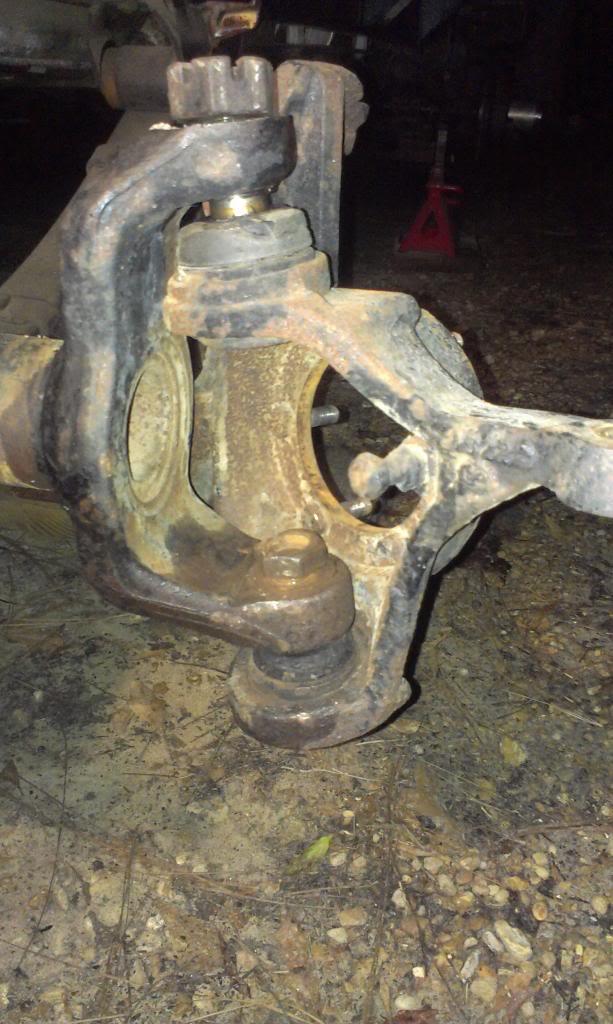
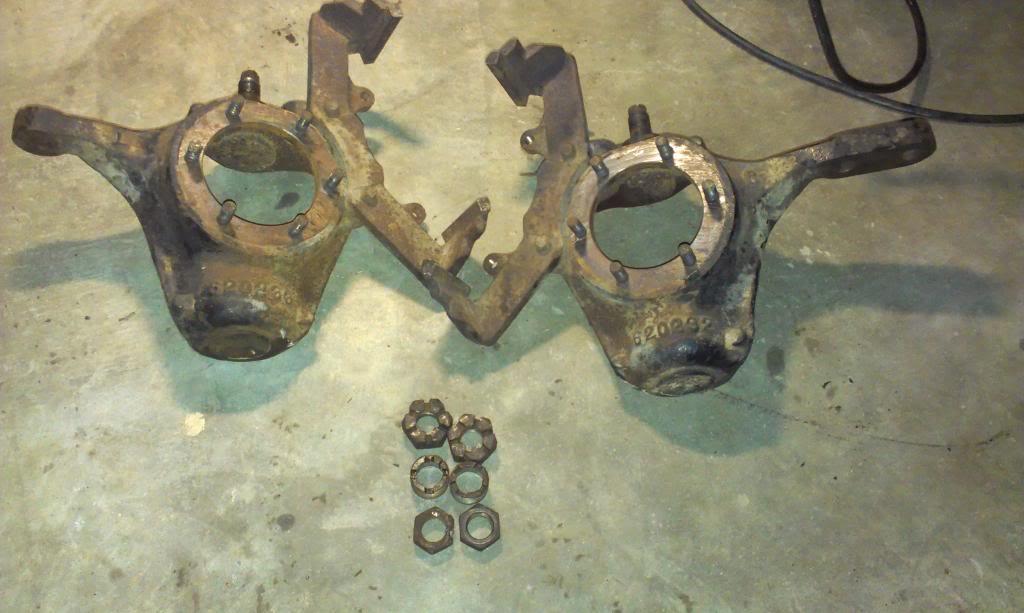
A few smacks with two hammers, one on either side of the axle "C", the knuckles dropped off.

IMAG0577_zps7b92a07a-1.jpg


IMAG0578_zps52407320-1.jpg


IMAG0579_zps2a857cfa-1.jpg


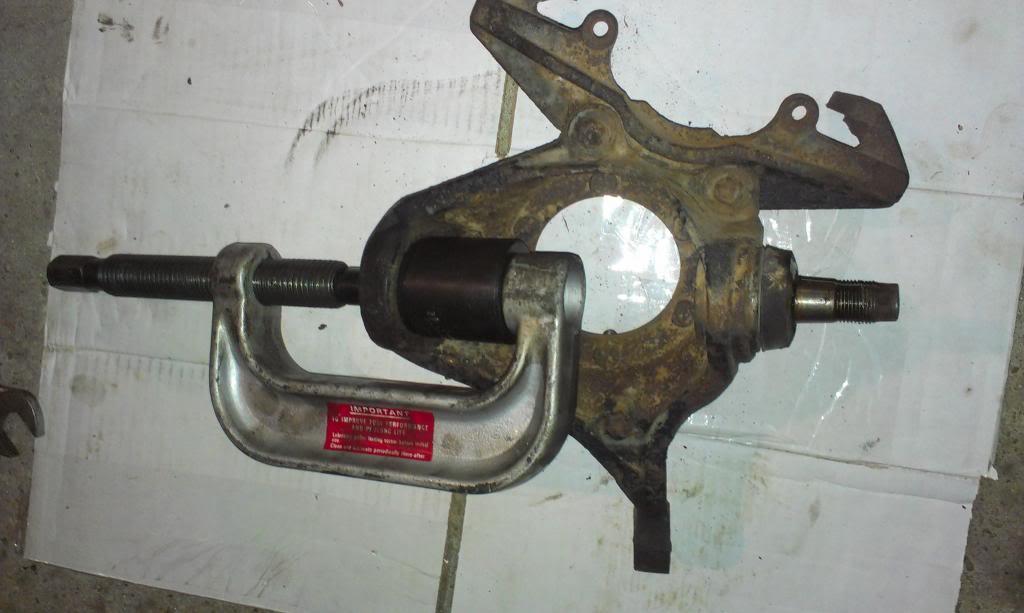
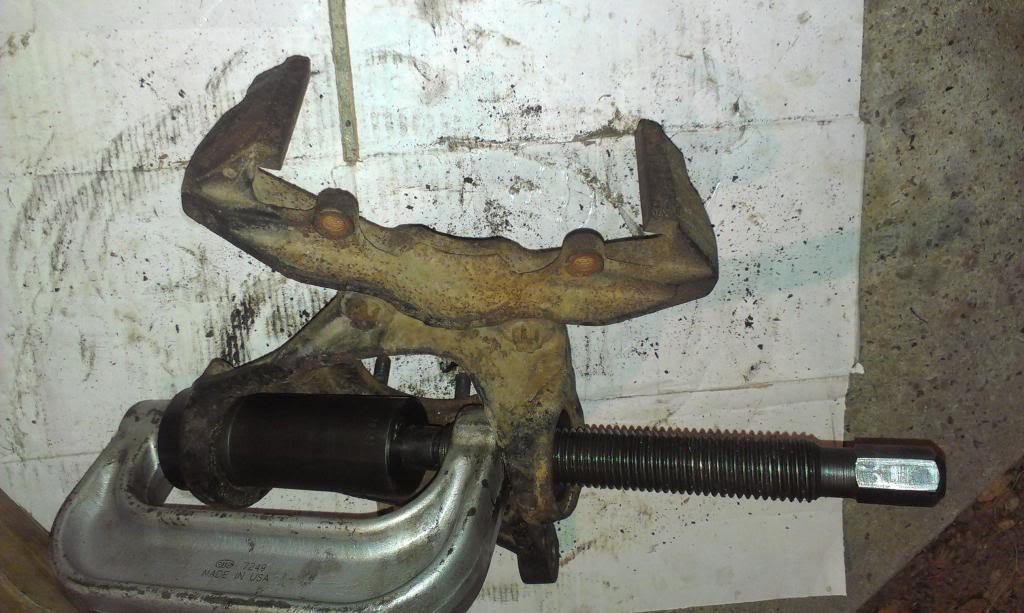
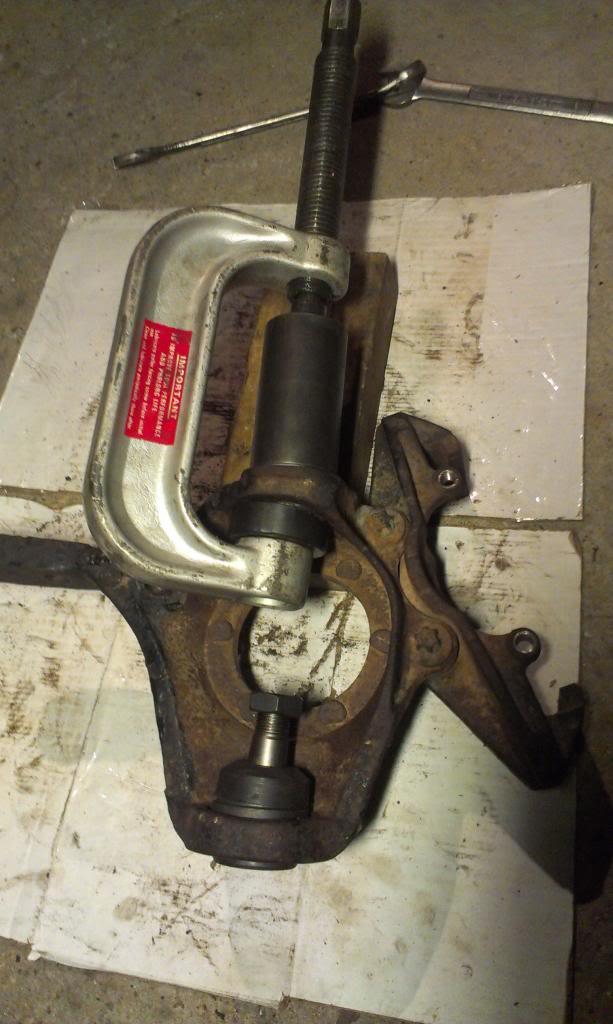
Picture of how I pressed out the lower ball joint.

IMAG0580_zps970414c6-1.jpg


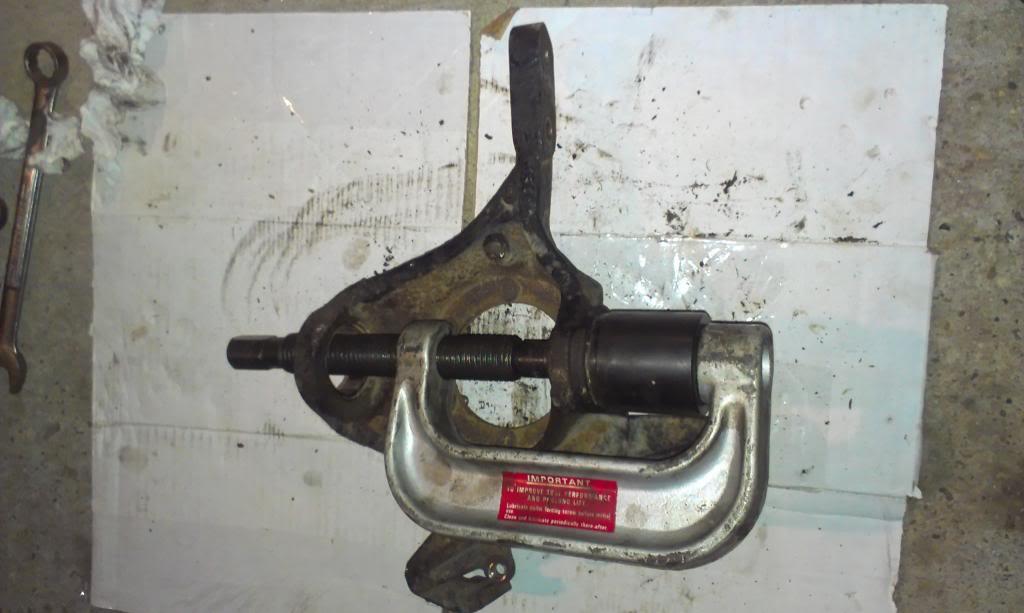
Picture of how I pressed out the upper ball joint.

IMAG0581_zps4827aa07-1.jpg


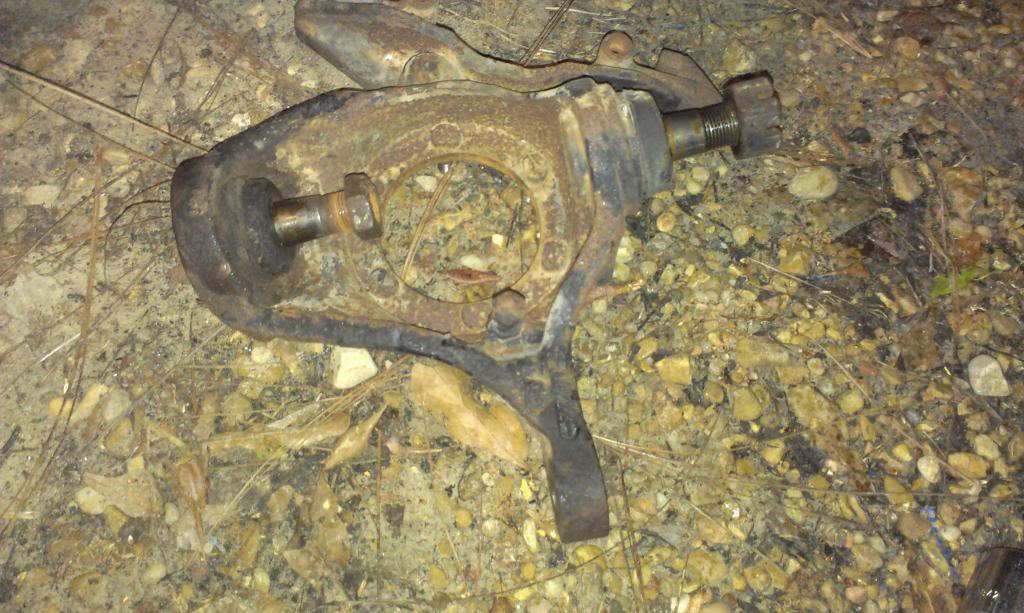
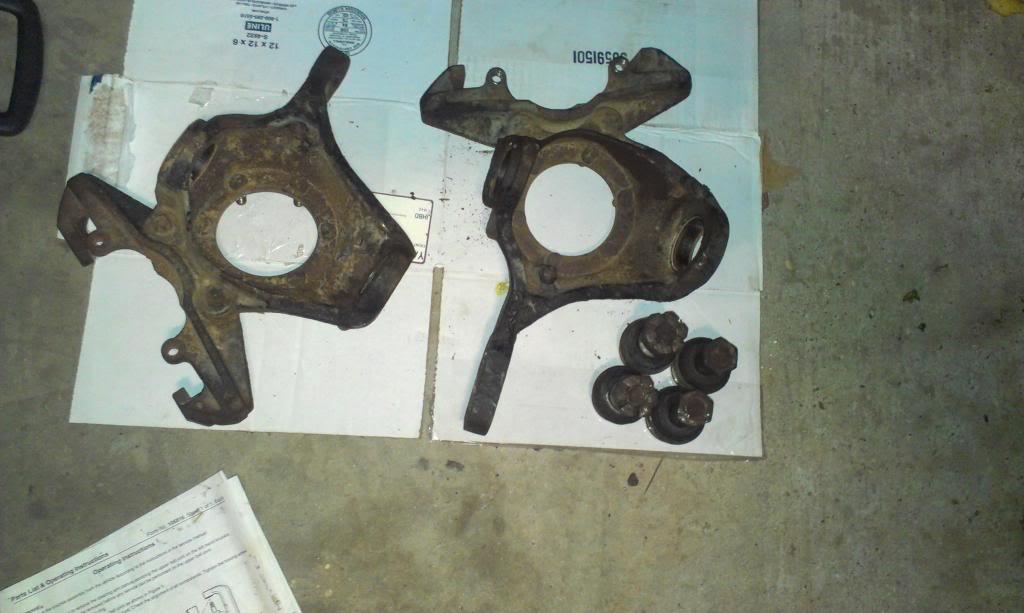
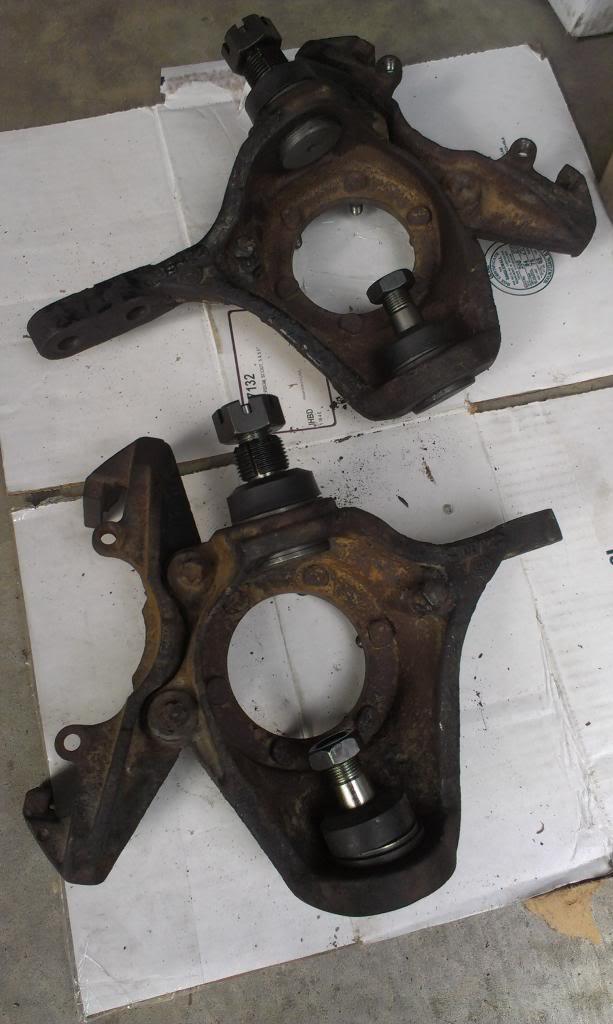
The "bare" knuckles.

IMAG0582_zpseb0d6e56-1.jpg


Pressing in the new lower ball joints, these are the easy ones. They are installed first.

IMAG0583_zps5cdebf4e-1.jpg


Pressing in the upper ball joints. These are a PIA, due to shape of the knuckle. I had to move the press ring on the bottom several times, but they went in "easy enough".

IMAG0585_zps8f08543a-1.jpg


The "complete" knuckles. This entire operation took about 2.5 hours. I usually dread ball joints, but these weren't too bad, sometimes they can be a major PIA.

IMAG0586_zpsdd80da19-1.jpg
 
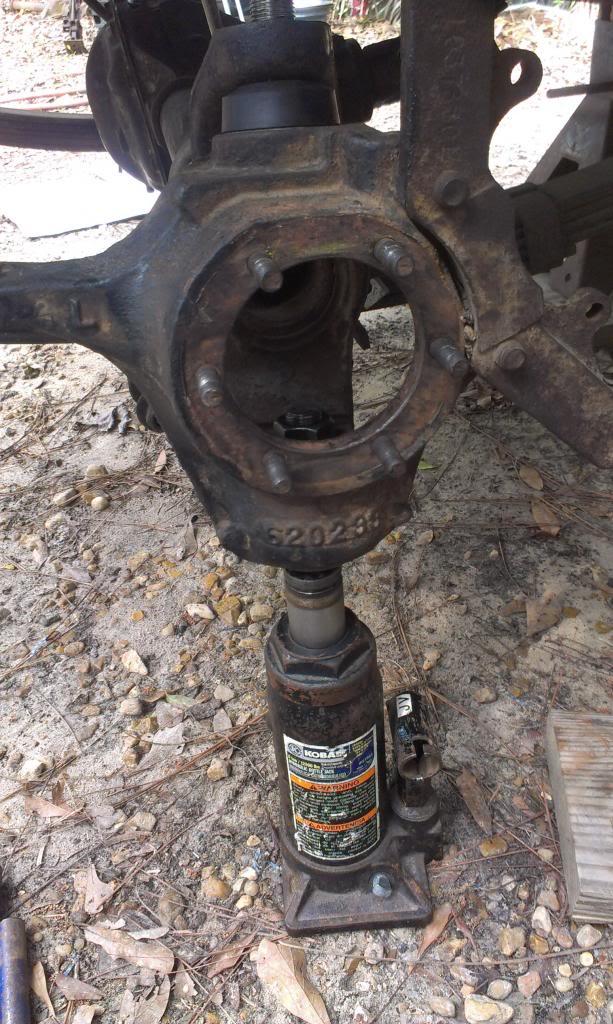
And loosely installed. I used a bottle jack and applied "gentle pressure" to get the lower ball joint seated. it did not take much. I then torqued the lower jam nut.

IMAG0587_zps746bff51-1.jpg


The upper split ring installed and torqued.

IMAG0588_zps5200f957-1.jpg


And the completed knuckle. Both sides feel good and tight, but still pivot without binding.

IMAG0589_zps56b58d5c-1.jpg


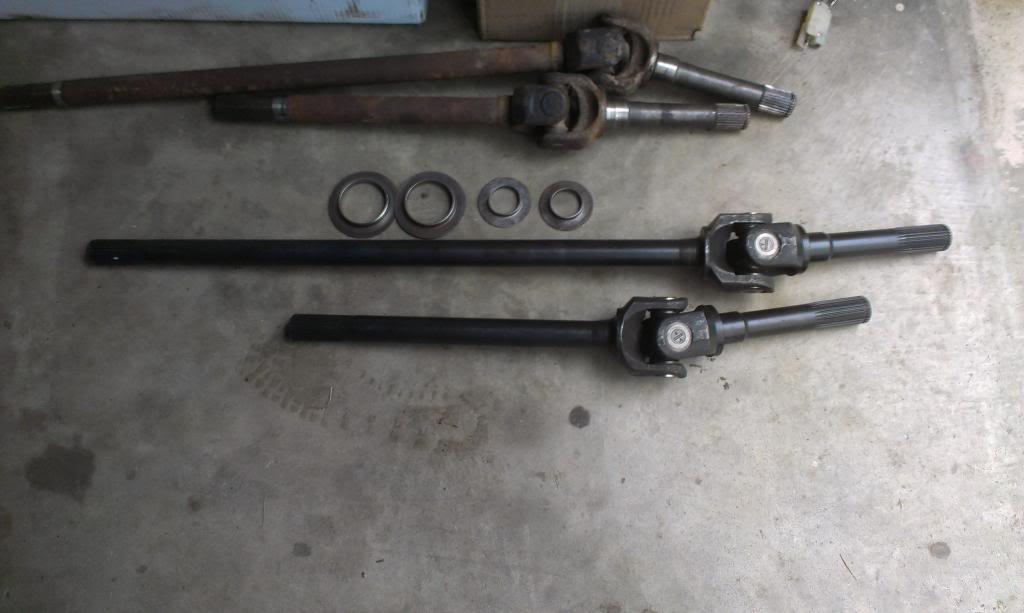
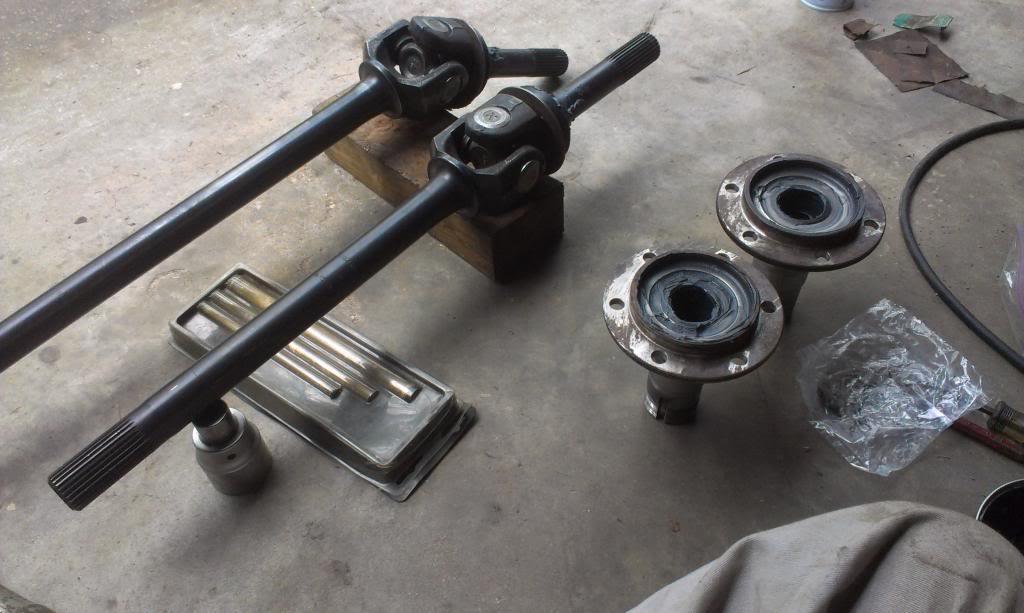
I then removed the spindle seal metal rings from the old axles to clean up/reuse on the new front axles. I also removed the outer axle dust shields, but, the the machining on the new axles prevents their use. I ended up using "Ten Factory" alloy axles, they should be much better then stock.

IMAG0590_zpsd8a17eaf-1.jpg


These axles are machined to take full snap rings to retain the u-joint ends, I really like this feature.

IMAG0591_zps33e9890c-1.jpg


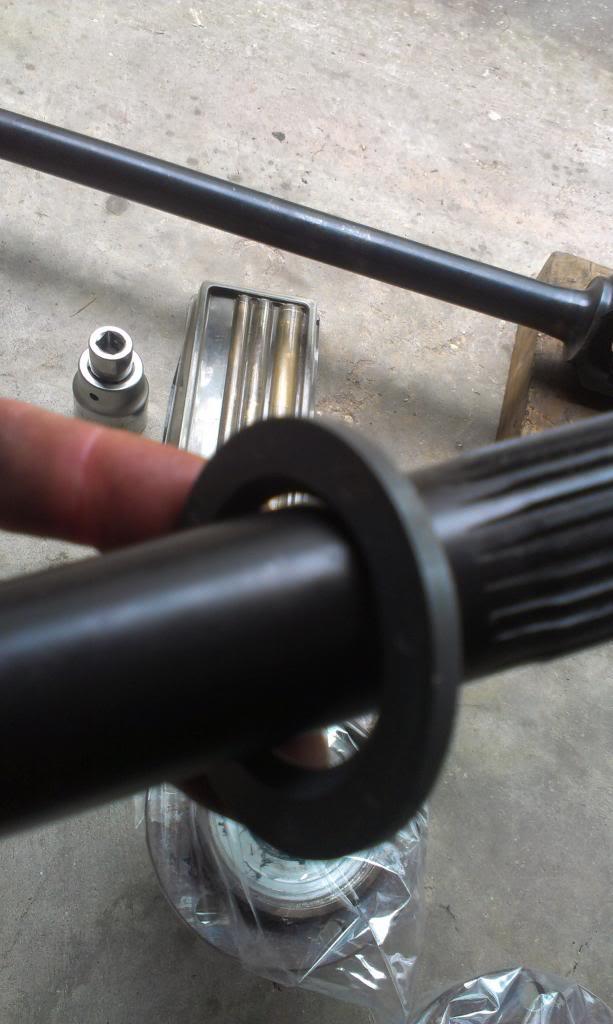
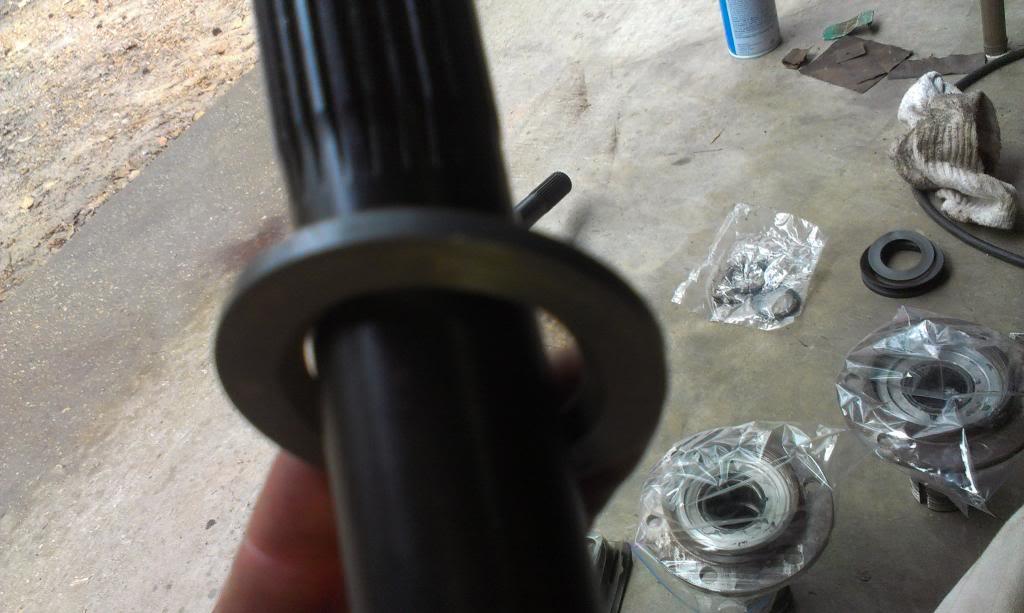
Installing the spindle thrust washer, note the direction of the "chamfer".

IMAG0592_zps39f6bb22-1.jpg


IMAG0593_zpsd45b94e3-1.jpg


The assembled axles, greased up spindles, ready to install.

IMAG0595_zps9e382771-1.jpg


And of course, about half way though installing the axles/spindles, it started raining!!!!!

IMAG0596_zpsf532eda5-1.jpg
 
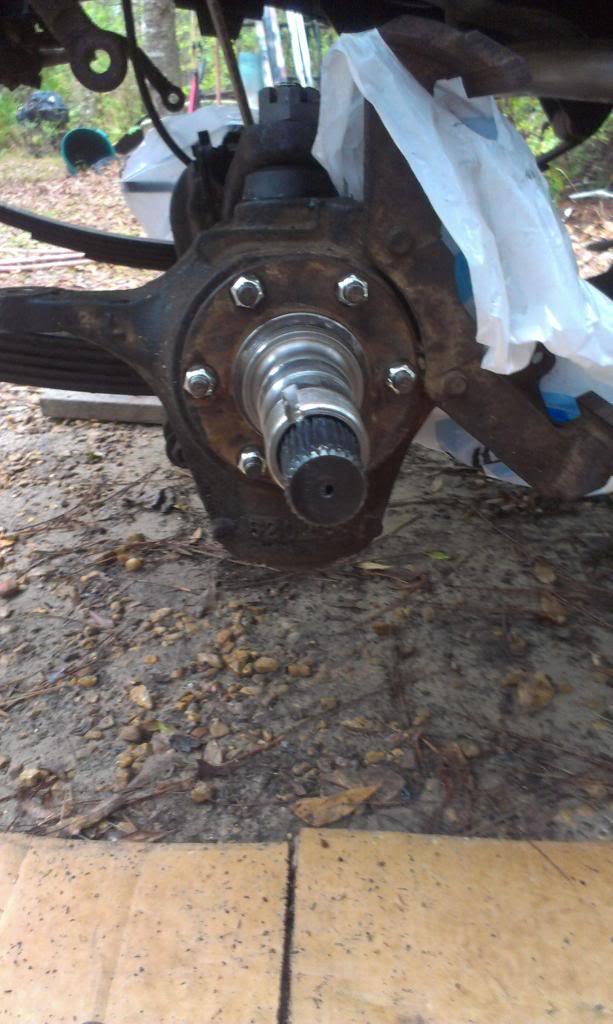
The axles and spindles installed. I had to "gently tap" the axles through the knuckle bores. If it would not have been raining, I would have filed the knuckle openings slightly larger to allow for clearance. If I have to pull these shafts, gentle prying from the back side will get them back through the knuckles. I did not have this issue with my Warn front axles, but these have a ever so slightly larger OD, causing very slight interference. I used Loctite and new self locking nuts to retain the spindles. I purposely left the splash shields off, all they do is cause the spindles to rust, IMO.

IMAG0597_zps7a7b0446-1.jpg


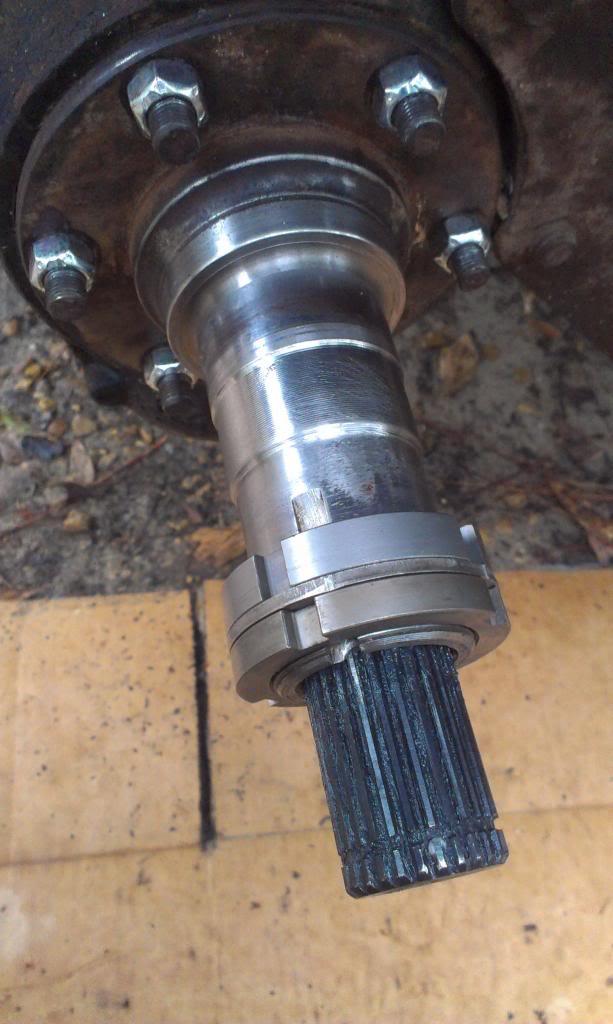
Quick picture showing the front spindle nut stack. This is very similar to the rear, minus the "set screws" in the outer lock nuts.

IMAG0598_zpsf55a2557-1.jpg


Inner nut, note the "tit" at 6 o'clock.

IMAG0599_zpscf698e29-1.jpg


"In between washer", note how the "tit" fits through one of the holes.

IMAG0600_zpsa5cf06e0-1.jpg


And the outer lock nut.

IMAG0601_zpse4d7283a-1.jpg


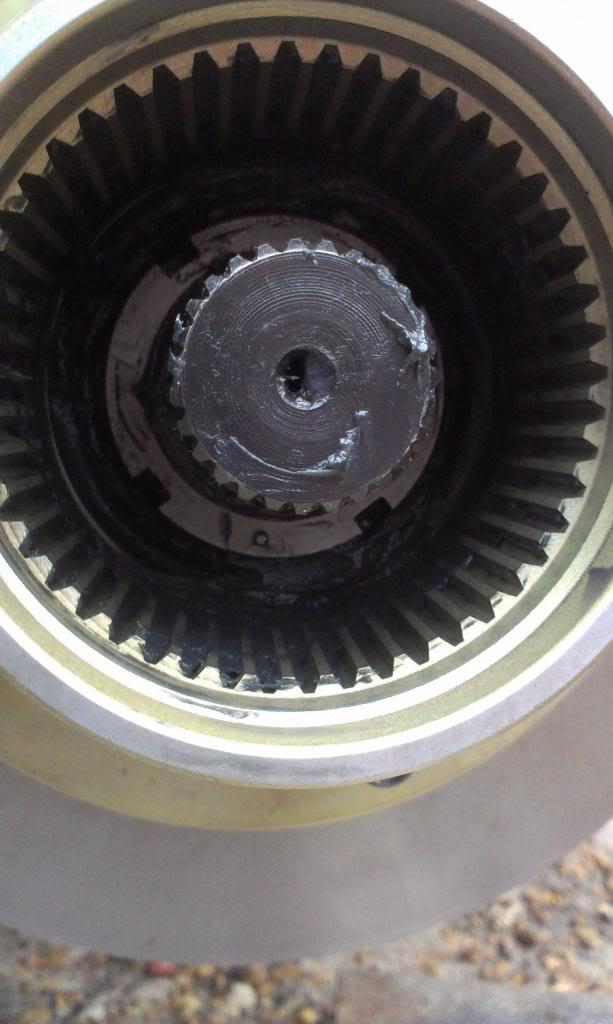
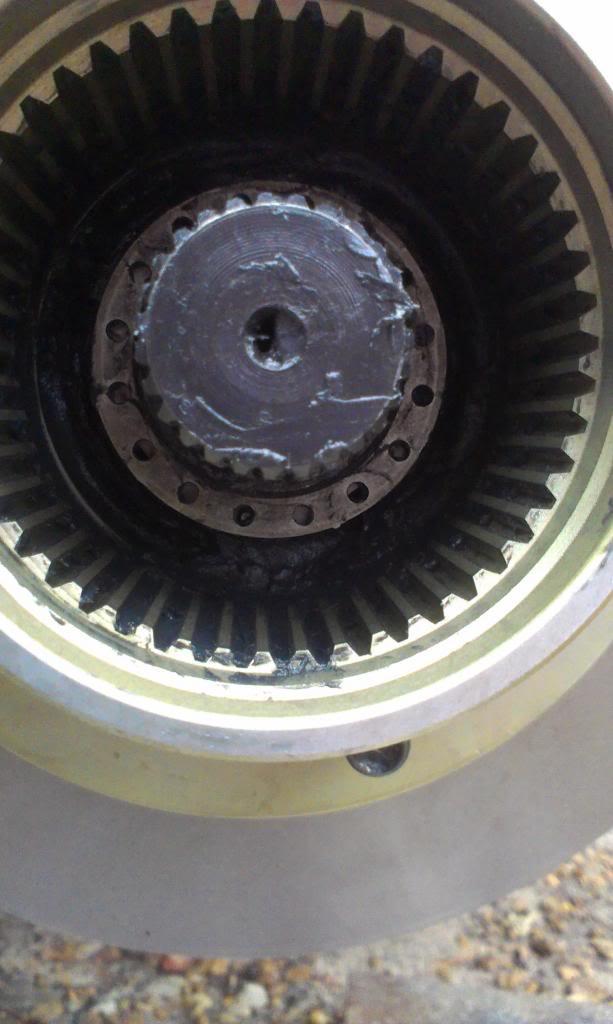
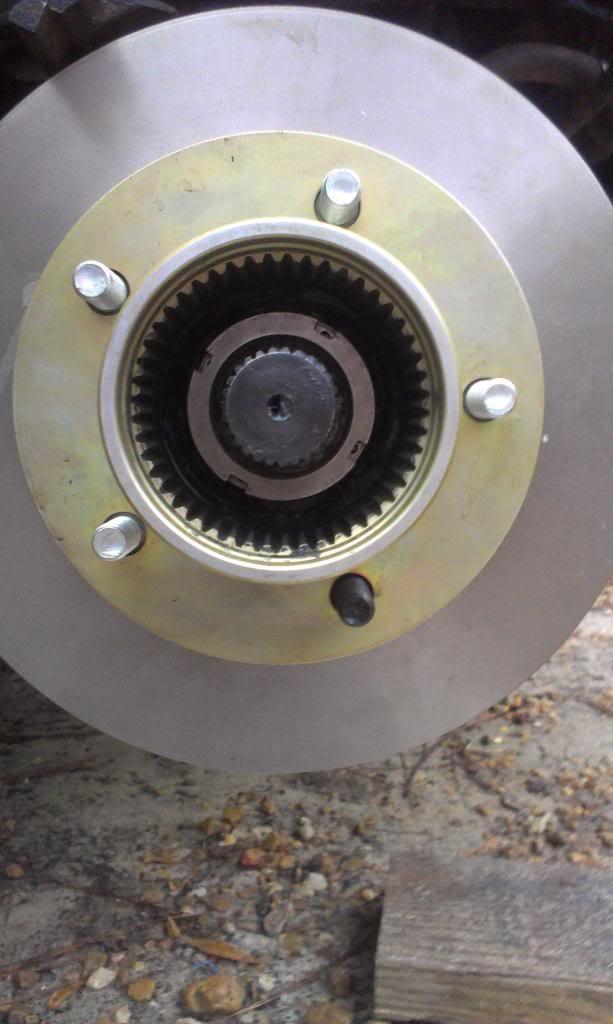
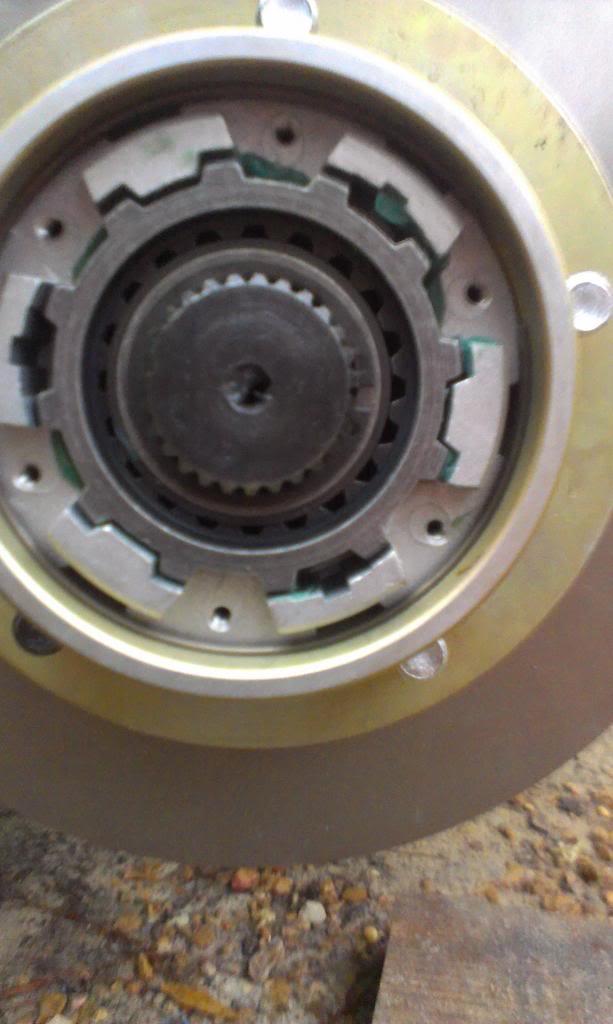
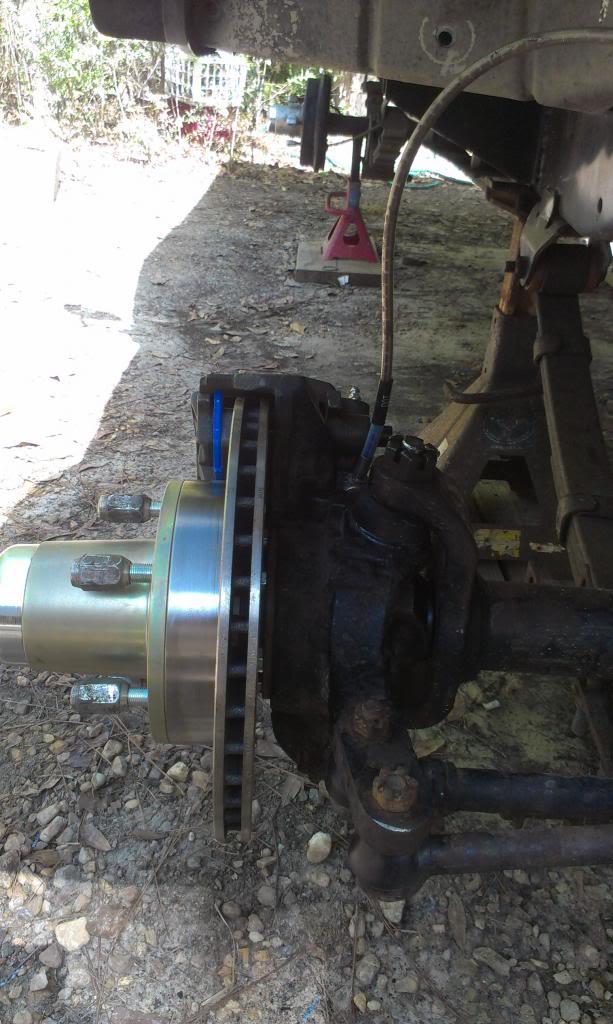
Inner hub installed, secured by small snap ring at the end of the axle shaft and large retaining clip inside the hub body. The same as the rear hubs.

IMAG0602_zps22bc1f62-1.jpg


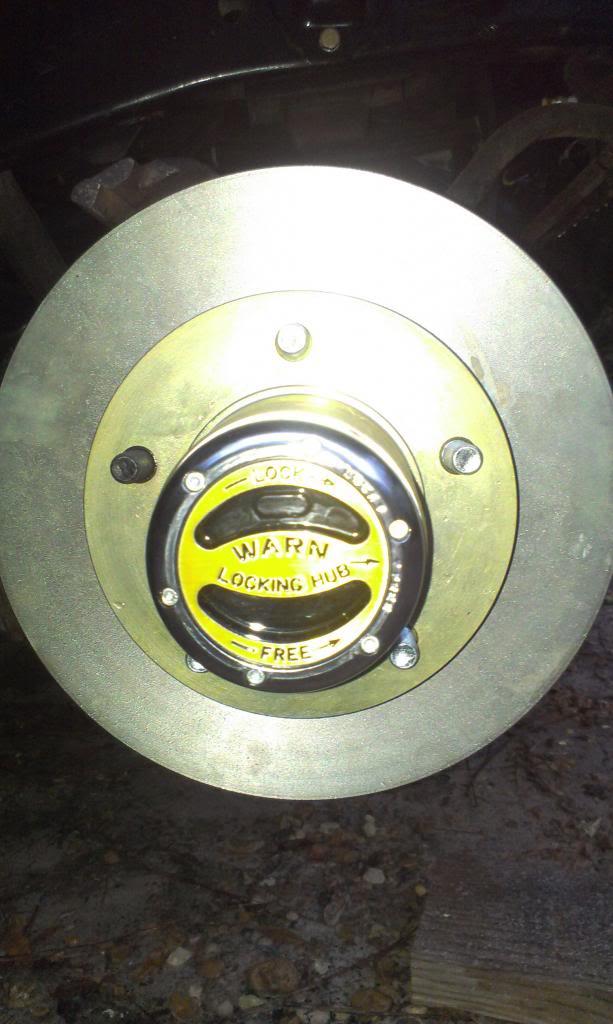
And the hub dial installed.

IMAG0603_zps979e73d1-1.jpg


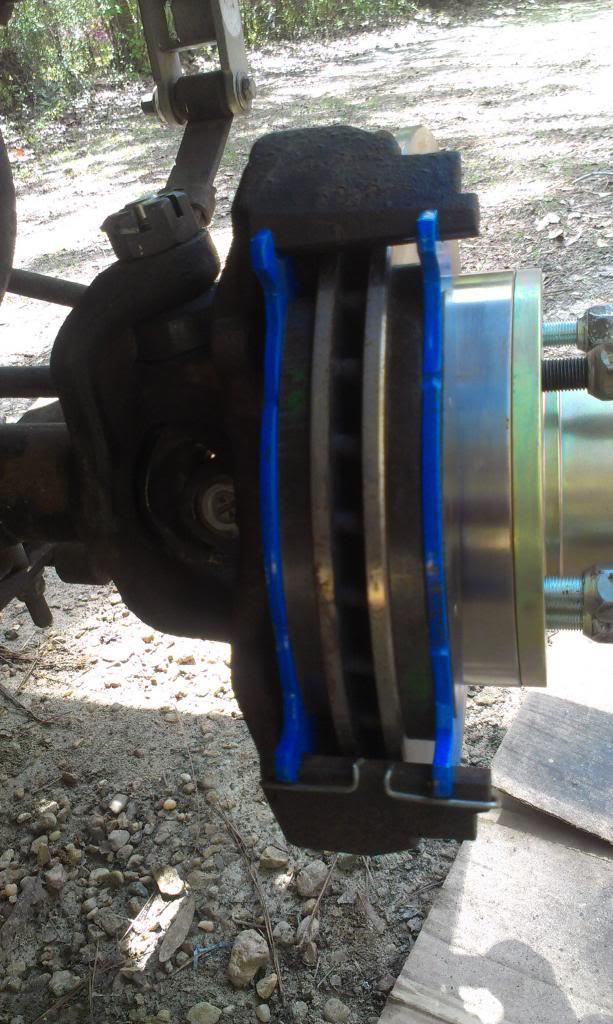
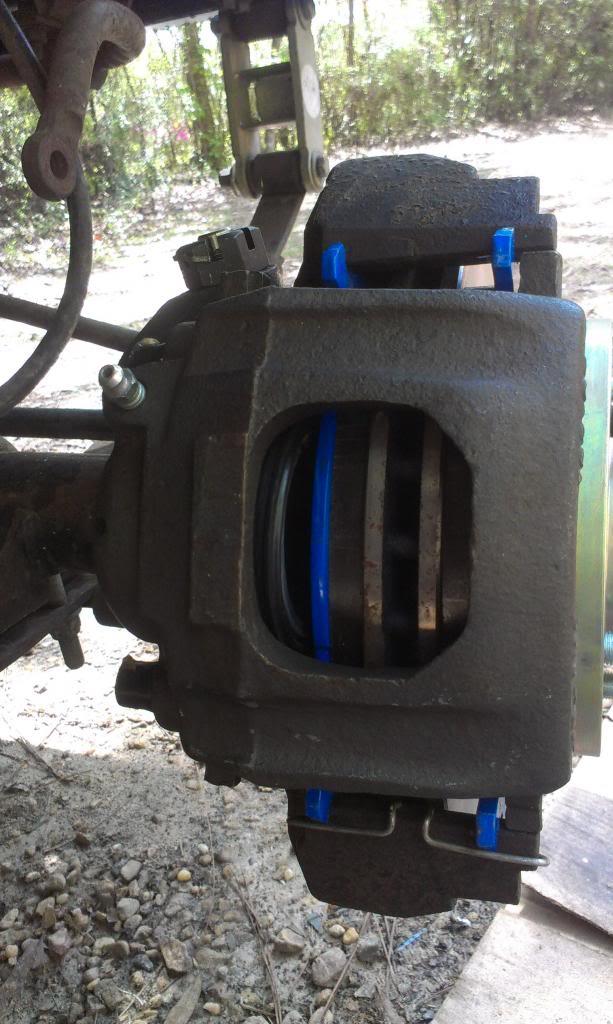
Brake pads installed.

IMAG0608_zpsffc0d162-1.jpg


Brake calipers installed.

IMAG0609_zps489436db-1.jpg


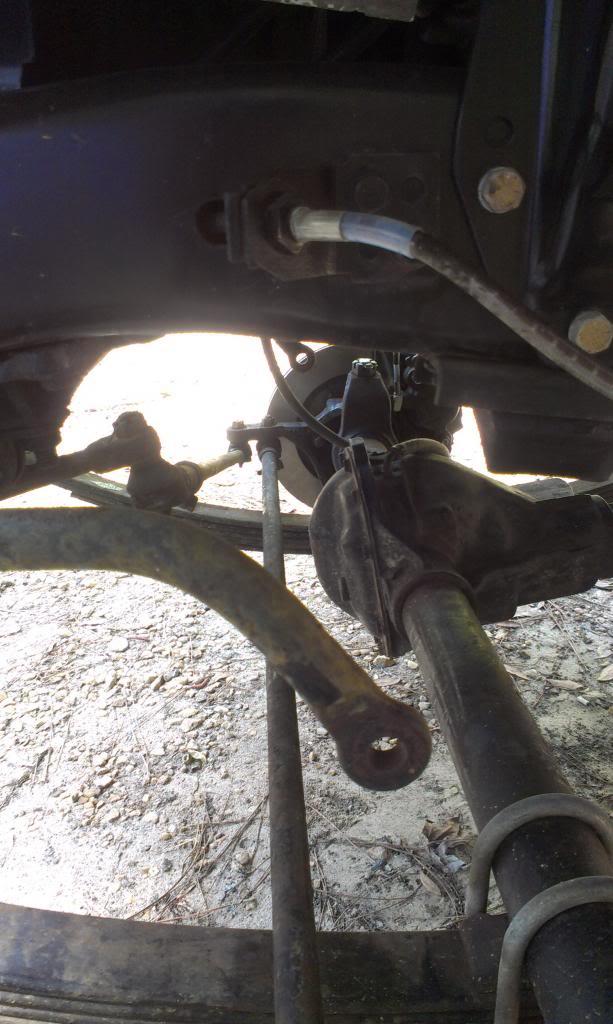
And the brake lines installed.

IMAG0610_zpse445bf2f-1.jpg
 
Last edited:
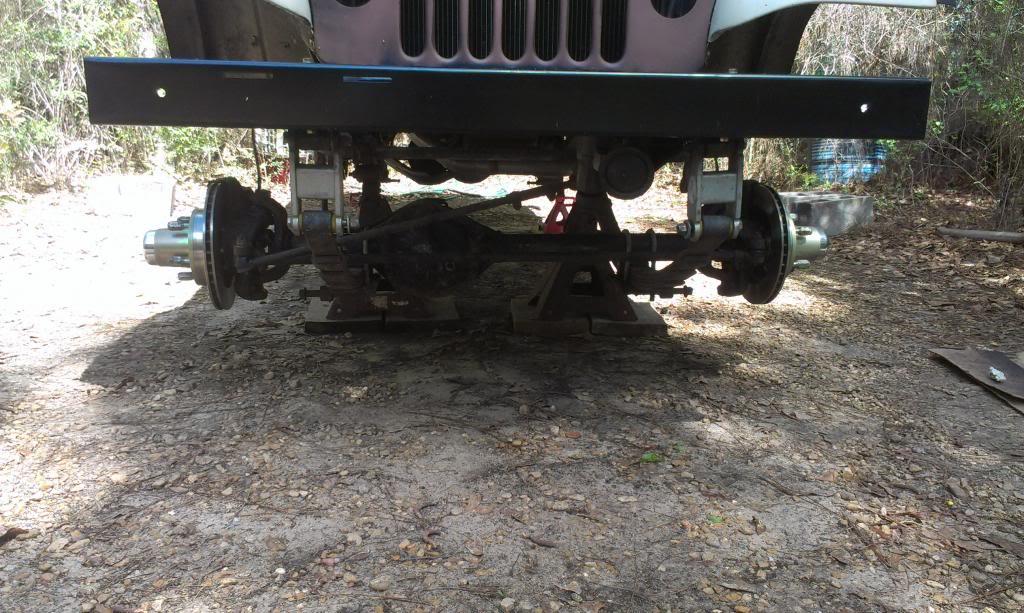
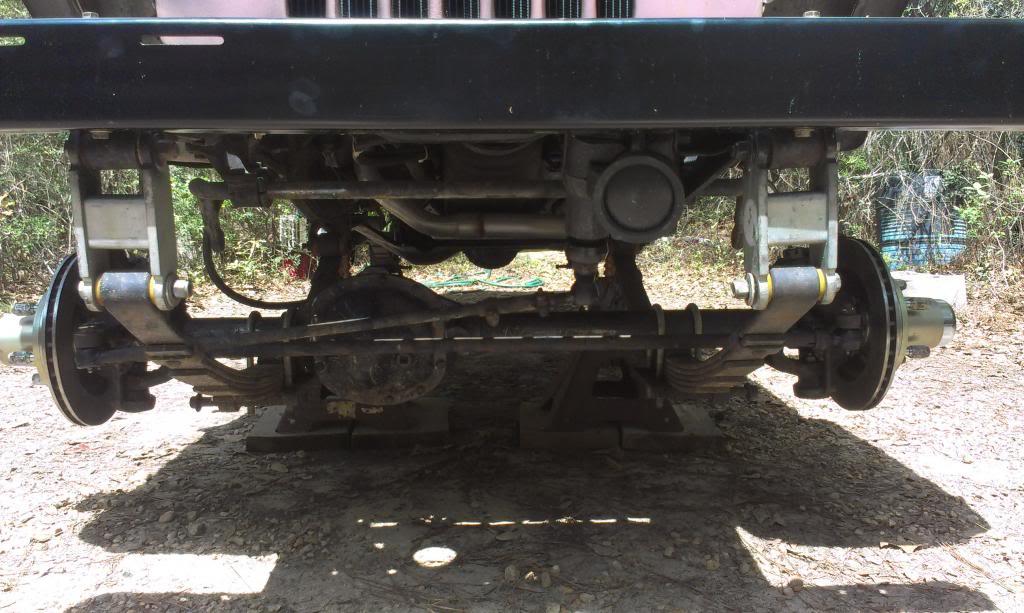
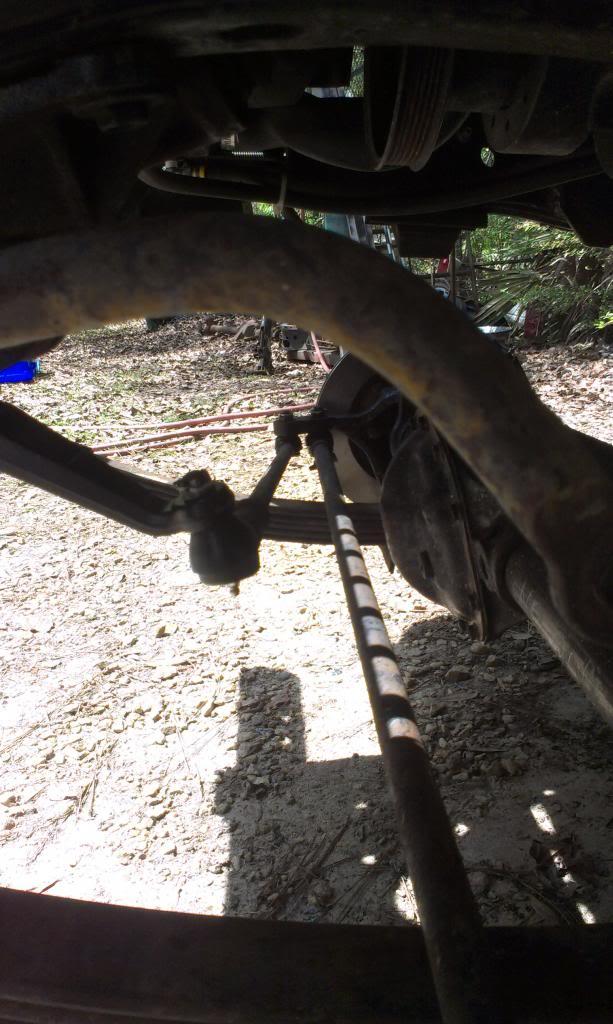
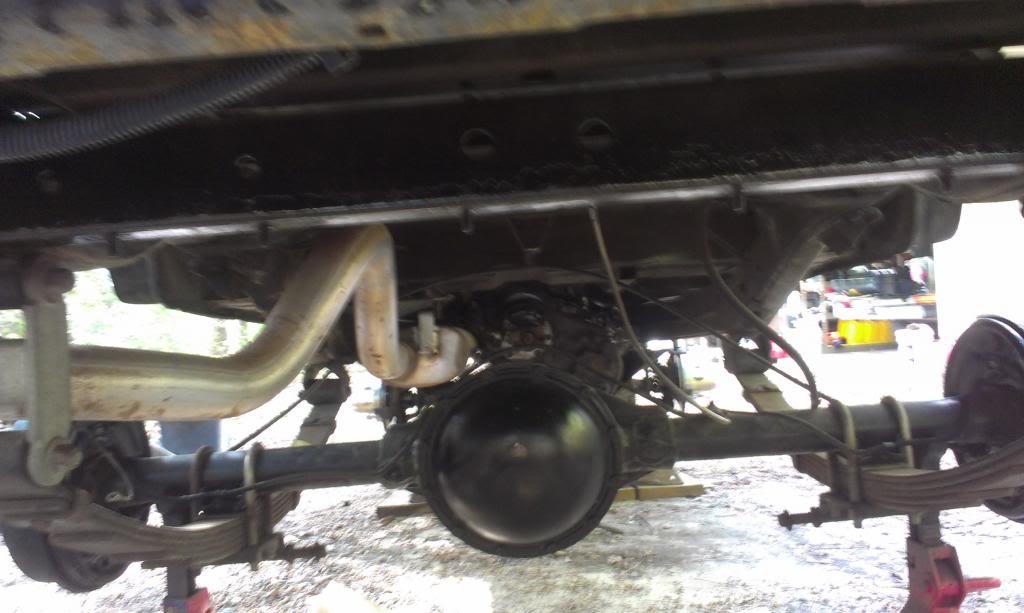
And the "complete" front axle. Note how bad the drag link angle is. The suspension is at "full droop", but even at normal ride height, the 4" lift is too much for the steering angle.

IMAG0611_zps3570aa82-1.jpg


IMAG0612_zps3b7700ed-1.jpg


I usually don't, but since I had a dropped pitman arm in the garage, left over from my red Scrambler build, i installed it. I prefer "flipping" the tie rod/drag link to the top of the knuckles, for clearance and angles, but since I already had this part.................. Besides, I always wanted to experience first hand the reduced steering throw caused by a dropped pitman arm. A future "upgrade" can correct this, for now, it will get me rolling.

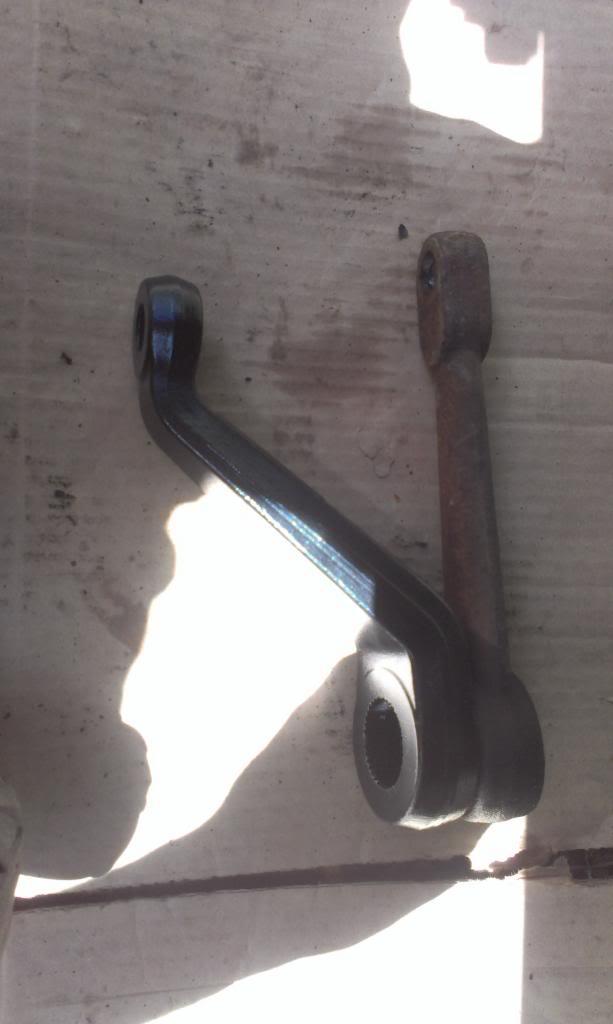
Picture of the stock vs. RE drop pitman arm.

IMAG0613_zps6fe66965-1.jpg


And installed, a much better angle. Besides having to change out the pitman arm tie rod end which had slack, all the other ends are fine. The tie rod and drag link are also straight, no bends, for now.

IMAG0614_zps4e81029e-1.jpg


IMAG0615_zps33ae4023-1.jpg


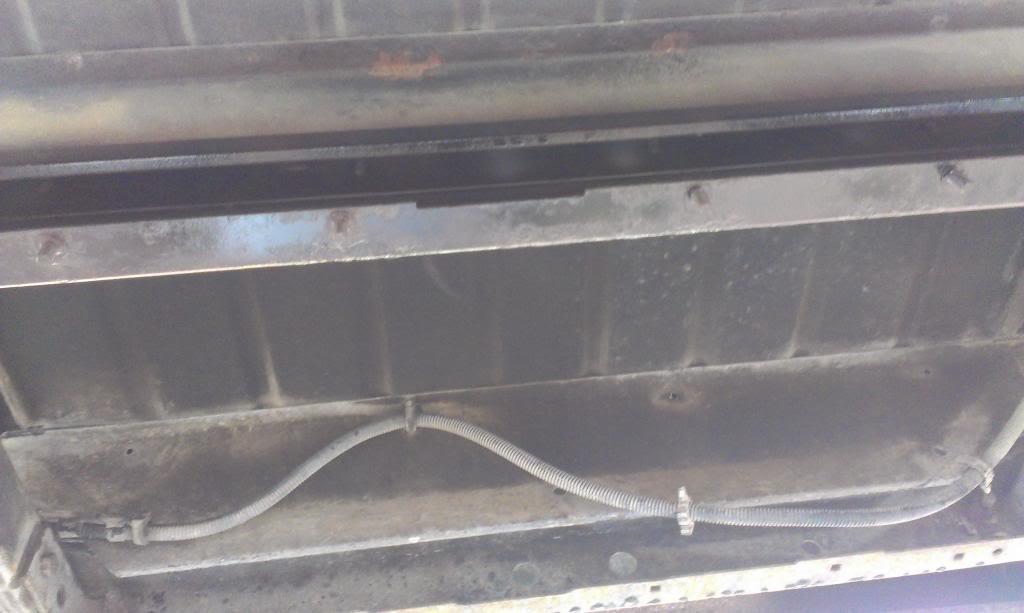
Since it was good weather Sunday, I primed/painted the rear cross member that holds up the rear of the gas tank/skid.

IMAG0604_zpsa5f4e4a2-1.jpg


IMAG0605_zpsd562afb5-1.jpg


IMAG0606_zps31597c3a-1.jpg


IMAG0607_zpseeb25186-1.jpg


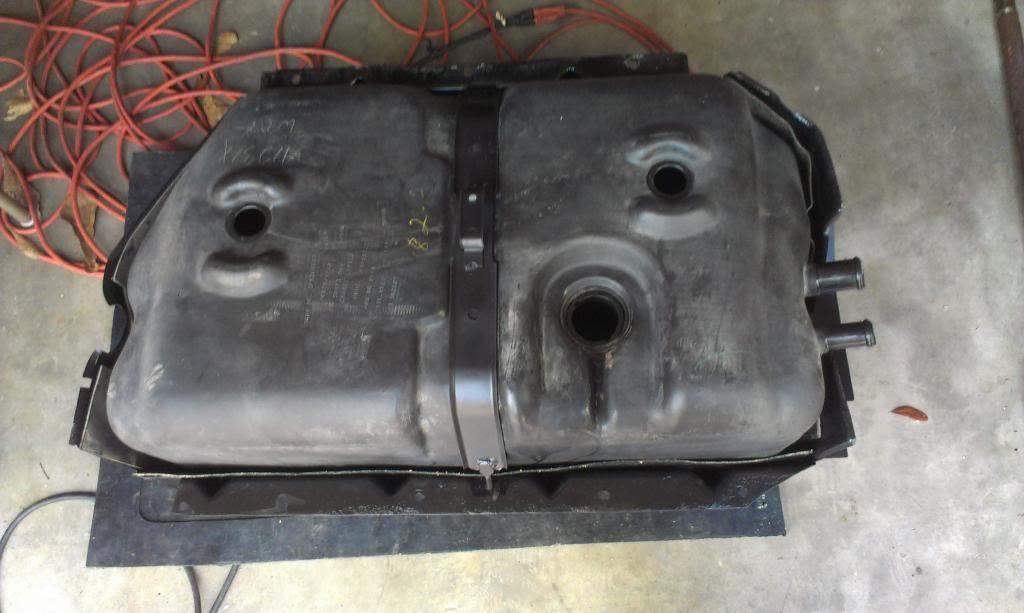
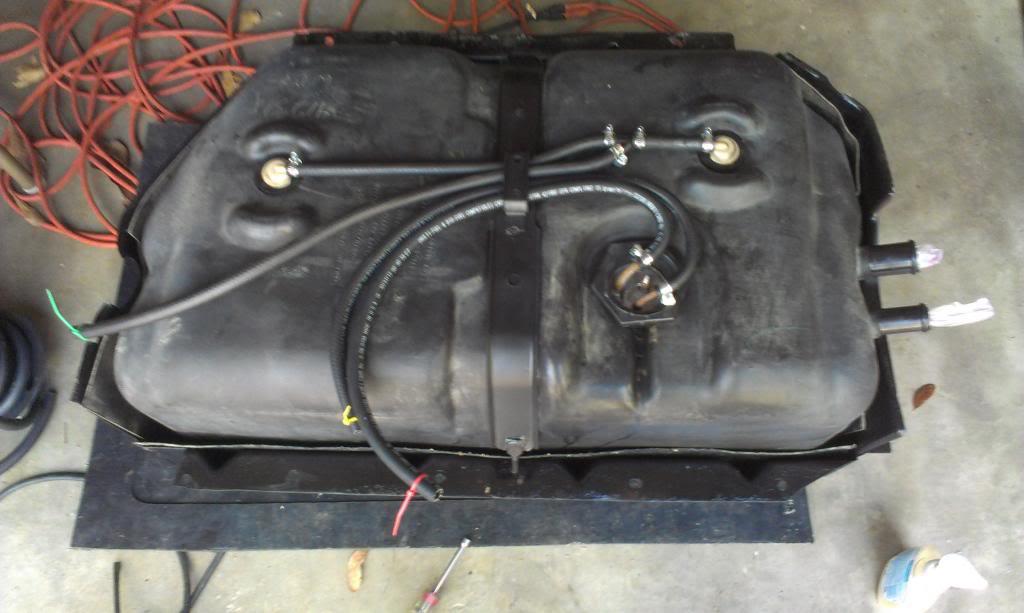
The cleaned tank, installed inside the repainted skid plate, secured by the factory center strap.

IMAG0616_zps40ab6f91-1.jpg
 
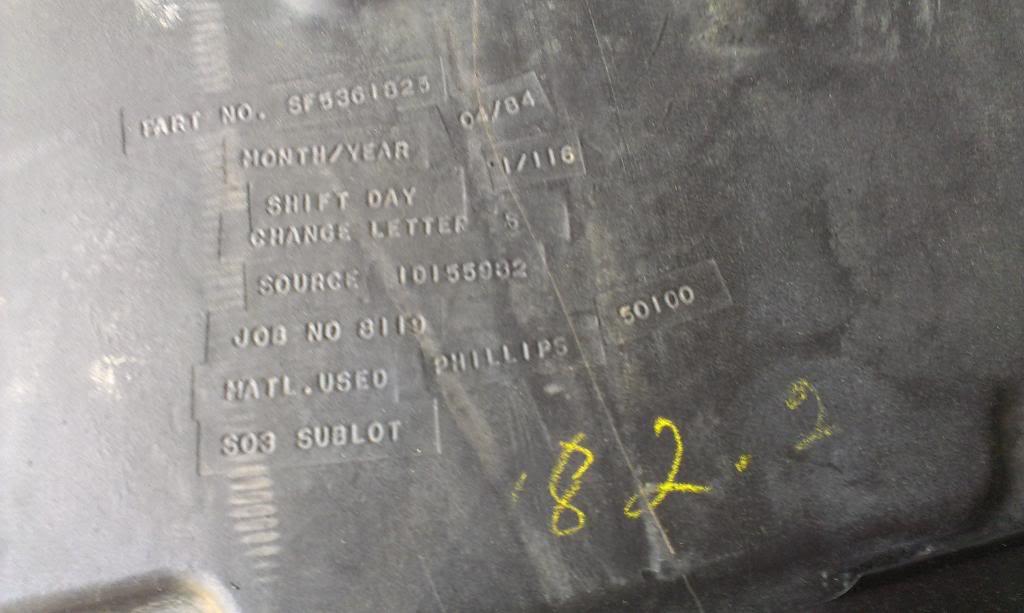
Close up of the gas tank, note the 4/84 date.

IMAG0617_zps37ed9bf4-1.jpg


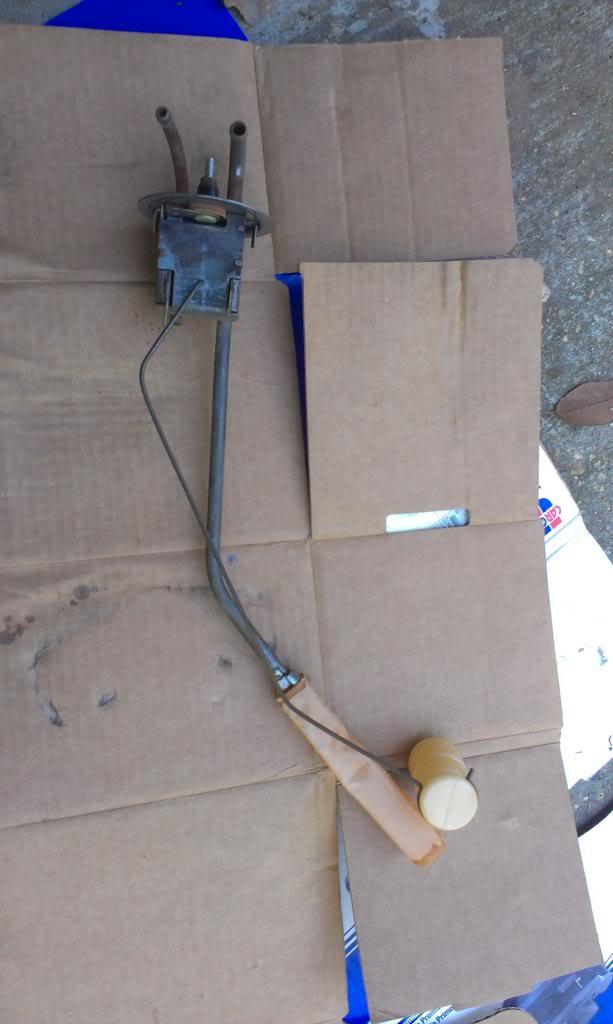
I am going to see if the factory sending unit will work. I cleaned it up, installed a new sock filter, and a new o-ring. I tested the float for a couple of days by holding it underwater. It did not leak, so hopefully it will be good to go.

IMAG0618_zpsb35b18d0-1.jpg


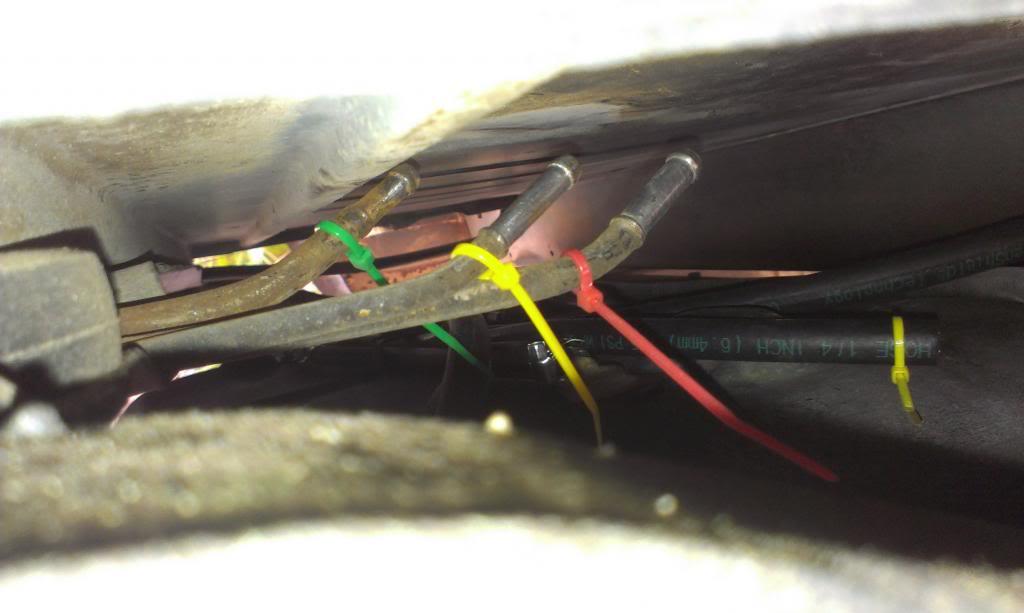
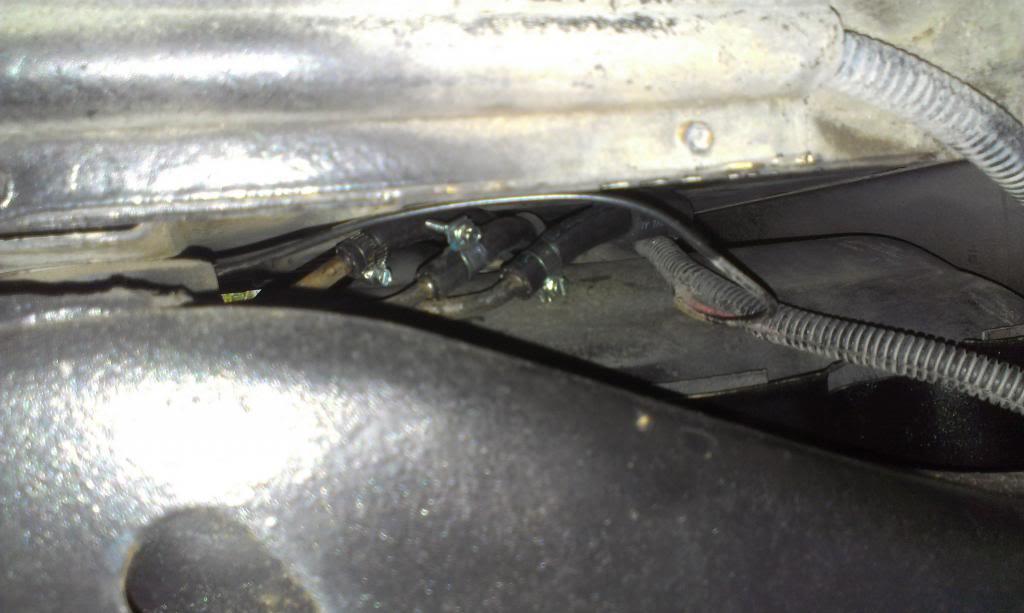
And the sending unit installed. I rerouted the lines similar to how it was from the factory. I used all new rubber lines, fuel injection rated on the supply and return lines. Note the red, green, and yellow zip ties:

RED - Supply
YELLOW - Return
GREEN - Vent

I did this so it would be easy for mew to hook them up correctly. It gets kind of "hectic" when you are reinstalling the tank, this should help me make sure everything is hooked up correctly.

IMAG0619_zpsd70c49f8-1.jpg


IMAG0620_zpse5472228-1.jpg


And installed.

IMAG0621_zpsd6d87c3e-1.jpg


IMAG0623_zpsff6714d0-1.jpg


After hooking up the fuel fill/vent hoses, changing out the rear axle vent hose, and hooking up the fuel sending unit wiring harness, I reinstalled the factory rubber flap things.

IMAG0624_zpsb8cbe87c-1.jpg


I have now reinstalled everything that had been previously removed. My next "major" project will be removing the transfer case and transmission for inspection/seal replacement. I might drop them this coming weekend. In the meanwhile, I think I might pull the grill for paint stripping/repainting work. Maybe a few "easy" projects before I dive into the gear boxes.

The axle work is now complete.
On the suspension, I need to retorque all the fasteners, plus install new sway bar bushings/longer end links
I ordered some aluminum plugs for the rims, I am going to get them TIG welded in place, that should fix that "issue".

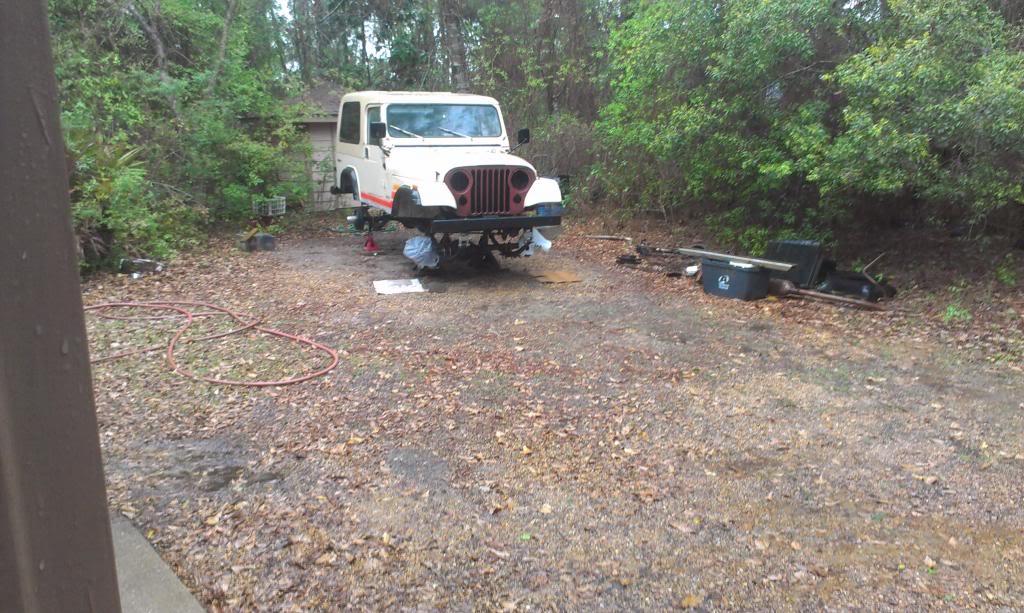
One last picture, after a long weekend:

IMAG0626_zps68c4fcd6-1.jpg


That's it for now.
 
Curious as to what you meant by "steering throw" is it the radius decrease or the ease of steering you were looking to see?

On the CJ5 I was working on, I took off the pitman arm now that it is back to stock configuration and it is actually slightly harder to turn the wheel at a complete stop, so I wasn't sure what part you were getting at.

I know on my CJ7 before I flipped the TRE's and took off the drop pitman arm, I had no turning radius at all, now that it is flipped it is back to a more reasonable turning radius.

cb
 
good work!! (youre gonna hate the dropped pitman arm)
 
Curious as to what you meant by "steering throw" is it the radius decrease or the ease of steering you were looking to see?

On the CJ5 I was working on, I took off the pitman arm now that it is back to stock configuration and it is actually slightly harder to turn the wheel at a complete stop, so I wasn't sure what part you were getting at.

I know on my CJ7 before I flipped the TRE's and took off the drop pitman arm, I had no turning radius at all, now that it is flipped it is back to a more reasonable turning radius.

cb


The turning radius increase/lack of "throw" was what I was referring to:thumbsup: I have never personally owned a Jeep with a dropped pitman arm, but I always heard about the larger turning radius/lack of throw when the suspension is crossed up that is a "side effect":shrug: I figure that this will be an experiment for me:D


good work!! (youre gonna hate the dropped pitman arm)

Appreciate it:cheers:

And I think you may be right about the dropped pitman arm, but since the front tires will hardly be on the ground at the dunes this year anyway, I figured it would not matter:rotfl::cool::rotfl::thumbsup:

I need to step up the pace, August is just around the corner, plus I have SMORR in two weeks, National in June, ect....:eek:
 
I always heard about the larger turning radius/lack of throw when the suspension is crossed up

My understanding is that it's just the turning radius period, not only in certain situations. Your comparison pic shows the difference perfectly in the distance from the center of the sector shaft to where the tie rod end mounts. Shorter distance, less steering throw. Not just when "crossed up".
 
My understanding is that it's just the turning radius period, not only in certain situations. Your comparison pic shows the difference perfectly in the distance from the center of the sector shaft to where the tie rod end mounts. Shorter distance, less steering throw. Not just when "crossed up".

Very interesting:thumbsup:

I think I did notice what you are talking about:

Stock pitman arm - Drag link is closer to tie rod at the steering box end
Dropped Pitman arm - Drag link is further away from tie rod at the steering box end

I can see what you are saying, it probably will make a difference all of the time:(

If I have time, I will buy a few more inserts, ream the knuckles, and "flip" the factory tie rod/drag link:thumbsup:

If I don't have time, I will just "steer from the rear" with the skinny pedal:rotfl::rotfl::thumbsup:
 
I can see what you are saying, it probably will make a difference all of the time:(

It WILL make a difference ALL the time. And with a long wheel base, its sucks driving anywhere but in a straight line.
 
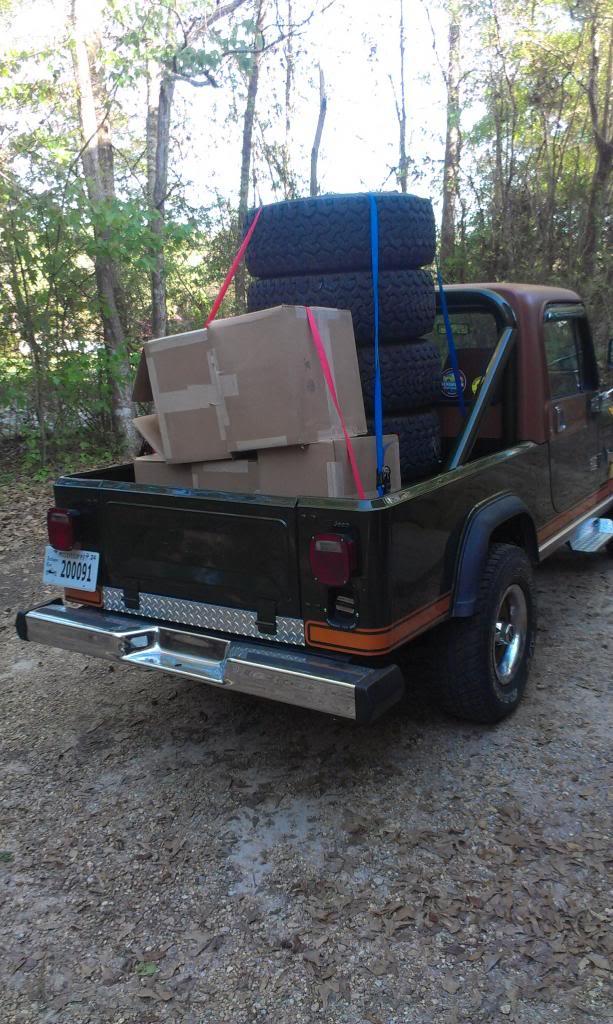
And yet another "Sanford and Son" moment:

IMAG0632_zpsfd85a162-1.jpg


IMAG0631_zpsfca5d051-1.jpg


I loaded up the assembled tires/wheels to get them broke back down. The boxes were for the wheels, once they were removed. The tire guys were cool and broke them down for free:thumbsup:

I ordered some of the plugs linked below to thread into the threaded holes. I will then get them TIG welded in place. This might be overkill, but I think it is the "best" way to permanently seal these holes.

http://eastcoastspeed.com/cart/moroso-pipe-plugs-aluminum-38-p-7688.html

All that being said, the "backwards" valve stems did not leak at all:thumbsup:

I now have a couple of hours of "fun" removing all of the red Loctite from the threaded holes:crazy:

That's it for now.
 
Back
Top