• Notice for iPhone users: DO NOT use the image size reduction option when uploading photos to the forum. This causes portrait images to post as landscape. We have added a warning to the image insert pop-up as well.

spankrjs's Biloxi, MS '83 Scrambler

OK, Riddle me this......Why did you drill out your shackles to the .5" bolt??? Yes, I understand that now the bolt is bigger than the stock one, but at the loss of the OEM sleeve.

Those sleeves are a major part of the shackle design and function. They act as proper spacers not only for the preload of the bushings, but for the correct tightness of the bolts. The bolts should be tight enough to lock them in place with the plates and sleeves where there is no movement amongst them. The movement is in the bushing surface on the sleeve/inner plate and in the hanger/spring eye while all the metal parts don't move against each other.

Ive dismantled and worked on many YJ and CJ suspensions (that have the same design). Almost every YJ had little to zero wear on these parts and the bolt was tight against the sleeve. Almost all of the CJs had wallowed out plate holes and grooved bolts because the bolts were not tight or the sleeves were shortened by being crushed from lateral movement. What made the YJ design so much better IF it was the same basic design. I studied them and concluded its the surface area of the larger bolt and sleeve of the YJ that makes the difference. The bolt head/shouldered nut clamps better to the side plates to overcome the rotation that the bushing wants to exert on its surface area. The CJs smaller design is overcome and twist on the bolt, wallowing out the holes.
Ive found by using good sleeves, lock washers on each end of the bolt, and greasing the bushing well, it works.

But without the sleeves at all, you can only tighten the bolt to the point of normal bushing compression. While the .5" bolt fits inside the bushing in place of the .5" sleeve, it will still allow the new larger bolt to rotate against the plate hole and wallow it out over time.

I like the thought of the larger bolt as well. The big problem is the smaller 1" bushings vs the YJs larger 1.25" bushings that allow for the bigger bolt/sleeve combo. Drilling out the CJ bushing to accept the larger YJ sleeve/ .5" bolt will not leave enough bushing material to allow flex and movement necessary.
Anyway, sorry about the ramble on, just wondering about any thoughts you had on drilling them out.
 
OK, Riddle me this......Why did you drill out your shackles to the .5" bolt??? Yes, I understand that now the bolt is bigger than the stock one, but at the loss of the OEM sleeve.

Those sleeves are a major part of the shackle design and function. They act as proper spacers not only for the preload of the bushings, but for the correct tightness of the bolts. The bolts should be tight enough to lock them in place with the plates and sleeves where there is no movement amongst them. The movement is in the bushing surface on the sleeve/inner plate and in the hanger/spring eye while all the metal parts don't move against each other.

Ive dismantled and worked on many YJ and CJ suspensions (that have the same design). Almost every YJ had little to zero wear on these parts and the bolt was tight against the sleeve. Almost all of the CJs had wallowed out plate holes and grooved bolts because the bolts were not tight or the sleeves were shortened by being crushed from lateral movement. What made the YJ design so much better IF it was the same basic design. I studied them and concluded its the surface area of the larger bolt and sleeve of the YJ that makes the difference. The bolt head/shouldered nut clamps better to the side plates to overcome the rotation that the bushing wants to exert on its surface area. The CJs smaller design is overcome and twist on the bolt, wallowing out the holes.
Ive found by using good sleeves, lock washers on each end of the bolt, and greasing the bushing well, it works.

But without the sleeves at all, you can only tighten the bolt to the point of normal bushing compression. While the .5" bolt fits inside the bushing in place of the .5" sleeve, it will still allow the new larger bolt to rotate against the plate hole and wallow it out over time.

I like the thought of the larger bolt as well. The big problem is the smaller 1" bushings vs the YJs larger 1.25" bushings that allow for the bigger bolt/sleeve combo. Drilling out the CJ bushing to accept the larger YJ sleeve/ .5" bolt will not leave enough bushing material to allow flex and movement necessary.
Anyway, sorry about the ramble on, just wondering about any thoughts you had on drilling them out.


I drilled the shackles out/used the larger bolts mainly because the instructions mentioned it. In hindsight, seeing the use that this Jeep sees, probably not necessary:twocents:

All of my original bolts/shackle plates/sleeves/and even the bushings were in great shape. Like you, I agree that the sleeves do provide great protection against "over torqueing the shackle bolts", but careful use of the torque wrench will prevent over tightening, too:thumbsup:

One thing I did since I was not using the original sleeves in the shackles: I used bolts that are longer then necessary. By doing this, the smooth shoulder of the bolt passes 95% of the way through the bushing. By doing this, I have smooth bushing against smooth bolt, not rough bolt threads, which will tear up the bushings.

I thoroughly greased the inside of the bushings/bolts, and also the outer surface of the bushing that ride inside the shackle pockets. It should be good to go:D

I like the idea of the bolt inside the sleeve, like it would provide a smoother pivot point. And on this Scrambler, there was no rust on the bolts/sleeves. But, I have also found, the sleeves usually rust to the bolts, seizing up on them, so there goes that advantage:twocents: Now, if the sleeves were long enough to ride inside the holes on each shackle plate.........................................

All in all, 6 one way, 1/2 dozen the other:thumbsup:

But, in hindsight, I would have been fine reusing the original bolts/sleeves:thumbsup:
 
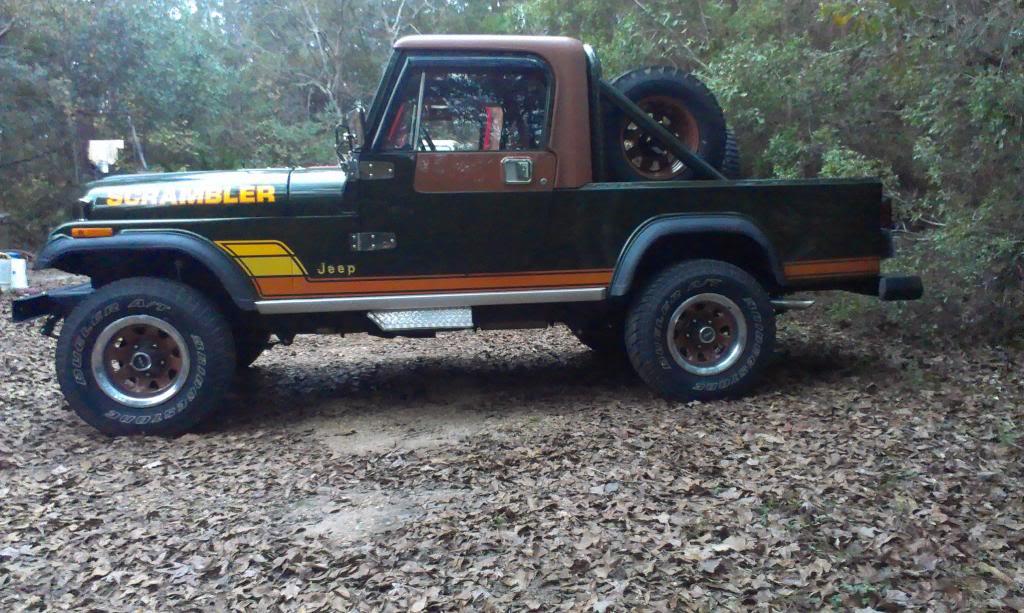
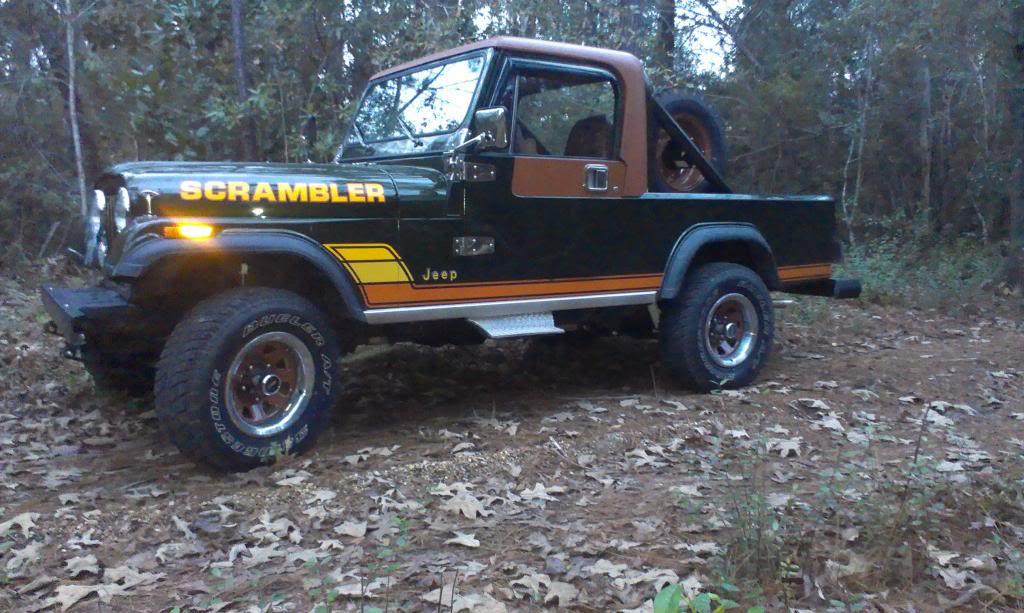
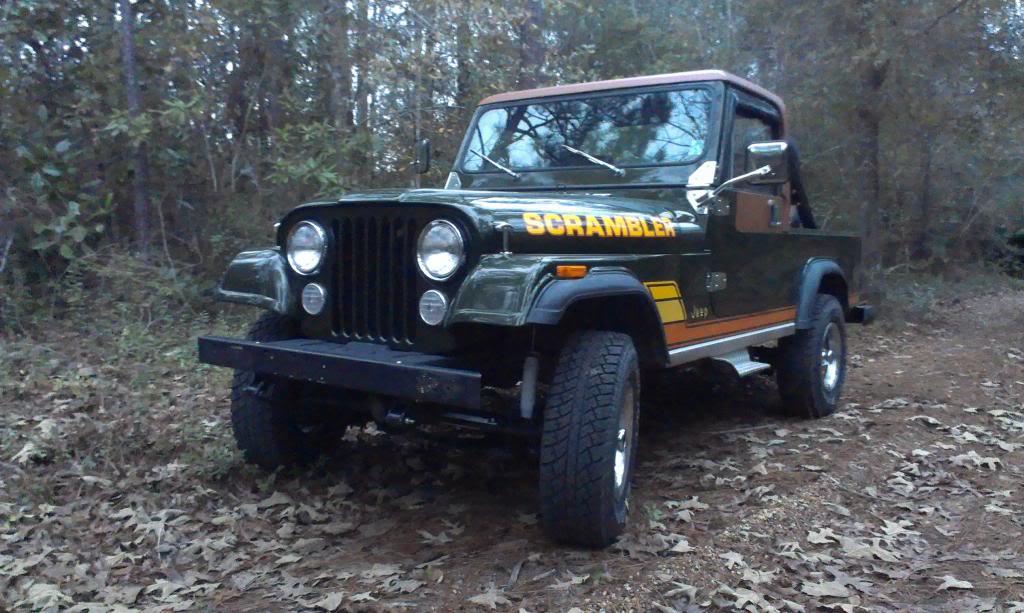
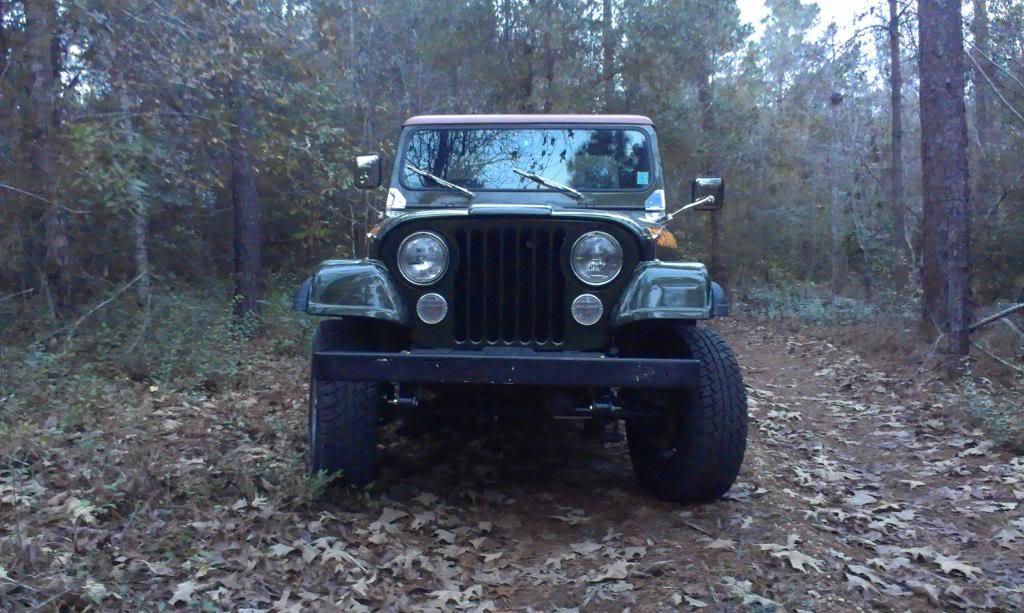
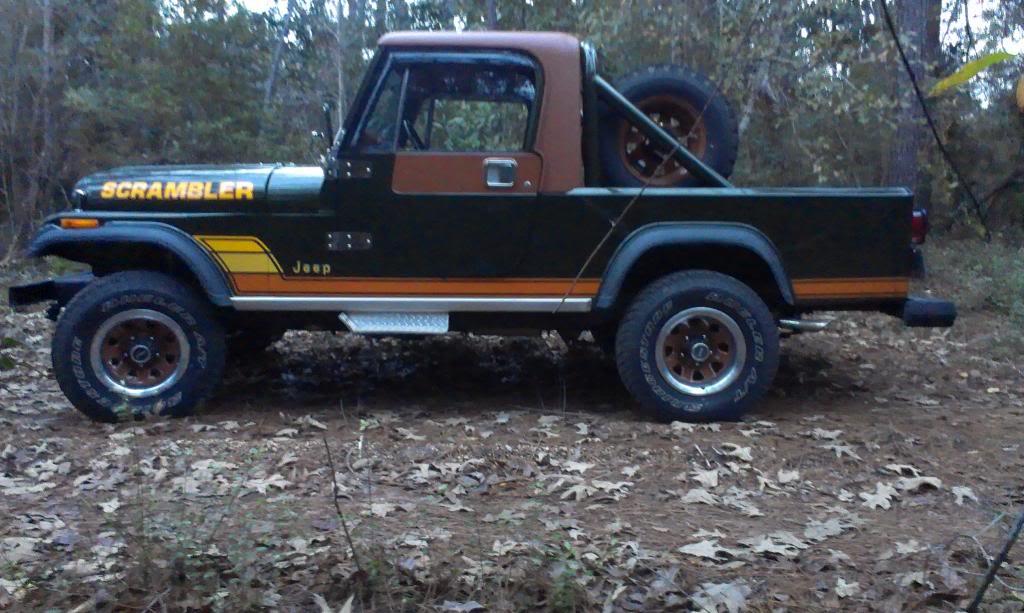
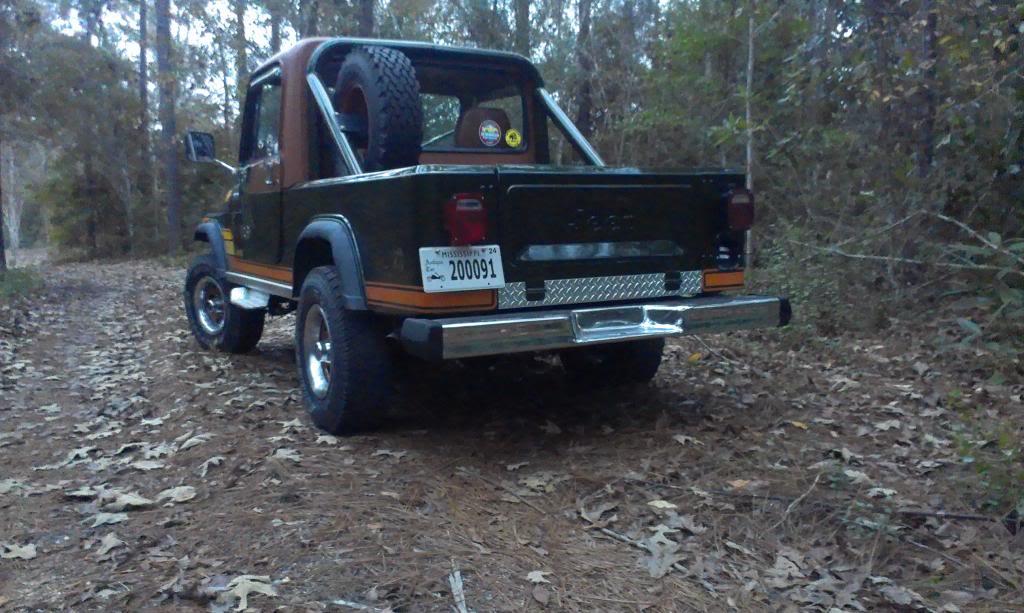
Had to work all through the holidays, but I drove the Scrambler around some, and took some better pictures.

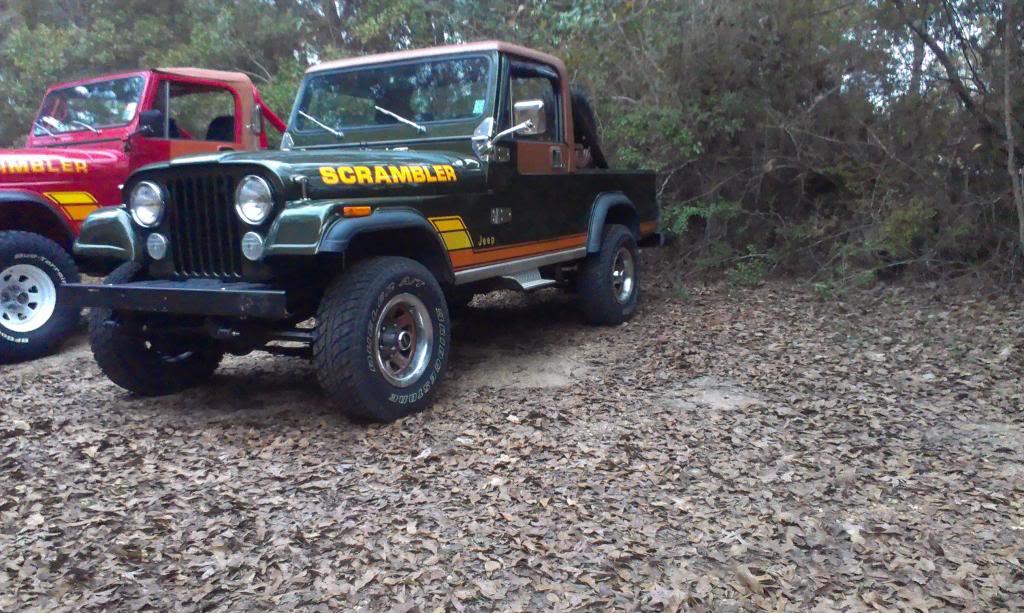
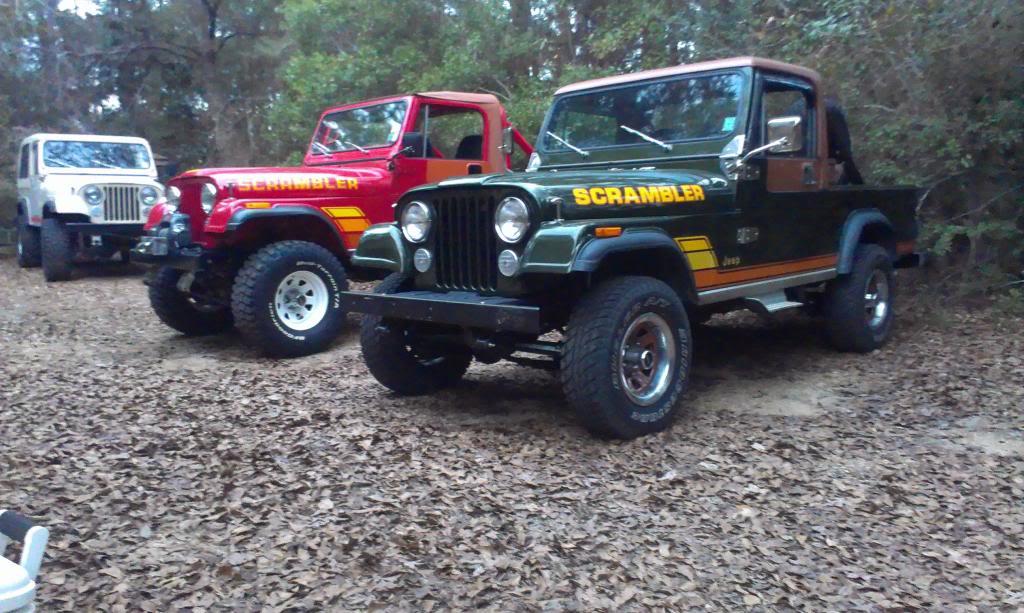
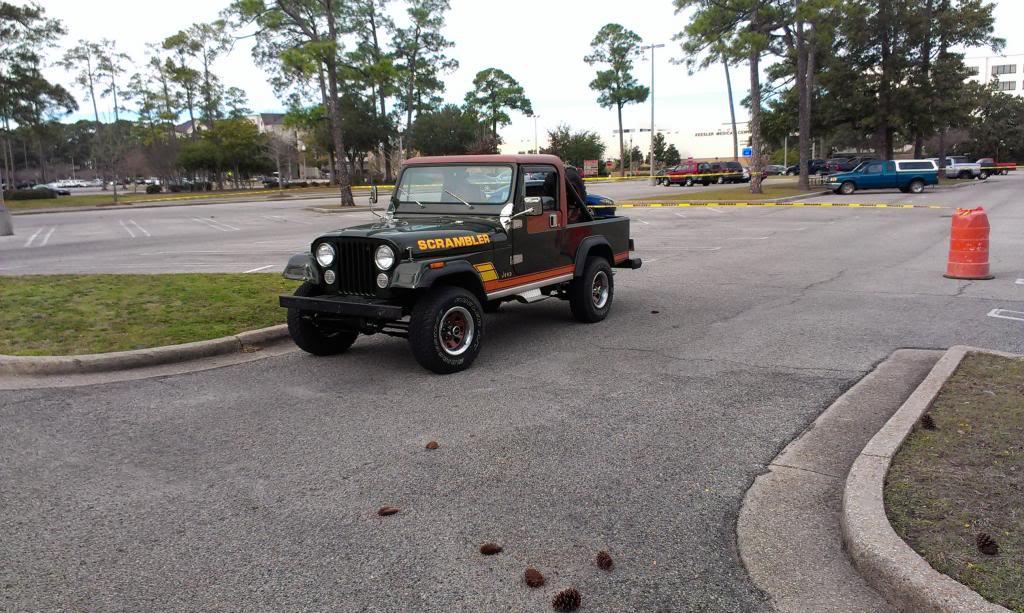
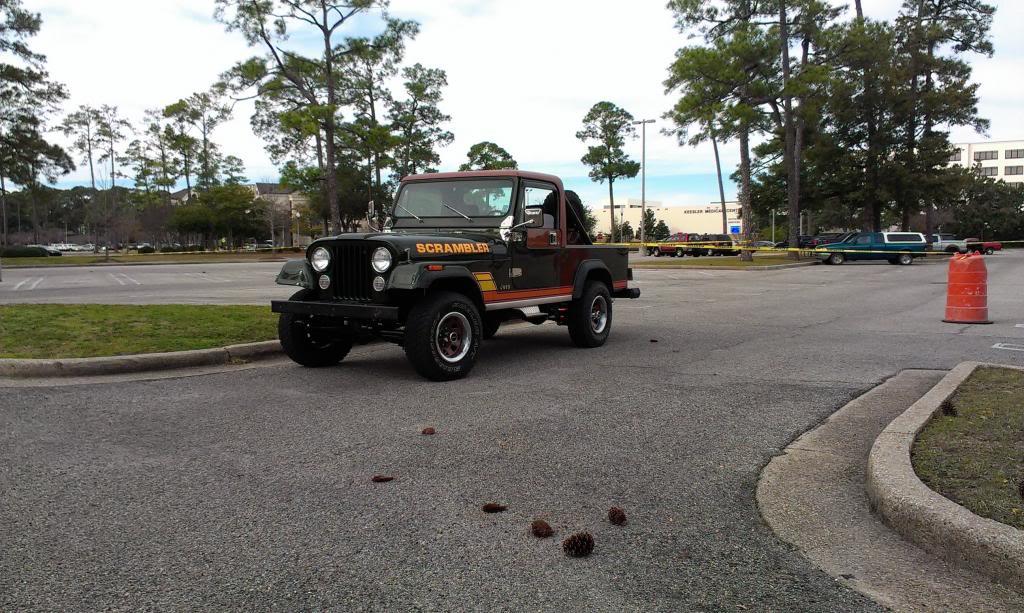
Green Scrambler, 1" Superlift, no body lift, 30x9.50x15 on stock 15x7 wheels, next to the Red Scrambler, RE 4.5" lift/1" body lift/ 33x12.50x15 on 15x8 stock wheels:

IMAG2642_zpsff9e518f-1.jpg


I really like the increased front tire clearance. (need to get rid of the chrome hinges/diamond tread on the steps)

IMAG2643_zps645edd6a-1.jpg


IMAG2647_zpsc73c96c0-1.jpg


Not the best picture, but all three of my Scramblers together in one shot:

IMAG2645_zpsf3014218-1.jpg


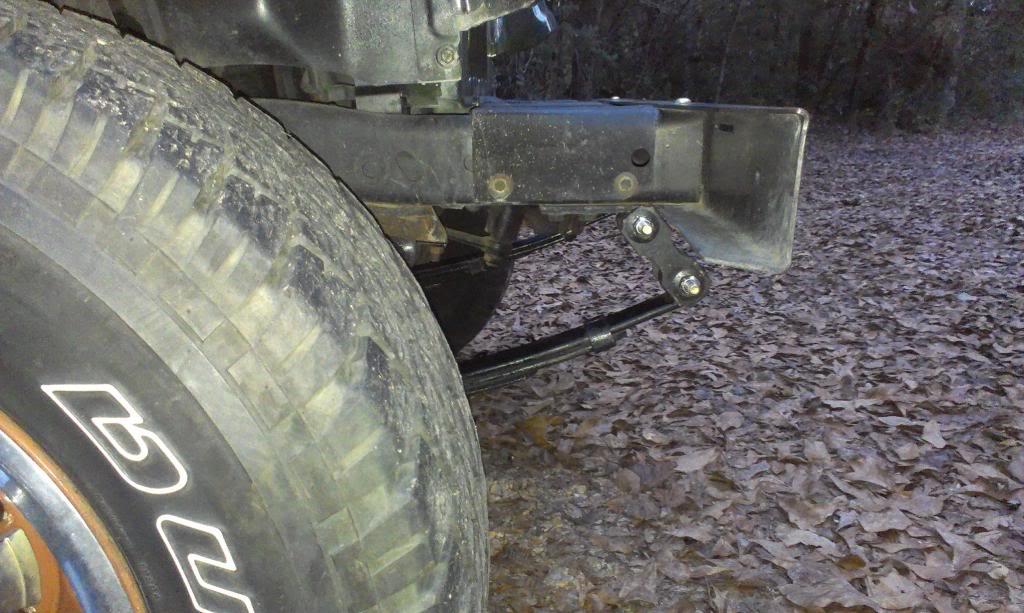
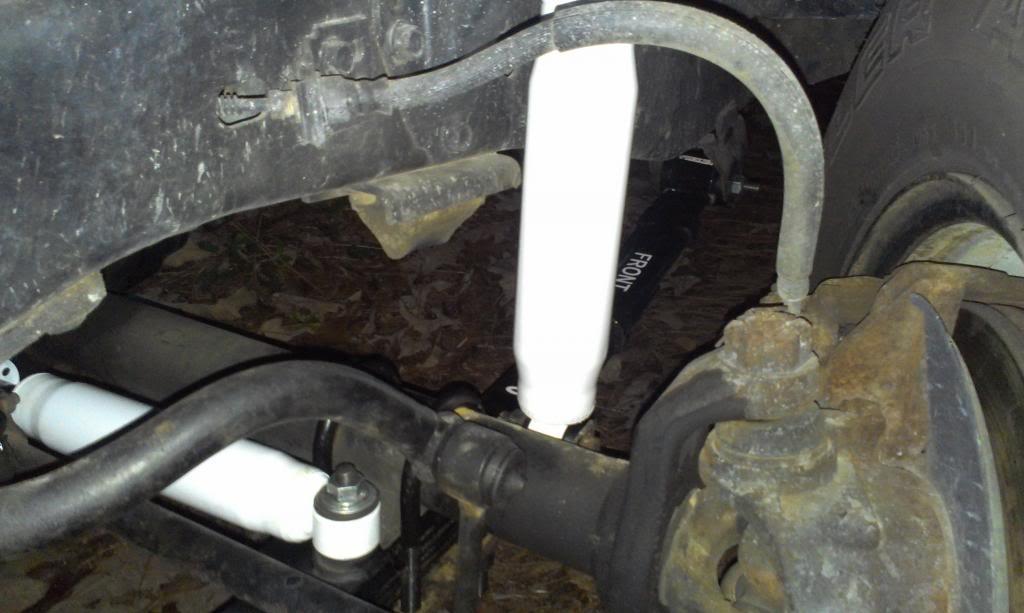
Front shackle angle:

IMAG2648_zps90a5f504-1.jpg


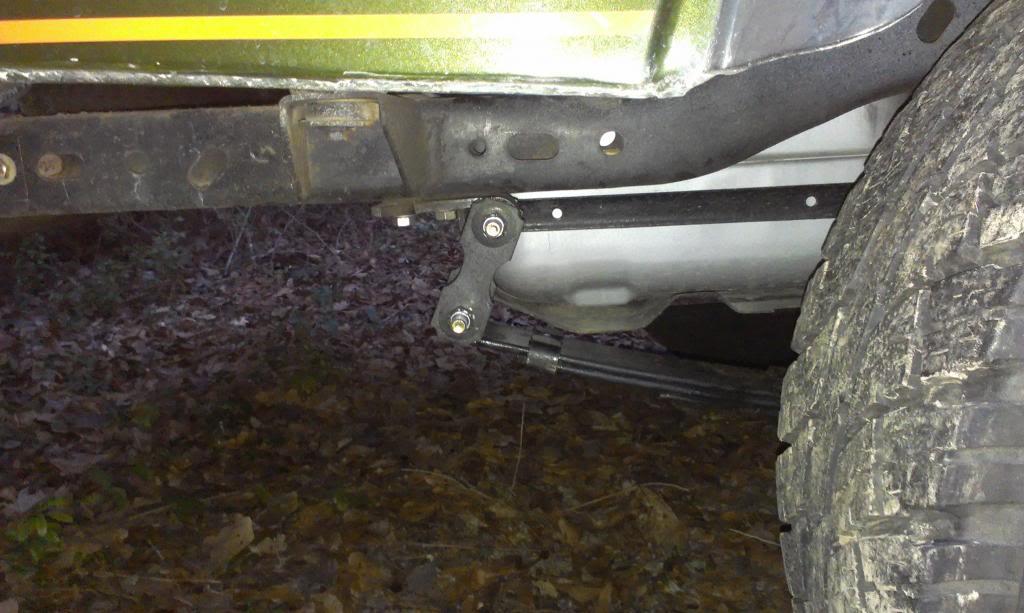
Rear shackle angle:

IMAG2649_zps62e40020-1.jpg


Front bump stop clearance:

IMAG2661_zps8ef4c853-1.jpg


Rear bump stop clearance:

IMAG2663_zps98645d05-1.jpg


And two quick "mall crawler" pictures:

IMAG2671_zpsb1f43df1-1.jpg


IMAG2672_zpsb0d1af2f-1.jpg
 
And a couple of more "interesting pictures", the same spot in my yard where I took the "before" pictures:

IMAG2650_zpse5a891e0-1.jpg


IMAG2652_zpsedf9638c-1.jpg


IMAG2654_zps0f11b3a8-1.jpg


IMAG2656_zpsdac0c668-1.jpg


IMAG2657_zps7b132d63-1.jpg


IMAG2659_zpsc06cec64-1.jpg


All in all, even though it does not look much different, which I am happy about, it was a big improvement.

I like the slightly increased height, mainly the front end, and even though the rear did not gain any height, it actually looks level now, not nose down like it was before, and not "butt down" like the tape measure says it is currently??

It also rides better then before, but that is not really hard to believe, due to the fact that previously, the front end would hit the bump stops on moderate bumps. In the earlier "front bump stop picture", you can see evidence of this.

It handles much better, the Scrambler feels more stable during cornering/high speed maneuvers. The steering was a hair "darty" feeling before I replaced the springs, due to the fact that the sagging springs had changed the caster angle. The new springs solved this problem, the Scrambler tracks straight and true, no bump steer, no loose feeling, it feels perfect. No driveline vibrations, either, but I really did not expect any, with this small of a lift.

As for the ride, really too soon to tell, but I will describe how it is currently, and will update this after a couple thousand miles.


Currently, the ride is a bit on the firm side, BUT not harsh or hard. The springs conform to bumps in the rode just fine. The only time it really feels "firm" is when you hit a big bump. It is not harsh, but the springs do react different then the wore out soft springs. The big bumps in the road feel "springy", if that makes sense. Not hard, just springy. My red Scrambler, with the RE lift rides smoother, but is also has 16,000+ hard miles on it.

My tan Scrambler, that has a 4" Superlift kit on it, rode terrible at first, After about a thousand miles, it is much smoother, but still firm. This 1" lift feels a bit firm, but not hard.

My LJ Rubicon, which is stock with about 30,000 miles, rides smoother then the green Scrambler. But, I think the green Scrambler will ride close to this comfort level, once the springs "break in".

I have drove the green Scrambler about 200 miles, and the ride is getting less "firm", a bit more "soft". All in all, I am very happy with it:thumbsup:

I am happy with the ride quality, and I think once the springs break in, I will be very pleased. It is hard to describe ride quality in words, but if I were to list my four Jeeps according to spring "softness", it would be, from softest to firmest:

1) 1983 Red Scrambler (RE 4.5 lift)
2) 2005 LJ Rubicon (stock)
3) 1983 Green Scrambler (1" Superlift)
4 1984 Tan Scrambler (4" Superlift)

If you have a Scrambler that is going to stay close to stock, with stock - 31" tires, the Superlift 1" lift might be worth looking into.

I will update this thread, once I put a few more miles on this Scrambler:wave:
 
To give it a good road test, just drive it to Moab in May and let us know how the drive was when you get there.
 
Is it just me or do the shackles kinda lean a little more than they should? I know they aren't supposed to sit straight up and down, but those are definitely at more of an angle than I'm used to seeing.....
 
They do not look like they are leaning to much. The articulation drop is just a bit more with them looking like you have them now vs straight down.

z
 
Is it just me or do the shackles kinda lean a little more than they should? I know they aren't supposed to sit straight up and down, but those are definitely at more of an angle than I'm used to seeing.....

They do not look like they are leaning to much. The articulation drop is just a bit more with them looking like you have them now vs straight down.

z


The front shackles are leaning a bit more then the rear shackles, but they are leaning about the same as my red Scrambler's shackles. But, the axle will hit the bump stops before the shackles hit the bumper, so it is fine:D

Thanks for sharing.

Sent from my SCH-S968C

No problem:thumbsup::cheers:
 
Very nice Raymond. :thumbsup:
Look forward to seeing you in May. :wave:
 
Very nice Raymond. :thumbsup:
Look forward to seeing you in May. :wave:

Appreciate it Toby, look forward to seeing y'all, too:cheers::wave:

Need to start a red Scrambler transmission swap, or take the tan Jeep, need to make up my mind soon:shrug:
 
Appreciate it Toby, look forward to seeing y'all, too:cheers::wave:

Need to start a red Scrambler transmission swap, or take the tan Jeep, need to make up my mind soon:shrug:

Bring both!!! Problem solved. I am smrt!!
 
Back
Top