• Notice for iPhone users: DO NOT use the image size reduction option when uploading photos to the forum. This causes portrait images to post as landscape. We have added a warning to the image insert pop-up as well.

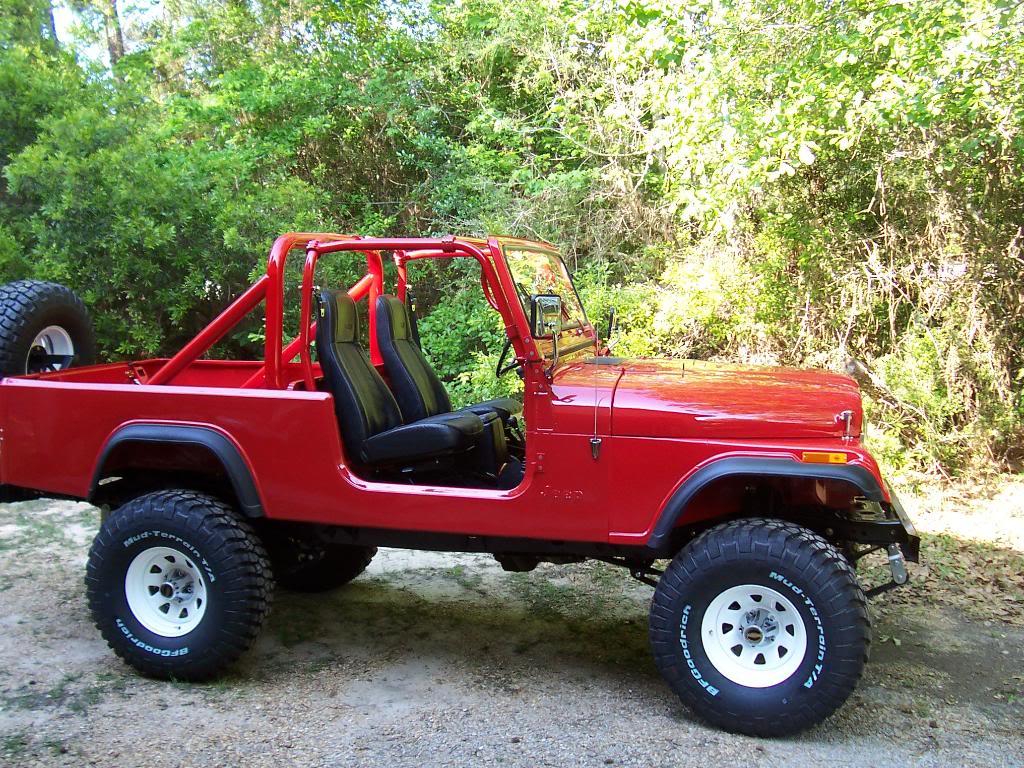
Another Scrambler Purchase/Road Trip - UPDATE- BODY ON FRAME AGAIN

And at the end of all this beatiful work, you're going raffle it off and donate the proceeds to the "Jeep Addicts' Rehabilitation Fund",right ? ;)

Gorgeous work! :cheers:

BTW, "No rattles or squeaks."?!? Are you just waiting to install them last?:thumbsup:
 
And at the end of all this beatiful work, you're going raffle it off and donate the proceeds to the "Jeep Addicts' Rehabilitation Fund",right ? ;)

Gorgeous work! :cheers:

BTW, "No rattles or squeaks."?!? Are you just waiting to install them last?:thumbsup:

Appreciate it:cheers:

I don't even want to begin to think about how much $$$$$$$$$$ it would cost to "cure" jeepaddict:rotfl:

I was amazed about the "no rattles or squeaks" too:thumbsup: I am sure they will turn up soon enough:rotfl:
 
:woot:

Looks fantastic! You did a great job! :thumbsup:

Appreciate it:cheers::thumbsup:

Still more to do before I can call it "finished":popcorn:

Mopar MPI
Decals
Ox cables
Whitco 1/2 soft top install

More to come:thumbsup:

I almost wish I did not drive it, now it will be harder to take it off the "drivable" list to finish installing various parts:eek:
 
Where are you going to carry the traffic cones and "CRIME SCENE" tape to put around it when you park?
 
And I'm also waiting for the 50-state tour schedule to come out.
 
Appreciate it:cheers:

I don't even want to begin to think about how much $$$$$$$$$$ it would cost to "cure" jeepaddict:rotfl:


Cure...for what:crazy: Why, you got somethin' for sale:drool:


Oh and I can't wait to take your Scrambler on the trail that weekend you're gone. How do those hubs work again:thumbsup:
 
Last edited:
I just had a brain aneurysm from the radiation given off by your amazing scrambler's epic aura of holy awesomeness.

And on what planet does this qualify as a trail jeep? :rotfl:
 
^^^^ Thanks for all the compliments:cheers::thumbsup:^^^^

Don't worry 'Will Texas", I will be sure to post up picks of it on the trail/dirty:thumbsup:
 
classic cj look

0124-1.jpg


I love that classic lifted cj look!
And the white rims look great!
I haven't built a jeep for some
time and used white rims. But
I really think that white wagon
wheels bring out that classic
look even more!!!!!!!!!!!!!!!!!
nice build!
7jeeps7kings
 
Last edited:
Looks great but I can't wait to see it with the decals! They will help break up all that red! :D
 
Looks GREAT! Refresh my memory...did you have any sort of a body lift, or just the RE 4.5"?

I'm loving it!
 
7jeeps7kings;217212I love that classic lifted cj look! And the white rims look great! I haven't built a jeep for some time and used white rims. But I really think that white wagon wheels bring out that classic look even more!!!!!!!!!!!!!!!!! nice build! 7jeeps7kings[/QUOTE said:
I couldn't find any aftermarket rims in the 15" size that I really, really liked (and that were still available) so I went with the factory white steel rims. Glad I did, too:cheers:
 
Chanting!

DECALS! DECALS! DECALS! DECALS! DECALS! DECALS! DECALS! DECALS!

This will help me decide whether or not I am going to put them on mine after paint.
 
Finally got some time to work on the Scrambler again.

Like most CJ's, my fuel and temp gauge did not work. Before i took this jeep apart I replaced the temp and fuel gauges and the temp and fuel sending units with "replacement" ones. The gauges still did not work. When I removed my wire harness i inspected every wire and connections, there was no damage.

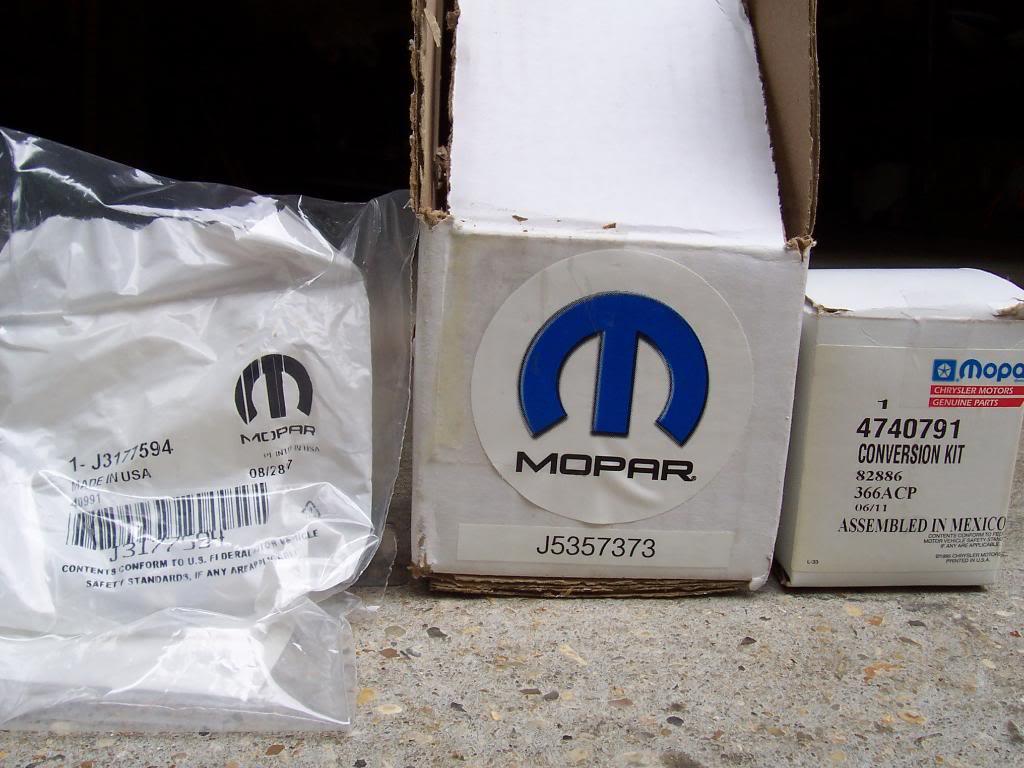
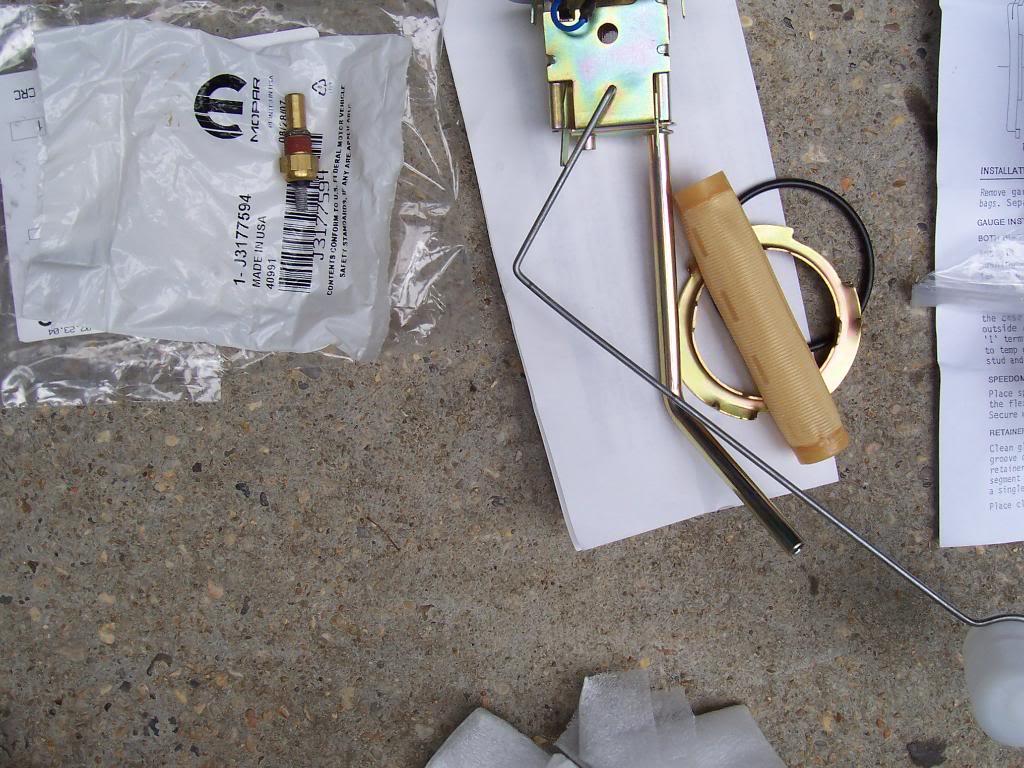
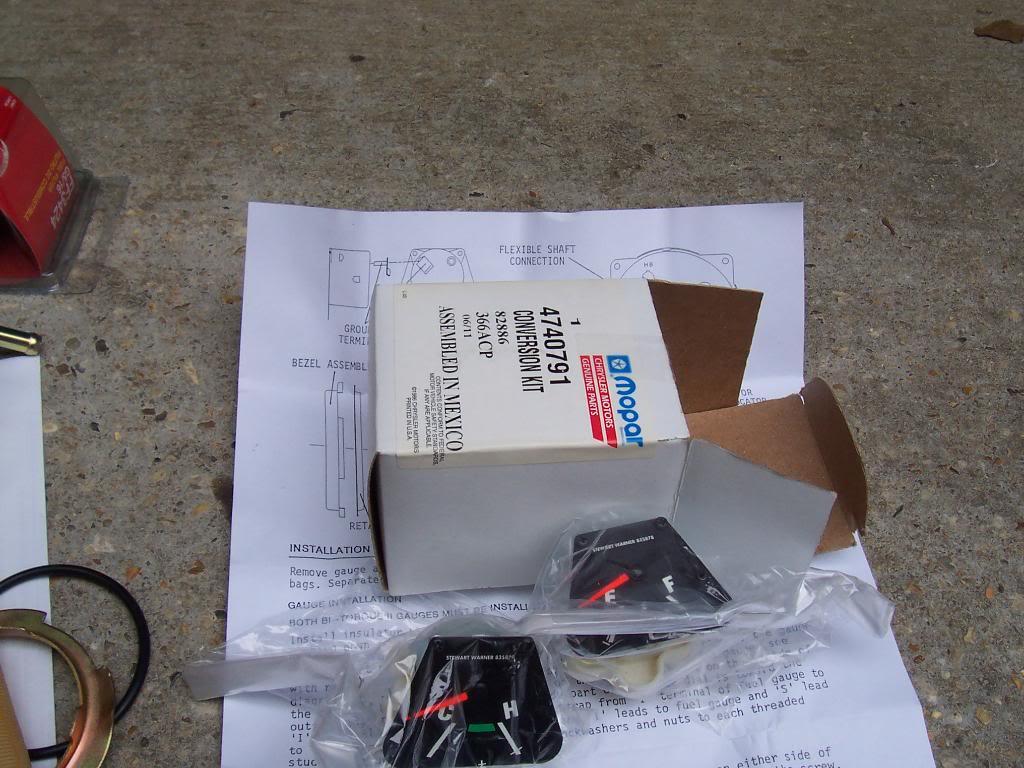
My solution to fix this problem: all new Mopar/Jeep gauges and sending units.

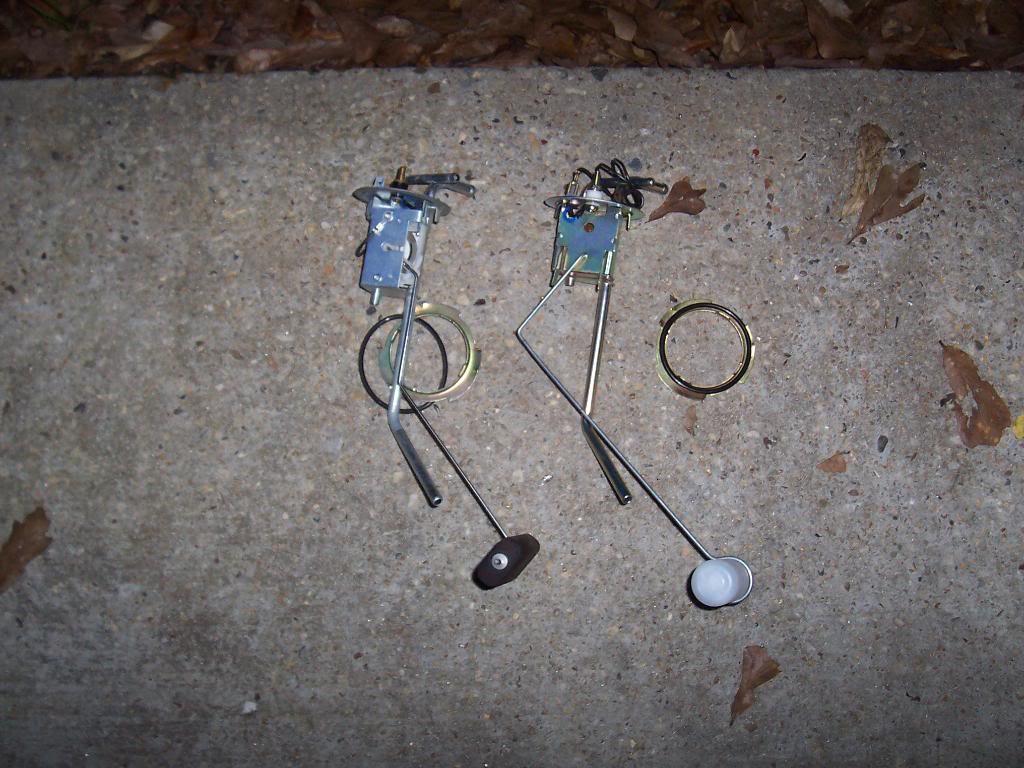
00117-1.jpg


Temp and fuel sending units.

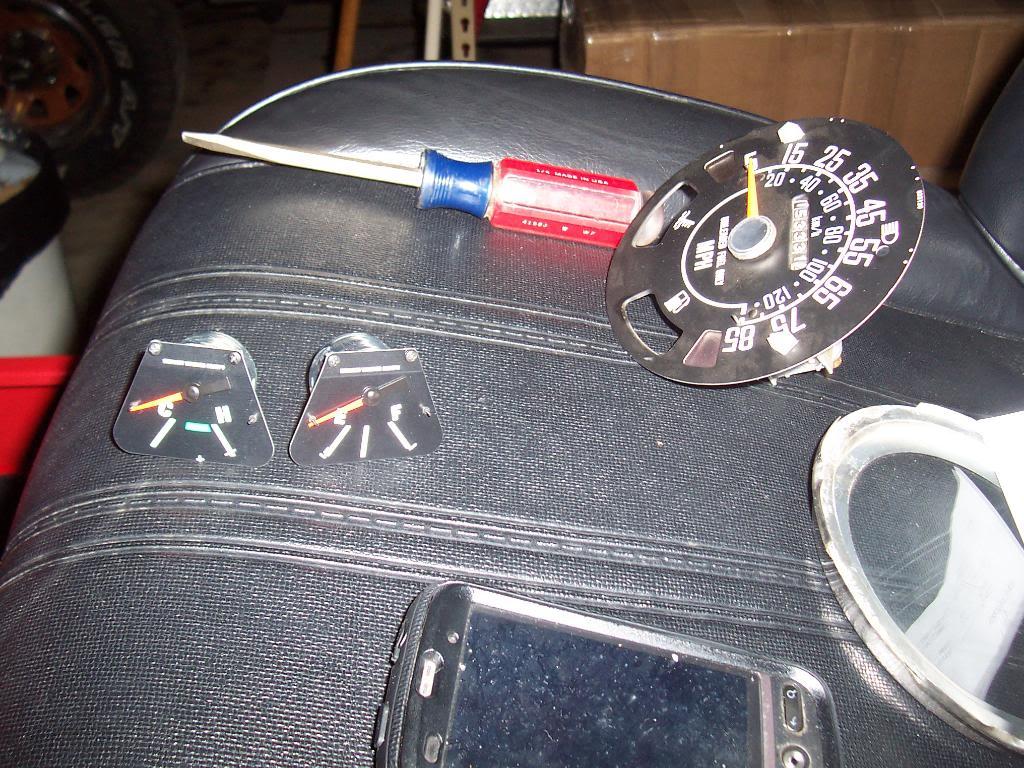
00218-1.jpg


Replacement gauges. Both of these gauges work off of full 12 volts, unlike the factroy guages that have the CVR thingy.

00315-1.jpg


Comparison of the two fuel sending units. Crown on the left, Mopar on the right. Of course, I had to drop the tank to change the sending units.

00416-1.jpg


Gauges ready to install. These are the Mopar gauges.

00515-1.jpg


The "replacement" gauges.

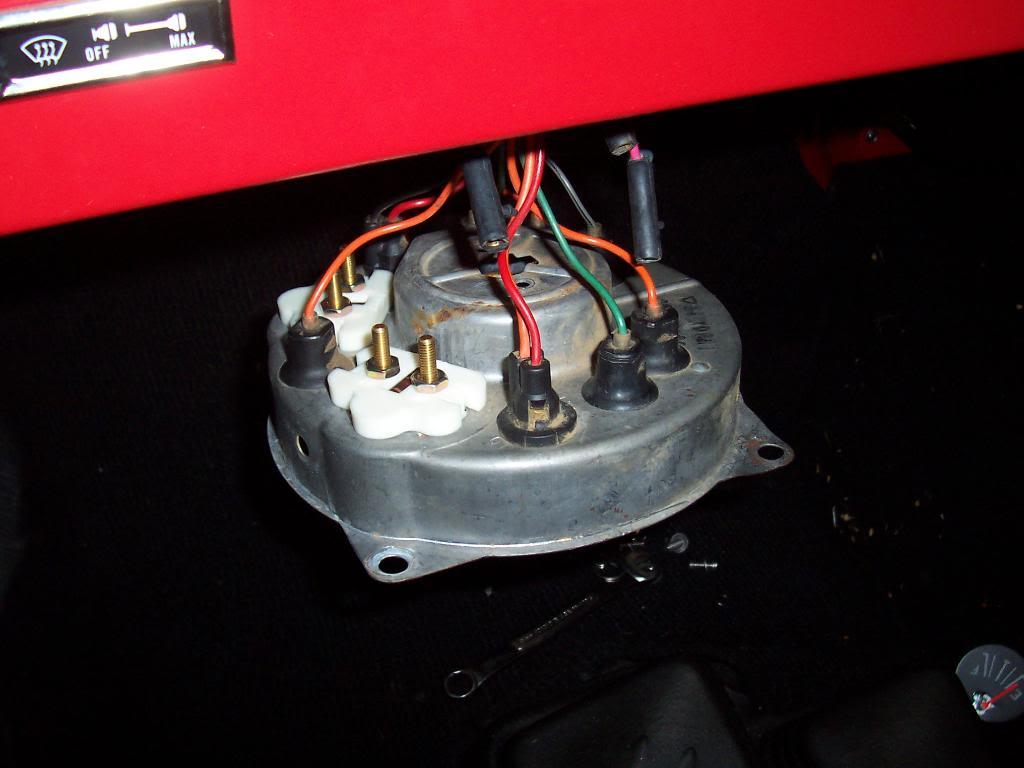
00610-1.jpg


Note the thick plastic isolators on the back of the new gauges (white plastic)

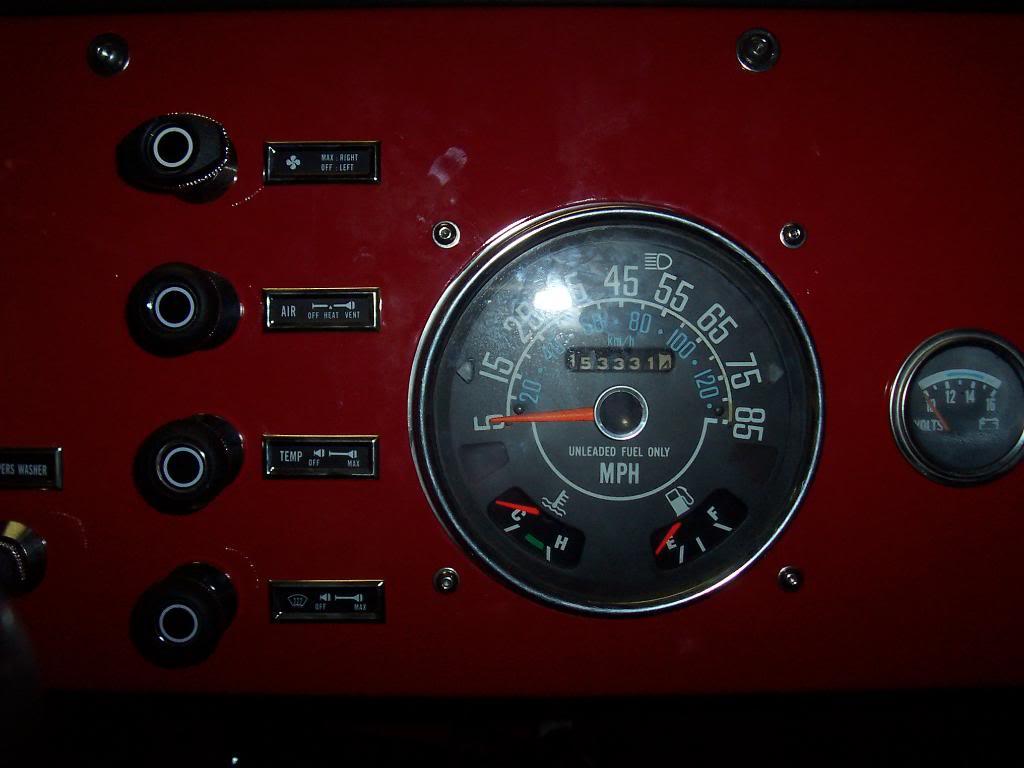
00710-1.jpg


The gauges installed, no power applied. Note how far to the left the needles sit at rest.

0088-1.jpg


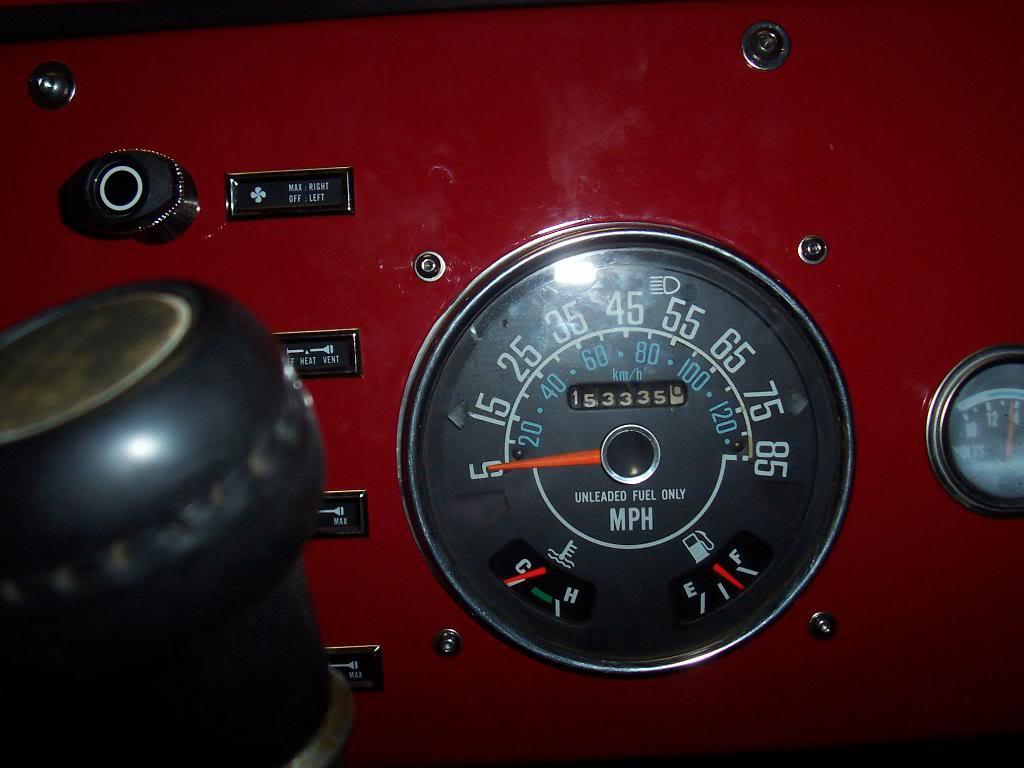
And with a full tank of gas and the engine warmed up fully.

0097-1.jpg


Fuel gauge - With a full tank of gas the needle points to 3/4 of a tank. I don't think this is a problem with the gauge, I believe it is a problem with the sending unit arm. I will have to drop the tank again, fill it with fuel, then slightly bend the arm on the sending unit so that the gauge will read full when the tank is full. That is my only idea on how to fix this issue.

Temp gauge - All my factory CJ temp gauges, when they work, always point to the dead middle spot between H and C when the engine is at 195 degrees. This gauge points right at the C, or just a little past the C. Some people have said this is normal, no way to adjust the gauge or sending unit (that I know of), so I will just have to get used to it.

Anyway, it is nice to have two functional gauges, and once I adjust the fuel gauge, it should be good. One thing i noticed: these gauges are super sensitive. If you hit a big bump, you can watch the fuel gauge arm rock back and forth with the fuel in the tank. Pretty neat.

That's it for now.

 
Something seems off with those gauges sitting way off to the left like that. They might not be for the right range of your senders or something else seems off. You should not have to bend any arms on the fuel sender and I think the temp is just wrong if you have a new sender.
 
Back
Top