• Notice for iPhone users: DO NOT use the image size reduction option when uploading photos to the forum. This causes portrait images to post as landscape. We have added a warning to the image insert pop-up as well.

Spankrjs' 1984 Long Term Project

And of course, not everything goes nice and smooth.

I got the exhaust back, with the O2 sensor bung welded in.
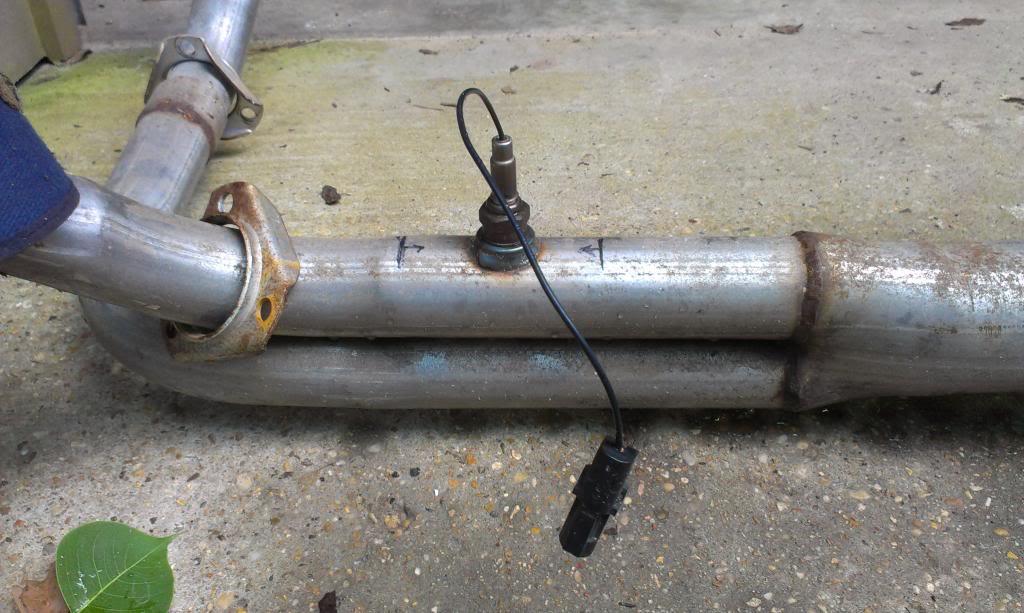
IMAG1518_zpsa26416a2-1.jpg


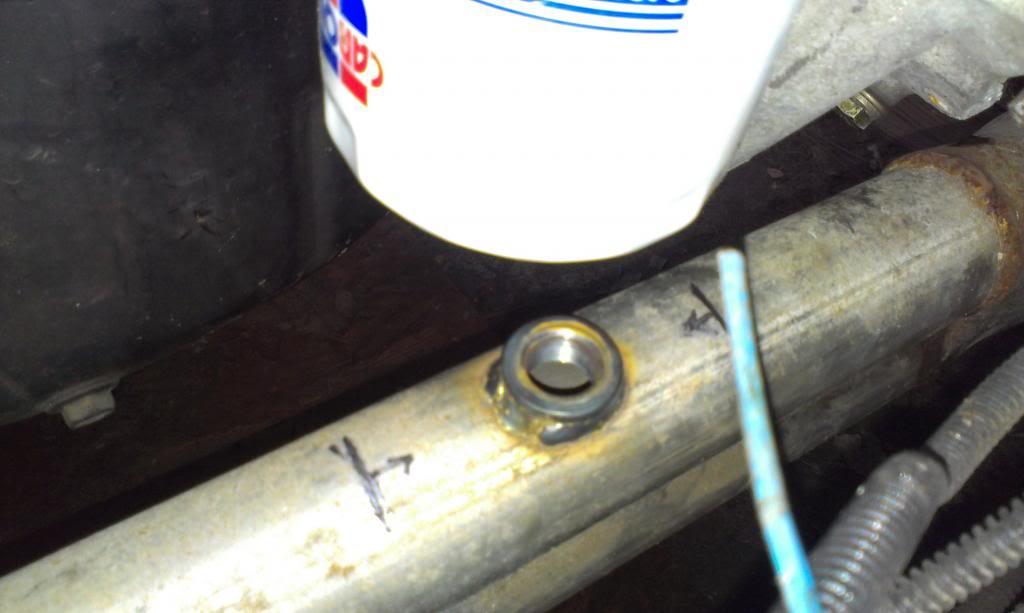
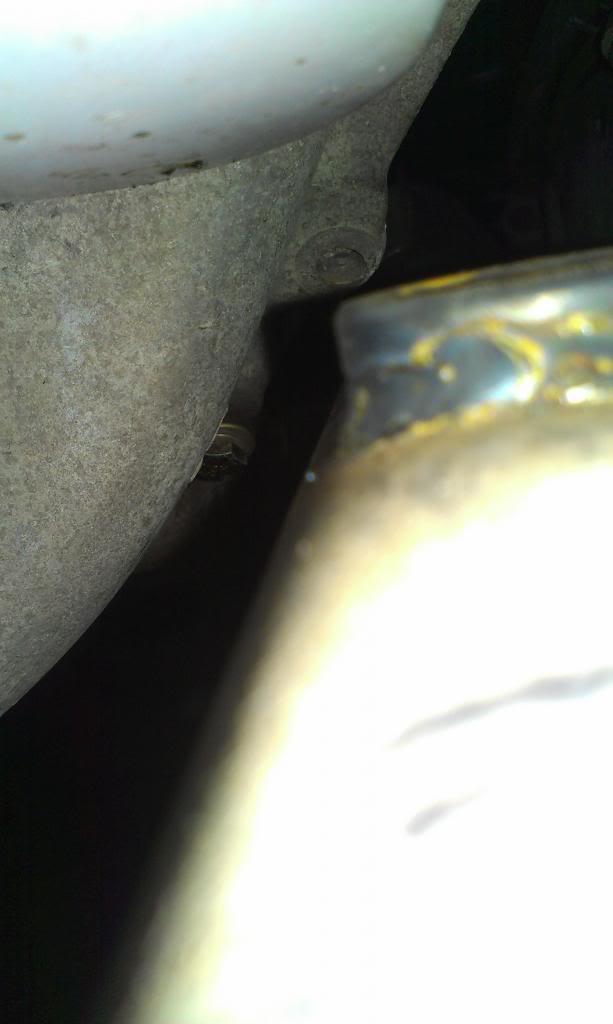
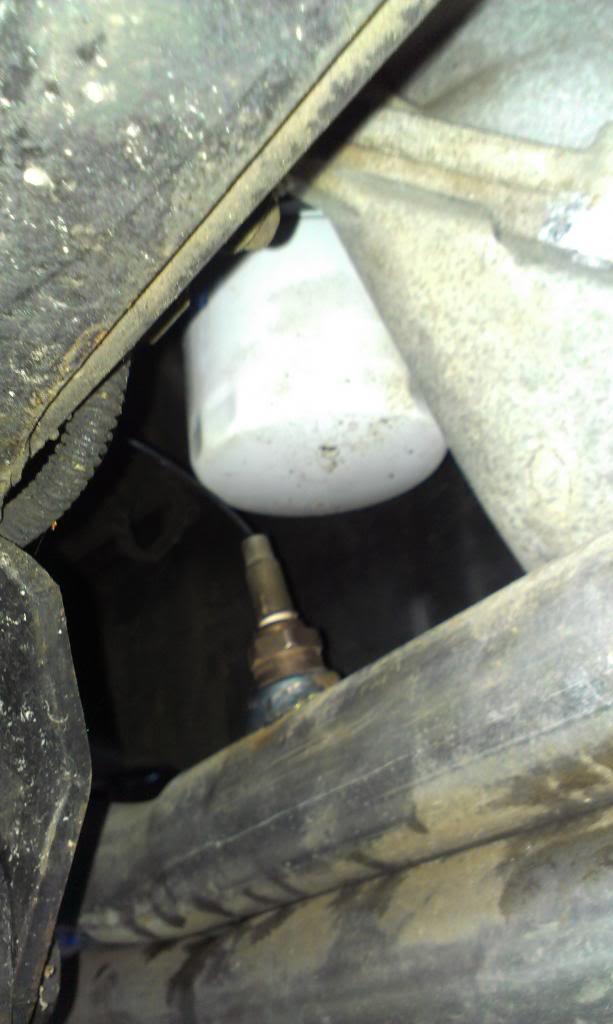
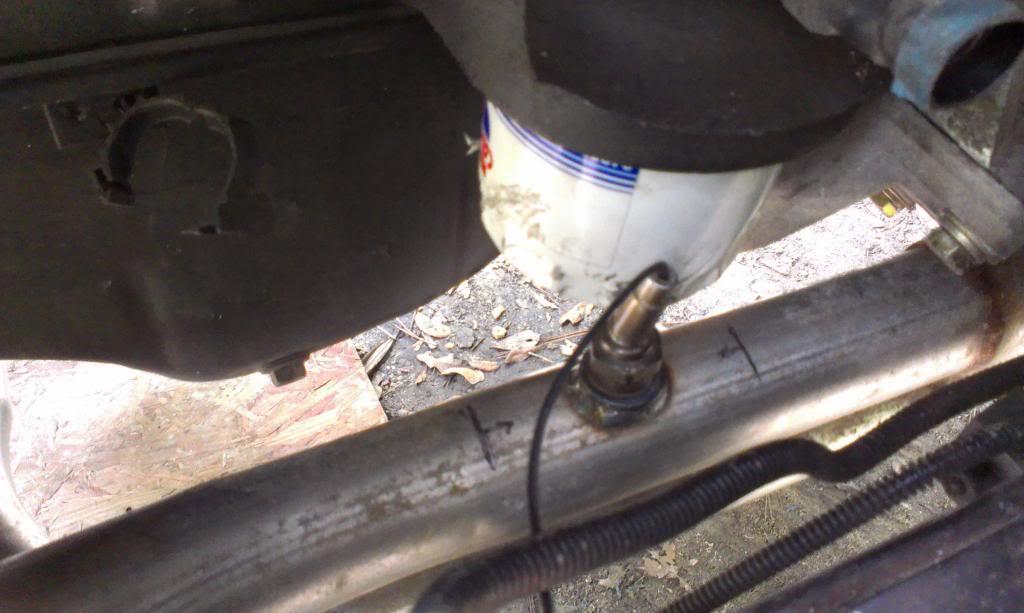
Looks good. But, I marked the exhaust for the bung when it was hanging down. And of course, this puts the O2 sensor directly underneath the oil filter!!!!!!!!!!!!!!
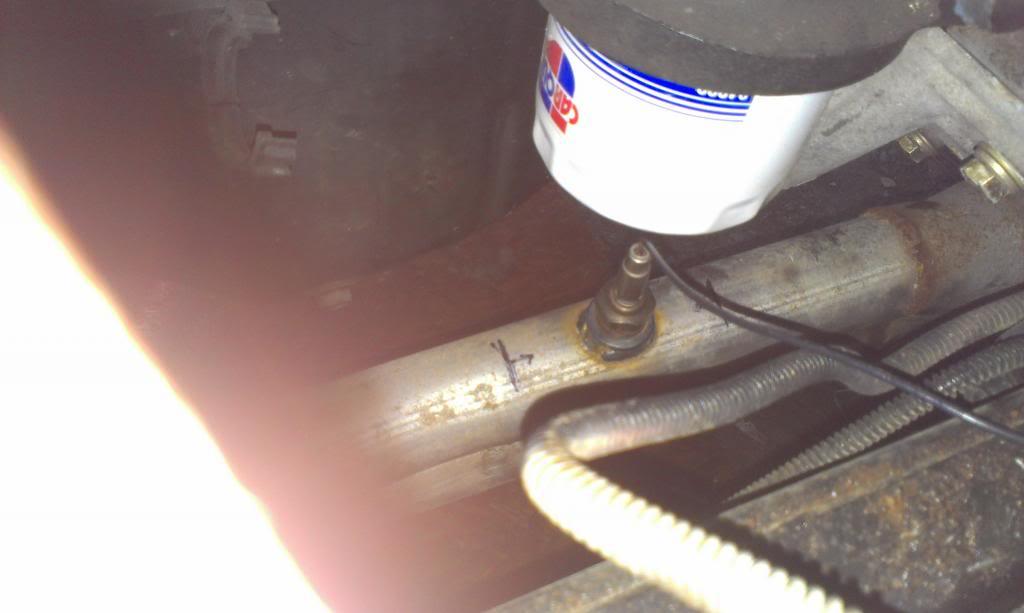
IMAG1519_zps2a5e270b-1.jpg


IMAG1520_zps76a6f272-1.jpg


IMAG1522_zps2210bd95-1.jpg


IMAG1523_zps68a3aff5-1.jpg


In the attempt to get the engine running, I broke the old O2 sensor, just to see if I can get the engine fired up. Kind of hack for now.
IMAG1550_zpse1485ae1-1.jpg


I am going to drop the exhaust again, and weld in another bung forward of the current location. I will then plug the current hole. I am already running a "short" oil filter, so the current set up wont work. Supposedly, certain year Corvettes come with a piece that screws into the block where the filter goes, drops down about an inch, then offsets over toward the oil pan, then drops down, then a skinny tall filter screws on. This would work, but the odds/expense of finding this piece is not worth it. I can get another bung welded in for $20. Lesson learned about marking exhaust O2 bung locations while the exhaust is hanging down!!!!

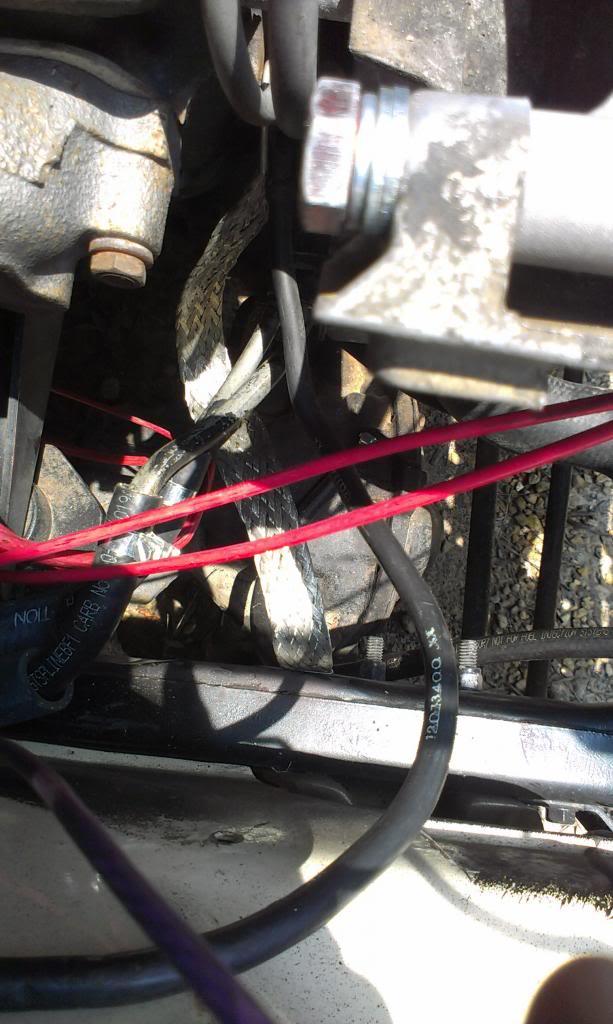
I also ran my ground straps. One goes straight from the battery back to the firewall, to ground the body. And the other strap runs from the engine (where the negative battery cable is bolted) to the frame.

IMAG1548_zps81cadd0e-1.jpg


IMAG1549_zpsfd8dddbb-1.jpg


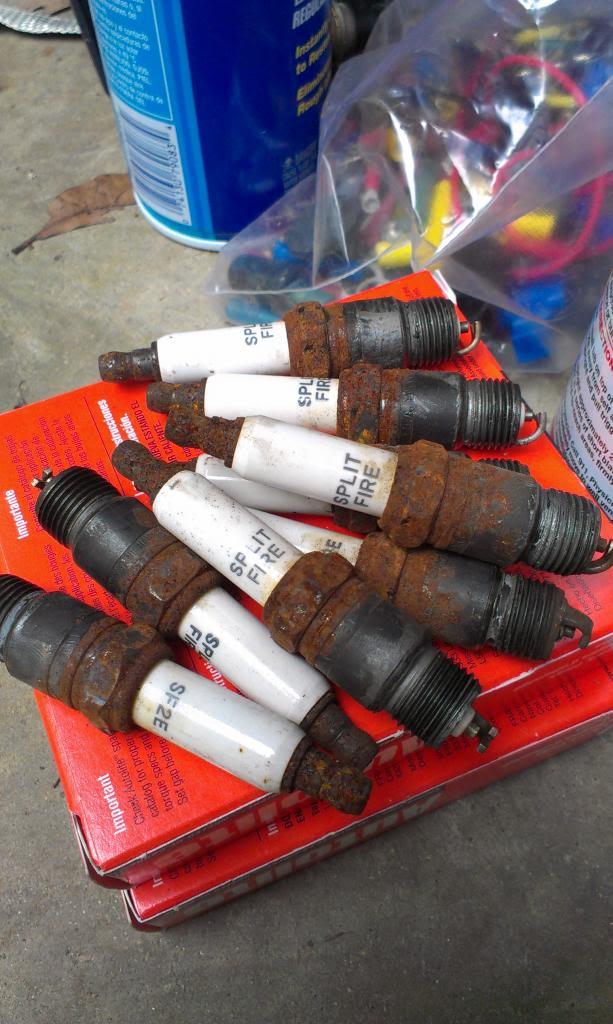
I also changed out the spark plugs. The engine had these plugs installed. They were new, but since there were no plug wires stuck on, they corroded.
IMAG1558_zpsb1e45663-1.jpg


Seven of the eight plugs are easy to get to. The #1 spark plug, driver side front, is a pain to get to, due to the engine being off set this way. The steering shaft gets in the way. I did not have to pull the shaft to get to the plug, just a bit aggravating.
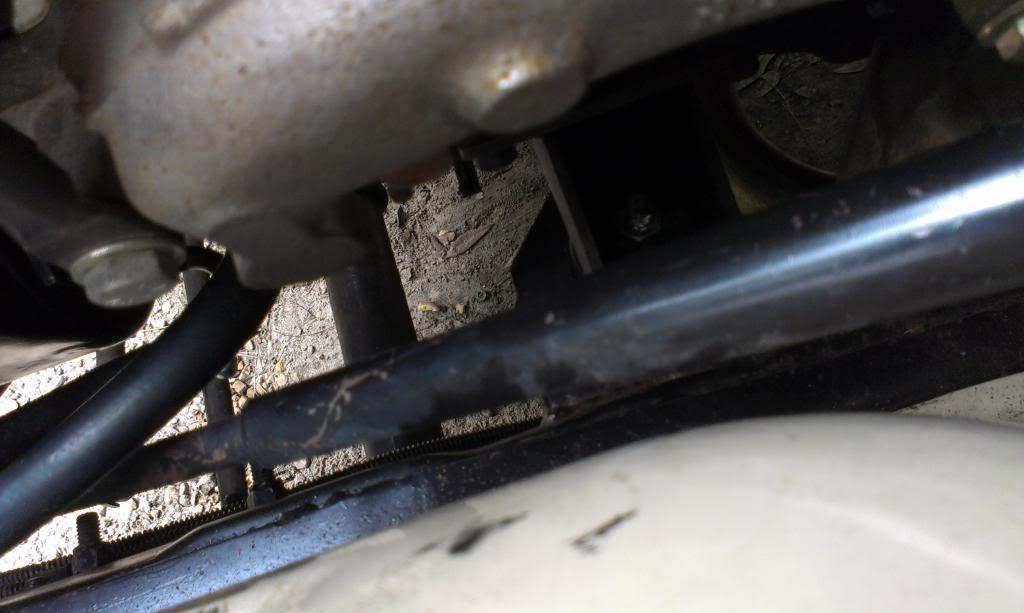
IMAG1557_zps351ec342-1.jpg
 
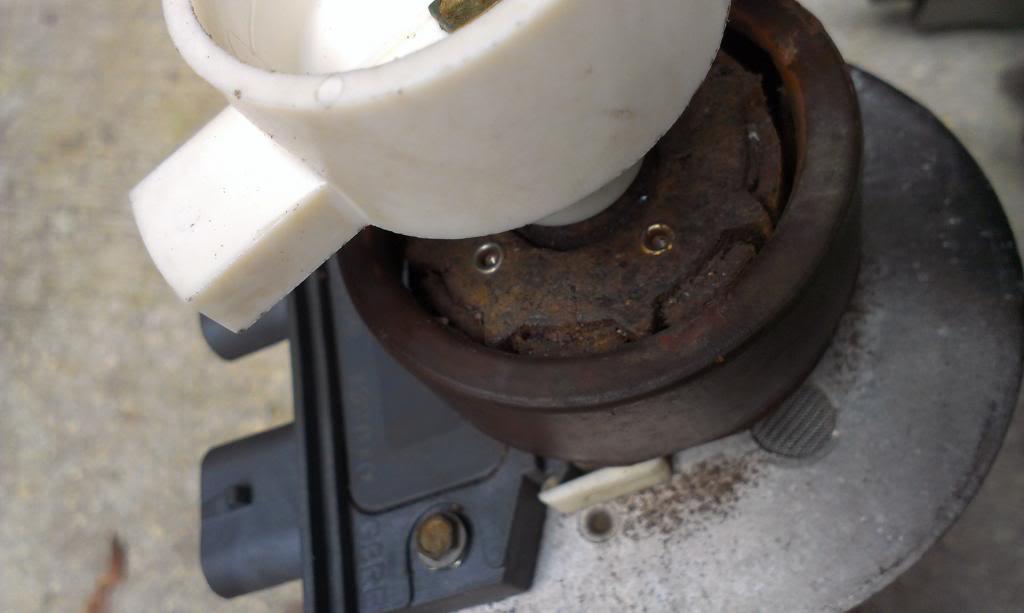
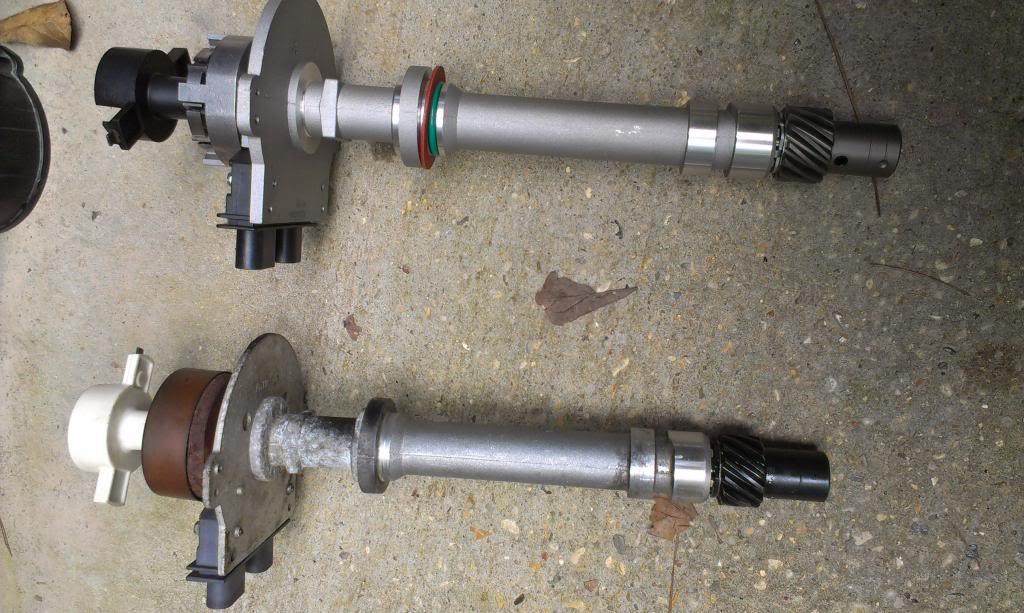
And more ignition problems. I pulled out the distributor so that I could spin the oil pump with a drill. I noticed that the oil on the bottom of the distributor was slightly milky, i.e. water contamination. The oil in the pan is fine. I "think" this engine sat without a distributor cap on it for some time. As a result, rain water/moisture severely corroded the pick up coil. I could not turn the shaft by hand!!!

IMAG1554_zps8fbeb24a-1.jpg


IMAG1553_zps2f9f3199-1.jpg


In the interest of saving time, I bought a new distributor assembly. I will keep the old one, rebuild it, and keep it as a spare. The only "wear" item on the distributor is the pick up coil. But, in order to change it out, you have to remove the entire distributor, remove the cam gear, pull the shaft out, and then unbolt the pick up coil. A spare assembly will make a nice "trail spare".

IMAG1552_zps6f1cb1f4-1.jpg


I did not mark the old distributor before I pulled it out, not sure if it was installed correctly anyway. So, we TDC the engine. Checked that #1 was up all the way on compression, and the timing marks corresponded on the harmonic balancer/block mounted dial. But, there is no mark on the cap/distributor base to verify the distributor is aligned correctly. So, I installed it with the base pointed in the previous location, and the rotor pointing at the first plug connector below/clockwise from the dash on the cap, with the cap posts lined up exactly perpendicular to the engine. This is the only information that the Chilton's manual contained. I guess it is a starting point??

This "project" came with new plug wires, but they were the "90 degree bend at the plug style". These will not work well. So, I bought a "universal V8" set made by Accel, with the "straight out at the spark plug style" ends. These work much better, with regards to clearing the exhaust manifolds. On plug #1, I used a 90 degree bend plug end, to clear the steering shaft.

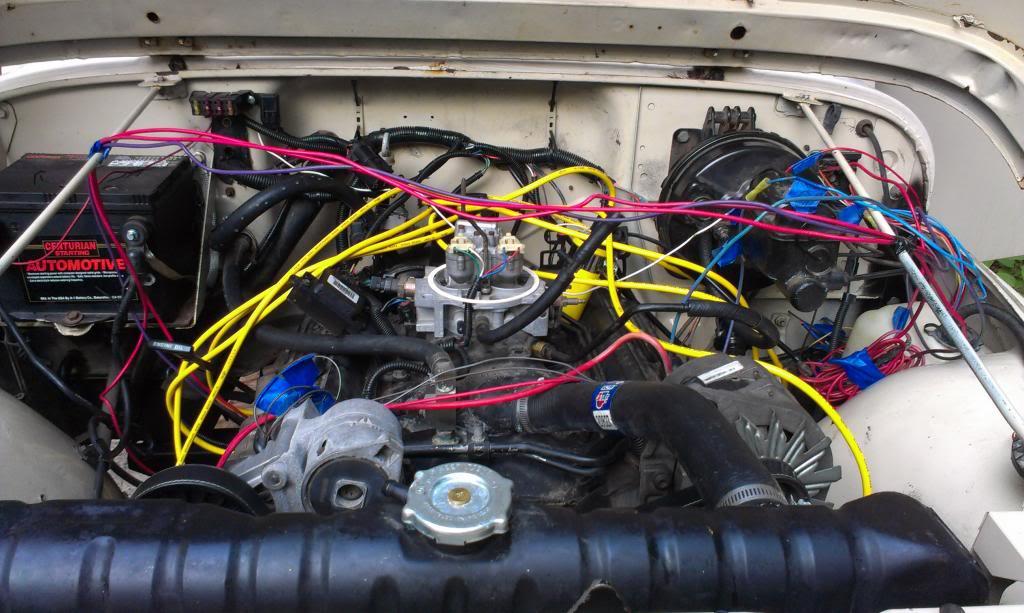
Quick under hood shot. Everything is still very "rough", just trying to get it to run.

IMAG1562_zps49612ab0-1.jpg


I hooked up my harness(s) to power for the first time. All of the Jeep chassis components are powering up properly, well, at least the devices still hooked up (headlights, wipers, turn signals, gas gauge, horn, etc.) The fuel pump also turns on and off, and the starter works. I think I got most of it right.

First problem, not getting gas. Ten gallons in the tank, pump turns on, and it sucks. But, my line coming out of the gas tank, or inside the tank, is completely blocked. I put a vacuum pump on it overnight, and it is holding steady.

IMAG1572_zpsa3945693-1.jpg


I plan on dropping the tank so I can unblock this line. Not sure what happened? All new lines. I did not plug the end of this line, and it did sit outside for about a year. So, maybe something crawled inside this line and died??

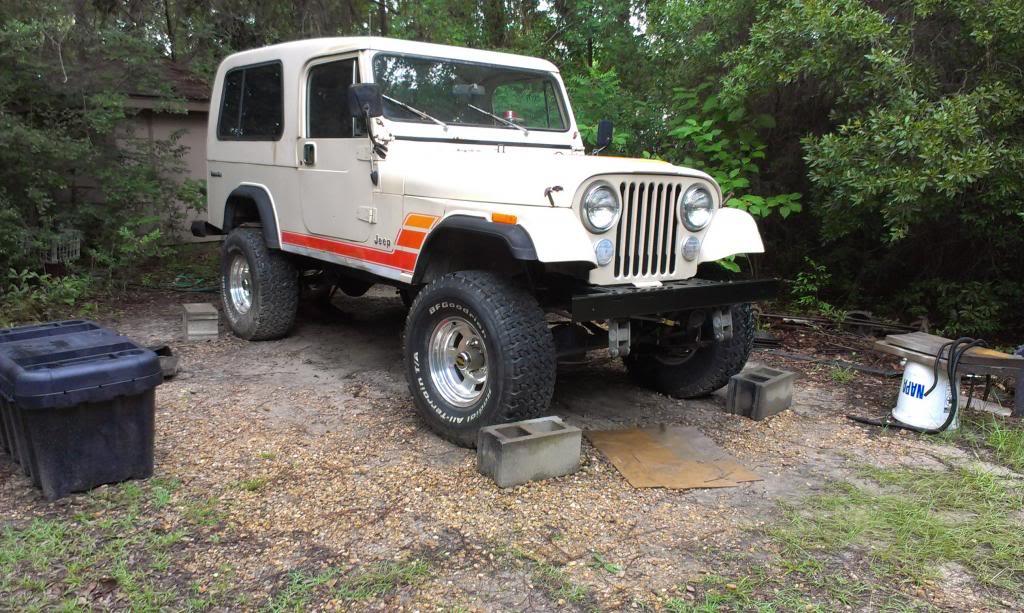
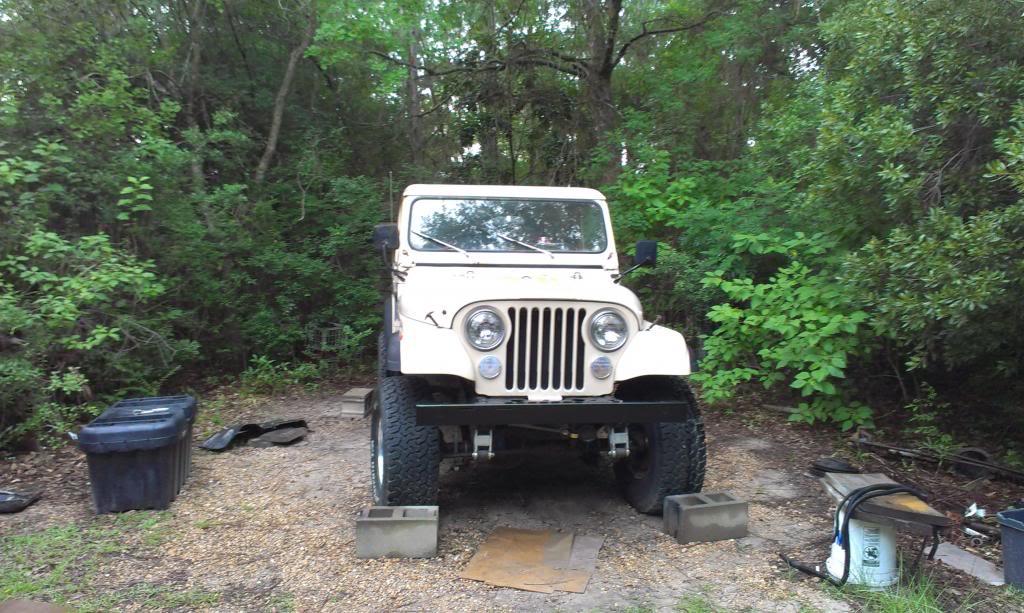
A few quick overall shots, getting close I hope.

IMAG1566_zps7a2a2ad0-1.jpg


IMAG1565_zpsffddf28d-1.jpg


That's it for now.
 
According to the interwebz, if the engine is at TDC, drop the distributor in. Wherever the rotor is pointing, that will be your #1. The pick up coil doesn't care, no real "alignment" of the distributor to the engine on these engines. That makes sense, I guess, all this thing is a cam position sensor:shrug:
 
More lovely "work on jeep weather" late yesterday afternoon/last night:banghead:

IMAG1574_zps2beb2803-1.jpg


IMAG1573_zps83acdd74-1.jpg


I did a little inside work until the rain slacked off.

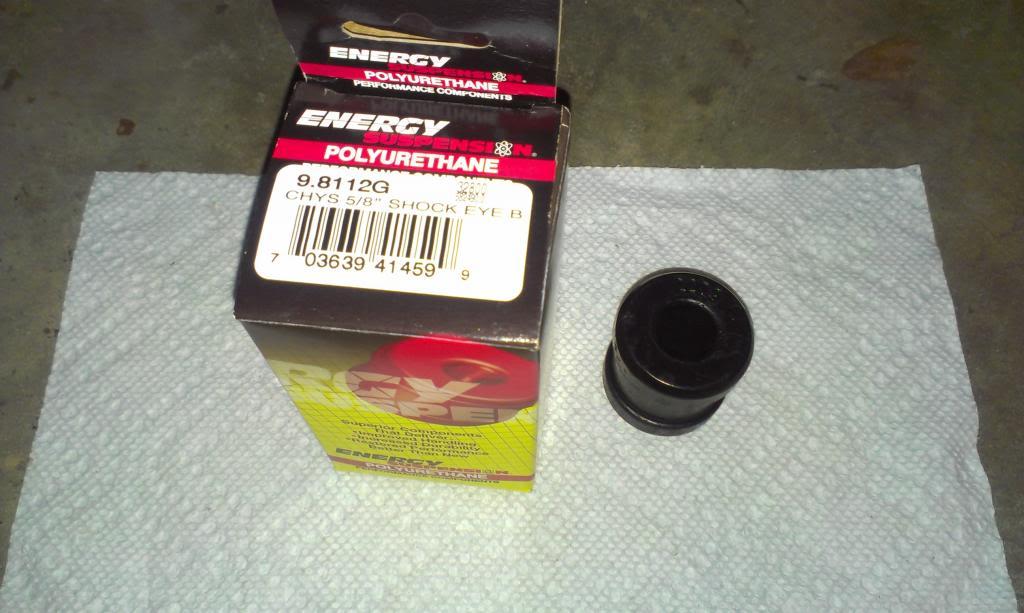
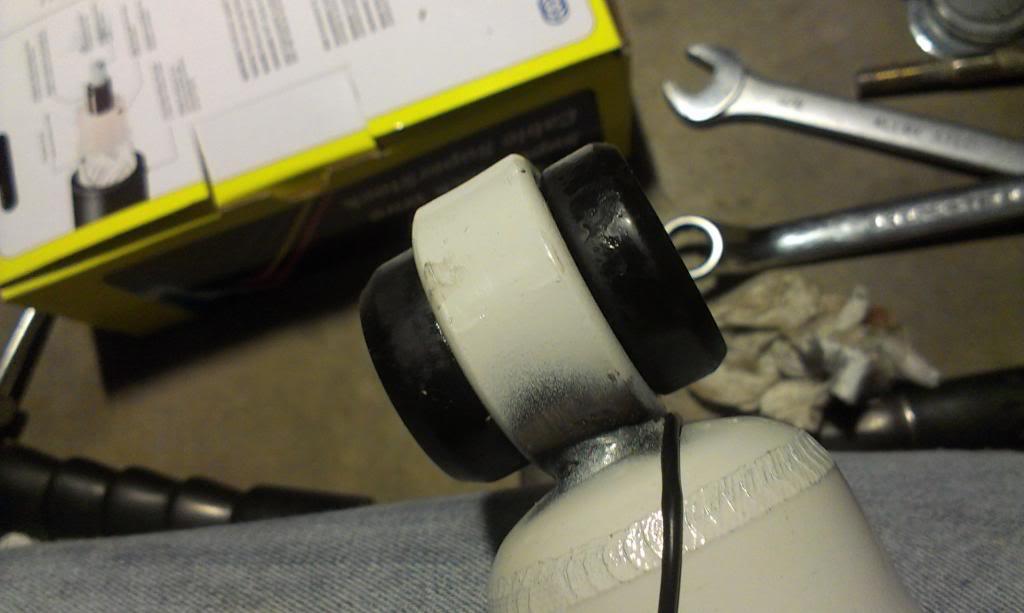
My shocks came without bushings on this end:

IMAG1578_zpsee0569eb-1.jpg


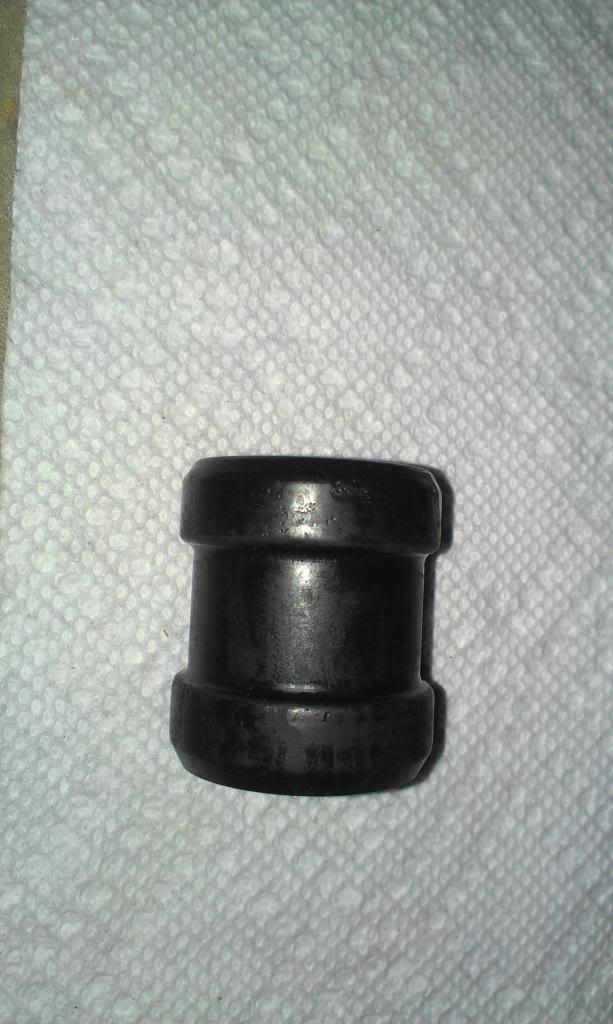
After a bit of measuring, these bushings seemed to be my best option:

IMAG1576_zps746772fe-1.jpg


IMAG1577_zps7bd4aeea-1.jpg


I used a little liquid soap as lube, and a bolt, washers, and a nut as an "install tool":

IMAG1579_zpsf01403ce-1.jpg


The "tool" will get it this far:

IMAG1582_zpsc917e8a7-1.jpg


And a quick "smack on the concrete" finishes the bushing install:

IMAG1585_zpsefb29621-1.jpg


The shocks that came with this Jeep project are "new", but they are not exactly the correct length, more on that later. They will work, it will just take some bump stop work.

Even though it was still raining a little/muddy outside, I dropped the tank to see if I could figure out my "fuel restriction" issue. Once I lowered the tank, it was pretty easy to see the problem:

IMAG1588_zps02851cb1-1.jpg


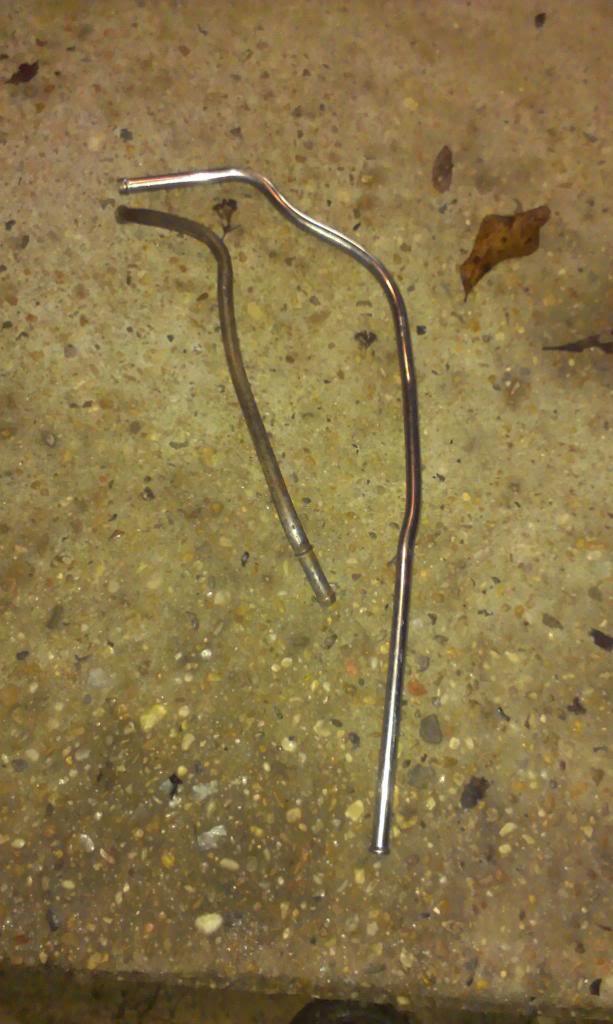
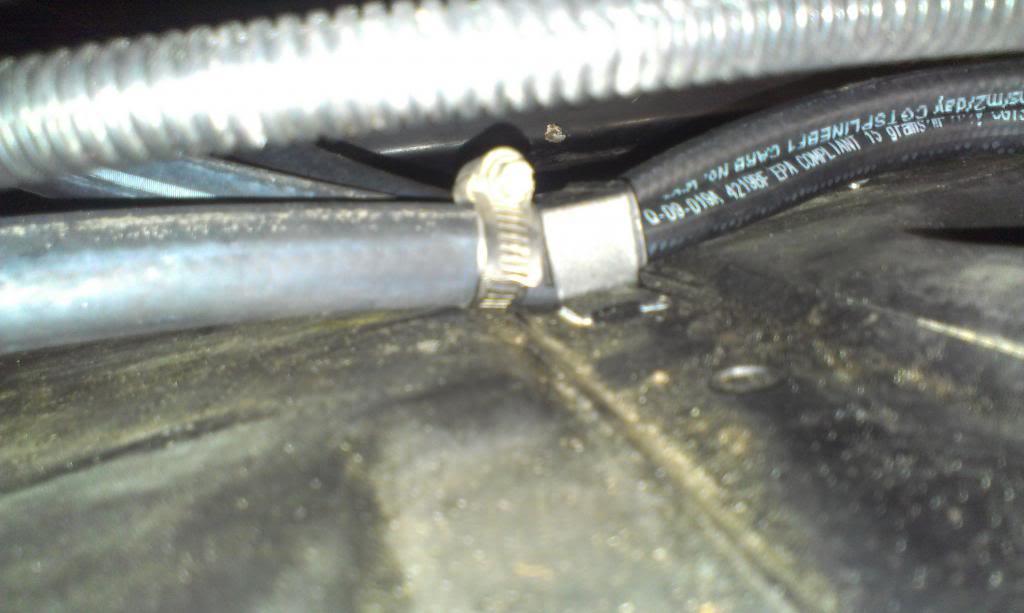
Yep, I kinked the supply line. The sending unit comes out at a bad angle, considering the fuel line has to turn 90 degrees to get to the other side of the Jeep. I remember when I was hooking this rubber line up to the stock metal line, I had to pull on it to get it to reach. Well, I kinked it.
 
Easy fix. I will use this piece of left over SS tube to replace the short stock piece.

IMAG1590_zpsb0a10274-1.jpg


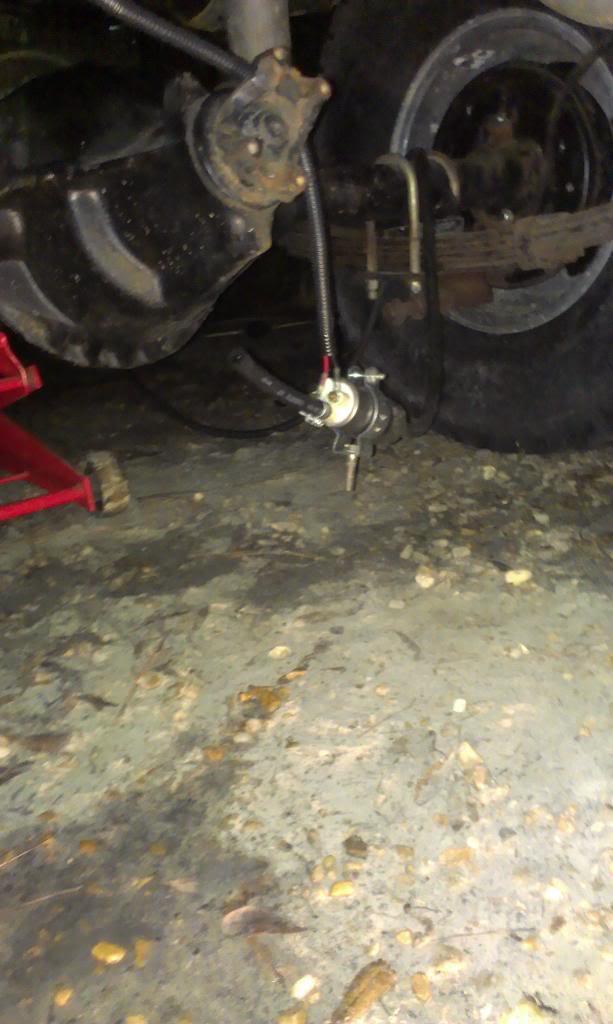
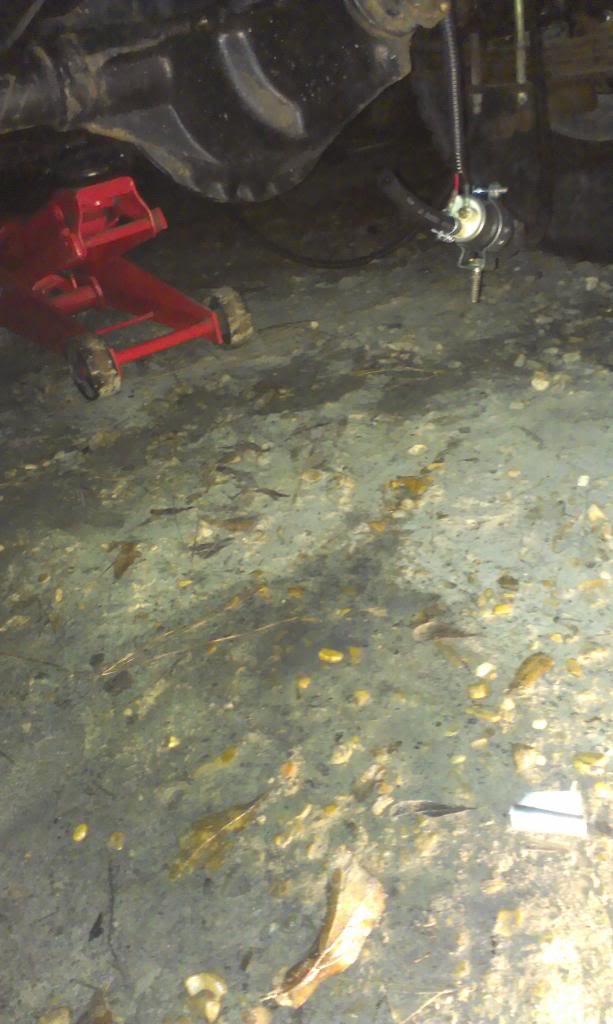
I temporarily hooked up the fuel pump to see what would happen, and it works.

IMAG1591_zpsbf5e8d31-1.jpg


IMAG1592_zps0b9c46fc-1.jpg


I am actually kind of glad it did not work at first. My test run resulted in some nasty brown gas coming out of the fuel pump. Glad it is cleaned out now, instead of shooting that stuff to the injectors!!!


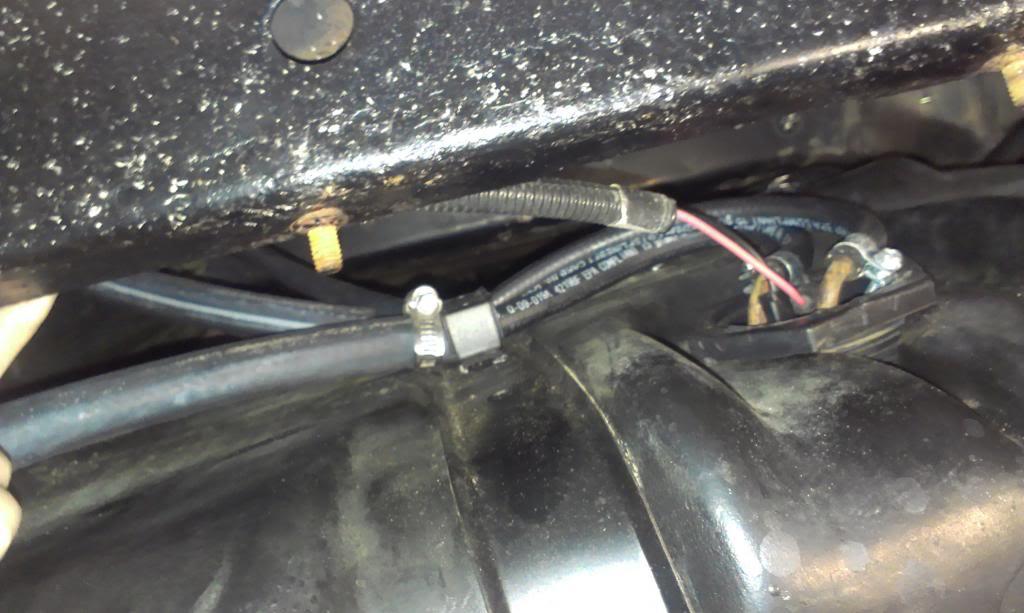
I tried to clamp the rubber line in place with a hose clamp to prevent the line from kinking, but it did not work.

IMAG1593_zpsbb3534db-1.jpg


IMAG1595_zps86a4c04a-1.jpg


IMAG1594_zps16b79a14-1.jpg


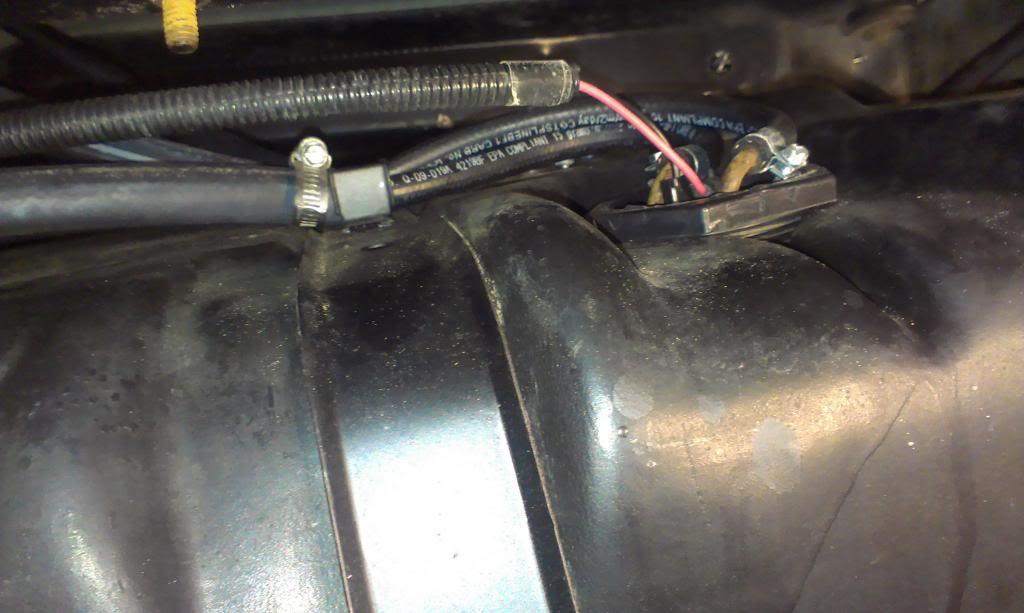
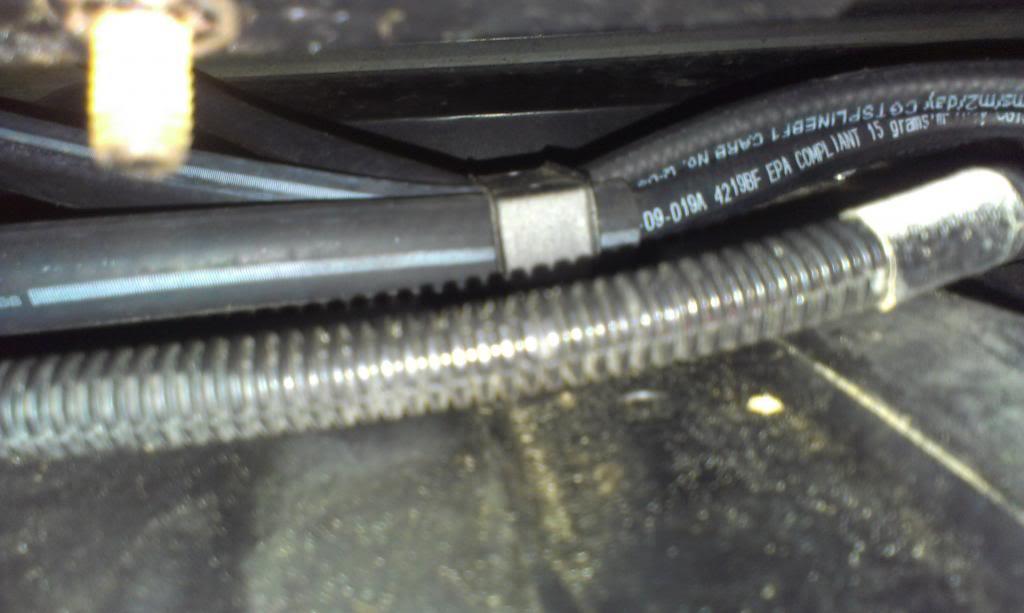
But, by shoving my "anti-chafe" outer line into the stock tank strap bracket, I am able to hold the rubber line into an "anti-kink" position.

IMAG1596_zps4c33c14e-1.jpg


I did not want to run a longer rubber line coming out of the tank. This particular FI hose only comes in this length, they do not recommend longer runs. Granted, this TBI pump only puts out 13-17psi max, still didn't want to risk it. My longer SS line will fix this issue.

I have about an hours worth of work left to get the fuel system back on line. Barring a monsoon this afternoon, might get this thing running finally, I hope.

That's it for now.
 
Hey thanks for the dimensional info on the distributor, that will come in handy for me soon.:bow:
That fuel hose had to be a big relief(yes, pun int'd.) Looks like you're in the home stretch now. Keep at it.:smokin:
 
Hey thanks for the dimensional info on the distributor, that will come in handy for me soon.:bow:
That fuel hose had to be a big relief(yes, pun int'd.) Looks like you're in the home stretch now. Keep at it.:smokin:

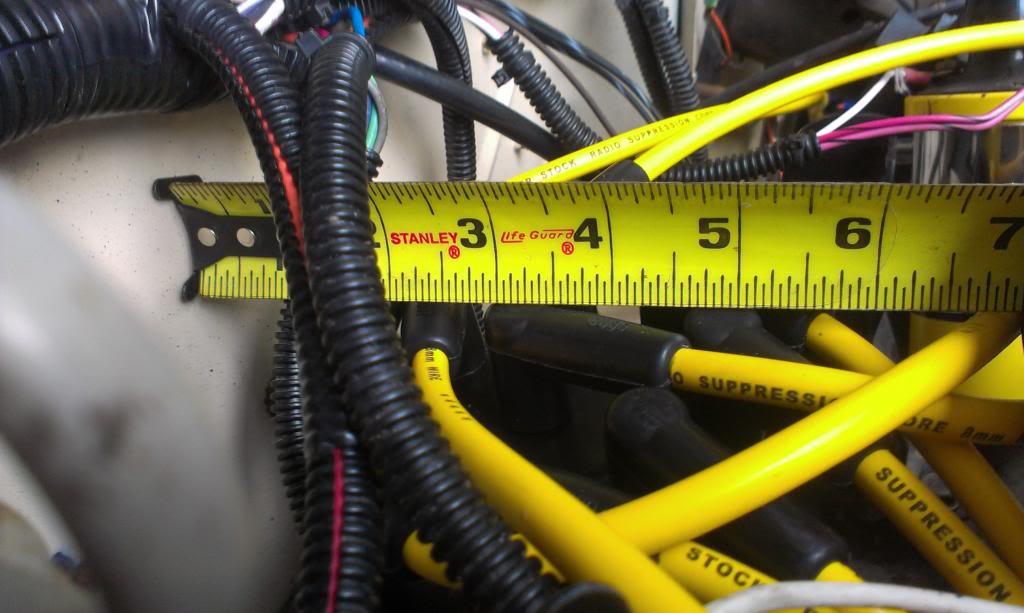
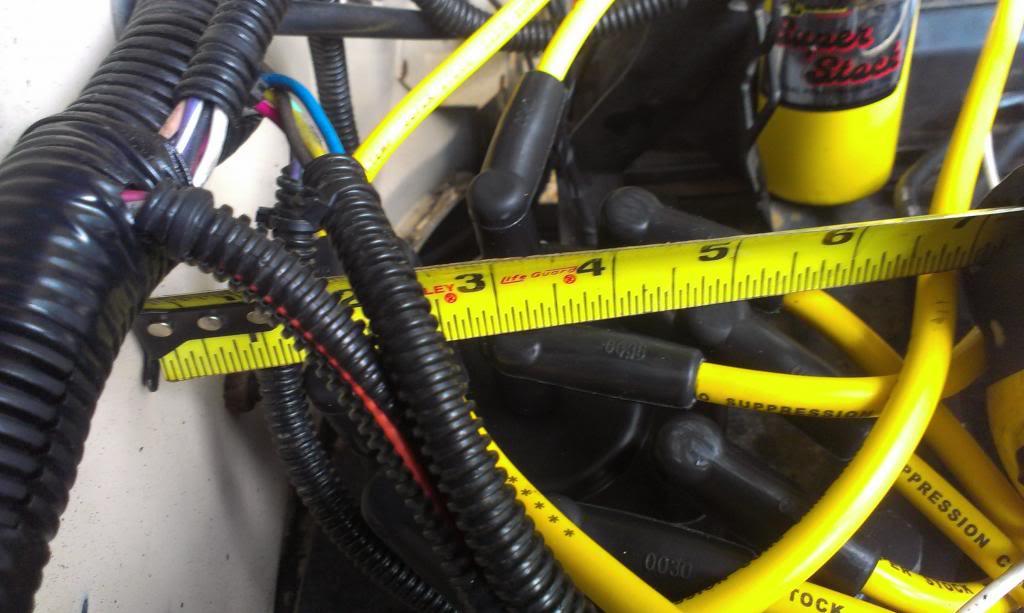
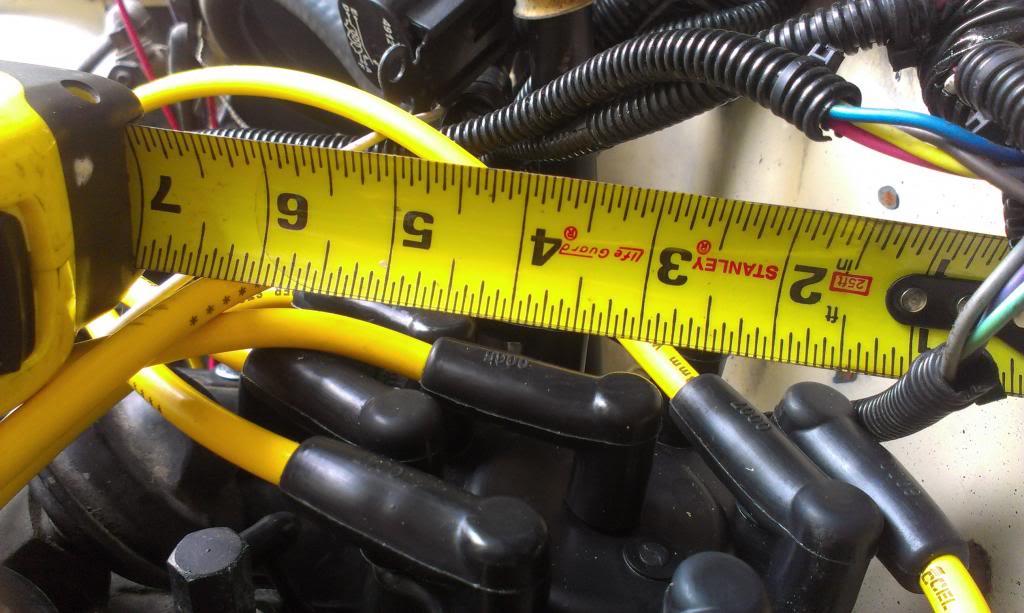
I will post up some pictures in a little while:thumbsup: The center of my cap is about 3" from the firewall:thumbsup:
 
Hee-Hee :D:smokin::headbang::bacon::thumbsup::D:cool::christmas:


It's alive................................................:thumbsup:
 
I will post up some pictures in a little while:thumbsup: The center of my cap is about 3" from the firewall:thumbsup:


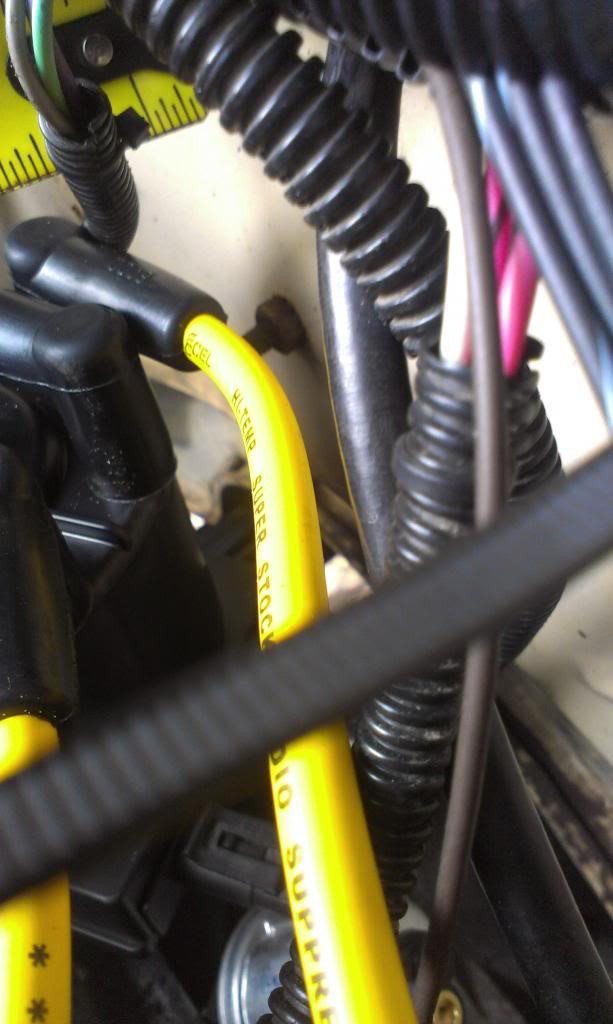
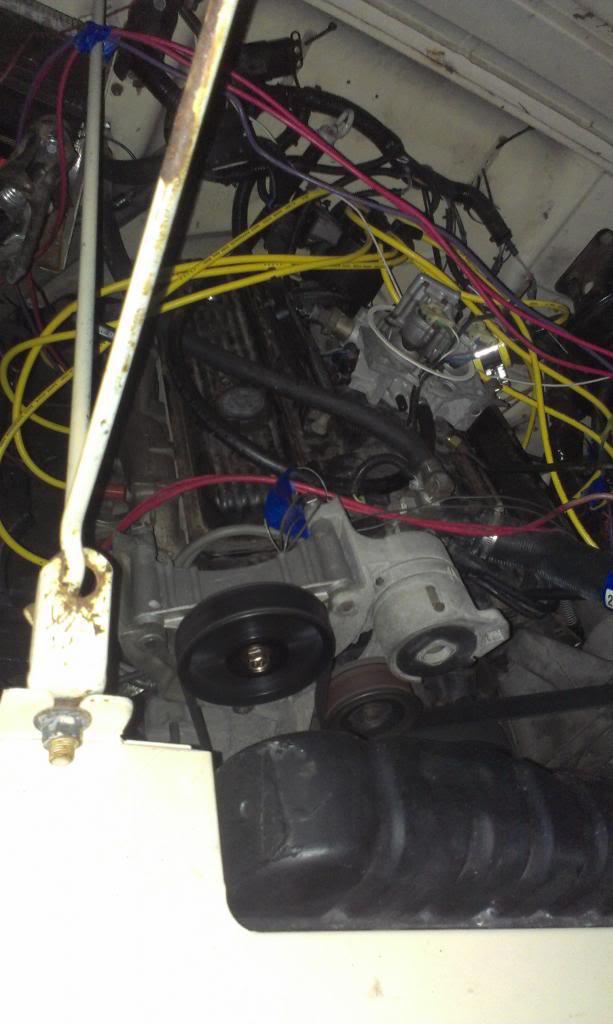
Here you go:thumbsup:

IMAG1598_zpsbb86e60d-1.jpg


IMAG1599_zps3bd16ad0-1.jpg


IMAG1600_zpsa375363f-1.jpg


IMAG1601_zpsf322c34f-1.jpg


NOTE - I have the transmission/transfer case held up with a bottle jack at the time of these pictures. I believe the engine is currently sitting a little bit more level then normal. Once I bolt the transmission mount back down I will take some more pictures/measurements:thumbsup:
 
We had to use the jumper cables, twist the distributor a little bit, but she fired up fairly easily!!!!!!!!!!!

IMAG1608_zpsb19ce78c-1.jpg


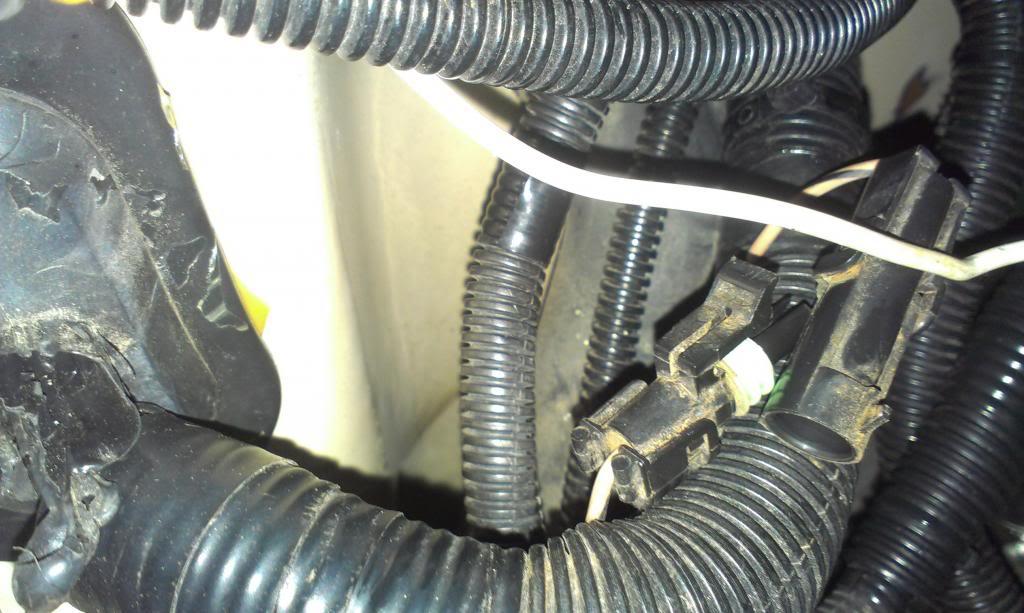
We let it run for a bit, shut it down, checked fluid, added transmission fluid, and started it up several times. It starts up, runs, and shuts down great. It also sounds really good. After it warmed up, we disconnected the wire pictured below, which cuts the computer timing off, and set the timing to 0 degrees.

IMAG1610_zps32f90e06-1.jpg


After setting the timing to 0, and plugging the computer back in, it started back up, and the computer took care of the timing. It seems like the more it runs, the better it runs.

The only problem:

IMAG1606_zpsb59aaecf-1.jpg


IMAG1607_zps1e914a38-1.jpg


IMAG1603_zps8232069f-1.jpg


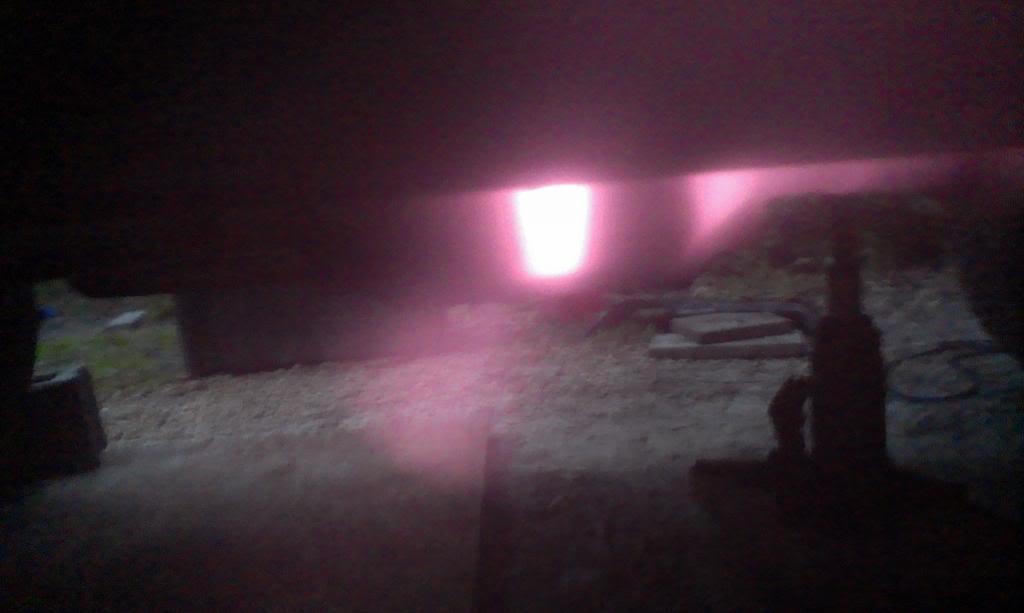
I got a bit nervous/distraught when I noticed the exhaust smelled really bad, like maybe dead mice in the muffler. When the exhaust started shooting flames and flaming meteorites out, well not a good sign, even though it looked really cool!!! It also caught the woods on fire a bit, but the water hose put those fires out fairly quickly!!!!!!!! Did I mention how cool it looked, like a jets afterburner!!!!!!!!!!

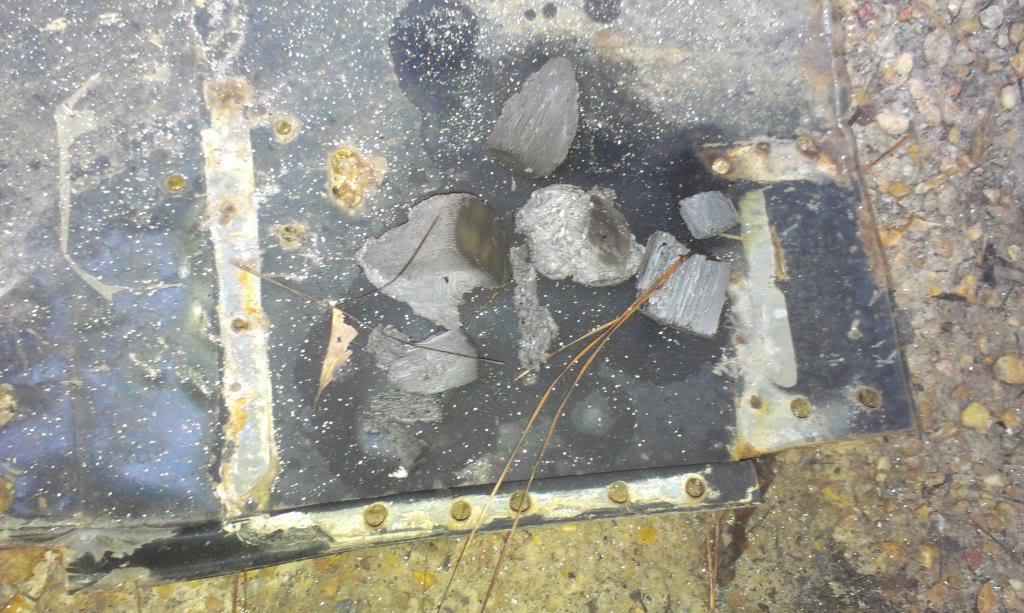
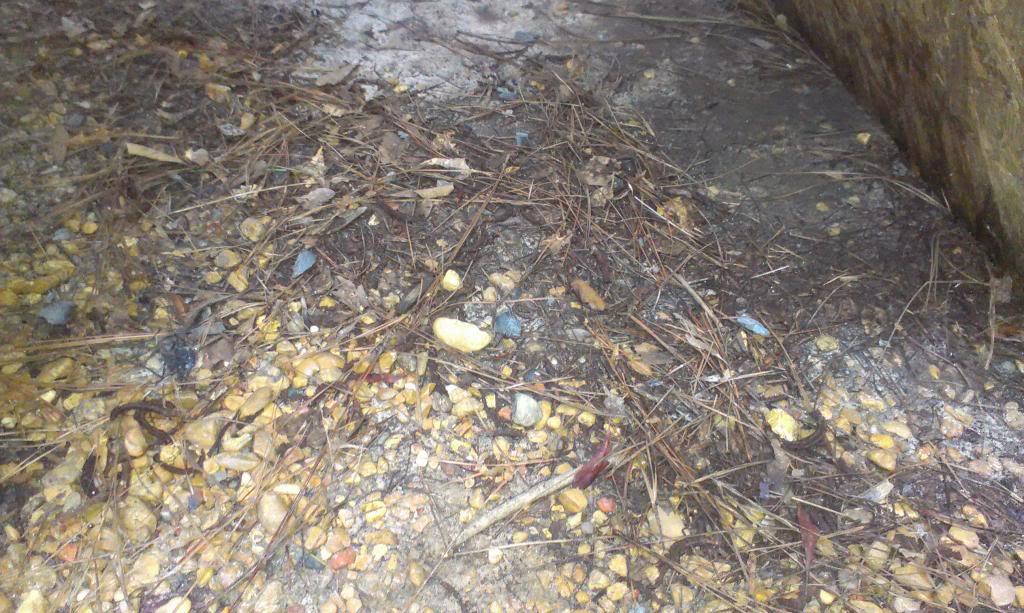
This is what it was shooting out the exhaust:

IMAG1611_zpsc994146c-1.jpg


IMAG1612_zps72d4feef-1.jpg


It seems the brand new catalytic converter was broken, and pieces of it were shooting out the exhaust. I don't really understand that, but no big deal. The exhaust has to come out for a new O2 sensor bung, it will be a good time to cut the cat out, too.

I do think the motor was running a hair rich, but the broke O2 sensor coupled to the fact that the exhaust was plugged up/shooting out fire is probably causing that. Should be an easy fix. The motor is quiet at idle, but sounds good when it is revved up.

All in all, a huge sigh of relief, it runs!!!!!!!!!!!!!!!!!!!!!!

That's it for now:wave:
 
WOW AFTERBURNERS!!!!
while you have the exhaust out, wrap it. Your feet will thank you.

One step closer to Sandblast!!!
 
Awesome!

I've seen cats do that before. When you have the exhaust down, make sure the cat chunkies didn't clog up the muffler.

And...somehow I missed your question about the lockup. I think mine only locked up in OD. I do know that the TV cable adjustment is critical to both shifting and transmission longevity. There are several good tutorials on the 'net that explain adjustment.
 
WOW AFTERBURNERS!!!!
while you have the exhaust out, wrap it. Your feet will thank you.

One step closer to Sandblast!!!

Appreciate it:thumbsup: As for SandBlast, not sure if this one will make it, still tons to do:shrug:

bolt in drive shafts (easy)
bolt in shocks (easy)
space down bump stops/new front shock towers (moderate)
hook up alternator wire with resistor (should be easy, once I find a resistor that will fit this application)
clean up under hood wires (easy, but time consuming)
wire up gauges (easy, but time consuming)
wire and adjust transmission (easy, but time consuming)
install/hook up brake light switch for brakes and TC lock up function (easy, little bit of time, and more wires)
transmission shifter install (should be easy, but time consuming to do it "neat")
transfer case shifter (need to modify the hell out of a stock one, time consuming to make it look "stock")
clean/install seats and sliders
a radio would almost be a necessity for a 19 hour one way trip
hard top needs at least to be secure, shouldn't be too bad to get it half arse for now
air cleaner install, need the stock "spacer", or stack some aftermarket plastic ones
EGR is not necessary, but need to at least disable it/plug up the vacuum lines to it
fill axles with oil (easy)
bleed brakes (should be easy, as long as MC/booster are still good)
modify exhaust, again
install skid plate/transmission mount, again (easy)
a secondary transmission cooler sure would be nice (easy, bit of time)
one tire looks a bit "dry", maybe good for spare, need one new tire (easy)

The transmission and both diffs are both "new", need to be broke in. The above is just some of what I know needs to be done, discounting any other issues that might pop up once I drive it:fingerscrossed:

I am going to keep plugging away, but its a bunch to do in a short time. A 19 hour drive to Michigan would be an "interesting" inaugural run:rotfl:

But, I am really impressed with how smooth/quiet the engine runs. It seems to be in good mechanical shape. It idles perfectly smooth and rev's easy/smoothly. Seems to be powerful, it rocks the Scrambler from side to side while revving it:rotfl:

I really need to get a couple hundred miles/couple of days driving time with this one before I drive it cross country, or do I????????

All my red Scrambler needs is an oil change..............


Appreciate it:cheers:

Awesome!

I've seen cats do that before. When you have the exhaust down, make sure the cat chunkies didn't clog up the muffler.

And...somehow I missed your question about the lockup. I think mine only locked up in OD. I do know that the TV cable adjustment is critical to both shifting and transmission longevity. There are several good tutorials on the 'net that explain adjustment.

Yep, I have heard of cats falling apart, just not shooting out in flaming meteorites:rotfl:

I have looked at the TV cable adjustment, doesn't look too bad, but it is critical.

As for the TC lock up on mine, not sure what mine will do. Pretty sure it will lock up in OD, not sure about the other gears, need to drive it to find out:thumbsup:
 
You can check one more thing off your list Raymond. Just to make your life a lot simpler, your flag is loaded in the Toy Hauler. :thumbsup: (the ONLY thing you need to do is bring a hole to install it in, I have the tools) :wave:
 
But, I am really impressed with how smooth/quiet the engine runs. It seems to be in good mechanical shape. It idles perfectly smooth and rev's easy/smoothly. Seems to be powerful, it rocks the Scrambler from side to side while revving it

Congrats Raymond! You deserve that. :cheers: And yes, thanks for the pictures, much appreciated.
 
Yep, I have heard of cats falling apart, just not shooting out in flaming meteorites:rotfl:

You don't want to be standing by the tailpipe when a vehicle with a failing cat backfires! Took weeks to get all the "shrapnel" out of my leg...
 
You can check one more thing off your list Raymond. Just to make your life a lot simpler, your flag is loaded in the Toy Hauler. :thumbsup: (the ONLY thing you need to do is bring a hole to install it in, I have the tools) :wave:


oh this is WAY too easy...
 
You can check one more thing off your list Raymond. Just to make your life a lot simpler, your flag is loaded in the Toy Hauler. :thumbsup: (the ONLY thing you need to do is bring a hole to install it in, I have the tools) :wave:

Appreciate it Toby:thumbsup: I still have my little "home made angle bracket flag holder" bolted to the red Scrambler's front bumper:thumbsup:

Congrats Raymond! You deserve that. :cheers: And yes, thanks for the pictures, much appreciated.

No problem, and thanks:thumbsup:

You don't want to be standing by the tailpipe when a vehicle with a failing cat backfires! Took weeks to get all the "shrapnel" out of my leg...

I made my buddy stand back by the tail pipe using a sheet of plywood as a shield, to keep the woods from catching fire:rotfl:

oh this is WAY too easy...

Dang Canadians:rotfl:

Very Nice!!

Appreciate it:cheers:
 
Back
Top