• Notice for iPhone users: DO NOT use the image size reduction option when uploading photos to the forum. This causes portrait images to post as landscape. We have added a warning to the image insert pop-up as well.

1983 frame off refresh - finally

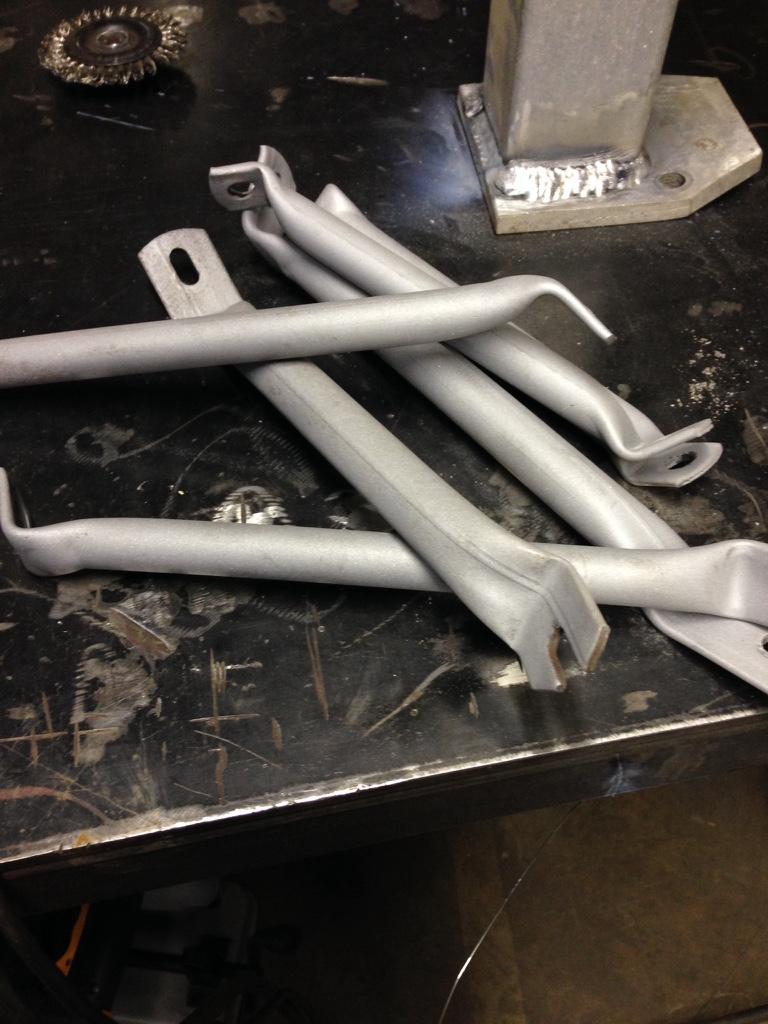
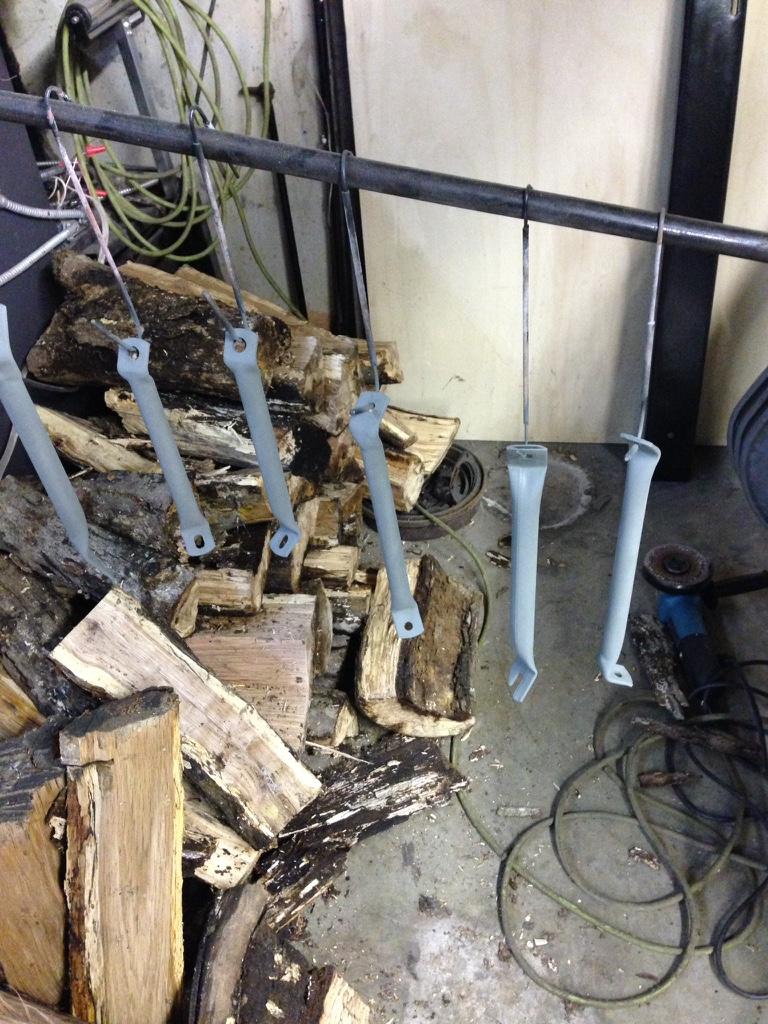
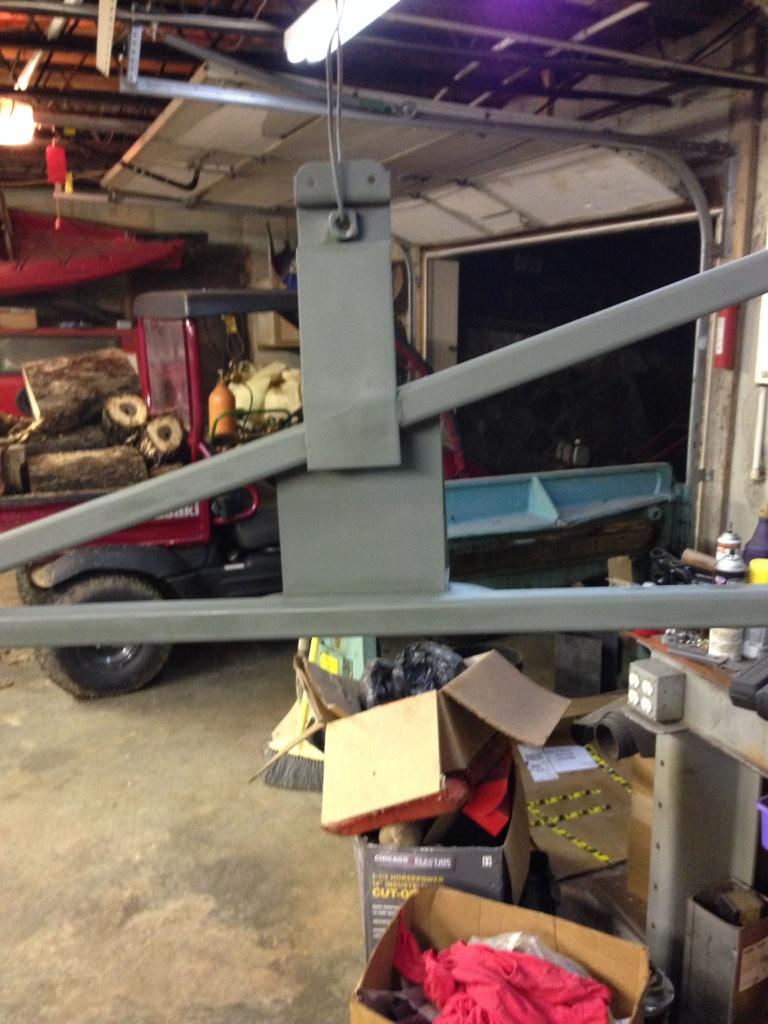
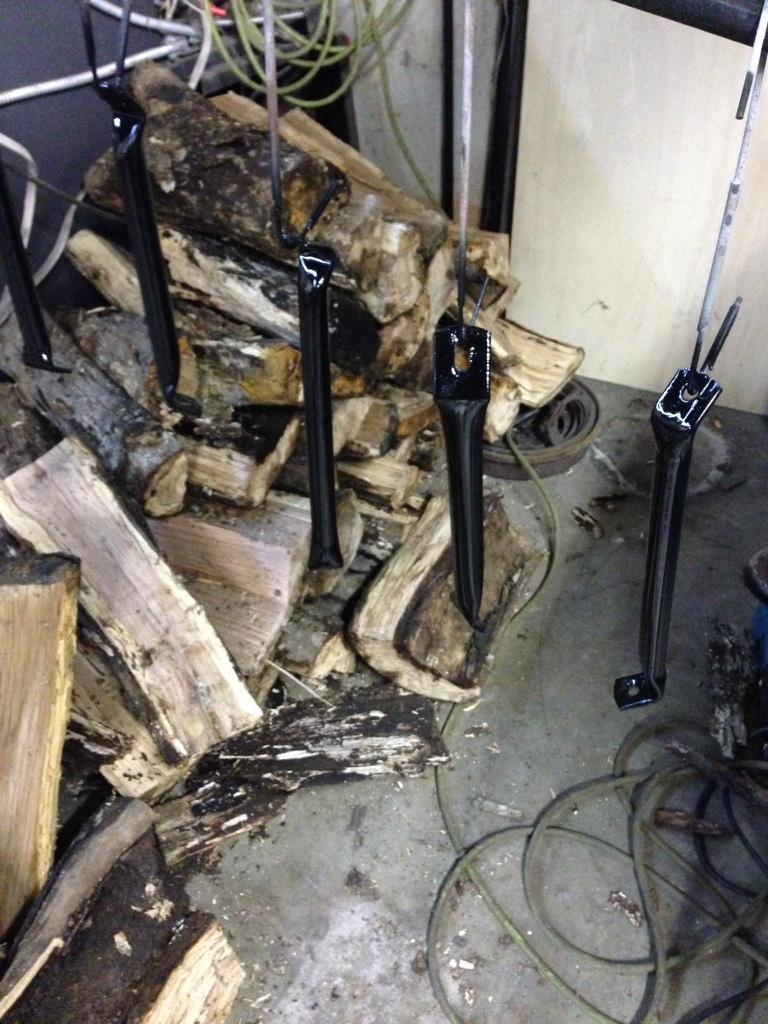
Well, progress has been slow and other things have come up. We've all been there. Got the spare tire carrier blasted and painted along with some fender support brackets I picked up from ChopShop on here. What a trip he is, I really like talking jeeps with that guy!

45b677a2ff178af288e35b9596742f12-1.jpg


57e52bed020fba356f8011f0f8a42077-1.jpg


fc995cf62bb9220a7cfb5979929cfcc2-1.jpg


a6b0e3be1c6fdce179f103d33dc3e400-1.jpg


db5ee4779becc70f34a71cdc082c45f9-1.jpg


The next is from my D300 that I'm freshening up.

b71ce3a44ef704c1266d8deab6b83887-1.jpg


I'm supposed to/planning on picking up the majority of my panels minus my tub this weekend from my painter. I've been reading other posts here of those that are dissatisfied with their guys. I'm not in any hurry to get this done and my guys busy full time and I just let him go at his pace and all will be well.

I've got the t case to assemble, install the drive shafts, fill trans, t case, both axles with fluid, install rear caliper brackets and calipers, finish hard lines for brakes and fuel. If I get my doors back I can assemble them too, I've got both full and half. I need to look for a pair of TJ black uppers on the CL too.
Next comes the tire purchase.......I'm 90% on the 33-10.50 BFG TAs

That's plenty for now but I'm glad to be back in the game and feel revived to complete this project.

I went with the 33x10.50 bfg at's in the original ko's. I bought a set of the new ko2 for my f-250 and don't like them nearly as much as the ko's. Why the hell bfg changed one of the most popular tires beats me. Oh and I'm also running a 4.5" lift on the jeep. I think the tires look great on that amount of lift


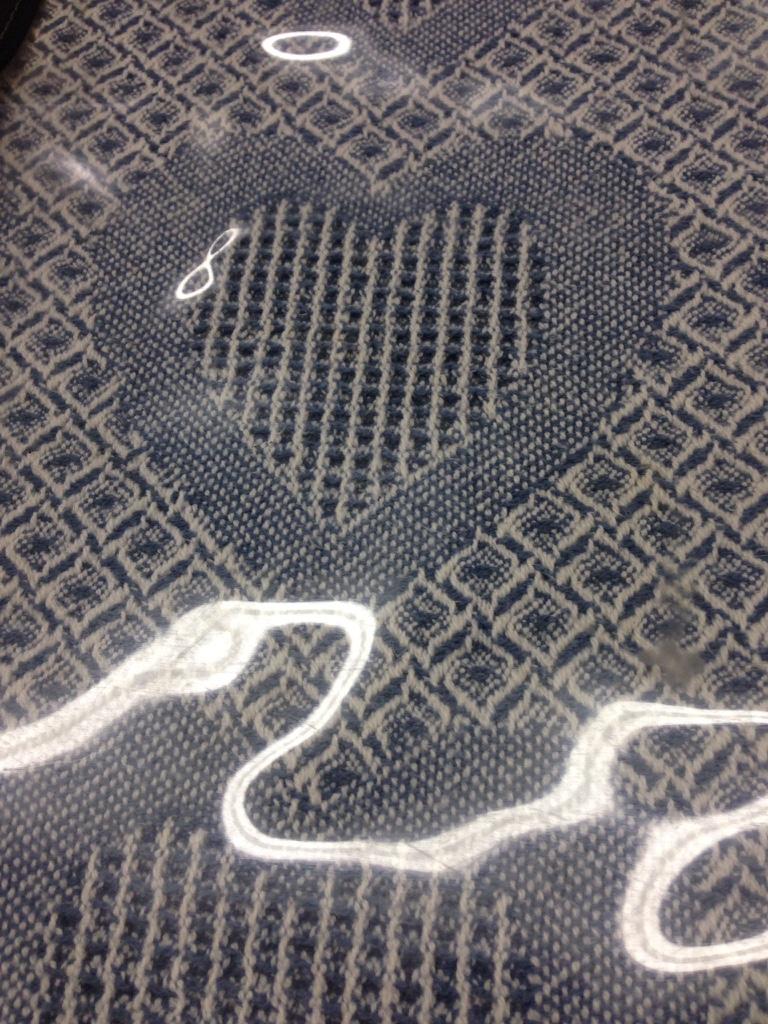
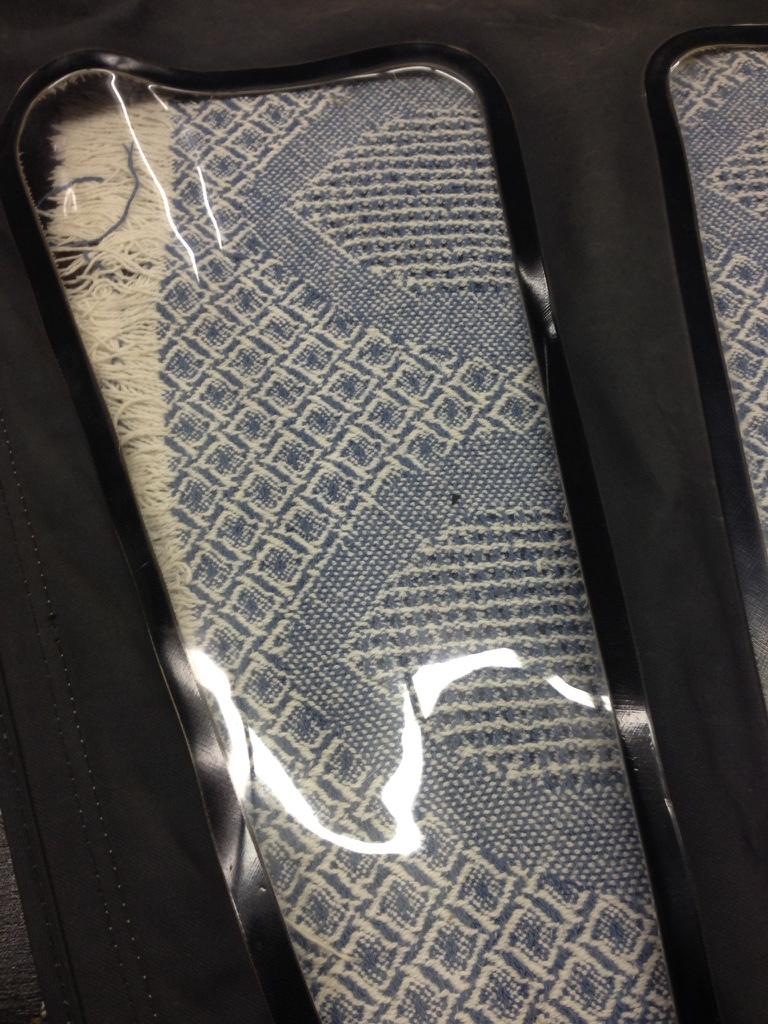
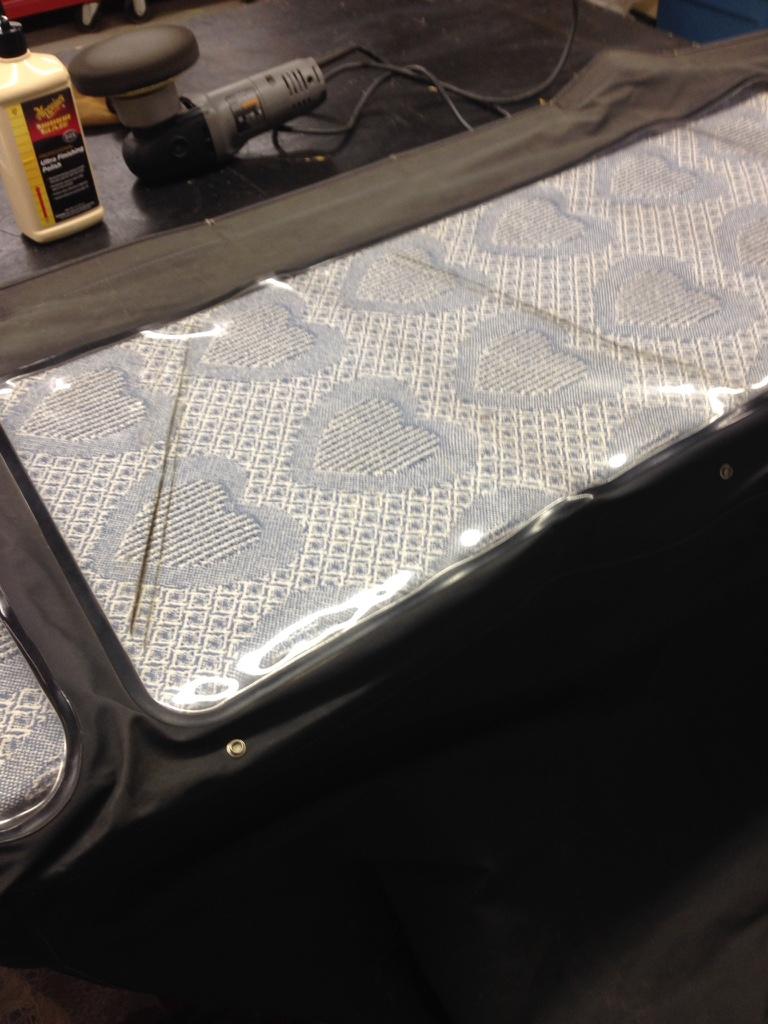
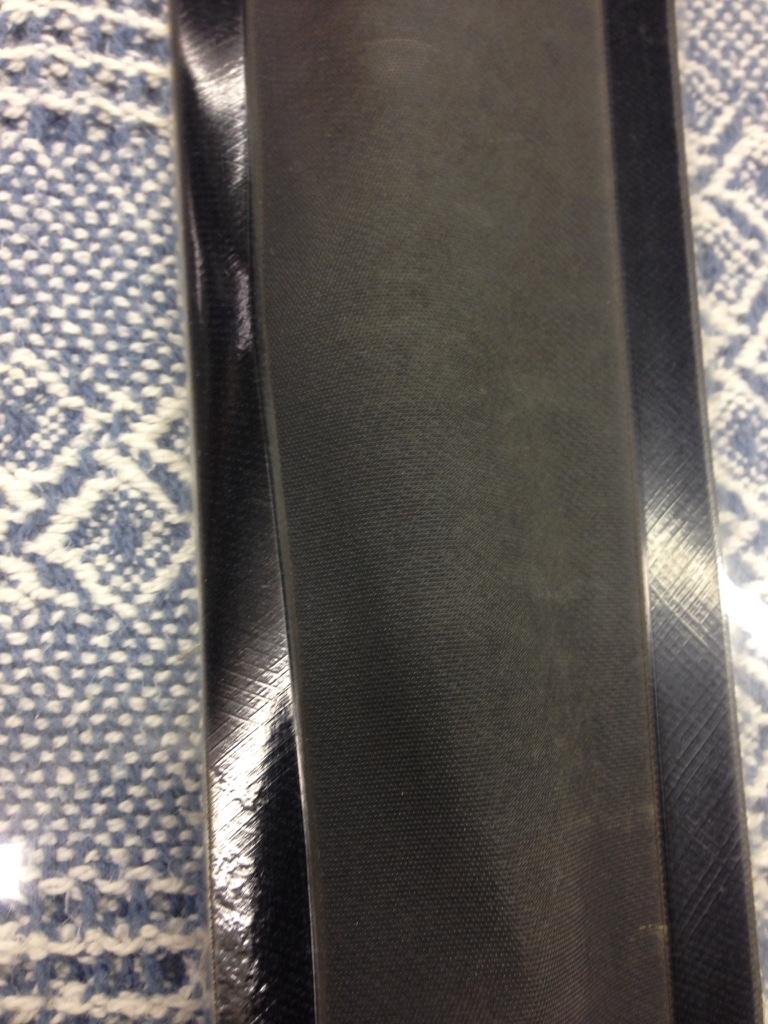
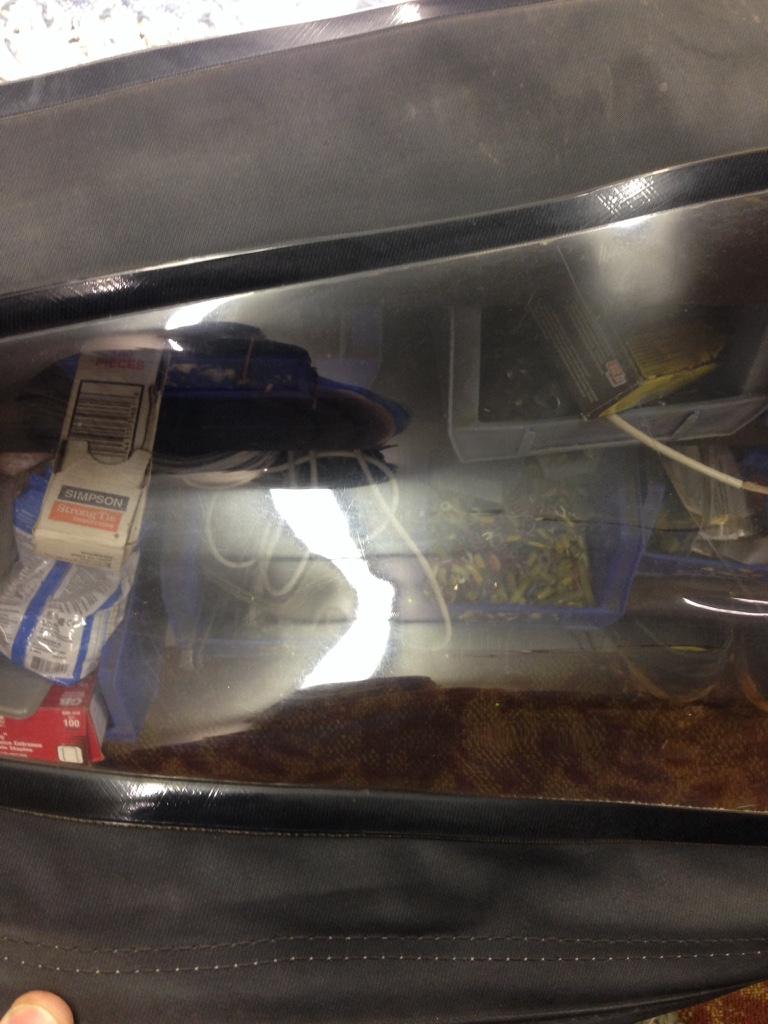
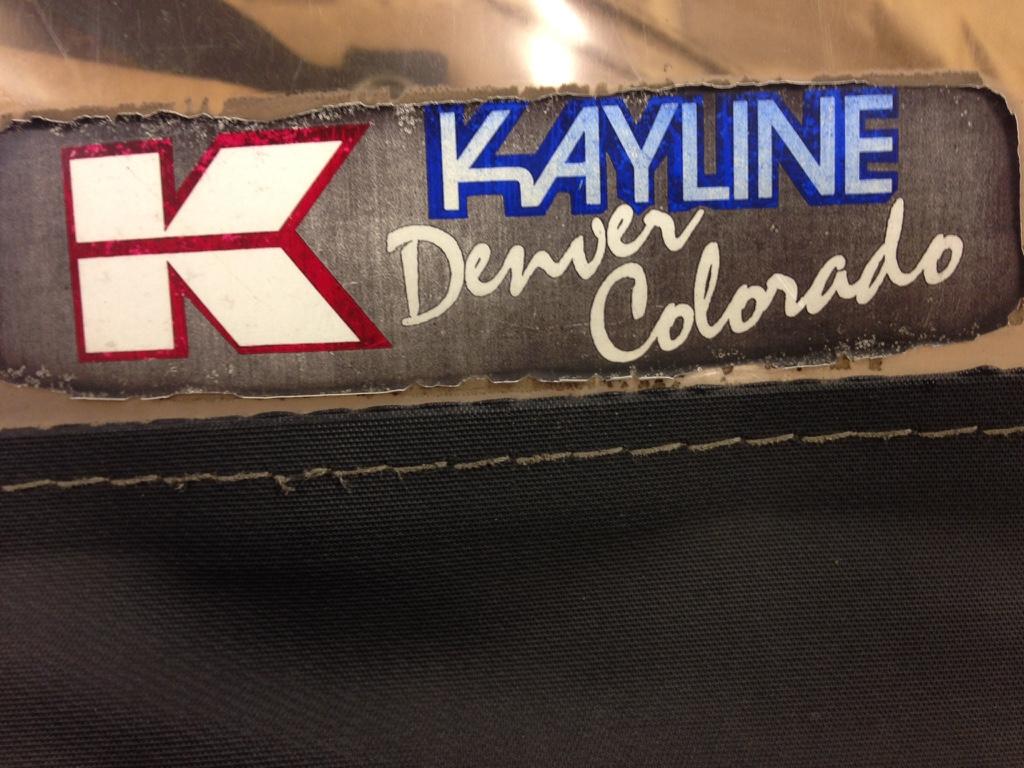
Just so you guys don't think I'm slacking. I spent a little time on the K Line soft top I bought on here from another member polishing the windows getting it ready. It's just the same as doing the EisenGlas on my boat use ammonia free glass cleaner and microfiber ONLY! Then a black pad on the DA polisher with 205 polisher will sufficiently clean these things to a nice crystal clear shine.
Here's what I got done on it. I'm very pleased.

3022165e75198a969e5b92125c7f6fb4-1.jpg


e8dfdf8881fcdb6067f9cd4a94dfec42-1.jpg


909c382c8e2593ed49f32bfddc27f816-1.jpg


ca55263504f87fd16229fc7960a5dc9d-1.jpg


Notice how clear and defined the black is under the clear window where it's adhered to the black top in this picture.

b4727d97d0a52b84043dae179b1d1c6a-1.jpg


Here a nice shot of the clear reflection

38325c3332c7810452ecb1e516f129bd-1.jpg


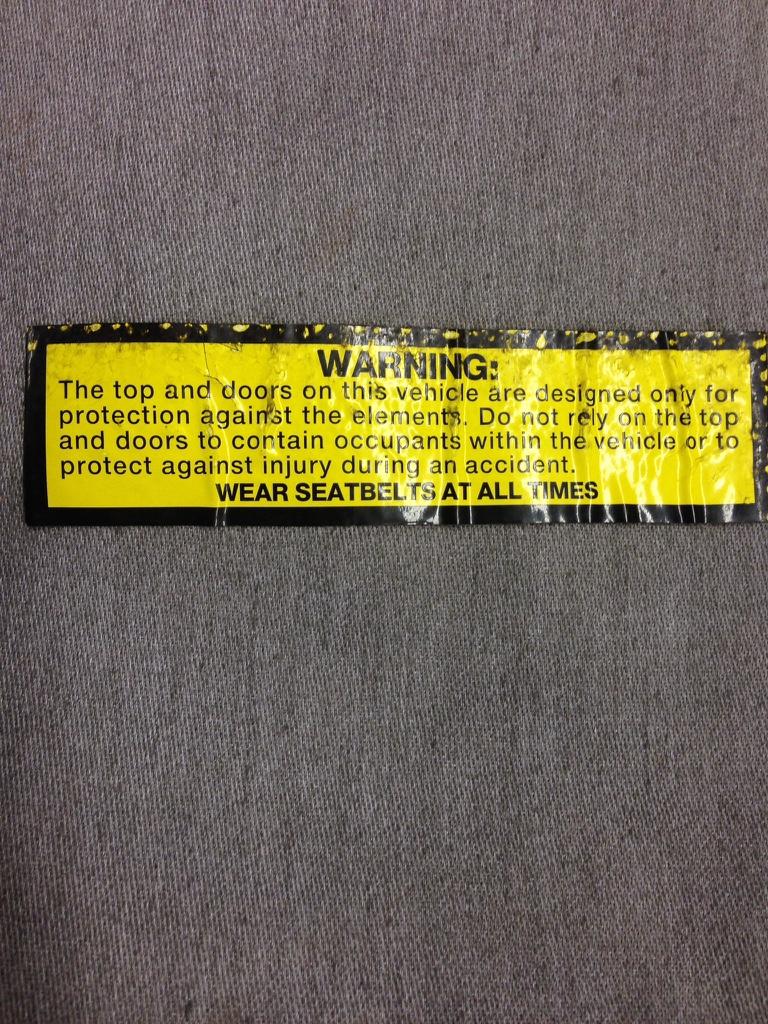
Got to have the requisite warning label thanks to the anti-Darwin people

c3bcb40066754053d1310efdd3c5c11a-1.jpg


And the "money shot"

d8e0a02476264bcbd2db715e7d461f4b-1.jpg


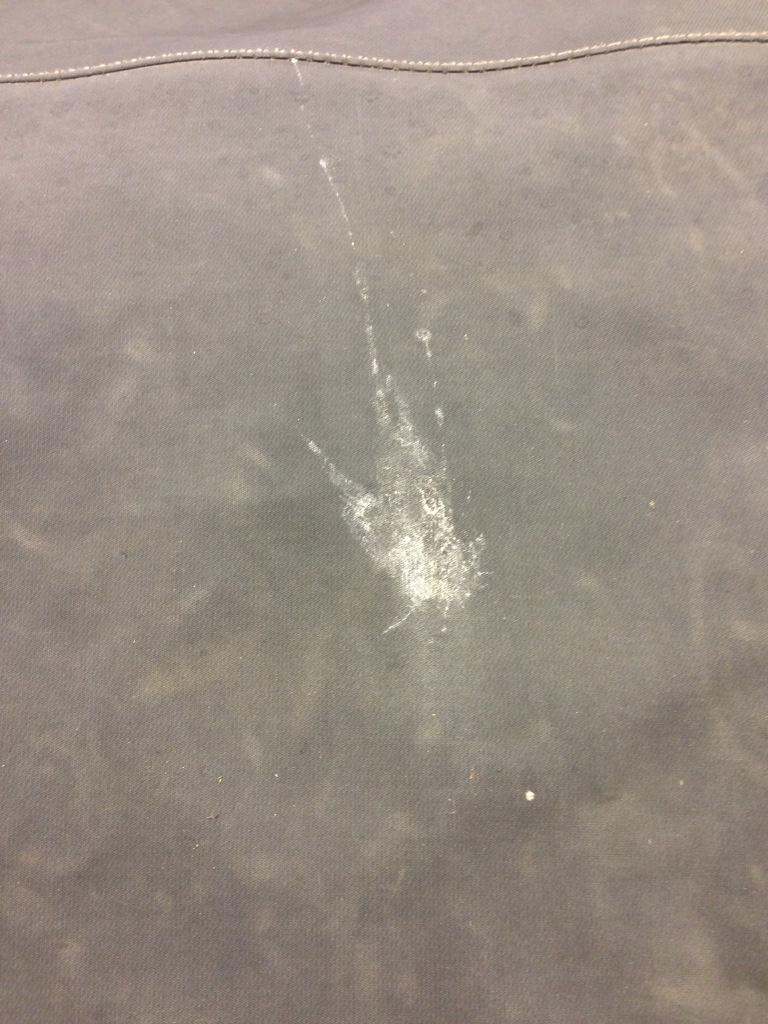
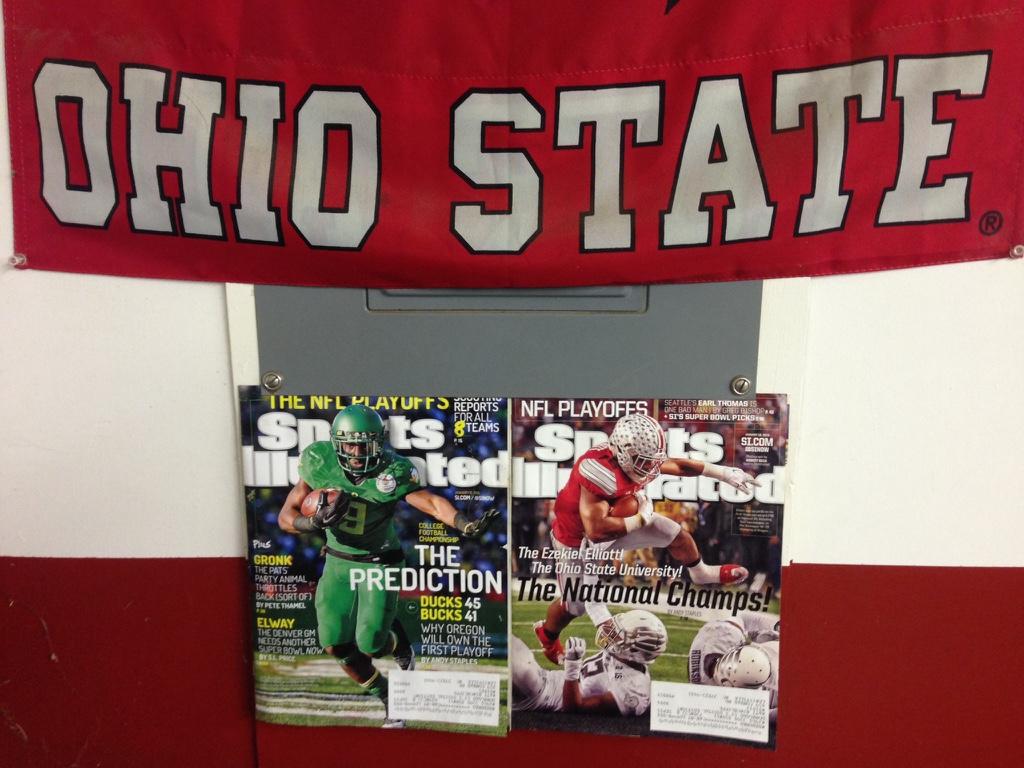
On a side note being a huge Ohio State fan the seller is from Oregon so this has to be a little mighty duck doo

b2e3ddecf7b35d87be28c7321b844101-1.jpg


Because of this!.........

3e3f4d731964c2fb00d3427fa178aaaf-1.jpg


Hate on haters
 
Just so you guys don't think I'm slacking. I spent a little time on the K Line soft top I bought on here from another member polishing the windows getting it ready. It's just the same as doing the EisenGlas on my boat use ammonia free glass cleaner and microfiber ONLY! Then a black pad on the DA polisher with 205 polisher will sufficiently clean these things to a nice crystal clear shine.
Here's what I got done on it. I'm very pleased.


On a side note being a huge Ohio State fan the seller is from Oregon so this has to be a little mighty duck doo

b2e3ddecf7b35d87be28c7321b844101-1.jpg


Because of this!.........

3e3f4d731964c2fb00d3427fa178aaaf-1.jpg


Hate on haters

Almost spit my coffee on the keyboard from laughing. That top looks great! Sorry about the Duck Doo...Can I get away with calling it "patina"?:D
 
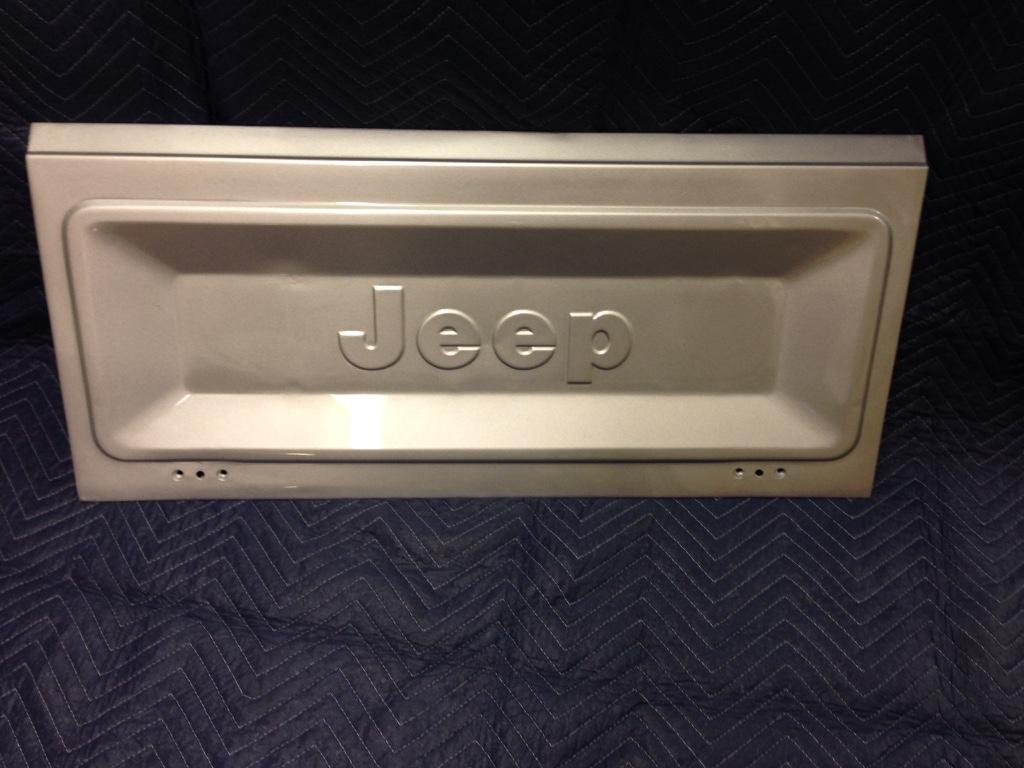
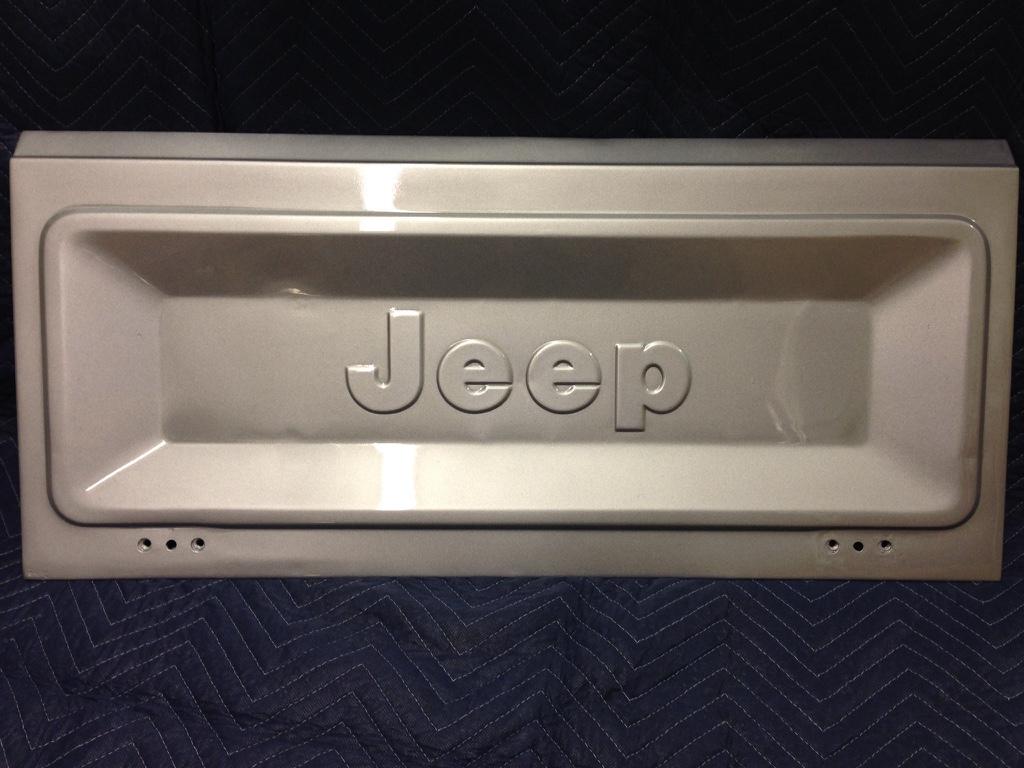
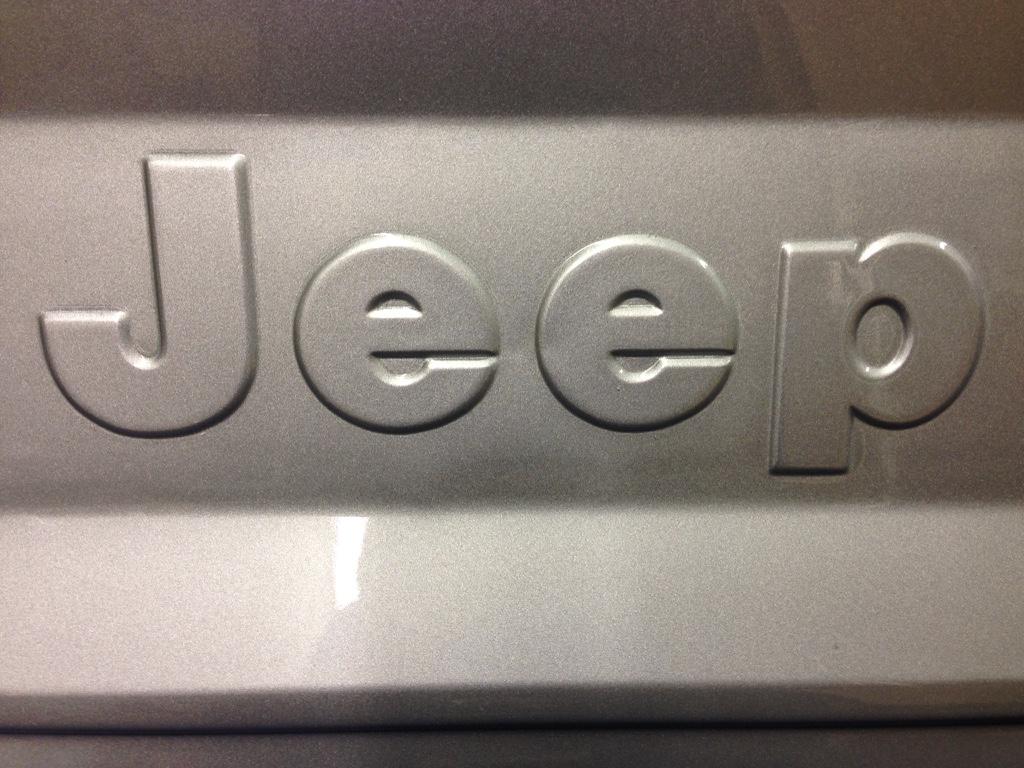
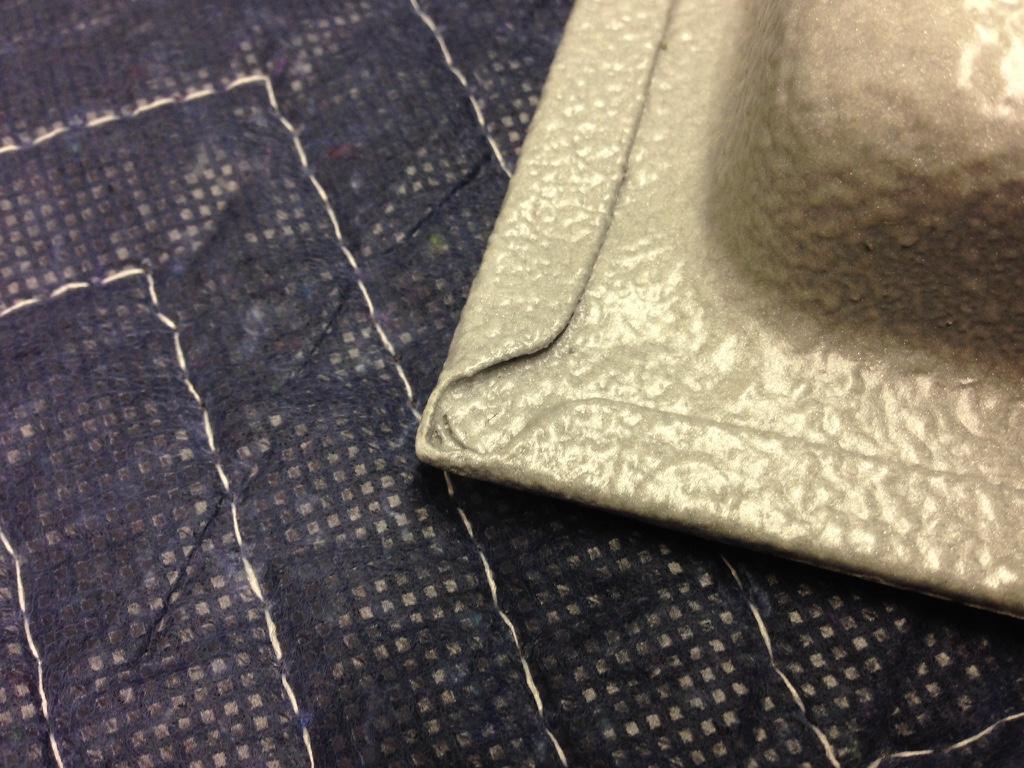
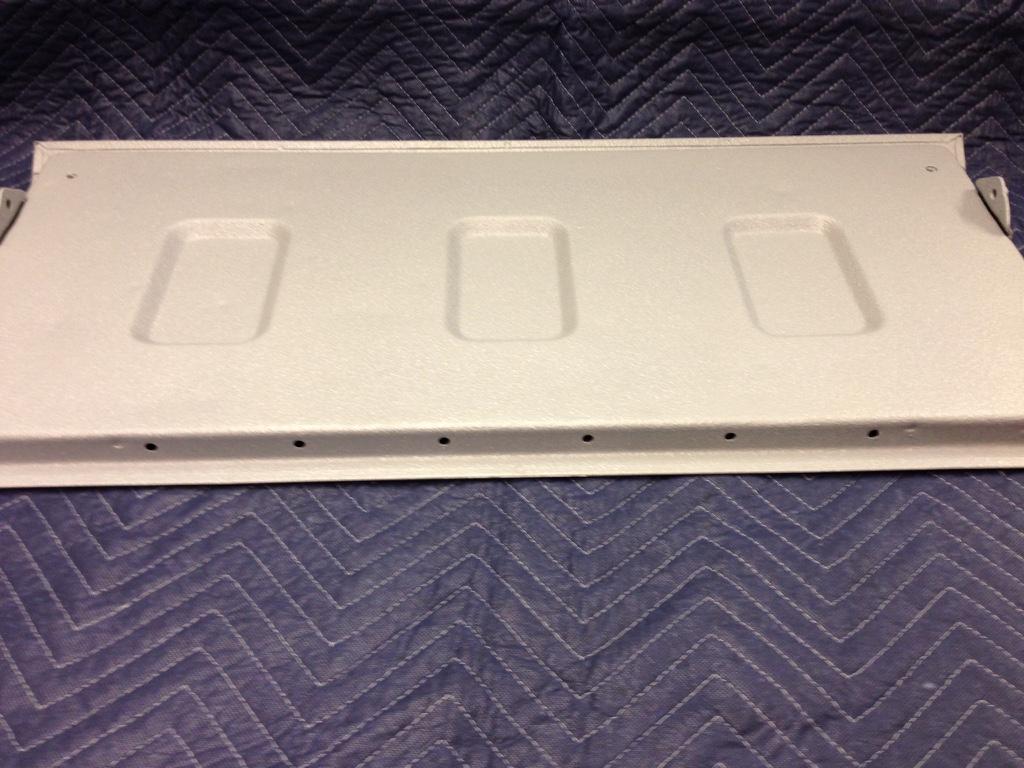
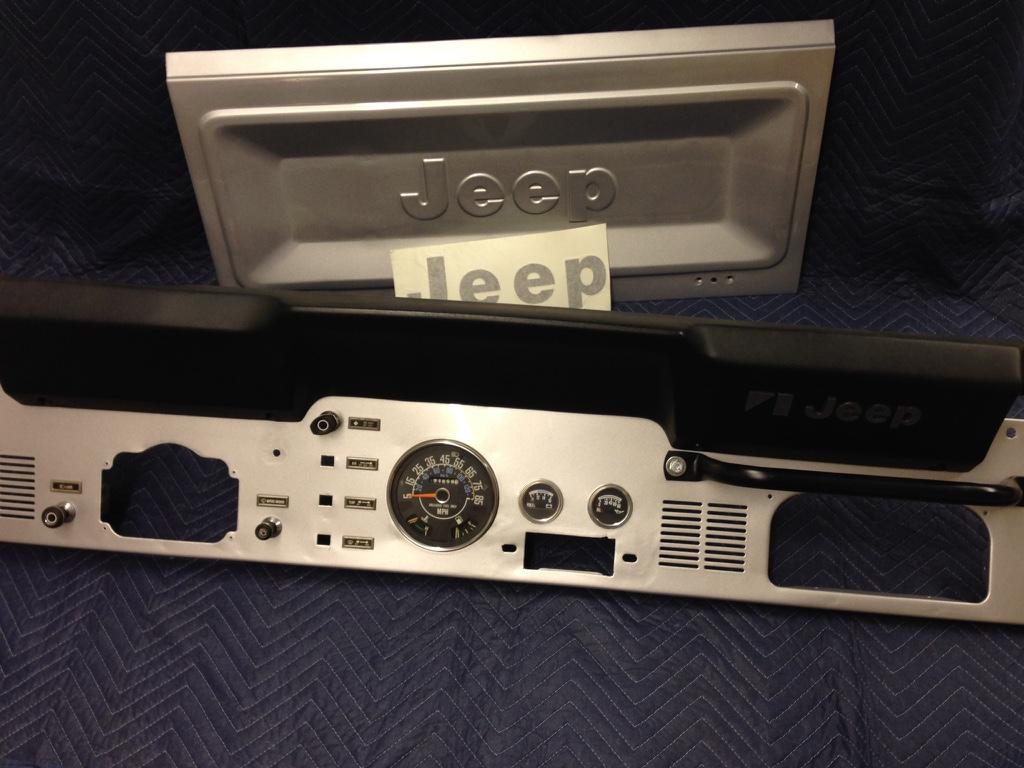
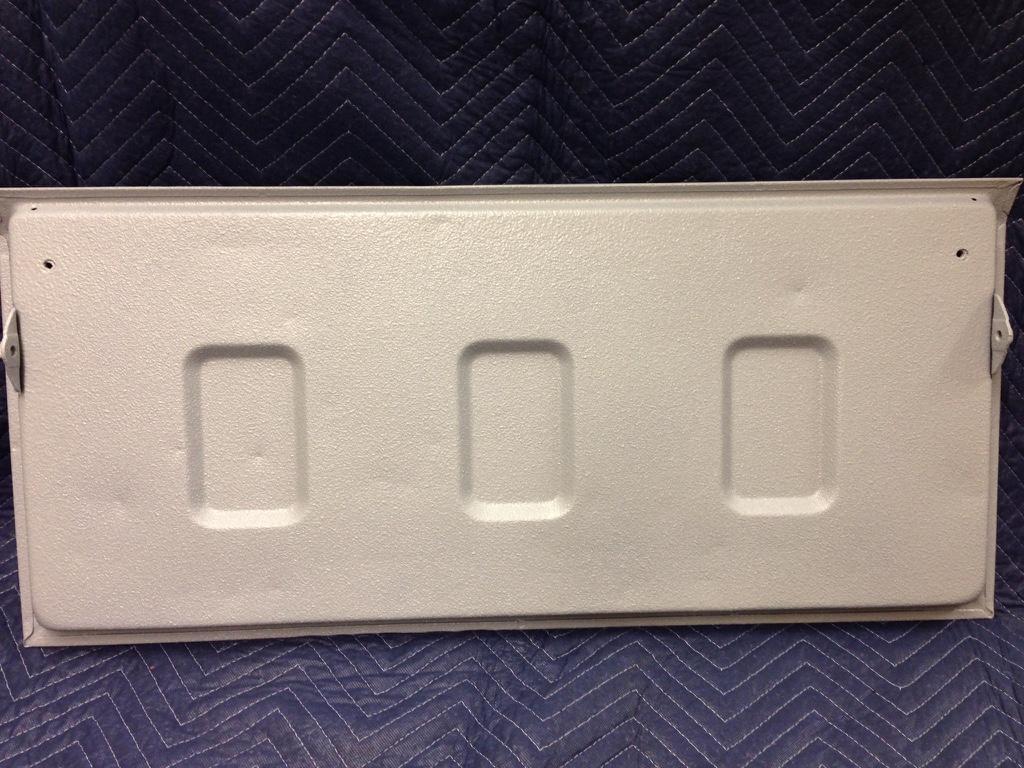
Picked up the tailgate today and will get a few more pieces next weekend. Really, really looks nice[emoji108]🏻[emoji39]
fa5fba033633aedc68b369f2e69ff367-1.jpg


550dded54fb077758b2b0d243088efff-1.jpg


a5f695757f08ad7d87f246ee7d3696ec-1.jpg


Here's the U-pol raptor liner tinted to match. I'm recalling liking it!

ba2ff3337c1387f13c6ee8b7ef68b072-1.jpg


563607d5e6d1264f862918e7490eb52d-1.jpg


436fc8d8435371eba03e4ccac85c085c-1.jpg


ccfcda5dbaaa197b21ae23101a429c5d-1.jpg


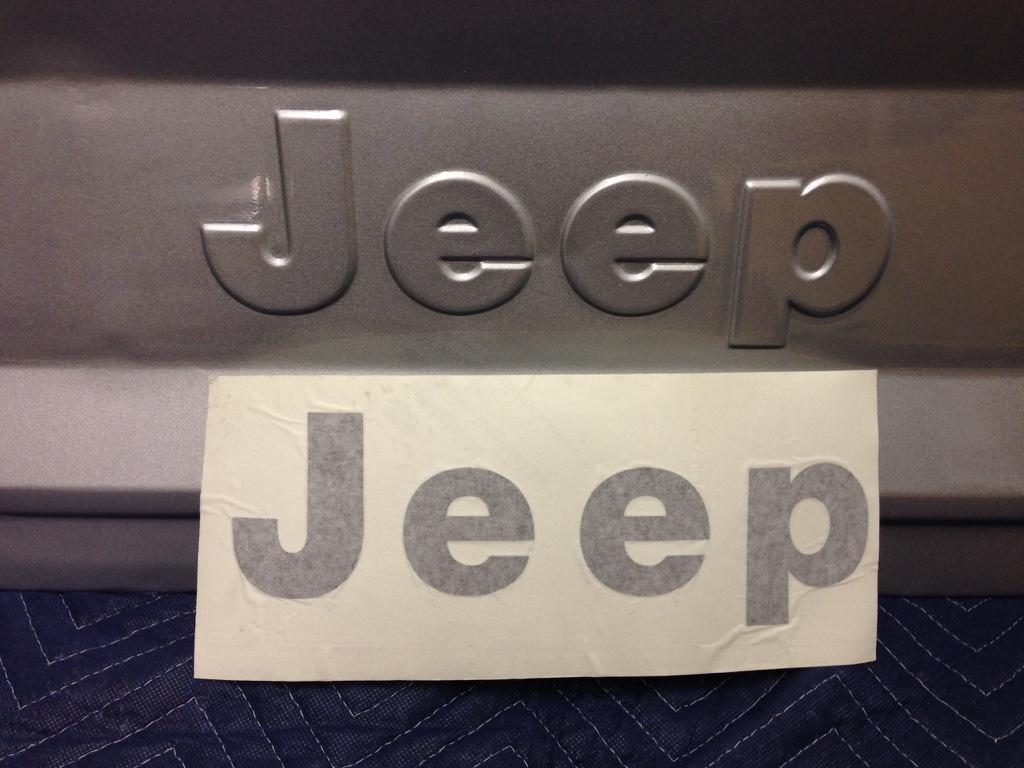
And with the reflective decal I got on this board

a74e0395b0a8543c72e2bc4fe9a5b4d2-1.jpg


With the dash and pad

55e0fcc1c3cb6ea13bbfa99ccc00d6ad-1.jpg


Now I need to start putting things together and not pose them for pictures. This has really breathed life into me on this project. My guy did a great job!
 
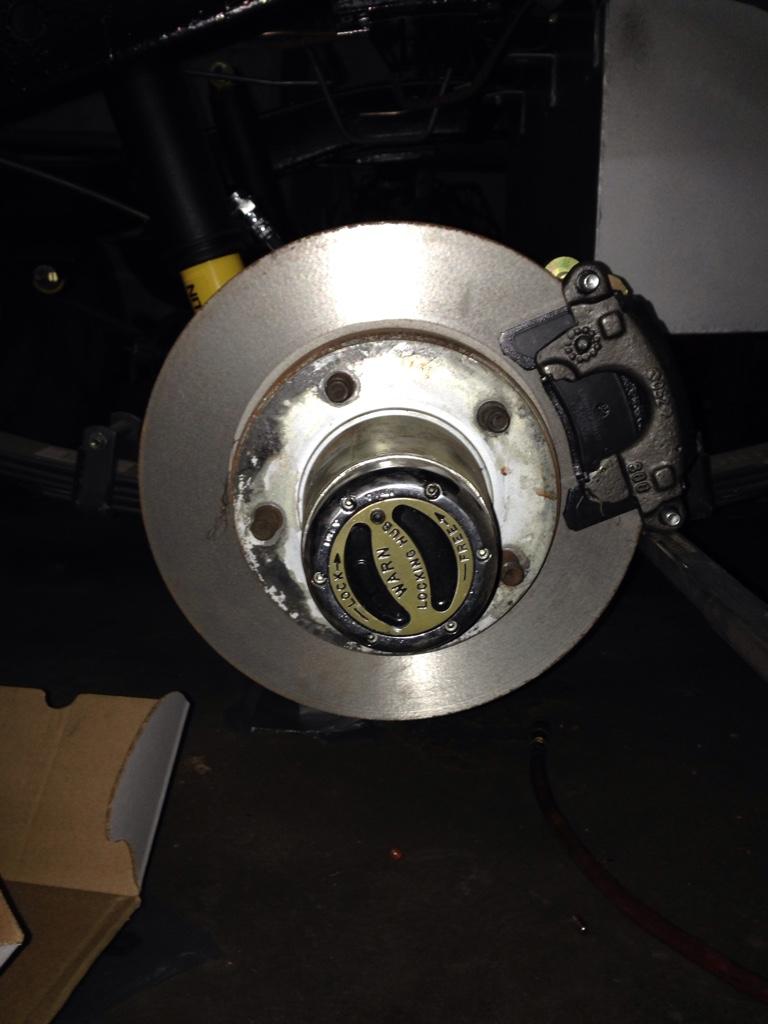
Here's a mock up the rear caliper location. I got the speedway metric GM weld on caliper brackets for $10 each
Brake hoses are 1990 S 10 fit.

4dee290e32f78eca0832e7703539bf6c-1.jpg
 
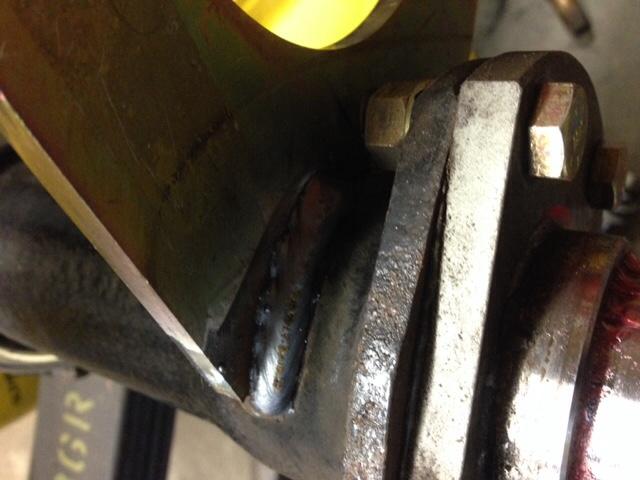
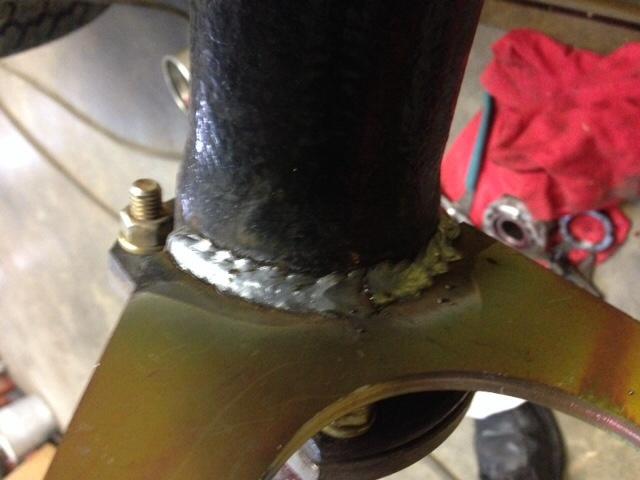
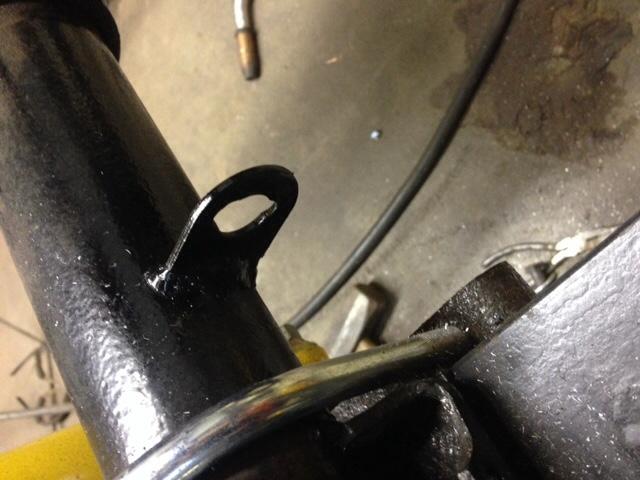
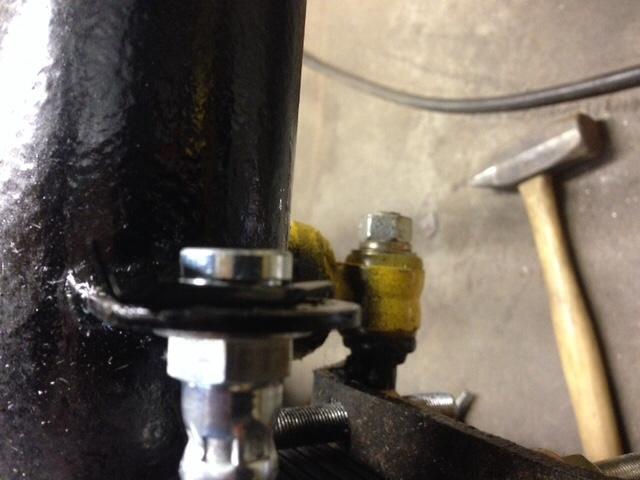
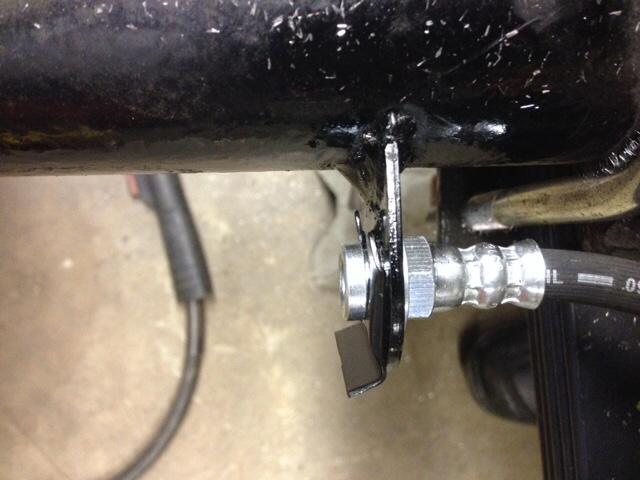
Ok guys, I got a little snowy day work done with my 2 little assistants! Finally got the rear disc brackets welded on and the brake hose tabs located and welded on too.
73d5d12d7239c682fc58276735767b63-1.jpg


bf9a4b4d7b13b0f2c753cade3274c194-1.jpg


56309197769ac095a820c38d54e6d7a4-1.jpg


c001b8131d7f6b5baa92cf22fb60558a-1.jpg


338b0d222feab81e15e2929f92e11fda-1.jpg


cec993ce0491ea4c219ec1712bbd6678-1.jpg


c9e446f7af8e058acc4513a09b6089d2-1.jpg


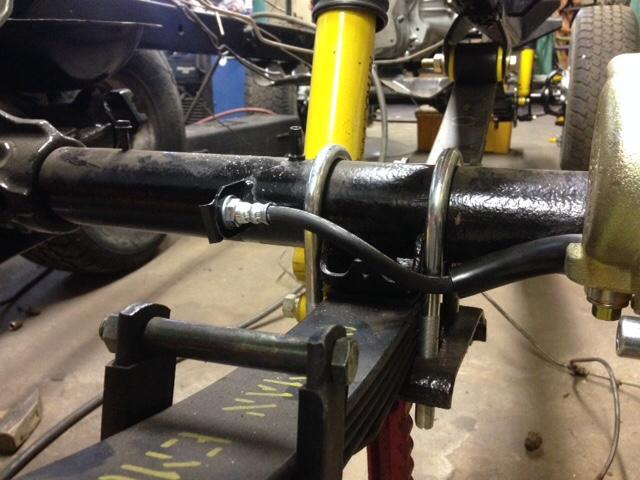
I had mounted the brake hose tab on the drivers side on the top (12:00 position) and when I stepped back and looked at it said no way. As the suspension bottom out it would smash the tab/hose between the bump stop and axle tube. Glad I caught it now!
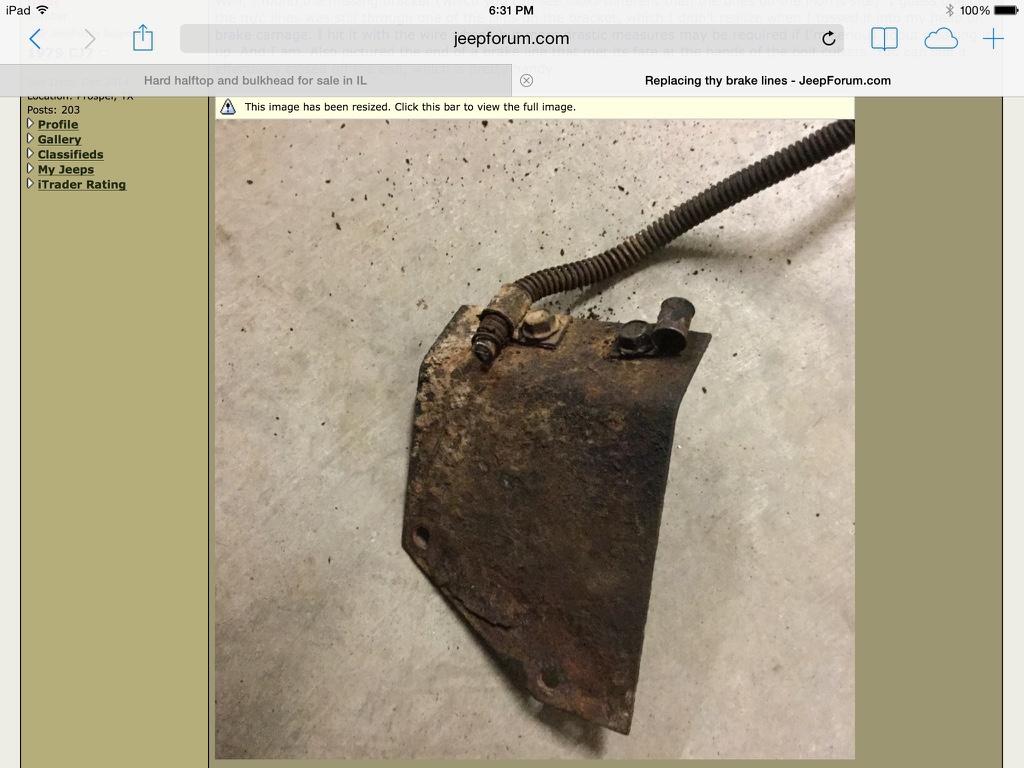
If anyone has a proportioning valve heat shield and would like to email me its dimensions I would greatly appreciate it. Here's a picture of one. I can shear and brake one no problem and would like to make it as close to oem as possible.

a1528b5b1c9634a002d021e94de33276-1.jpg

I may have one of these - let me check in my pile of parts. I'm going to have to move my prop valve anyway so if I can find it it's yours.
 
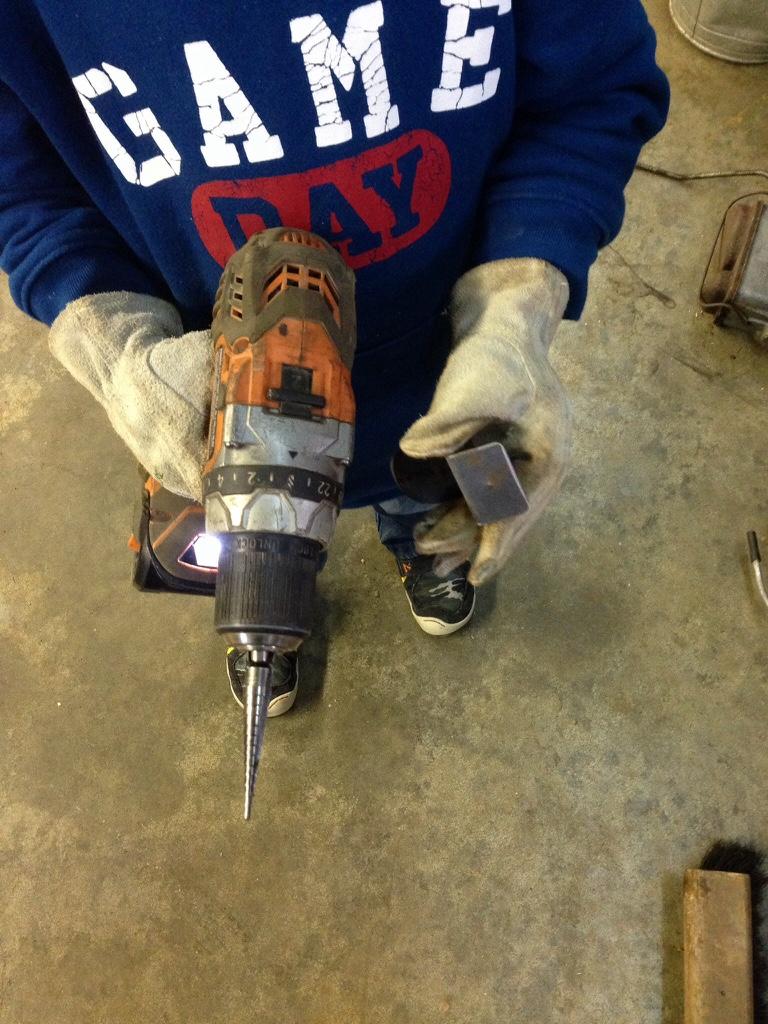
Did a little more work this afternoon with my little helper!

08147c1e8257738da47ed30ddd2135ed-1.jpg


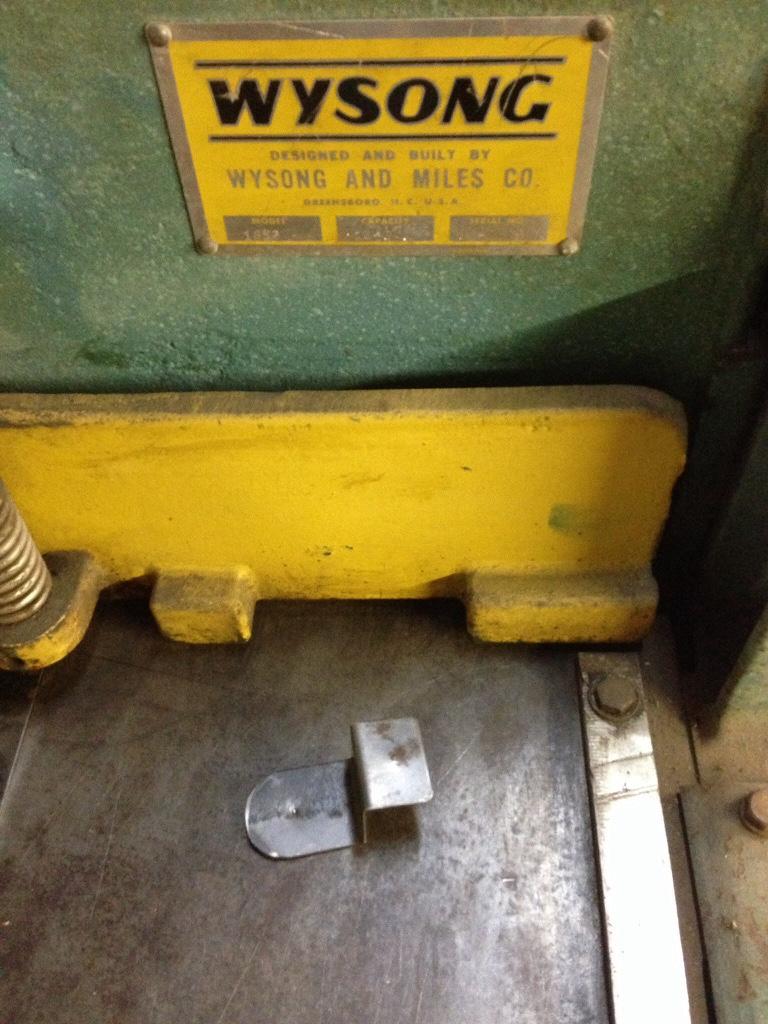
Because of the lift the factory? brake hose mount tab couldn't be used so the little guy and I used this

2b07b32fb07d470c3c91812cdd9e8f3f-1.jpg


To make a blank to put in this

454e0ca318e6c7ba86209f196a93ec0e-1.jpg


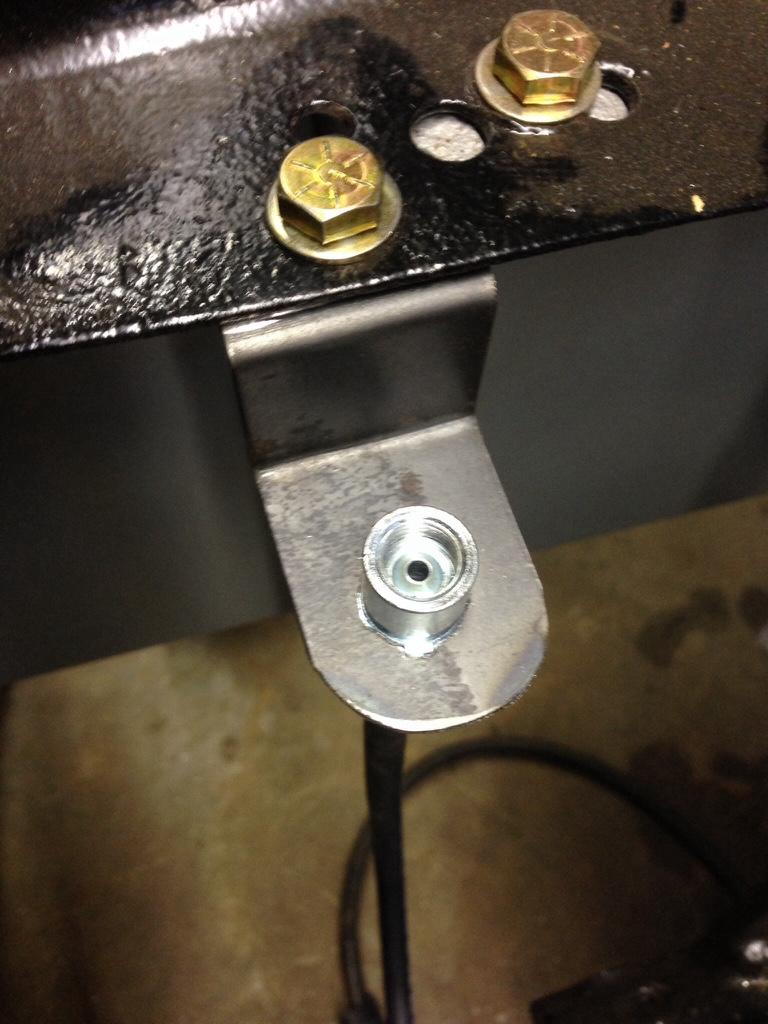
And after about 3 minutes we had this engineered and fabricated into this

79ad1ea8db7dc45b0d4c1f03822f1195-1.jpg


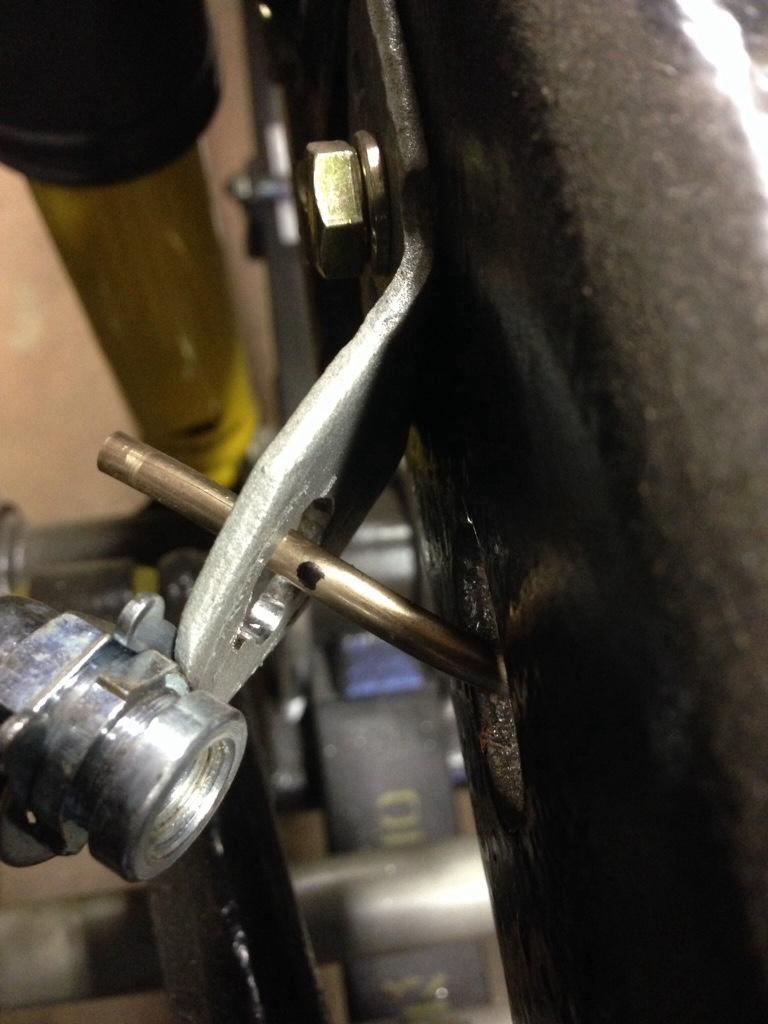
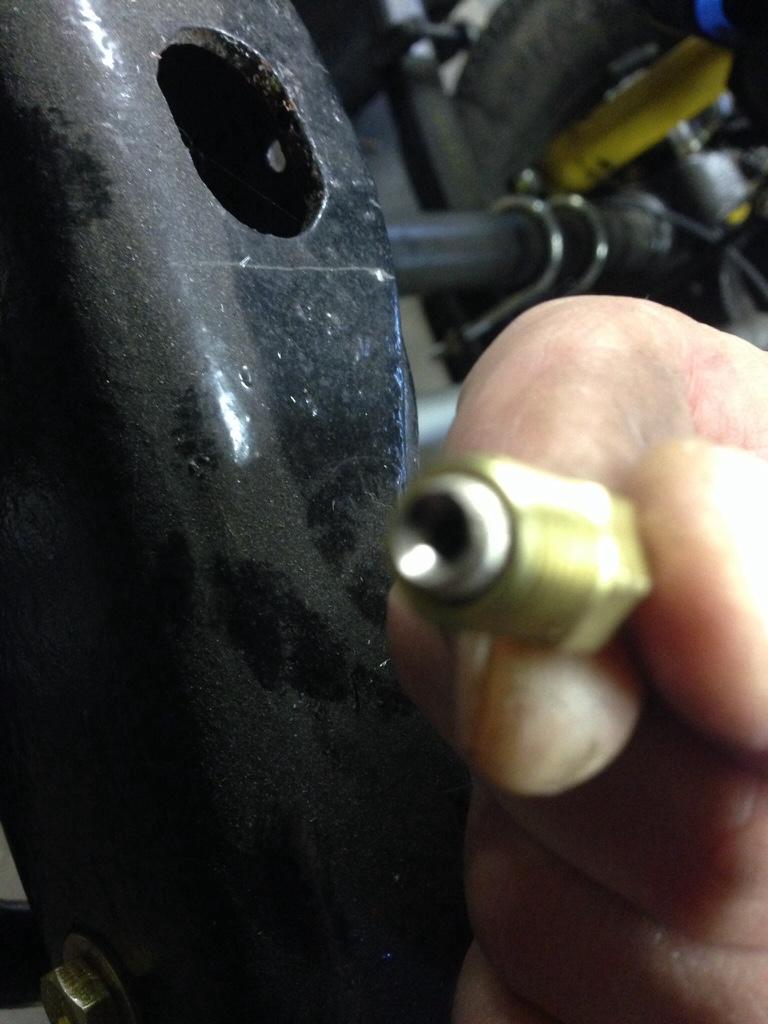
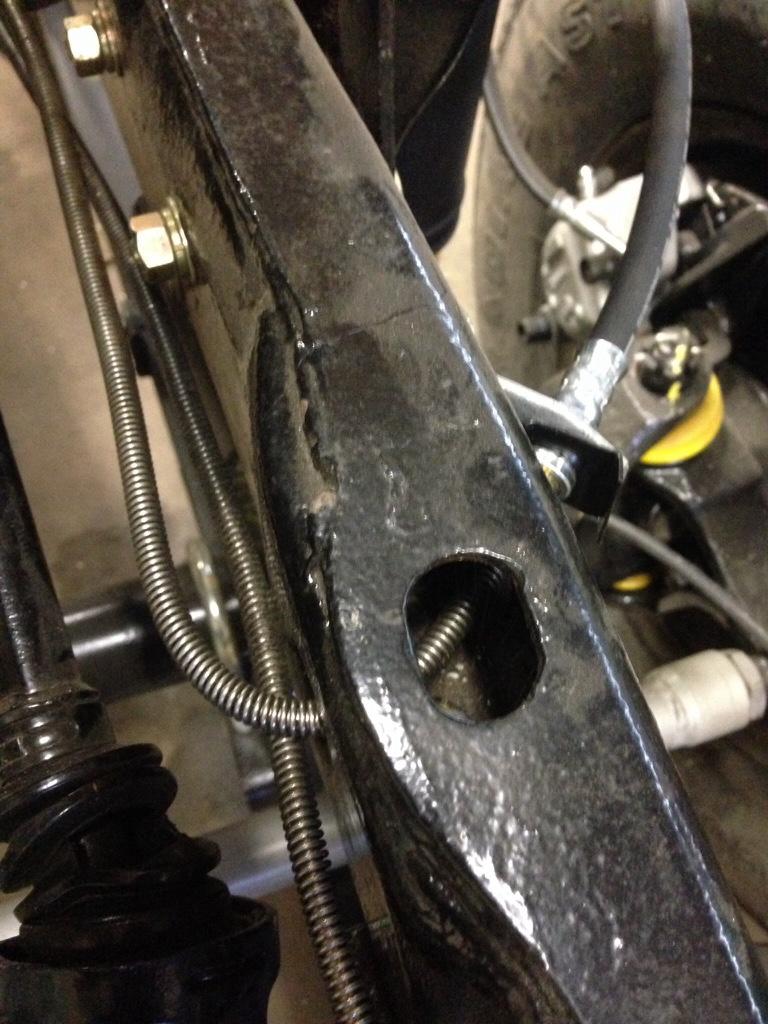
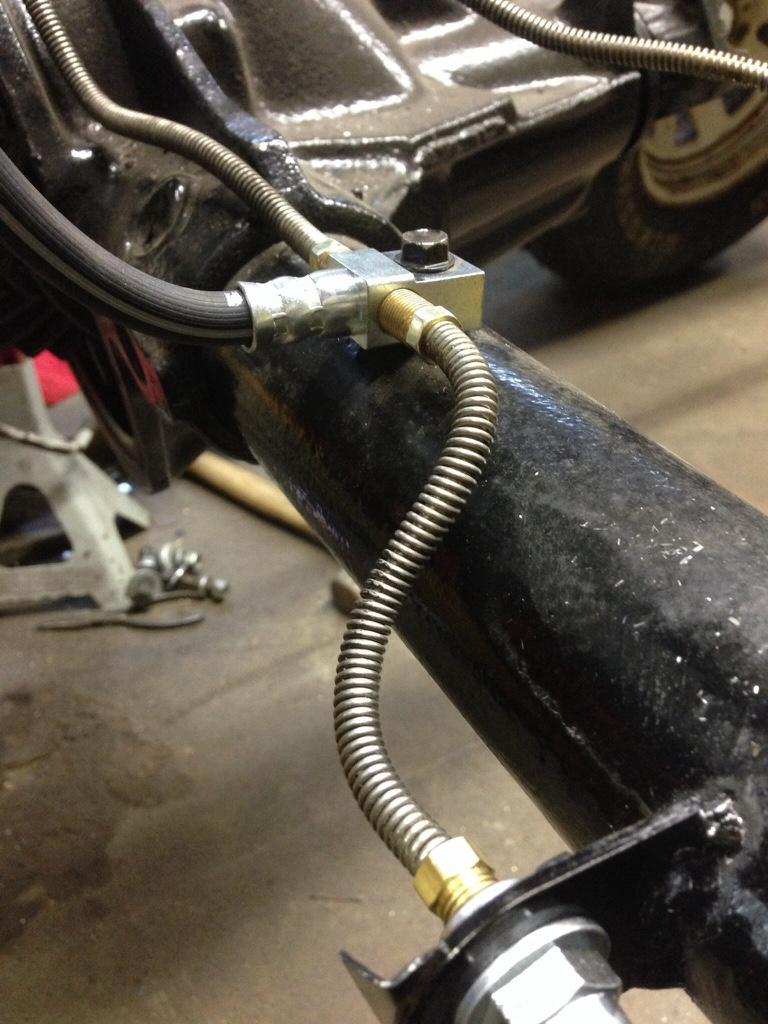
Then it was on to flaring some 3/16" brake line. I decided to scrap the stainless lines that were on it and use new ones from the start that I would make. I did want to reuse the stainless spiral wound rock protector that was on them and I did. I formed most of them quite some time ago and finally got to a point that I could get the correct fittings for them. I've got all of $6 in the necessary fittings and I think $25 in the line itself, so for $31 I got new brake lines[emoji12]

Here's the right front marked for cutting
634f1f14477f8ab0509e4391d0cfb08b-1.jpg


And double flared

26411c5e991164653f7f63d4c9d2e48f-1.jpg


And finally installed

2029271760c5040ea1bab8208c02cf7f-1.jpg


And here's the left front buttoned up

f8abc027d132ed8619f3114a42d13440-1.jpg


Just gonna see about the heat shield and mount up the proportioning valve and make those flares and secure the lines to the frame.

Let's hope this lightning pace I've seen over these past 2 days continues and I'll have plenty of updates!
 
The pace hasn't slowed but I had to remind myself that Rome wasn't built in a day, though if I were running the job it would've been!
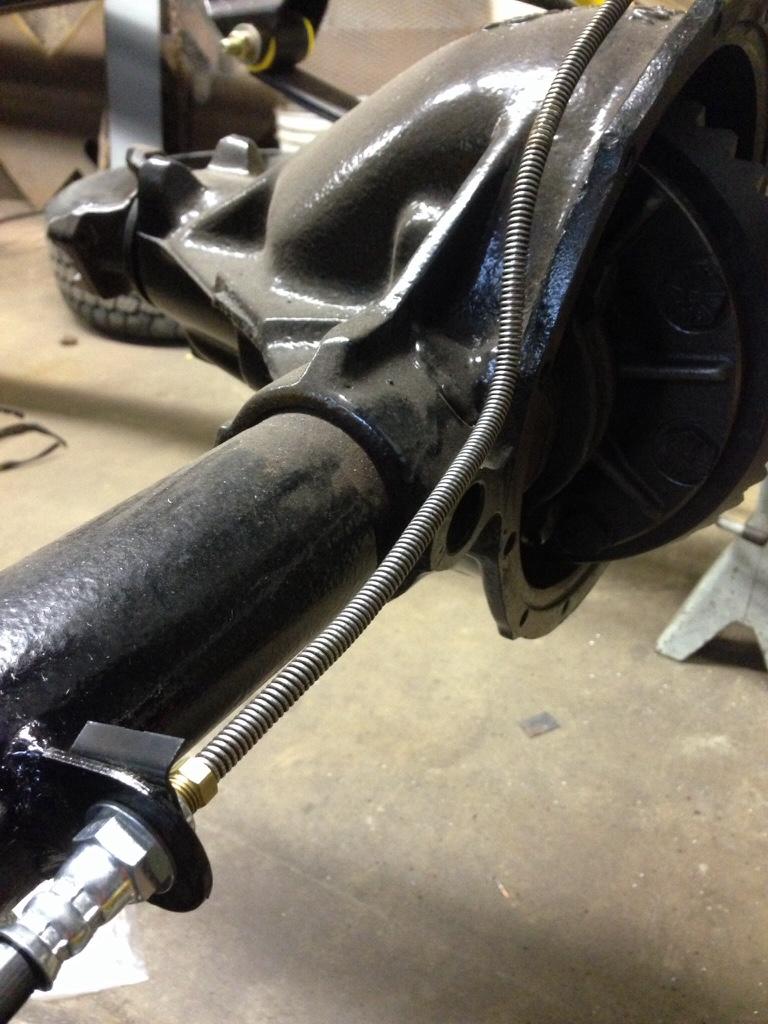
Got the two rear brake hard lines run today at lunch as work is picking up a bit as it normally does this time of year. It's not much but, hey!

Passenger side
cf7bd341edf3fdbefb6d0fe34b08b3c1-1.jpg


Drivers side
f8b299e27e39cc70e4a0d435bb072ce7-1.jpg


Next it's the t case sort out
 
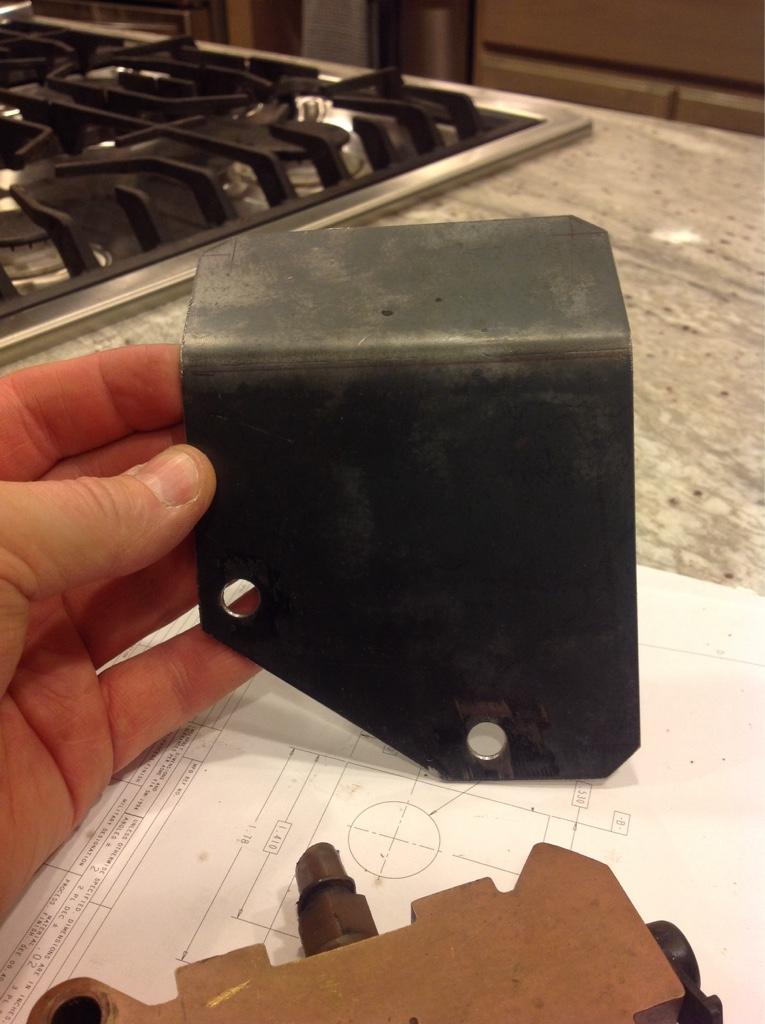
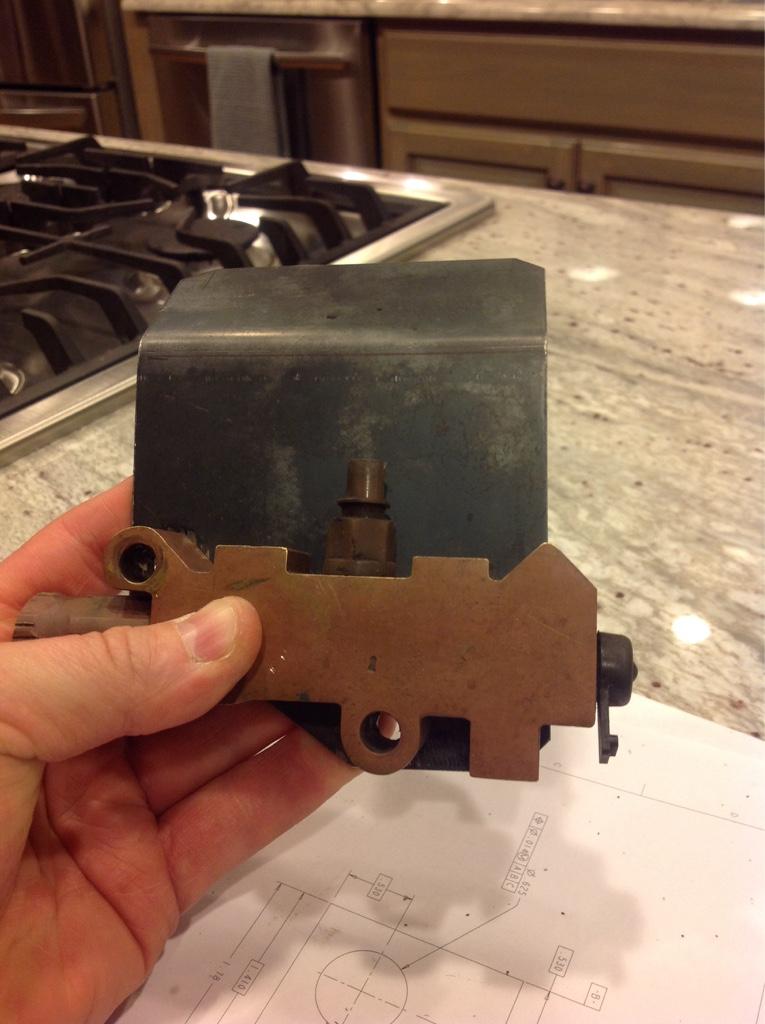
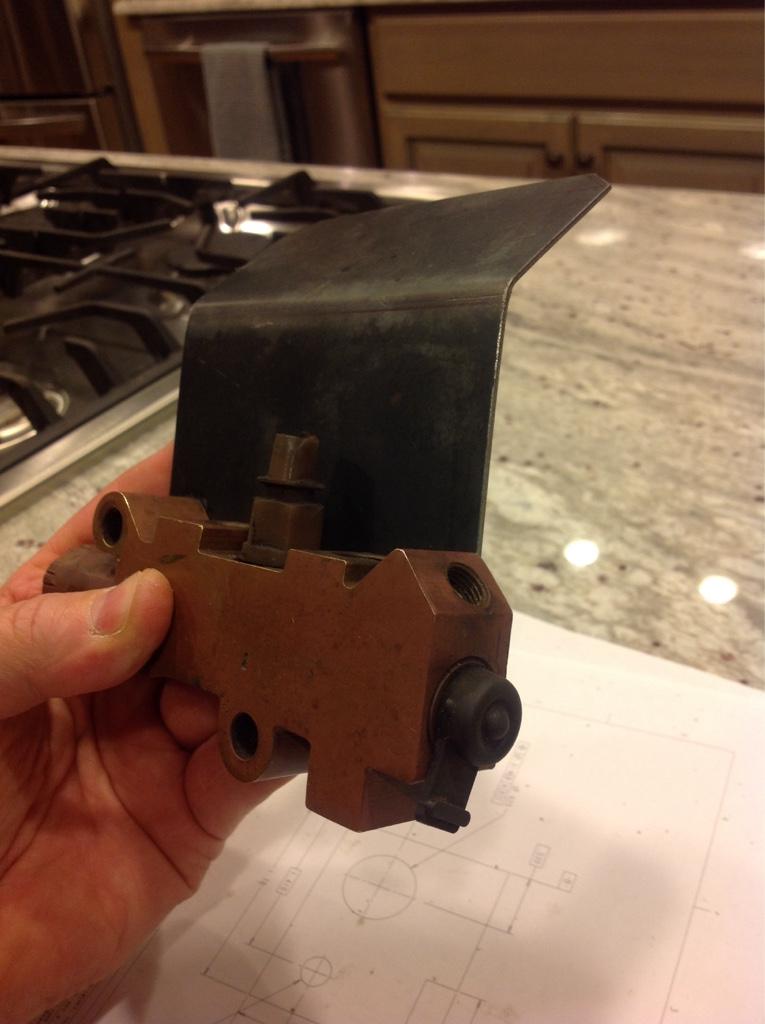
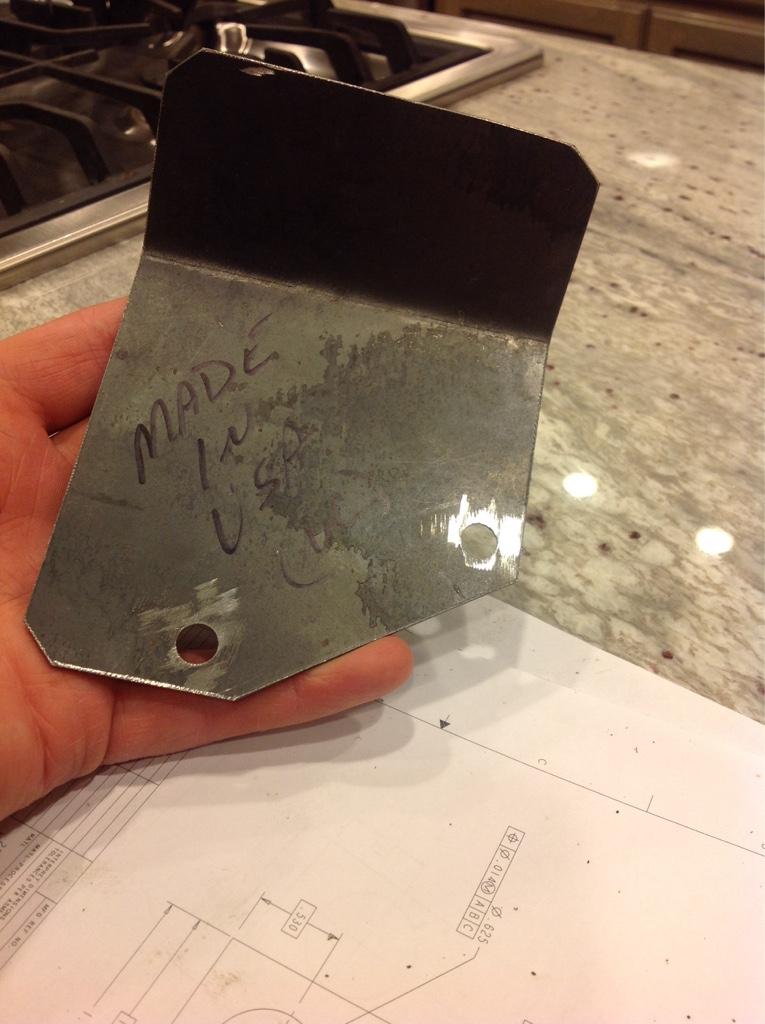
Why I've been so adamant for the proportioning valve heat shield, I don't know but I had to have so I just made one. Here this guys engineering interpretation of the AMC original.

0176986bc334076088da3d06a83281a2-1.jpg


593810a89fd7f6c81a755dd2b98497ec-1.jpg


0251b9567acf27b5c0e0703113e8c969-1.jpg


And as Classic Enterprises puts on their parts, made in USA![emoji2]. I kind of stole that from Certifiable Jeeps thread [emoji106]🏻

a2752b94a603ad151abf6c9ce1b5f59f-1.jpg


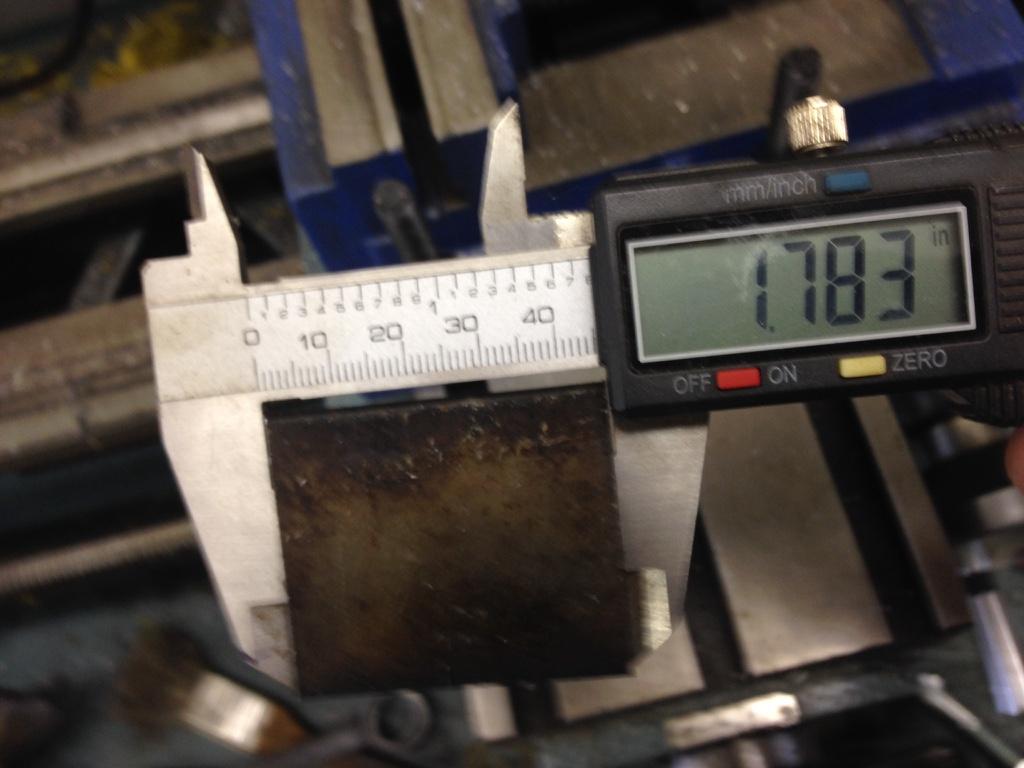
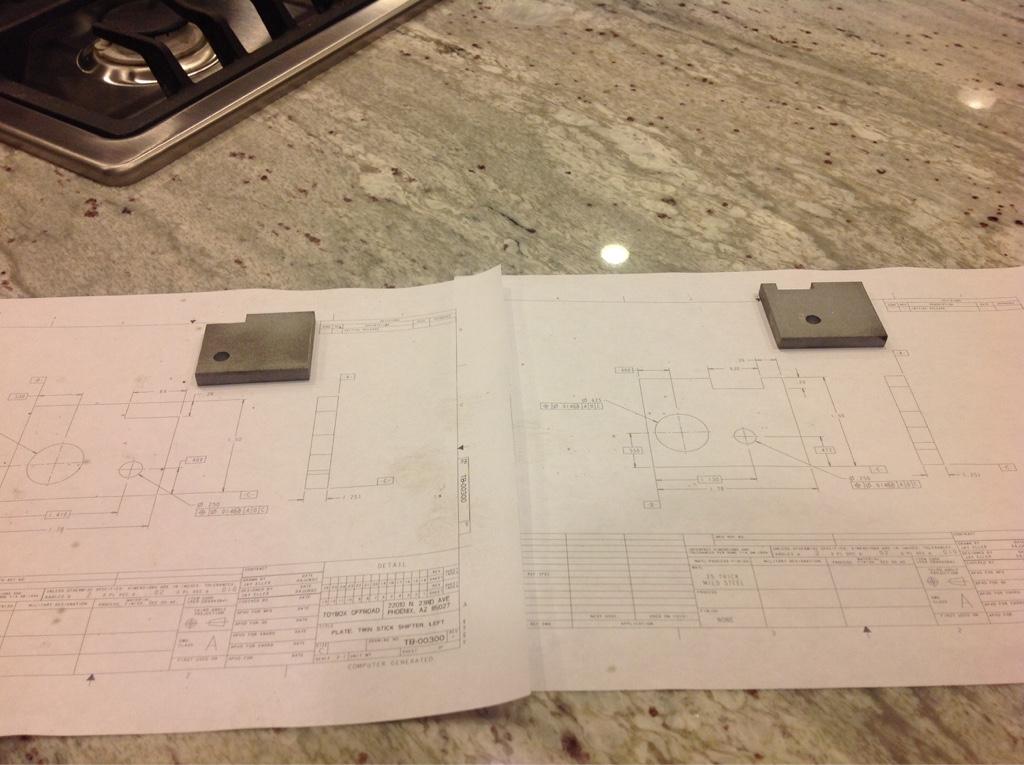
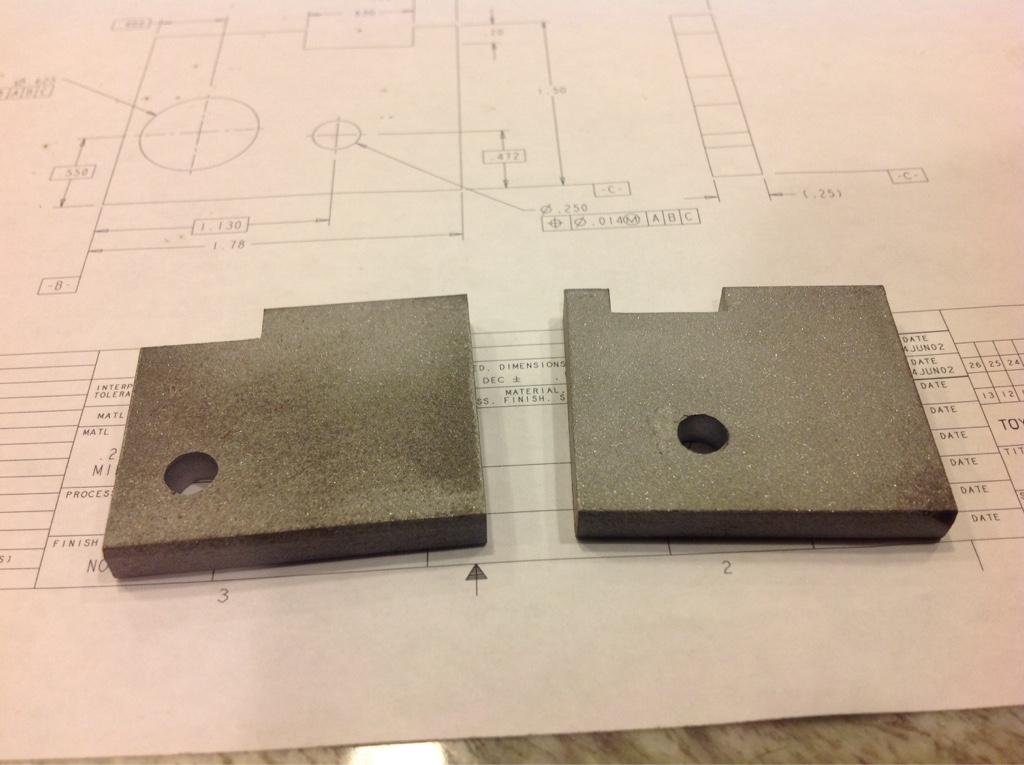
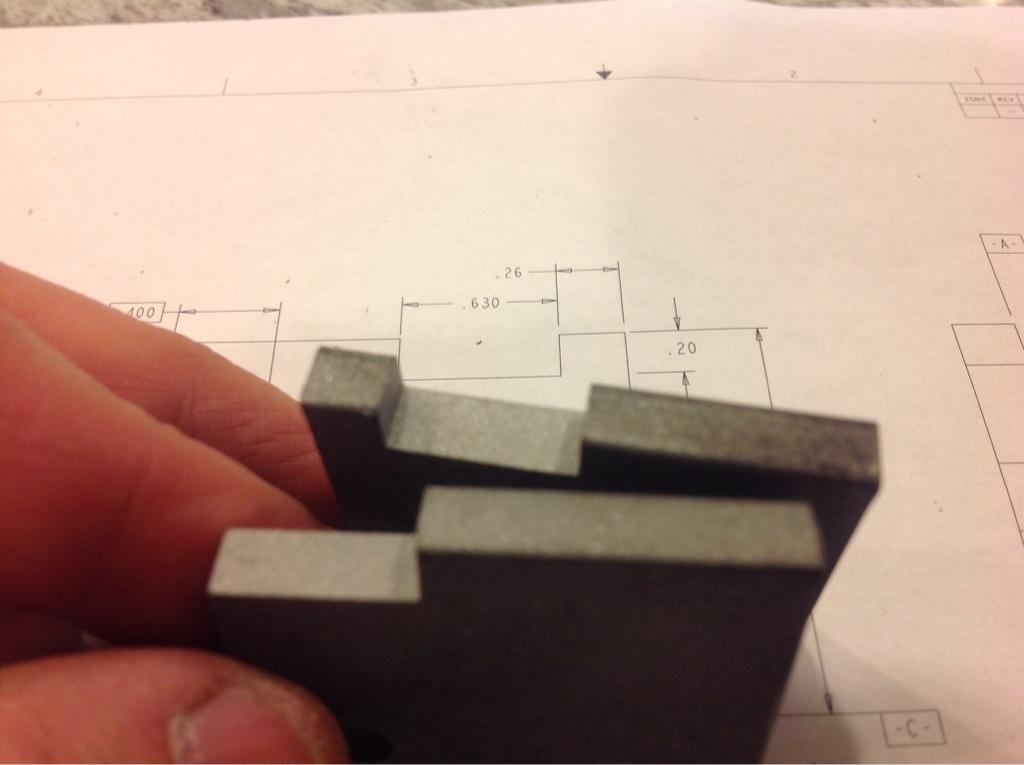
Then because I just "want" to have a twin stick I'm this far in the process of making the selector lever tabs. I got the drawings from Toybox off-road via the web for nothing and took some 1-1/2" X 1/4" flat stock and off to the mill I went. These are gravy to make and I may be persuaded to make more with a pm. On that note, if you've got a Dana 300 shifter laying around let me know as I now need one.

a541dfdfcd67e2d7f59090ddd8d45e0c-1.jpg


b09e1380623349089f2c44d0e0251933-1.jpg


39490ba4aa03e64c5168bfeed6983772-1.jpg


d027302823fffdbc172512ea54472907-1.jpg


b7b1832dc18e6ceb074eaa6832fa07f5-1.jpg


54aa109c815ef6df665c8c5ab137b082-1.jpg


The best thing about it tonight was that me and the little guy got to hang out in the shop. He made his mother a Valentine's Day gift. He is so proud of what he made it was just a cool night
 
The best thing about it tonight was that me and the little guy got to hang out in the shop. He made his mother a Valentine's Day gift. He is so proud of what he made it was just a cool night

Awesome!
 
I Have a shifter for $300.00 and I'll throw in the 300 transfer case free.
 
Thanks Randy! Appreciate it. Dennis, you're killing me! Jim, I've got the direct dial to your parts store and I know I'll always get good stuff.
Now to decide what to do today............
 
Thanks Randy! Appreciate it. Dennis, you're killing me! Jim, I've got the direct dial to your parts store and I know I'll always get good stuff.
Now to decide what to do today............
If I had a extra shifter I would be happy to give it to you.
 
This is why we build our own.
 

Attachments

  • Jeep Dream.jpg
    Jeep Dream.jpg
    79.6 KB · Views: 146
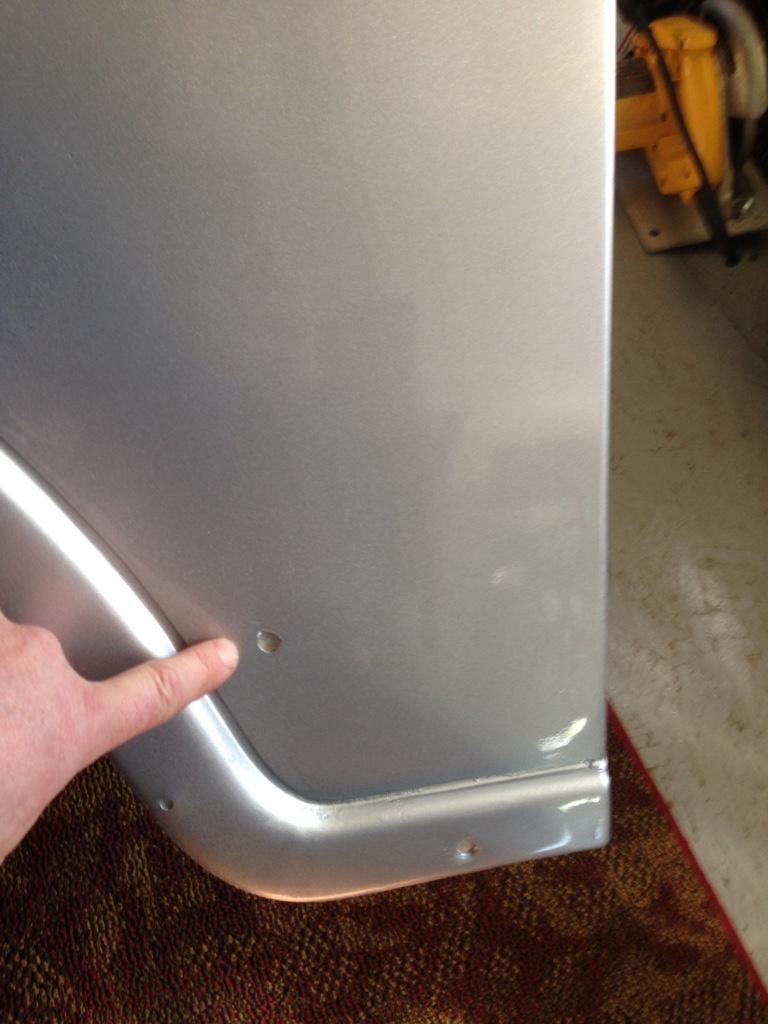
Well I've picked up a few more parts but none of the big stuff yet. I've got my left fender. What I had done was base/clear on the exterior and tinted liner on the inside and under side. Under the hood the firewall will be shiny and not lined.

This one has to get the hole that to PO had drilled thru for his sliders. My paint guy missed it. We're clear on these now.

163390c1210a7c27633c899a7fb9a12c-1.jpg


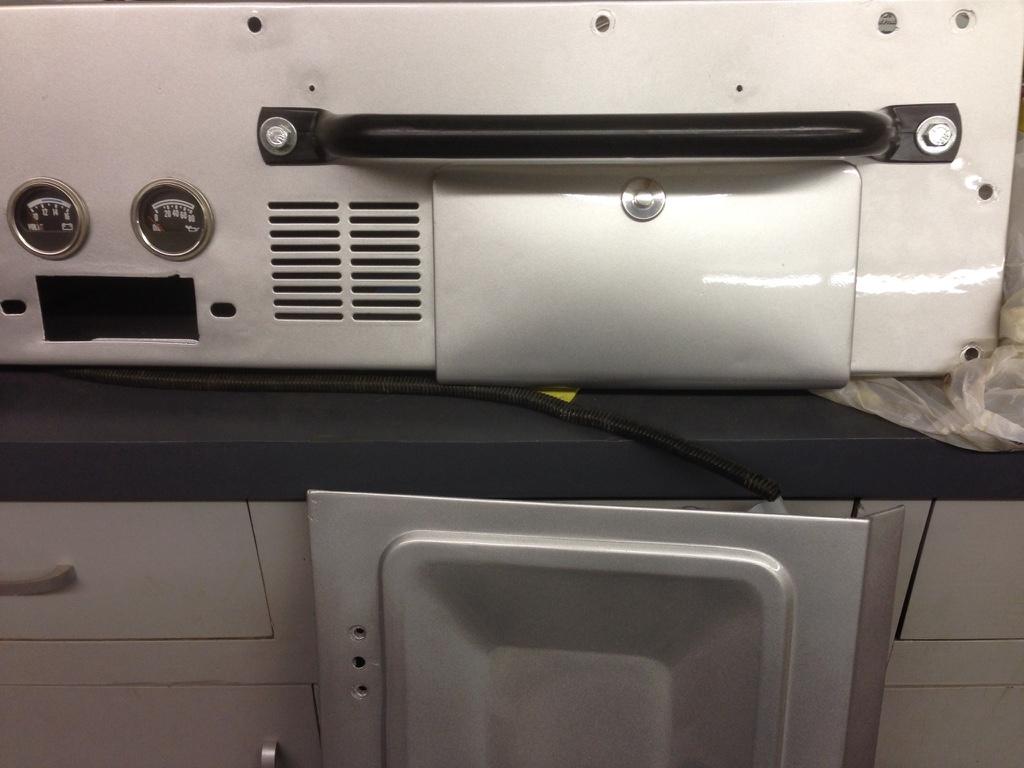
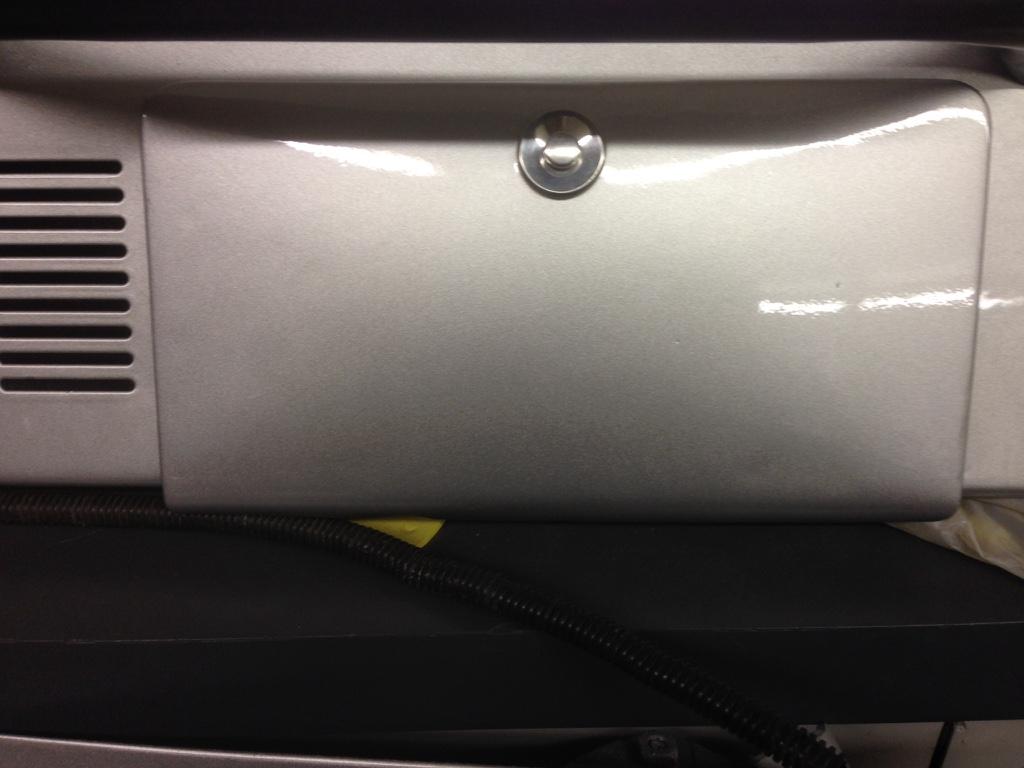
Then I put the Omix Ada plastic glove box in and installed my push button on the door itself. Then the door went on the dash. It took some adjusting of the latch tab holes to get it to stay shut.

ffbf02f3b3732bd7765832d6ac7ac1ef-1.jpg


And another

998acb5eda7ddecae7917c422a305104-1.jpg


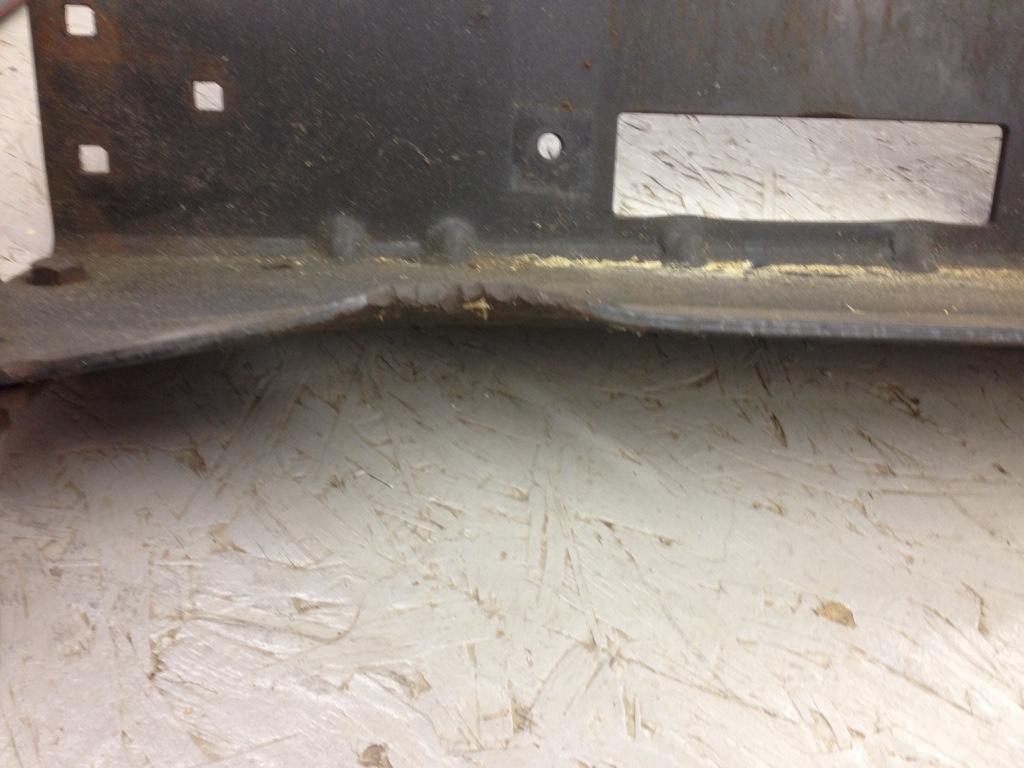
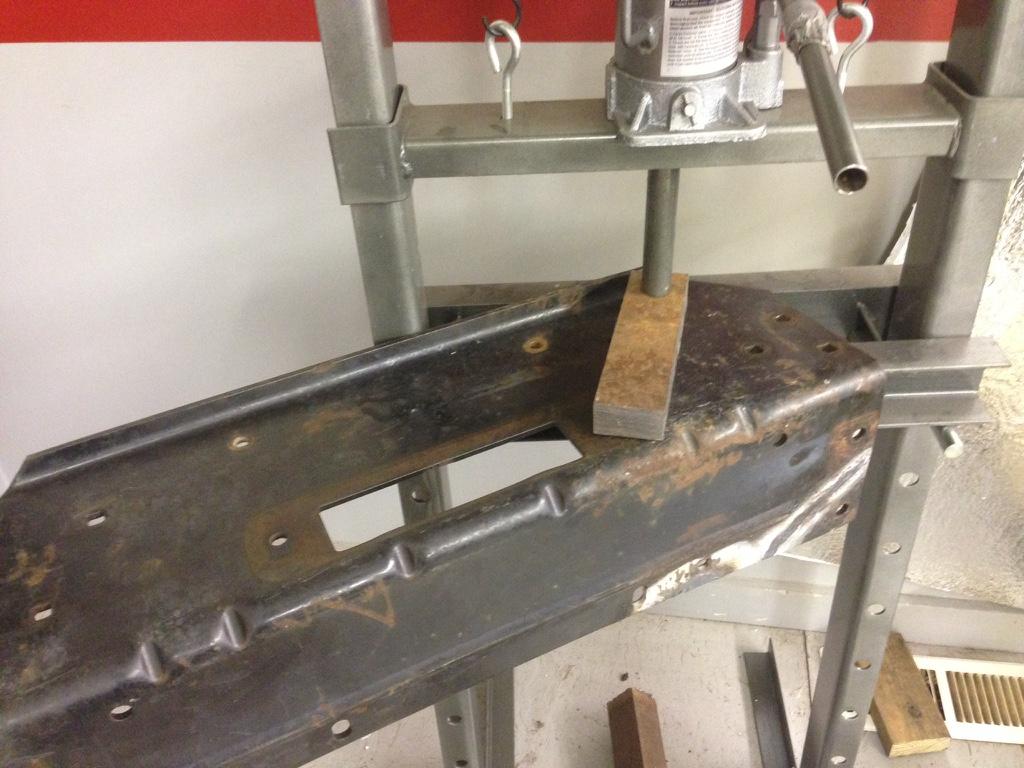
Through the CJ8 network I came across an older Warn W stamped winch plate that needed let's say some straightening. This came from The Wicked Winch of the West, ha ha! I put the heat to it and 3 lb beater on an oak log and got it really straight. Then for some final tweaking it was off to the press to put the finishing touches on it.

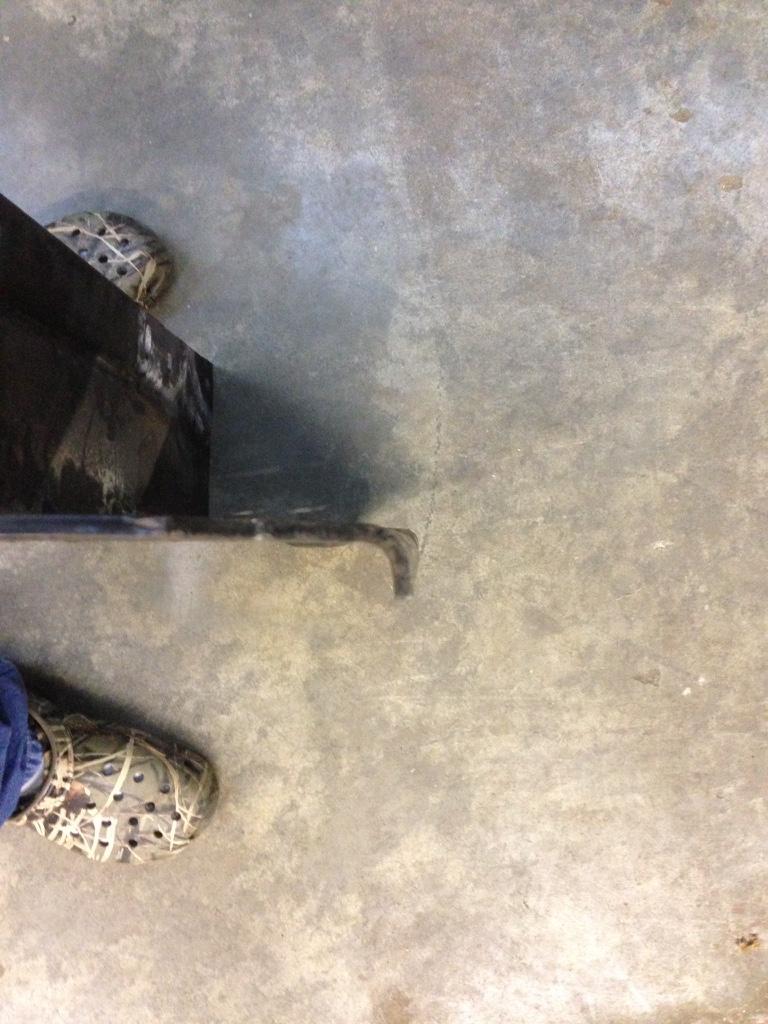
Here's the big bend

11bcfe5f5a39fcdb5b91c4dd67806b51-1.jpg


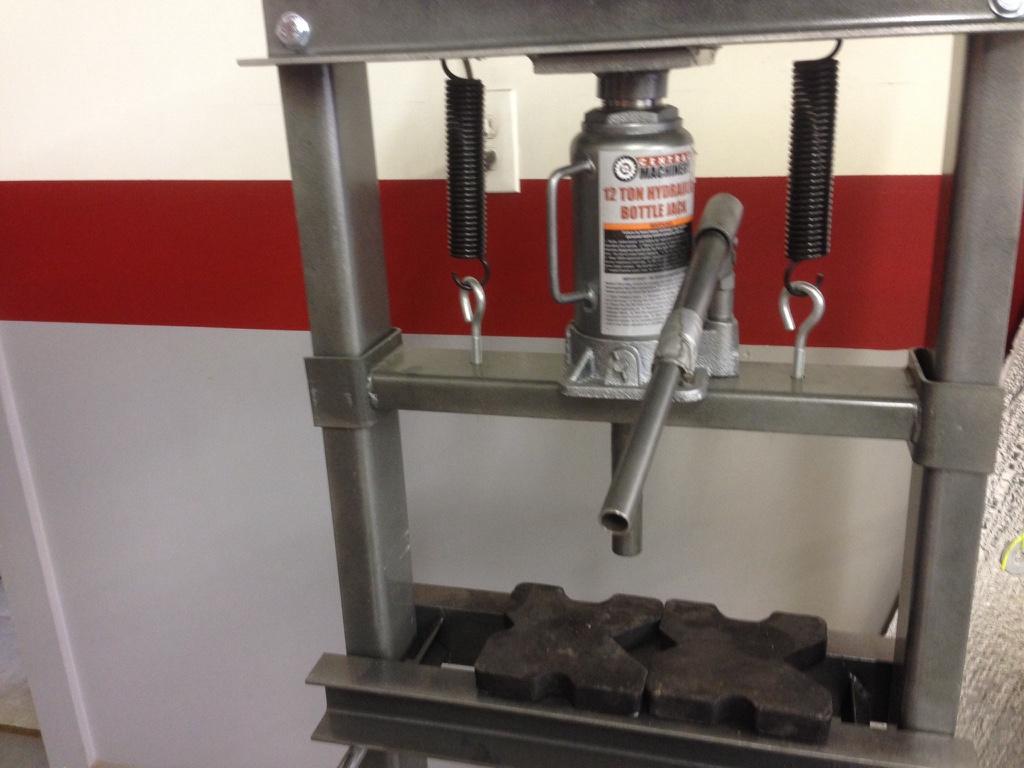
The cheap but indispensable harbor freight shop press

1a6559f611977ce5e4f3528d4c5feee1-1.jpg


And working out the kinks

e07c29e91faa33a2e77a5d815cb3c952-1.jpg


The next two are shots of the front and back edges.

9b8f1e487c460d2467f2a8f75d8d2d52-1.jpg


26cb93cfe5fcb749ac1e6708f2e60360-1.jpg


Not too bad if I do say so.

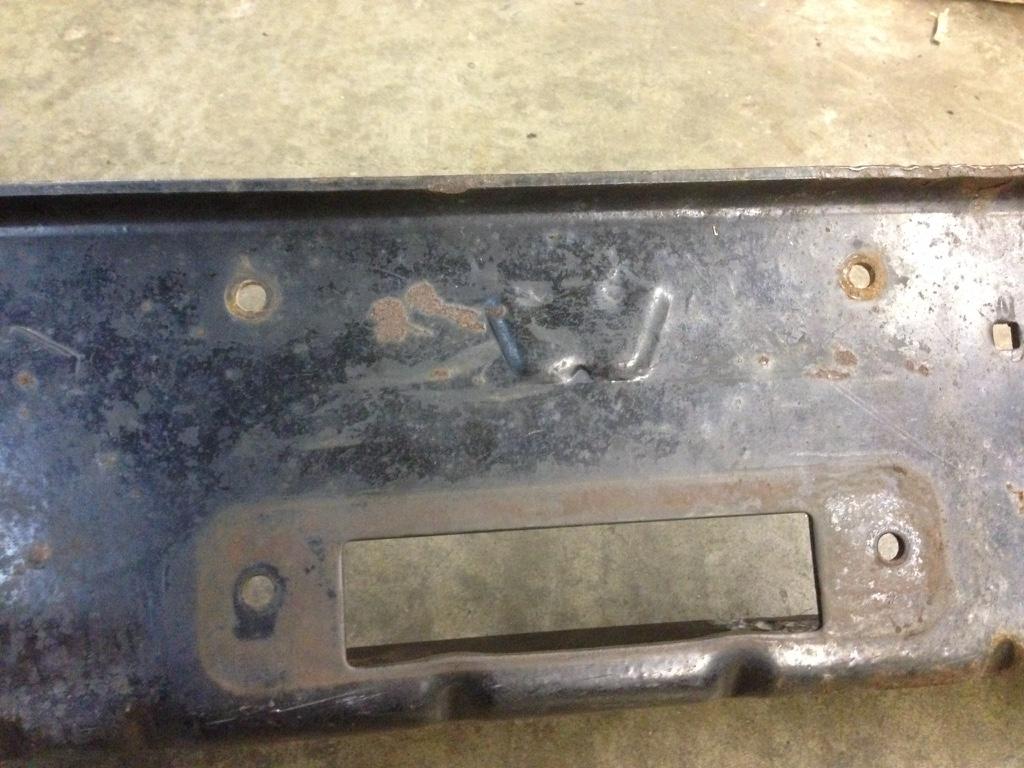
Here's the W stamp

ca8b5d9fa36c01c305c3901661ebdbc3-1.jpg


More coming.........
 
Back
Top