• Notice for iPhone users: DO NOT use the image size reduction option when uploading photos to the forum. This causes portrait images to post as landscape. We have added a warning to the image insert pop-up as well.

1983 frame off refresh - finally

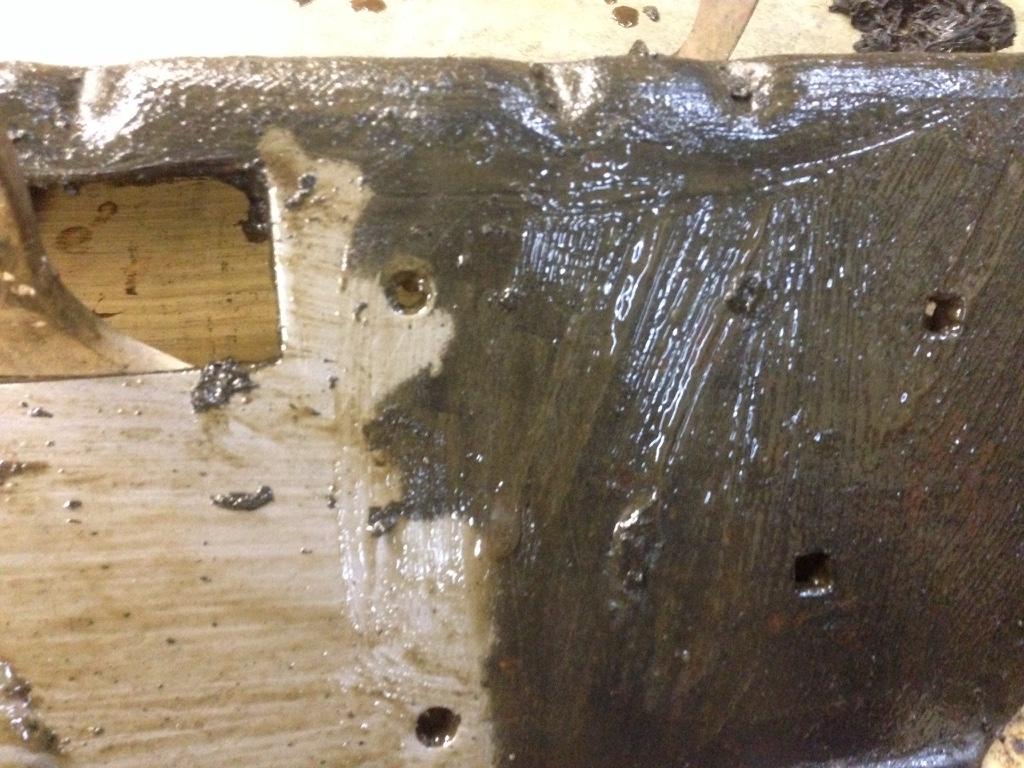
Then I put the aircraft paint stripper to it. Warn must have used some really good paint back in the day!
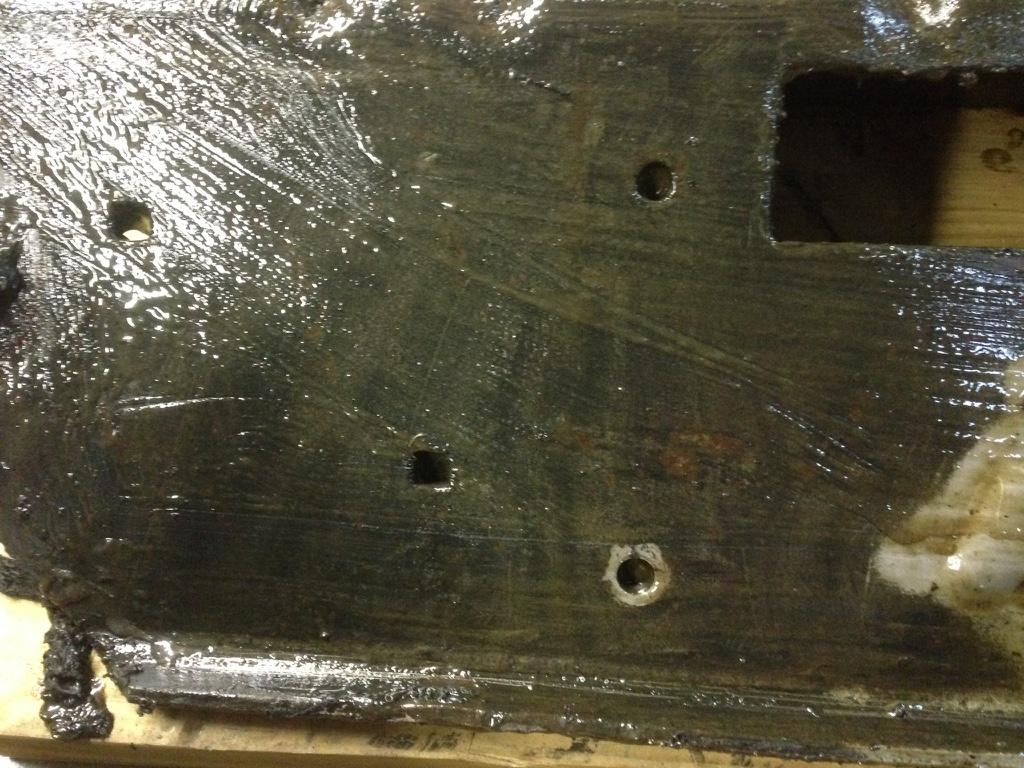
a7ef5fd0859c34697168490225b686d7-1.jpg


The clean steel you see is what I blasted off but resorted to chemicals to do the work instead.
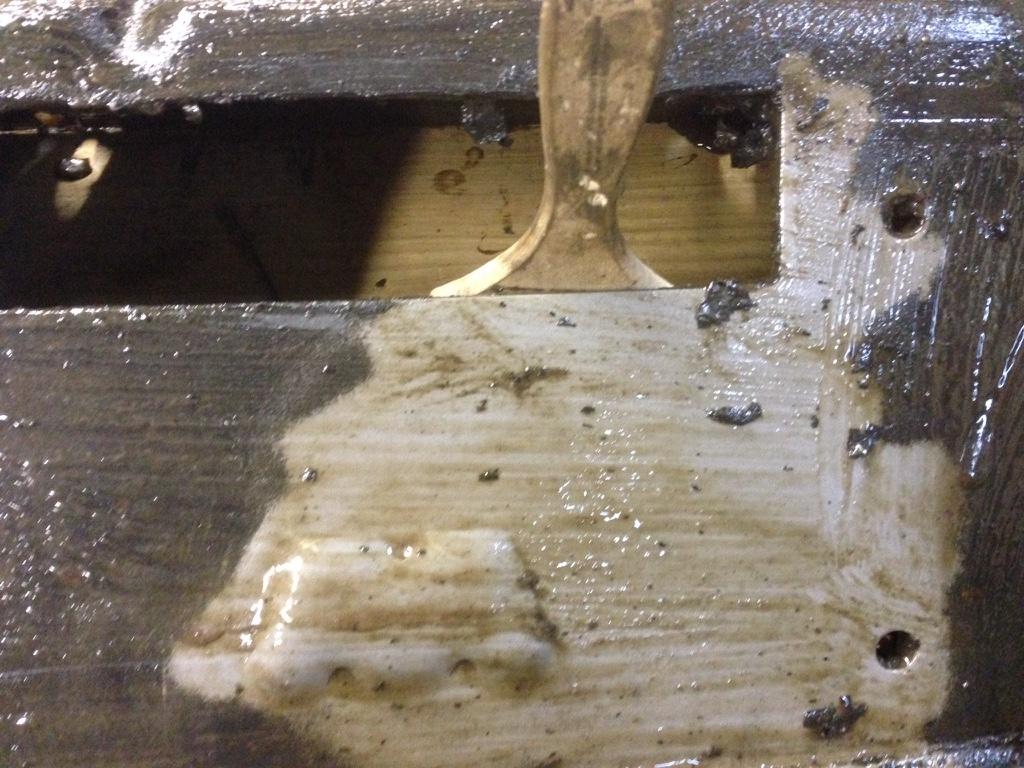
81083b643f76491dc7db2e100d639ed7-1.jpg


And another

d3f764cf3f5d36b1b6c5ede6a9058c0b-1.jpg


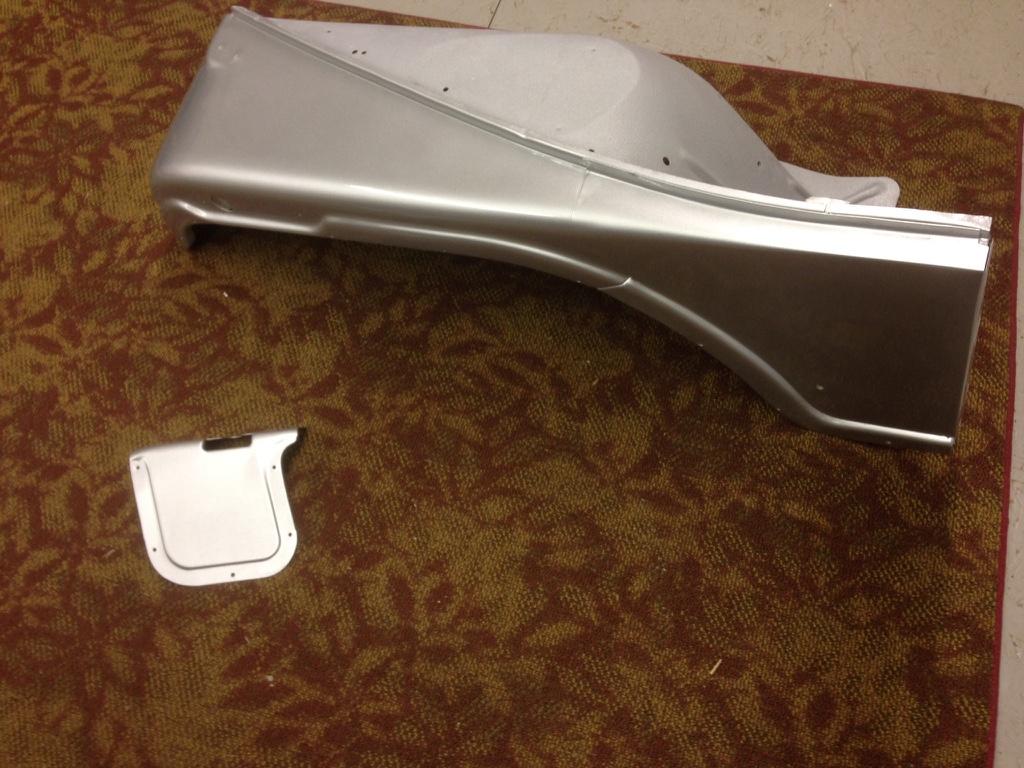
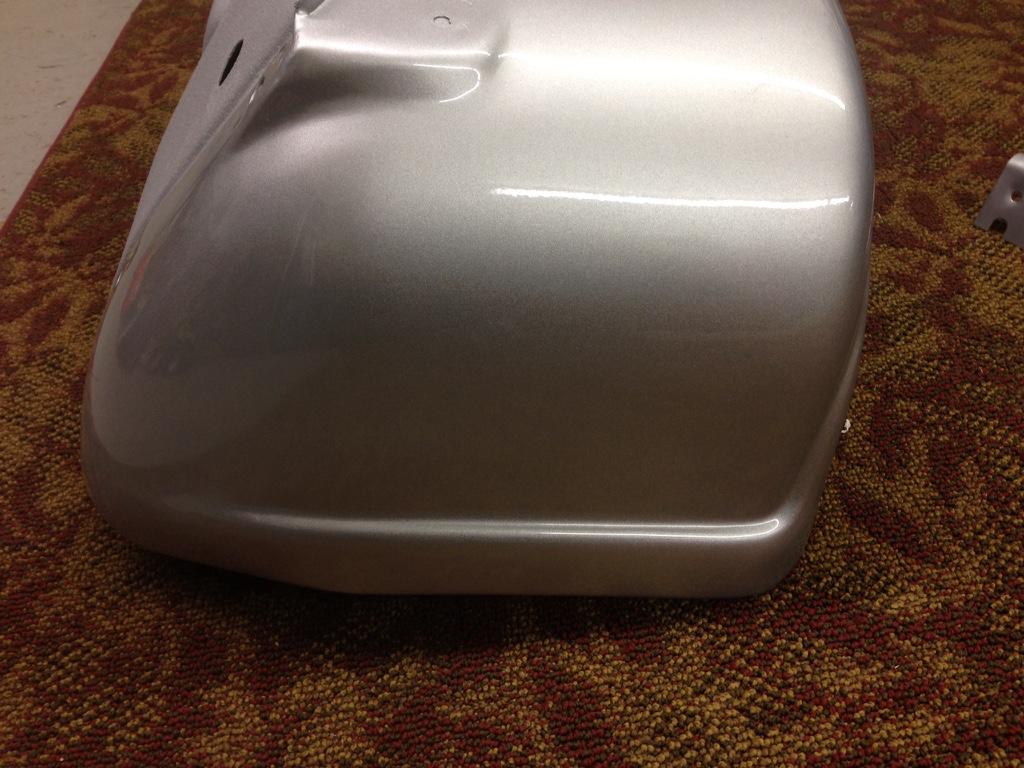
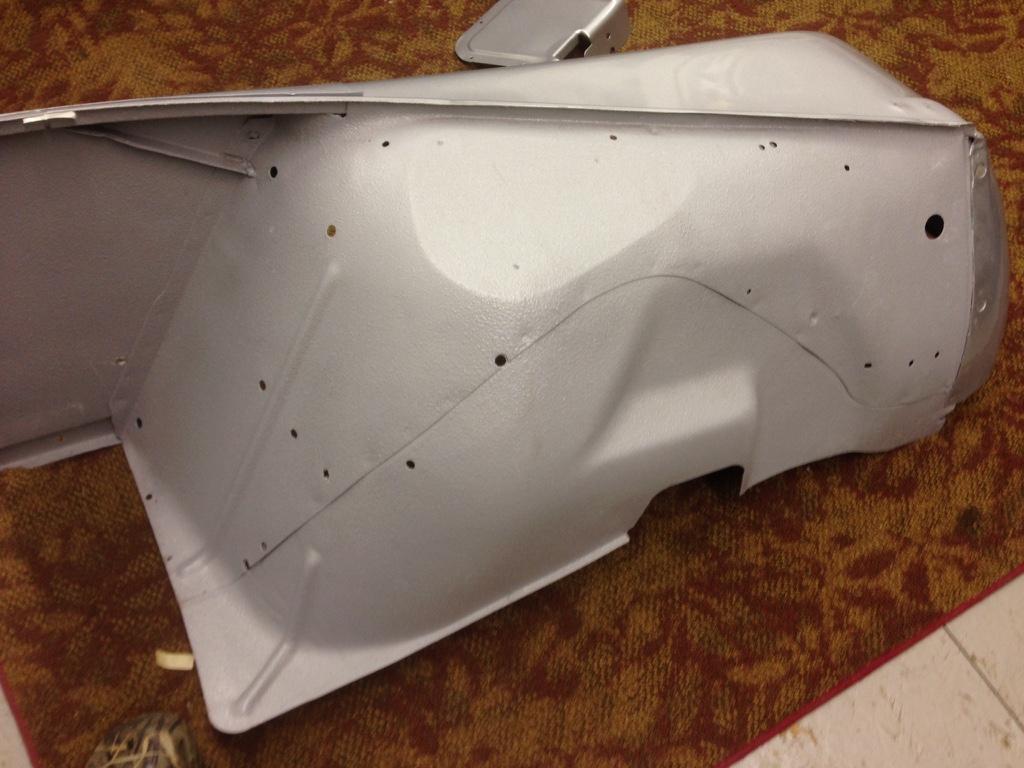
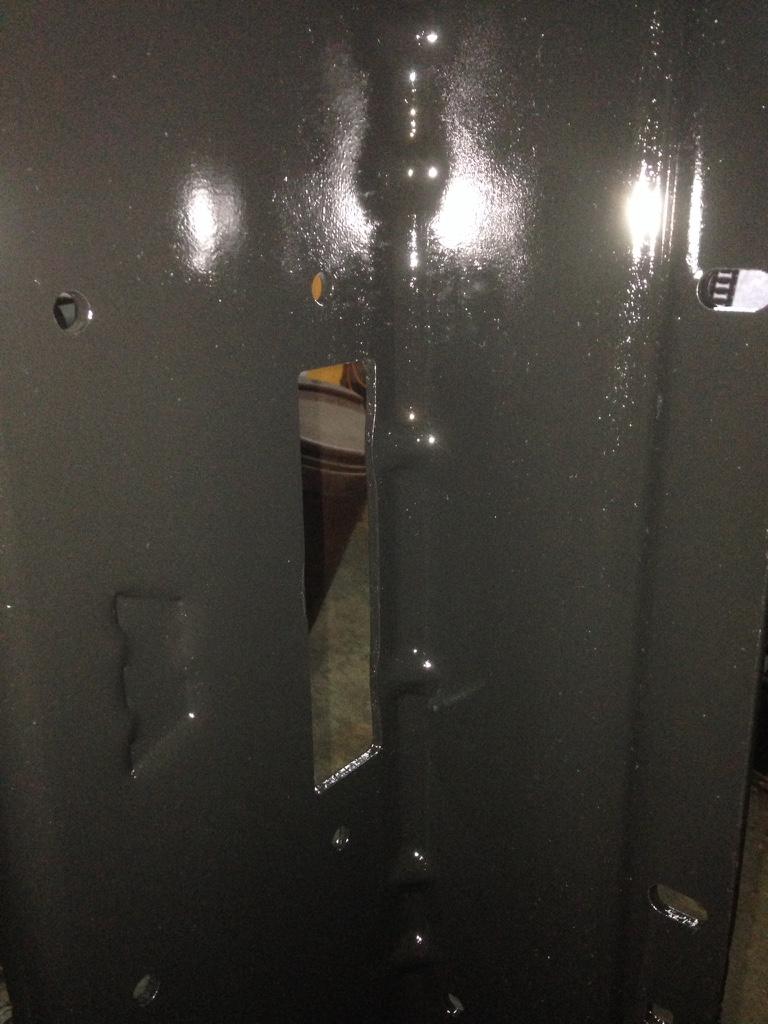
After the paint was pretty much removed it was into the blast cabinet for final clean up and to kind of put a profile on it to give the etching primer a little something to stick to. Wiped it down with acetone, hung it and spray time.
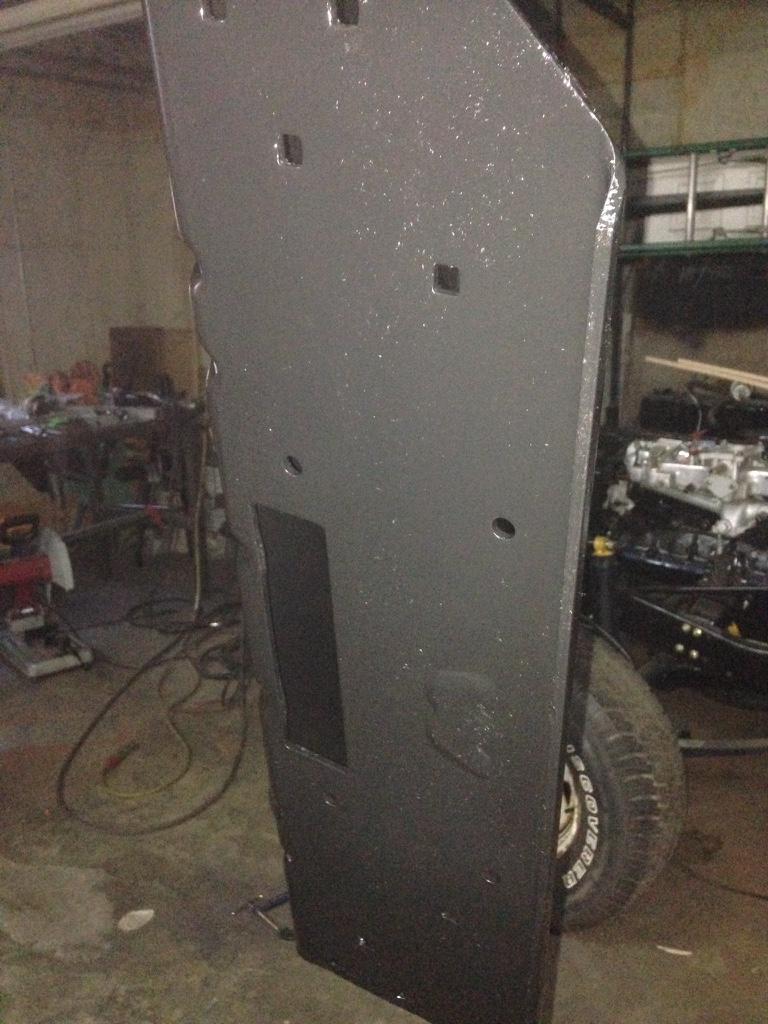
3ed0064f7e2becff2cb7d989184c0e1c-1.jpg


e1b1b9bbec4b5fce2838c422bf59863e-1.jpg


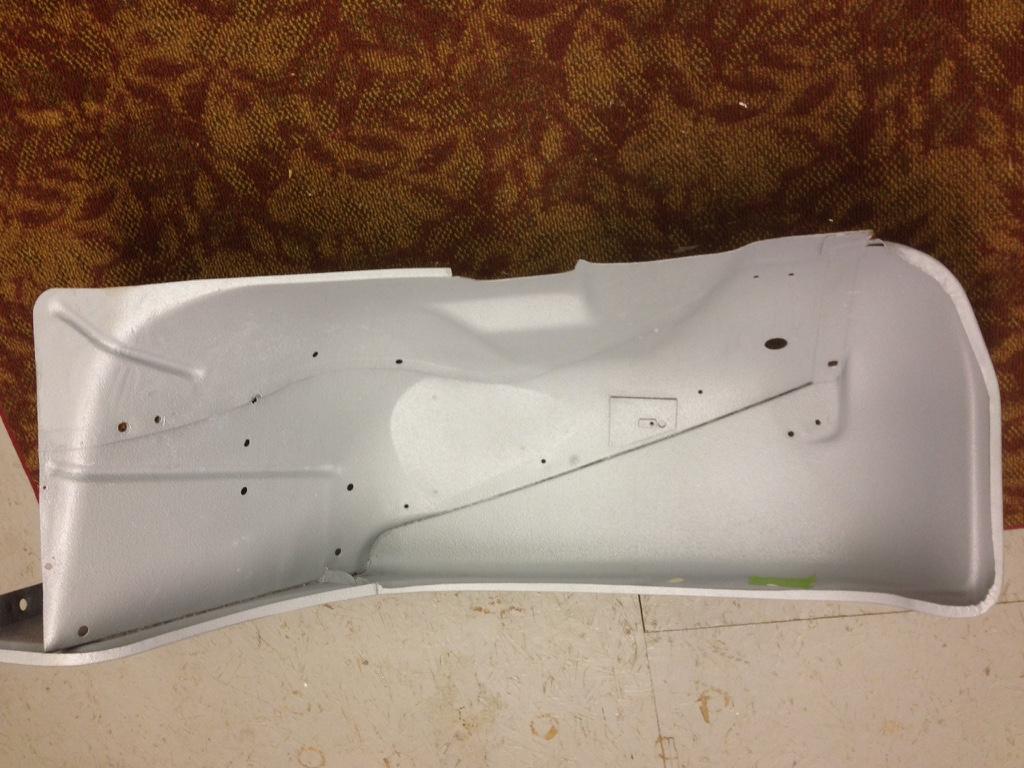
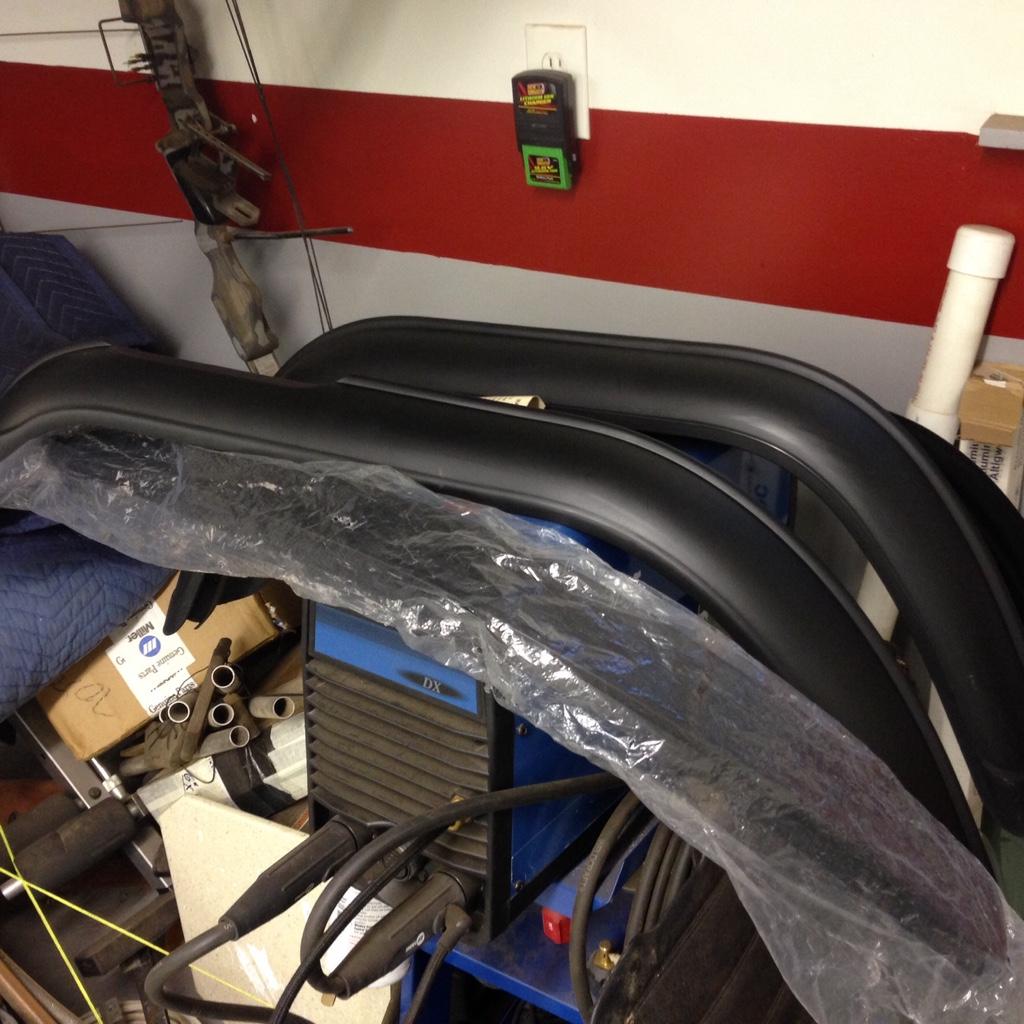
Here's a few of the fender

7db80d53fb63097b3ccf65f55a2bd1ff-1.jpg


169766d0da2ee27c8971afaab309c68f-1.jpg


3e70f4c5fdccf5466ec0f0987577e8c1-1.jpg


b9581533742ef3545bf9be85beb54292-1.jpg


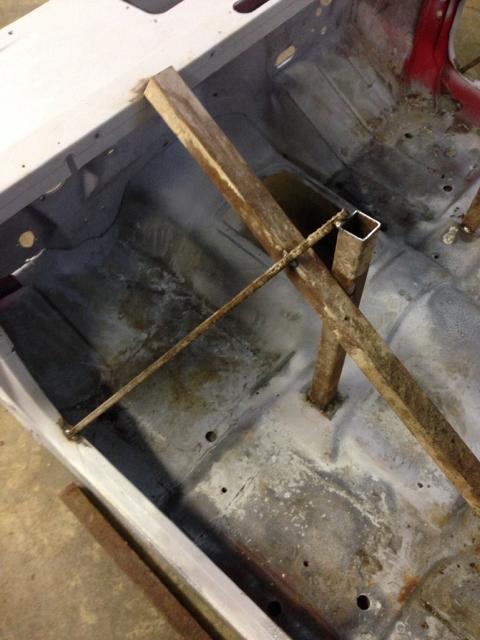
And one for CB
01630b6e58b028c6951d68ee157b1070-1.jpg
 
When I start seeing things in paint I get really excited.


Couldn't find that shield, but I see you made one. Sorry man.
 
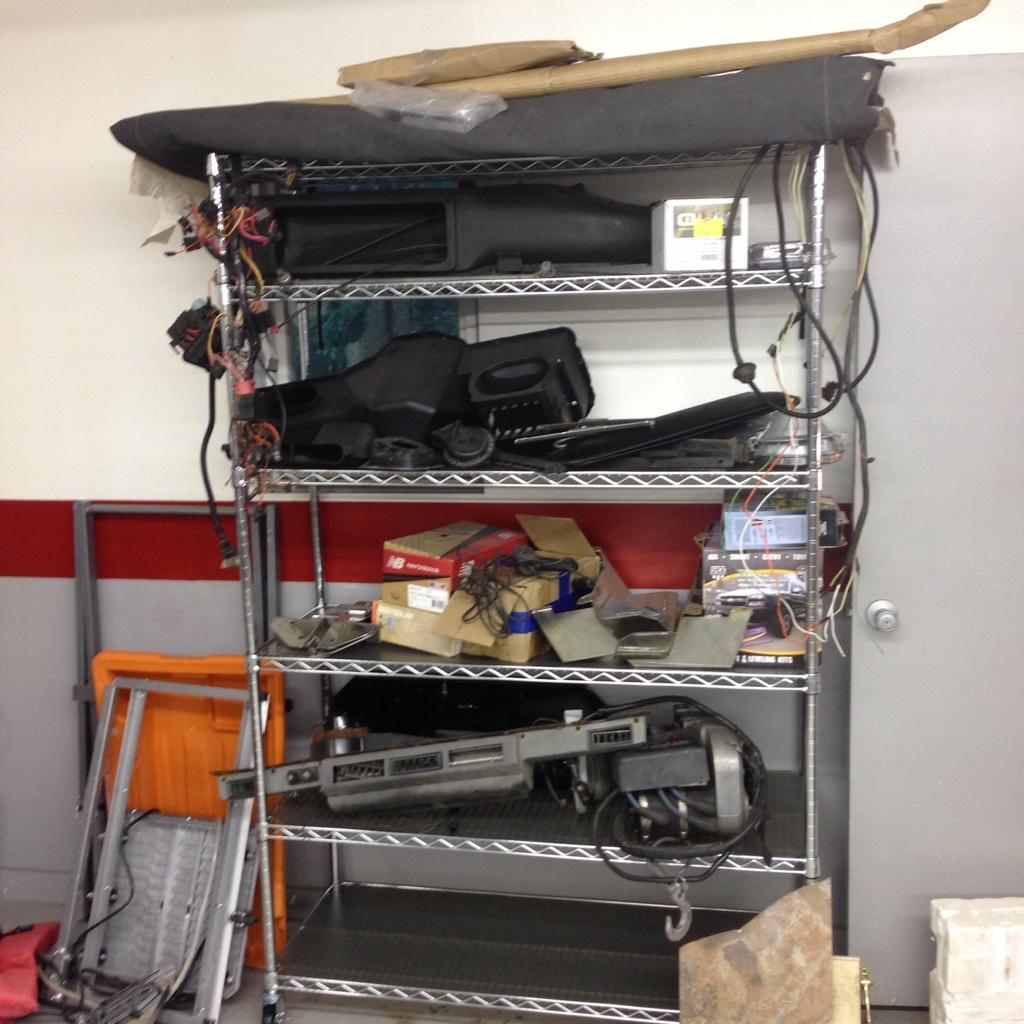
All right. Update time. Decided that since I was taking up too much floor space in the shop I should get a shelf to put my goodies on. This really helped out as far as seeing what I had and what I had left to get.

80ac048c61359978594c8746b3345a4a-1.jpg


I'm gone for extended periods of time traveling the country for work. The good is that I have a 32' trailer that I pull which means I've got plenty of room for Jeep parts. I started this spring off in central Florida and came across these via CL. Not in too bad of shape and they should look nice against the silver. I'll start to clean them up if CB will give me his opossum fat recipe he uses on his stuff.

d84de917e8dbecc1a7ab855d39a3ba25-1.jpg


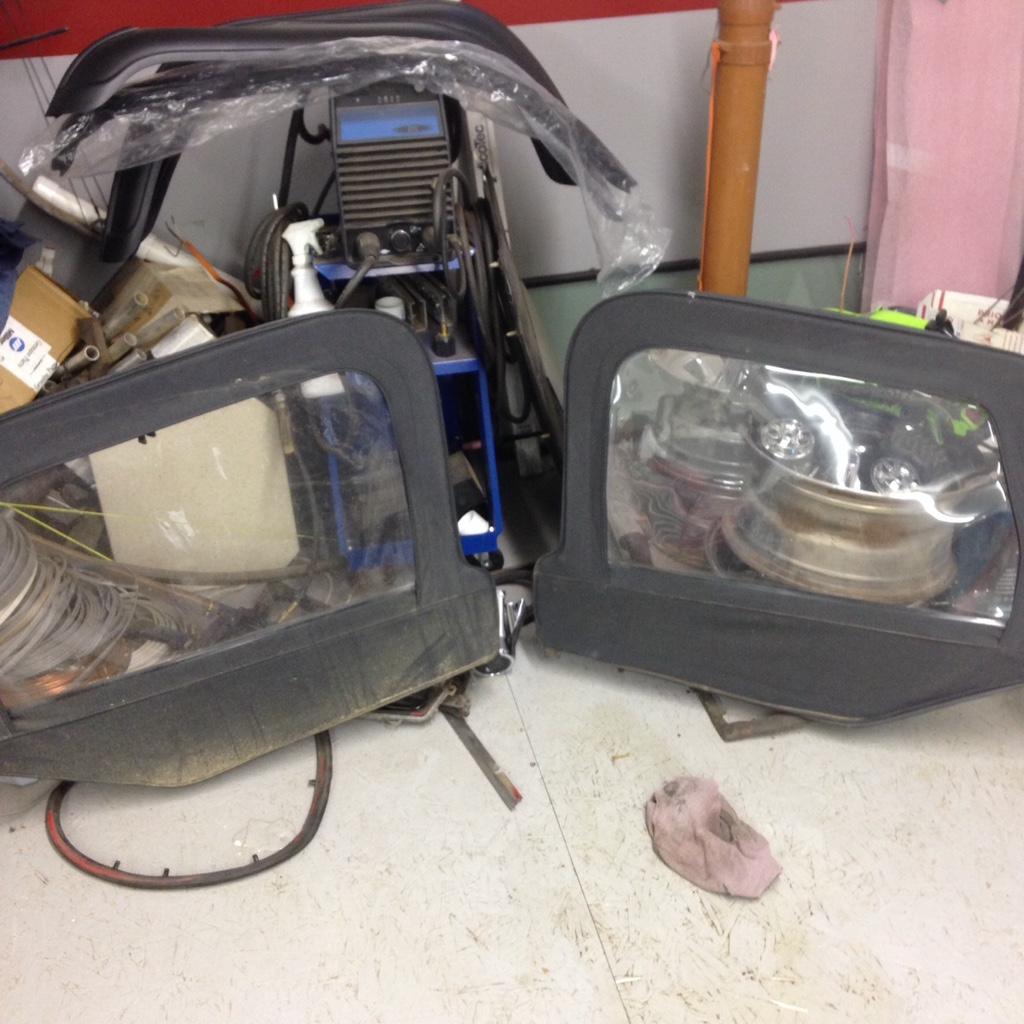
Then last fall I took our son to Hallyburton's Barber Shop (check them out, old school!) and both Steve and his son Reid are Jeep guys so we got to talking and I let them know that I was on the lookout for some TJ uppers and they said they'd keep their eyes peeled. So about 2 weeks ago I get a call from Ried say that he's got my uppers and I need to come get them. End of the story is that it cost me an L&M t shirt. Not a bad deal in my book[emoji2]

f39891479e79cf0ce84ca8715cd70ec9-1.jpg


Then I get to perusing CL while I'm out working and come across a 1/2 price set of Omix flares.....gotta have em, so Brown brings them.

9e650732a99d601a0e1b927e97b28b15-1.jpg


....more to come
 
How the heck have I been missing this? I must have just been too busy in my garage since September.

This is awesome.
 
I can give you the secret recipe, but first, what is up with the lower on the right side insert? Did that get replaced?
It looks similar, but the sheen just seems off... nice find though, those are hard to come across.
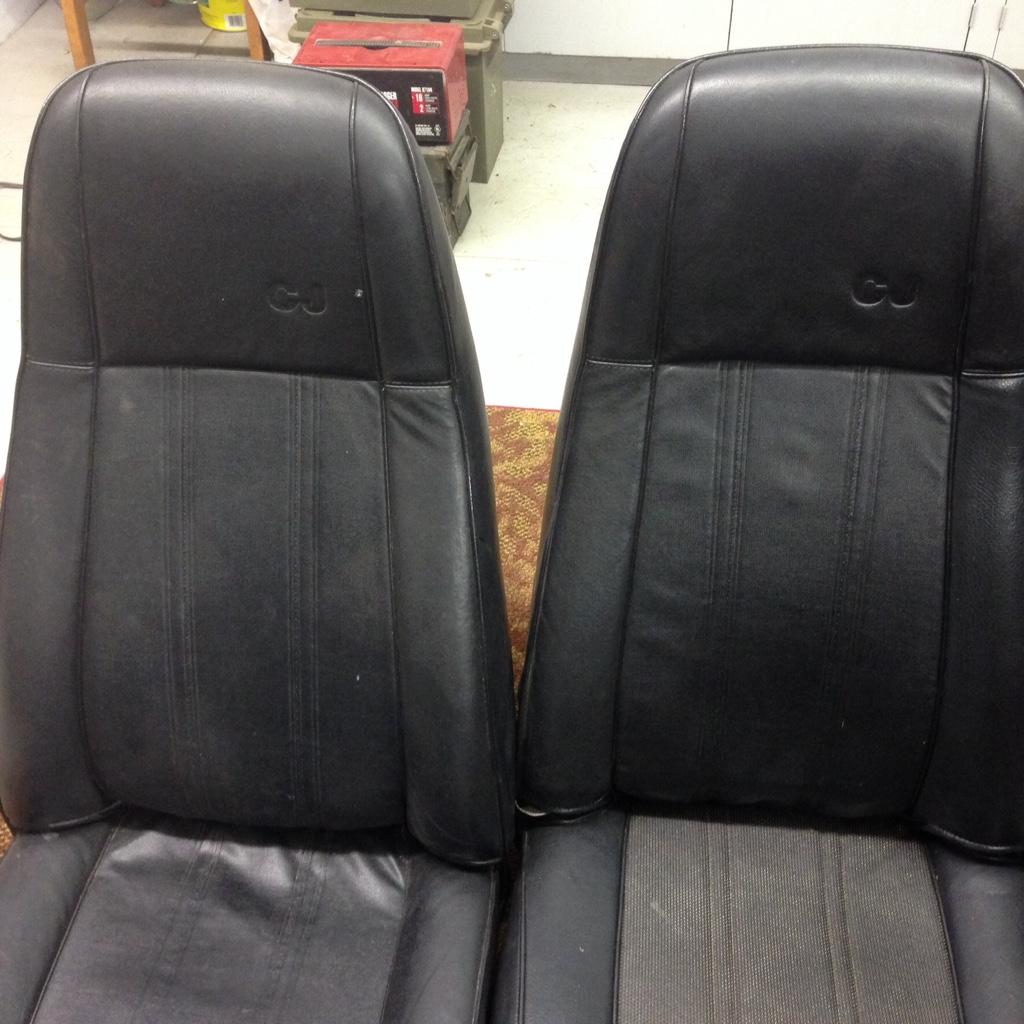
I love those seats, I have them in 2 of my Jeeps.

cb
 
Then I put the aircraft paint stripper to it. Warn must have used some really good paint back in the day!

a7ef5fd0859c34697168490225b686d7-1.jpg


The clean steel you see is what I blasted off but resorted to chemicals to do the work instead.

81083b643f76491dc7db2e100d639ed7-1.jpg


And another

d3f764cf3f5d36b1b6c5ede6a9058c0b-1.jpg


After the paint was pretty much removed it was into the blast cabinet for final clean up and to kind of put a profile on it to give the etching primer a little something to stick to. Wiped it down with acetone, hung it and spray time.

3ed0064f7e2becff2cb7d989184c0e1c-1.jpg


e1b1b9bbec4b5fce2838c422bf59863e-1.jpg


Here's a few of the fender

7db80d53fb63097b3ccf65f55a2bd1ff-1.jpg


169766d0da2ee27c8971afaab309c68f-1.jpg


3e70f4c5fdccf5466ec0f0987577e8c1-1.jpg


b9581533742ef3545bf9be85beb54292-1.jpg


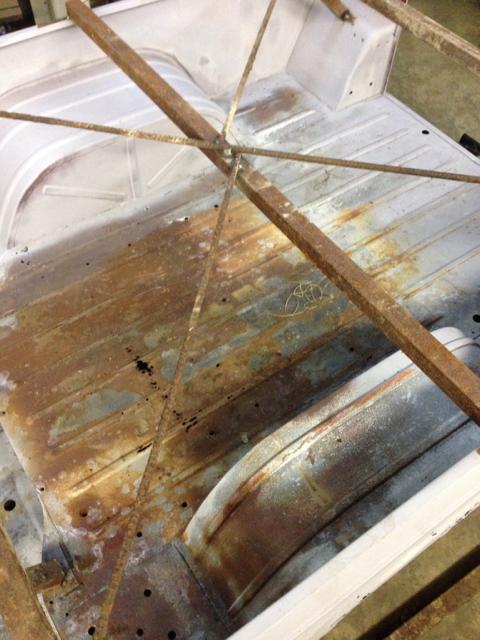
And one for CB
01630b6e58b028c6951d68ee157b1070-1.jpg

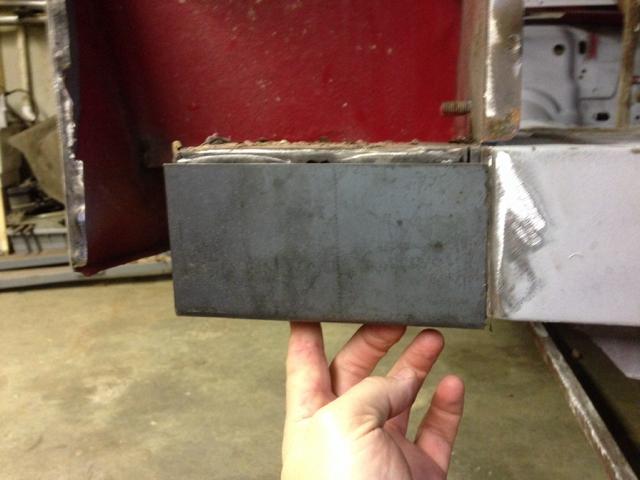
HA! I was doing 2 of them last night that I got during the week... one is near perfect, the other one has 2 dents in it that I can't quite figure out how they did it.
They are low on the side and bump outwards.
More than likely the front hub let go and caused it, but it would have had to let go in a very strange way.

Looking good!

cb
 
CB
You're right, the ones center insert is just a tad off. I'm thinking that it was replaced. Now for that cleaning secret formula?....
I'd love to find a set of Laredo seats. I'm going to ask Jim!
 
There really isn't any secret to it... just a lot of scrubbing and cleaning and repeating.
They some armor all to soak in and then wipe off and do it again.

I use greased lighting, orange cleaner, windex... anything I have depending on how bad the dirt is.
Plastic scrub brush with gentle pressure.

Just repeating over and over.
I know I have mentioned it in other threads, no big secret, just patience and stick-to-it-ness

cb
 
CB
You're right, the ones center insert is just a tad off. I'm thinking that it was replaced. Now for that cleaning secret formula?....
I'd love to find a set of Laredo seats. I'm going to ask Jim!

I have been eye-balling a set of Laredo seats that Jim has above his cabinets. Every time I visit I want to take them home. No dice. Maybe you can pry them out of his hands. ;)
 
I got dibs on jims seats . Im going to fight you all off with a stick lol[emoji12]

Sent from my SM-N910P
 
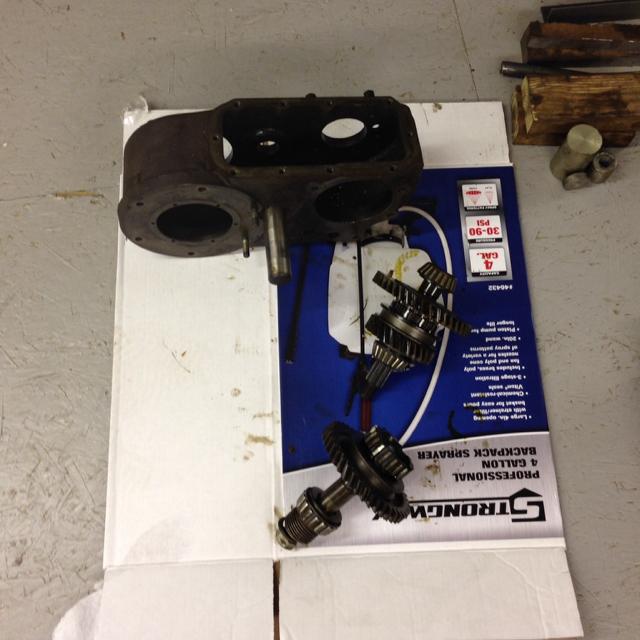
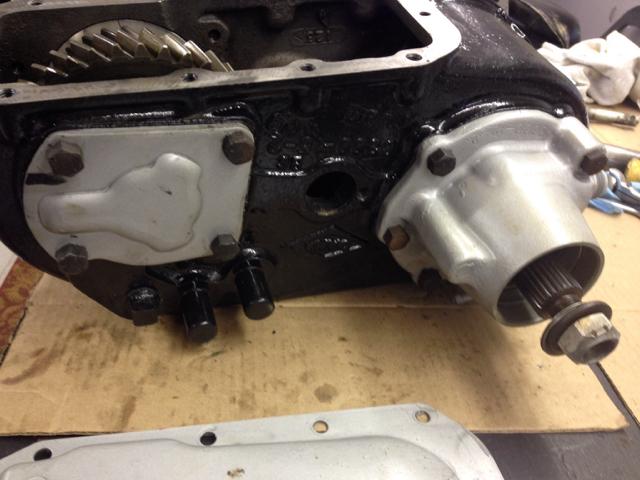
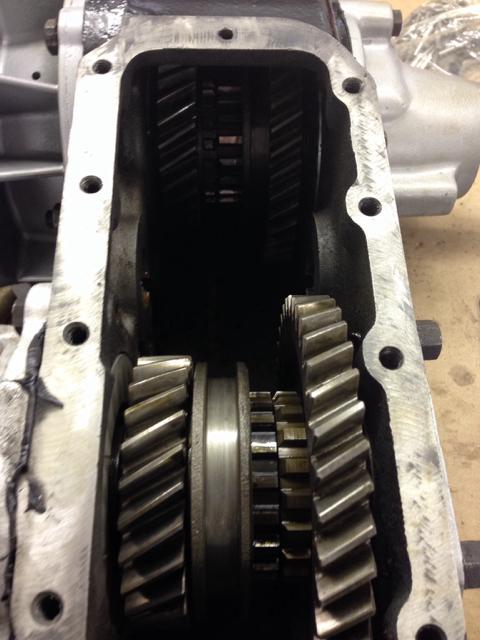
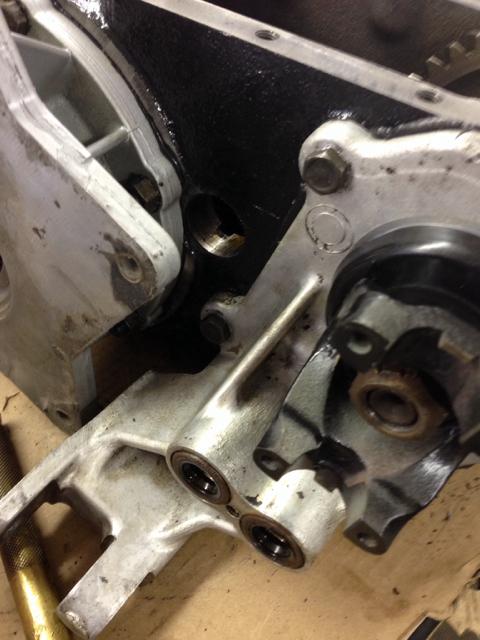
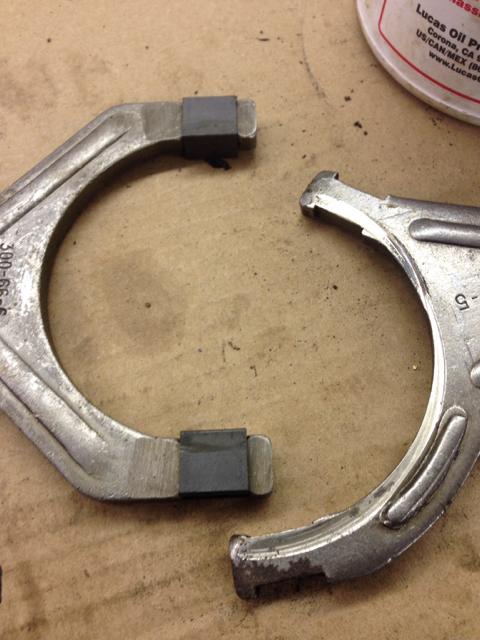
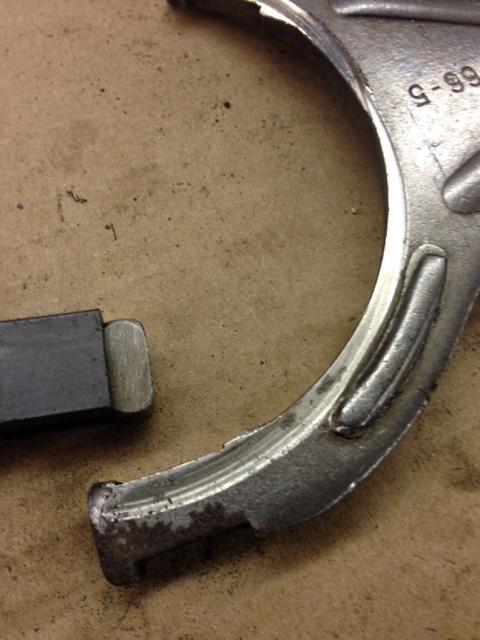
You're not getting Jims seats. I'll arm wrestle you for them! Been getting a few things done here on the D300 case. Think I've got it sorted out, just waiting on the shift fork bushings from 4WD. Way too commercial an operation for me, think I'll just stick to my local mom and pop NAPA. Nothing remarkable about the case other than it's utterly simplistic in its design and function, nice.

0fb10c9482bdbce65594d2b5b1a04d22-1.jpg


d434f41b27191c5f2277ec323ca225b7-1.jpg


163b36755788a2917814aa9ff75ad0c8-1.jpg


cb42248d3a773df043e469481d7d86fa-1.jpg


41082c7f229b5447dc21274d3840b0ba-1.jpg


462474c109f66b871ebdbb29453702c0-1.jpg


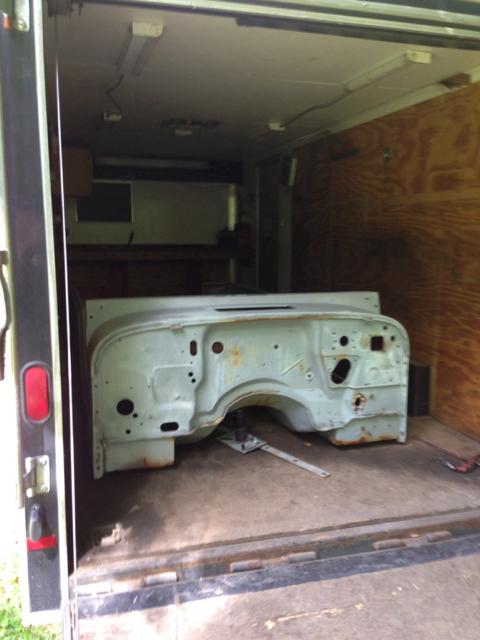
Then at the end of last week I went after my tub. My guy has had several life events and changes over the corse of the last several months and I think he's spending his free time where he needs to so I'm taking over the tub rehab.

c2a34cc6c81912560ad53676a9522e61-1.jpg


In the trailer as I brought it home to the shop.

d6c0eb2a111b39b71f62e49b442edd41-1.jpg


Some goodies in it.

0d1211dd4db61f96c5e36e3b29b9921a-1.jpg


More....

991c63166ab32262aaa93e233318d3bd-1.jpg
 
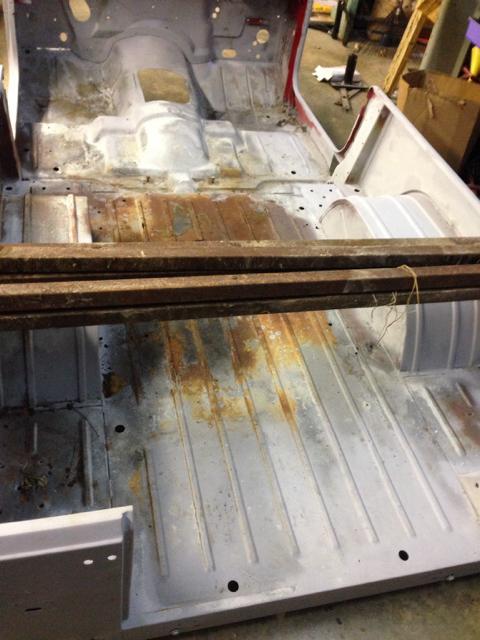
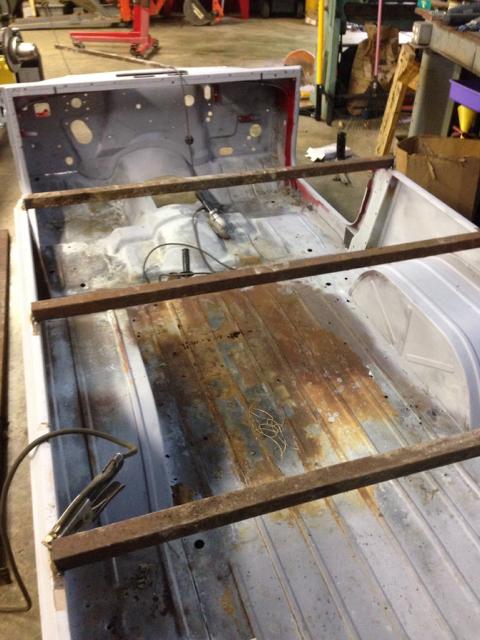
So here it is in the shop ready to be braced for welding on the flipper

2eddb5a98ec651f9ac1b743c8be02432-1.jpg


You can tell it's been sitting out by the rust.

d463154cc38dc714c724dab69f07e02c-1.jpg


A few nice little silver worms

31e438cd6b60277287226fdac3ef2bac-1.jpg


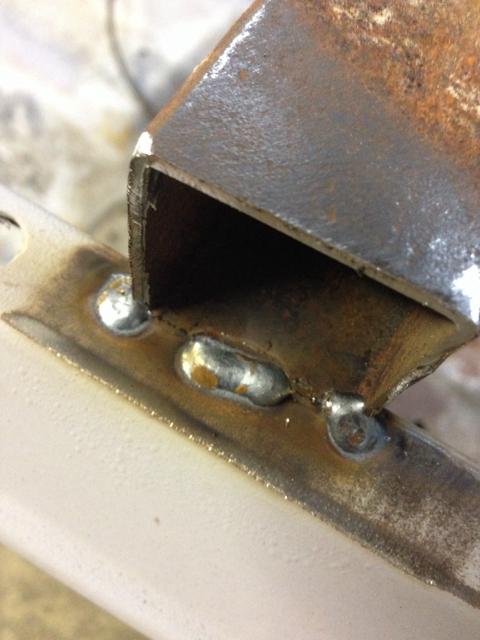
Bracing,

e752eb080278dcc0e2c8f491876e7d1e-1.jpg


Bracing,

2a10e71c822a0da4765891791bfe28cc-1.jpg


And more bracing......

27a48a38f6f3e37d940343f2019618a1-1.jpg


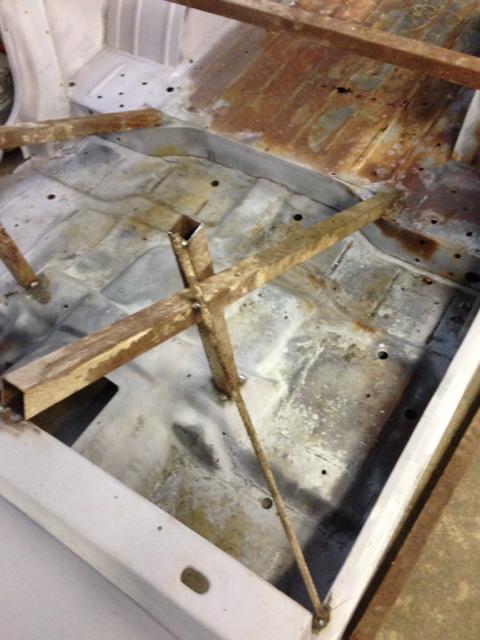
Then I tied everything together in an "X" with 1/2" rebar

c038c31c392c91fdc5b83adba3f25313-1.jpg


Here's another wide shot of the tie in

a640b8d1211d5641c01465c1a9e325ea-1.jpg


This really made it stout. I proved this to myself by lifting up on a corner and proved that there was no twisting. Many thanks to CB and his thread for all of the bracing advice!
 
Then I started peeling back the onion!

7c92b16830a3bbd08254c2e6c1793b8c-1.jpg


Have a little rot

0cbf12b3e5d122cea73f1960cb865884-1.jpg


I like using the 6" dis X 0.045" thick cut off wheels to cut this stuff out. I'll be using the Miller plasma soon enough.

e5f7c5ee89f3e9e324d09f3a13c71476-1.jpg


Looking for those dreaded spot welds

32dcf3135b61369fcf66d22b5f9bc8a5-1.jpg


More cutting

94c3dcd0c3b7c2bc651d5a09d9716134-1.jpg


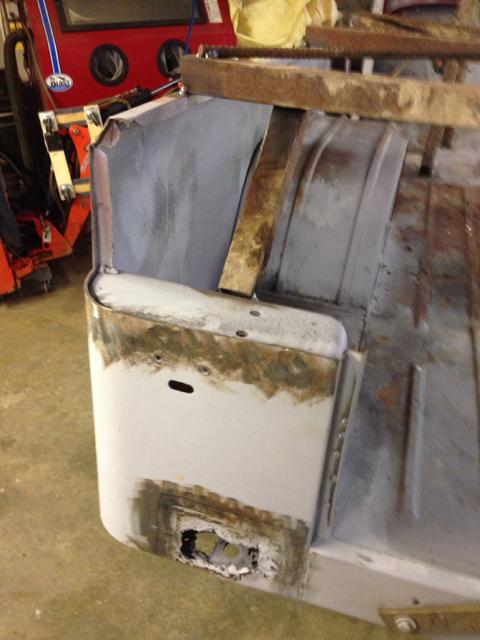
Finally got the bad boys off

b1781f6387ce196936ba1d24dcb4d3bd-1.jpg


34998c6b68fa2326966815de790f8968-1.jpg


What new corners will look like

2d3df154a01894d89f07d76f75c86859-1.jpg


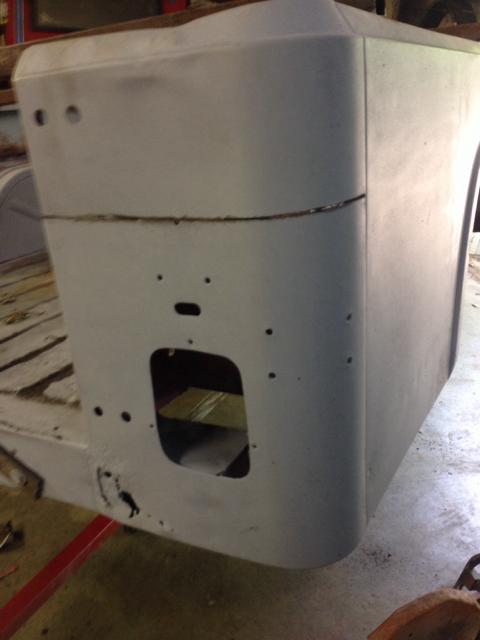
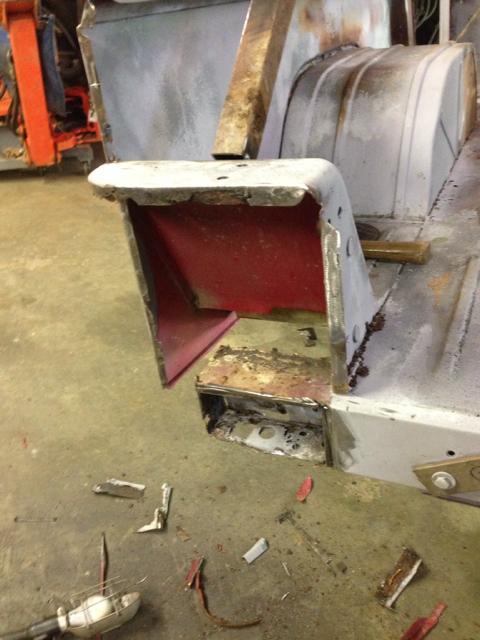
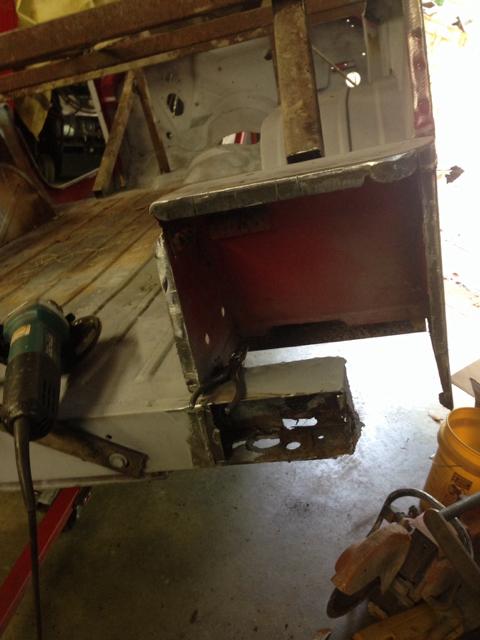
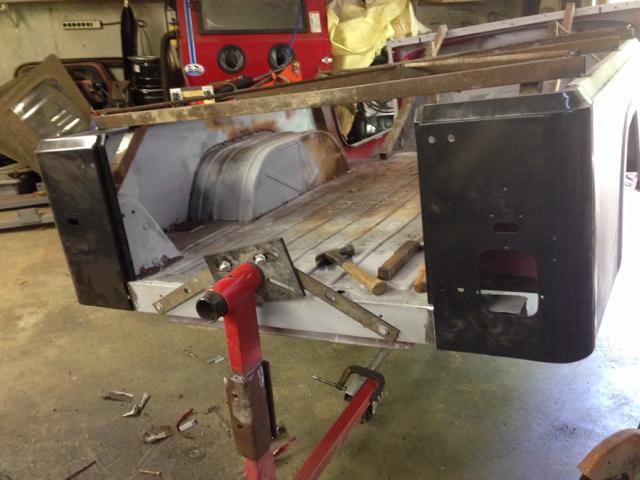
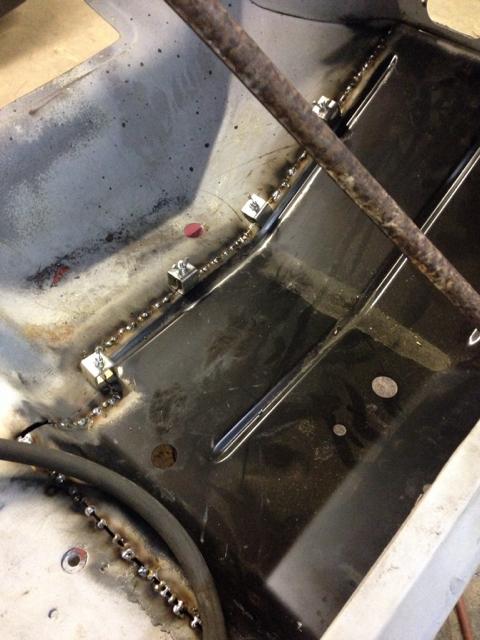
Then me and my little helper went out after dinner and made the panels for the rear body mount captured nut enclosures with the shear and brake

372c3d07951adf28cae2f223b2933c84-1.jpg


And in place

f7fd7b17a51302a7d2fadb7e03cd496e-1.jpg


More to come. All told I've got 4 hours in bracing the tub, setting it on the stands and removing the tub corners.
I keep thing of Neil Young, Rust Never Sleeps[emoji33]
 
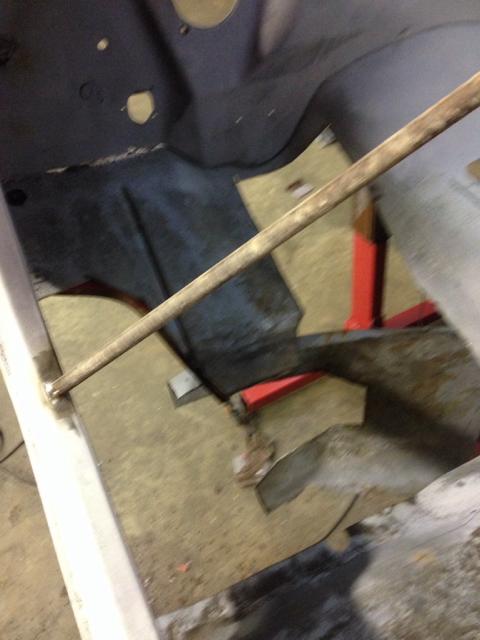
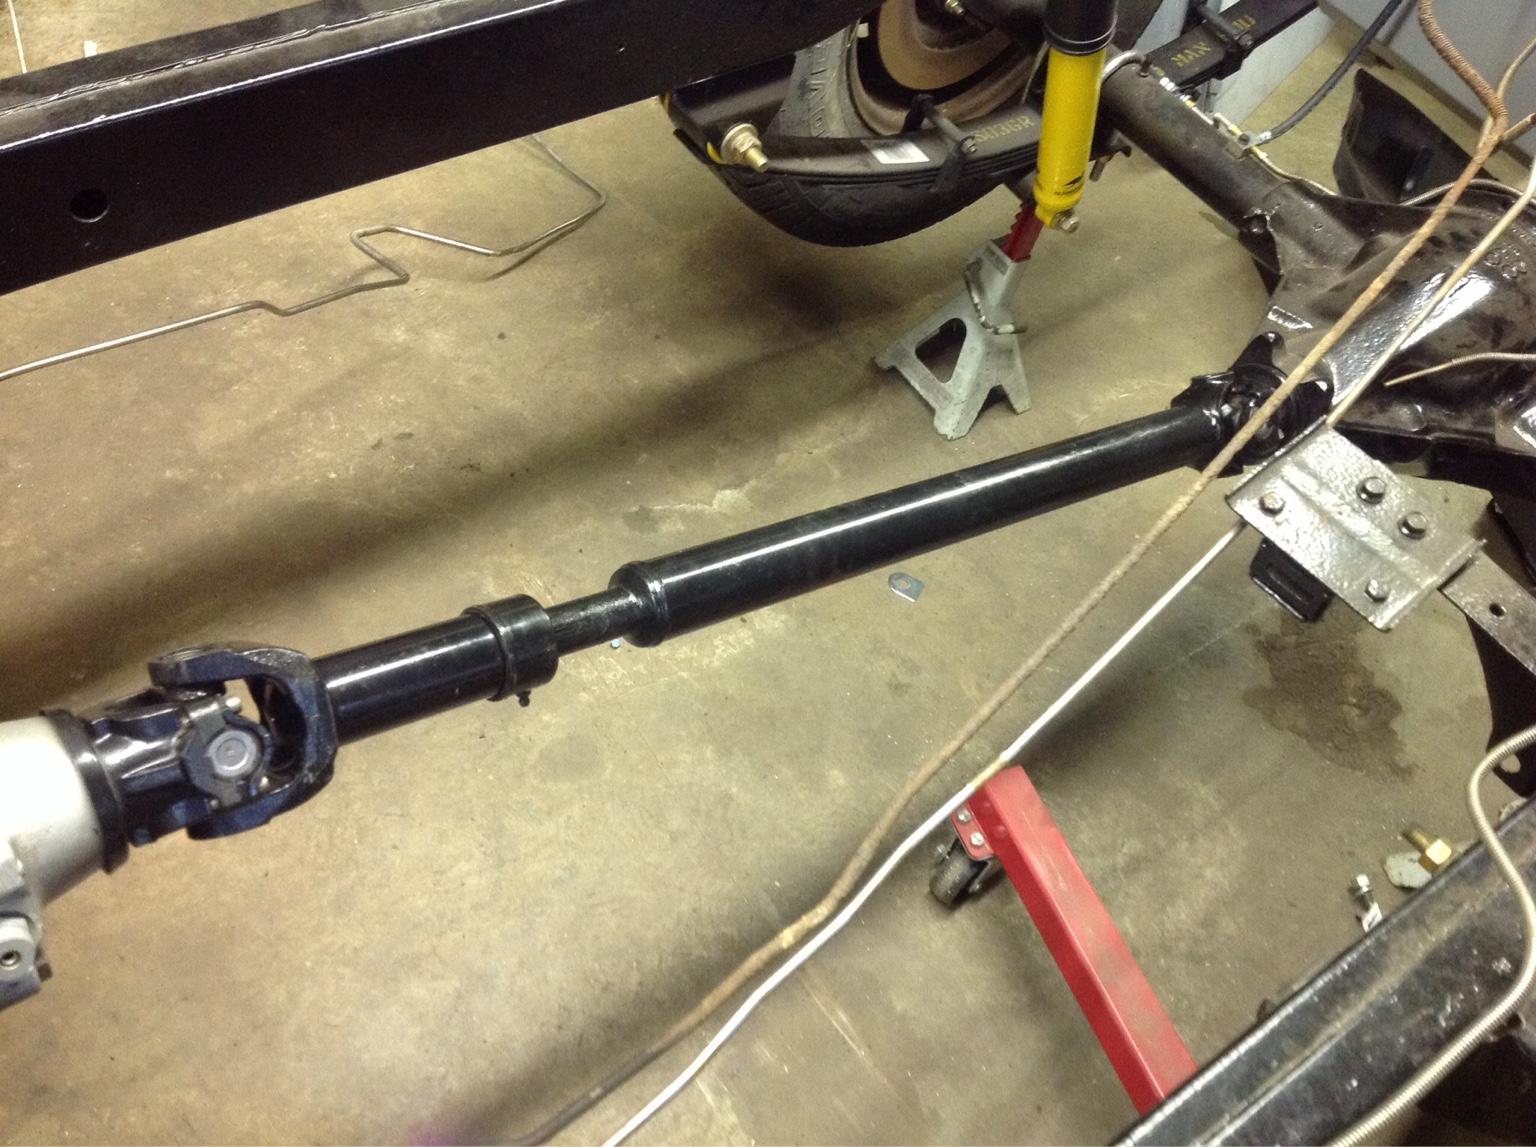
Just a quick update. Got to work on the drivers floor pan and was even able to finally install the rear drive shaft. Front u joints in tomorrow.

3f30b1fd74ff4d4e201fad5878534b6f-1.jpg


aaec495328f77714172e37b96f915eeb-1.jpg


More to come.
 
I got a few hours in after lunch today and boy did things come together!
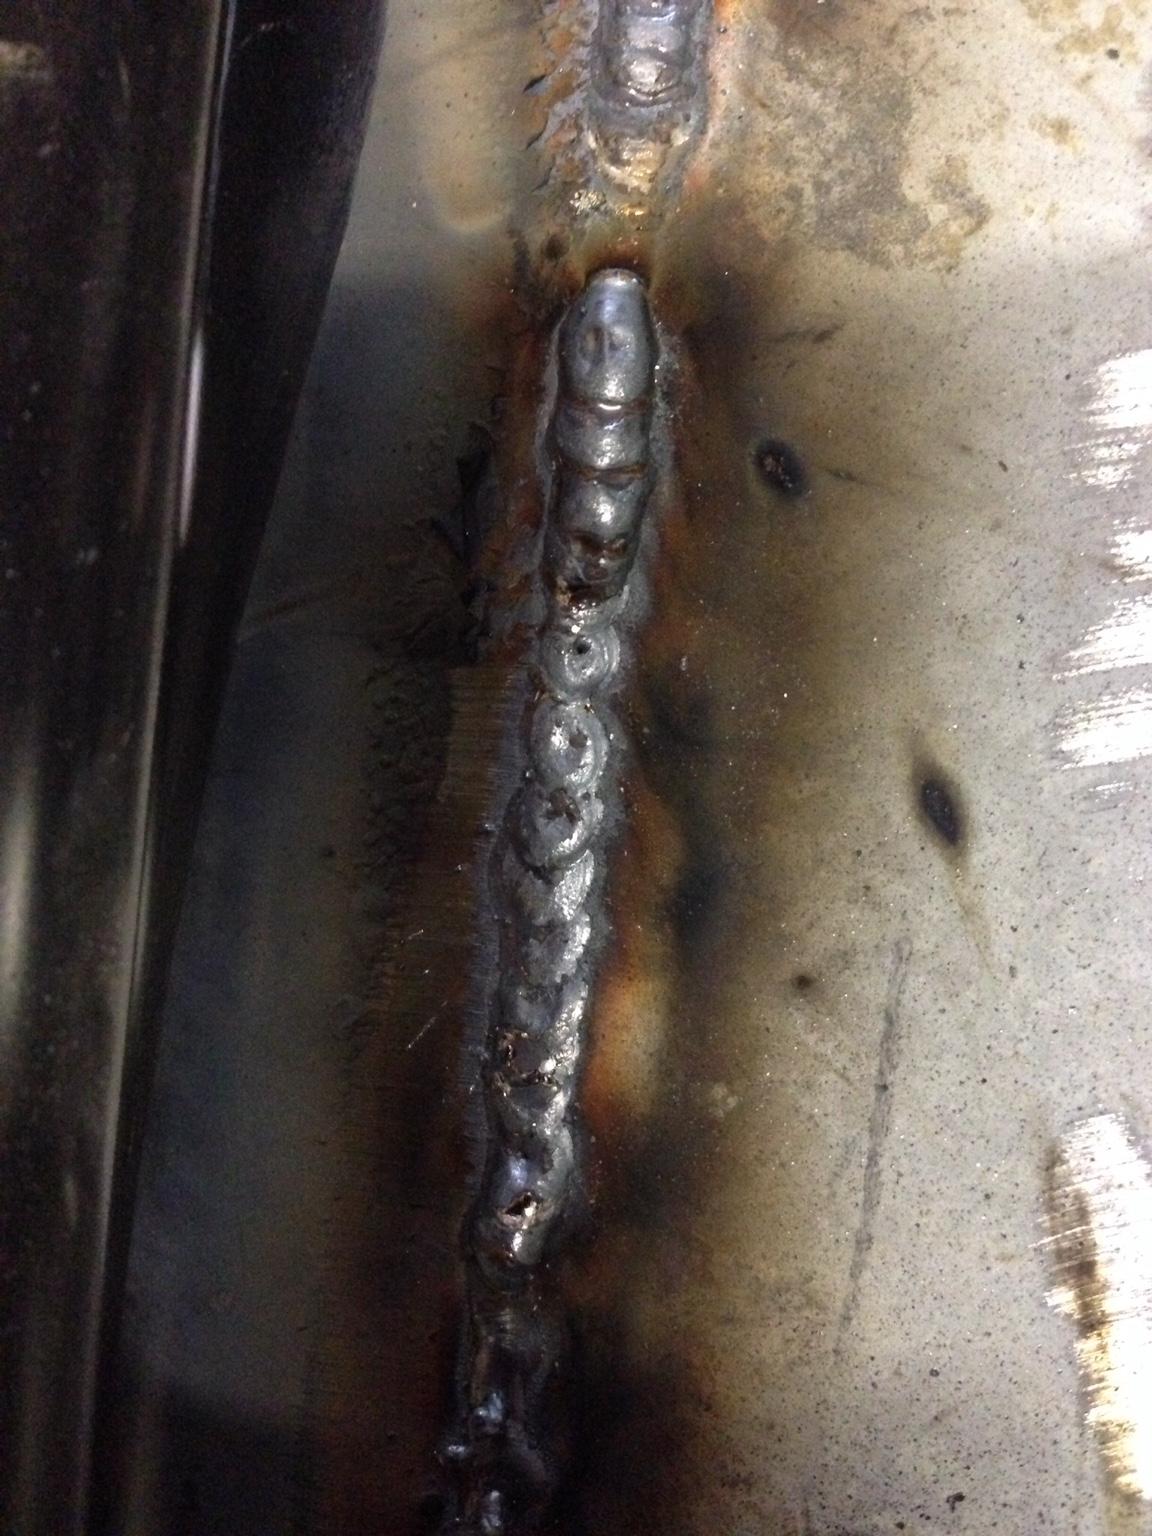
I got all but the front of the drivers floor welded in, the 1/2" lip to attach the rockers to the rear floor replaced and a small patch under the drivers rear roll bar mount. See for yourselves. What Certifiable has been doing is a lot of work, I feel ya brother. Welding 18ga is no where as easy as 1/4" plate and thicker. It takes a bit of finesse and no gap whatsoever.

Many many tacks

0e90bad3cb499cec74f5bec4509eeb84-1.jpg


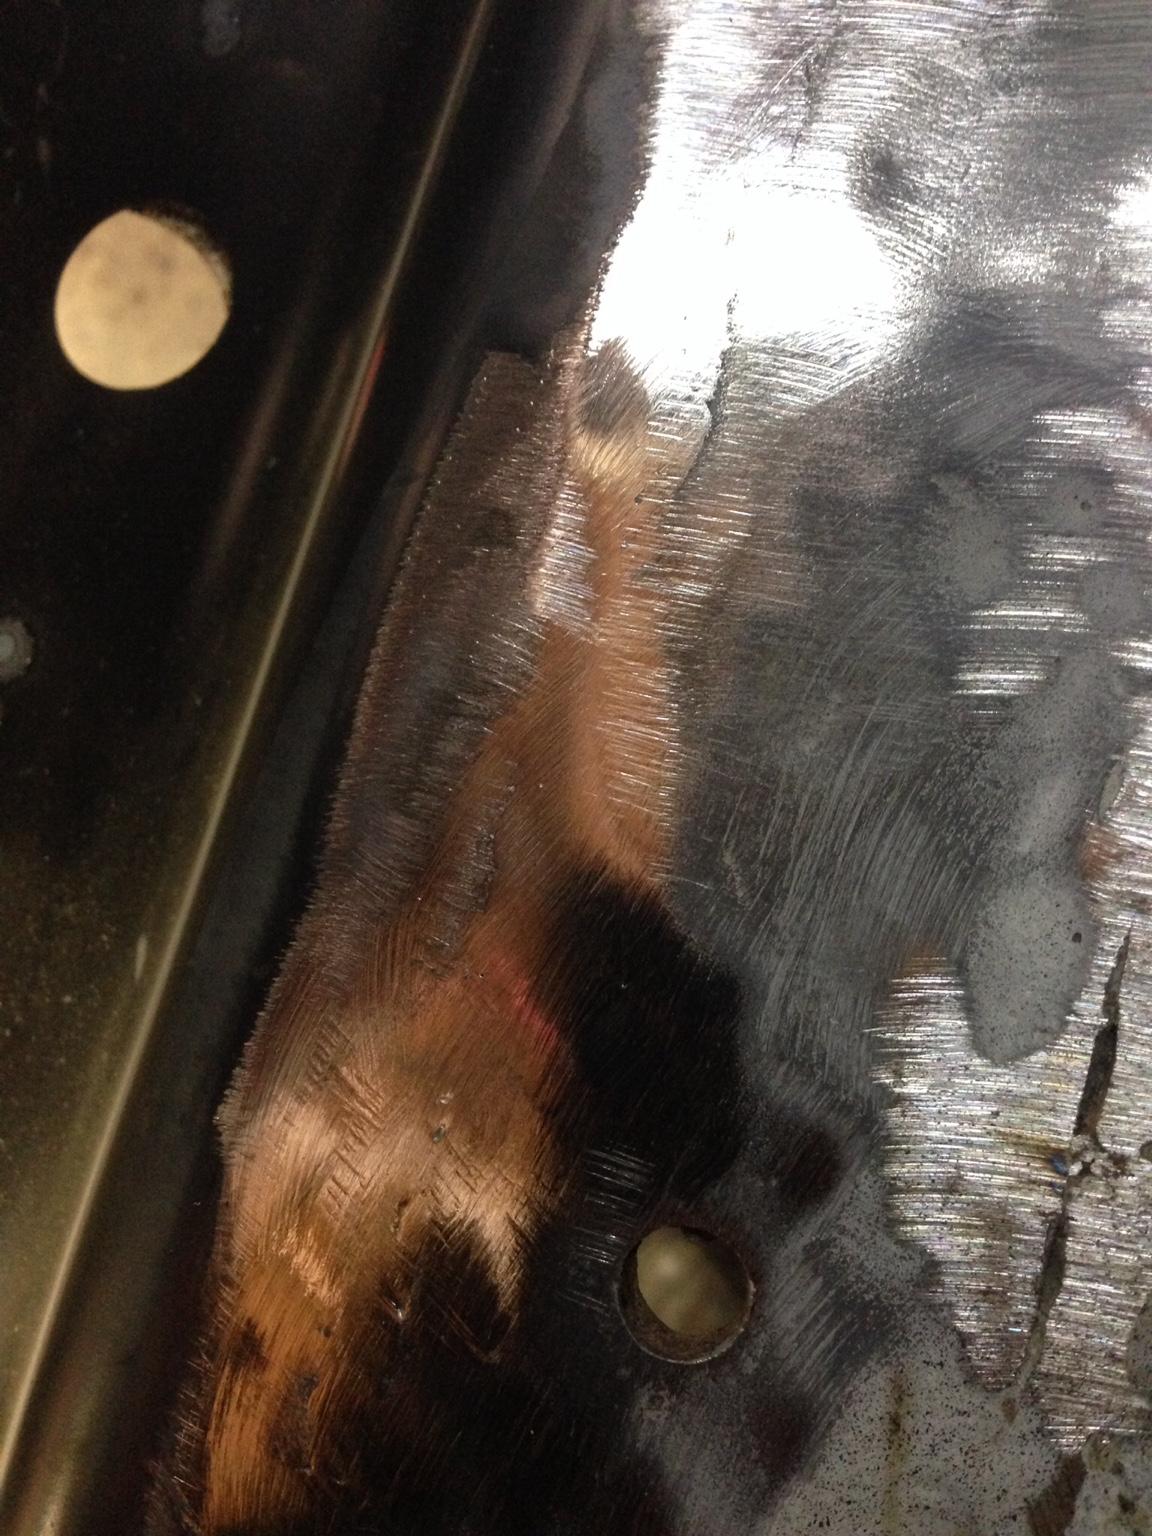
Ground down

7f082d640a9e46ac57a8a4b61db00684-1.jpg


Overall

b7f599625ea9c5ffbe4c8fd6a7e2a225-1.jpg


Trans tunnel

3b677937e21f79fca0e9e83de43e92ab-1.jpg


Roll bar mount

2080f0b24429f7b2746801d7179c6673-1.jpg


Needing some flapper wheel love

a2fddef00dd66ead5add399d711f5535-1.jpg


Rocker lip

ccd7cade65b03f8701c08897f2db9a33-1.jpg


Another

b073e3dc71e30380f494a3dd2ed1e5f0-1.jpg


I'm using a MillerMatic 252 with 0.035" wire, shield pro 101 gas, 16.3 volts and 182fpm wire speed
Looking good bro keep it up

cb
Sent from the garage
 
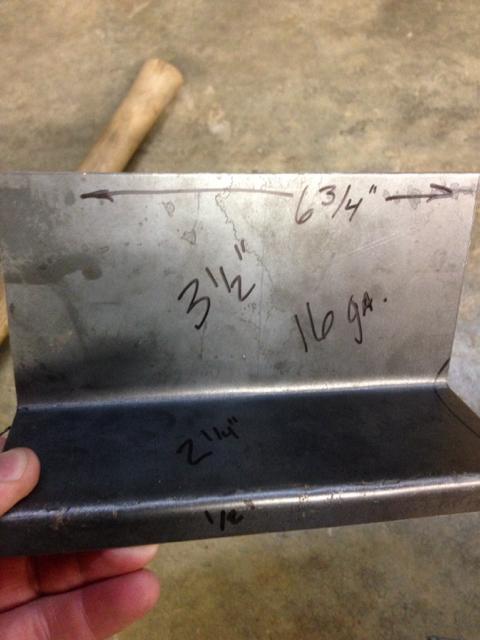
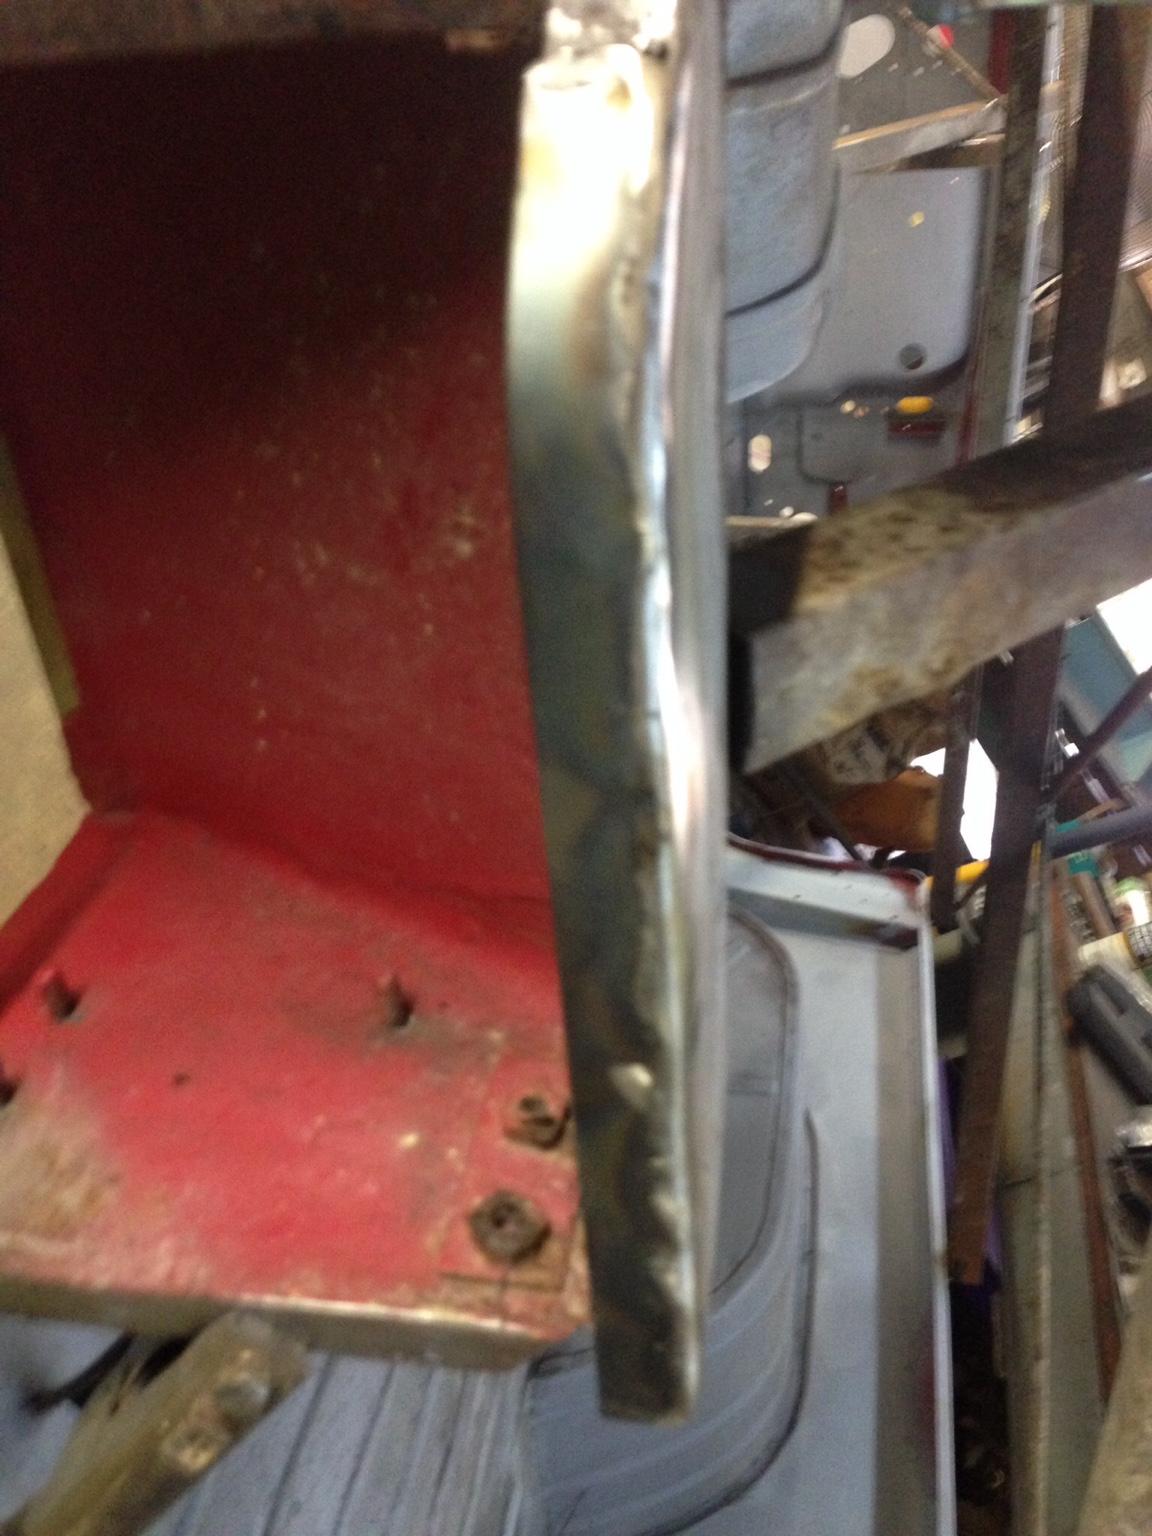
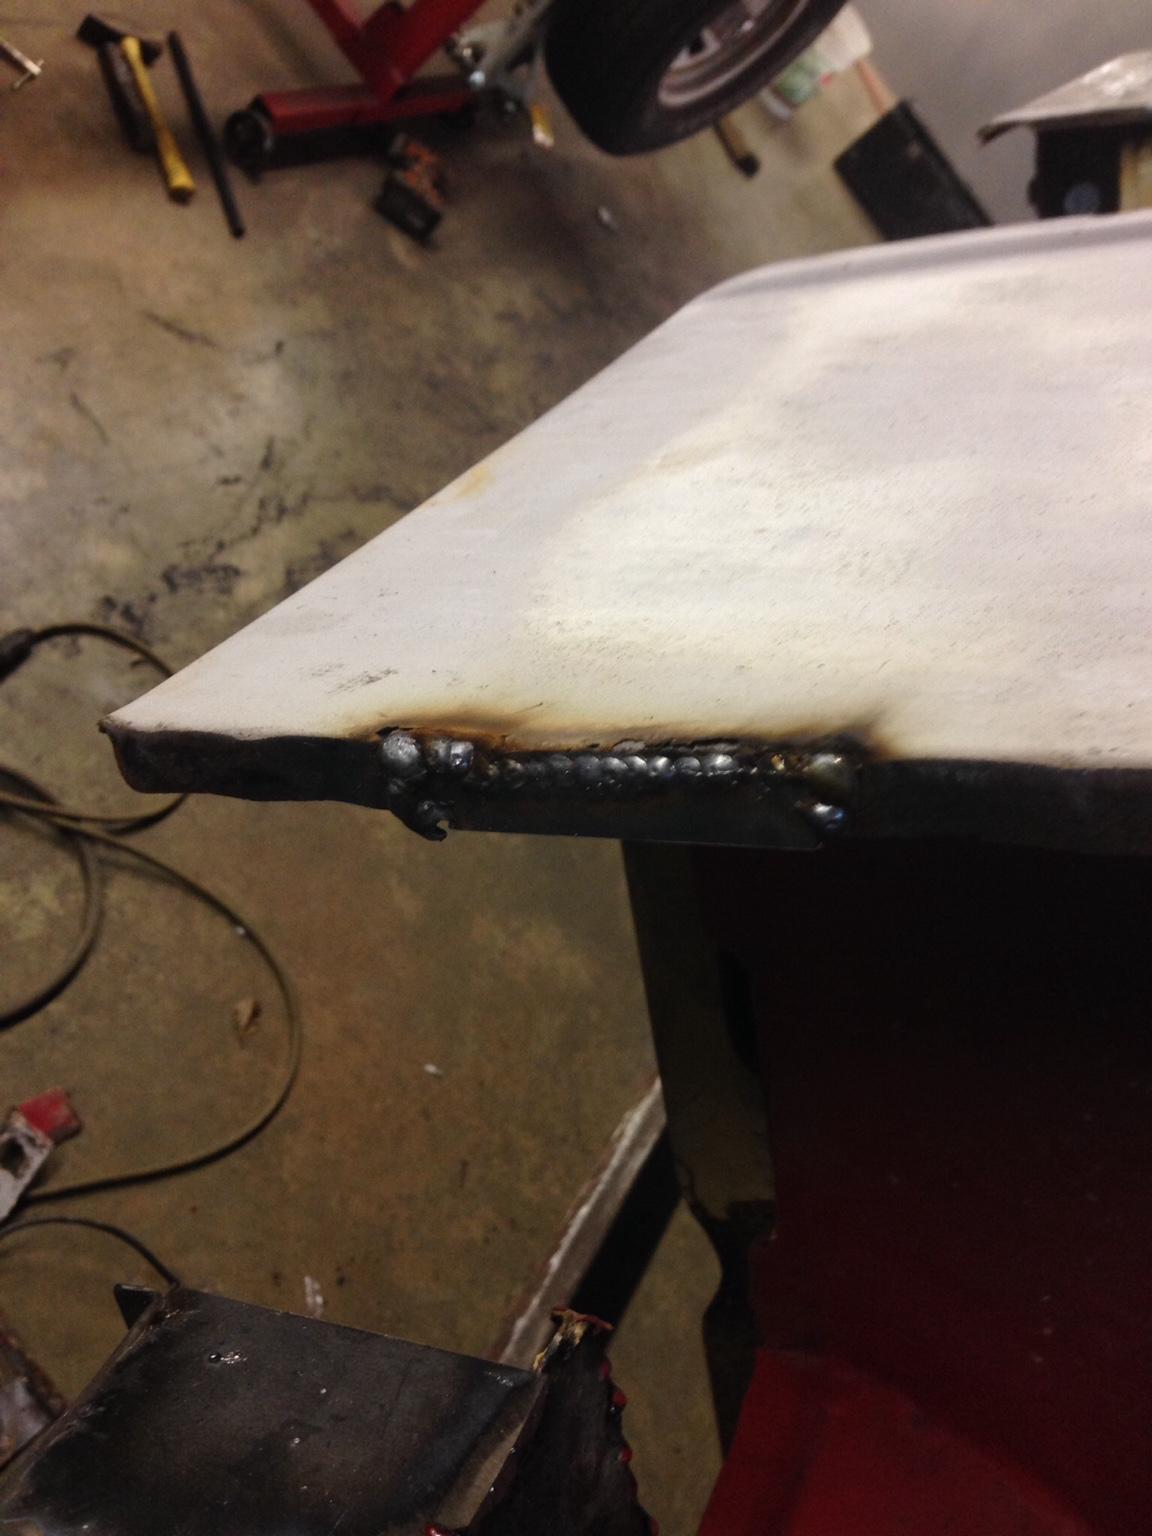
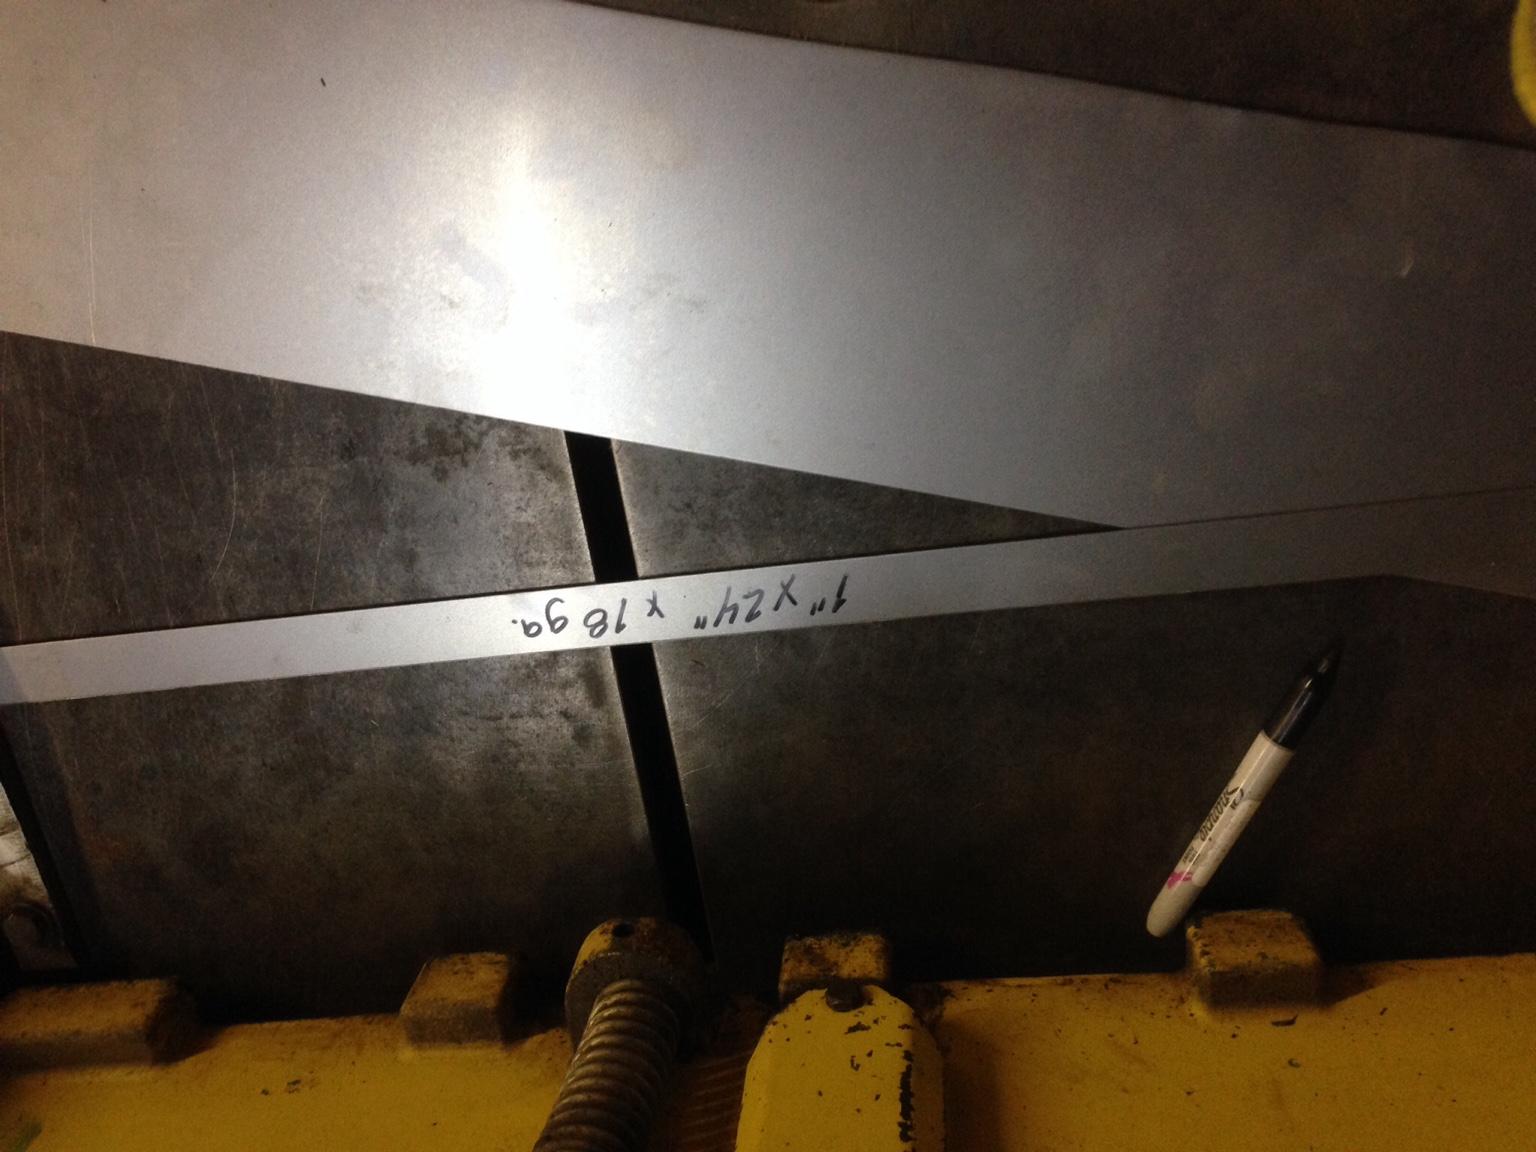
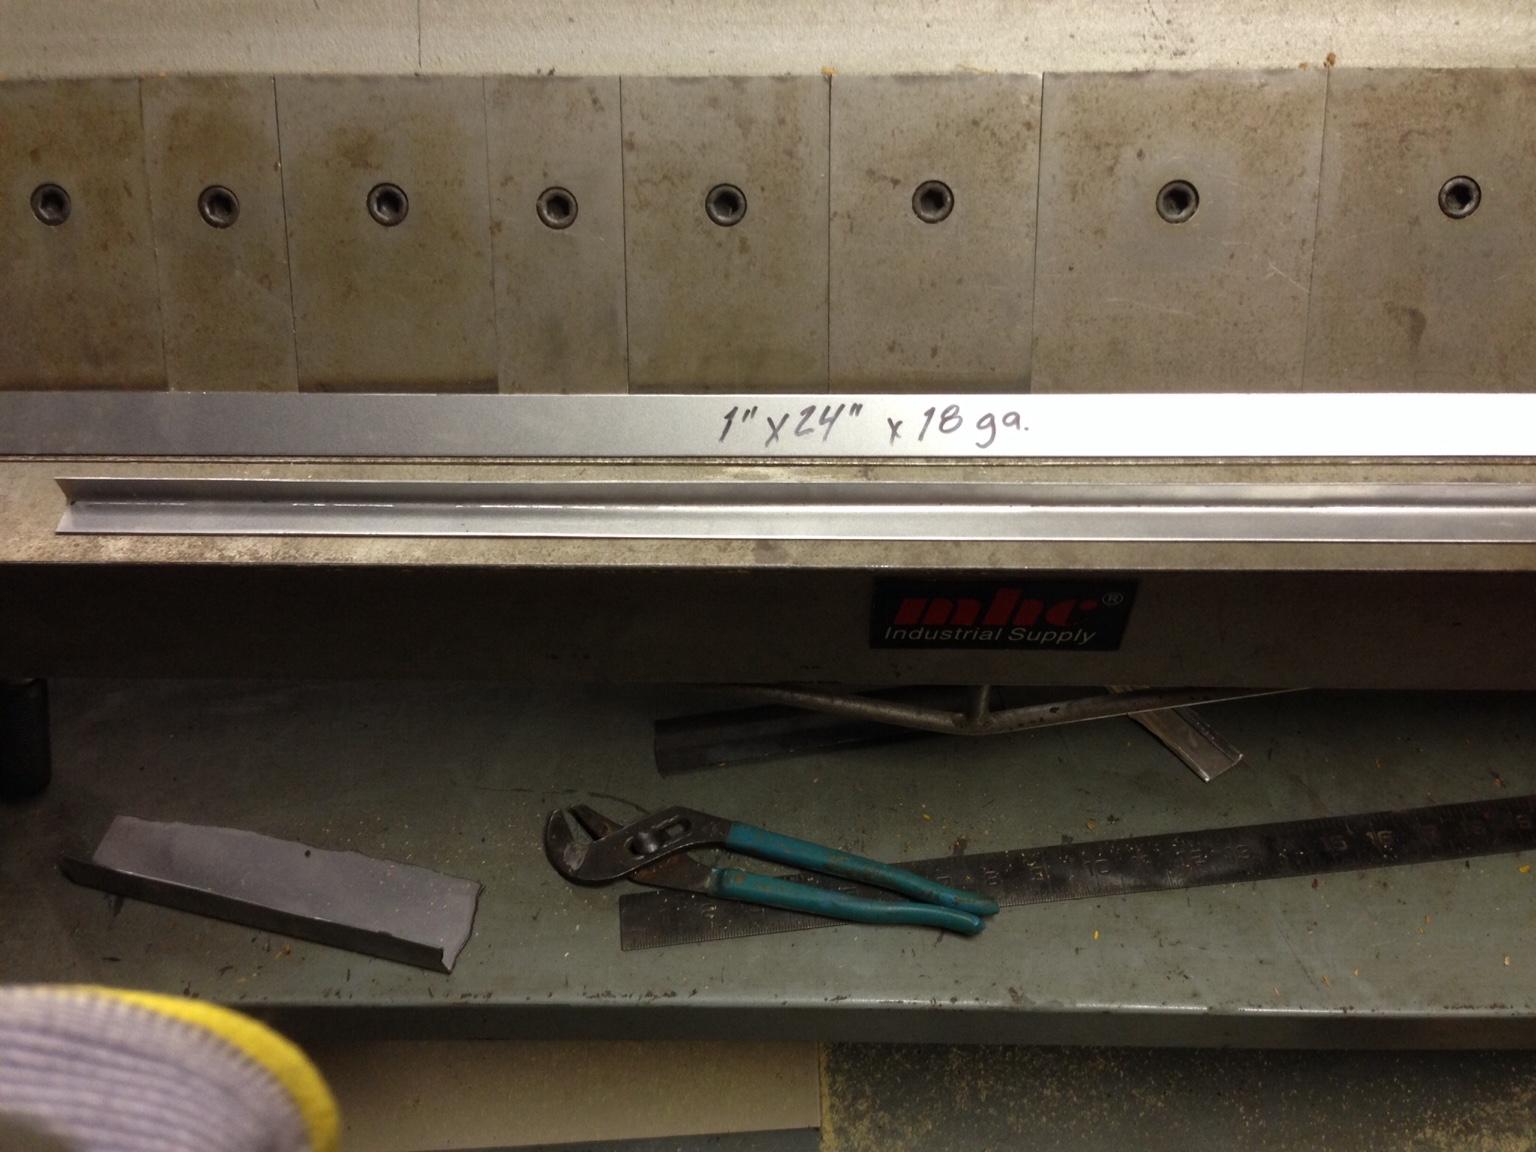
Ok. I finished the floor pan on the drivers side without incident. Next off is the passenger side. The rocker panel is done as well. I boxed in the left rear body mount and touched up for the installation of the rear corner. I'm thinking I'm going to do both of these at the same time so that I can put it on horses and off the flipper so as to insure it all lines up. While I was at it I sheared and broke material to do the "jsherb" door reinforcement. Hope to have that done and the door window frames repaired. It's funny how the flange tool makes just the right profile to match the door. My thinking is that the engineers at AMC liked even numbers and standard sizes because it's just easier. I'm really liking doing the panel repair, now the bodywork I don't have the patience for. Have a look at what's been done lately.


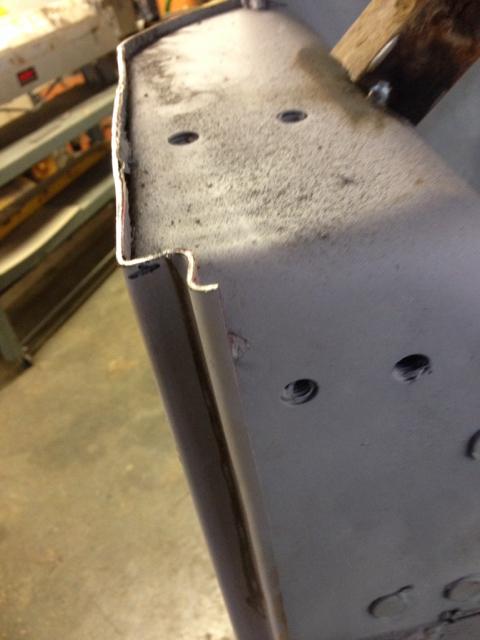
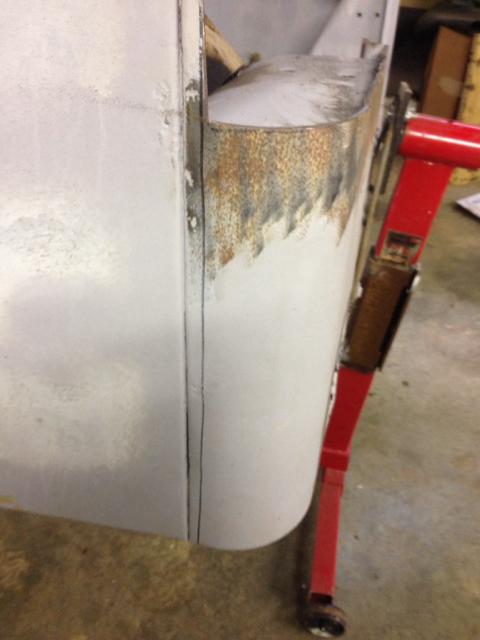
Left rear corner
10222ae07a17c7491df48544040488d6-1.jpg


Left rear quarter panel flange
66bfbf4c4ef6e4e1badec78f09d62728-1.jpg


Left rear body mount
bc48eb30058a45d14d05fe5665ce4347-1.jpg


A series of shots of the door reinforcement angles
285d17442feb5622d69ec25a51b0b434-1.jpg


db1740b07df464caa6d4ccd4b3e230d9-1.jpg


Here's he door frame piece I made
9f8fdb3a0494019b7fa1ed88a57c346a-1.jpg


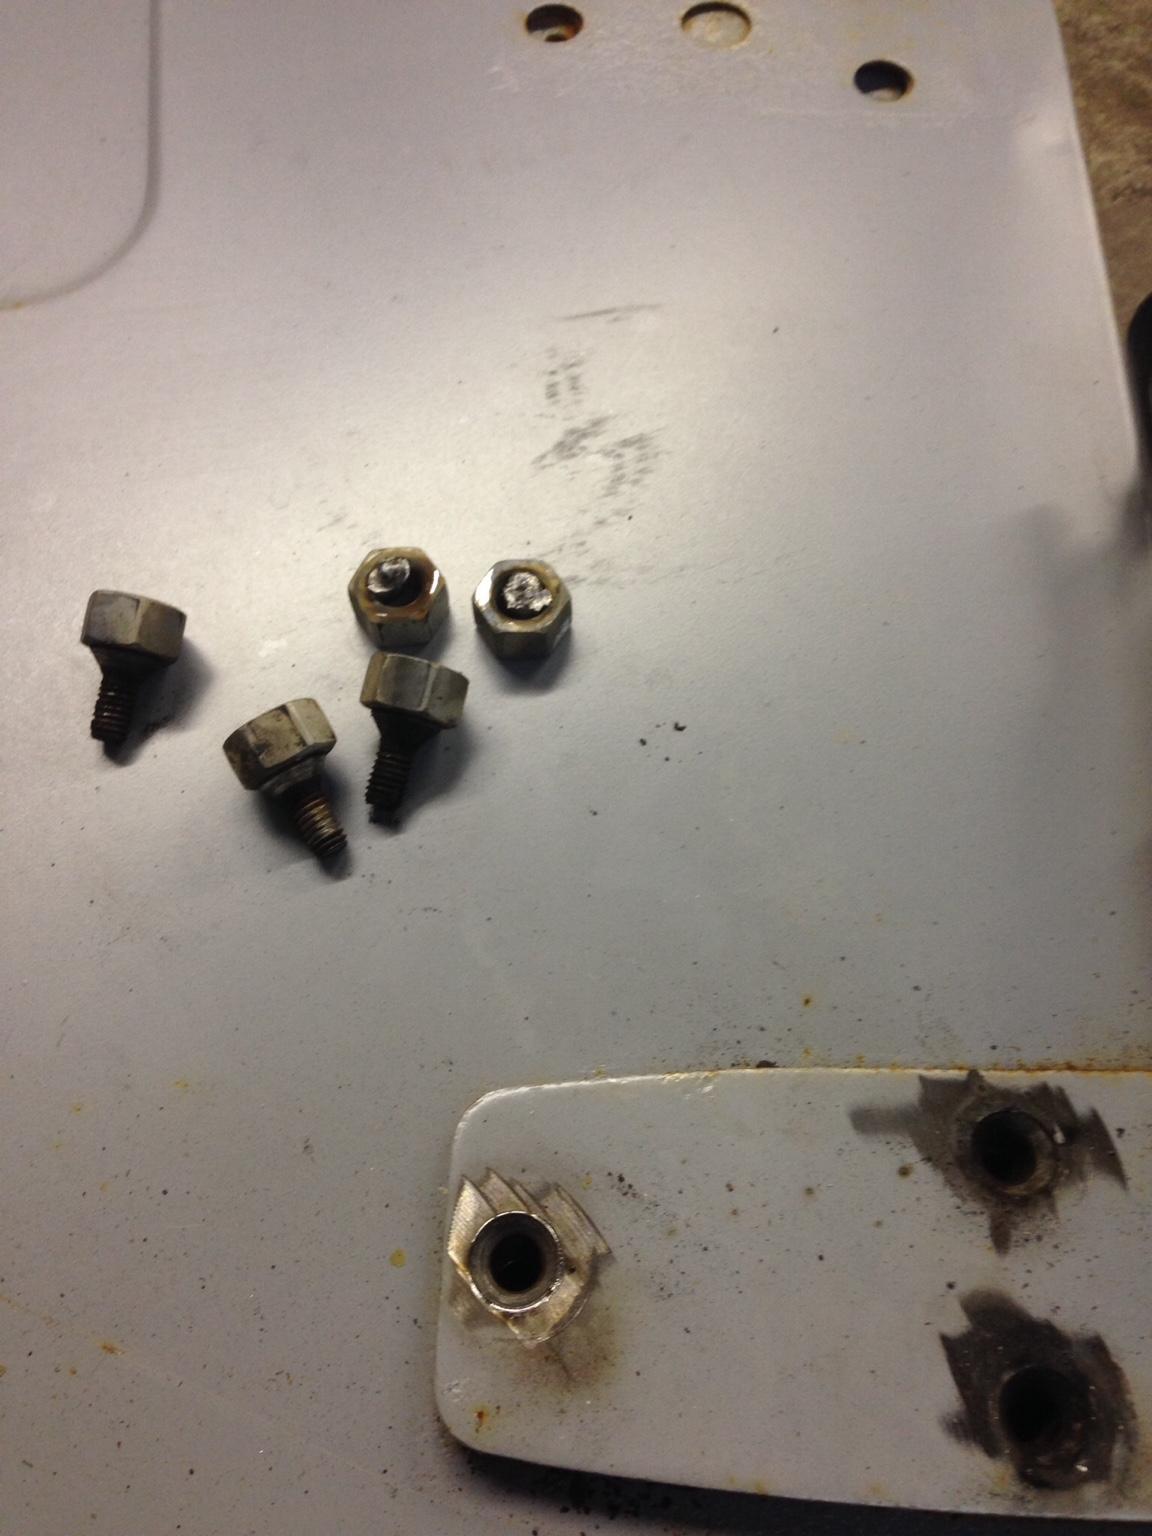
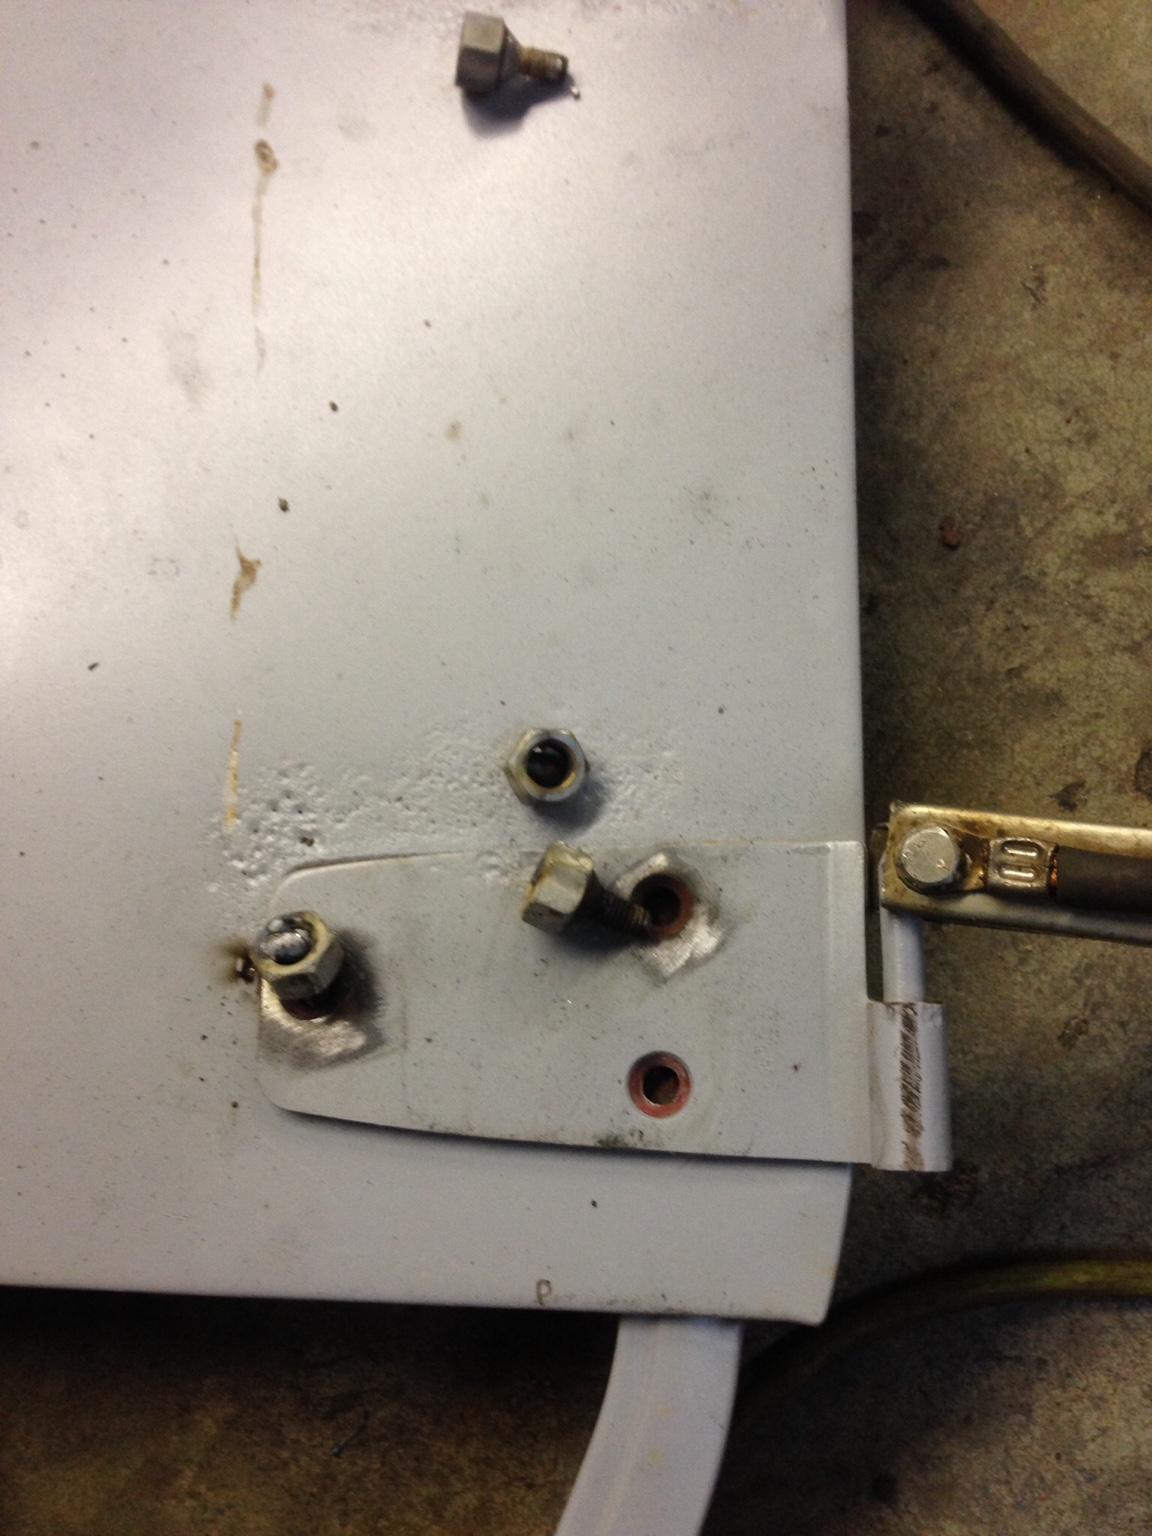
And I had to weld nuts on the Torx bolts on the door hinges to remove them. What a pain in the azzzzzz

70cc31c1b02fd35a1287cdc15eb51c94-1.jpg


40f354edd0fd58cfe481abb3767c6349-1.jpg
 
After seeing pictures like that I thank the stars that I didn't have any problem with stuck bolts (except for the body mounts but they were so rusted they just easily burnt out).

Keep it up!
 
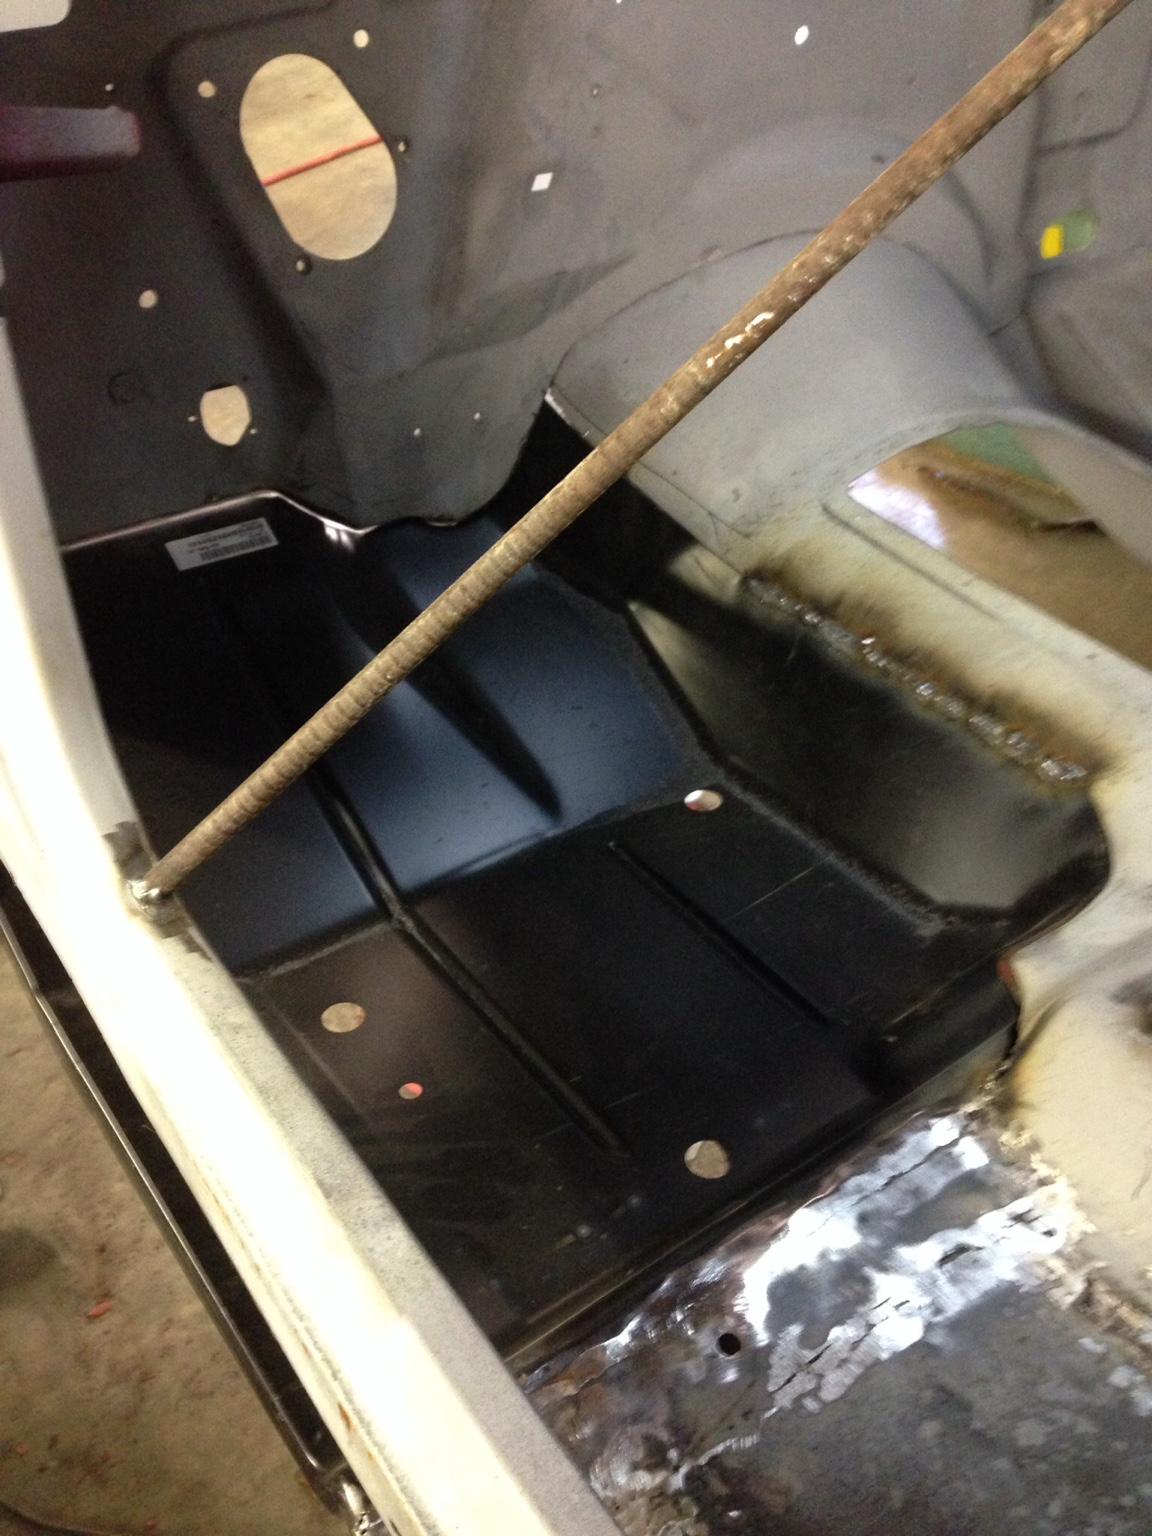
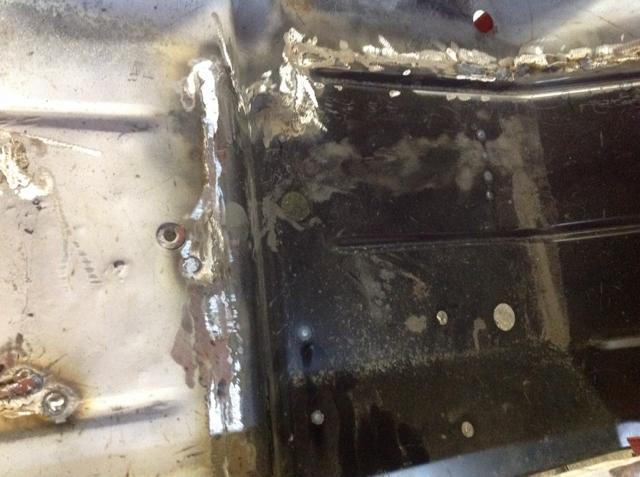
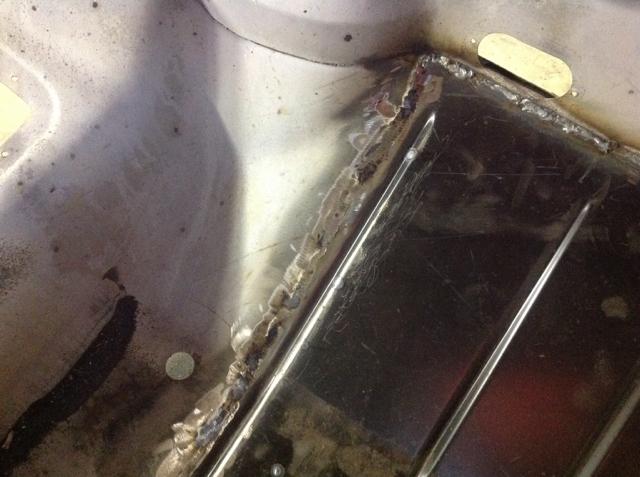
OK guys, I was able to get a little more time in on the Jeep recently, get the boat in the water and celebrate the 4th of July. On the passenger side I didn't have to take it all the way apart meaning the toe board support didn't have to be removed, just worked around. All in all I was really pleased with the way the pans fit and eventually finished out. I'm pretty sure the were supplied by Key Parts, but it's been so long ago I can't remember. I wouldn't want to attempt this without having the body off the frame and on a rotisserie. Here's the initial fitment on the right side.
b3e64f0238b58a1df510e773cf75ed5d-1.jpg


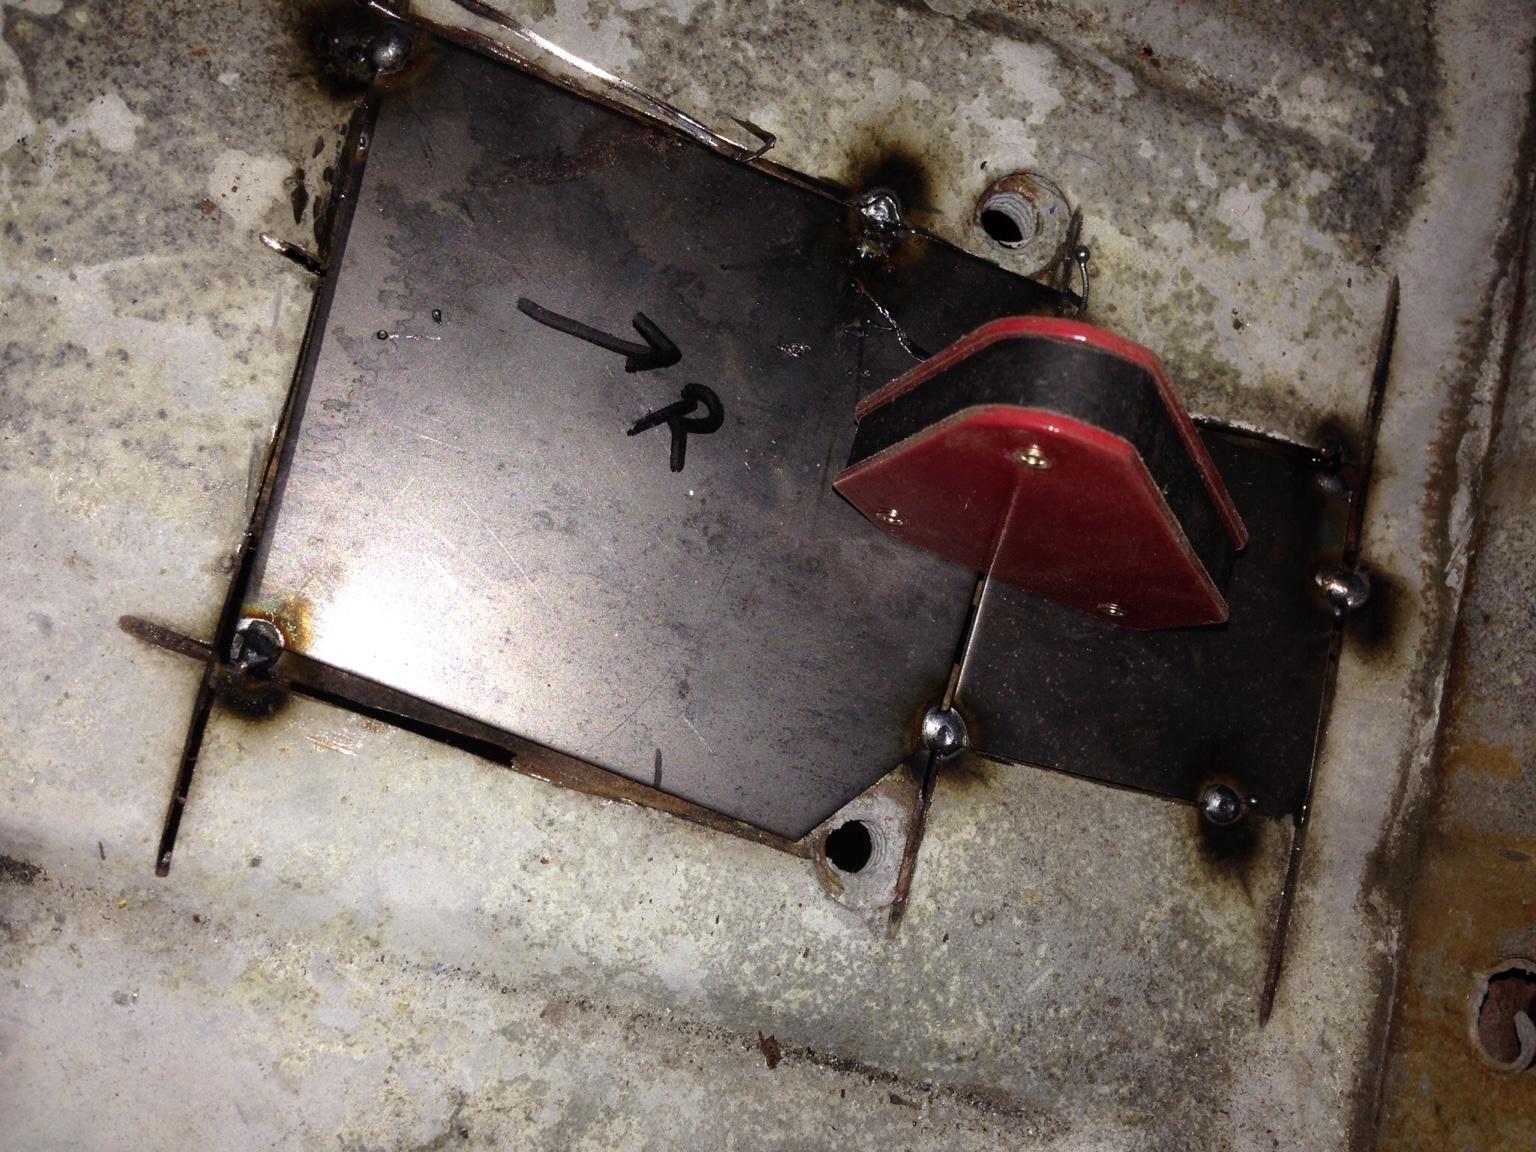
Here it is tacked in with the Harbor Freight panel welding alignment clamps. Can't say how well these things worked!

f88ca537b22a2eabaae6f7d91006a0b2-1.jpg


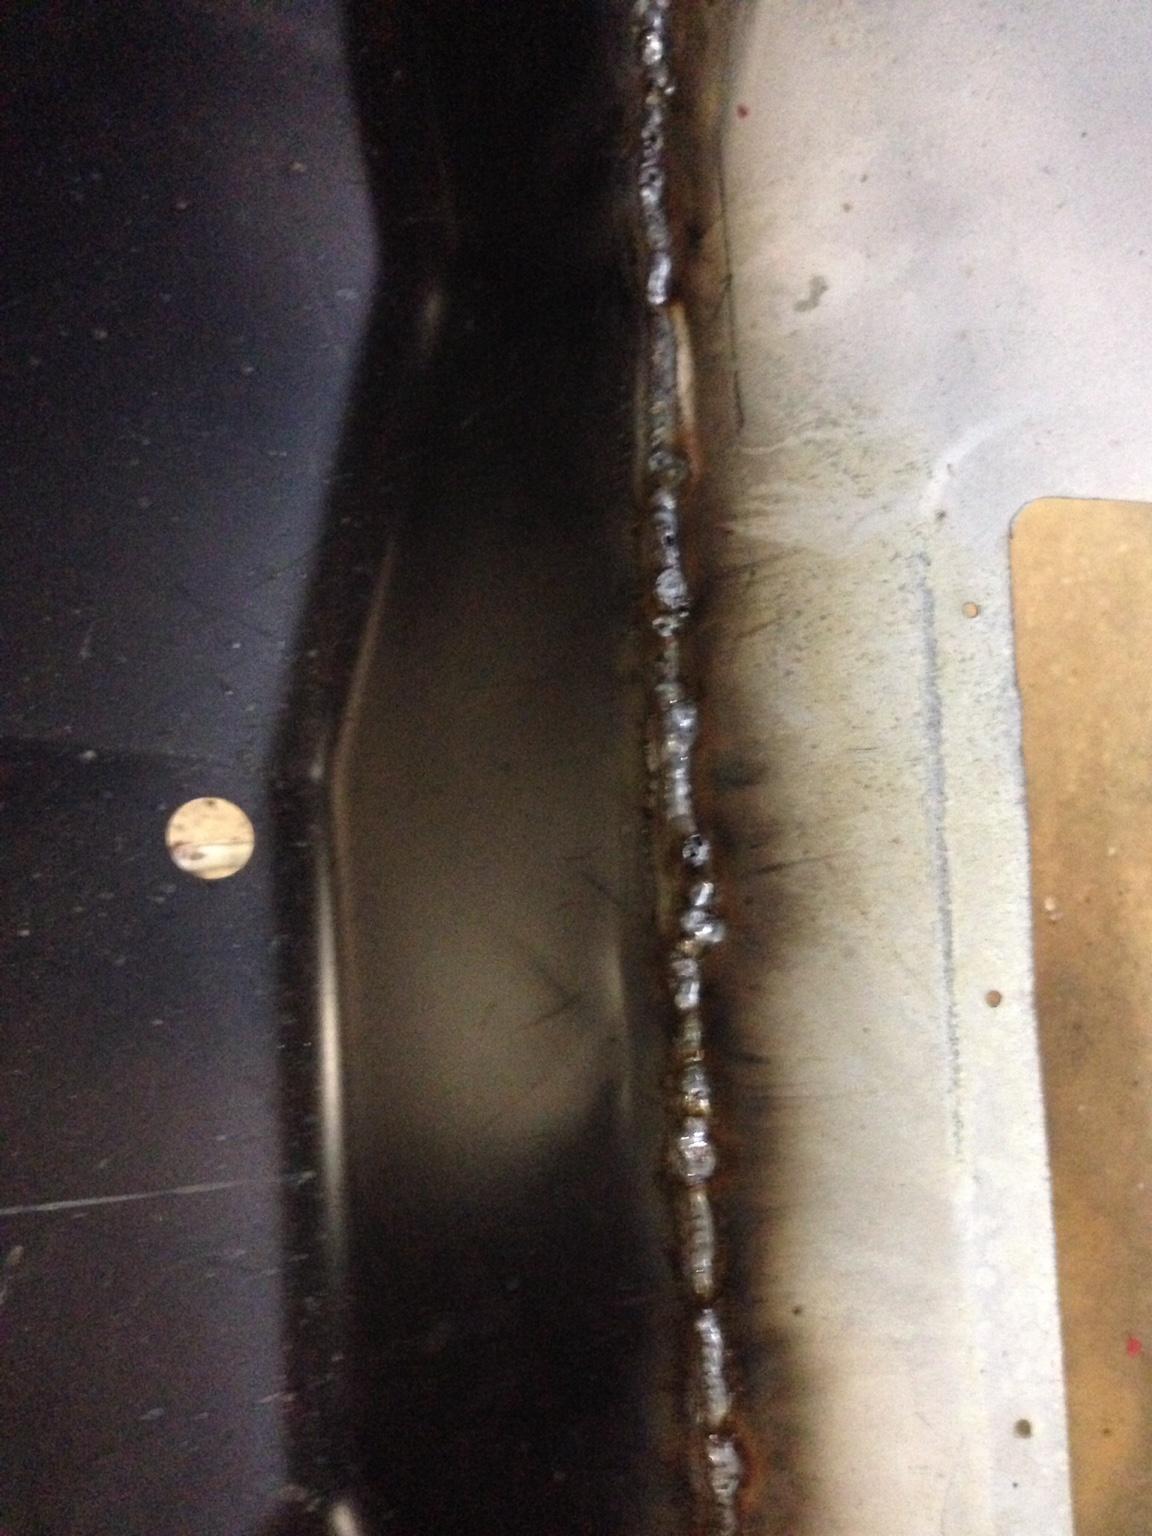
Then it's off to stacking the tacks

3629726b9c8c8bb77c3e169544e95781-1.jpg


After that it was time to grind things flush/flat

f8f4df27d8bf0f6f90827c82bcf1a174-1.jpg


And another

1b77f50a4317c4aaf5033945bcd8307f-1.jpg


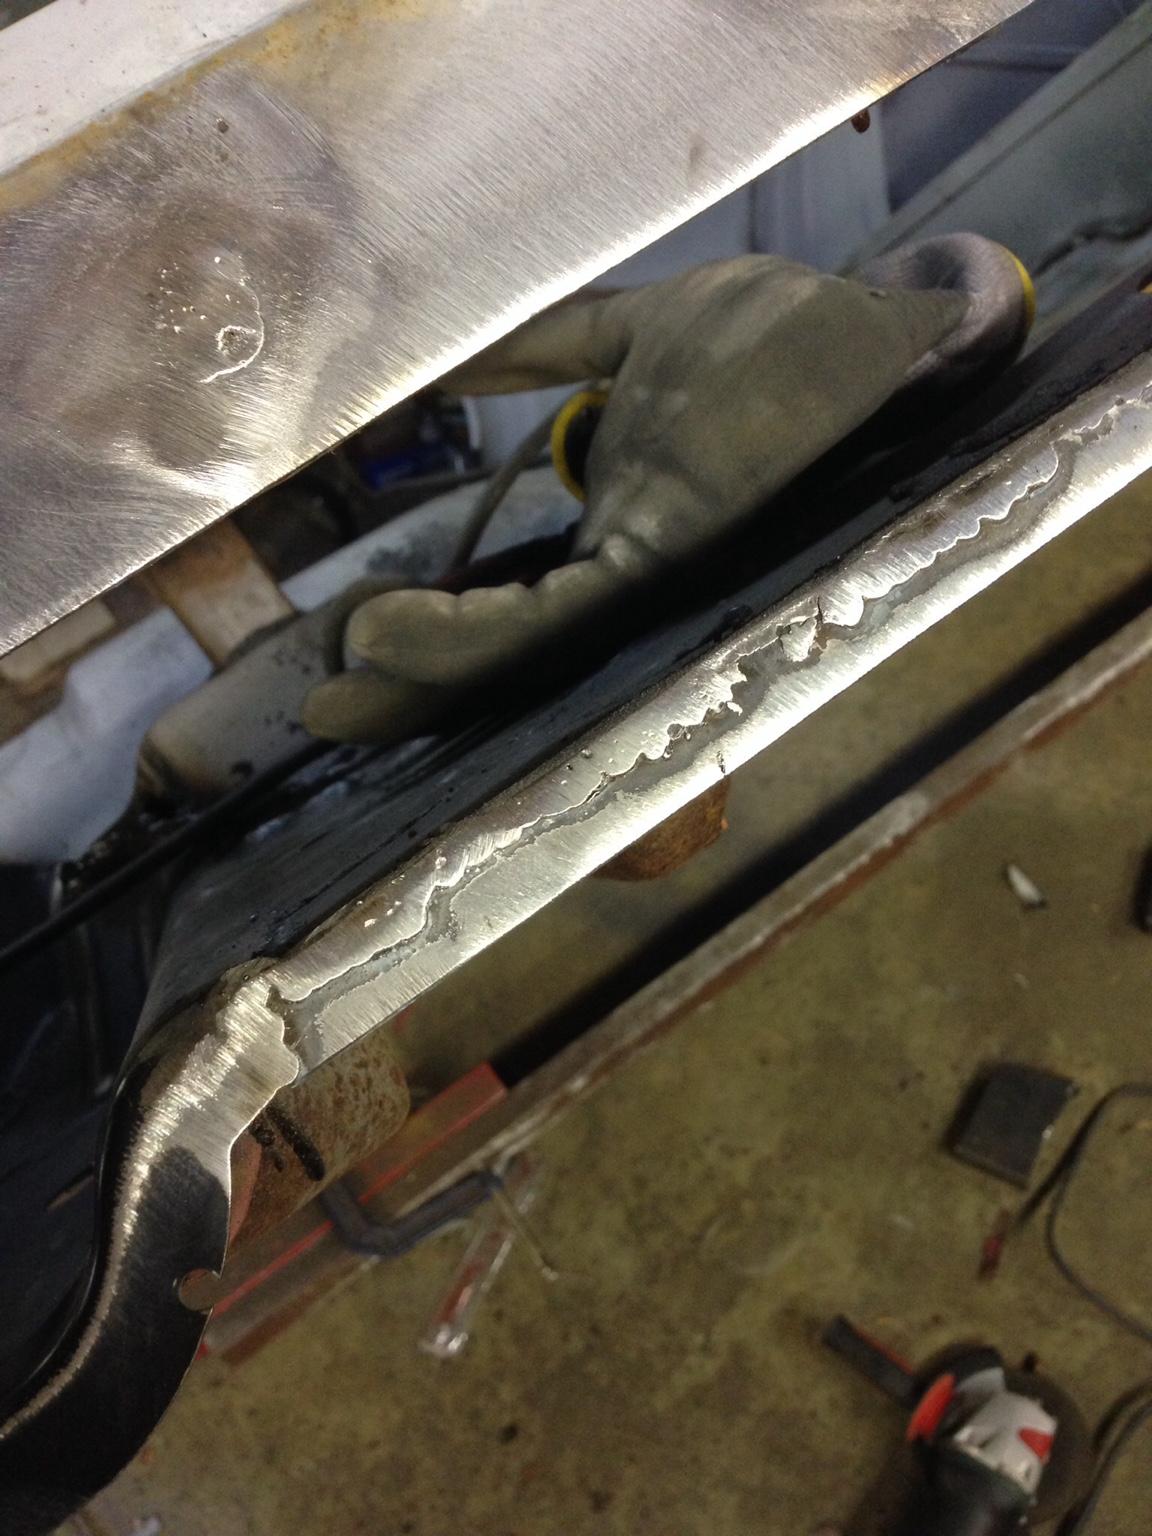
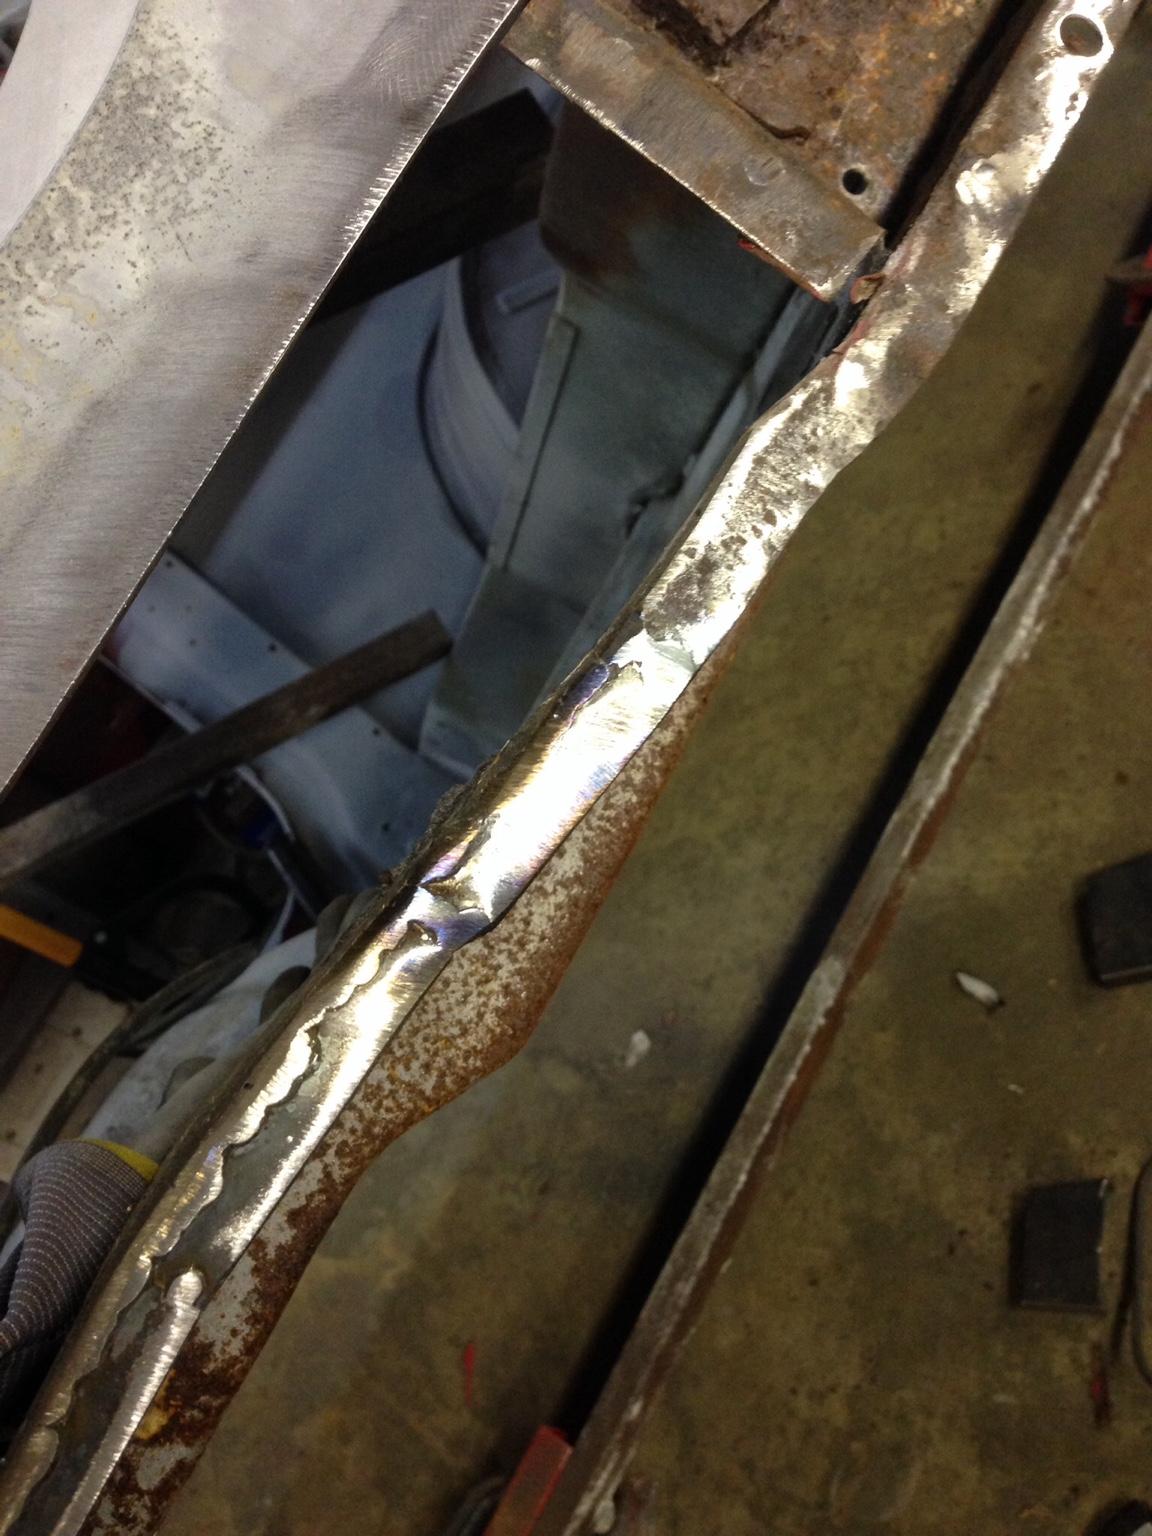
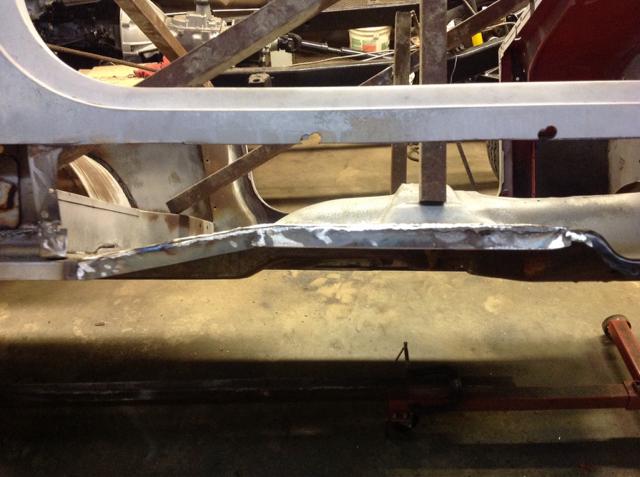
The lip that turns down from the floor pan was corroded and damaged so just like the left side I fab'd a repair strip welded it in and ground it smooth.

918acc1f83f13bc5ef946ede9c614c48-1.jpg


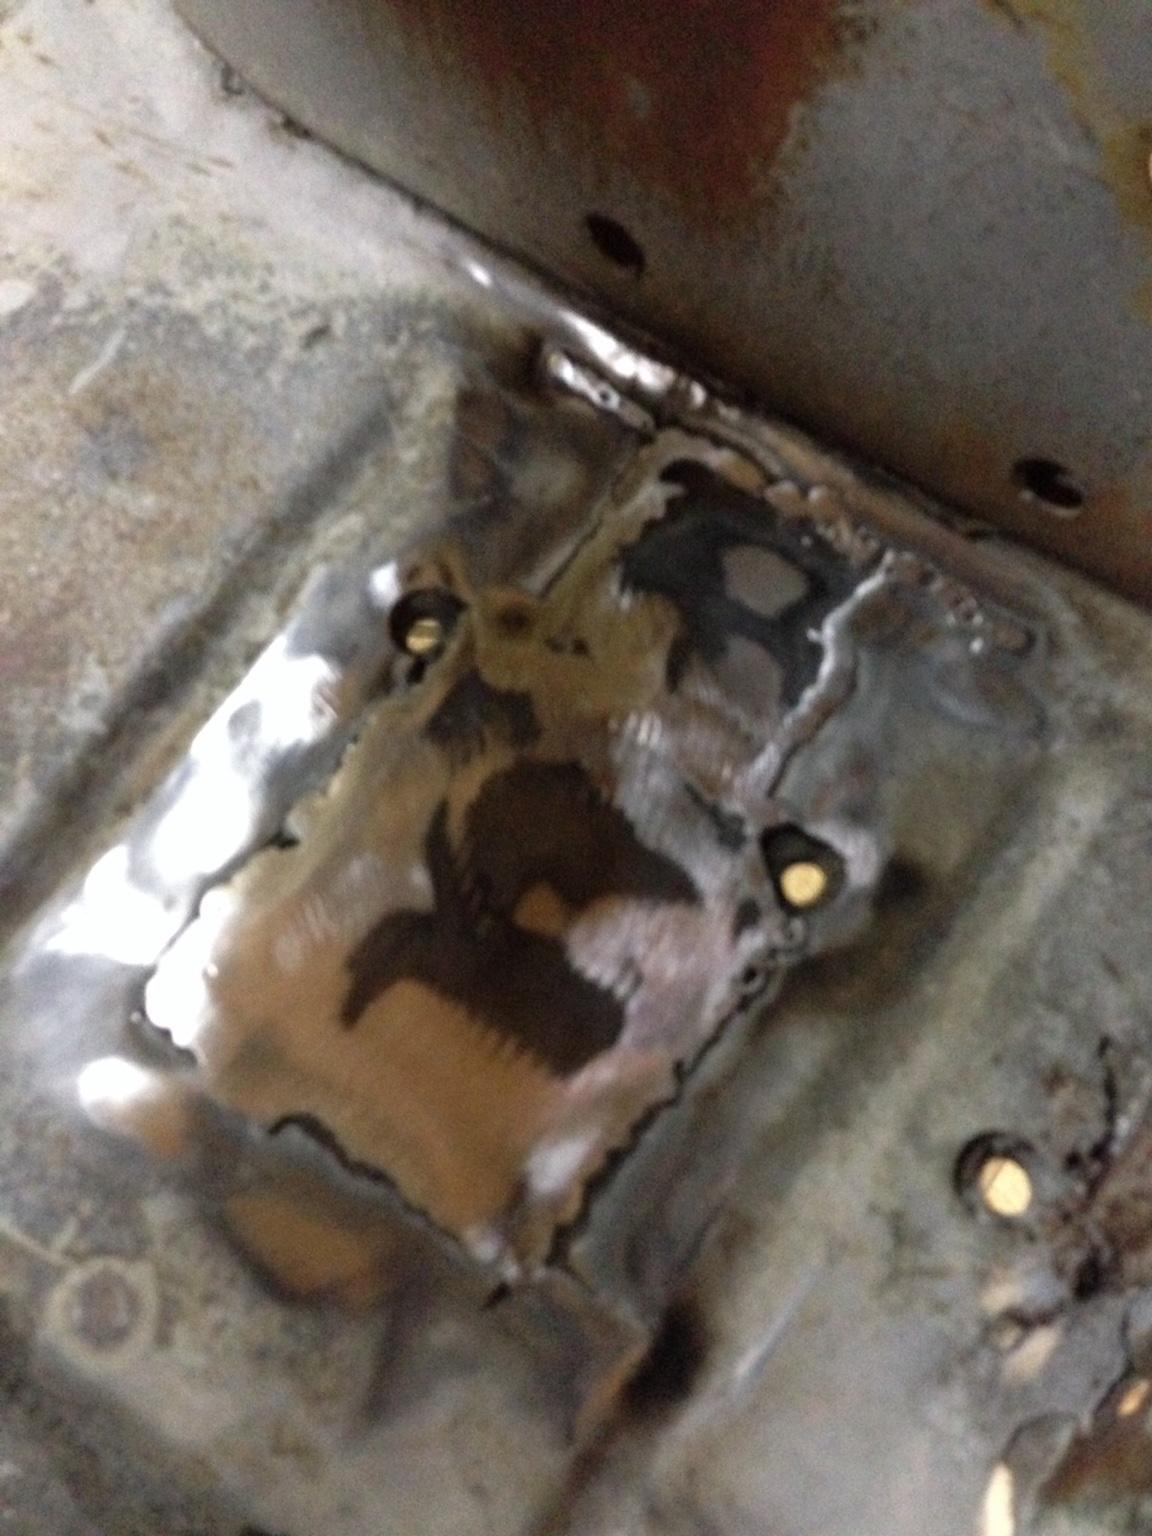
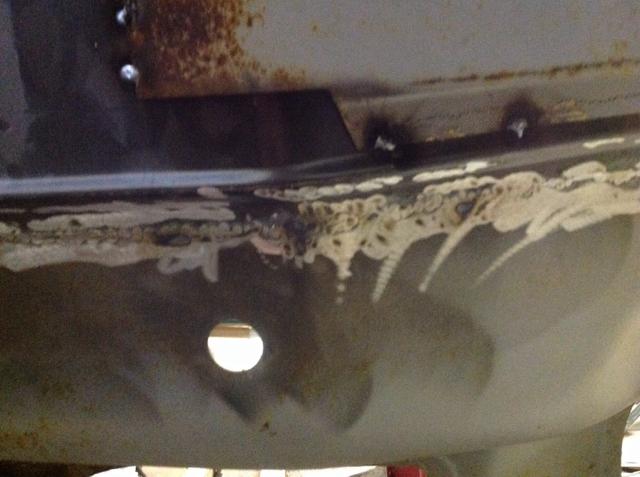
Here's a few of the attachment to the bottom and how the welds finished out on the underside

971667ff74db056f245fa2a4fdcadccc-1.jpg


bc4fe32d170c6fbf74dd6b15cc7f5c25-1.jpg
 
Back
Top