

You are using an out of date browser. It may not display this or other websites correctly.
You should upgrade or use an alternative browser.
You should upgrade or use an alternative browser.
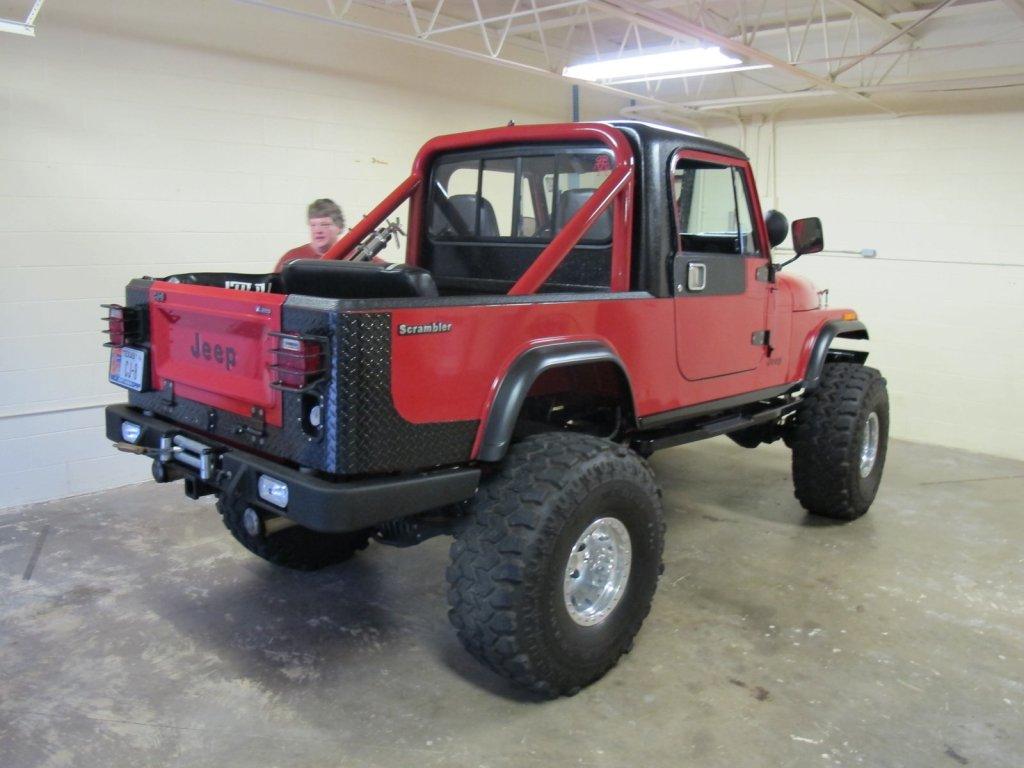
Mud Scrambler - Must be Red Dents are fine, some rust fine
- Thread starter red mistress
- Start date


red mistress
Red Jeep Collector
- City
- Piney woods
- State
- tx
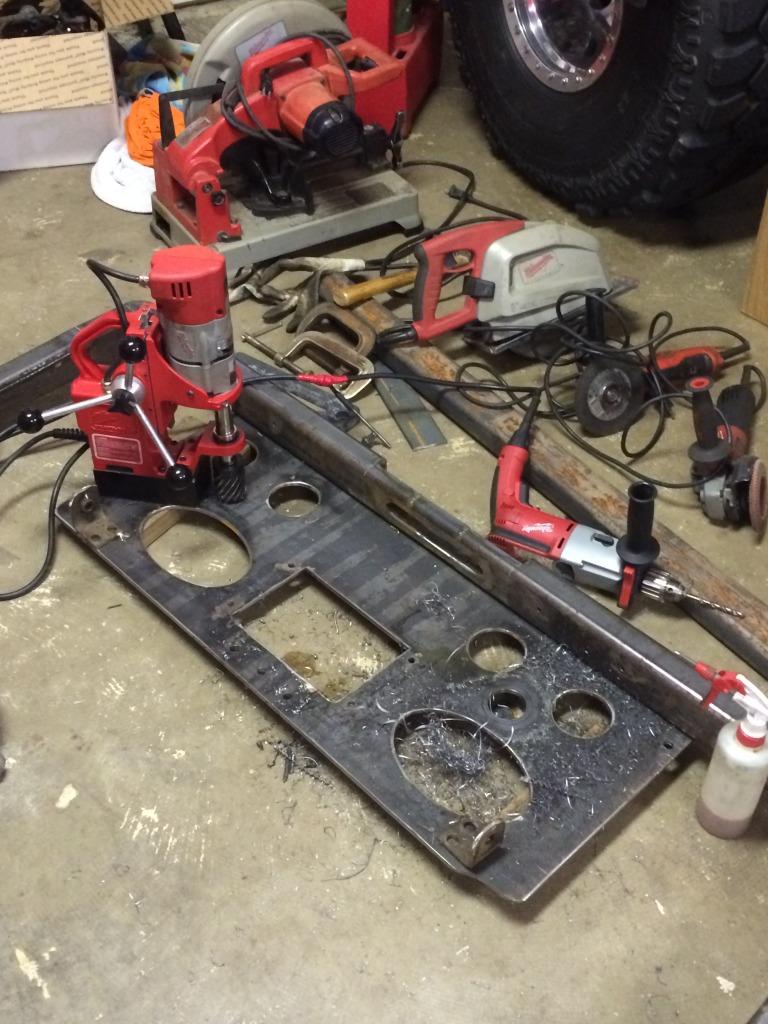
Wasn't there for pics, had fab shop cut & weld the 1/2" thick plate.
They made a jig, then just moved the vertical plate forward.
Had to go to NAPA and look thru several PS pressure hoses to find one to clear crossmember.
They made a jig, then just moved the vertical plate forward.
Had to go to NAPA and look thru several PS pressure hoses to find one to clear crossmember.
red mistress
Red Jeep Collector
- City
- Piney woods
- State
- tx
Getting started on rear hidden winch and wrap around bumper to trail drag.
Going to be a scaled down version and not going to have remote linkage freespool as that was way too much trouble.
To freespool, the oblong hole and clocking the freespool lever where can reach it from underneath.
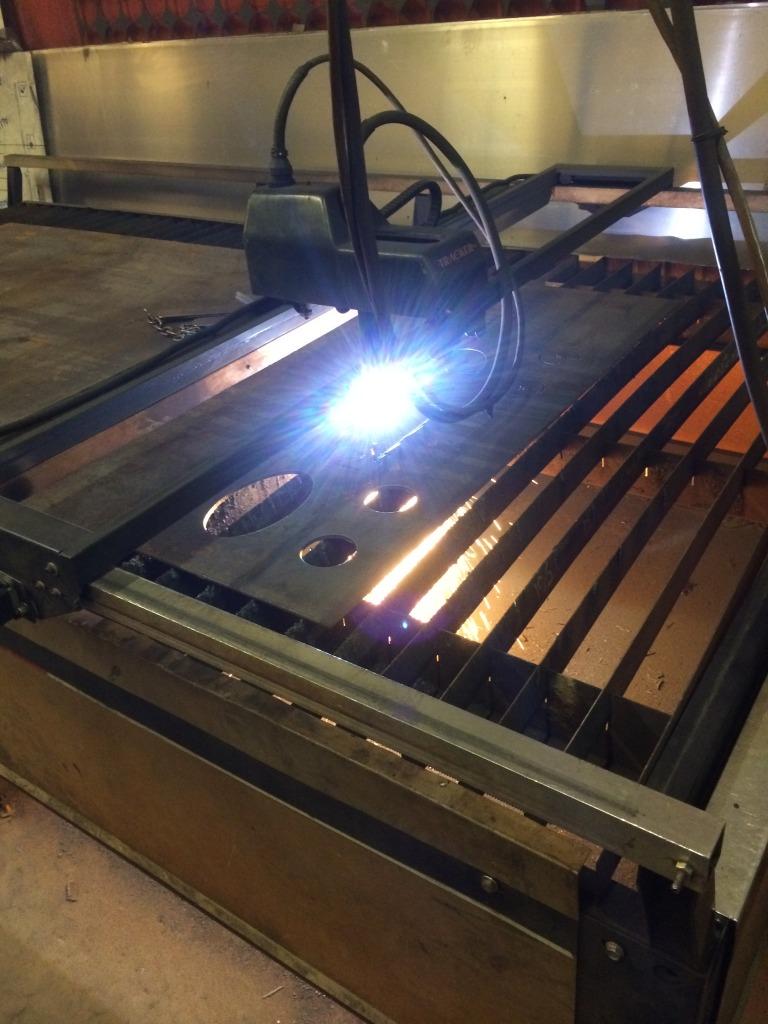
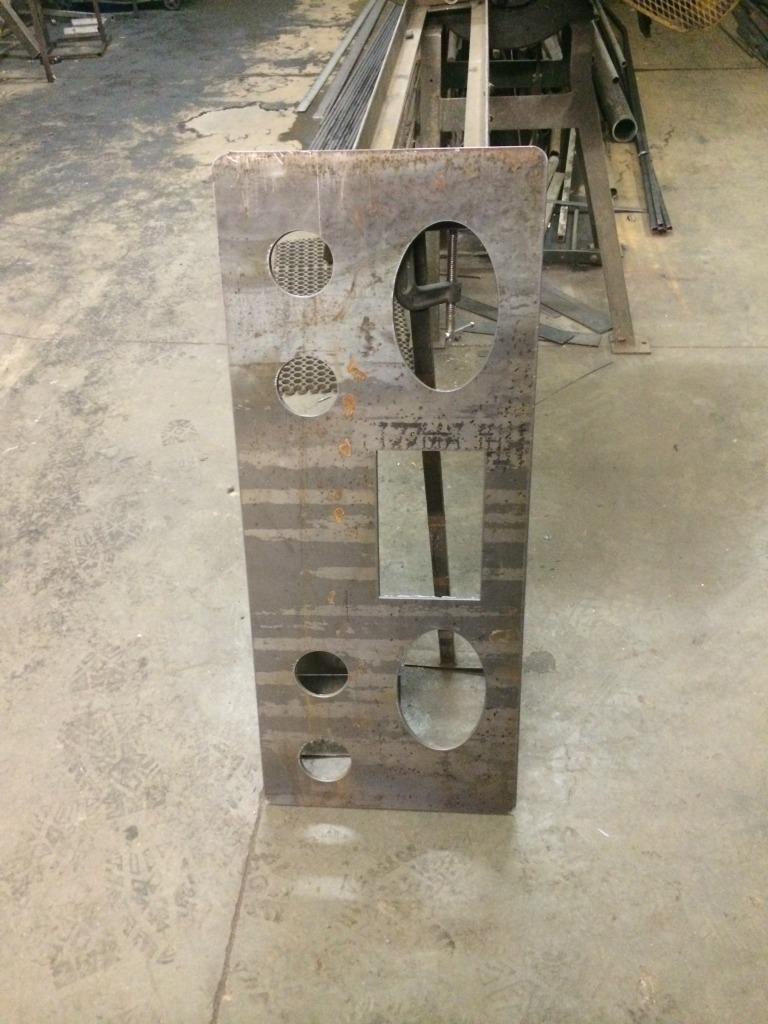
Going to be a scaled down version and not going to have remote linkage freespool as that was way too much trouble.
To freespool, the oblong hole and clocking the freespool lever where can reach it from underneath.
red mistress
Red Jeep Collector
- City
- Piney woods
- State
- tx
Geterdone on rear winch bumper.
Little details to make it look simple and match the Scrambler means lots of work.
Notice the wrap around matches the curvature of body tub.
Sides are split to match the body line.
Have to cut the frame for cable to pass through, not looking forward to hacking.
Still need to French in reverse lights, shackle tabs & receiver hitch.
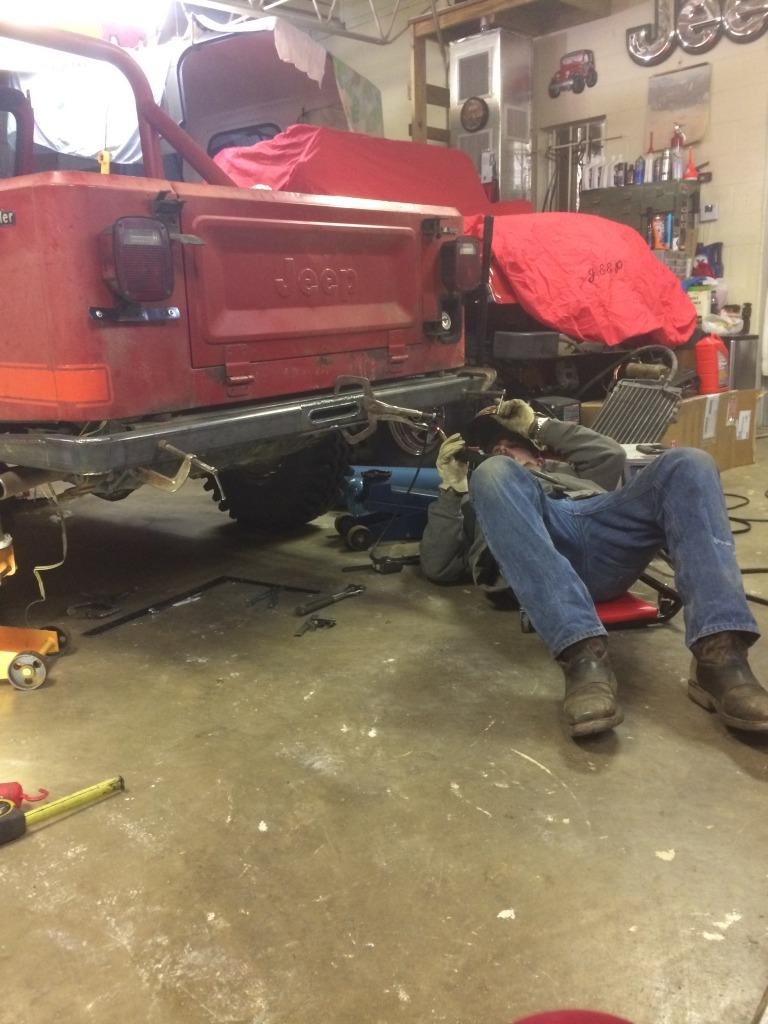
Little details to make it look simple and match the Scrambler means lots of work.
Notice the wrap around matches the curvature of body tub.
Sides are split to match the body line.
Have to cut the frame for cable to pass through, not looking forward to hacking.
Still need to French in reverse lights, shackle tabs & receiver hitch.

red mistress
Red Jeep Collector
- City
- Piney woods
- State
- tx
Thanks Randy.
Oldest daughter helped run wires inside the frame and had idea for "Oh NO Mr. Bill" smiley face on rear winch bumper:
Oldest daughter helped run wires inside the frame and had idea for "Oh NO Mr. Bill" smiley face on rear winch bumper:


red mistress
Red Jeep Collector
- City
- Piney woods
- State
- tx
New lengthened front driveshaft and new shortened rear driveshaft's are in.
New cast aluminum tranny pan... with drain plug and corresponding hole in skid plate.
New engine mounts & tranny mount.
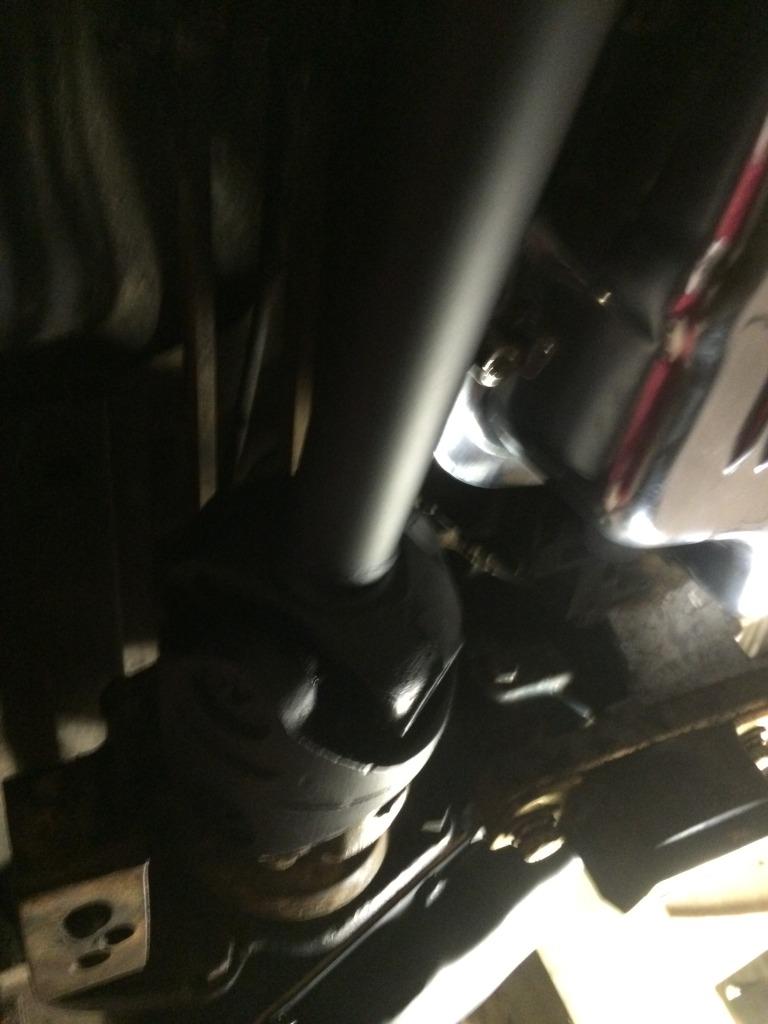
First time in couple years.... it's a roller !!
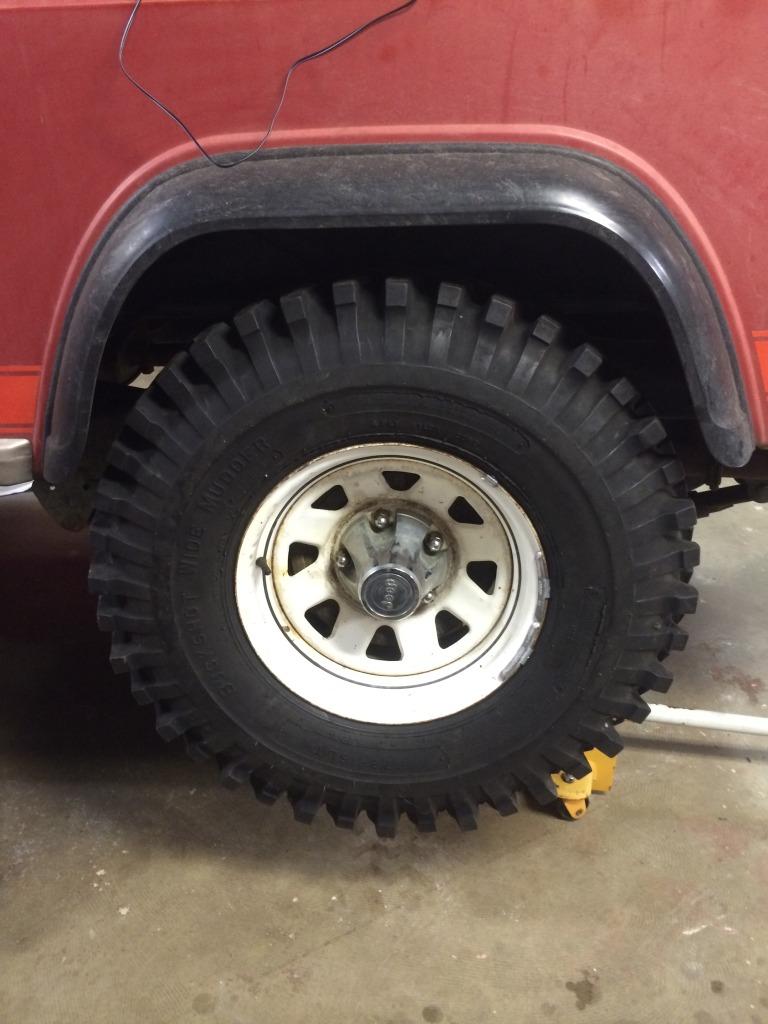
33" Buckshot's mounted & testing for bumpstops. Rear has room for 5 more inches of uptravel before tire contact.
Will have to wait til its running on front bumpstops and test in ditch.
New cast aluminum tranny pan... with drain plug and corresponding hole in skid plate.
New engine mounts & tranny mount.
First time in couple years.... it's a roller !!
33" Buckshot's mounted & testing for bumpstops. Rear has room for 5 more inches of uptravel before tire contact.
Will have to wait til its running on front bumpstops and test in ditch.

red mistress
Red Jeep Collector
- City
- Piney woods
- State
- tx
Original paint would buff out nice.... but the patina that it currently has fits the purpose of this Jeep.
Order of 3M Hook-it backup pad & Scotchbrite pads came in and I've been busy making welds disappear.
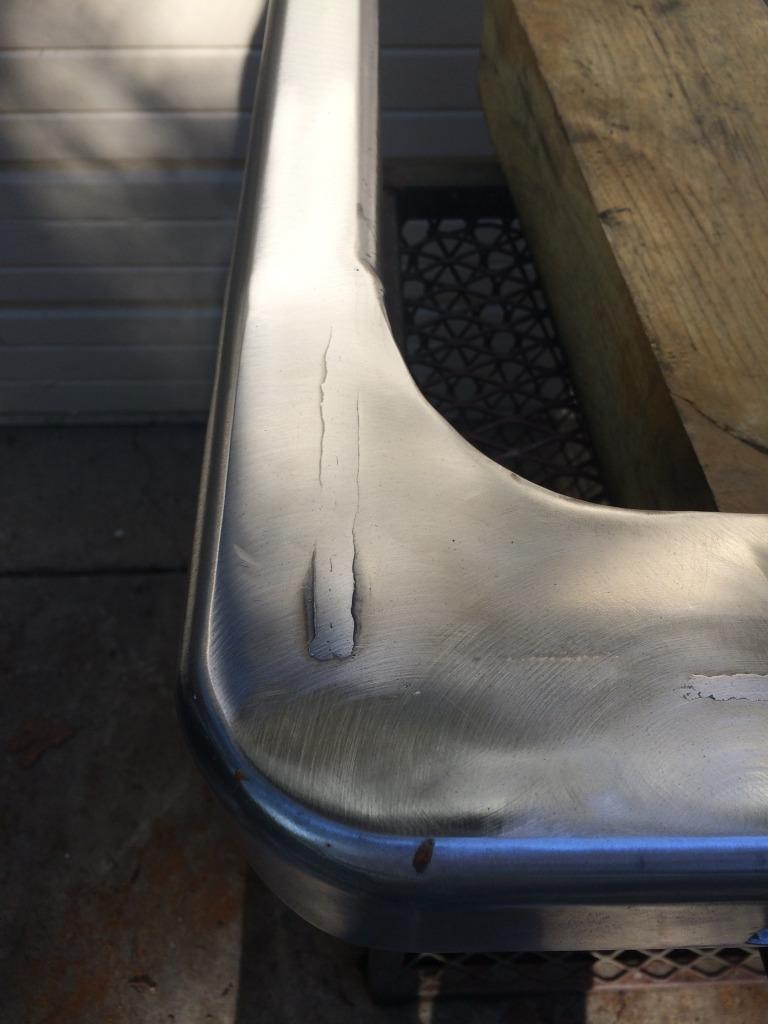
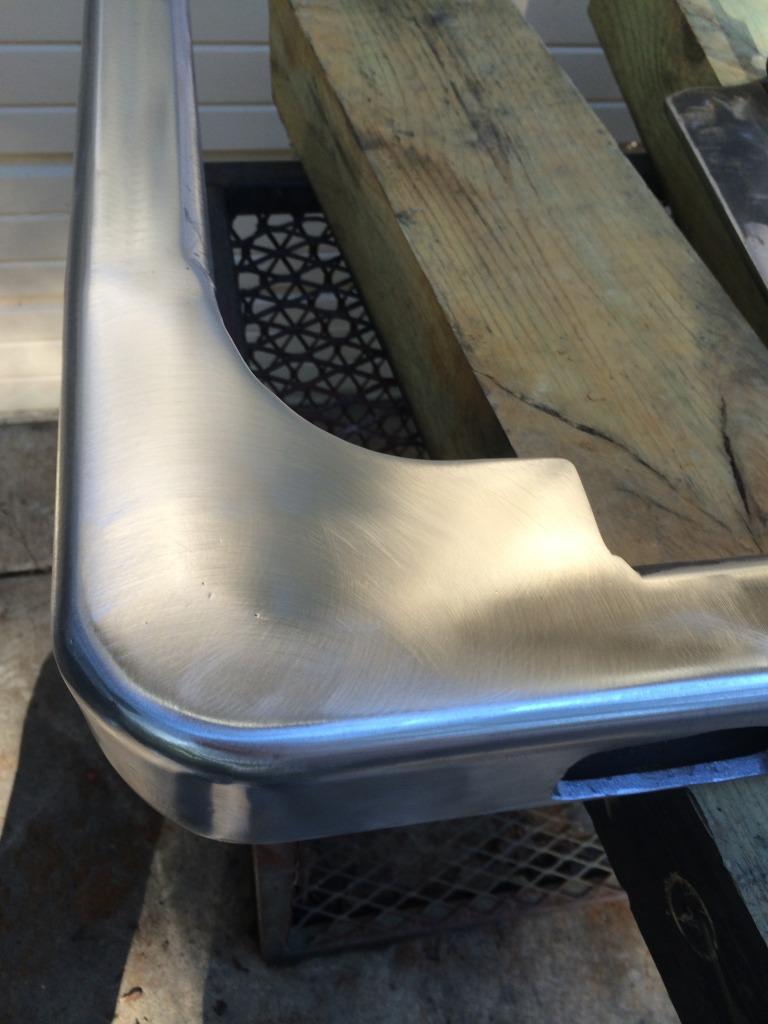
This picture shows the curved ends to match round part of tub
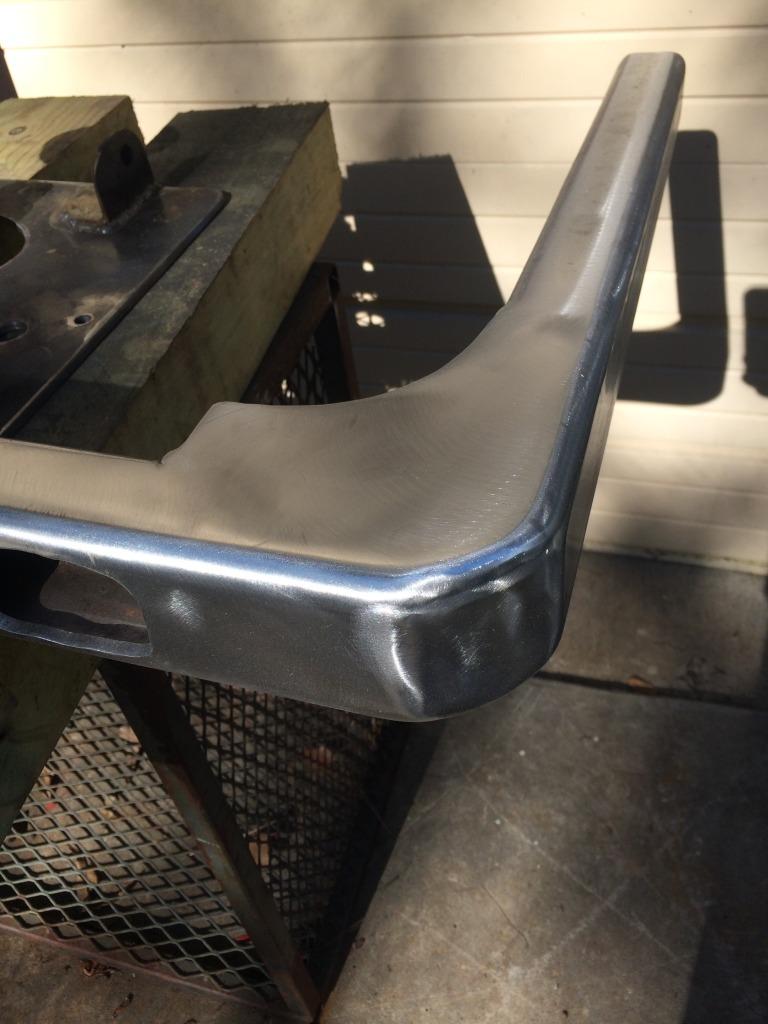
Can't tell that each side was split to match the tapered of body line.
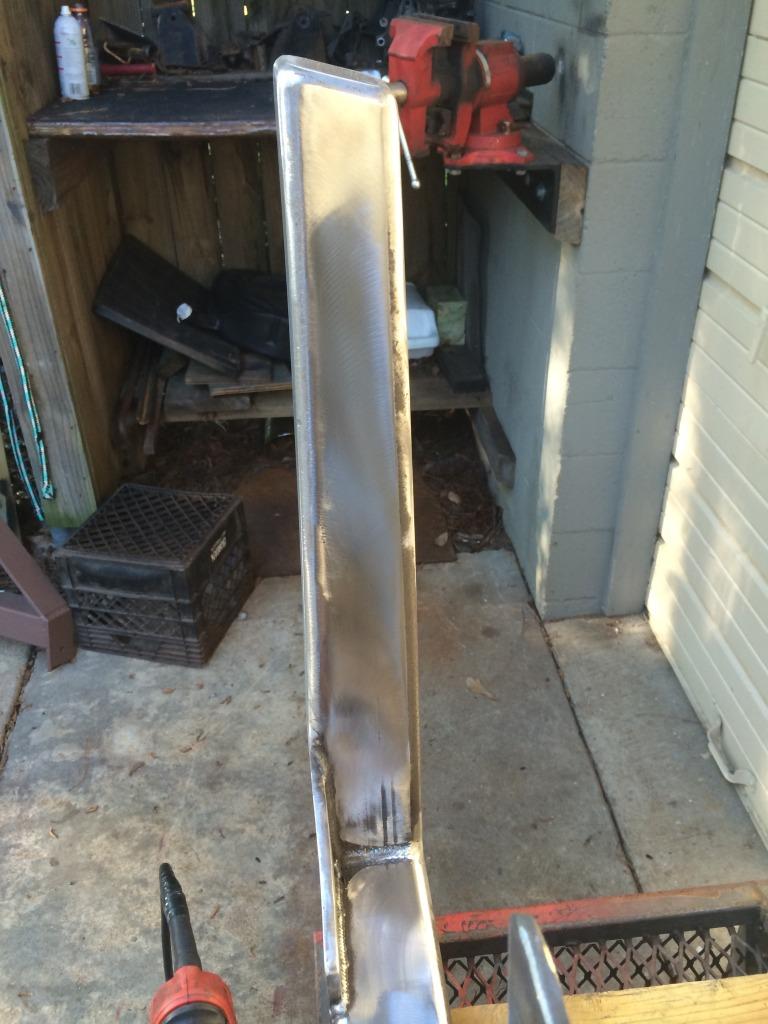
Receiver hitch and gussets with large hole for safety chain finished
WFO shackle tabs
Rear winch bumper complete and ready for flat black powdercoat.... although the welding is so nice I've been thinking of clear coating.
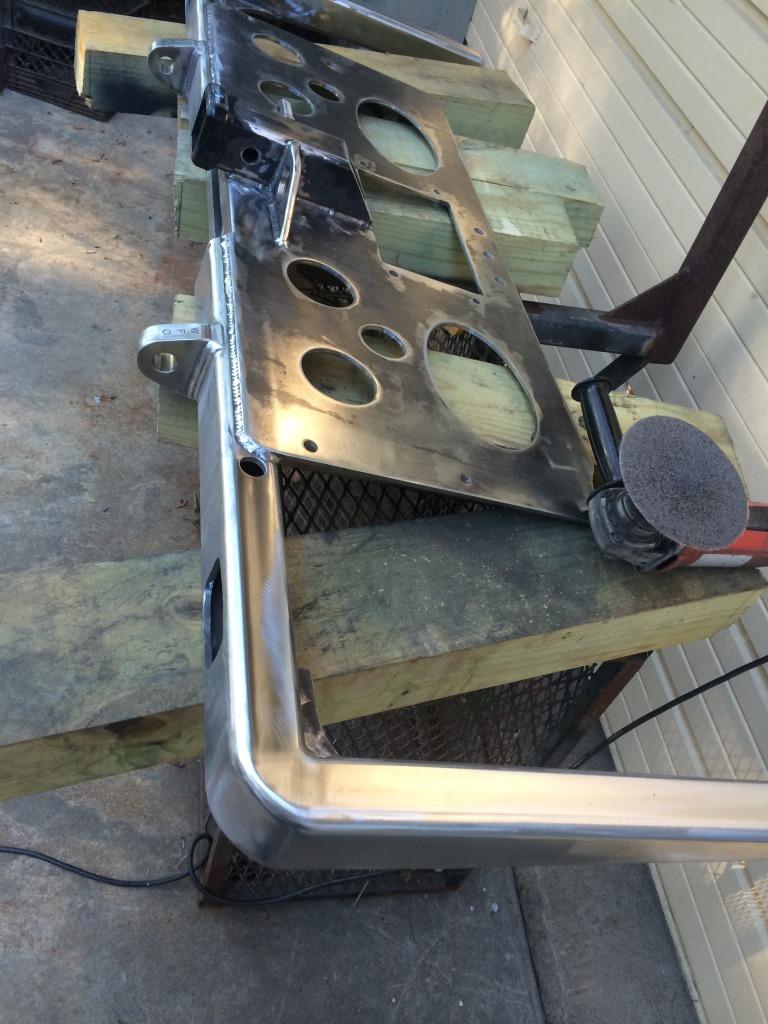
Order of 3M Hook-it backup pad & Scotchbrite pads came in and I've been busy making welds disappear.
This picture shows the curved ends to match round part of tub
Can't tell that each side was split to match the tapered of body line.
Receiver hitch and gussets with large hole for safety chain finished
WFO shackle tabs
Rear winch bumper complete and ready for flat black powdercoat.... although the welding is so nice I've been thinking of clear coating.

red mistress
Red Jeep Collector
- City
- Piney woods
- State
- tx
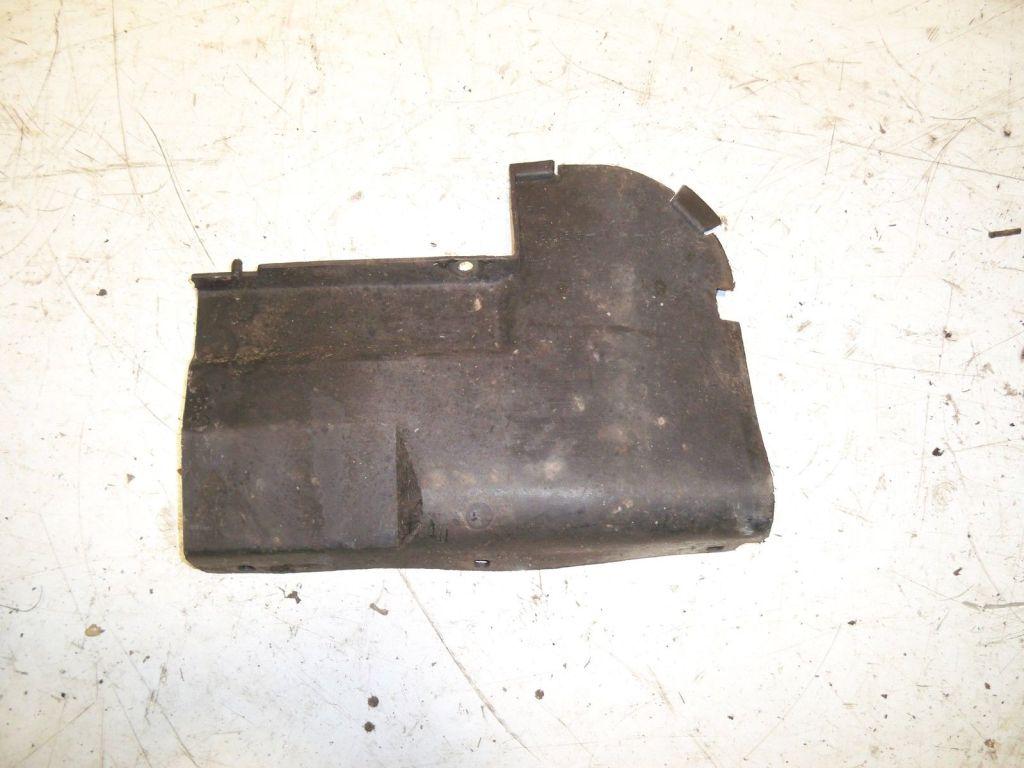
Has anyone used the YJ ( gasp  ) rear tub splash guards on rear of Scrambler ?
Not mud flaps.... but the YJ kind that fit horizontal.
Trying to keep mud out of rear winch area.
) rear tub splash guards on rear of Scrambler ?Not mud flaps.... but the YJ kind that fit horizontal.
Trying to keep mud out of rear winch area.

- City
- stafford
- State
- va
Want some from a scrambler ?
red mistress
Red Jeep Collector
- City
- Piney woods
- State
- tx
Want some from a scrambler ?
It's got the Scrambler shields. The YJ guards go all the way to back of the tub.
I'll give it a try, if doesn't work can always install them on my CJ-7.
red mistress
Red Jeep Collector
- City
- Piney woods
- State
- tx
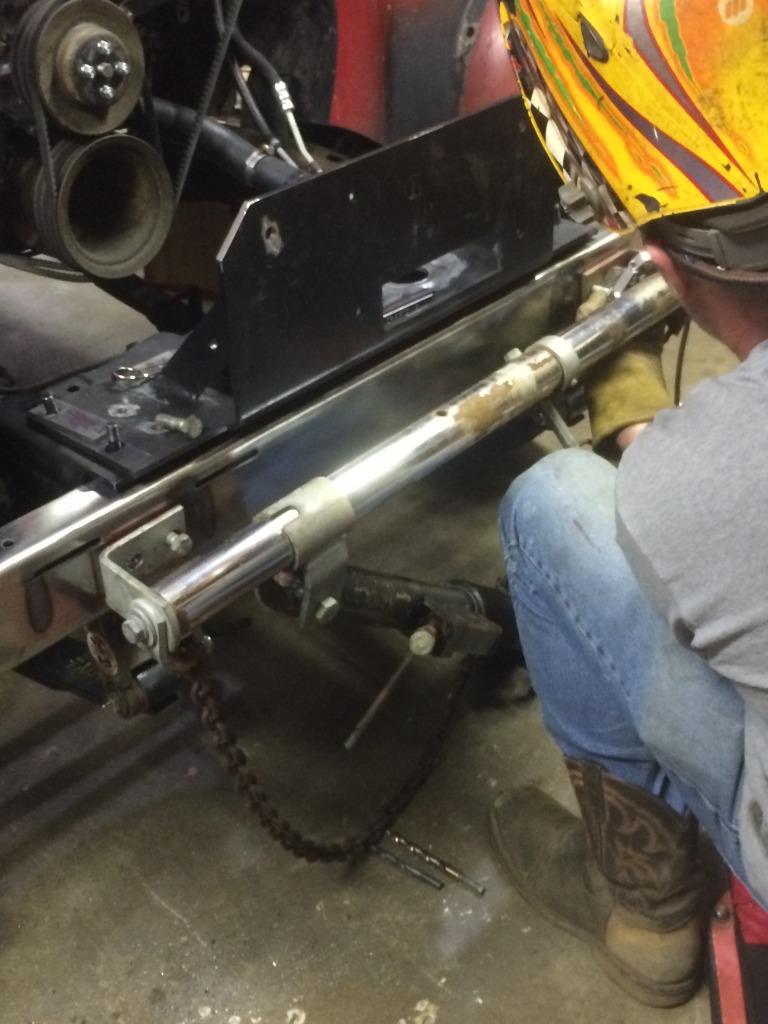
Started on the front 8274 winch and Jambo brush guard & collapsing / telescoping drawbar ....mockup.
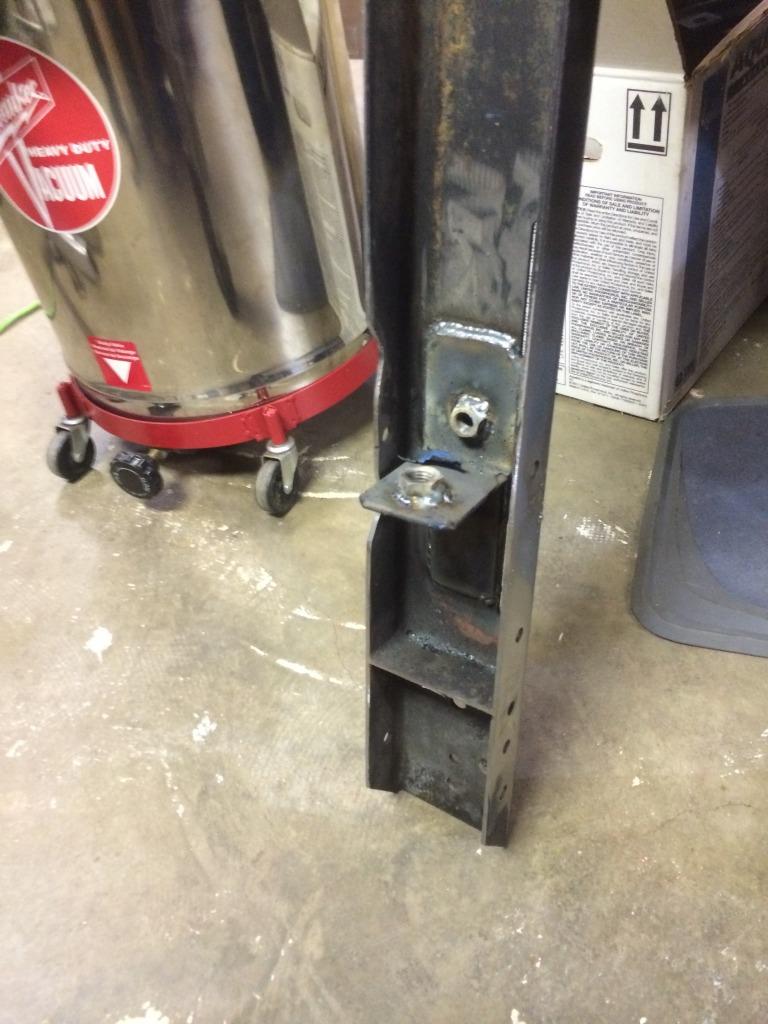
With the steering moved forward, there was no way to get to the 5/8" nut for the rear of LH sideplates.
So had to disconnect the lines and remove box.
Welded the nut to inside of frame, that will make removal much easier.
For flat towing...I did not like how the front bumper is held on with only 4 - 3/8" bolts and not much bumper and thin material plus with the shackles moved forward had to notch bottom of bumper for the Confer shackles
Made some "T" brackets and used the front 5/8" hole of the Warn side plates as anchor.
Welded on the 5/8" nut and also the 4- 1/2" nuts for the drawbar and the T is welded to inside of OEM bumper.
Everything is real tight so not much room to work, but it all fit together good-n-tight.
No worries about ripping off the front bumper now
With the steering moved forward, there was no way to get to the 5/8" nut for the rear of LH sideplates.
So had to disconnect the lines and remove box.
Welded the nut to inside of frame, that will make removal much easier.
For flat towing...I did not like how the front bumper is held on with only 4 - 3/8" bolts and not much bumper and thin material plus with the shackles moved forward had to notch bottom of bumper for the Confer shackles
Made some "T" brackets and used the front 5/8" hole of the Warn side plates as anchor.
Welded on the 5/8" nut and also the 4- 1/2" nuts for the drawbar and the T is welded to inside of OEM bumper.
Everything is real tight so not much room to work, but it all fit together good-n-tight.
No worries about ripping off the front bumper now


red mistress
Red Jeep Collector
- City
- Piney woods
- State
- tx
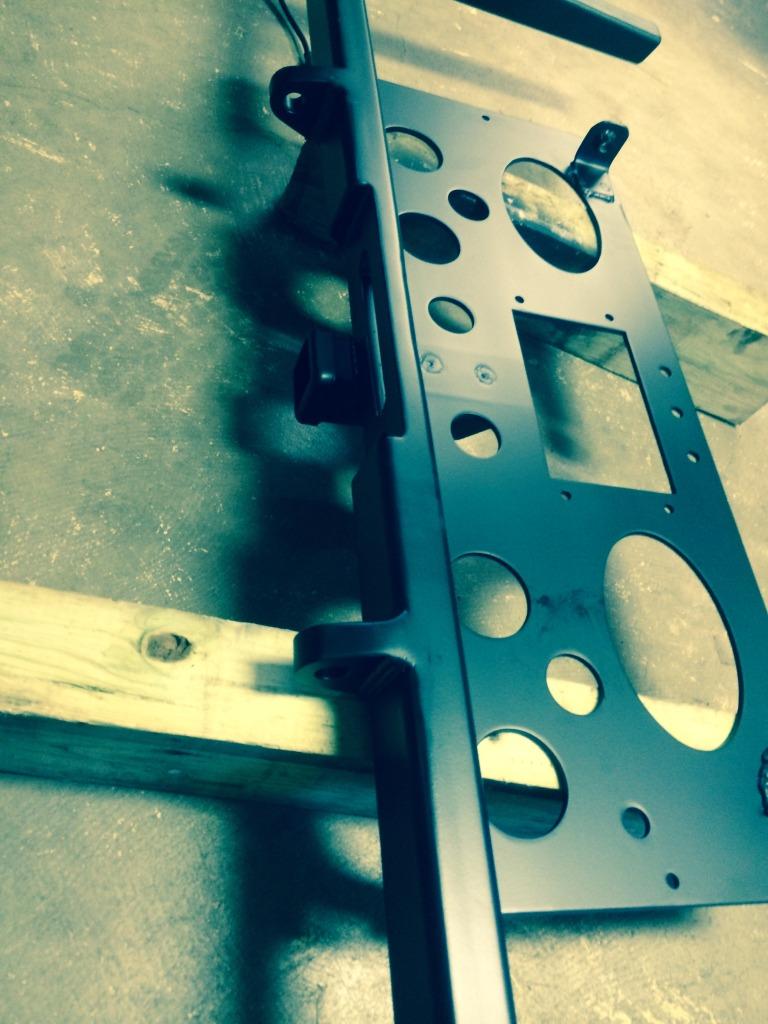
Got all the metal work back from powder coating.
They did a fantastic job.... no handling scratches and no sand in paint.
Really like the flat black for this build.
Now I have to tackle all the wiring which I really enjoy making neat.
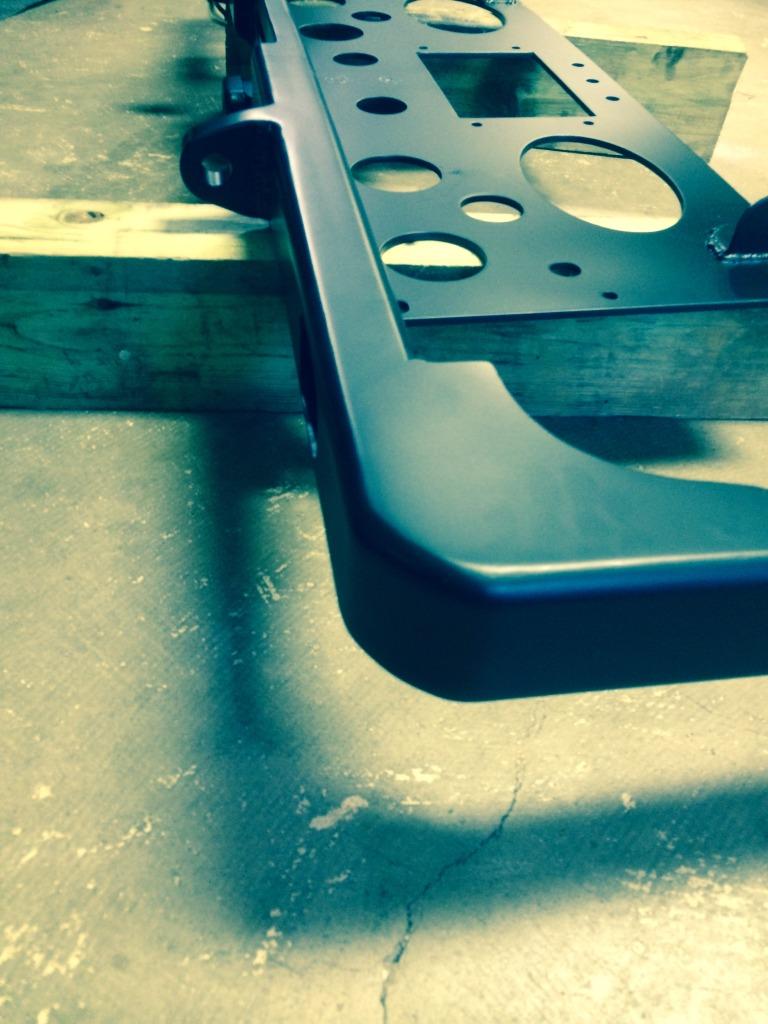
They did a fantastic job.... no handling scratches and no sand in paint.
Really like the flat black for this build.
Now I have to tackle all the wiring which I really enjoy making neat.

red mistress
Red Jeep Collector
- City
- Piney woods
- State
- tx
Switch panel came in today, backlit indicator lights.
Looking for an enclosure (gang box) similar to Spod for 4 relay's.
Already have the Painless wiring add on fuse box.
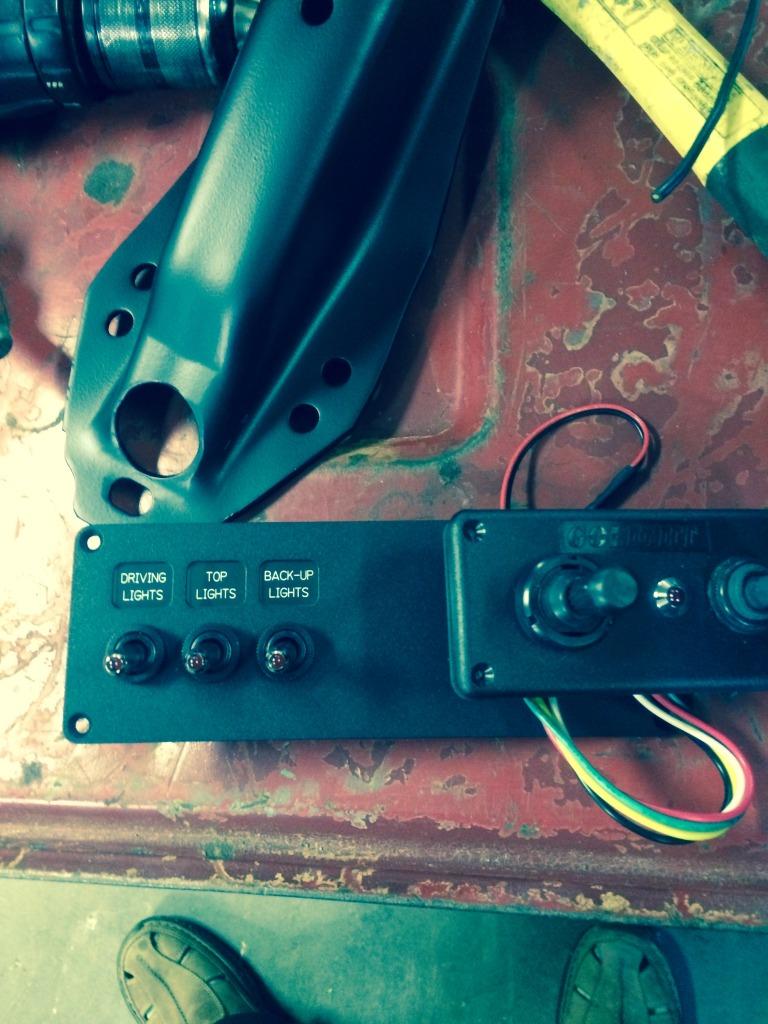
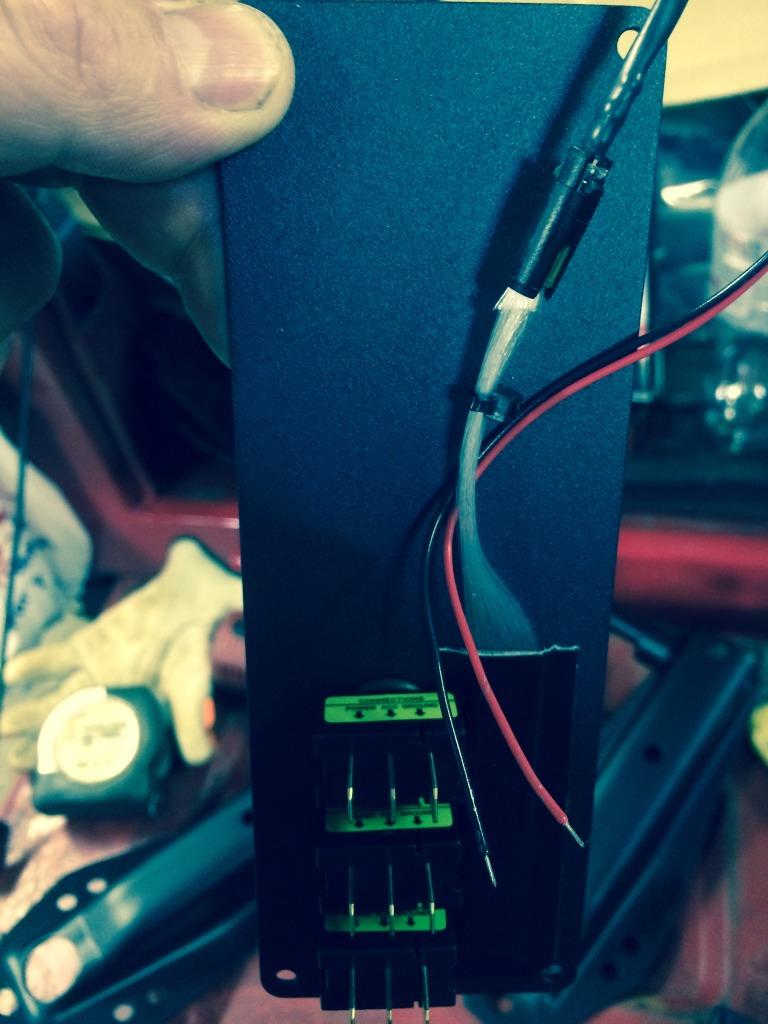
Looking for an enclosure (gang box) similar to Spod for 4 relay's.
Already have the Painless wiring add on fuse box.