• Notice for iPhone users: DO NOT use the image size reduction option when uploading photos to the forum. This causes portrait images to post as landscape. We have added a warning to the image insert pop-up as well.

Mud Scrambler - Must be Red Dents are fine, some rust fine

I love that every Jeep in the picture above has its hood open!

With the hoods in the normal position, up, you will always remember to latch them prior to driving them when you put them down. Correct ZR10054 :thumbsup: :wave:
 
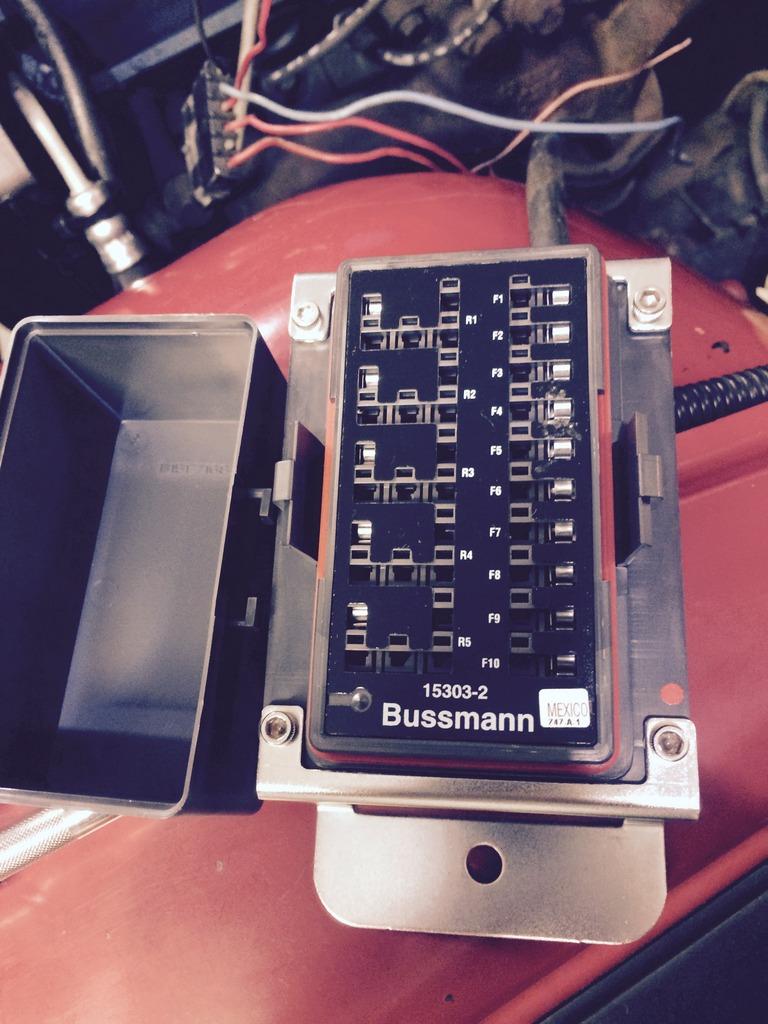
I was going to use the painless 4 circuit fuse box and then a Hella 4 circuit relay box.

Theb I saw this 5 fuse & relay combo all in one box in one of Mysunshine's pics.

Had ordered it 2 weeks ago, came in yesterday and was excited to see the quality.

I'm very impressed and this will be cleaner install.

FullSizeRender_zpsn7xkvt0v-1.jpg


Trying to decide where to mount it.

The unit is water resistant with a sealed & tight fitting cover.

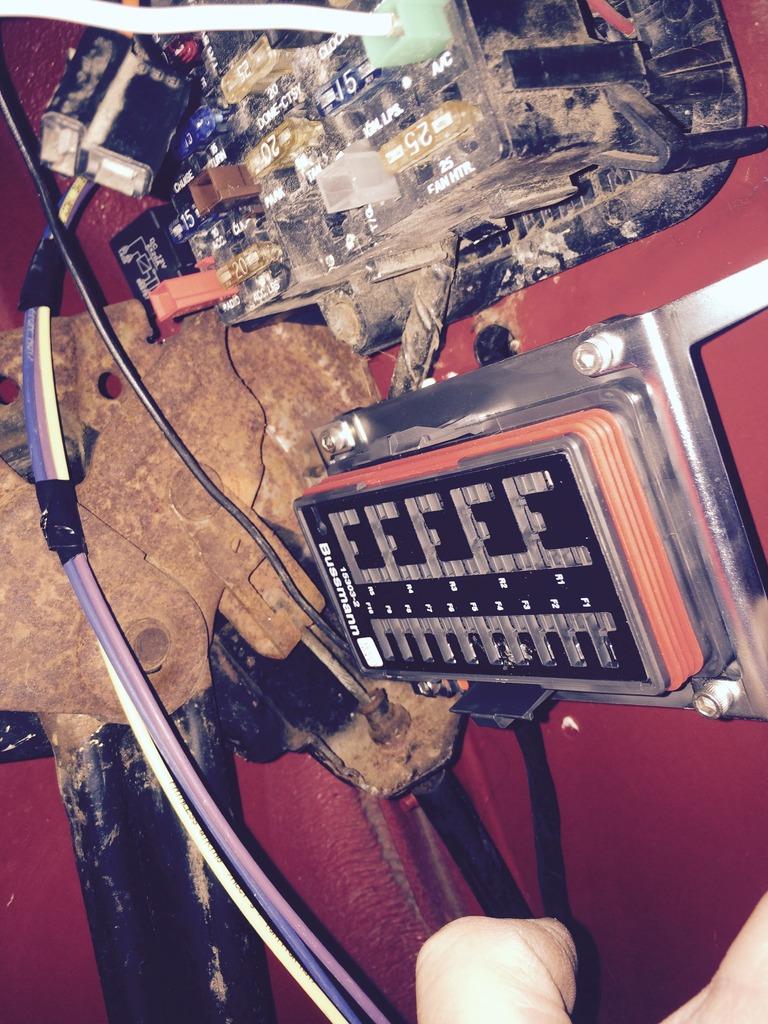
Under the factory fuse box:

Since Mud Scrambler is automatic, there seems to be plenty of space for muddy hunting boots.

FullSizeRender_zpst1cmrmyf-1.jpg


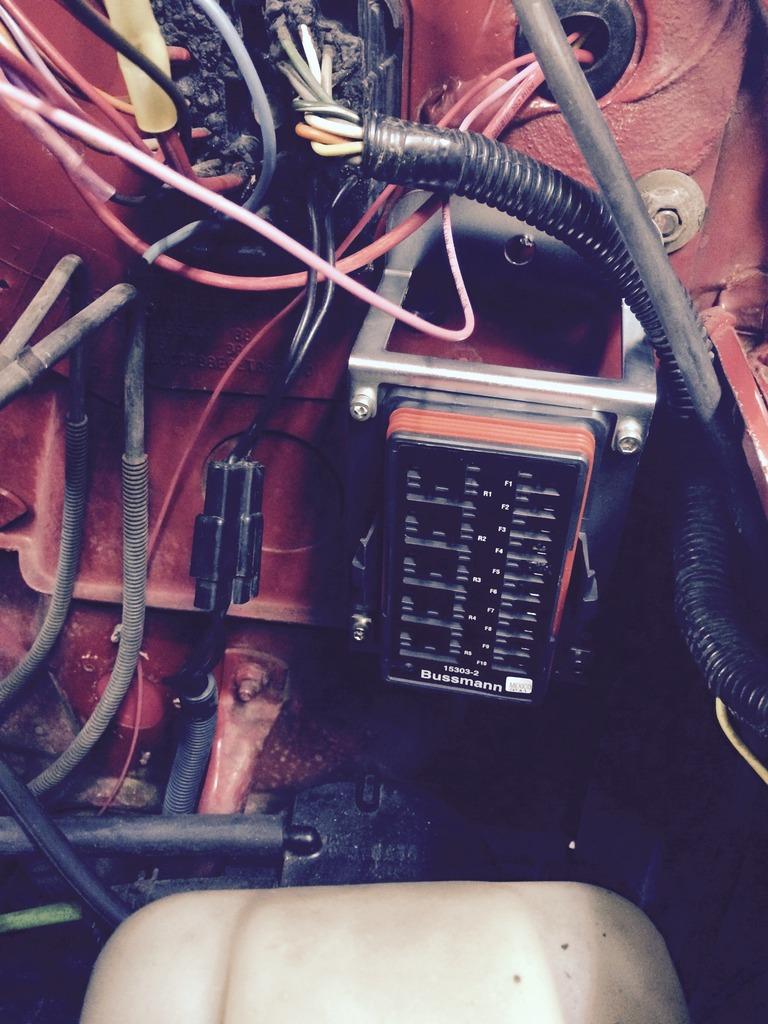
Or easier access under hood:

FullSizeRender_zpstka3svyv-1.jpg


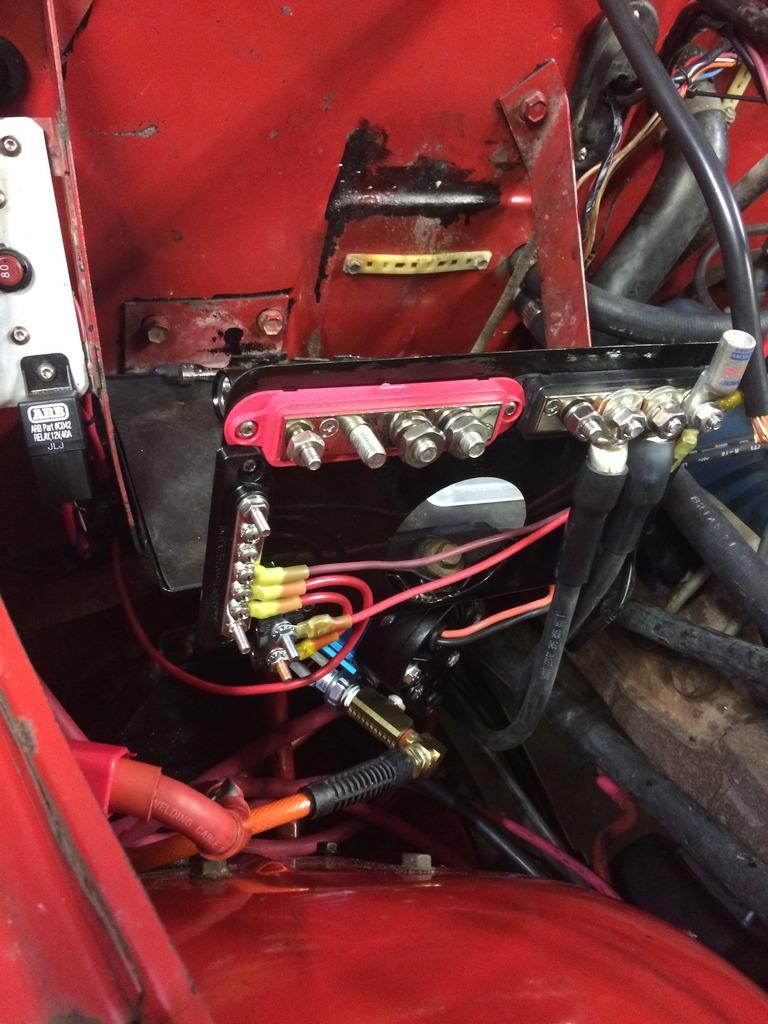
Also got a different smaller bus bar.

The other bus bar that I had was too long and only good place to mount it was above battery.

So I spent 4 hours and only got this accomplished:

IMG_2586_zpstonlrw5x-1.jpg


But I like how tight everything fits and most all wires near battery.

Guess better than watching TV.
 
Somebody is paying attention. ;) Those circuit boxes are cool huh? Now just think of the stuff I don't post pics of..

Sent from my SM-G920V
 
Nice wiring! I completely forgot about that fuse panel until seeing your post. Wrote it down this time. Thanks, guys!
 
This Bussman is actually called a RTMR or power distribution module.

I really like this one from Eaton

https://www.waytekwire.com/item/46055/ssVEC-Power-Distribution-Module/

but Mud Scrambler only needs 5 relays.

Got it earmarked to redo my 83 Modified.


Went to shop over lunch hours and tried to decide on mounting.

Thinking less wires thru firewall approach.
Mysunshine, I noticed in awesome TJ build that on the sliding under seat rack... the Bussman RTMR look to be mounted flush ?

Is that an optical illusion?

The standoffs they sent are 2" of space for back wiring, don't think I need that much space.

Guess I can bend up different standoffs.
 
And I thought I did good to rewire a boat trailer this evening.
 
Thinking less wires thru firewall approach.
That is exactly what I was going to suggest.

Depending on what you are feeding from the block, try to keep the wire lengths for the loads short.

Once it's installed you should only need to access it occasionally for upgrades.

Need to get some of those buss bars so I can do some clean winch, starter, accessory wiring. :thumbsup:
 
Thanks guys.
Wife & kids at Grandmaw's this week so getting stuff done.

The light guage Fusion connectors came in so got the ground to body cable done so that's last of torch wiring.

I studied the route of all the accessory wiring and have decided to mount the Busman directly below the interior OEM fuse block.
My CJ-7 is automatic also, so I taped it to firewall and there is plenty of room for your feet.

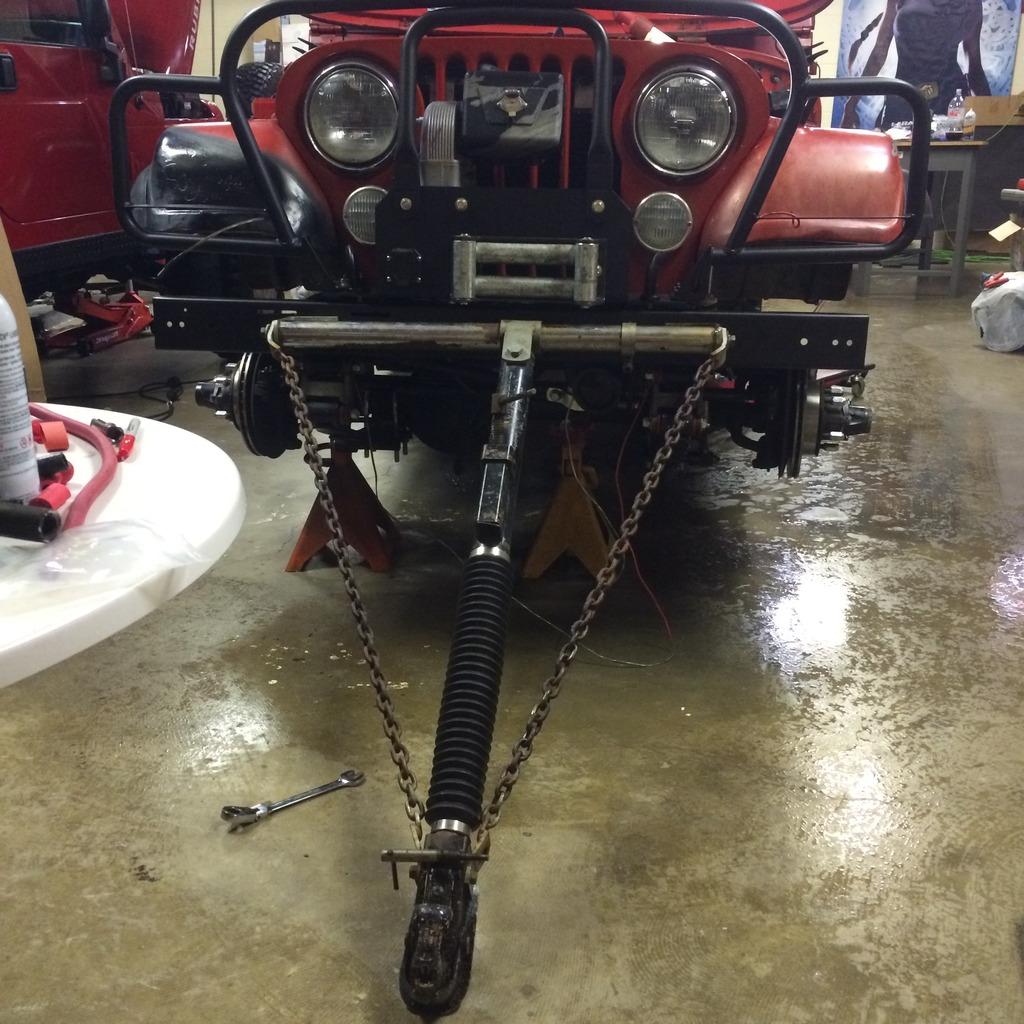
Got tow bar bolted on. Having the 1/2 nuts and L brackets welded to bumper (pics shown earlier in thread) will make this easy to remove.

Middle part slides to passenger side so It folds.
Then the middle part collapses.
And there is a T handle bolt that holds it to drivers side. (pics shows it near ball coupler) .
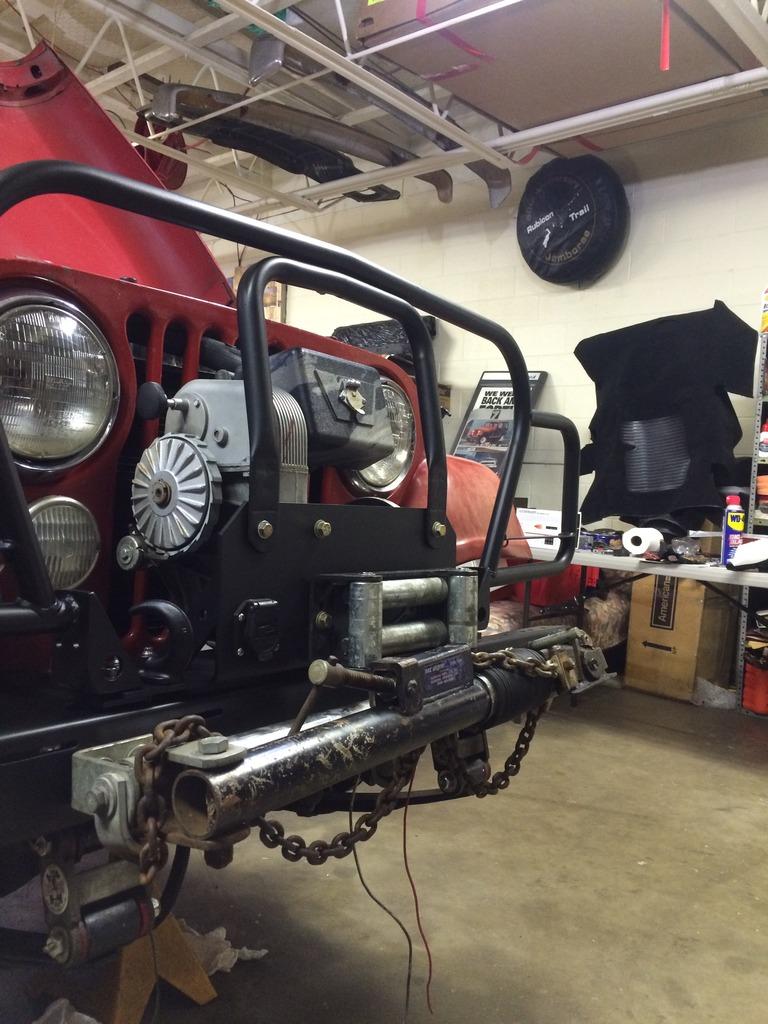
There is a notch on pipe collar on passenger side and since the roller fairlead is directly above and of course in the way..... I'm gonna have to figure out how to Redneck Ray modify the stow mounts.

I really like this tow bar setup.

IMG_2562_zpsy2iojmqv-1.jpg
 
Stow brackets now ready for the road.

Drilled hole and metablo made new slot for stowing at new angle.

Gonna try to finish wiring this weekend.


IMG_2600_zpshrak0sji-1.jpg
 
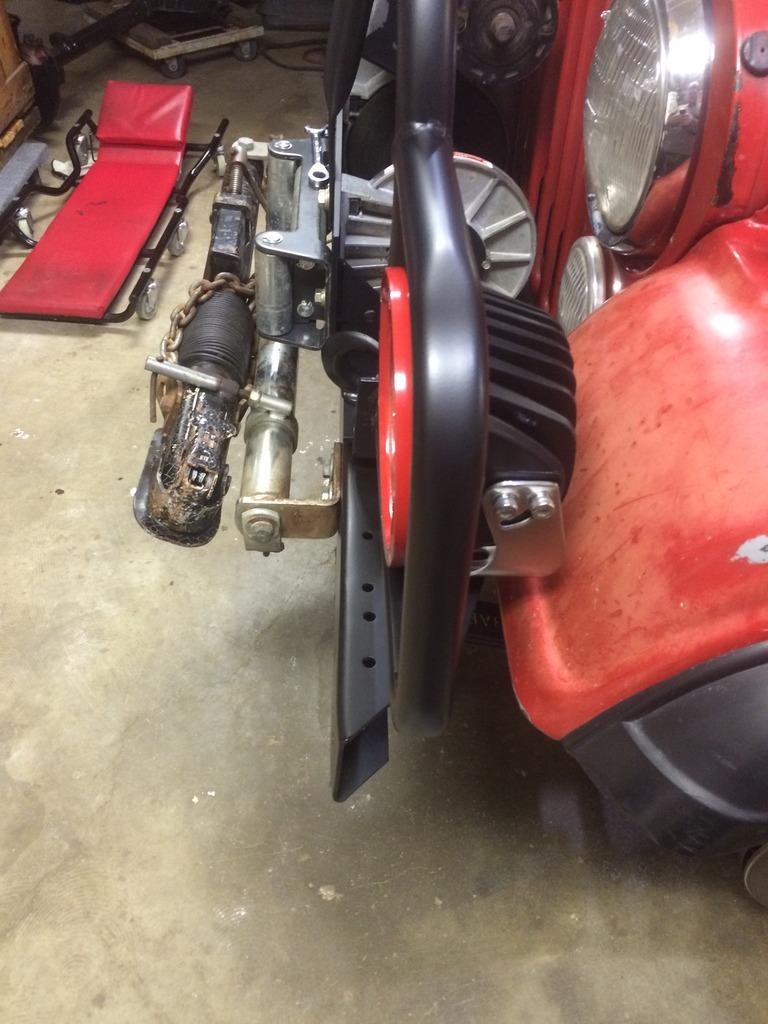
The Rigid hi/low beam LED's are just too small for big space on brush guard light mount.

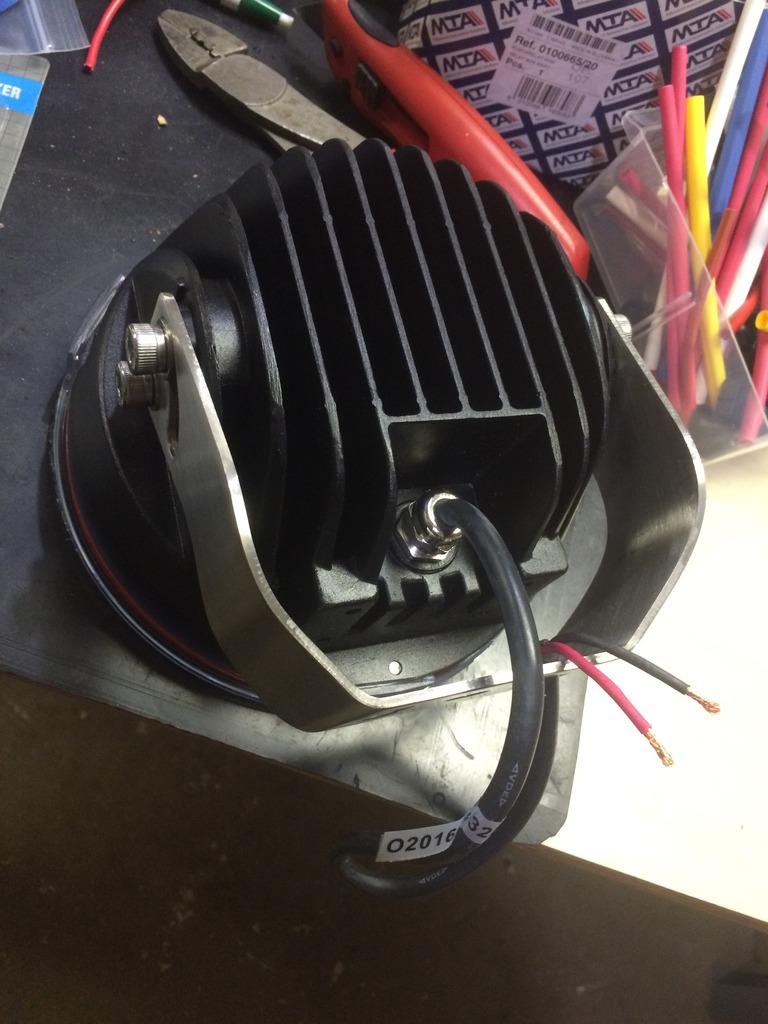
ARB 7" Intensity would not fit, so ended up going with these China knockoffs.
They are 7" also but the mounting bracket is shorter.

http://www.ebay.com/itm/2pcs-7-inch...=34d9915e157b4a9da92865dbe829b363&pid=100102&

I wasn't expecting much, but was pleasantly surprised. Heavy cast housing, thick stainless steel mounting bracket (thicker than brush guard tabs) good 14 ga. wire.

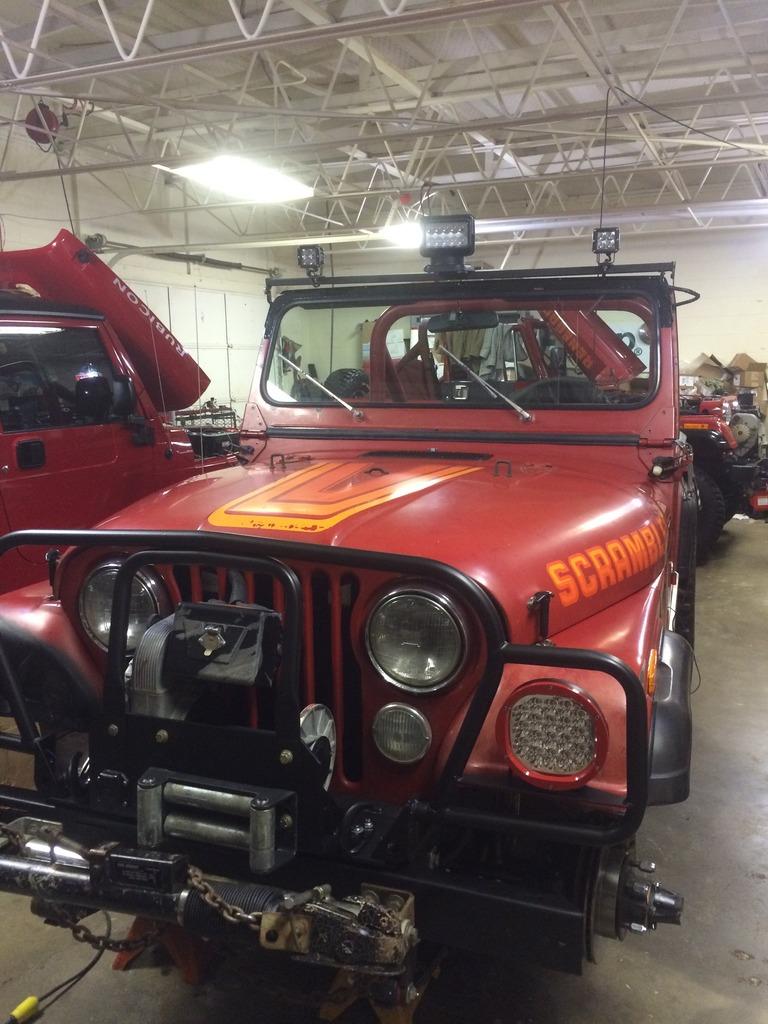
Have to finish pulling the wire inside brush guard tubes and see how bright they are.

Still have doubts about function as brush guard will probably shake to much so light beam will bounce around also.

IMG_2618_zpsealydavq-1.jpg


IMG_2617_zps0gusiaso-1.jpg
 
Spotlight on deer is operational :)

IMG_2624_zpskegmufxm-1.jpg


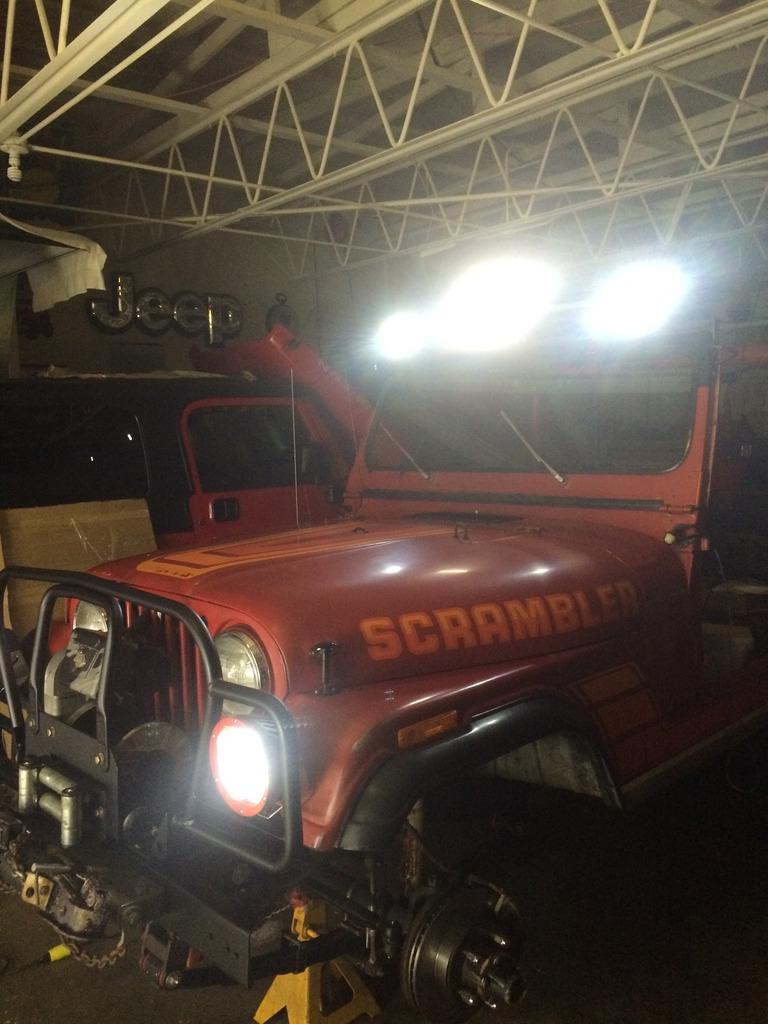
All the accessory wiring is completed.
Every light is so bright and intense !

IMG_2626_zpse3grnqxk-1.jpg


Go-Light Stryker is going to be nice, no more holding spotlight and trying to aim at same time.
It has wireless remote & hardwired remote.

IMG_2627_zpsqnkze0zk-1.jpg
 
And here I was thinking that was a well known fact. :) Maybe one of those huge Warn winches in front of the radiator would bring the pop up speed to 80-90 mph


Sent from my iPad
 
Back
Top