• Notice for iPhone users: DO NOT use the image size reduction option when uploading photos to the forum. This causes portrait images to post as landscape. We have added a warning to the image insert pop-up as well.

New To Me 83--Parts Needed

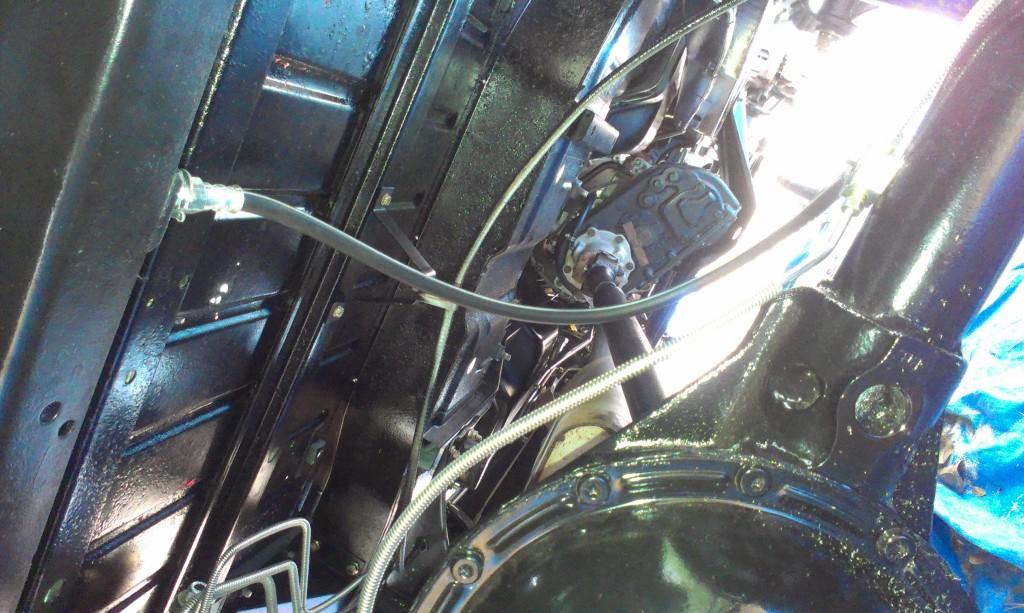
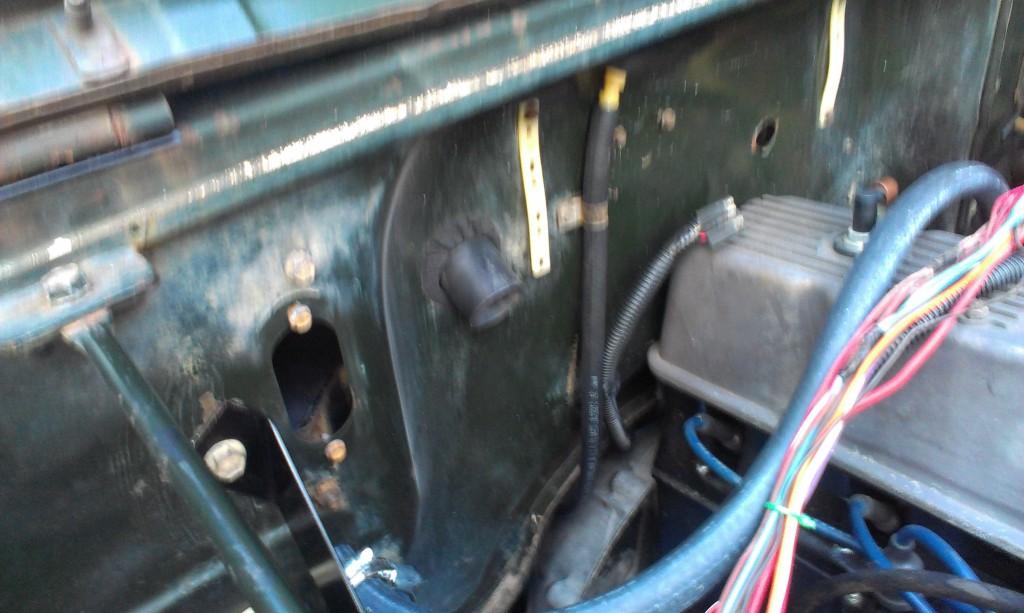
Installed transfer case shifter, transfer case vent line, and the 4wd/reverse light wiring harness.
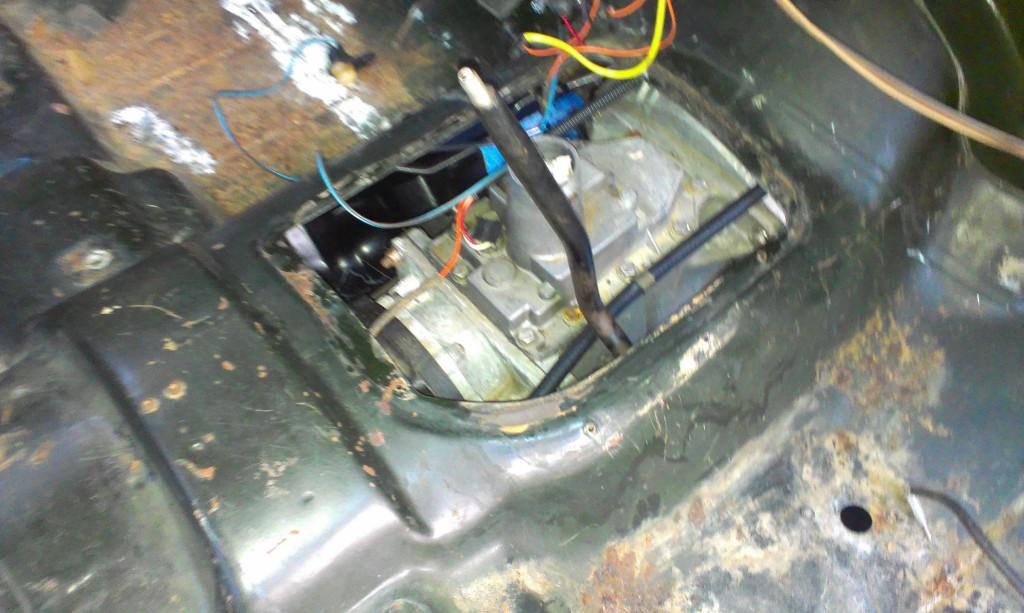
IMAG00981-1.jpg


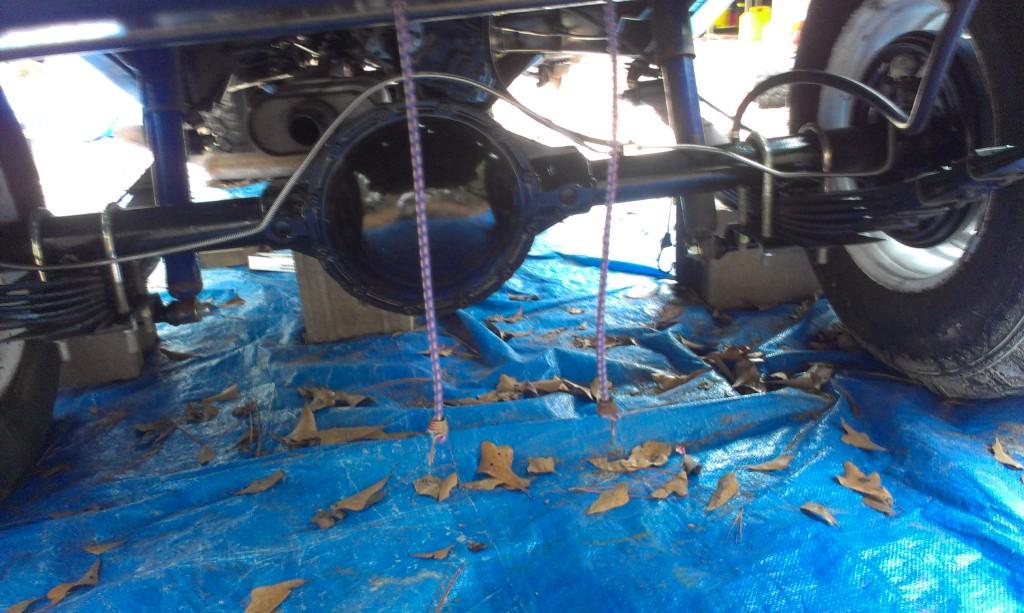
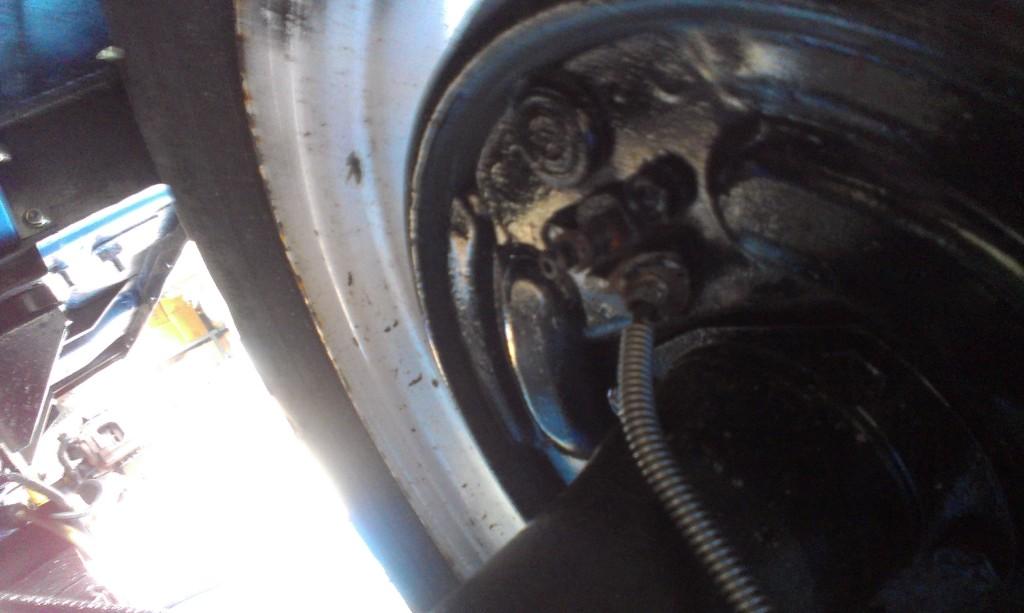
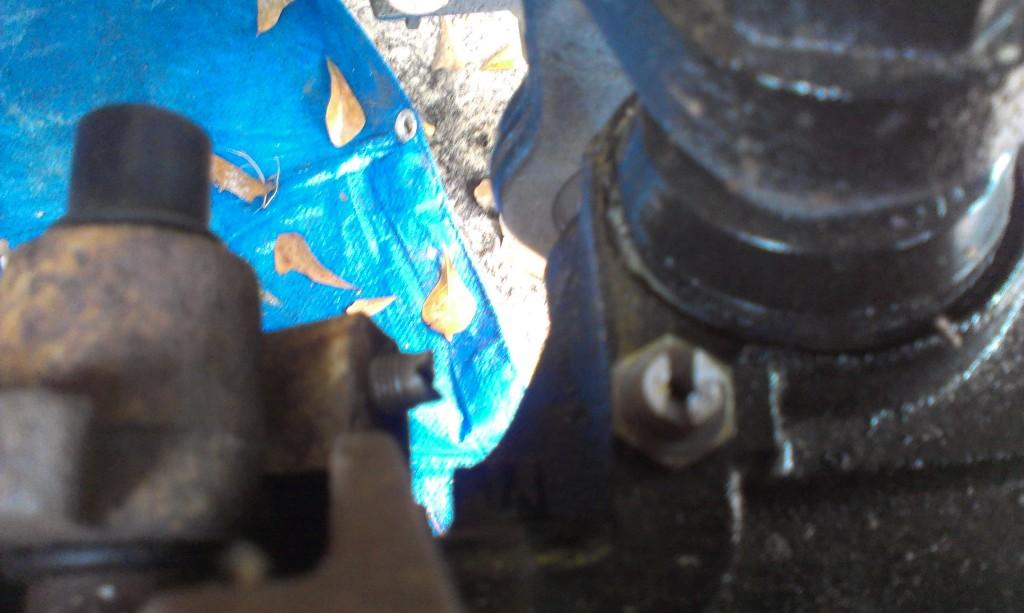
Ran/hooked up the transfer case, front axle, and rear axle vent lines.
IMAG00991-1.jpg


IMAG01001-1.jpg


IMAG01011-1.jpg


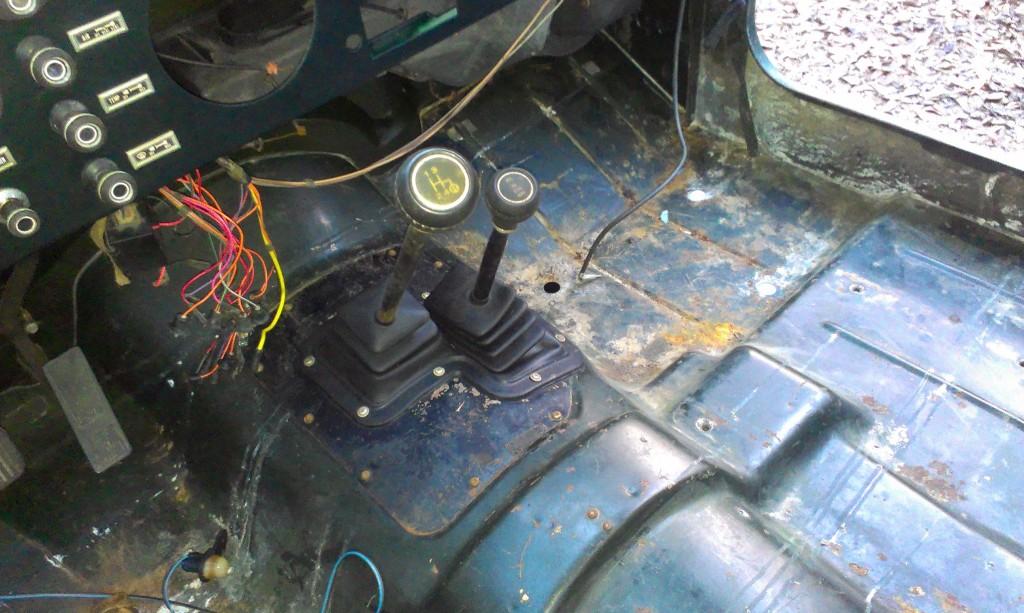
Since I got tired of dropping parts through the huge hole in the floor board, i installed the trans cover, transmission shifter, boot, and knobs. The threaded portion of the transfercase shifter was snapped off, so I had to drill/tap/install a stud. I was able to reuse the original shifter knobs, and surprisingly, the original boot is in excellent shape.
IMAG01021-1.jpg


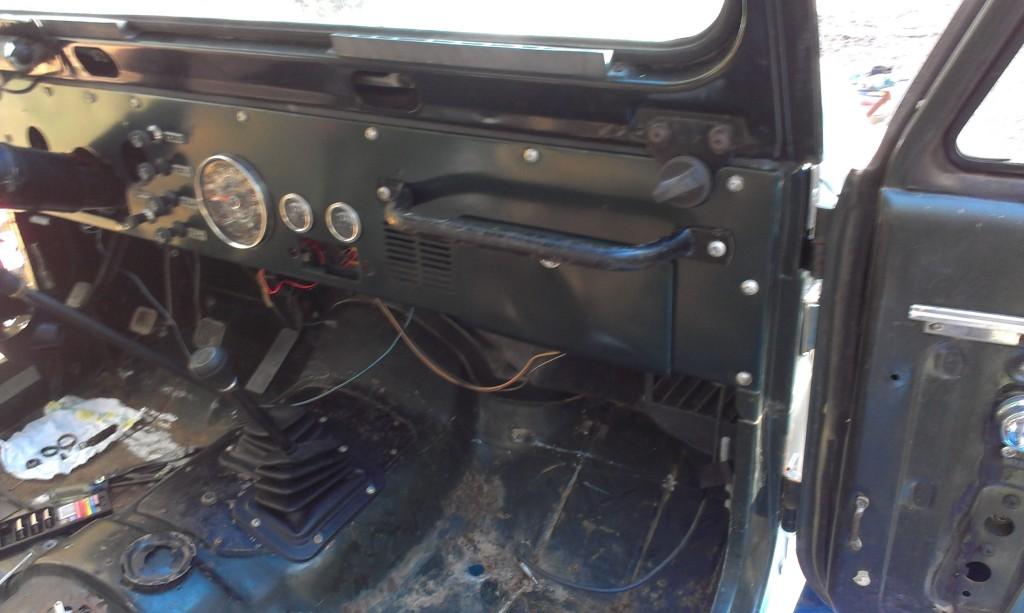
Installed glove box door and the original speedometer.
IMAG01031-1.jpg


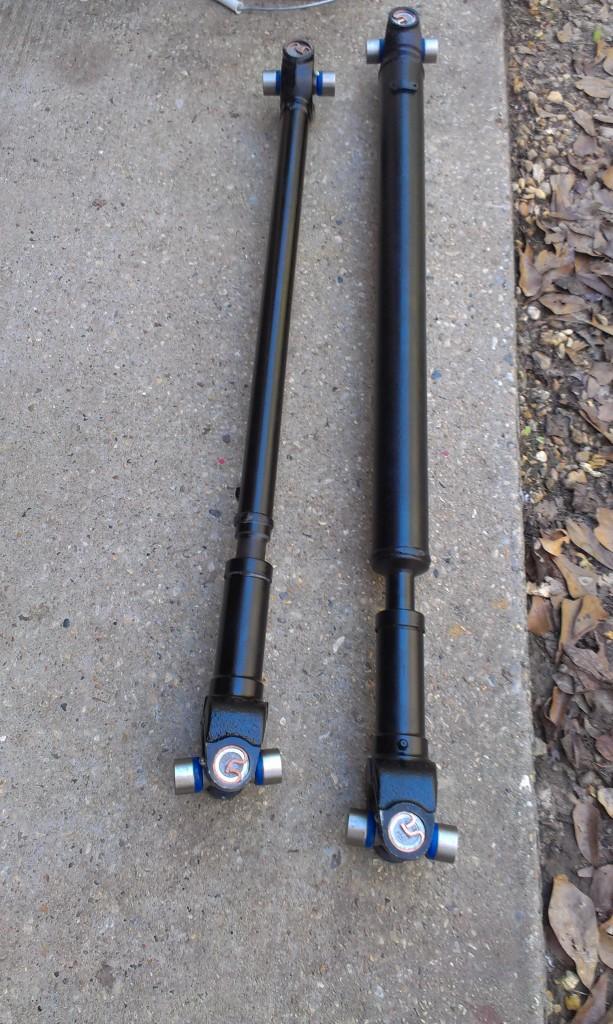
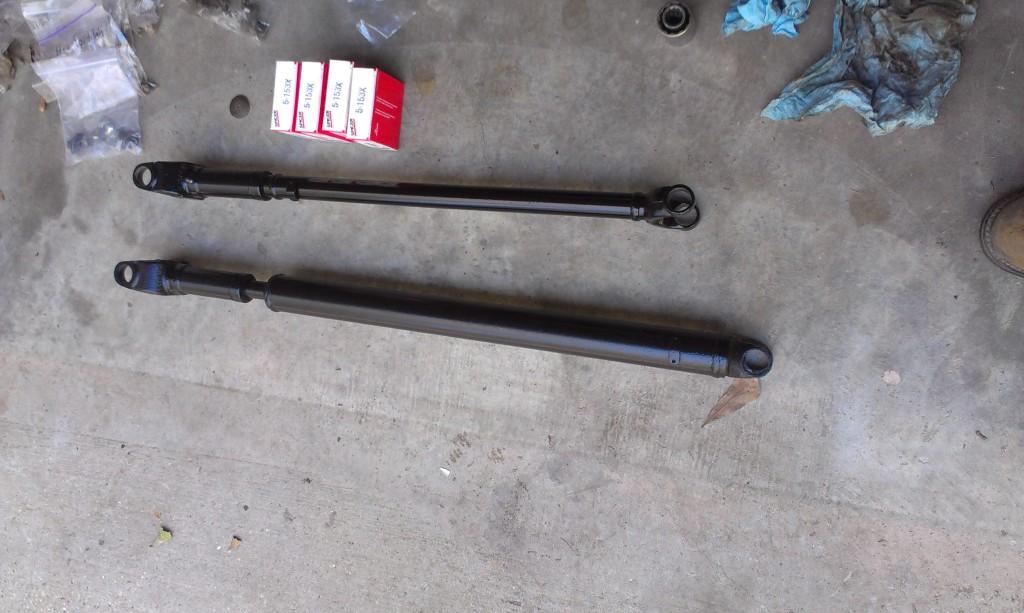
Installed u-joints in the driveshafts, installed driveshafts.
IMAG01061-1.jpg


IMAG01071-1.jpg
 
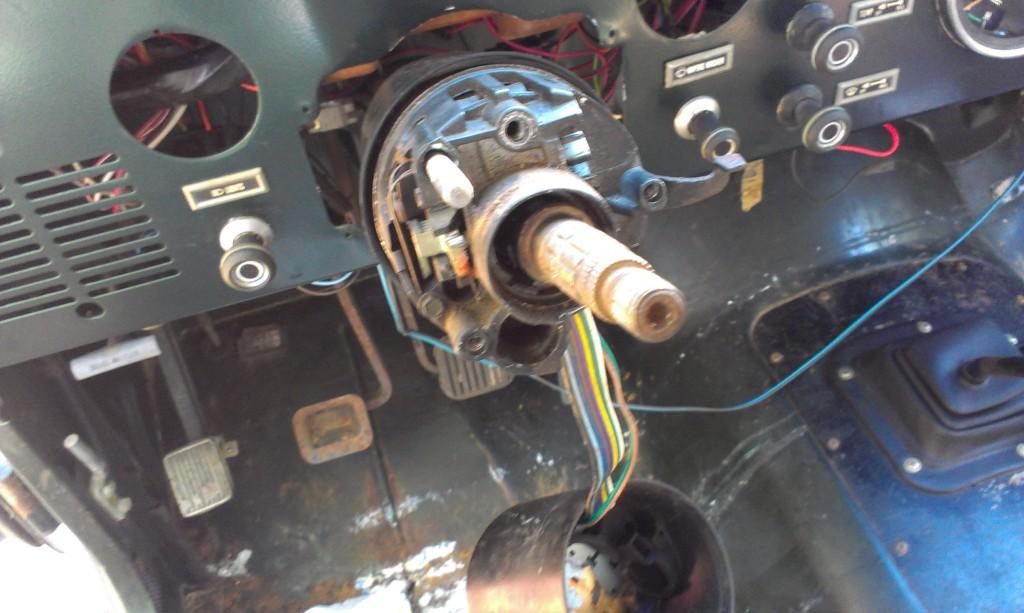
I also had to work on the steering column. The lever on the column that comes out near the key cylinder was froze up. You could not get the key to the "OFF/LOCK" position, and therefor could not remove the key.

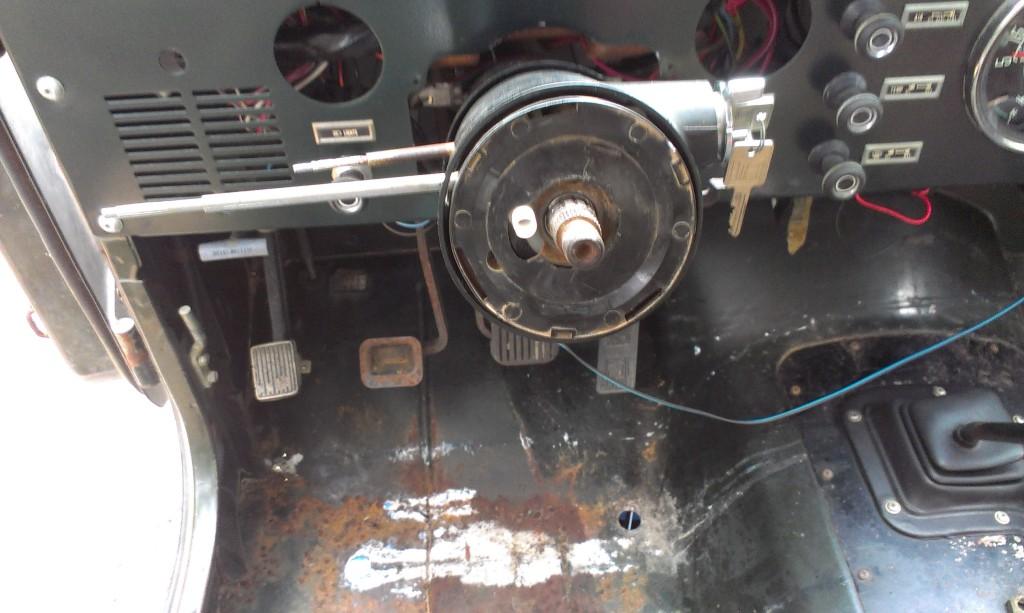
Getting the column tore down this far is fairly easy. Remove steering wheel, lock plate, turn signal harness, key cylinder.

IMAG01041-1.jpg


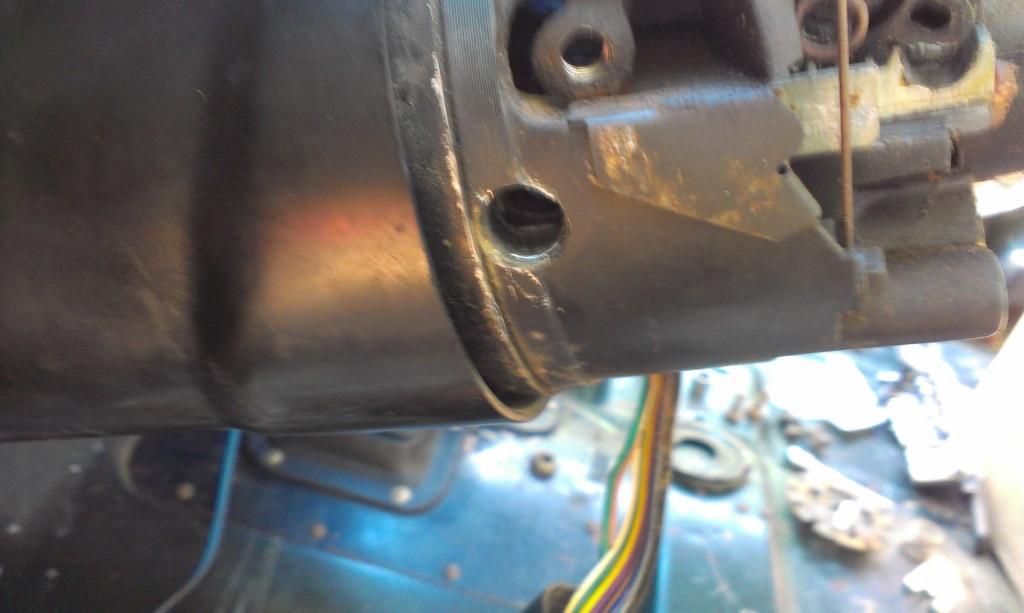
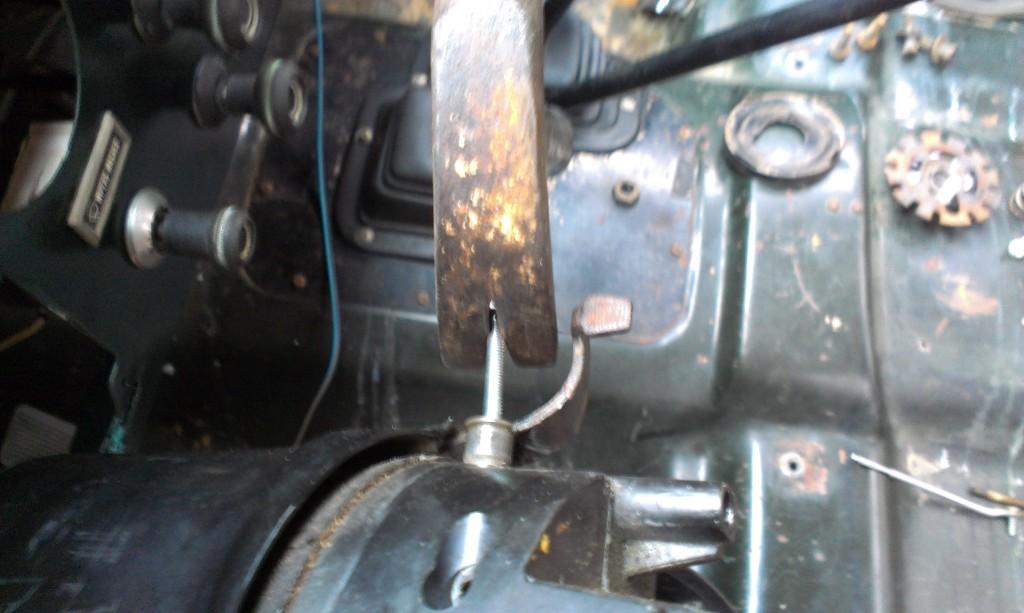
Now, getting the next part out is hard. I had to pull this portion out to access the stuck lever thing. It is held in with two metal pins that have to be pulled out. The FSM calls out a special tool, which I don't have to remove them. I threaded in a #8 32 screw into one pin, though a socket, and tried to use it as a "puller". The threads would strip on the screws before the pins budged. I ended up threading in a screw, placing a hammer on the screw, and using another hammer to tap out the pins. It worked perfect, no damage.

First pictures shows the pin removed, directly below the threaded hole for the tilt lever. Second picture shows my removal tool set up.

IMAG01051-1.jpg


IMAG01081-1.jpg


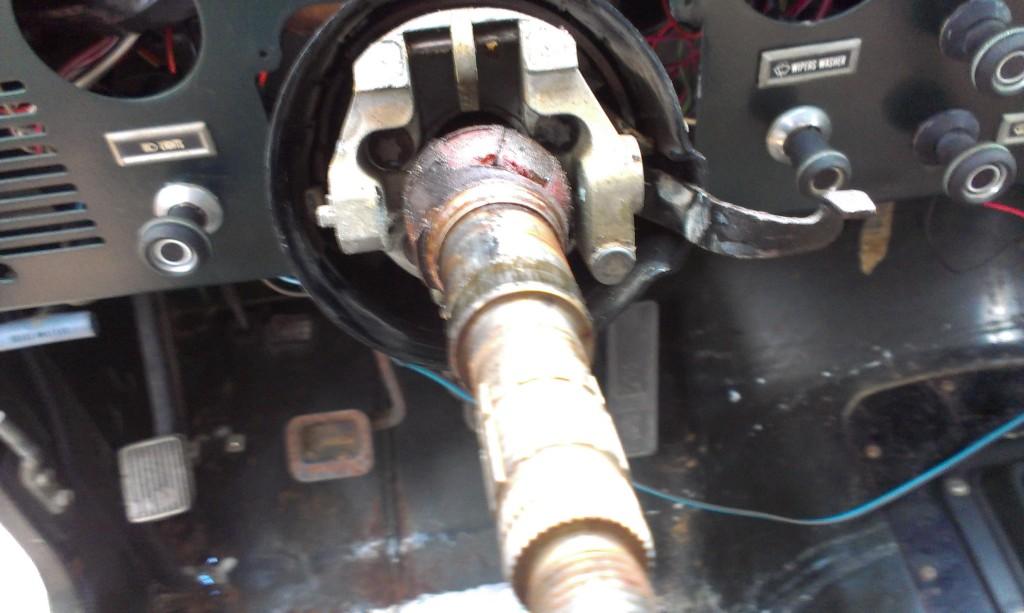
You are then left looking at this scary mess, the heart and soul of the tilt column. I did not go any deeper then this. There is all kinds of interesting/confusing/tiny/looks kind of important parts in here, that I did not want to mess with. Once I got this deep into it, I was able to spray brake parts cleaner on the lever mechanisms, clean out all the gunk, then re-grease everything using spray can white lithium grease. The lever now works perfectly.

IMAG01091-1.jpg


After getting the lever to work, I reassembled the column. Getting the part reinstalled that takes the two pins is kind of aggravating. You have to hook the remote rod to the actuator lever, while simultaneously fighting against the spring loaded tilt portion. Got it back in, and all buttoned up. Now, the release lever works, tilt works, and the key cylinder all work like they should.

IMAG01111-1.jpg


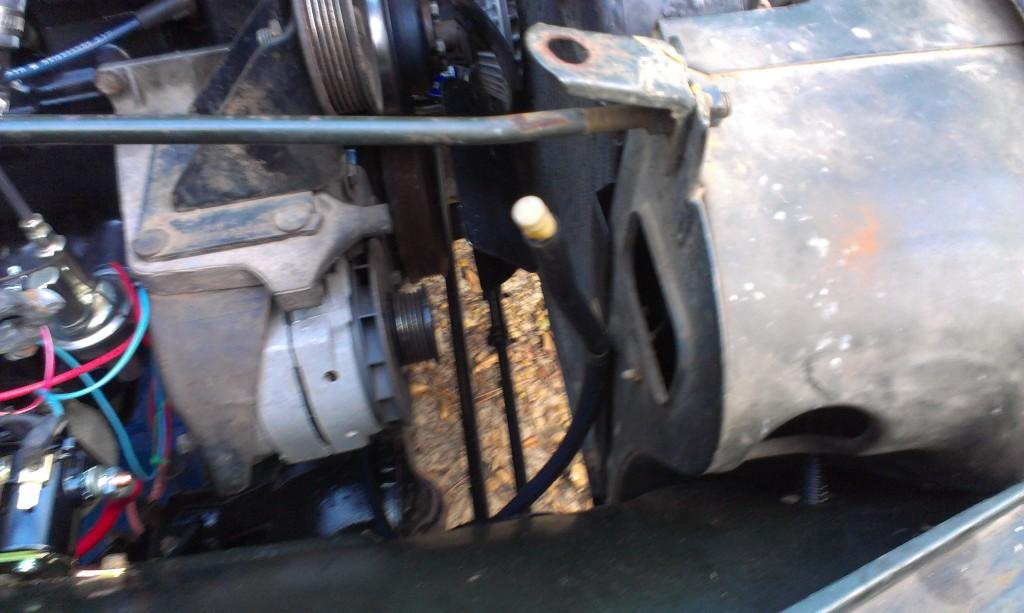
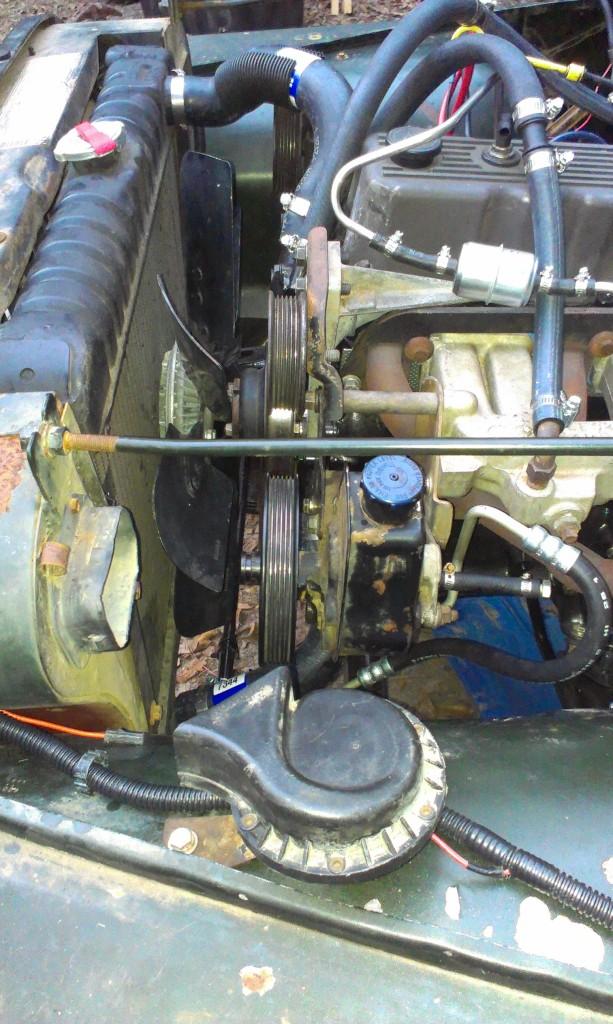
I also installed the PS pump. I used the old pump, after pulling off the v-belt pulley and installing a borrowed Chevy truck pulley. I could never find any good pictures on how to install the PS pump into the brackets, for a serpentine set up. This is how I installed it. Everything lines up, it adjust fine, and seems to work perfect. I do need to cut an=bout two threads off the upper bolt that secures the assembly to the intake, it rubs the back of the idler pulley slightly and makes some cool noises.

IMAG01121-1.jpg


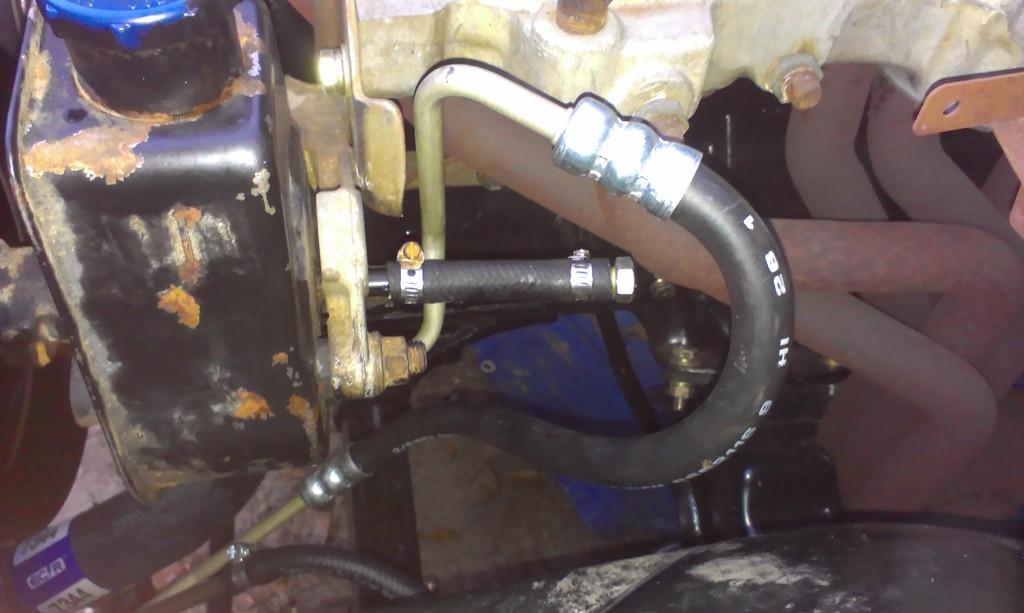
Close up of my custom "plug the return line port of the PS pump" to aid in flushing the system.

IMAG01131-1.jpg


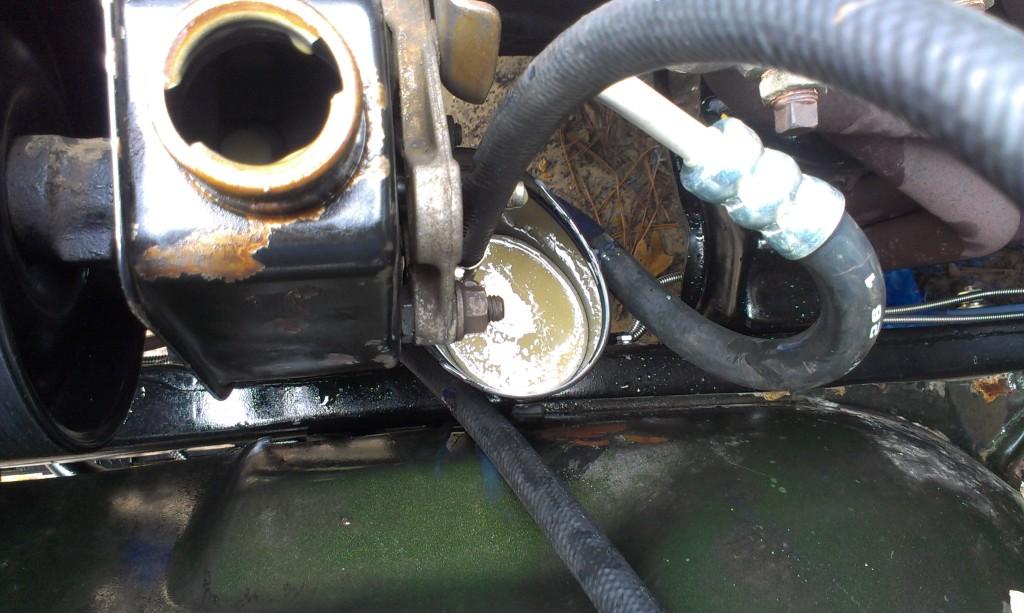
And the reason for flushing the PS system. There is moisture in the pump and box. I have been flushing it out, but it is going to take more flushing. After an initial fill and run, this is what the fluid looks like. I am hoping after a few more flushes I will get all the moisture out. Note cream colored fluid in black cup under the PS pump.

IMAG01181-1.jpg
 
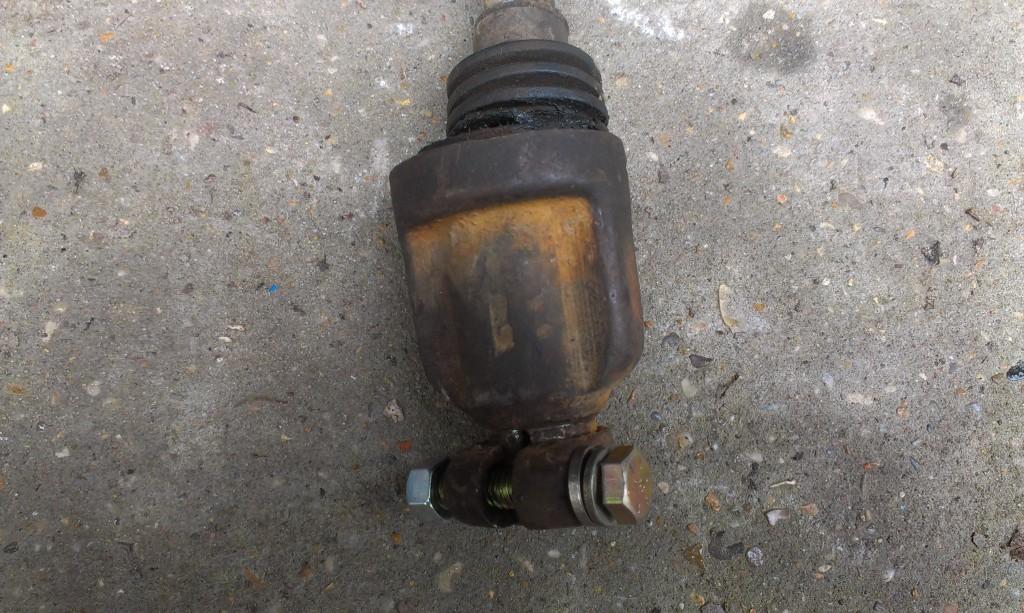
Up next I installed the stock steering shaft. The lower boot is torn, but it should work fine temporarily. I also did not have the stock lower attaching bolt. I used a suitably sized grade 8 bolt with a self locking nut, worked perfectly. One tip to aid in removing/installing the stock shaft: Loosen the steering column from the body. This will give you a bit more clearance to get the shaft in and out.

IMAG01191-1.jpg


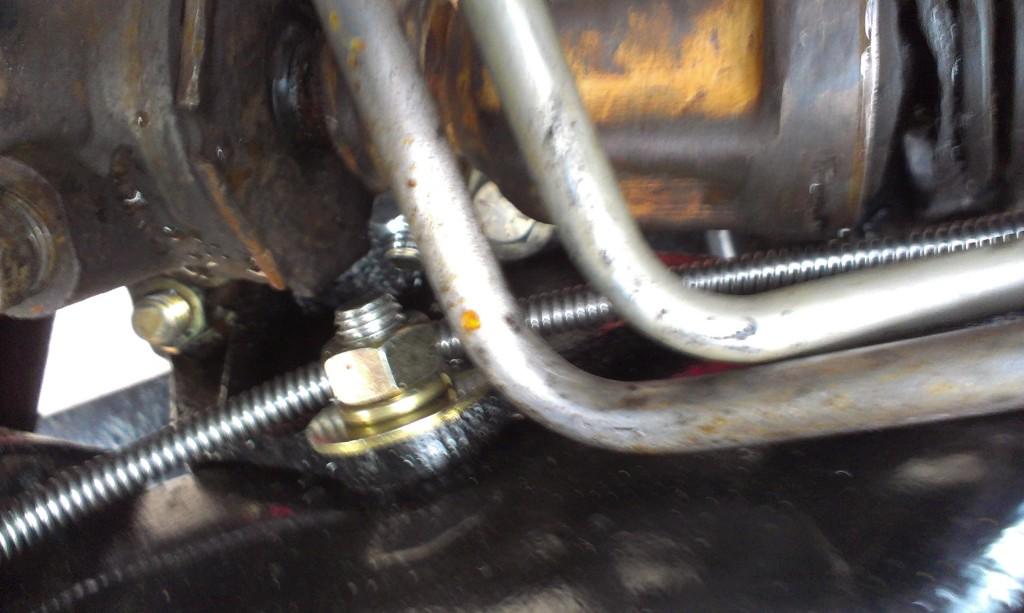
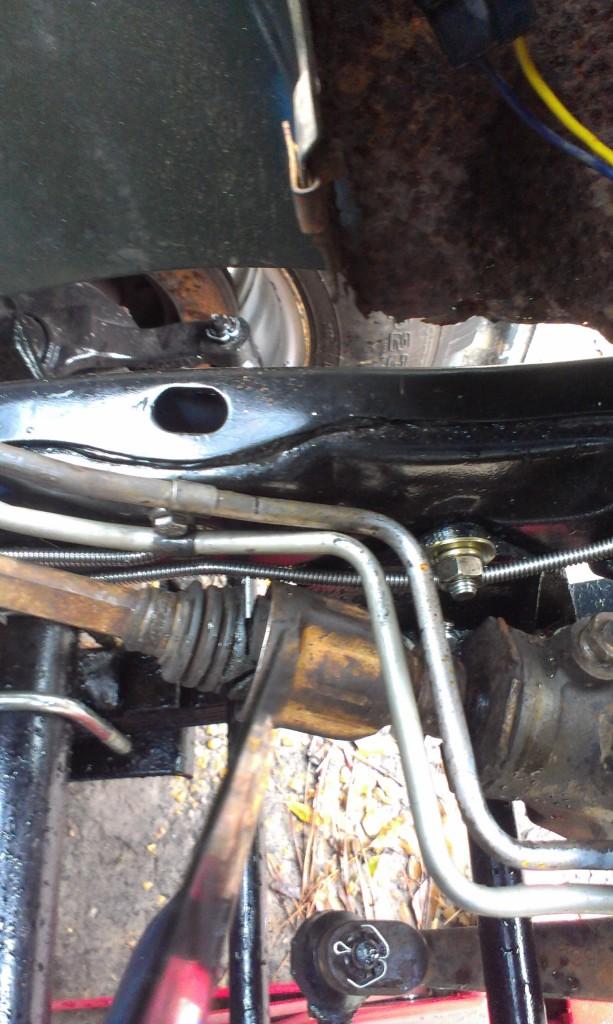
After installing the shaft, I could not steer all the way. I ended up having to flip over a sway bar attaching bolt. The steering column coupler was hitting the excess threads on the bolt I used. I flipped the bolt around, with the head facing up, and now have ample clearance. You can just make out the head of the bolt, visible between and below the two PS lines.

IMAG01201-1.jpg


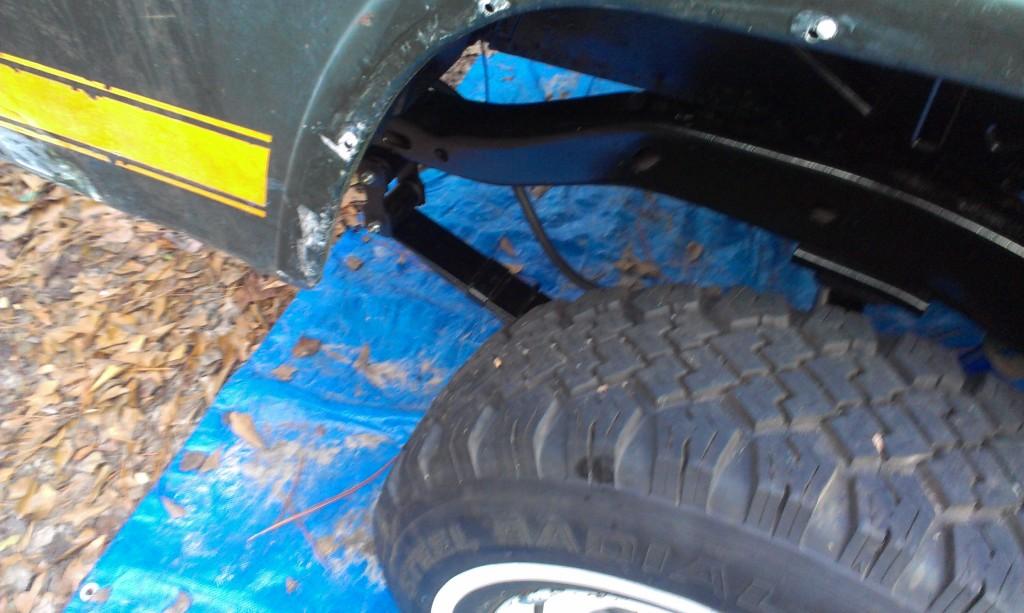
I also had to pull the radiator back out in order to install the PS line retaining clips to the frame. I fought this for about 10 minutes before I pulled the radiator. After removing the radiator, it took about 10 seconds to install/secure the clips/lines.

IMAG0121-1.jpg


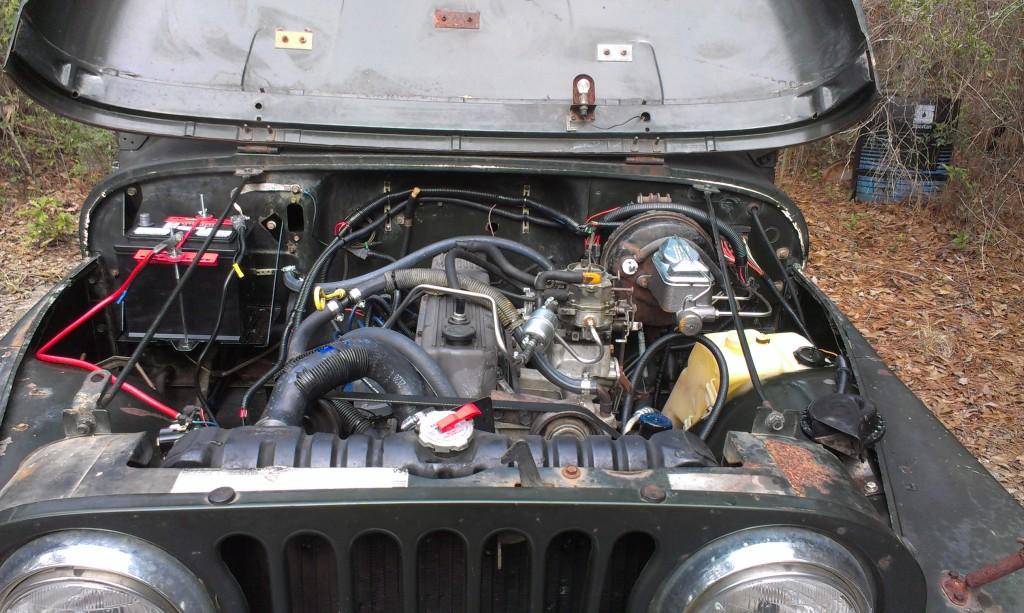
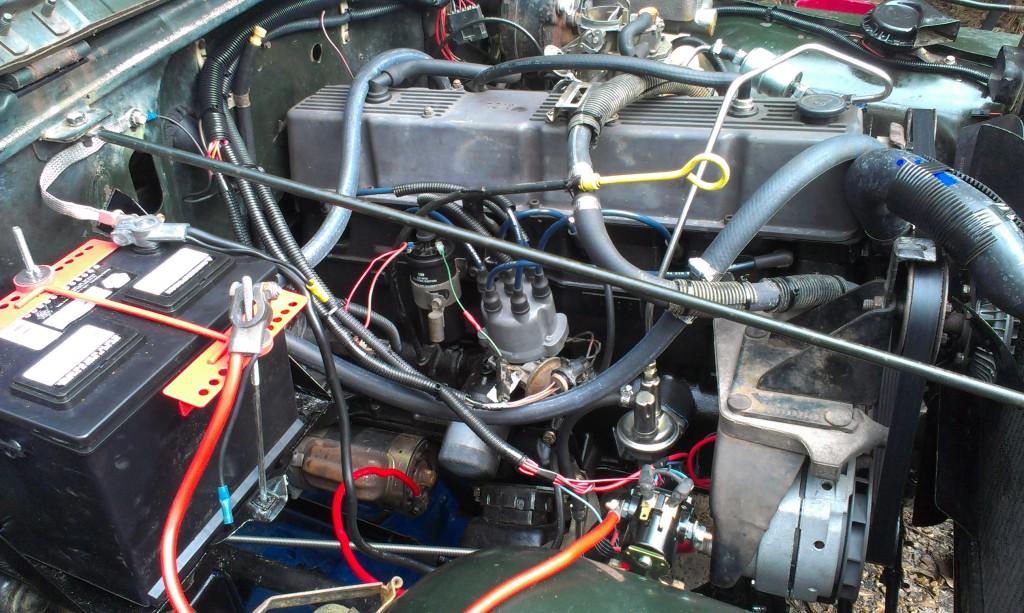
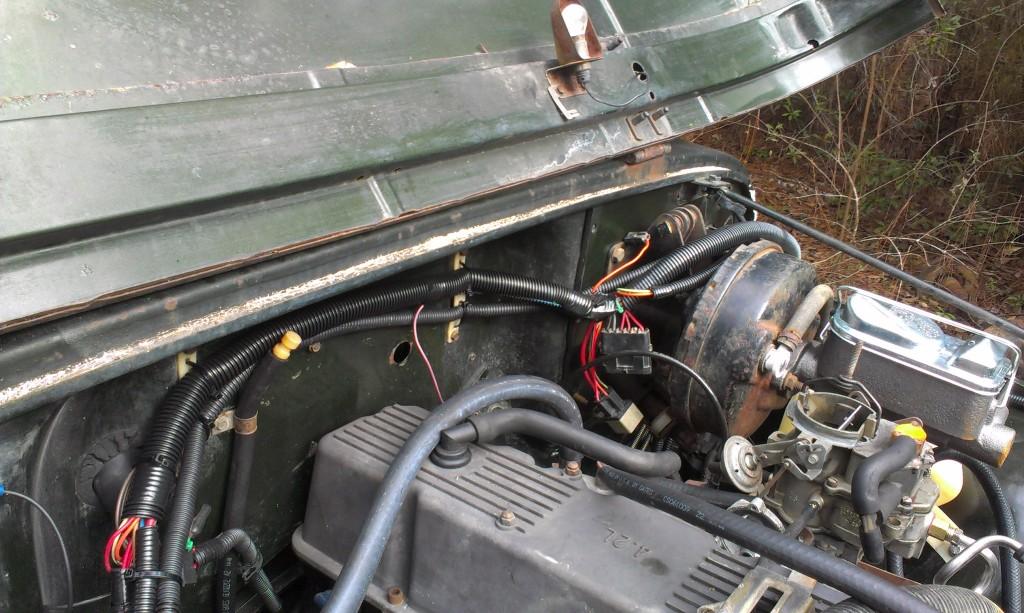
I also spent some time under the hood cleaning up all the wiring. Compared to the previous owners wiring job, I think it looks much better/cleaner/organized/safer.

IMAG01151-1.jpg


IMAG01161-1.jpg


IMAG01171-1.jpg


That about sums up my 4-day weekend progress. The last big task is hooking up the flexible brake lines and bleeding the system. I also have quite a few electrical gremlins to track down, but they are mostly ground/fuse/bulb issues.

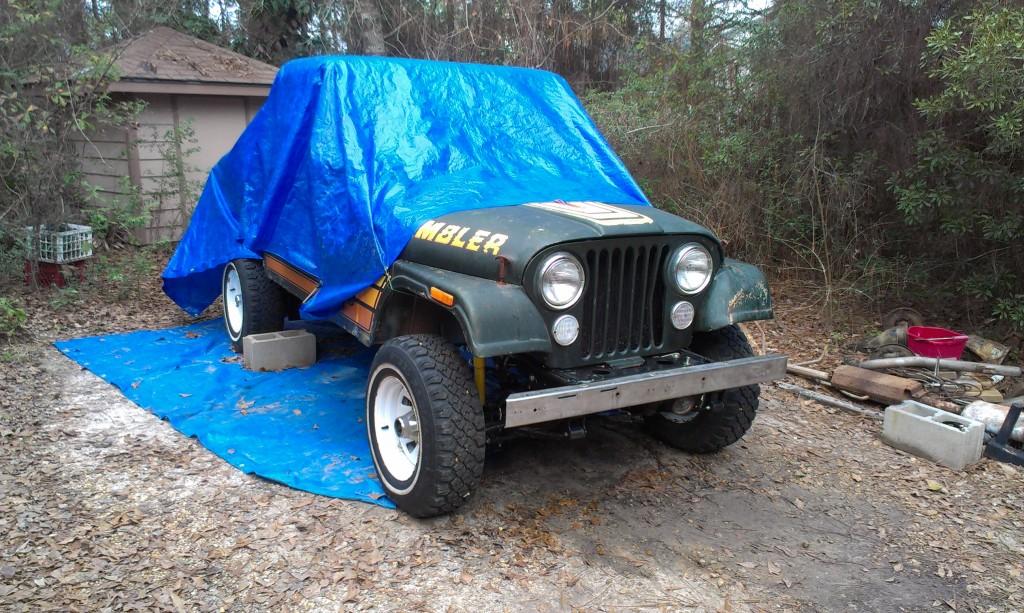
Quick picture of "Yard Scrambler" in it's rain coat.

IMAG01221-1.jpg


That's it for now.
 
And you managed to drop the ball at Times Square and avert the fiscal cliff too:thumbsup:
Just kidding.
Awesome progress as always.
Maybe I need to spend less time reading about your work and more time working on mine and it will start shaping up.
Good Job.
 
And you managed to drop the ball at Times Square and avert the fiscal cliff too:thumbsup:
Just kidding.
Awesome progress as always.
Maybe I need to spend less time reading about your work and more time working on mine and it will start shaping up.
Good Job.

Appreciate it:cheers:

Yep, I got a bunch of multitasking done this weekend:rotfl::rotfl:

Now that it feels like it is a "complete" Scrambler, the remaining progress/motivation should come easier. That, and I want to start messing with my tan '84:D
 
Will Texas parted out CA serpentine belt 84 CJ-7.

He may still have PS pump set-up.


Appreciate the heads up:thumbsup:

I believe have all the brackets/pieces. They came with the engine. JeepAddict has the correct pulley, he just needs to get it to me:banghead:

I found a few images on the Internet that confirmed my PS pump bracket assembly. Surprisingly, the FSM only mentions the serpentine belt set up, there are no pictures of the brackets at all. I flipped through every page, nothing showing the brackets:eek:

I even went to the local Jeep dealer and tried to look up the serpentine brackets on the microfilm. All I found were pictures of the V belt set up, with part numbers for the serpentine drive parts, but no images:(

But, it is all together now, everything lines up perfect, all the components are secure, and when you loosen the adjustment bolts, the pump pivots for adjustment. I am about 99% confident I have it right, but the next time I go by JeepAddict's place, I will take some pictures of some of his factory serpentine drive set ups to appease myself:thumbsup:

Besides the water in the PS fluid, I think the slightly over size Chevy truck pulley is causing my slight PS sluggishness. The factory CJ belt was too short to clear this pulley. I believe the CJ pulley is about 1" smaller, which should speed up the PS pump's RPM's:shrug:

On the CJ's, I really don't see any advantage with the serpentine drive:shrug: Since there is no belt tensioner, you still have to adjust belt tension like a V-belt set up. And, if you break the serpentine belt, you are dead in the water.
 
This weekends progress sucked. It was a rain out Sunday, and most of the work I did Saturday was ruined.

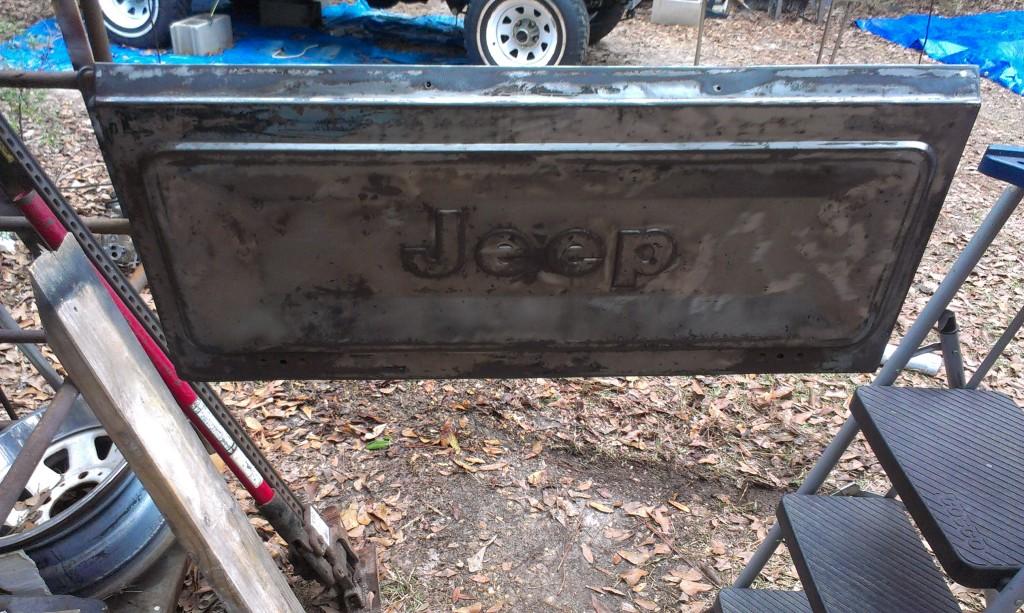
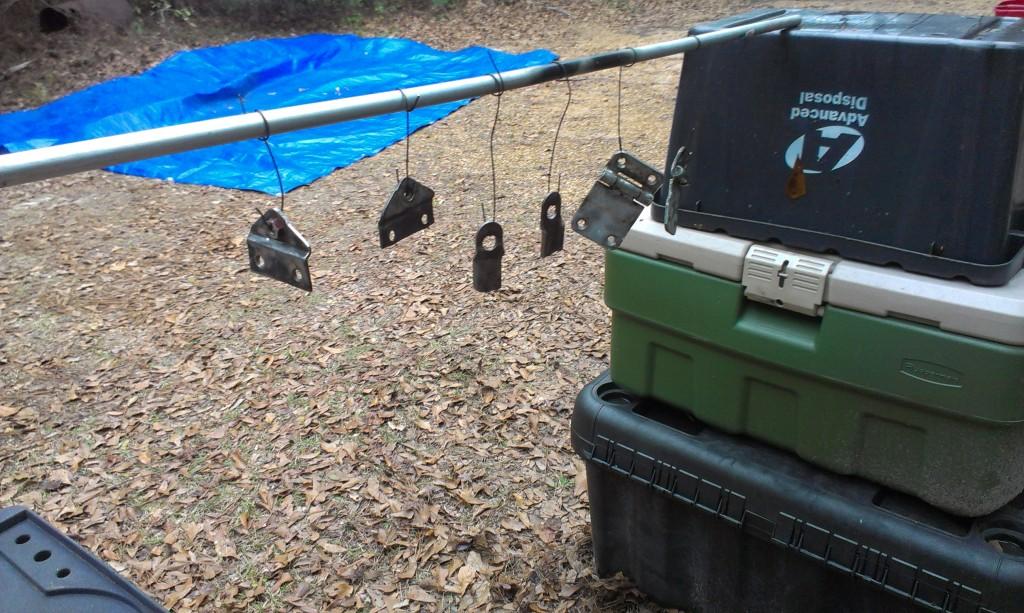
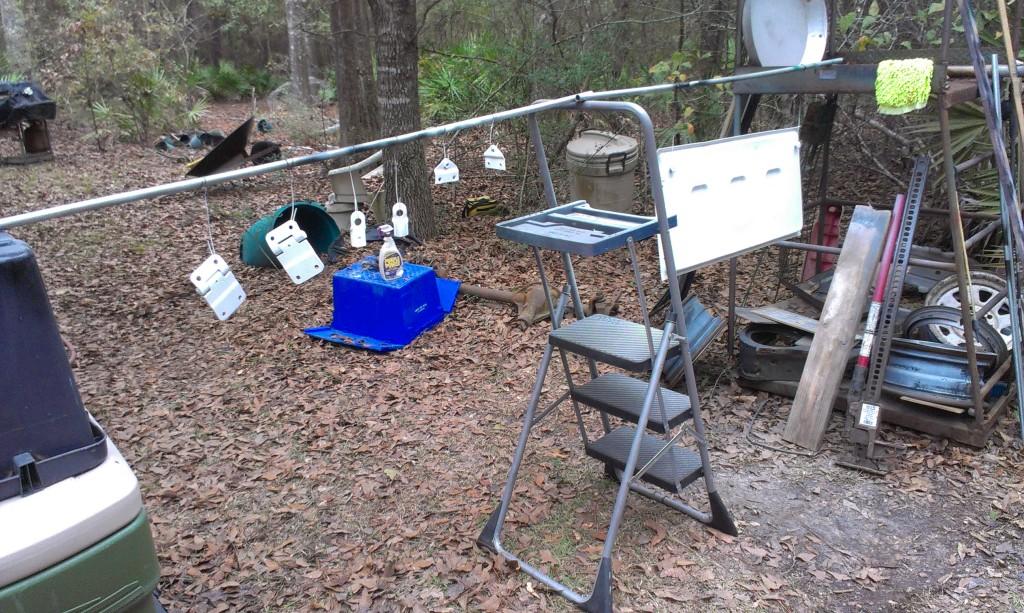
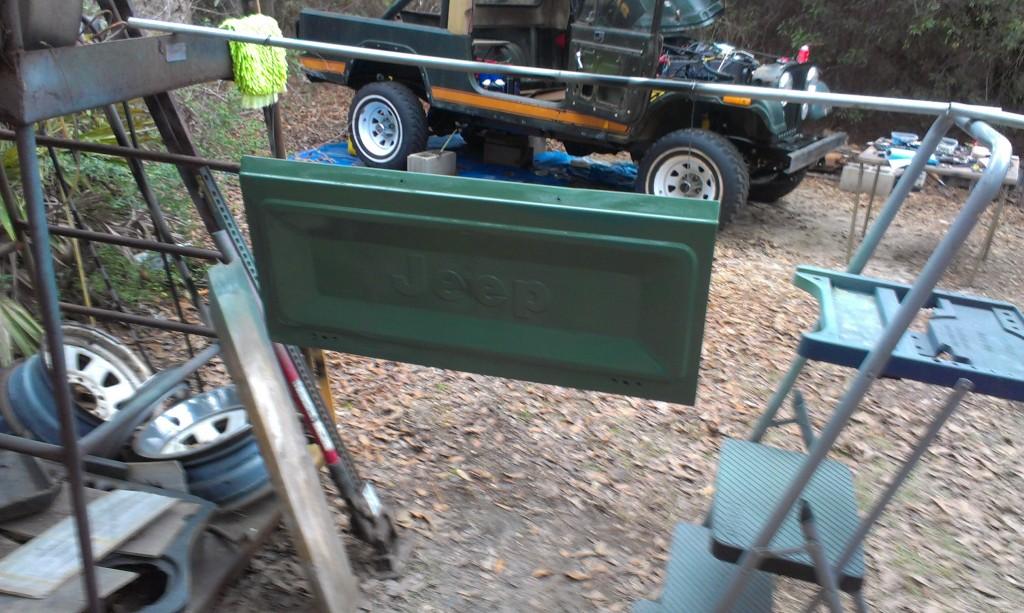
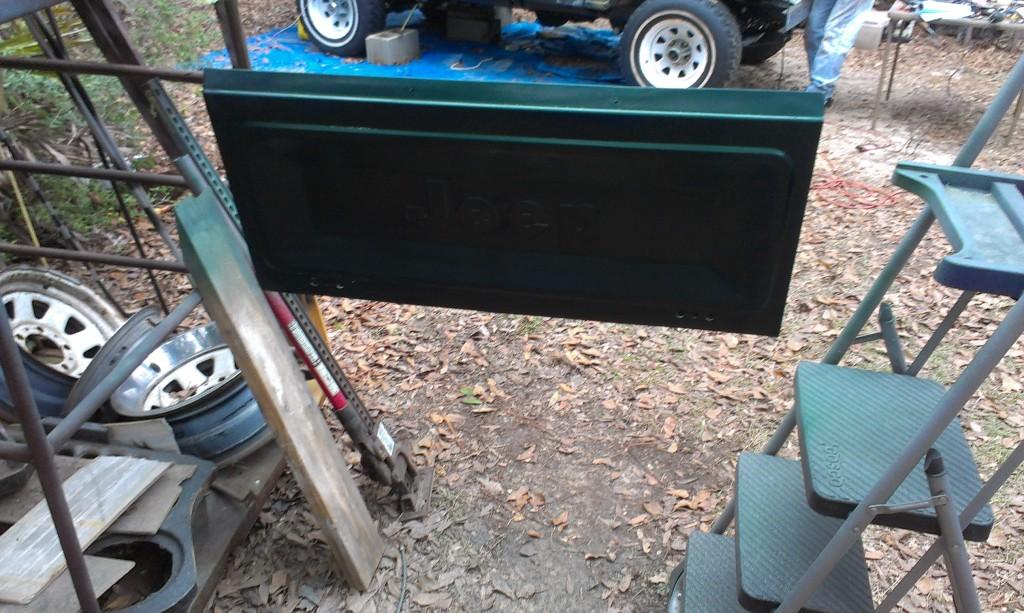
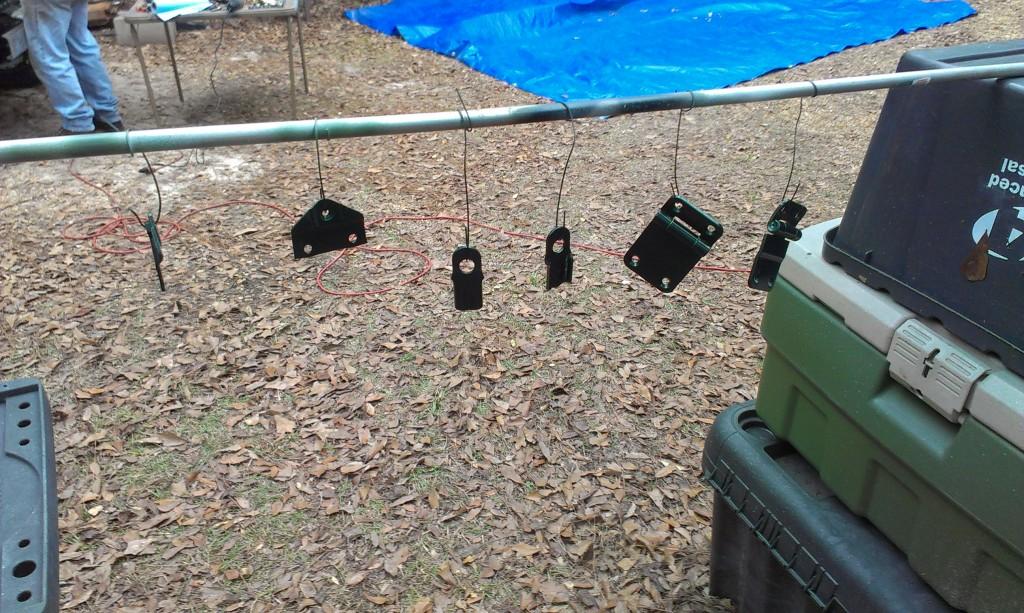
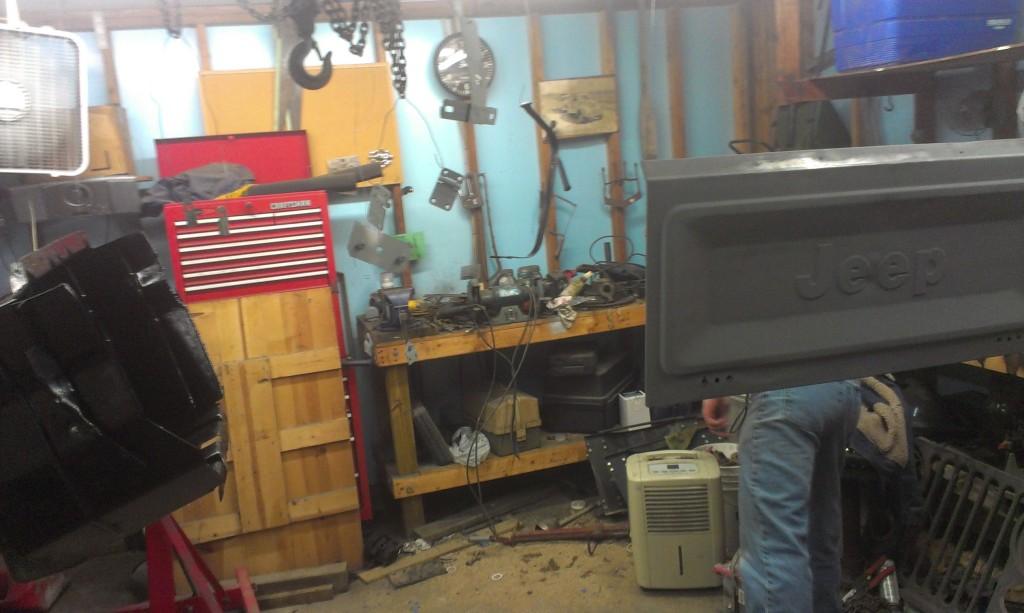
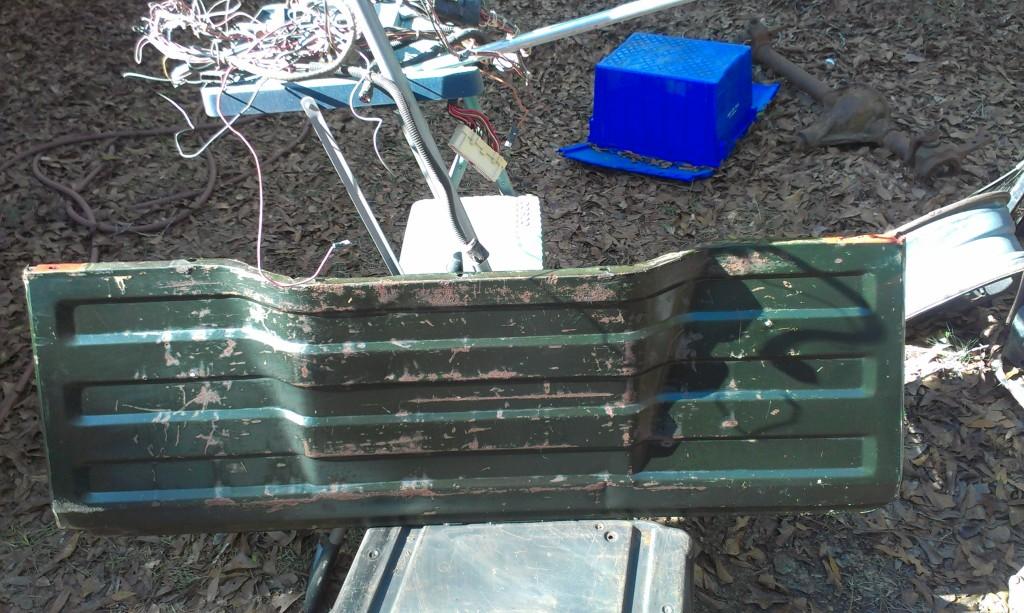
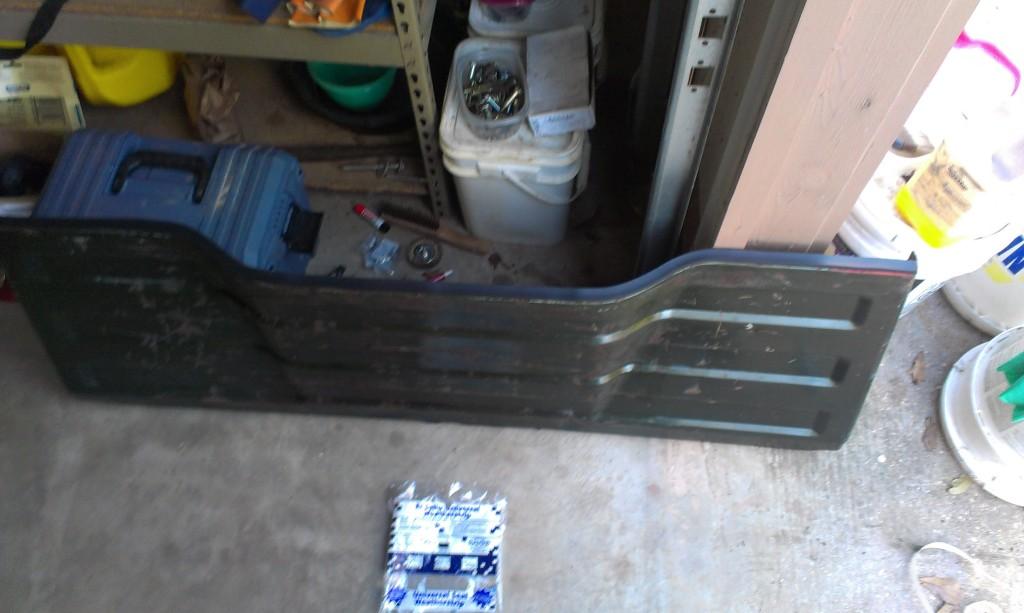
Decided to prep/prime/paint the last of the "Yard Scrambler" parts, the tailgate and associated hardware.

Ready for paint.

IMAG0143-1.jpg


IMAG0144-1.jpg


Primed.

IMAG0145-1.jpg


First Coat.

IMAG0146-1.jpg


Color Coat.

IMAG0148-1.jpg


IMAG0149-1.jpg


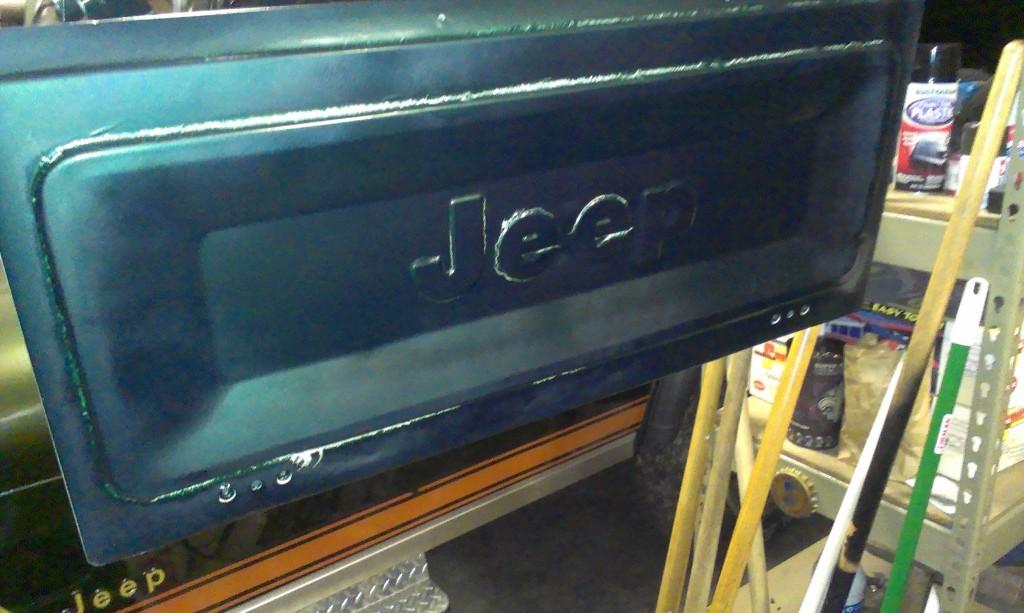
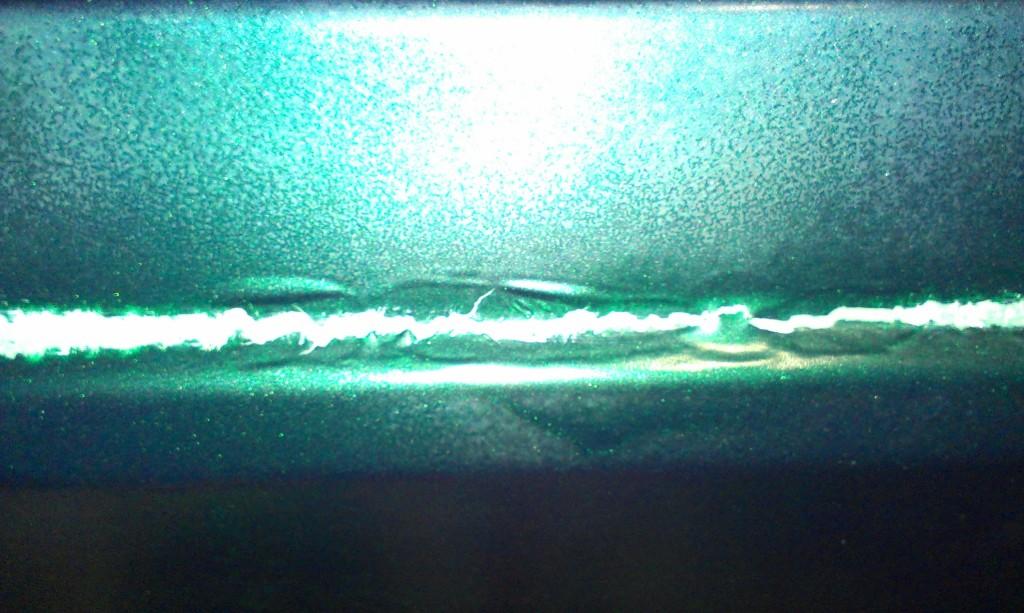
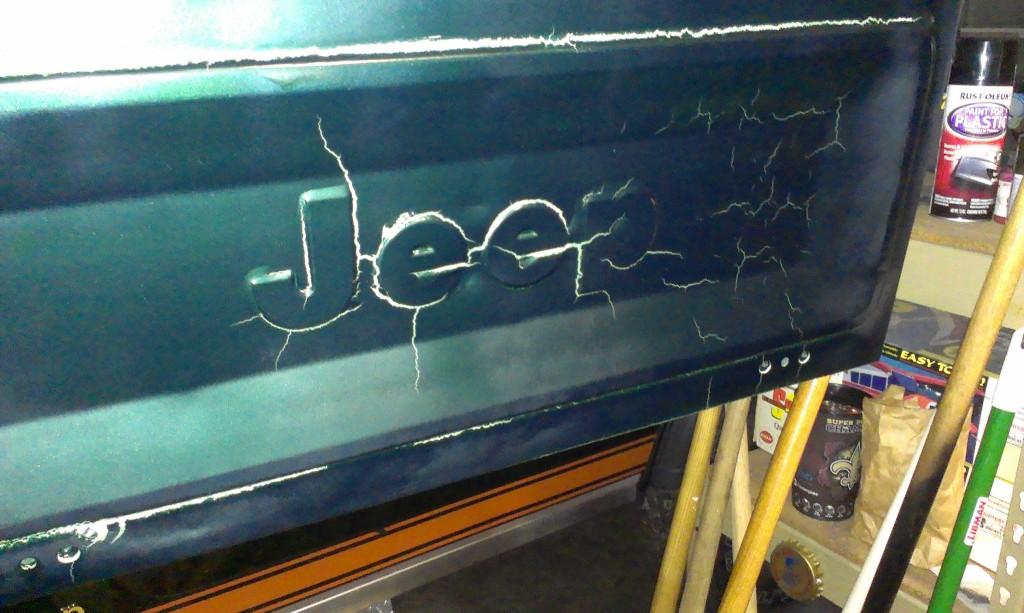
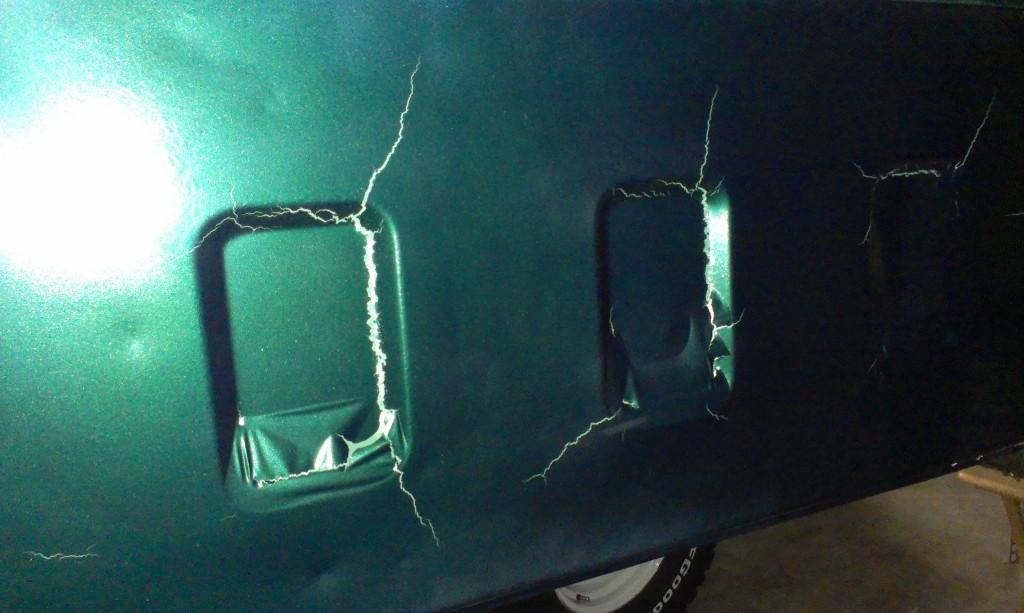
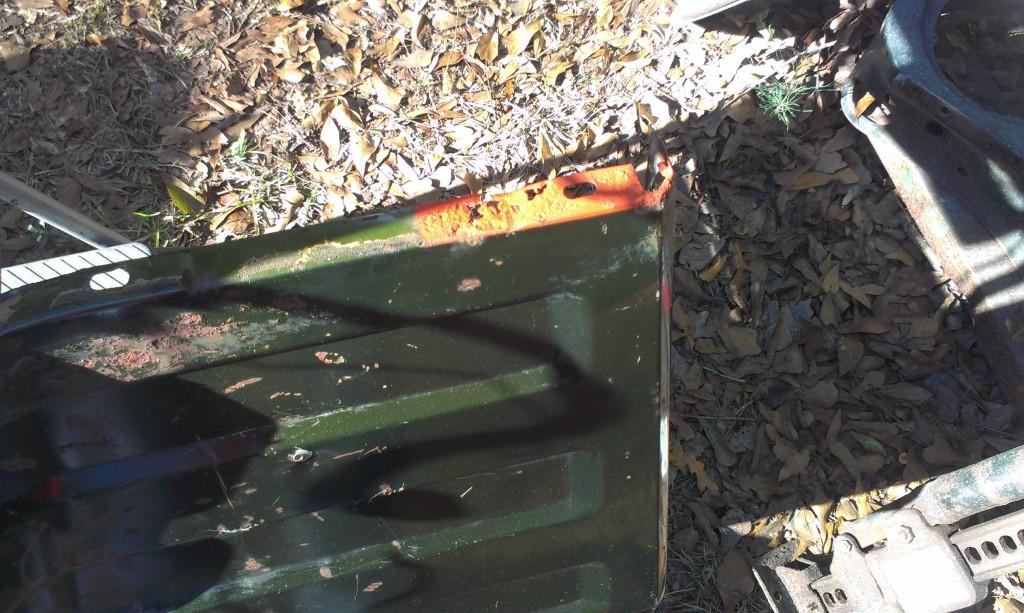
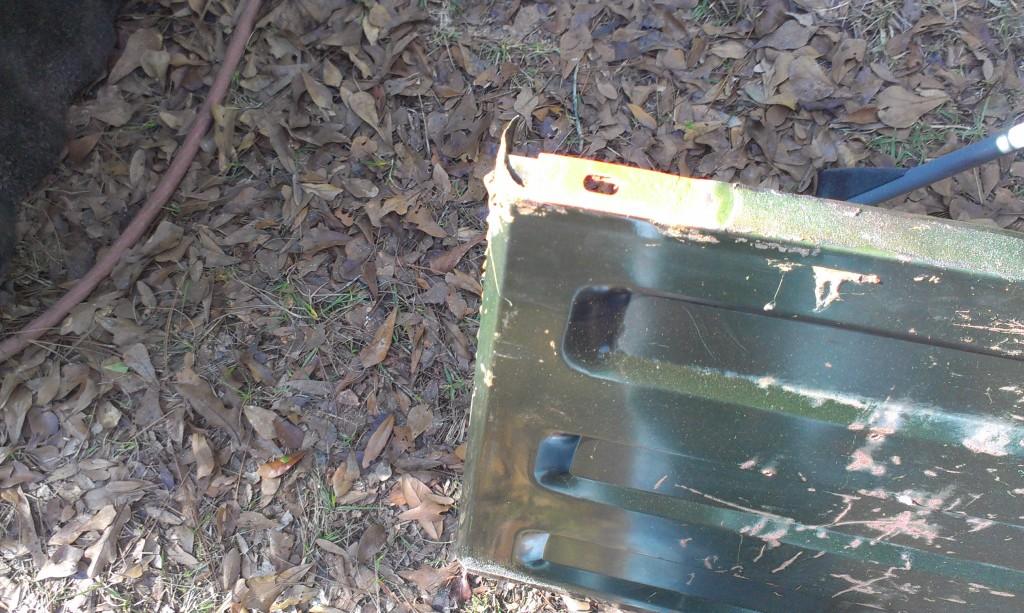
Something happened to the two paint coats. Not sure if it was the weather, about 50 degrees and damp, or a paint incompatibility problem (didn't have this issue with the dash), or not letting the first paint coat "out gas" enough before second coat, but this is what happened.

IMAG0150-1.jpg


IMAG0151-1.jpg


IMAG0152-1.jpg


IMAG0153-1.jpg


The primer coat stuck down, but the paint coats are lifting and shrinking. I will have to sand it all down and repaint it all. I wasn't too happy with the color, so, oh well.

On the brake front, I managed to destroy the driver side rear line. So, I had to buy a short piece of new brake line. This one line will not match the other stainless lines, but will function fine. Also on the brake front, I just realized the rear line I got for free does not have the T-block/distribution block on the end, so it is useless. But, I ordered a rear rubber brake line for a "1980 2wd Dodge Ramcharger", supposedly the same fittings as a CJ, only longer rubber line. I can't use stock lines due to the small lift.

Me and my buddy Chuck did get most of the electrical gremlins tracked down/fixed. The following items work on "Yard Scrambler" now:

1) Headlights -hi, low, and hi beam indicator on speedo
2) All running lights
3) All turn signals, including speedo arrows
4) Brake lights
5) Wipers - hi, low, and intermittent
6) Blower motor

The flashers probably work, just need to put in the column mounted knob. The inside "courtesy lights work", but I have no dash lights. I believe the original headlight switch is funked up, I will remove and clean it to see if that fixes that issue.

I do not have any gauges working, but I believe that is a fuse issue. Turns out I did need the "purple wire under the hood", it goes to the oil pressure sending unit.

So, basically, I still need to do the following to get this thing driving:

1) flush out PS
2) bleed brakes
3) gauges would be nice
4) gas tank

I got the tag Friday, and put it on insurance today. Depending on the weather, hopefully driving it sometime this weekend.

That's it for now.
 
Small update.

I had a little bit of "Aircraft Paint Stripper" left, used it up on the tailgate and associated parts.

IMAG0168-1.jpg


IMAG0169-1.jpg


After about a 1/2 hour of rinsing, and scrubbing with Purple Power and a 3M paint stripper pad, got about 90% of the old paint off.

IMAG0170-1.jpg


IMAG0171-1.jpg


IMAG0172-1.jpg


I was just going to lightly sand the existing paint and re-coat on top, but the existing paint kept on deteriorating. Figured it would be best to start over.


And a quick picture of "Winnie the Poo", and his evil twin, "Winnie the Pee", guarding over some parts I stole from JeepAddict/Tommy.

IMAG0173-1.jpg


Two seats, bulkhead, dash pad, PS pulley, 20 gallon tank/skid, and a bunch of small misc stuff.

That's it for now.
 
I was able to work on Yard Scrambler a little bit this weekend. But, it seems the closer I get to finishing this thing, the more problems I run across. I think "Yard Scrambler" is cursed, that and all the stuff I got from jeepaddict is not "bolt on" ready to go, they are their own little "projects".

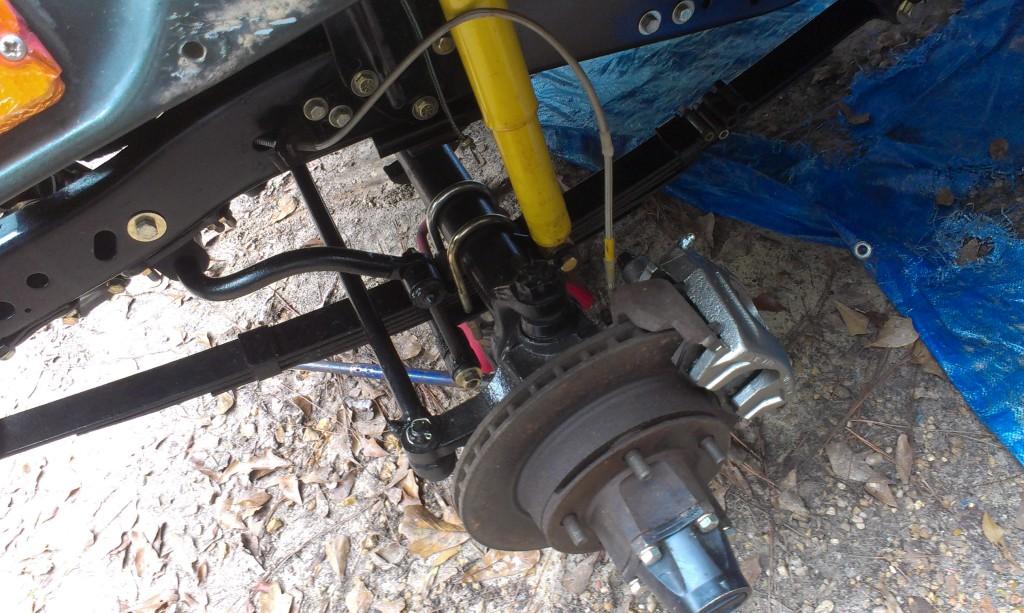
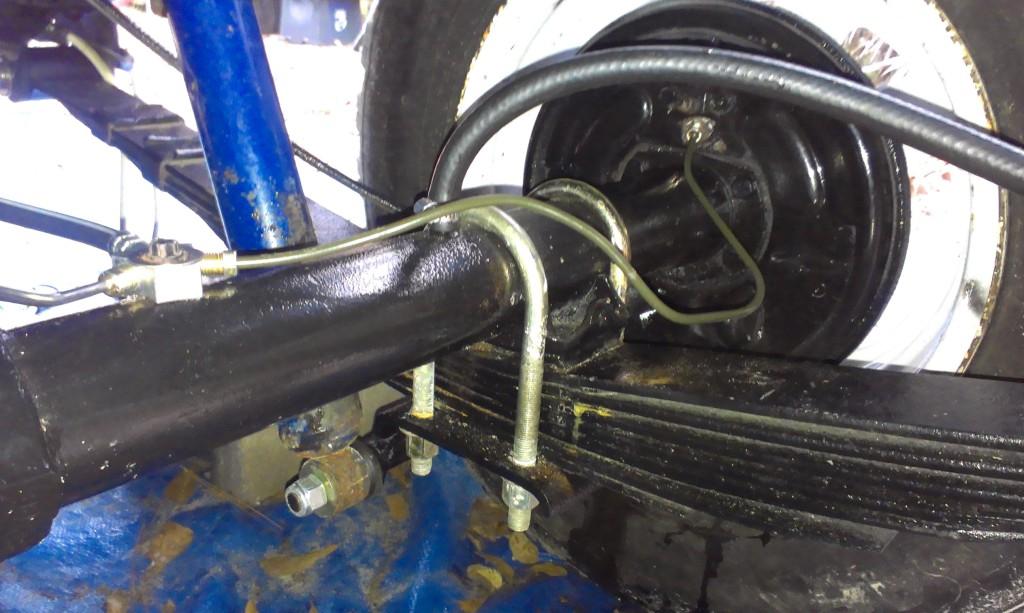
Finished hooking up the rear brake lines. I initially used the stainless passenger side rear line.

IMAG0175-1.jpg


Picture showing the rubber drop line. I used one for a 1980 Dodge Ramcharger 2wd. Works perfectly, and is longer then stock. The hole for the retaining bolt is a little too big, but a washer took care of that problem. Or, you can drill and tap the axle housing for a 3/8 bolt, or use a sleeve around the smaller bolt.

IMAG0176-1.jpg


Picture does not show it good, but Vice Grips and brake line ends don't play nice together.

IMAG0177-1.jpg


I was so happy to get the rear brake lines finished, I moved to the front. I guess the corrosion of the old calipers, coupled to the corrosion/age of the banjo bolts, plus "double wrenching", caused this:

IMAG0178-1.jpg


Yep, snapped the head off that MoFo. Good thing I had three, no one keeps these things in stock. After that, I punted, bought two new calipers. I should have done this anyway, they only cost $17.00, for both.

And the front finished up.

IMAG0179-1.jpg


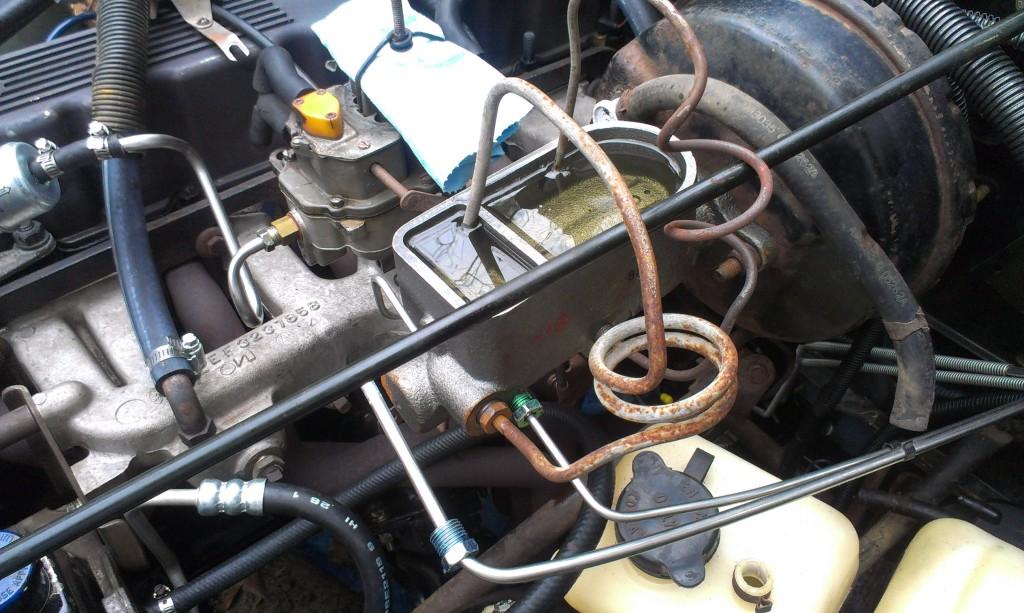
I cut up the old brake lines and used them to help me bleed the master cylinder. Look at the nice clean fluid.

IMAG0180-1.jpg


After bleeding the master cylinder, I hooked up the lines. And of course, Vice Grip modified rear line leaked like a stuck pig. So, another trip to the parts store, and a home made line. Not as "pretty" as the stainless one, but it works, and doesn't leak.

IMAG0181-1.jpg


I gravity bled the brakes, still need to do the old "pump-pump bleed", though. I am happy the damn thing quit leaking.

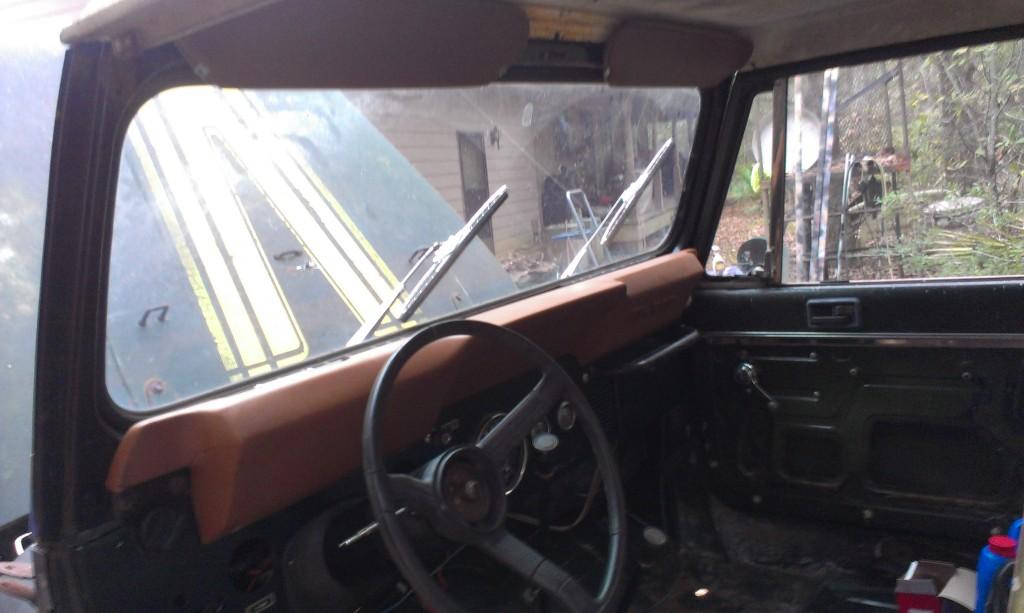
In between cursing, and driving all over the place for parts, I did a few simple things. Installed the dash pad and sun visors.

IMAG0182-1.jpg


I also did some other simple stuff, not really picture worthy: installed windshield wipers, got the dash light working, repaired front turn signal pigtail, cleaned bulkhead, installed coolant bottle cap, and some other mundane stuff.

The last thing I did:

IMAG0183-1.jpg


It "feels" like a "real" Jeep/Scrambler now. It felt weird to sit behind the wheel after almost two years.

Anyway, the last hurdles"

1) Bleed brakes
2) Flush power steering
3) Change PS pulley
4) Install gas tank (ordered valves/filter, need to prep/paint skid plate)
5) Paint/Install tailgate stuff
6) Install rear bumper
7) Fix gauges
8) Install bulkhead/seatbelts/top.

A bunch of smaller stuff, but that's the big stuff.

That's it for now.
 
Decided to freeze my butt off last night and prep the last, hopefully, parts for paint.

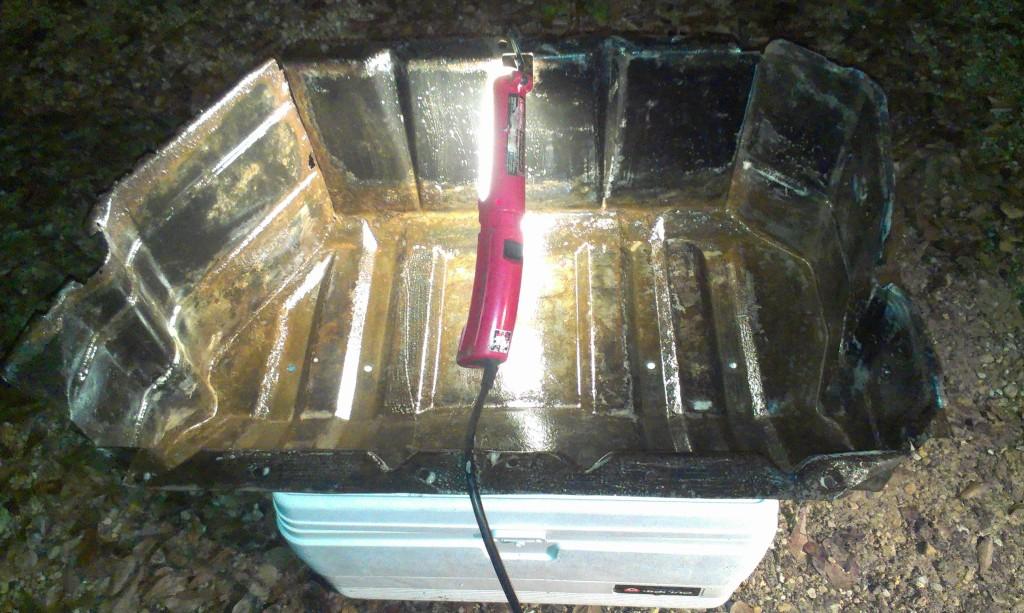
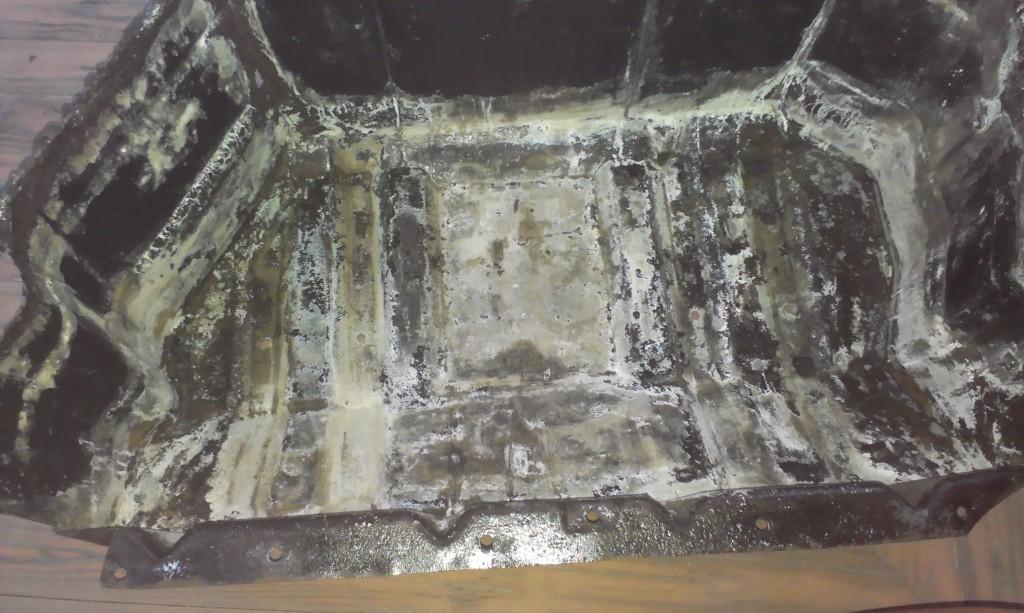
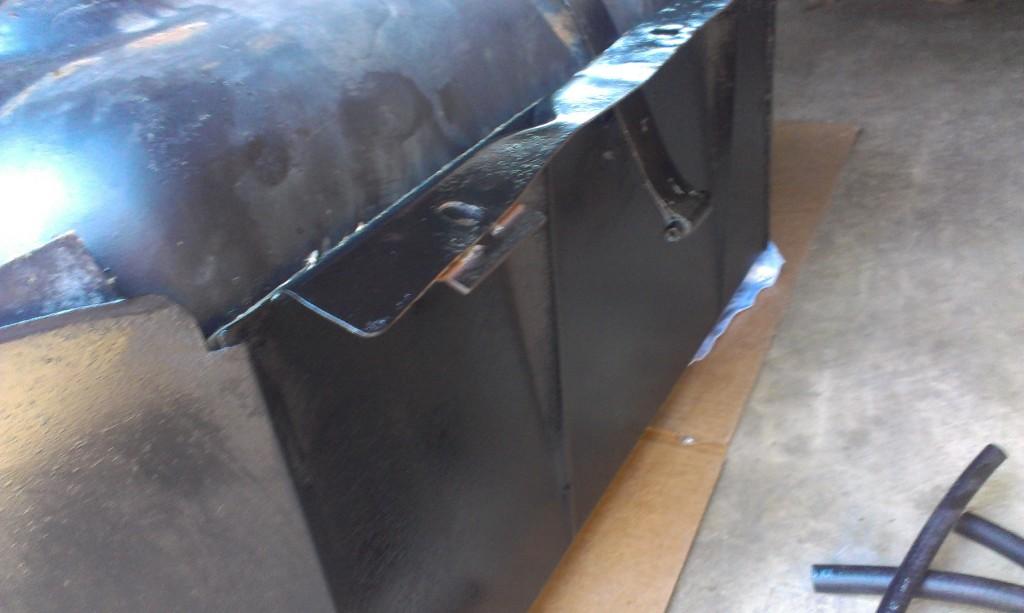
The gas tank skid plate was fairly rusty. It is still solid, but it still took a couple of hours to prep. I wire wheeled most of the rust out, then applied some acid. I will wipe it down good today, hopefully paint tonight.

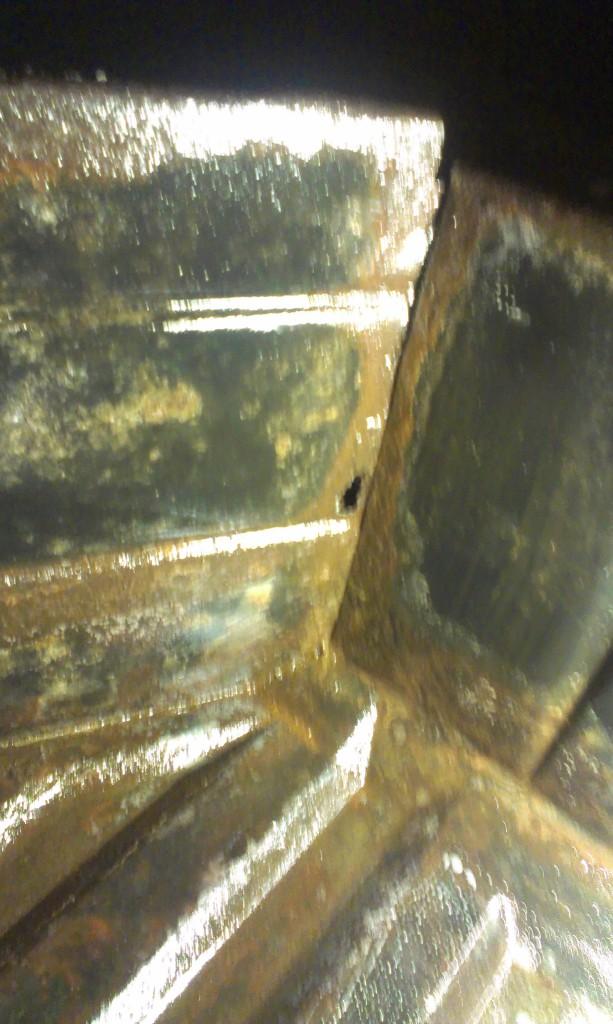
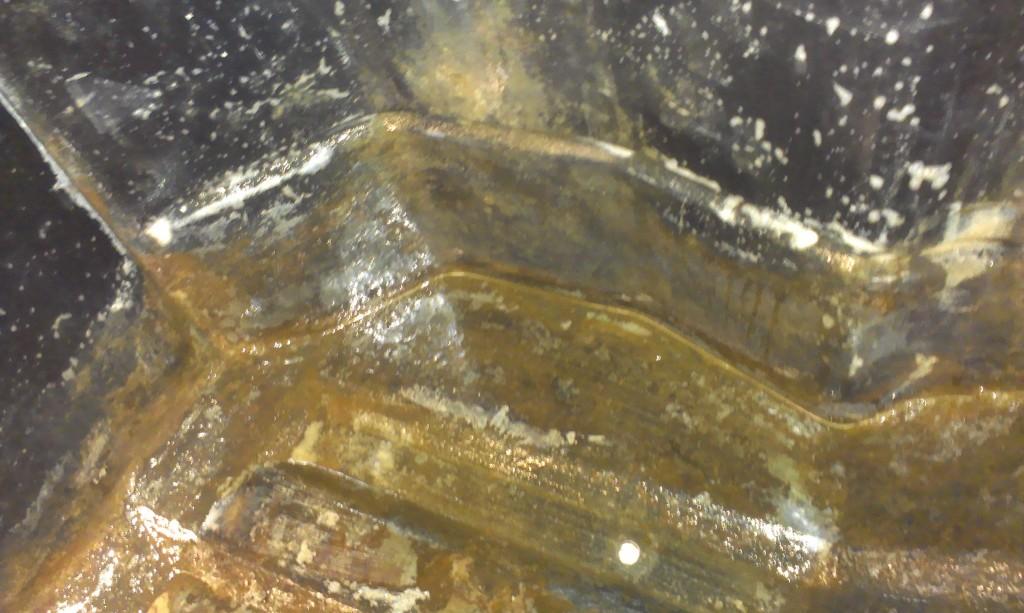
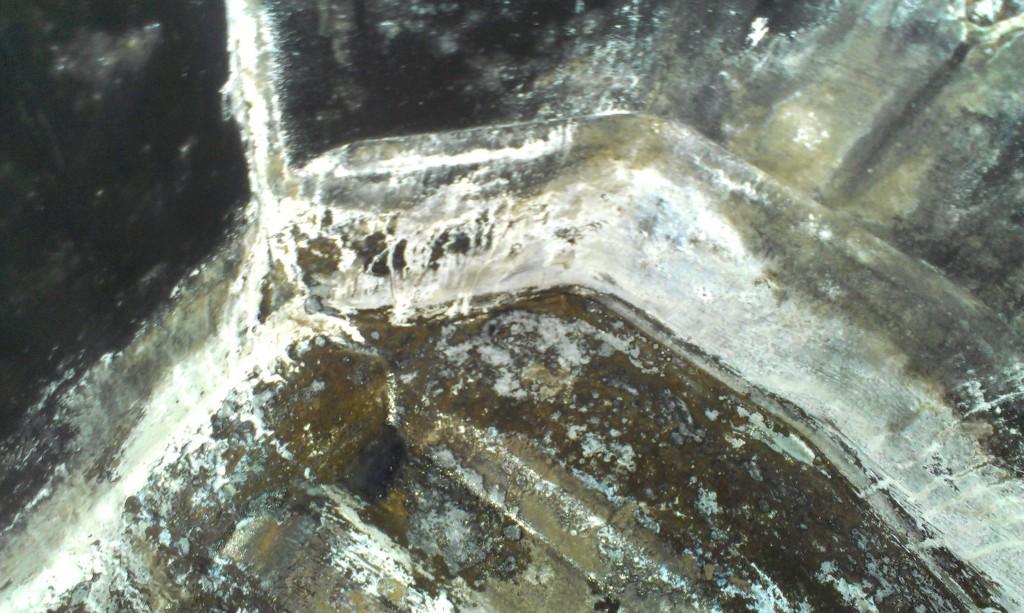
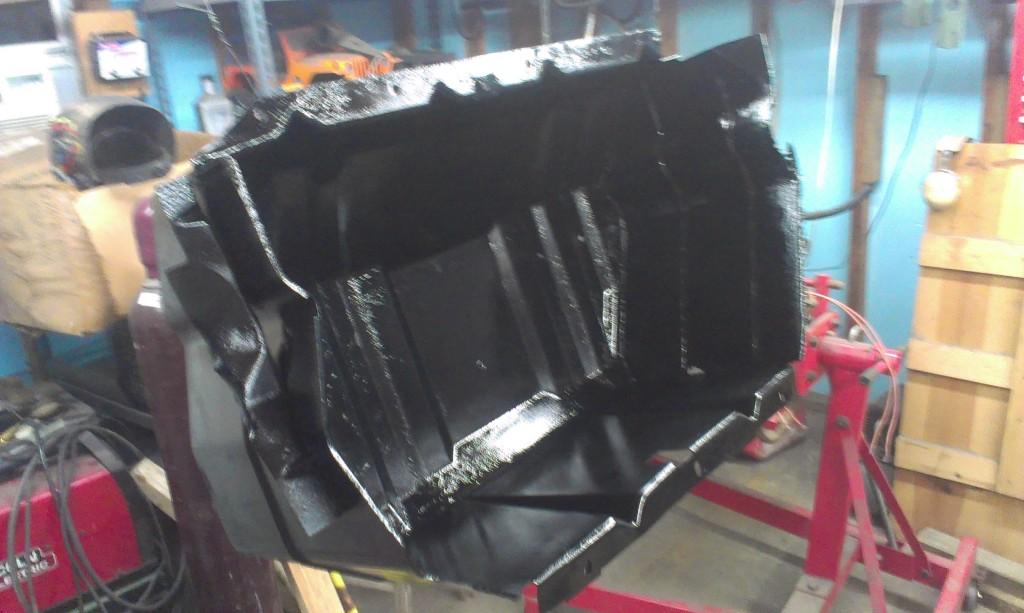
Pictures of the skid plate with the acid on it. The seams had corrosion in them, and besides blasting, the acid was the only way to get into these crevices. This skid plate is a "little rough around the edges", with a few extra holes, but this should hopefully help preserve it, until it gets smashed off road.

IMAG0184-1.jpg


IMAG0185-1.jpg


IMAG0186-1.jpg


What it looks like now. A quick sanding and a wipe down, it will be ready for paint.

IMAG0188-1.jpg


IMAG0189-1.jpg


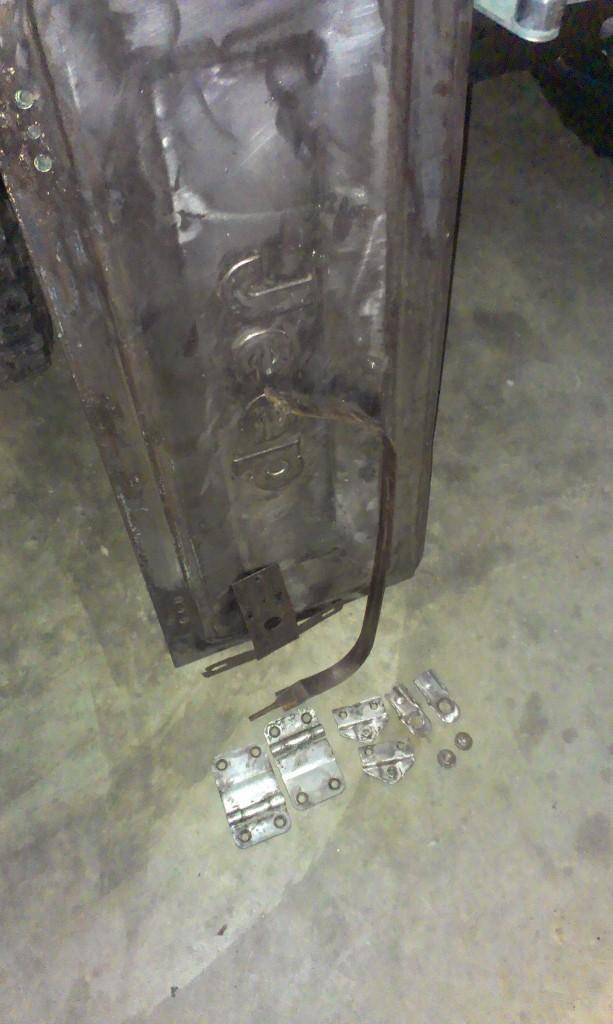
And once again, all the tail gate pieces, gas tank strap, license plate holder, ready for paint.

IMAG0187-1.jpg


Going to try to convert my buddies shop into a heated paint booth tonight so I can paint this stuff. If I can get it painted tonight, I will be able to install this stuff this weekend.

That's it for now.
 
We were able to get my buddies shop warmed up last night with a few propane heaters, so I was able to get the last of the parts painted.

I did not take too many pictures, but here's what I got:

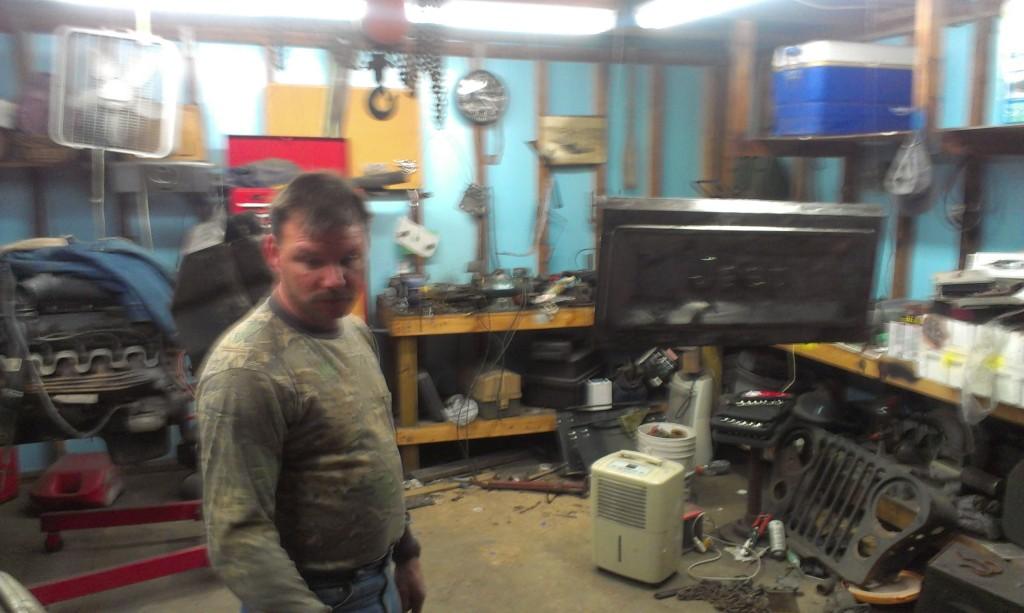
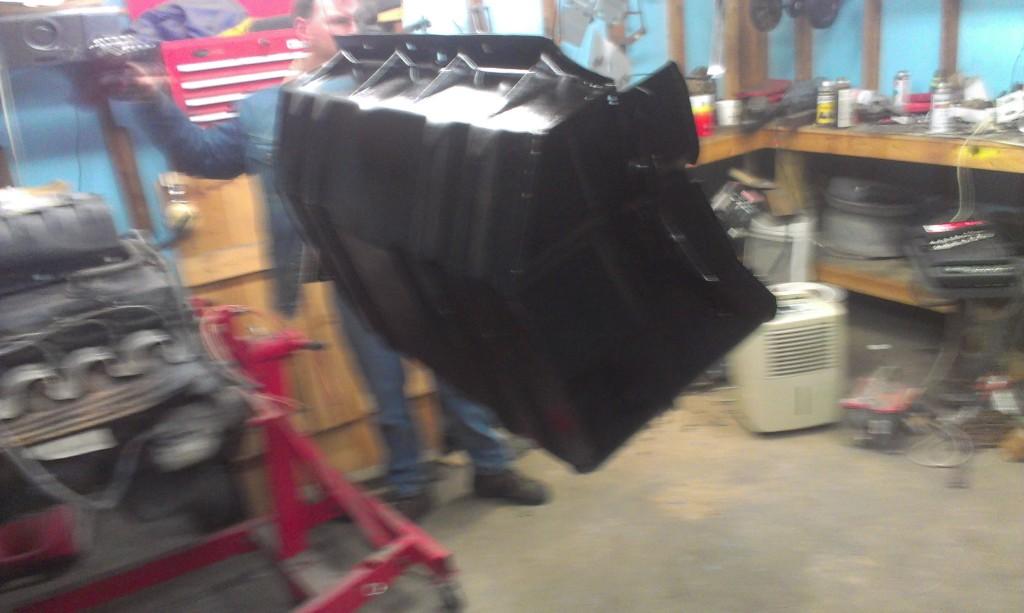
Picture of all the parts hanging from the rafters, my buddy Chuck in the foreground.

IMAG0193-1.jpg


Gas tank skid plate painted, tailgate primed.

IMAG0194-1.jpg


Two pictures of the painted gas tank skid plate, looks much better, and more importantly, no more rust.

IMAG0195-1.jpg


IMAG0196-1.jpg


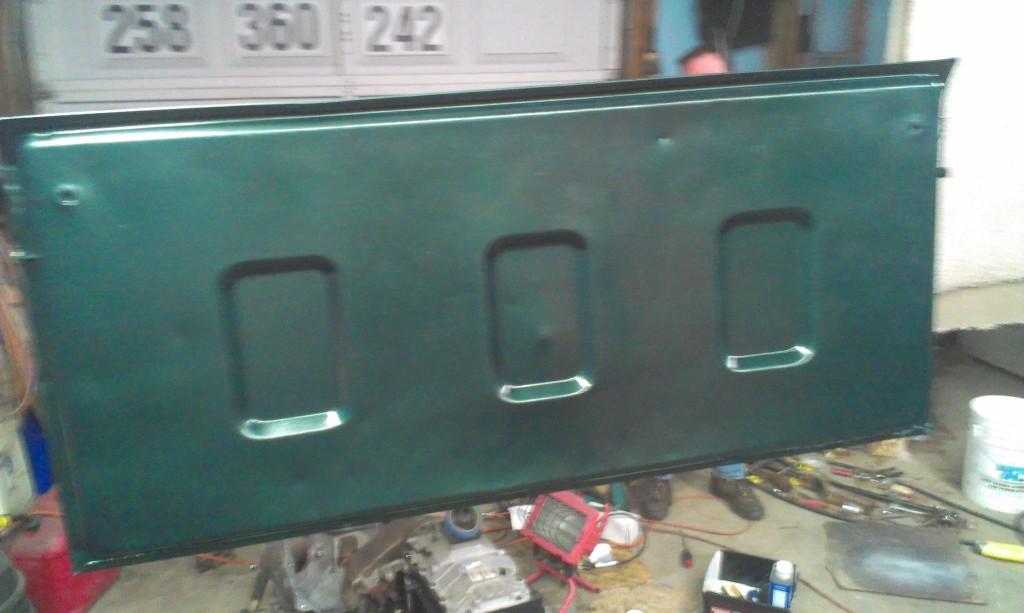
Picture of the painted tailgate, I hope the stupid paint holds this time. Probably not a perfect color match, but better then nothing.

IMAG0198-1.jpg


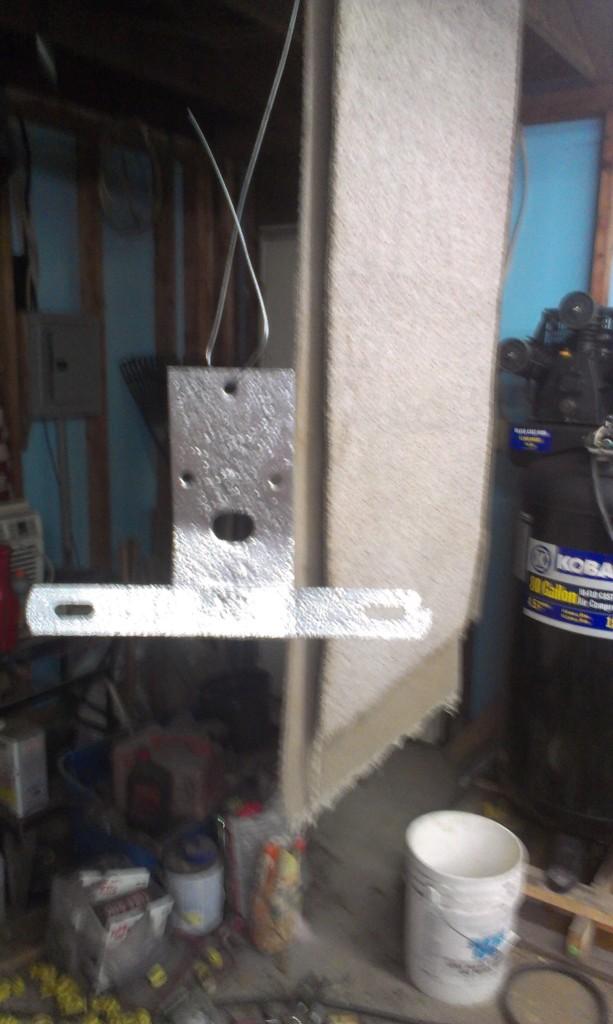
And the license plate holder. JeepAddict gave me this piece, emphasize piece, which judging by the rust/pitting that was present, came from the Titanic:eek: Since this is a "budget build", and since I ran out of black paint and didn't want to buy anymore, and as payback to JeepAddict giving me this rusty piece of crap to work with, we painted it with this God awful super bright faux chrome/silver paint. Almost hit with some purple we found.

IMAG0197-1.jpg


Depending on weather and other commitments, should be able to get the following done this weekend:

1) Bleed brakes
2) Flush power steering
3) Install gas tank and associated parts/hoses
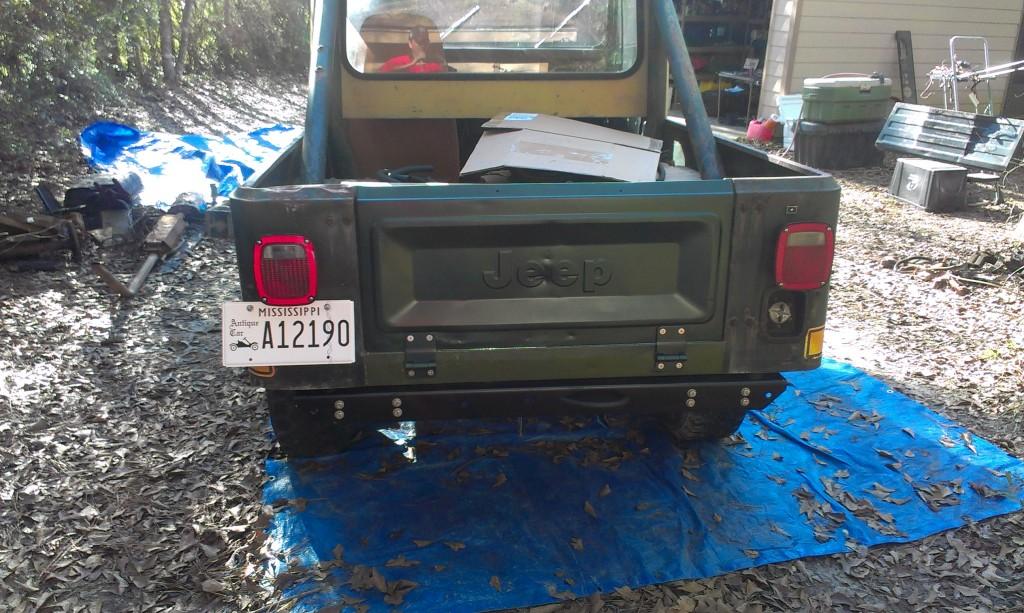
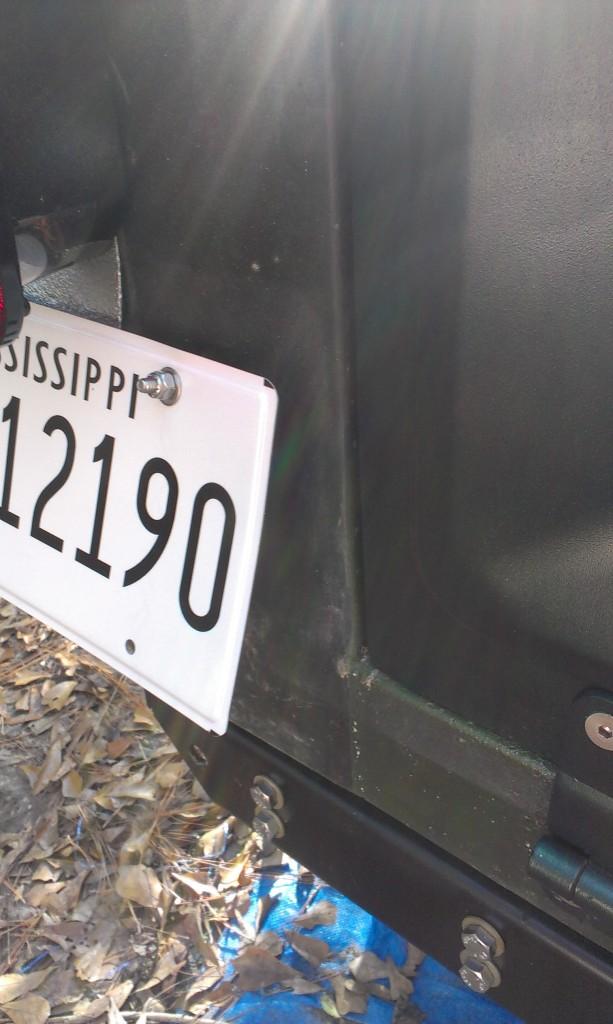
4) Install tailgate/rear bumper/license plate
5) Go drive this piece:headbang:

That's it for now.
 
It was a pretty productive weekend.

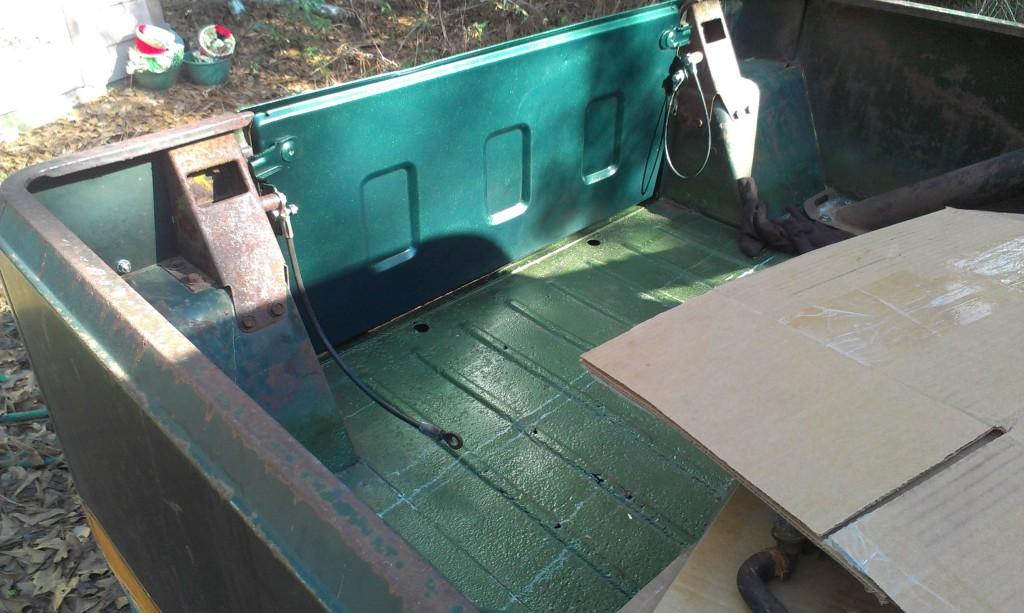
Was able to get the tail gate installed. It matches OK on the outside, looks bad on the inside. Never said I was a paint matching expert, but for "Yard Scrambler", it looks pretty good IMO.

IMAG0199-1.jpg


IMAG0200-1.jpg


IMAG0201-1.jpg


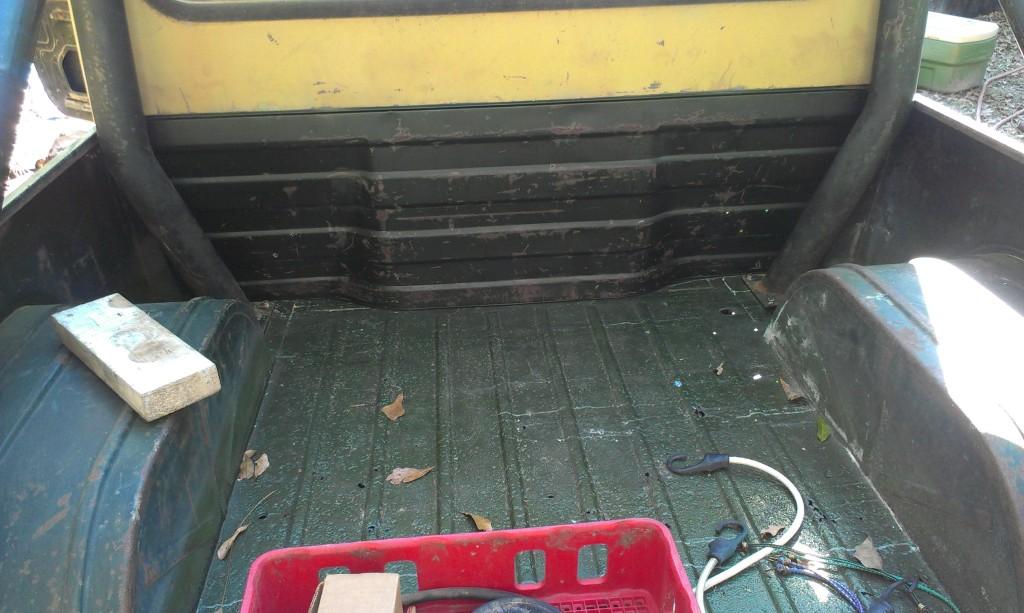
The bulkhead had a little rust on either end. I sanded the rusty spots down and hit them with some primer. This bulkhead is in pretty good shape. Besides the two rusty corner bottoms, it only has a few extra screw holes through it.

IMAG0202-1.jpg


IMAG0203-1.jpg


IMAG0204-1.jpg


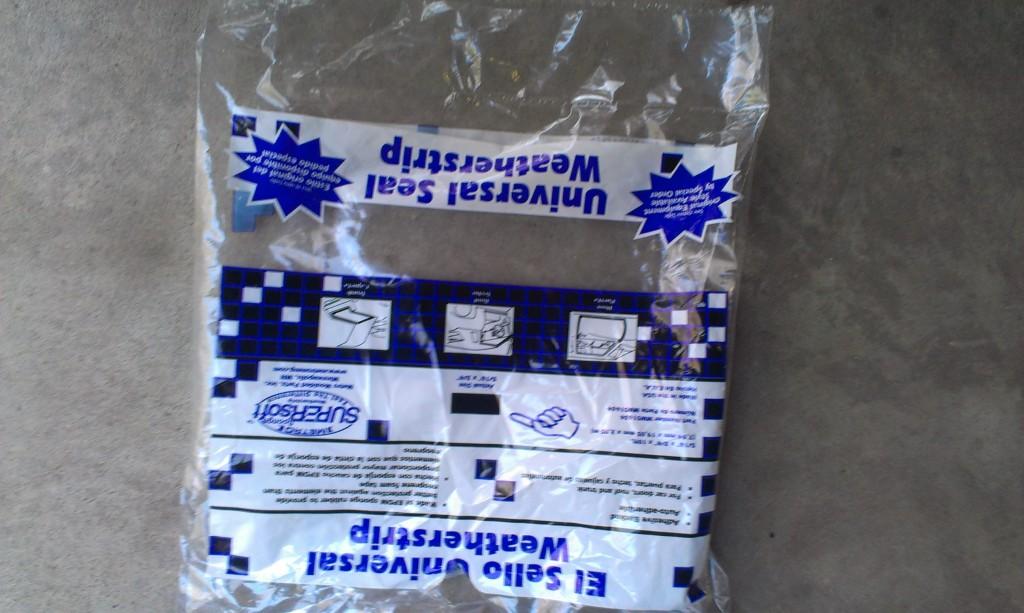
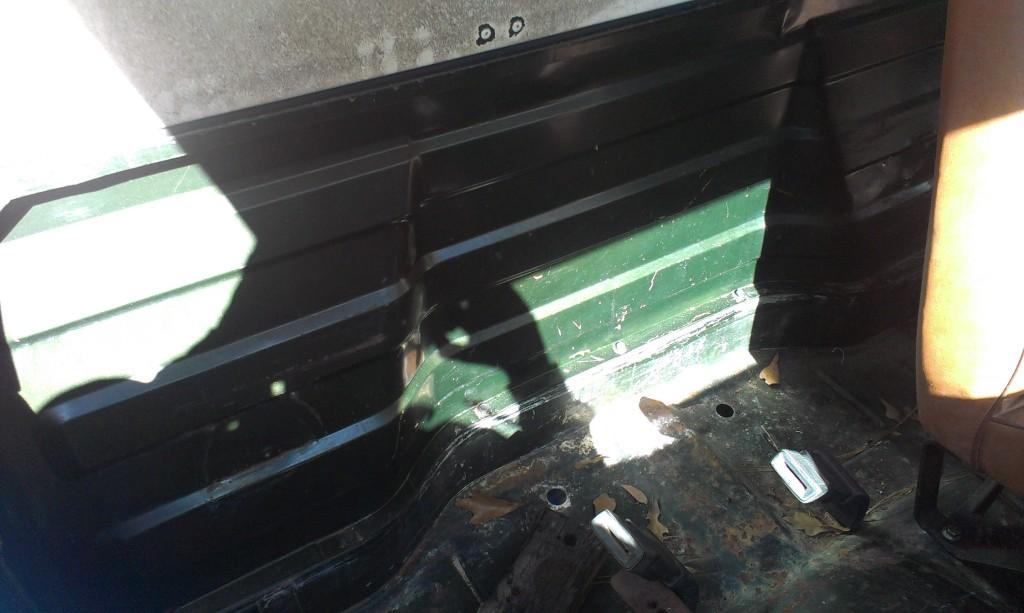
I then installed the bulkhead. I used the pictured weatherstripping along the bottom. I used this same stuff on my red Scrambler. It works OK, but it is not 100% waterproof. To be 100% waterproof, seam sealer/caulk would have to be used. I like the idea of being able to remove the bulkhead easily/cleanly, so this is what I do.

IMAG0208-1.jpg


IMAG0209-1.jpg


IMAG0213-1.jpg


IMAG0214-1.jpg
 
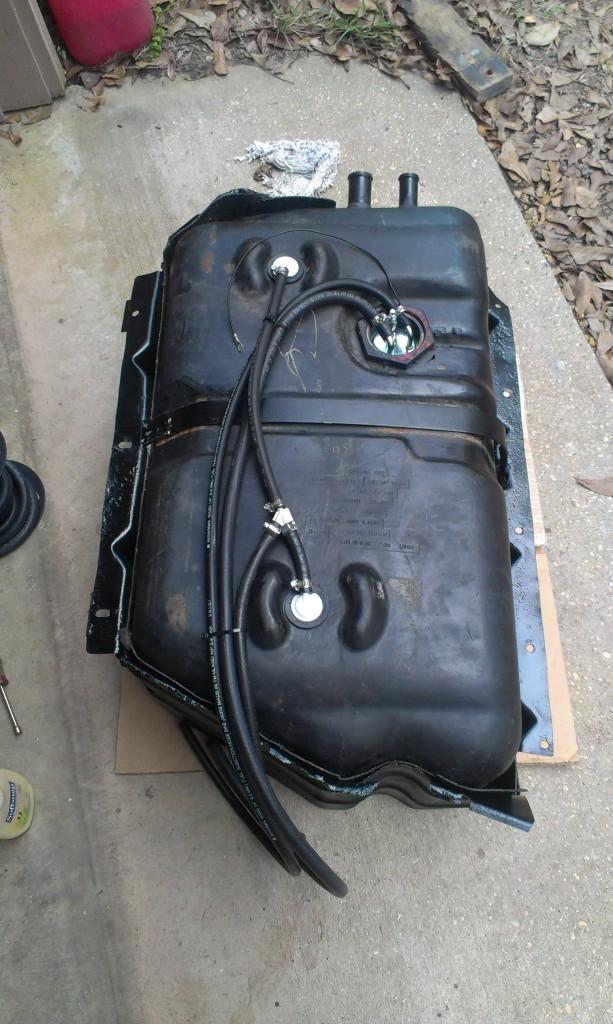
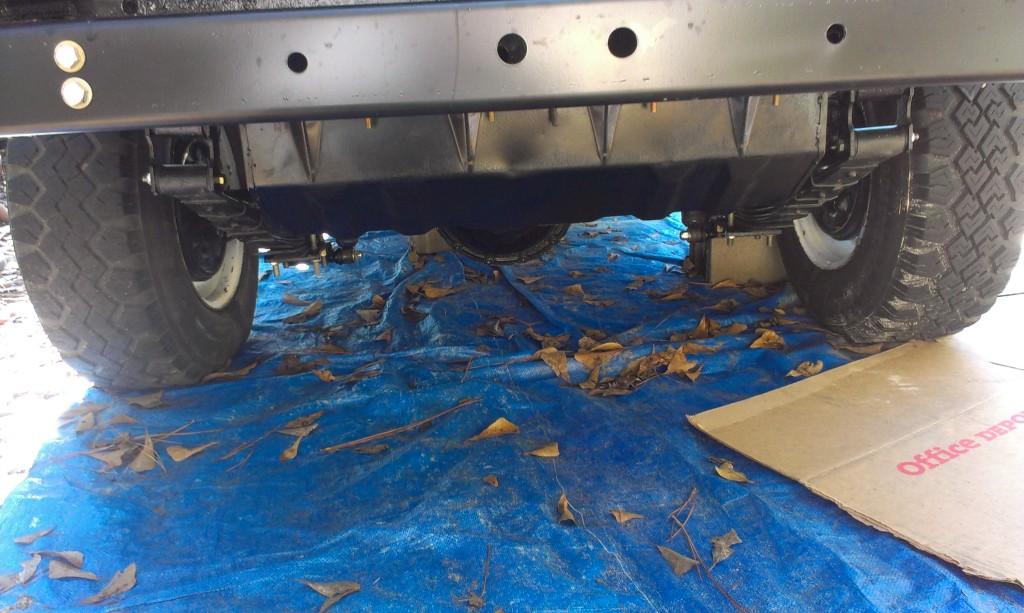
I also got the gas tank installed/hooked up. I have ran into this problem before - the 15 gallon straps are too long to work with the factory 20 gallon tanks.

IMAG0205-1.jpg


I got my buddy Chuck to cut the strap down to shorten it, then weld it back up. Easy fix.

Picture of the tank/skid/vent/various lines assembled.

IMAG0206-1.jpg


And the installed tank. The bolts I used are a little too long, but they do the job.

IMAG0207-1.jpg


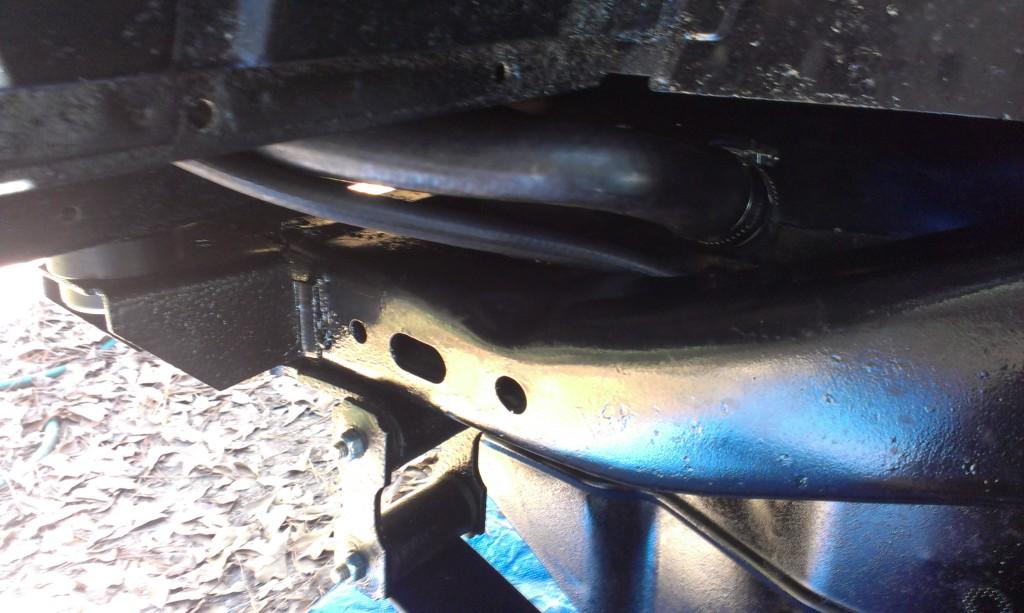
Picture of the fill/vent hose. Used a CJ8 vent hose and a YJ 15 gallon fill hose.

IMAG0210-1.jpg


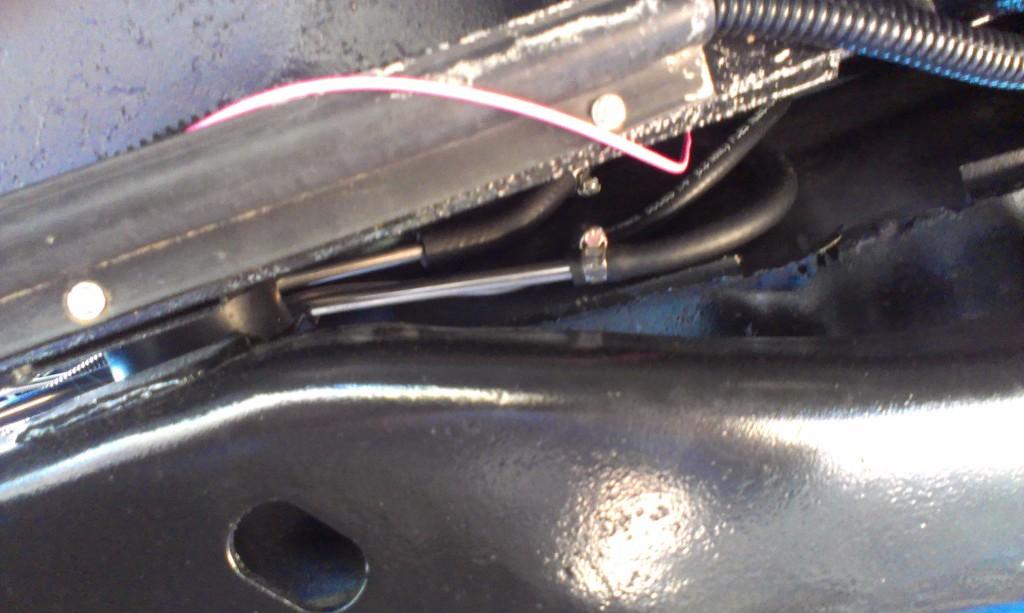
Pretty busy on the other side. I still need to hook up the vent and return line under the hood, but they are hooked up down here.

IMAG0212-1.jpg


We got the brakes bled, thanks again Chuck, and also flushed out the power steering. On the brakes, I still need to hook up the booster to see if it works, but the pedal is firm. On the steering, even after flushing the system with 2 gallons of fluid, there is still water present. I am going to hook up a water separator/filter on the return line to remove the rest of the water. Surprisingly, even with the water, the power steering works.

After all that..................................It moves under its own power again!!!!!!!

IMAG0215-1.jpg


I briefly drove it around the neighborhood, even got it up to 50mph, but the top wasn't bolted down so I wisely brought it back home. It drives pretty well. Once I hook up the brake booster, install the upper seat belt bolts, and get the gauges working, it will be ready for some driving.

Two quick shots of "Yard Scrambler" in a different spot in the yard.

IMAG0216-1.jpg


IMAG0217-1.jpg


Still to do:

1) Swap ps pulley
2) Install upper seat belt bolts
3) Fender flare/rear bumper
4) Fix gauges
5) Install passenger seat
6) Drive

That's it for now.
 
Last edited:
Back
Top