• Notice for iPhone users: DO NOT use the image size reduction option when uploading photos to the forum. This causes portrait images to post as landscape. We have added a warning to the image insert pop-up as well.

Spankrjs' 1984 Long Term Project

Raymond, your threads just make me feel lazy. I look and think "ooh, I need to do that", and instead I buy more parts to put in the shop/not use.

If I ever get around to doing 1/2 the crap I WANT to do, your threads will be worth their weight in gold.
 
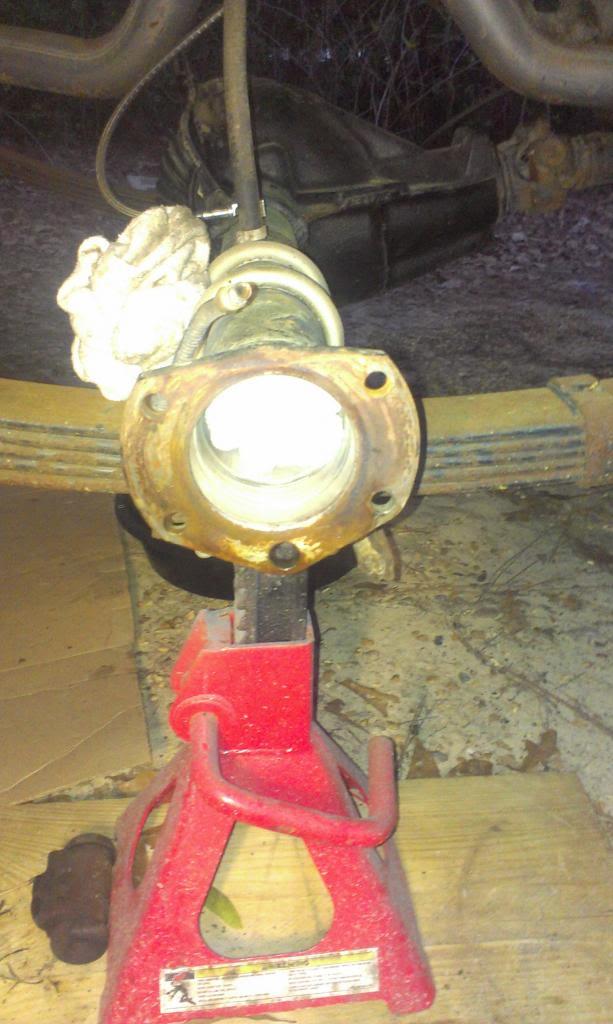
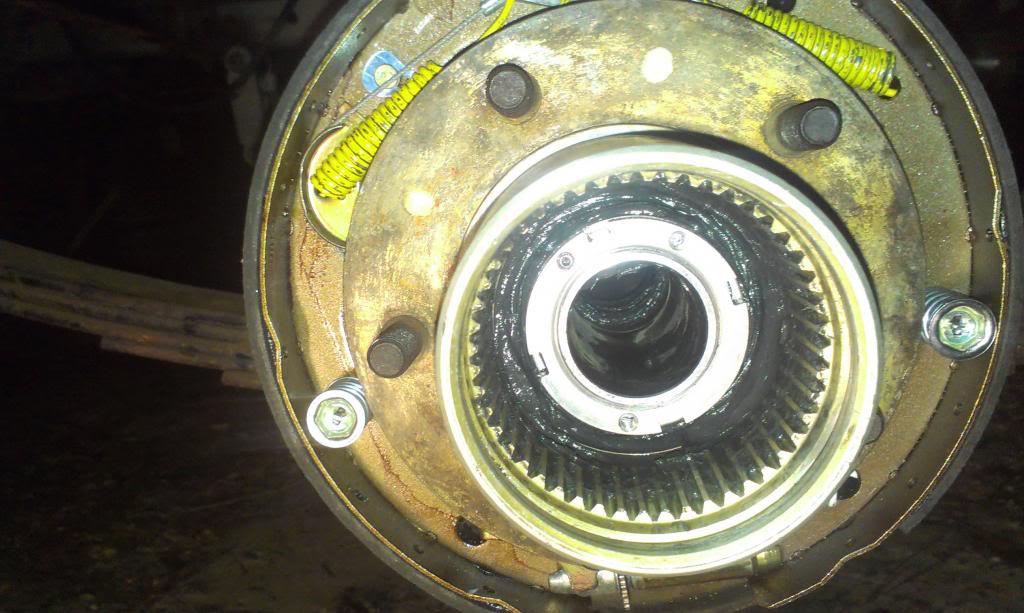
And since this Jeep is sitting outside, I stuffed some socks inside the ends of the axle tubes to keep moisture out.

IMAG0489_zps2714e7d6-1.jpg

so, would those be.... "tube socks"?


bu-dump-TISH
 
I just said to Connie a couple hours ago... "I long reading through Raymonds posts."

Raymond, your threads just make me feel lazy. I look and think "ooh, I need to do that", and instead I buy more parts to put in the shop/not use.

If I ever get around to doing 1/2 the crap I WANT to do, your threads will be worth their weight in gold.

It is VERY helpful...at least to me anyway! Thanks! :bow:

Wowsers....what a great thread....keep the pics coming!!!

so, would those be.... "tube socks"?


bu-dump-TISH

That's to funny! :rotfl: :wave:

Thanks everybody, glad this stuff is viewed/enjoyed:thumbsup:

Polarfire, make sure you read "Part 2" of the install, important change on the "thrust washer":eek:
 
WARN FULL FLOAT INSTALL PART 2
NOTE THRUST WASHER CLEARANCE ISSUES


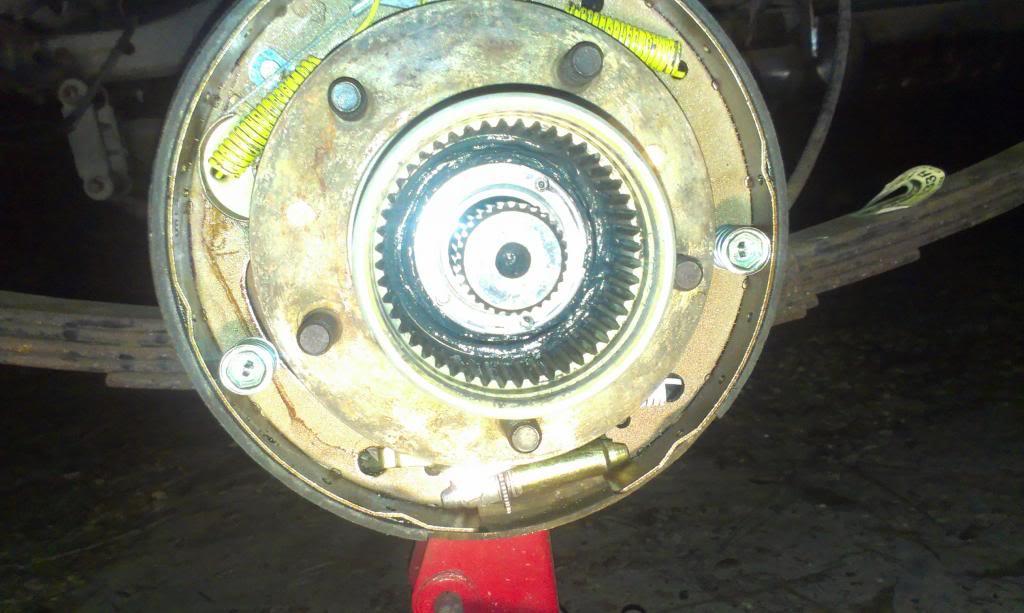
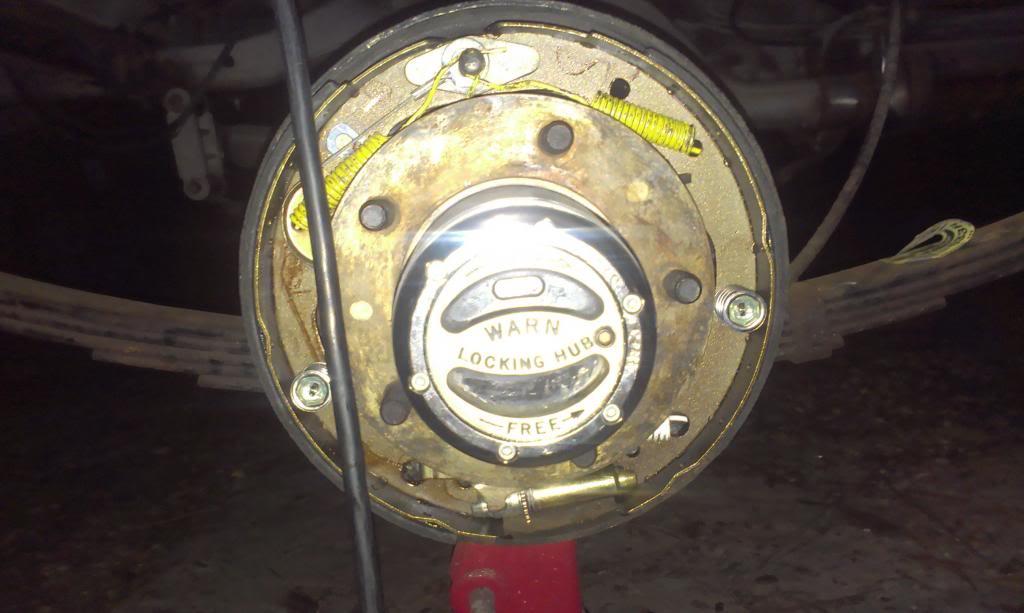
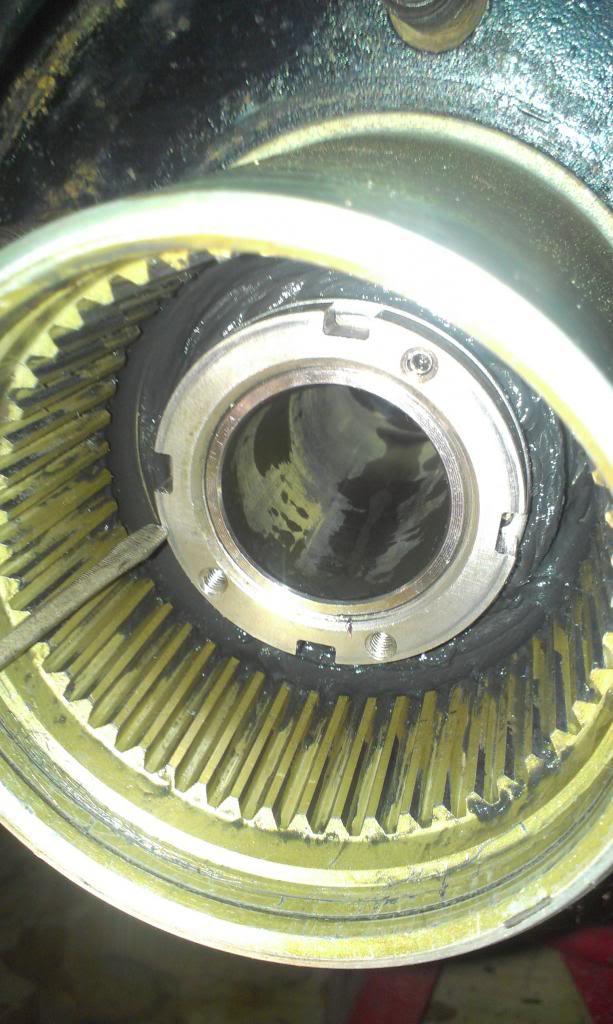
When I reassembled the two rear wheel hubs/lock in hubs the other day, I could feel some resistance while turning the wheels, with the hubs both in the "Locked" and "Free" positions. At first, I figured I might be feeling the transmission turning, just thinking "maybe its in gear" (automatic) and I just didn't realize it. I dropped the drive shaft to eliminate this possibility and could still feel the "resistance". Time to pull it back apart and see what is happening.

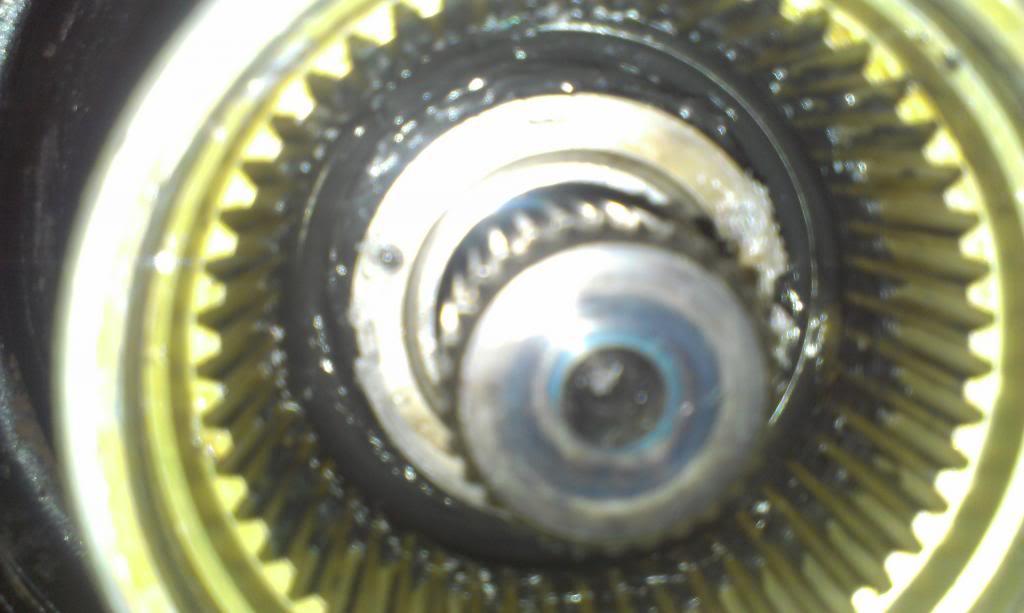
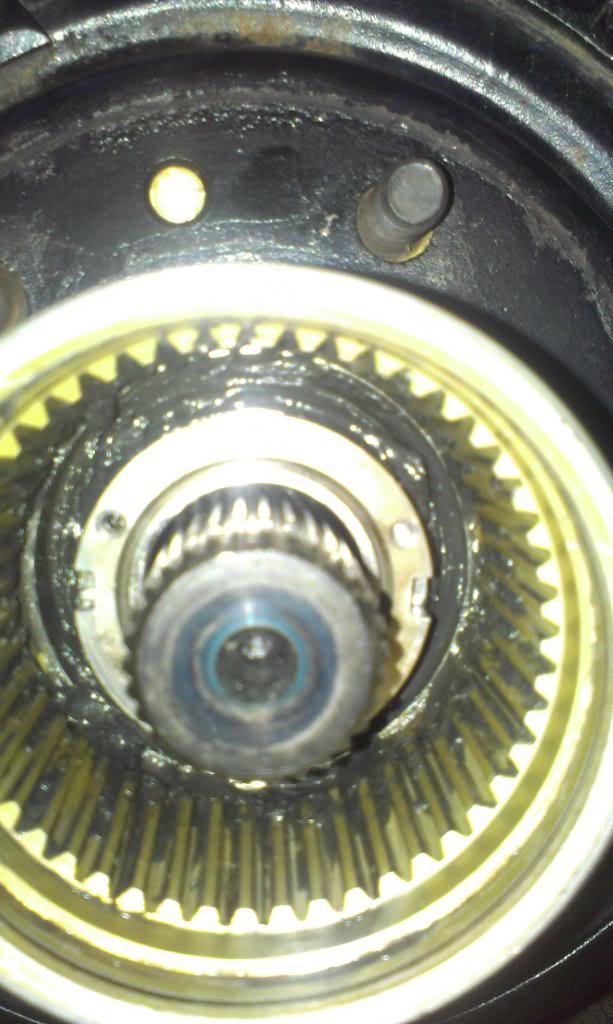
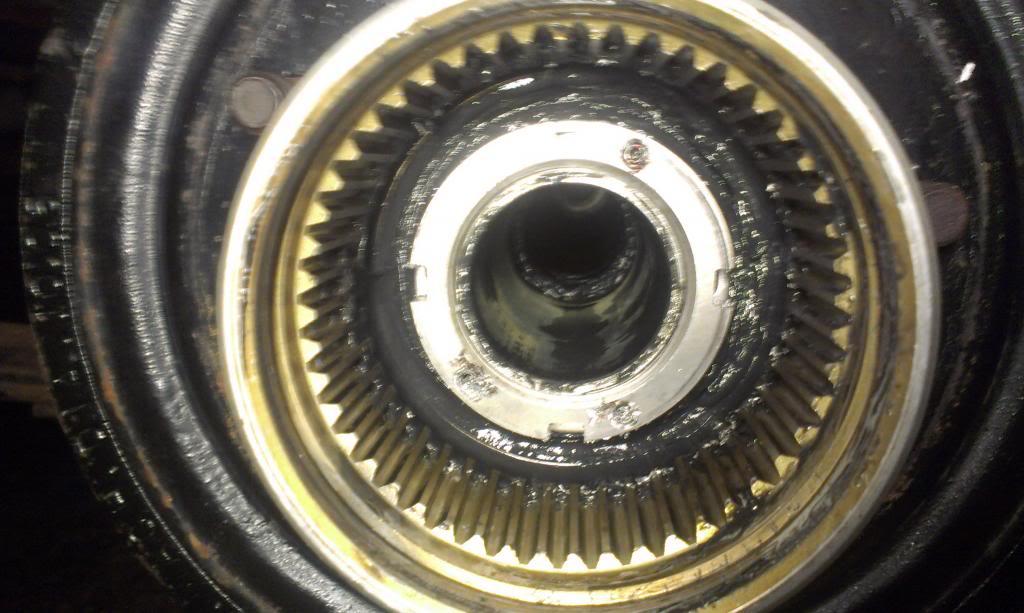
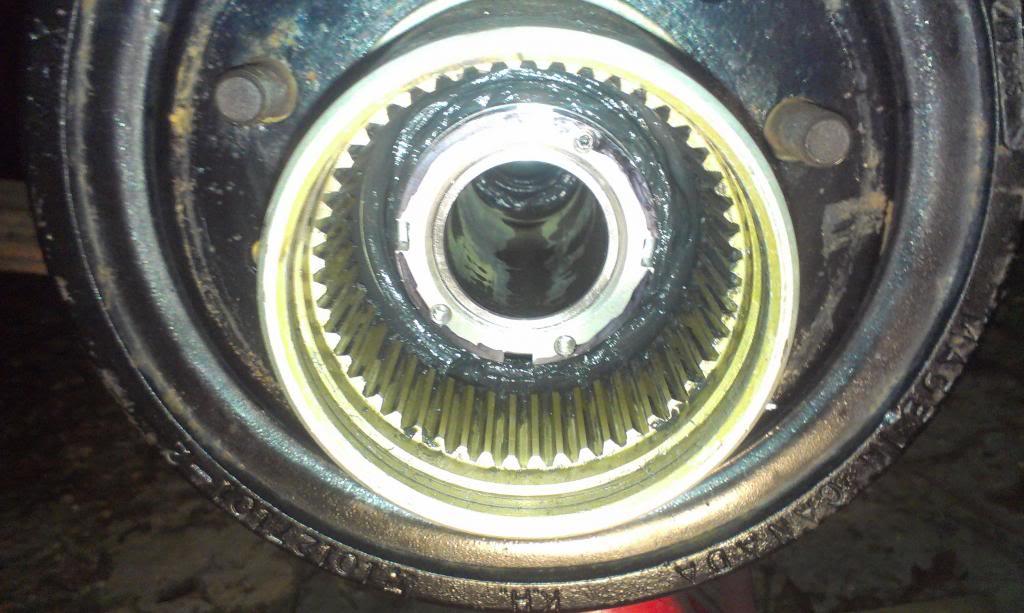
When I removed the lock in hub dials, the "resistance" went away. After examining the lock in hub dials and finding no issues, I next pulled out the internal hub from the wheel hub. When I did, I found this:

IMAG0529_zps8f1099a7-1.jpg


It's hard to see, but the upper right quadrant of the external spindle nut, you can see some "fuzz", that "fuzz" is metal shavings.


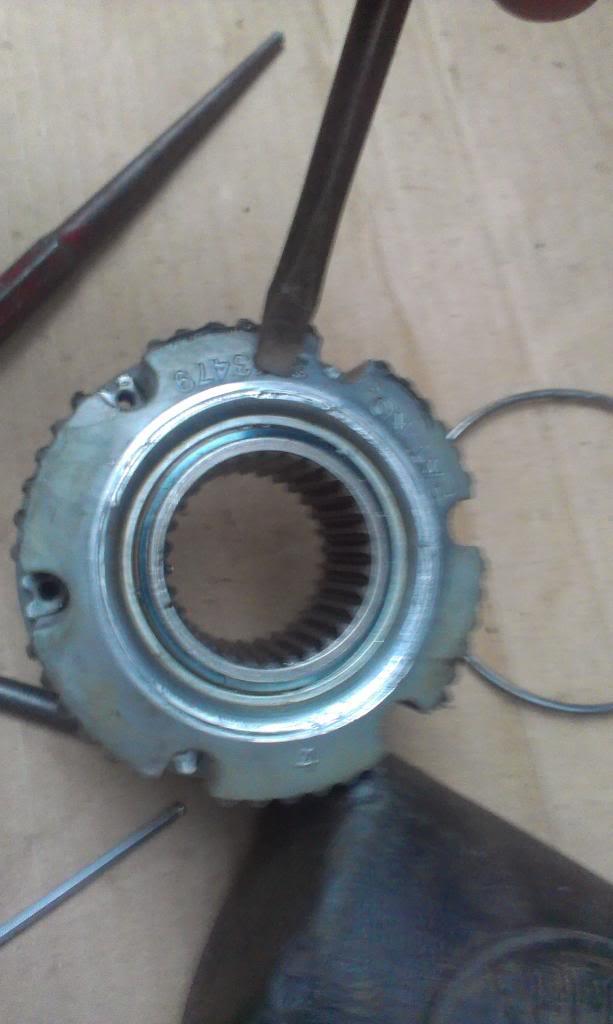
IMAG0530_zps154ea42e-1.jpg


In the above picture, where the screw driver is pointing, you can see a "line" around the internal hub where it was rubbing the external spindle nut.

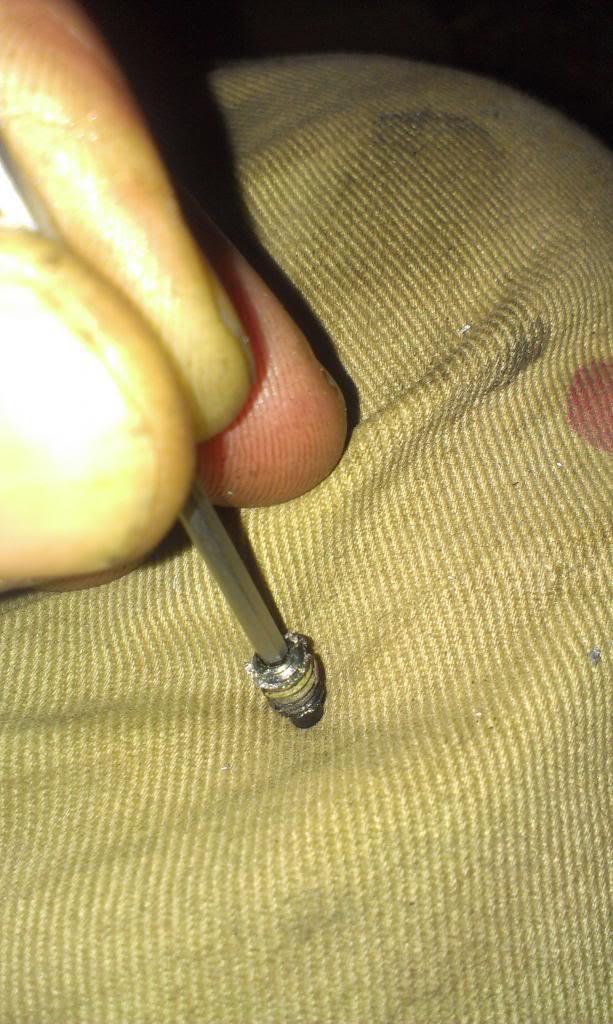
IMAG0532_zps4c6ef7e1-1.jpg


Only one of the three set screws will find a hole in the "in between washer" and sit recessed inside the external spindle nut. The other two were sticking out, and rubbing the internal hub.

IMAG0533_zpsdee425ca-1.jpg


So I removed the two "extra" set screws and reassembled the wheel hub assembly. When it was all back together, and I began to turn it, I could still feel the resistance. Upon disassembly, more metal shavings.

IMAG0534_zps158c8c2d-1.jpg


In the picture below, where the screwdriver is pointing, you can see a "line" on the external nut where it is rubbing the internal hub.

IMAG0535_zps8acc25df-1.jpg


I took a permanent marker and colored the entire face of the external spindle nut to see where it was rubbing.

IMAG0536_zpsdffa521e-1.jpg


I put everything back together, turned it, could still feel the rub. I disassembled it again, and verified that the external spindle nut is rubbing the internal hub hard. Two turns removed all the permanent marker.

IMAG0537_zpsac0b6134-1.jpg


In all of the previous pictures, note how the external spindle nut is right on the edge of the spindle. There are no extra threads of the spindle sticking out past the exterior spindle nut.

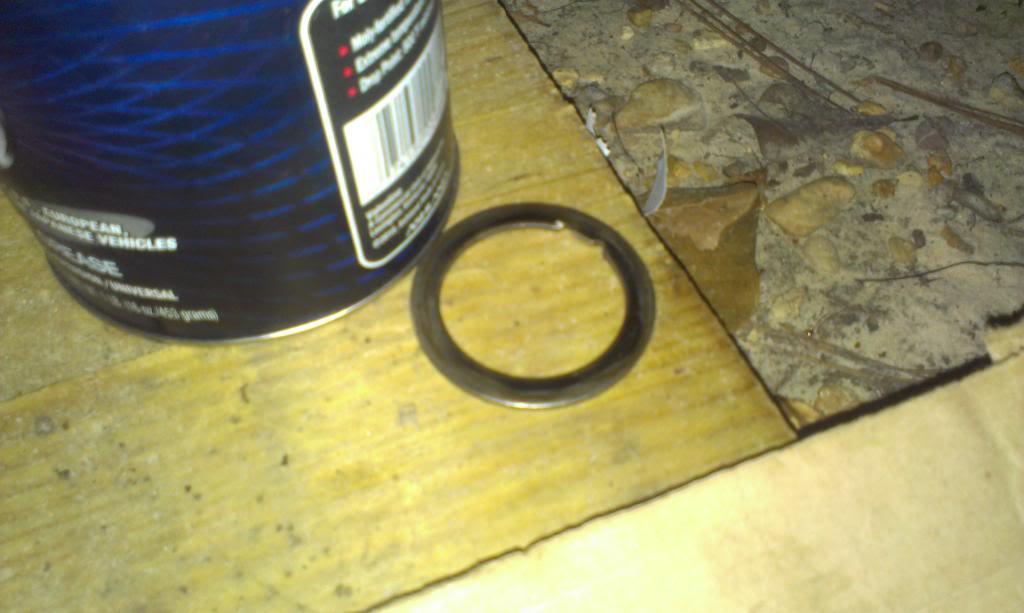
If you remember, this full float kit was originally installed without a thrust washer between the outer wheel bearing and the inner spindle nut. I added them. When I did, I effectively moved the entire spindle nut "stack" outward, toward the face of the inner hub.

So, I removed my added thrust washer.

IMAG0539_zpsf1b3d761-1.jpg


After removing the thrust washer, reinstalling the spindle nuts/washer, notice the little bit of spindle thread sticking out past the outer face of the external spindle nut.

IMAG0538_zps88eae786-1.jpg
 
After spending about one hour, per hub, picking out little metal shavings, I reassembled everything one last time.

IMAG0540_zps8da63230-1.jpg


And what do you know, everything turns nice and free like it is supposed to.


Concerns/Observations/Theories/Etc.

Does the wheel hub assembly need a thrust washer? I am really not sure. If you stop and think about it, the wheel bearing thrust washers are usually tabbed, to key into the notch in the spindle, to prevent them from spinning. Is there really a difference If the bearing inner cone is against an immovable washer or the nut it self, I don't think so.

When I removed the thrust washers, I was concerned that the inner nut would bottom out before eliminating all the bearing play. This fear was unfounded. Even without the thrust washer, the inner nut, when tightened down, will "seize" the bearings. There is no extra apace between the end of the spindle threads and the face of the outer wheel bearing that needs to be taken up by a washer.

This rear wheel bearing hub, while similar to a front wheel hub, has one important difference: bearing end play. With a front wheel hub, you usually allow a "hair" of in/out movement. On these rear wheel hubs, there is not supposed to be any lateral movement. On the inner nut, you tighten it until it "seizes" the bearings, then back off of it just enough to get the bearing spinning free with no in/out play. This is per Warn's instructions, and in all my years/miles of driving this set up, I have never burned up the bearings.

Since there is no lateral bearing movement, is a "thrust" washer necessary to take up the bearing to nut movement/interface/friction? I don't think so.

The instructions I am using came with the New Warn Full Float axle kit I installed in the back of my red Scrambler. That kit used thrust washers, everything assembled fine, and everything works fine. Due to the fact that these kits were made for several years, and probably had design changes throughout this time, different kits may have differences. I would have to pull the red Scrambler and the tan Scrambler apart to verify, but I believe that there is a difference in these two kits which allow thrust washers to be used on my red Scrambler, and not used on the tan Scrambler. Either a spindle nut stack design change, spindle change, something.

Also note, the tan Scrambler outer spindle nut came pre-drilled with threaded holes for set screws. My red Scrambler kit spindle nuts do not have this feature. Maybe the tan Scrambler kit is an "earlier" version, and I do not have the correct instructions for this "early" kit.

And if you are still concerned about thrust washers, here is a picture of Warn's Front hub conversion:

IMAG0542_zpsa69ce37a-1.jpg


It is a little bit blurry, but you can clearly see that NO thrust washer is used between the inner spindle nut and the outer wheel bearing. I have installed this same front hub kit on my old CJ-7 and my red Scrambler, without "thrust washers", and have had ZERO issues.

So, is a thrust washer necessary on the rear? I am not an automotive engineer, or even a mechanic, so I can't "say" with certainty.

For me, I am going to run this rear axle without thrust washers. I will closely monitor the rear hubs for any problems/metal shaving/play or any other problems. I don't anticipate any issues.

"IF" I have problems, there is only one way that I know of to add thrust washers: I will have to machine down the back side of the inner spindle nut to the same thickness of the added thrust washers, to effectively keep the spindle nut "stack" height the same. This should work.

Like I said, I don't "think" I will have problems, but if I do or don't, I will update.

That's it for now.

 
Great job Raymond. We appreciate the effort you put in to the explanations. :wave:
 
AS I read through your initial install, I thought that removing the anti-rotation tab from the thrust washer basically negated it's necessity. The set screws are a simple but effective mechanical lock that should keep everything stationary. Of course, as in all factory set-ups, all anti-rotation control is accomplished by the small tab on the washer. I've pulled apart a lot of D44 fronts, and with the exception of FT Waggy's, I've never run across a thrust washer.

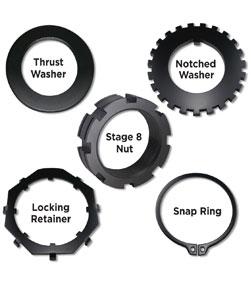
Stage 8 makes a killer HD locking setup- their washer and tab is about 1/4" think. (But they do include a non-indexed thrust washer) If any of my stuff ever gives me a problem, this is what I'm upgrading to-

http://www.stage8.com/xlock2.html

xlockimage-1.jpg


xlockkit-1.jpg
 
AS I read through your initial install, I thought that removing the anti-rotation tab from the thrust washer basically negated it's necessity. The set screws are a simple but effective mechanical lock that should keep everything stationary. Of course, as in all factory set-ups, all anti-rotation control is accomplished by the small tab on the washer. I've pulled apart a lot of D44 fronts, and with the exception of FT Waggy's, I've never run across a thrust washer.

Stage 8 makes a killer HD locking setup- their washer and tab is about 1/4" think. (But they do include a non-indexed thrust washer) If any of my stuff ever gives me a problem, this is what I'm upgrading to-

http://www.stage8.com/xlock2.html

xlockimage-1.jpg


xlockkit-1.jpg

Hello Randy:wave: I have also looked at the Stage 8 stuff before, too, and it looks pretty bullet proof. I think, IIRC, I emailed them to see if their products would fit on a Dana 30 spindle, and they said it would NOT, due to the "stack height", but I could be wrong, it was a few years back:shrug: But, if I was running a Dana 44/60, I would definitely install them:thumbsup:

As for the thrust washer, I believe you are correct. Once I cut the tab off, it was only acting as a spacer. The stock CJ front end uses a thrust washer, inner nut, washer that has its ends bent over the nuts to secure them, and then the outer nut, but I always had bad luck with the nuts loosening when running oversize tires. The Warn approach is very similar to the FSJ set up that you are describing. Since the inner nuts "tit" slots into/and is held securely by the "in between" washer which is "tabbed" to the spindle slot preventing it from turning, and then the outer nut just acts as a giant "jam nut" preventing the washer from coming loose, and allowing the "tit" out of the hole, allowing rotation and looseness:crazy:

IIRC, the Dana 30 and 44 share the same spindle threading, thus the spindle nuts can be swapped between the two. But, IIRC, the Dana 44 spindle is slightly longer/deeper, thus having more thread, thus allowing for the thicker spindle nut "stack heights".

I bought a Warn Dana 44 spindle nut kit, and the washer and inner nuts are identical to their Dana 30 Hub Conversion spindle nuts, and their Full Float Axle Kit spindle nuts, with ONE major difference: The outer spindle nut is "thinner" on the 30/FF axle stuff, versus the "fatter" Dana 44 outer nut. That is why I believe the Dana 44 spindle has more threads then a 30, but I could be wrong:shrug:

It looks to me like Warn used off the shelf Dana 44 components, and then machined one nut to make up for the shorter Dana 30/FF spindles, but I could be wrong, but that is what it looks like to me:shrug:

But, I think I have an old email from Warn customer service where a guy was able to look up and give me Dana/Spicer part numbers for the spindle nuts/washers they use, like it was off the shelf parts, but that could have just been for the front hub conversion, but I would think it would work with the FF axles, too, but I never checked to see if the part #'s were still valid:shrug:
 
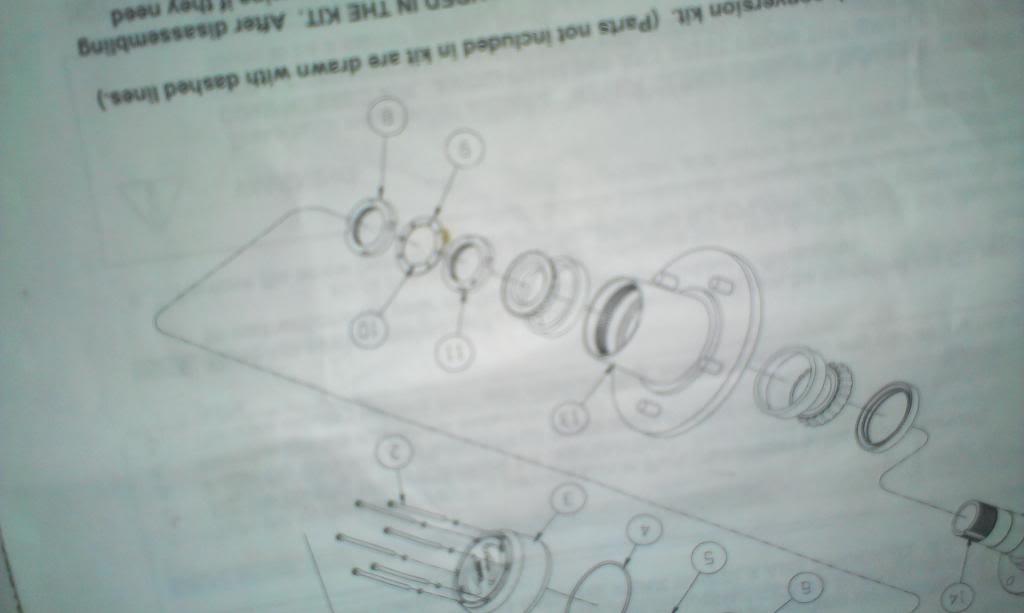
View attachment scan0001.bmp

Just got caught up on your build up today Raymond....great job!:bow: I dug out the paperwork I got when I bought my current 8 some 7 years ago and found the Warn Full Float axle instruction manual that came with it. I've tried to scan it but I'm not sure this will work....so let me try a page now.
 
Ok, great, it worked! A little grainy, but not bad. You are correct about the thrust washer---there is not one used so removing the one you added is correct. Maybe some of the kits used them as you mentioned but the one in mine didn't. I scanned the other pages of the installation instructions I have and I'll be happy to post them if you or anyone else wants them. You've done a great job on stepping everyone thru this with your pics and descriptions so just keep on doing it!:cheers:
 
Last edited:
Ok, great, it worked! You are correct about the thrust washer---there is not one used so removing the one you added is correct. I scanned the other pages of the installation instructions I have and I'll be happy to post them if you or anyone else wants them. You've done a great job on stepping everyone thru this with your pics and descriptions so just keep on doing it!:cheers:

Thanks a million, your scanned instructions prove my "theory":cheers::thumbsup:

The kit/instructions I used on my red Scrambler are indeed different from the kits installed on your Scrambler/my tan Scrambler:thumbsup:

It is very interesting they made a change to the spindle nut system, wonder which way is "better":shrug::crazy:

Thank you again, thanks for the compliments, and I will keep on trucking/posting:thumbsup::wave:
 
It could be the kit in mine was an early unit as the locking hubs did not have the set screw "lock" that yours has. I learned the hard way as to why Warn added them---I had one partially "unlock" and damage the hub on a liesurely drive shortly after I bought the Jeep.:banghead: I ended up replacing the hubs with the drive flange kit and haven't had any problem since, well, unless you call a little gear oil seeping out a problem. Ironically, it's on the side that I replaced the spindle seal and outer bearing on when I repacked the bearings after the hub incident. The locking hubs would be just the ticket for flat towing--which I don't do, but I didn't trust them enough after that to look for another set. I know they are difficult to find now. :thumbsup:
 
It could be the kit in mine was an early unit as the locking hubs did not have the set screw "lock" that yours has. I learned the hard way as to why Warn added them---I had one partially "unlock" and damage the hub on a liesurely drive shortly after I bought the Jeep.:banghead: I ended up replacing the hubs with the drive flange kit and haven't had any problem since, well, unless you call a little gear oil seeping out a problem. Ironically, it's on the side that I replaced the spindle seal and outer bearing on when I repacked the bearings after the hub incident. The locking hubs would be just the ticket for flat towing--which I don't do, but I didn't trust them enough after that to look for another set. I know they are difficult to find now. :thumbsup:

I think when I was searching for some "Full Float" information I ran across your thread where you had "hub" troubles. I agree, the drive flanges would be stronger, but so far, I have had good lucks with the lock in hubs. I figure the lock in hub will blow before a really hard to find axle shaft/wheel hub, so i think of them as drive-line "fuses", and keep a couple spares:thumbsup:

The little "dial set screw" really doesn't "bite down hard in to anything, but I guess it coupled with the "inner ring in the dial" is enough to keep them from automatically unlocking/locking:shrug::fingerscrossed:
 
A little bit more work done, nothing too exciting.

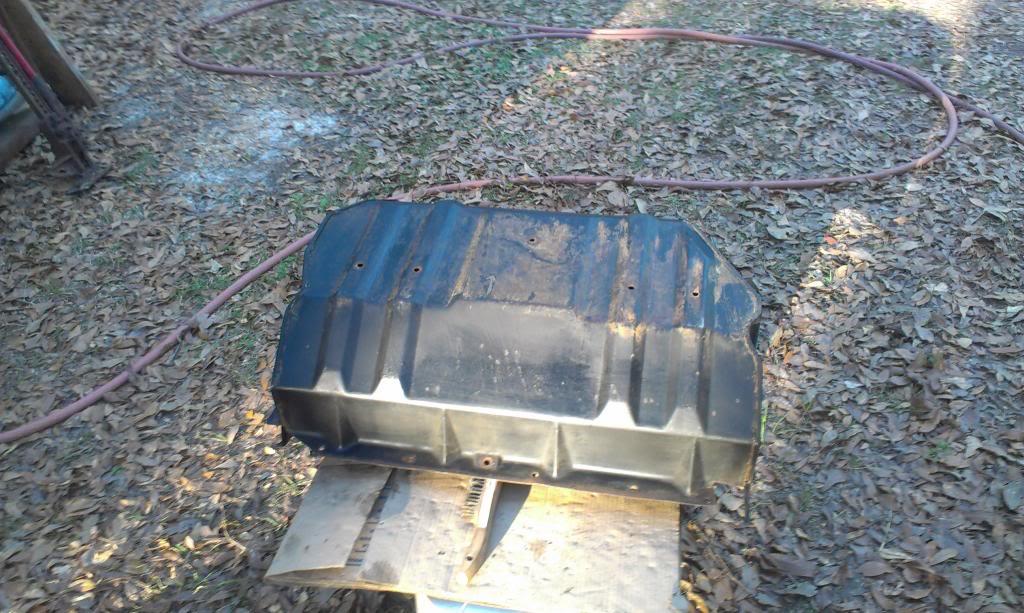
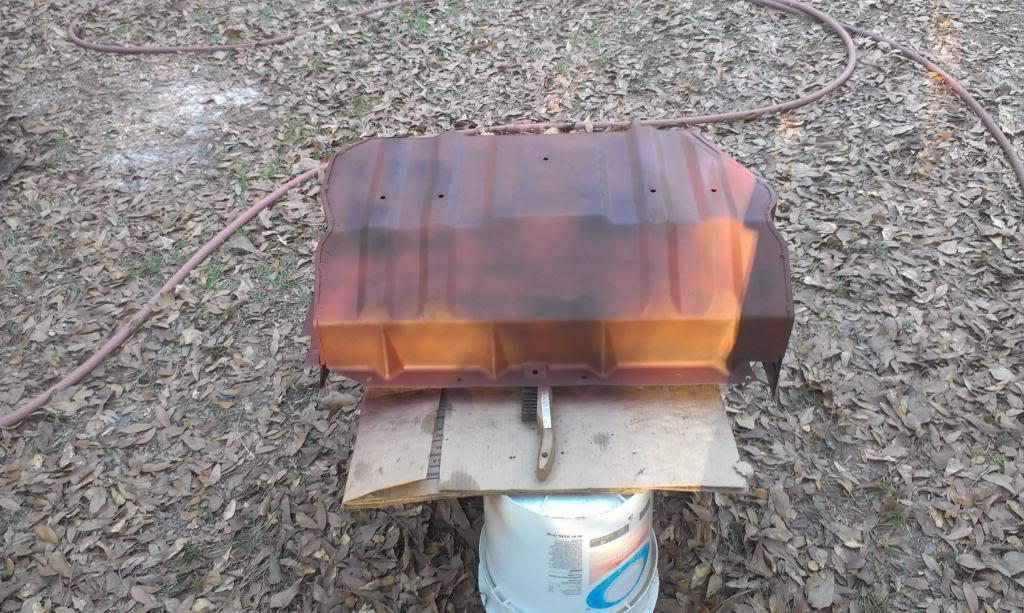
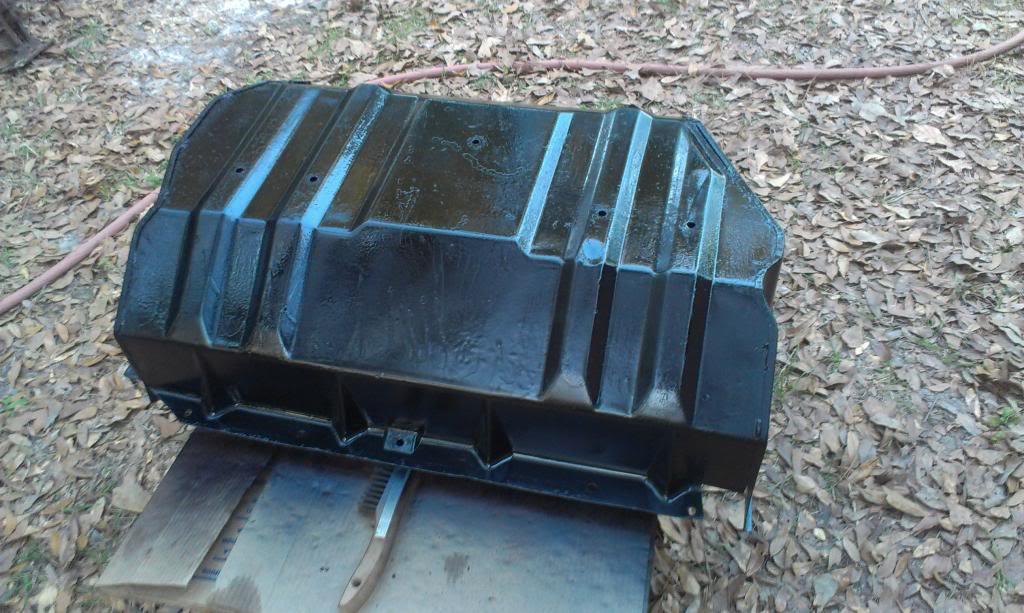
The inside of the gas tank skid plate looks pretty good since I repainted it, I went ahead and painted the outside of it, too. The paint was faded and thin, so i just cleaned it really well and scuffed it up. It is not "perfect", but much better then it was.

IMAG0543_zps54c89fd0-1.jpg


IMAG0545_zps45483e73-1.jpg


IMAG0546_zpsb85d32c1-1.jpg


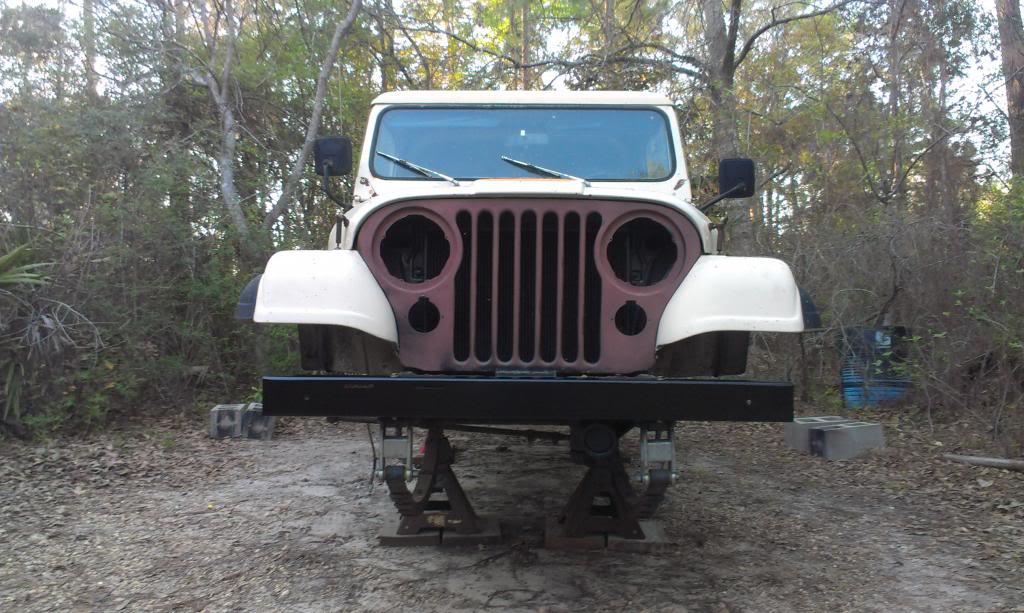
I also bolted on my freshened up, non-chrome, front bumper. I think it looks much better. I ordered some paint to try to color match the grill, too. Since this Scrambler has such "plain" paint, I "might" put a chrome grill cover on. I usually only like the chrome grill covers on the Laredo's, but since this color is so "bland", a little "bling" might not be too bad.

IMAG0547_zpsd4d102d8-1.jpg


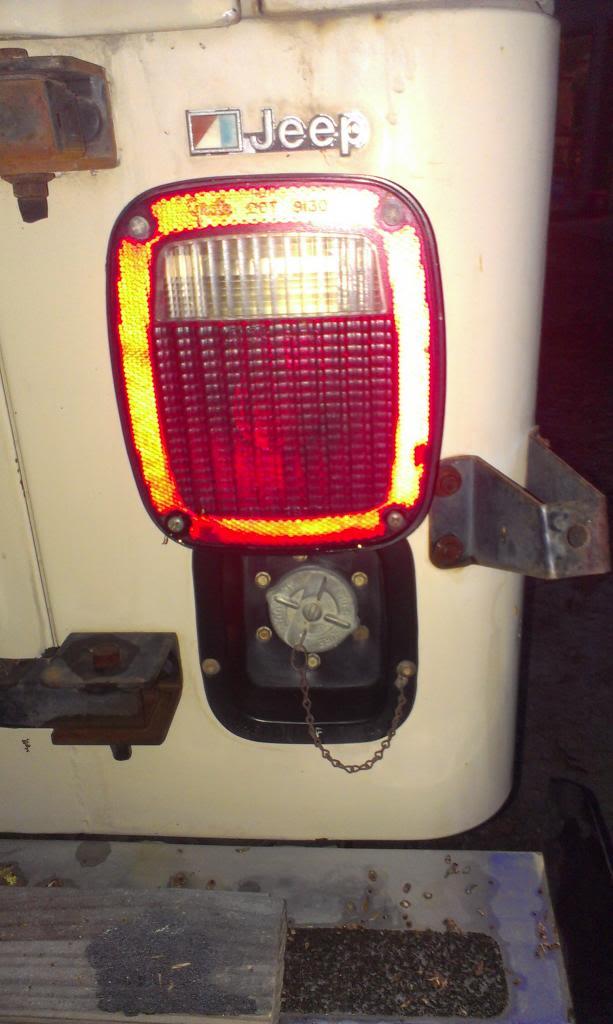
Bolted back on the gas filler neck stuff, too. I will install the tank and other associated parts in the next few days.

IMAG0548_zpse7e5124e-1.jpg


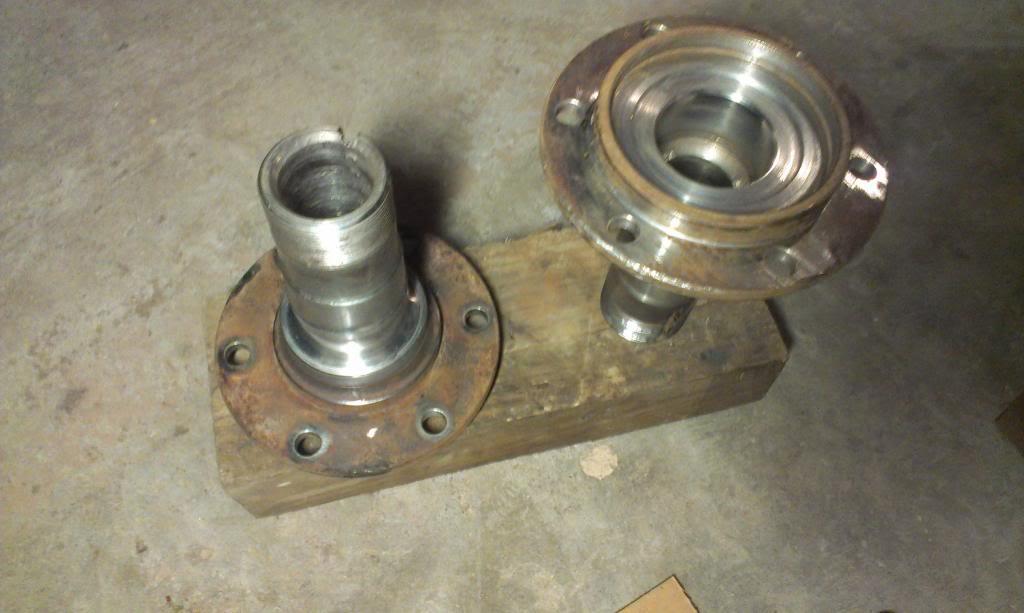
I also cleaned up the old spindles. I still need to grease/install the new bearings and seals.

IMAG0550_zpsdf381ce4-1.jpg


My buddy is picking up the rebuilt front end today at lunch, so I will bolt it back in tonight. I still need to change the ball joints before I slide the axles/spindle/hubs/brakes back on.

If I get the front axle completely installed, and the gas tank installed, my next step will be dropping the transmission/transfer case for cleaning, inspecting, and seal replacement.

That's it for now.
 
^LOL....I think we are always looking....we just wish we had a garage like yours...

but what a beautiful jeep...hope to see it one day.
 
^I need to edit that, but I can't .....sorry Spankrjs.....but I love that jeep you found
 
Back
Top