• Notice for iPhone users: DO NOT use the image size reduction option when uploading photos to the forum. This causes portrait images to post as landscape. We have added a warning to the image insert pop-up as well.

Another Scrambler Purchase/Road Trip - UPDATE- BODY ON FRAME AGAIN

Oh no..no ..no... you've got to try at least one sticker yourself. My buddy got me started and I did the rest, only because I couldn't wait. Be patient, cut all stickers out with scissors, use masking tape to center, measure and re-measure and make sure its where you want it. I think I used 2 inches up front on Scrambler sticker and 4 inches at back of Scrambler sticker. I think.. Measure out with tape, top bottom left and right. Use a bottle of water with dish soap drops in it. It reduces the stickiness of the glue on the back. (Too much water and you eliminate the stickines of the glue entirely--I used alot and had no problem- like dripping). Spray the body, AND then the back of the sitcker without paper-- liberally and you can move it around and place it where you want. Don't put sticker on body dry-- it'll stick and not come off. Use soapy water. Biggest issue for me was meeting front fender sticker to stripe at bottom. Don't make gap too big. (And they didn't line up top to bottom-- align with top because that's what you see).

Don't do it in the sun; do it in the garage in the shade where body is cooler. You should have plenty of time to mount it where you want it (like many minutes) and then squeegee (not spelled right?) getting all bubbles out. It'll lay down more within the week. Use a razor blade (buy a box) and use them liberally. Press into sticker to cut; do not slice into paint-- just press into sticker and it'll cut off on its own. Next day take a pin and puncture the small bubbles and press down and they will disappear.

You can do it. Look at a bunch of pics up close for details. My rear-most stripes are a little higher than the rocker stripes buts that's the way they appear on all of them. Start at the rear with the smallest stripe. Try it! You'll probably do it better than a body shop...:thumbsup:
 
I saw your scrambler project on another site and I am amazed and can only hope that some day My scramblers will look as good as yours. where did you come across the whitco soft half top? have you decided if you are going to mount it or the full top? if you are not going to mount it I'd be powerfully interested in buying it from you.
 
Oh no..no ..no... you've got to try at least one sticker yourself. My buddy got me started and I did the rest, only because I couldn't wait. Be patient, cut all stickers out with scissors, use masking tape to center, measure and re-measure and make sure its where you want it. I think I used 2 inches up front on Scrambler sticker and 4 inches at back of Scrambler sticker. I think.. Measure out with tape, top bottom left and right. Use a bottle of water with dish soap drops in it. It reduces the stickiness of the glue on the back. (Too much water and you eliminate the stickines of the glue entirely--I used alot and had no problem- like dripping). Spray the body, AND then the back of the sitcker without paper-- liberally and you can move it around and place it where you want. Don't put sticker on body dry-- it'll stick and not come off. Use soapy water. Biggest issue for me was meeting front fender sticker to stripe at bottom. Don't make gap too big. (And they didn't line up top to bottom-- align with top because that's what you see).

Don't do it in the sun; do it in the garage in the shade where body is cooler. You should have plenty of time to mount it where you want it (like many minutes) and then squeegee (not spelled right?) getting all bubbles out. It'll lay down more within the week. Use a razor blade (buy a box) and use them liberally. Press into sticker to cut; do not slice into paint-- just press into sticker and it'll cut off on its own. Next day take a pin and puncture the small bubbles and press down and they will disappear.

You can do it. Look at a bunch of pics up close for details. My rear-most stripes are a little higher than the rocker stripes buts that's the way they appear on all of them. Start at the rear with the smallest stripe. Try it! You'll probably do it better than a body shop...:thumbsup:

You never know, I might just try to apply them myself, but only if my luck improves:crazy:
 
I saw your scrambler project on another site and I am amazed and can only hope that some day My scramblers will look as good as yours. where did you come across the whitco soft half top? have you decided if you are going to mount it or the full top? if you are not going to mount it I'd be powerfully interested in buying it from you.

Appreciate the compliments:cheers:

I bought the 1/2 soft top and the full soft top from another member of this site. Unfortunately, I plan on installing the 1/2 soft top in the next couple of weeks, and I might use the full soft top later on, once I figure out if it will be compatible with my factory doors and some of the hardware from the 1/2 soft top, and I gather up or fabricate some missing parts:fingerscrossed:
 
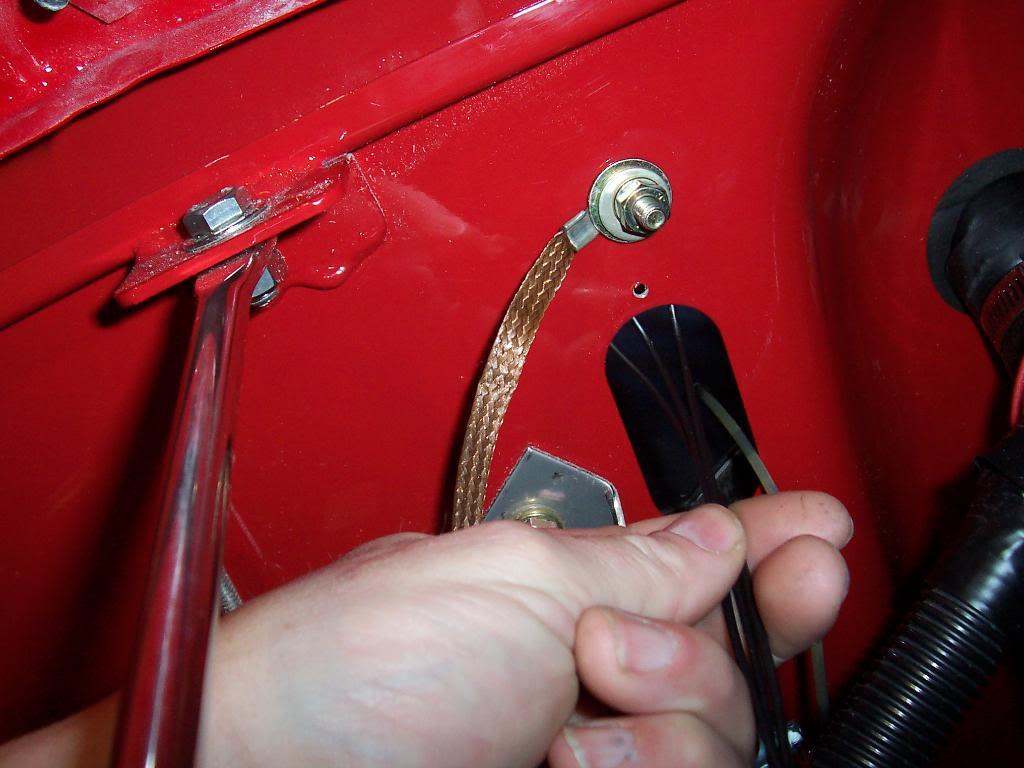
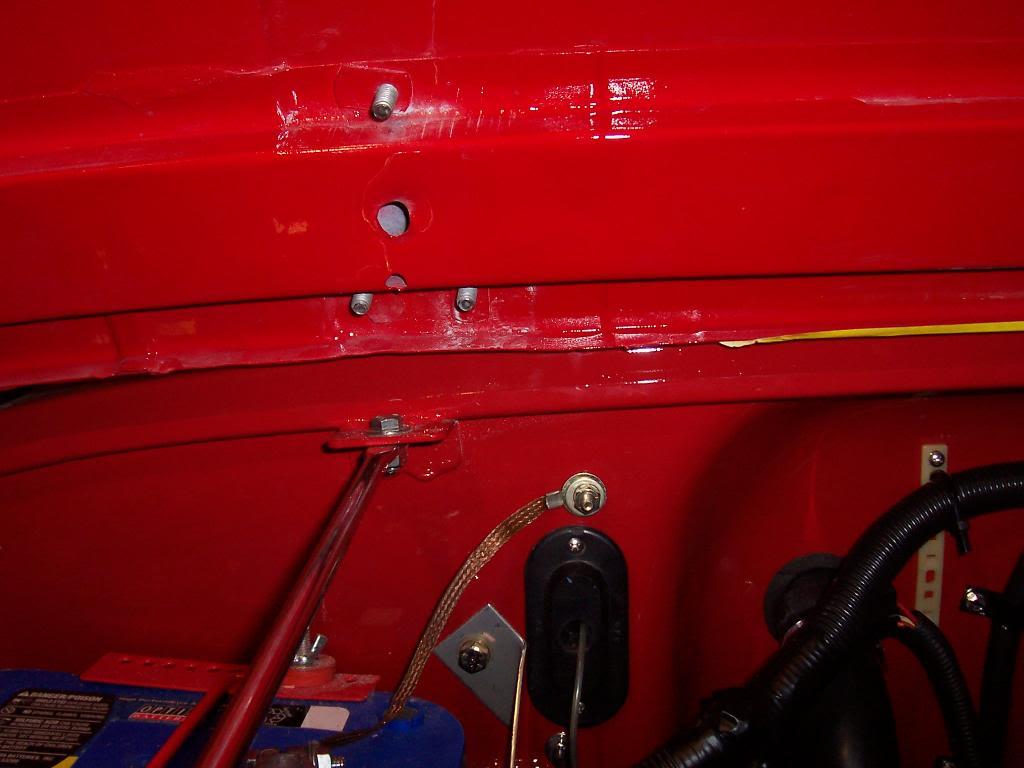
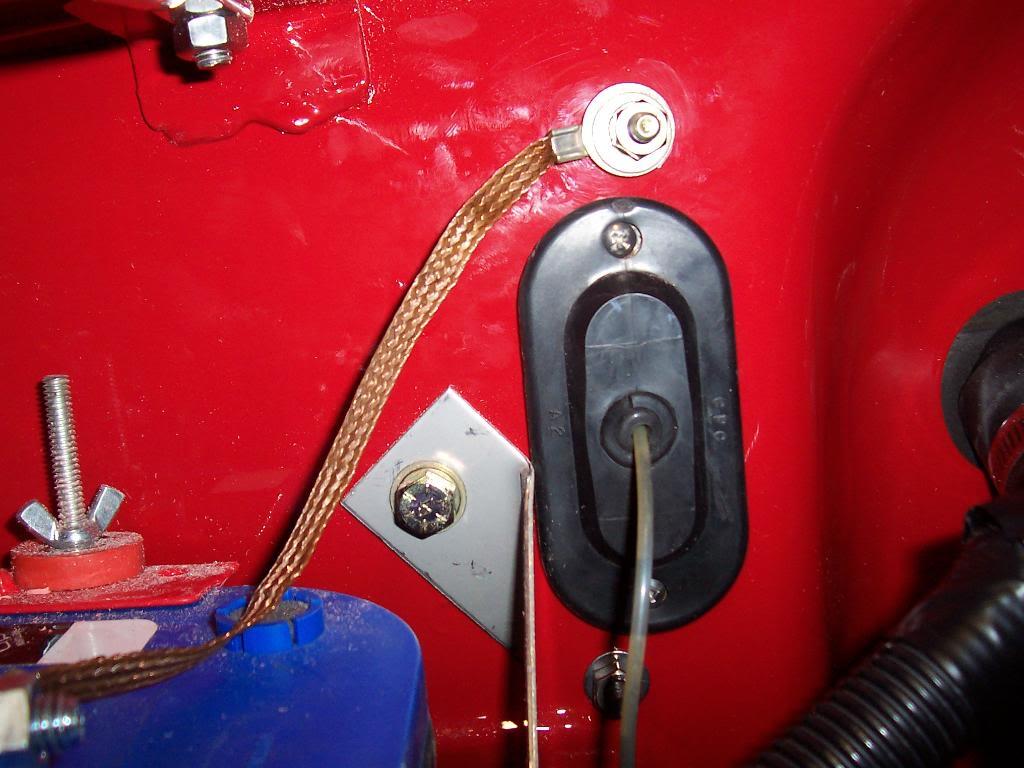
Finished up my body ground strap. After scratching my head for awhile trying to figure out how I was going to tighten a nut on the backside of the ground bolt, considering all the heater box stuff is in the way on the interior side of the firewall, stumbled upon the easy/obvious solution: I removed the computer grommet to gain access. The 3 black wires in my hand are grounding wires for future upgrades (radio,cb,etc). I have always had better luck grounding stuff directly to the battery, this is a little neater then having a bunch of wires going to the negative battery terminal.

0013-1.jpg


And finished up.

0023-1.jpg


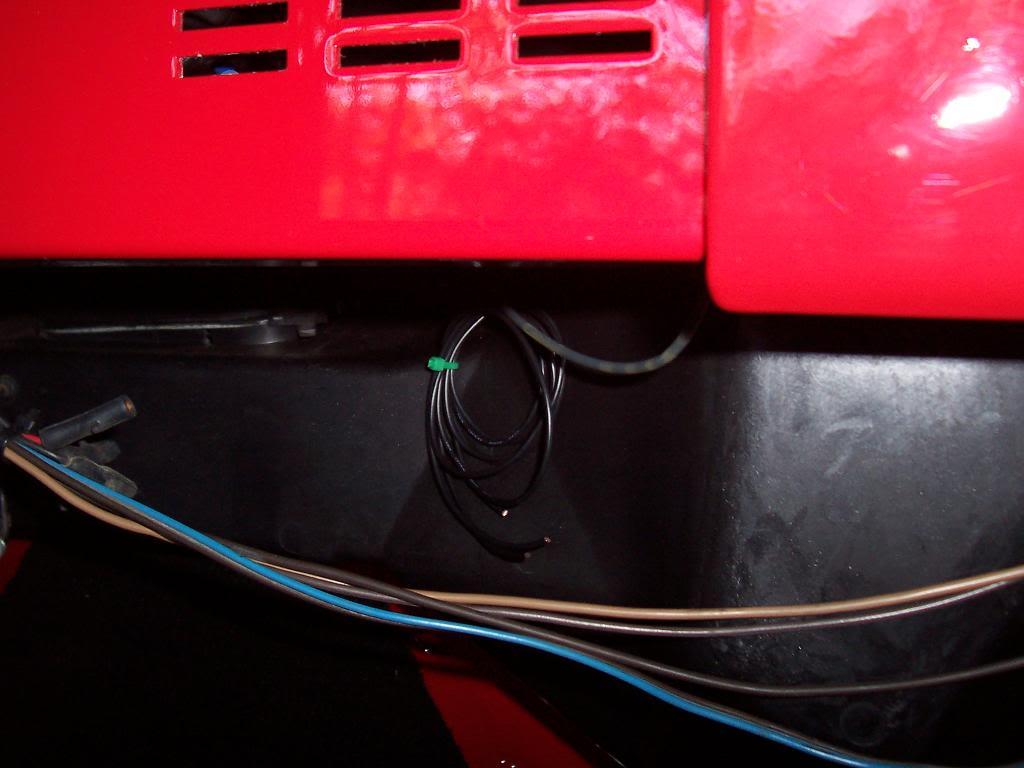
The 3 "future use" ground wires under the dash.

0033-1.jpg
 
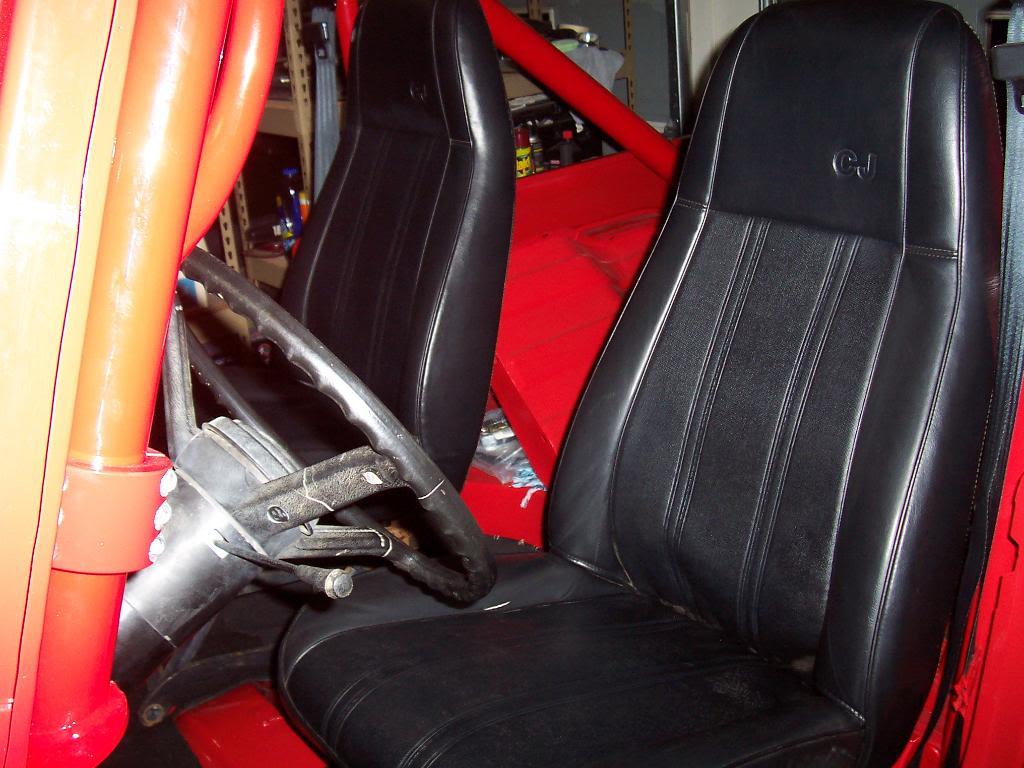
More seat fun.

My painter still has the passenger side seat bracket I plan on using, but I have an extra one, so I decided to install the passenger seat assembly. The seat bracket bolts to the floor just fine, sliders bolt to the seat perfect, but sliders don't bolt to the seat frame. The holes in this seat bracket are different, maybe off a Wrangler?

0043-1.jpg


Easy enough fix to just drill some new holes into the top of the seat bracket for the slider to bolt on. Picture of the installed passenger side seat assembly.

0053-1.jpg


One thing that I have noticed is that the passenger side seat sits higher then the drivers side seat. I assume that oddball passenger side seat bracket is to blame?

0061-1.jpg


007-1.jpg


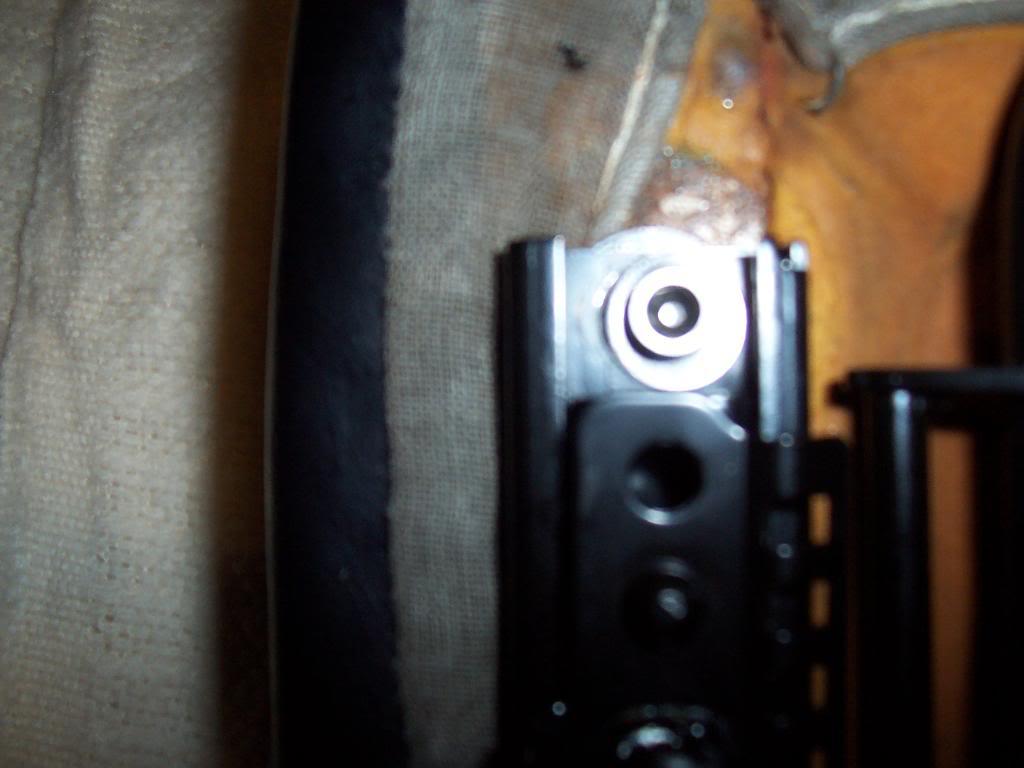
I installed the drivers seat the other night, but it just didn't "look" right and the slider did not work. Took the seat back off to investigate and realized that the seat frame was in a slight bind/out of level/not square. I had to loosen up the front bolt that is toward the center of the jeep and lift the bracket up off the floor approximately 5/8" to get the seat frame to sit level and work. Temporarily installed a bunch of washers as spacers. Does anyone else that runs a driver flip forward bracket have any spacers under this bolt? Sorry, picture is blurry, but you can get the idea.

009-1.jpg


That slight spacer modification made the drivers seat bracket work correctly, but the slider still did not work. Took the slider off the seat and found the problem. If I remember correctly, the passenger side seat measures 14" from center of threaded hole to center of threaded hole going across the seat side to side. On the drivers seat, the rear holes measure 14" across but the front two holes are approximately 3/8" closer together. This tightness of the front holes was causing the slider to bind. Well, I couldn't very well re drill the seat itself and fix this issue, so I ended up enlarging both front holes on the slider to allow the bolt to pass through the slider without binding on the seat.

010-1.jpg


Driver seat installed and working correctly.

011-1.jpg


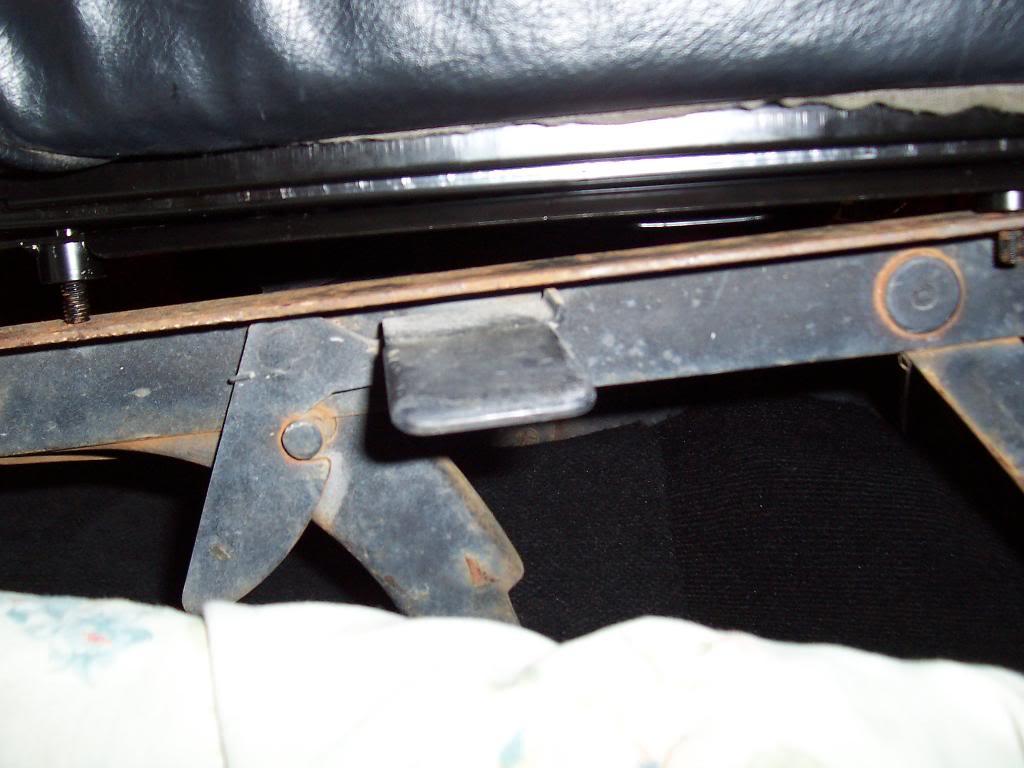
The sliders work on both seats, but they don't work as easily as my TJ's sliders. There is not enough room between the bottom of the seat cushion and the top of the slider pull handle to pull it up high enough to completely disengage the slider easily. It works, just not great. I attribute this to incompatibility between factory seats and aftermarket sliders. If I remember correctly, the factory CJ sliders work by pulling the handle side to side, not up and down. Factory sliders would be ideal, might try to track some down later on.

Knocked some of the dust off, overall picture. That's it for now.

012-1.jpg
 
I thought all sliders had those spacers, without the spacers the sliders would bind. I had to do some leveling on my stock setup also...


How doe you like how the tire rod flip ended up? Do you feel 100% confident in it's fit? Reason I'm asking is I need to flip my pitman arm end, and the drill and weld inserts are prone to cracking in this position. Your kit looks like it takes advantage of the OE strength... Would you consider loaning out the reamer for a small fee?
 
in both my CJs the driver's seat was a flip-forward, and both had a little "gangsta lean".. they didn't match the seat angle or height of the PS seat.. I assumed this was a slow wear/tear on the support assembly over their 20+ years of use.. maybe not

I've always wanted a way to fix them a bit more upright/forward, as my (short-ish) wife is 5'2" and has basically can't work the pedals if she's fully in the seat.. she has to have a pillow behind her back/butt to push her forward a few inches..
 
I thought all sliders had those spacers, without the spacers the sliders would bind. I had to do some leveling on my stock setup also...


How doe you like how the tire rod flip ended up? Do you feel 100% confident in it's fit? Reason I'm asking is I need to flip my pitman arm end, and the drill and weld inserts are prone to cracking in this position. Your kit looks like it takes advantage of the OE strength... Would you consider loaning out the reamer for a small fee?

If I remember right, the factory sliders do not have spacers, I will have to check my drivers seat in the green jeep, but it is a fixed seat frame, not a flip forward frame, so it could be different:shrug:

I am very confident in the way I flipped the tie rod. As long as you ream out the holes correctly/not too much, that insert fits super tight. Then, when you torque the nut down on the rod end, it effectively pulls the fat part of the taper into the insert, squeezing it in place. The nut on the bottom prevents the insert from coming loose, so I think it is a pretty good solution. I cant see any downside to this method:twocents:

I was concerned about "weld in" inserts, too, that is why I chose this method. It is a pretty slick little conversion:cheers:
 
Chugging along.

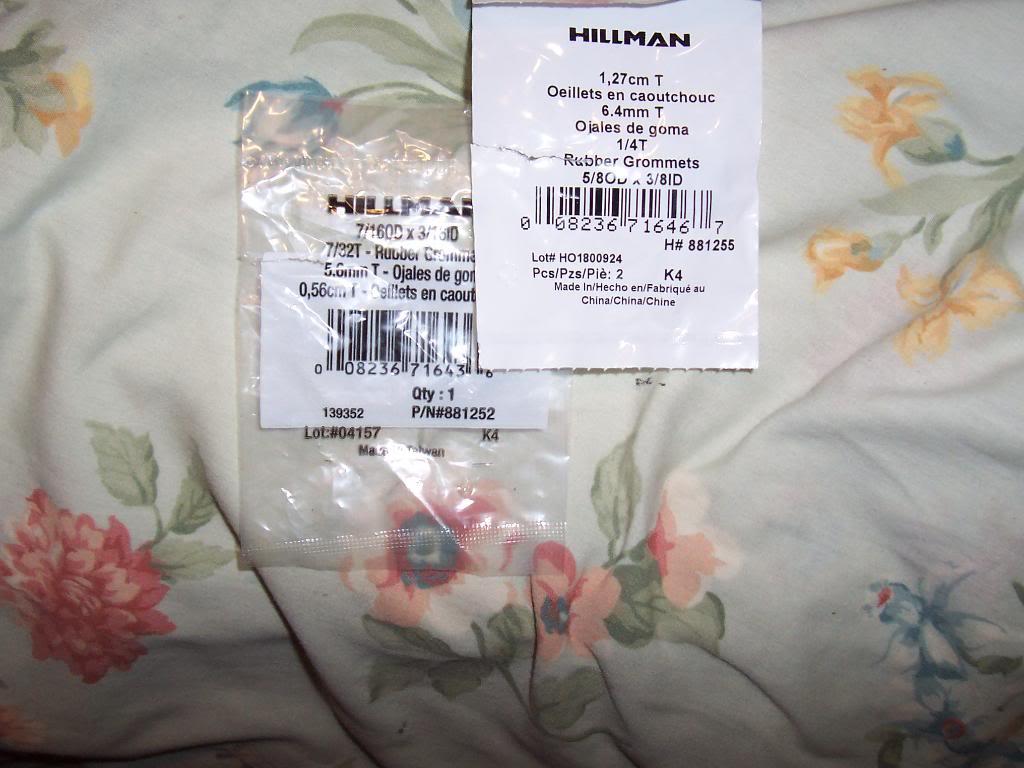
Sealed up the hole in the computer harness grommet in the firewall. I use this hole to run the mechanical oil pressure gauge line through, so I used two rubber grommets to seal it up. I had to use two grommets to get the correct OD and ID, as I could not find a single grommet with the correct dimensions. Worked out pretty good.

0014-1.jpg


0024-1.jpg


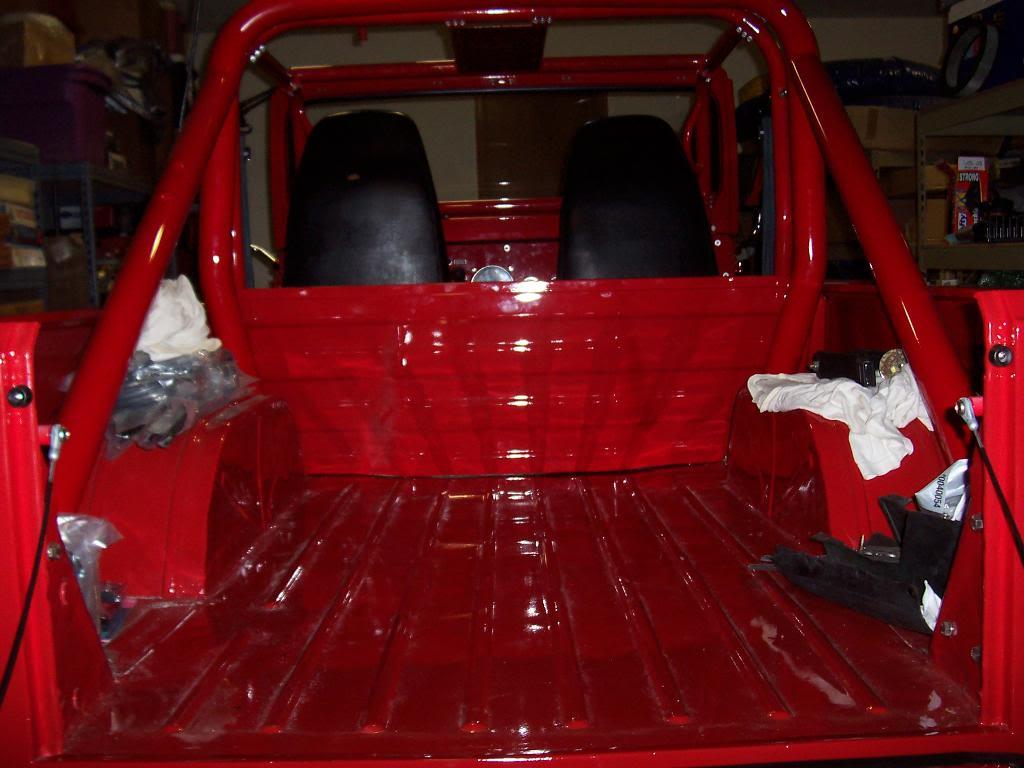
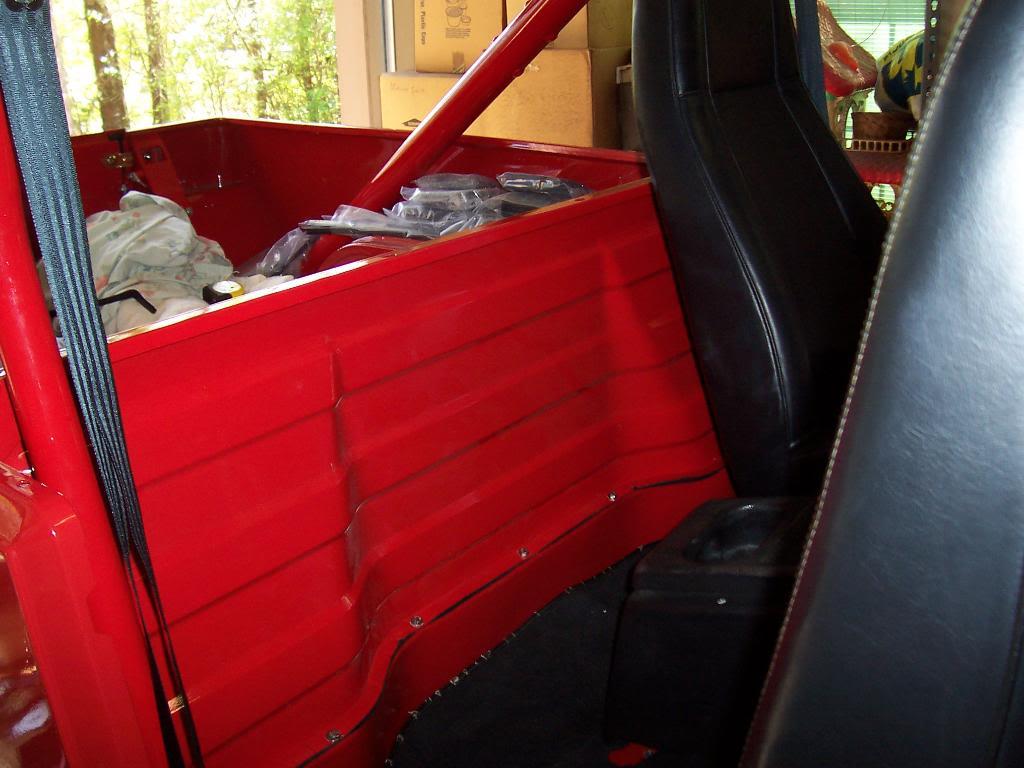
Temporarily bolted in the bulkhead. I was able to get it to fit between the factory roll bar and the in-cab Rockhard roll cage rear hoop by dropping it down from the top. Fits really good. I was really concerned about this possibly not fitting, but it ended up I was worried about nothing. I need to drill 3 of the bolt holes in the rear bed since I replaced the bed sheet metal. The good thing, I still have the original underfloor support brace that has the factory installed threaded things that the bolts thread down into. Just a matter of re drilling the holes.

Picture from the rear of the bed looking toward the bulkhead. Nothing beats the look of a painted bed, bulkhead, and wheel wells IMO.

0034-1.jpg


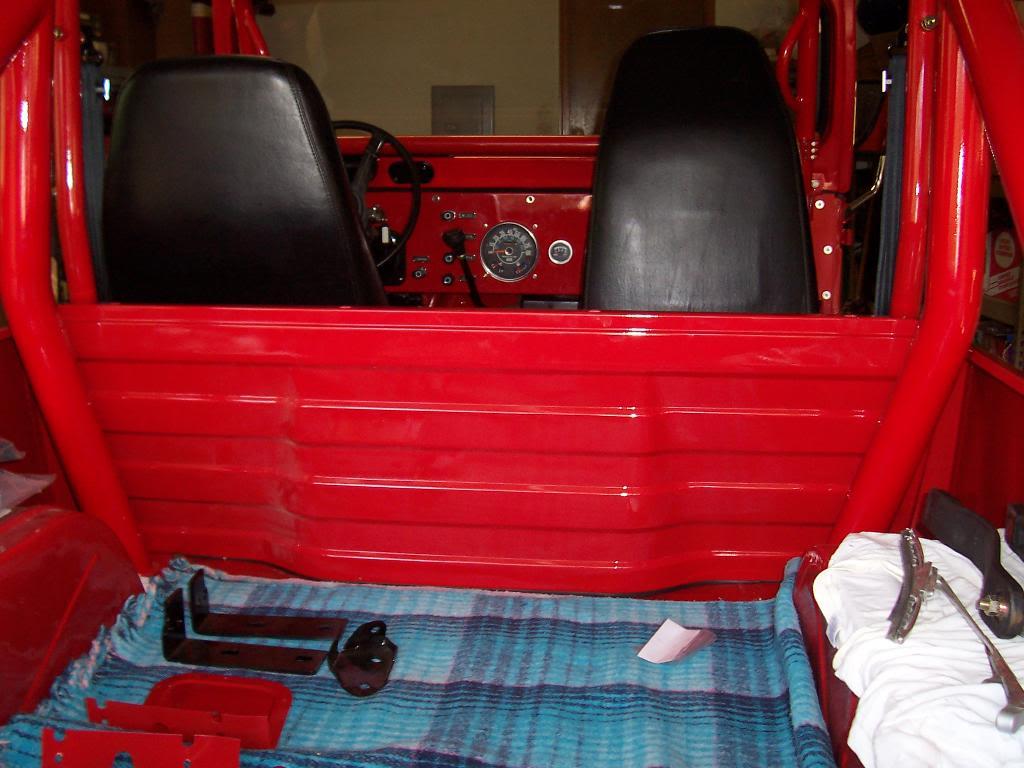
Picture of the inside face of the bulkhead.

0044-1.jpg


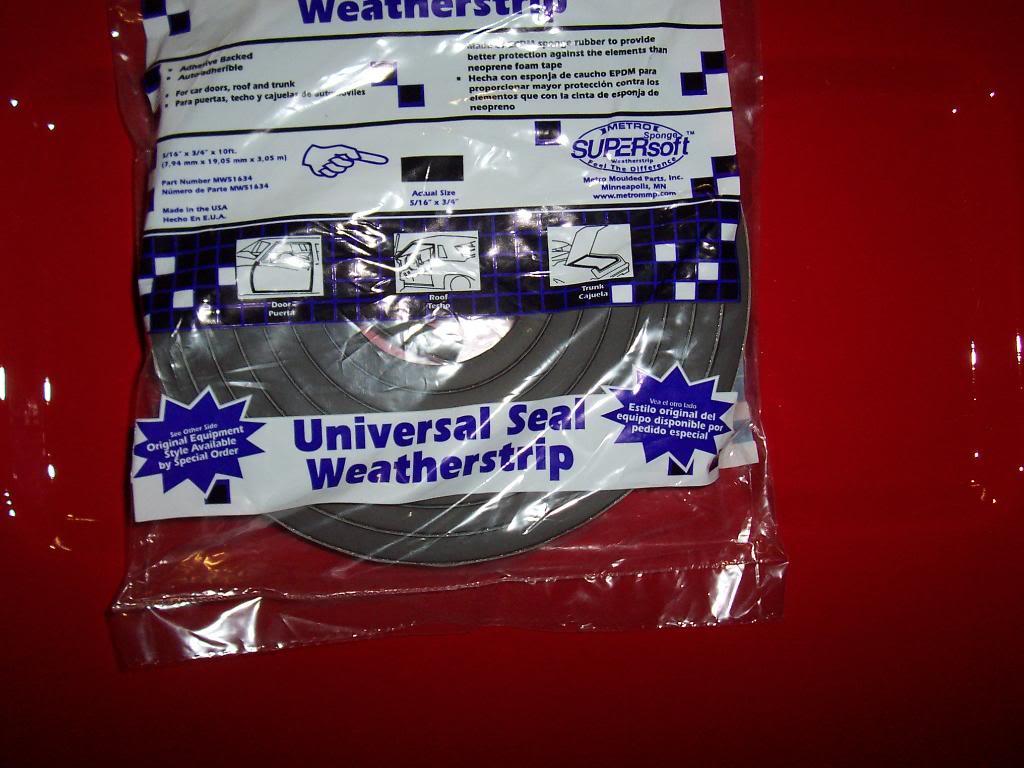
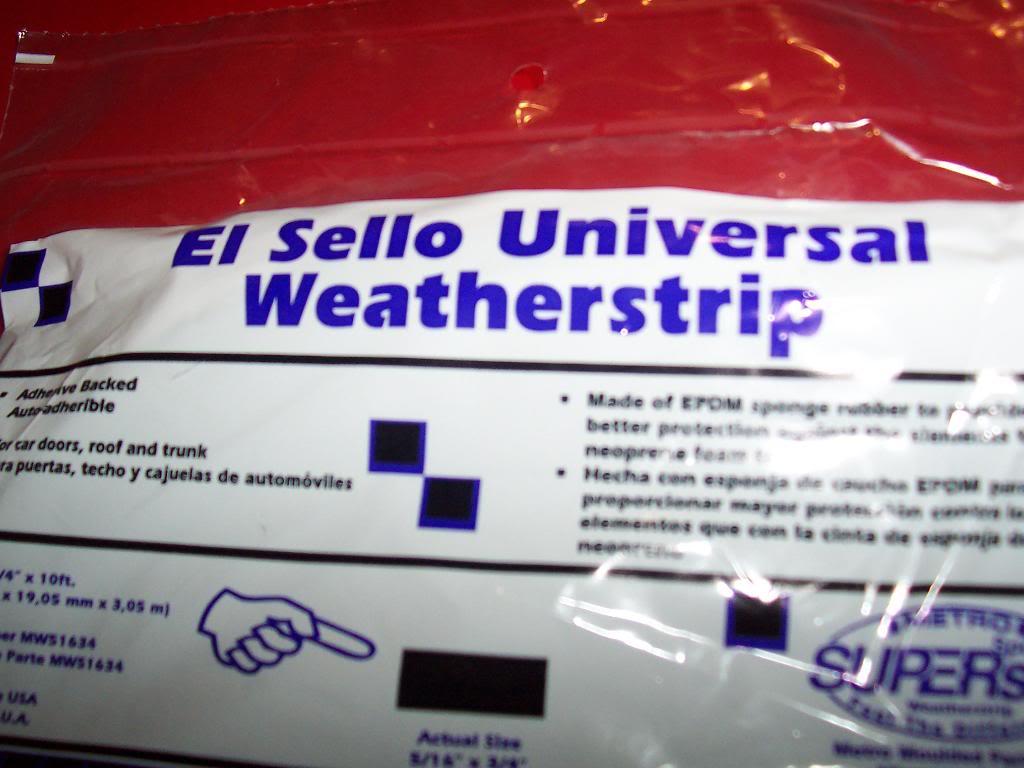
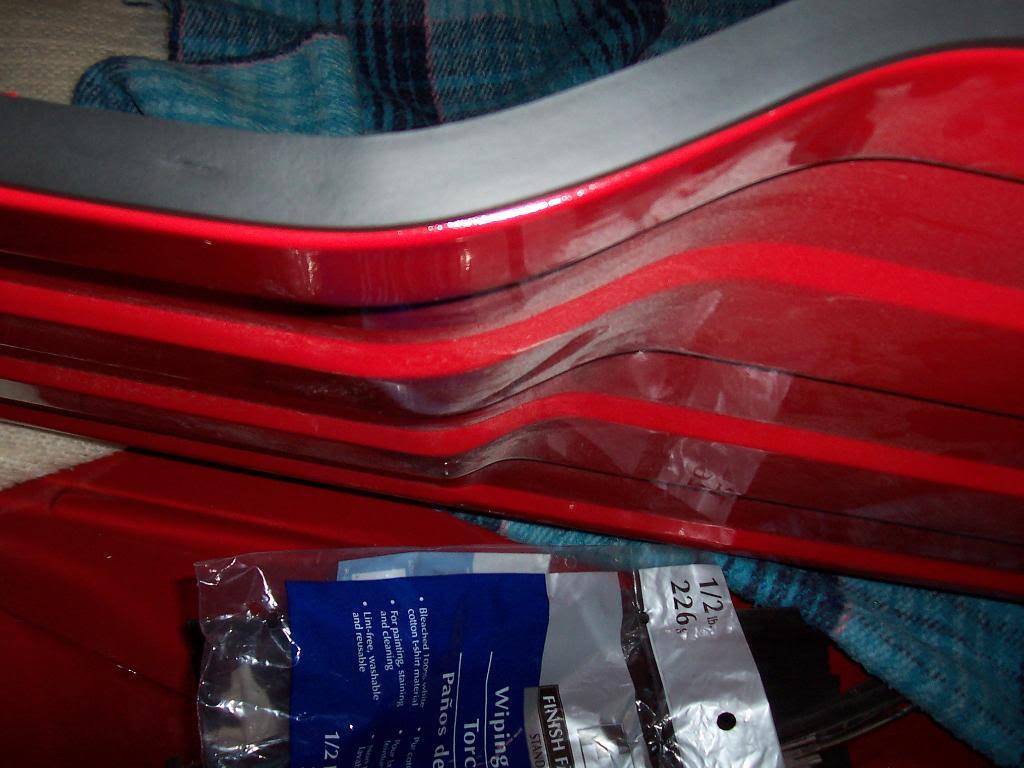
After searching Lowes, Home Depot, Advance Auto Parts, NAPA, ACE Hardware, etc., I found this weatherstripping to use under the bulkhead at Auto Zone.

0054-1.jpg


0062-1.jpg


I didn't want to use the more readily available "foam" based weatherstripping. I was concerned about the foam holding moisture. This is that "EPDM" based rubber gasket material, I don't think it will hold moisture like the foam based stuff, hopefully. I wanted to keep my bulkhead removable, that is why I didn't want to use seam sealer to seal it in place. Also, since I keep both my Scramblers indoors when i am not driving them and I also wash out the beds only when the nose is higher then the tail, I should be good to go.


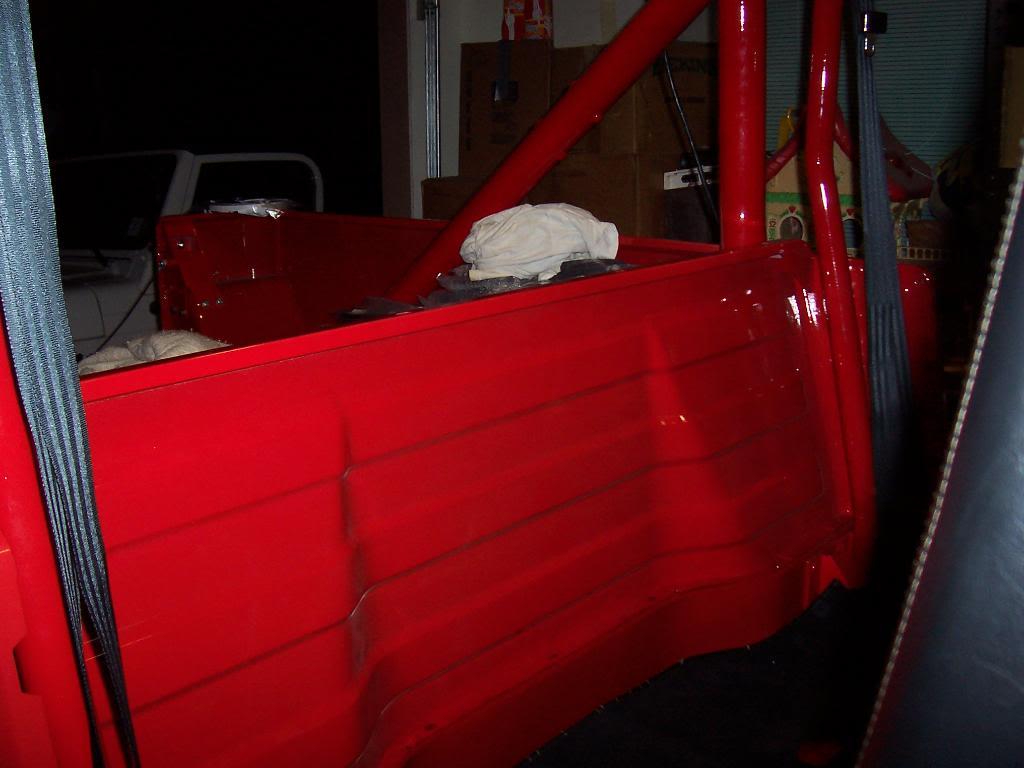
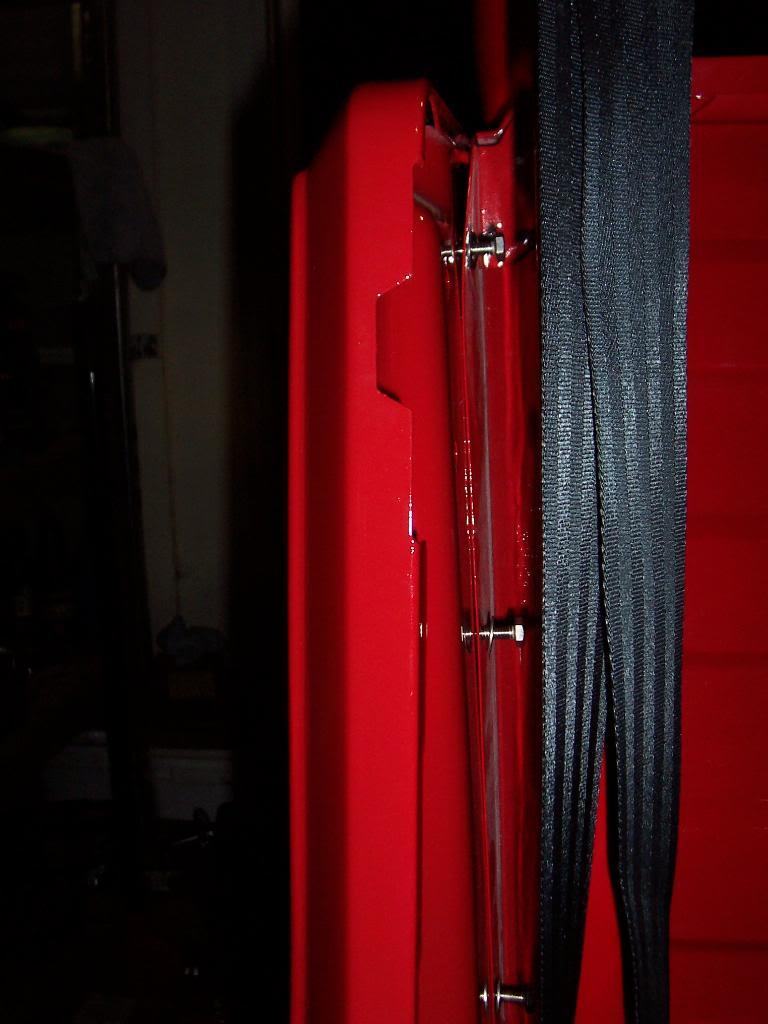
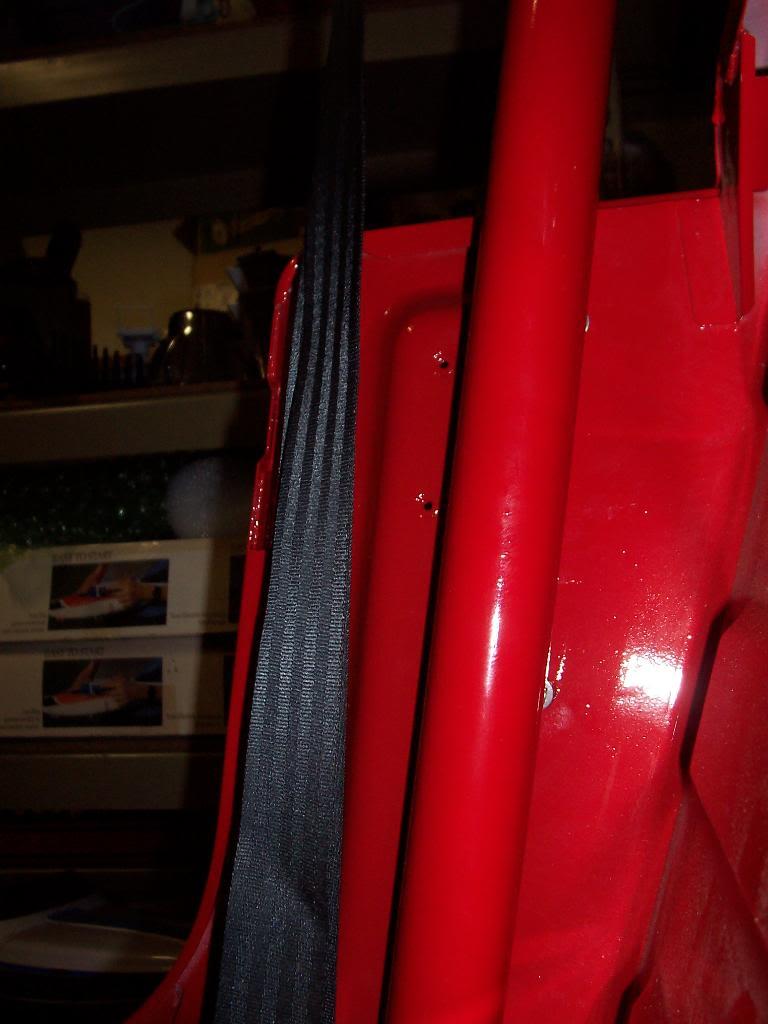
Few more pictures of the bulkhead to in cab roll cage clearances. It is kind of tight to thread the 3 bolts in on each side that secure the bulkhead to the body with the in cab cage, in place, but they do fit. Seems like Rock Hard thought about this issue when they designed the rear hoop. Not the funnest 6 bolts to install and remove, but since I don't plan on removing the bulkhead every other day, it is all good.

0071-1.jpg


008-1.jpg


That's it for now.
 
I got a little more work done this weekend.

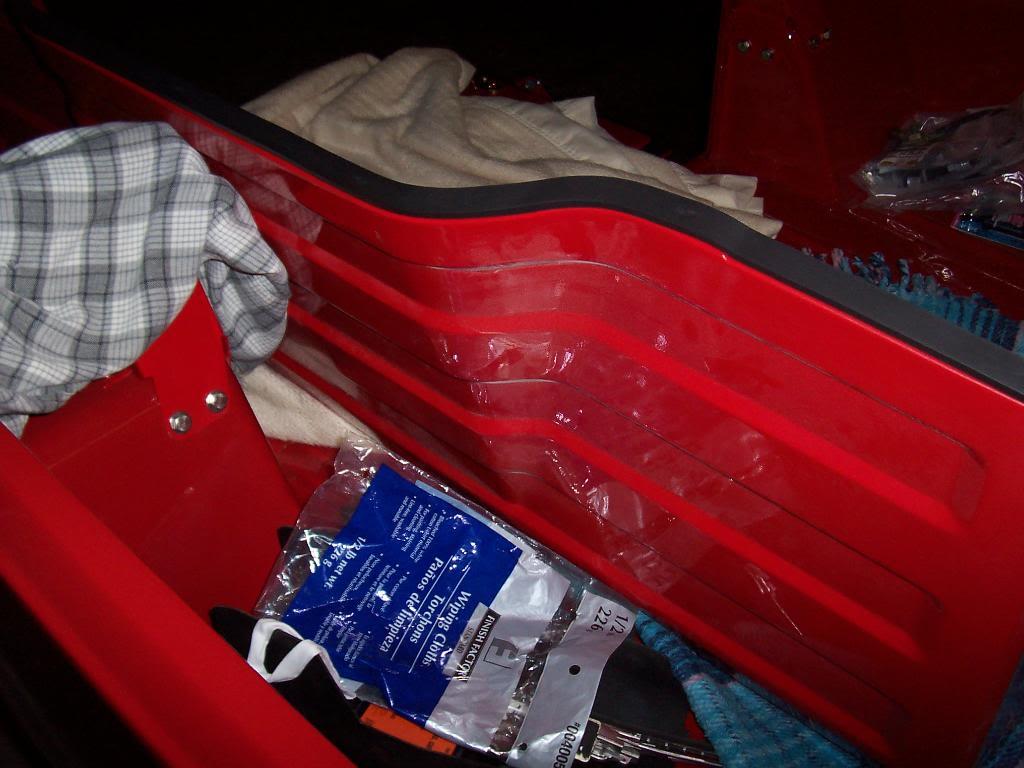
Pictures of the weatherstrip tape stuck to the bottom of the bulkhead. It conformed to the curves very well.

0015-1.jpg


0025-1.jpg


And the bulkhead is now installed.

0101-1.jpg


0111-1.jpg


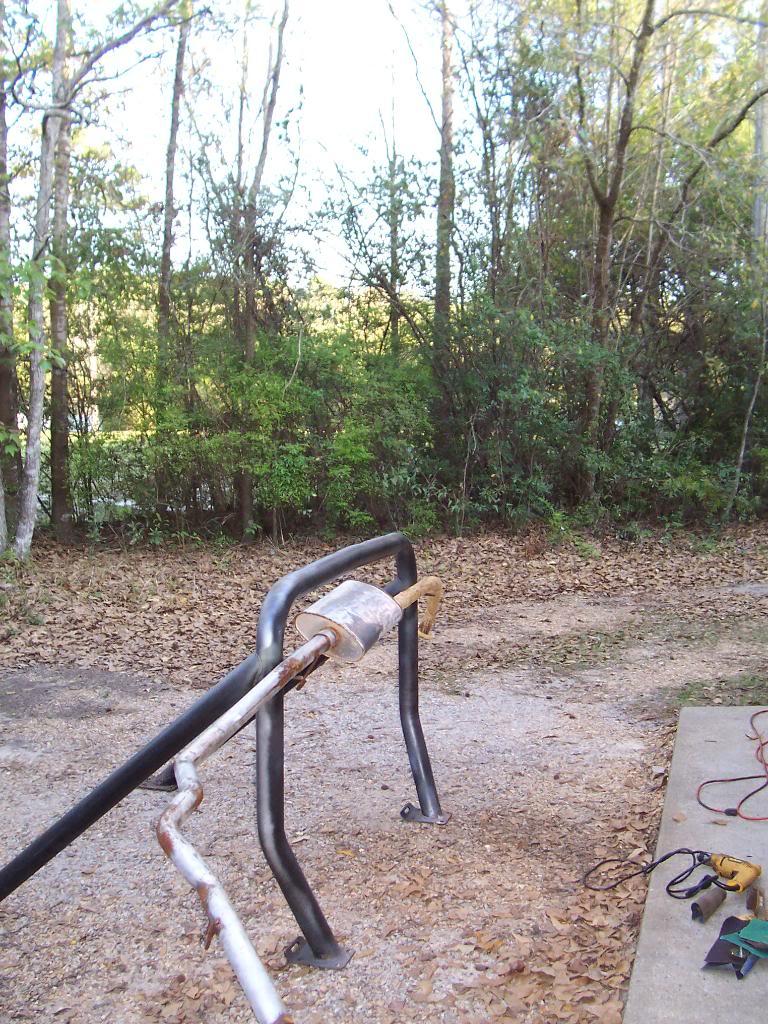
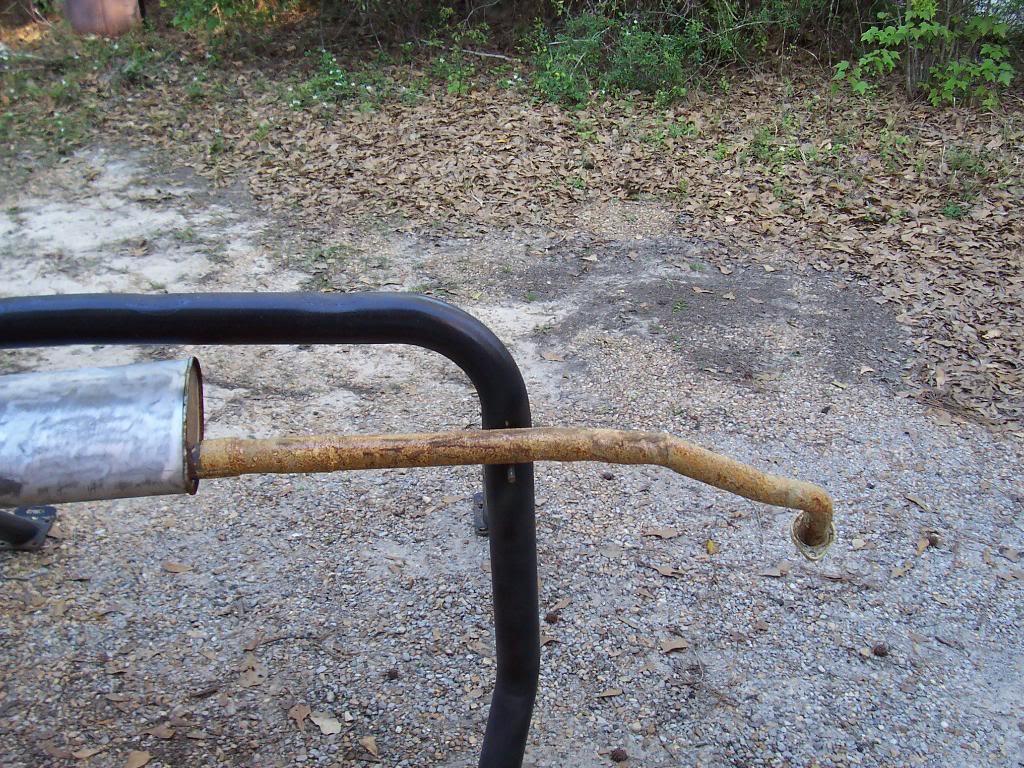
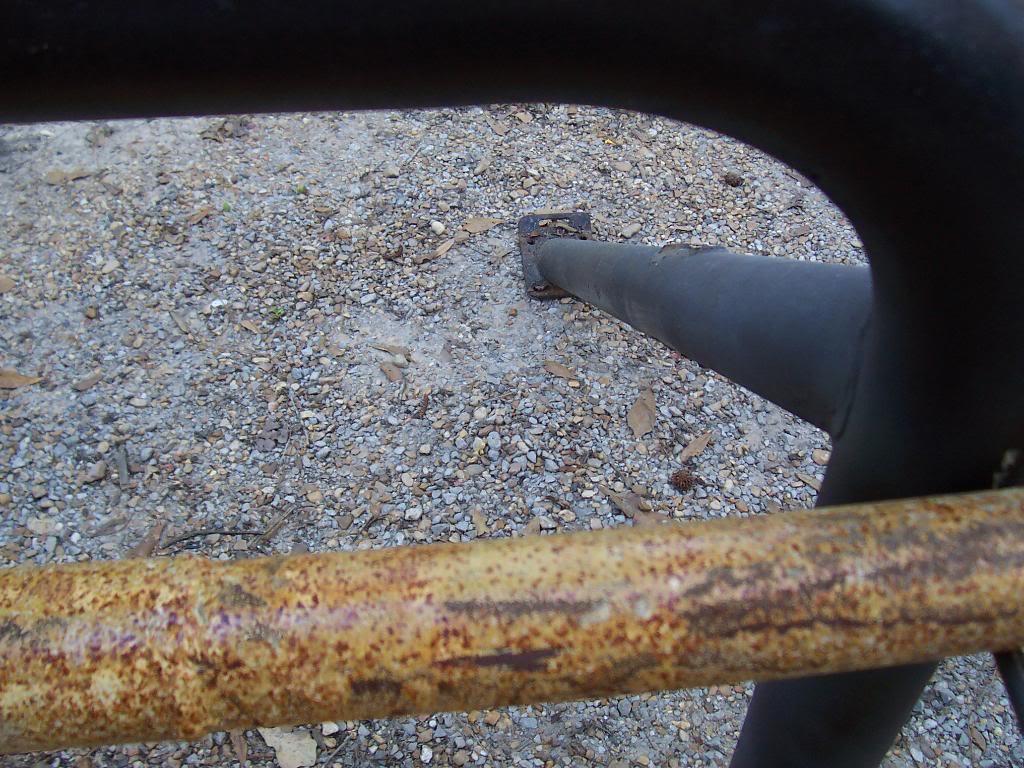
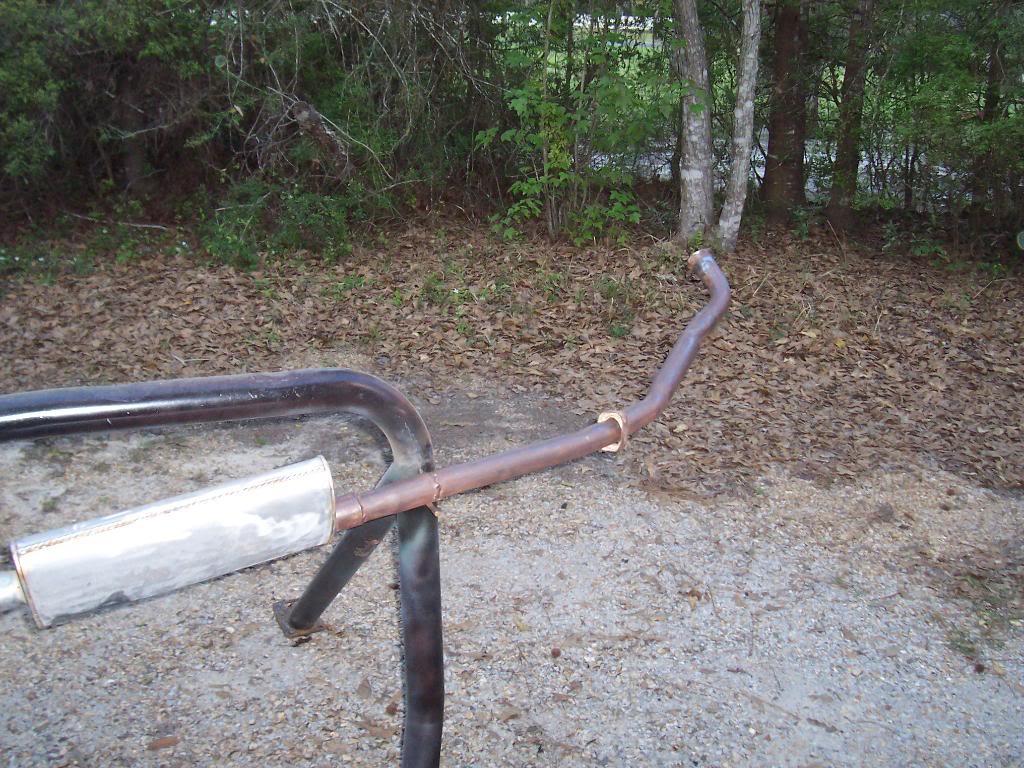
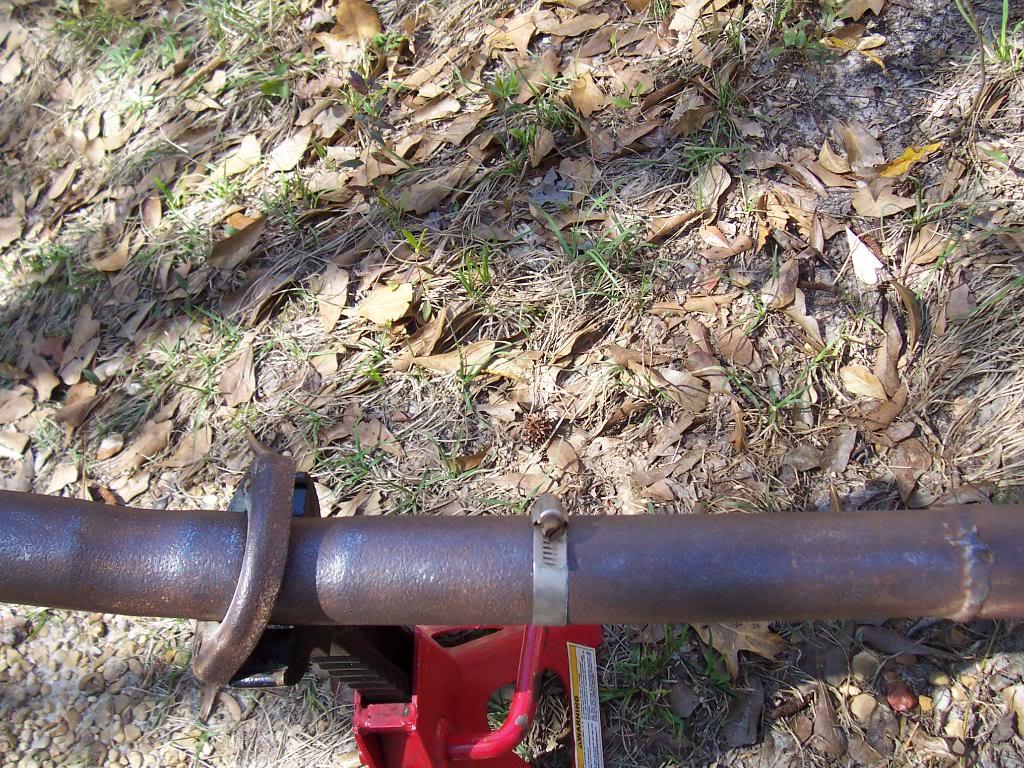
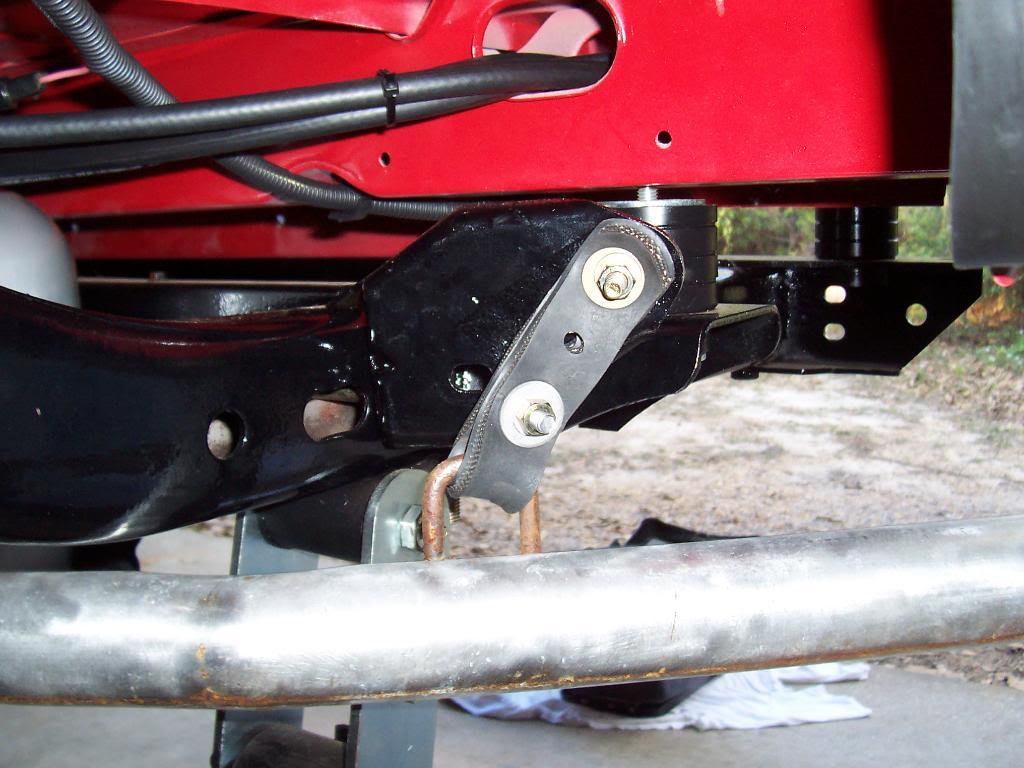
Reinstalled my old exhaust system. This is just temporary, I will get new exhaust installed once the jeep is drivable. Pictures of the old exhaust. It is in OK shape. The front pipe (manifold to muffler) was very rusty. I put some kind of rust dis-solver stuff on it, did not work too great.

0055-1.jpg


0063-1.jpg


0072-1.jpg


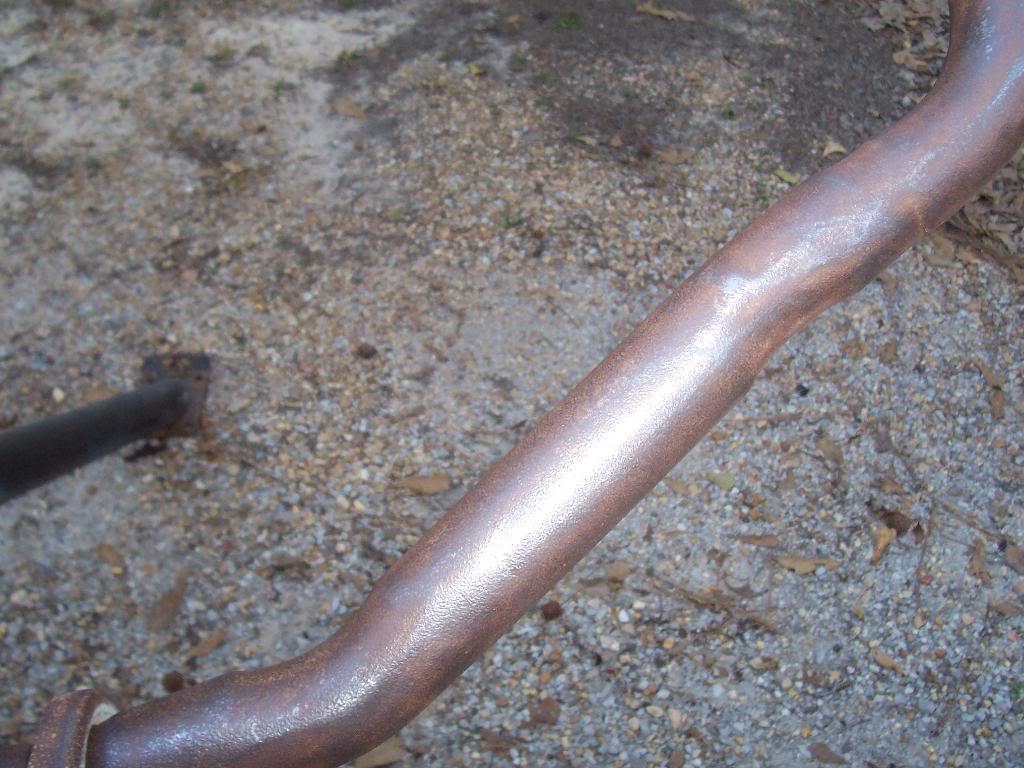
Cleaned it up with a wire wheel, emery cloth, sand paper etc. It will be OK for temporary use.

0081-1.jpg


0091-1.jpg


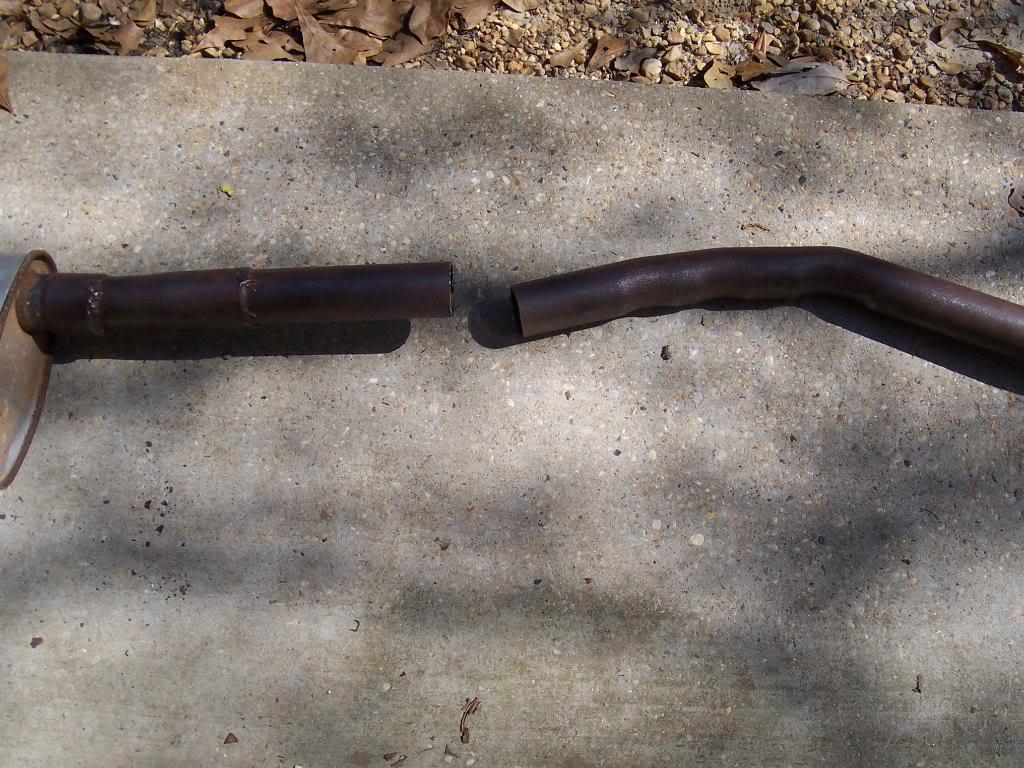
To make it easier to install, mainly because I did not feel like dropping the skid plate, I cut the exhaust system between the muffler and the front of the pipe. The hose clamp was used as a guide to cut it straight.

0121-1.jpg
 
And cut in half.

013-1.jpg


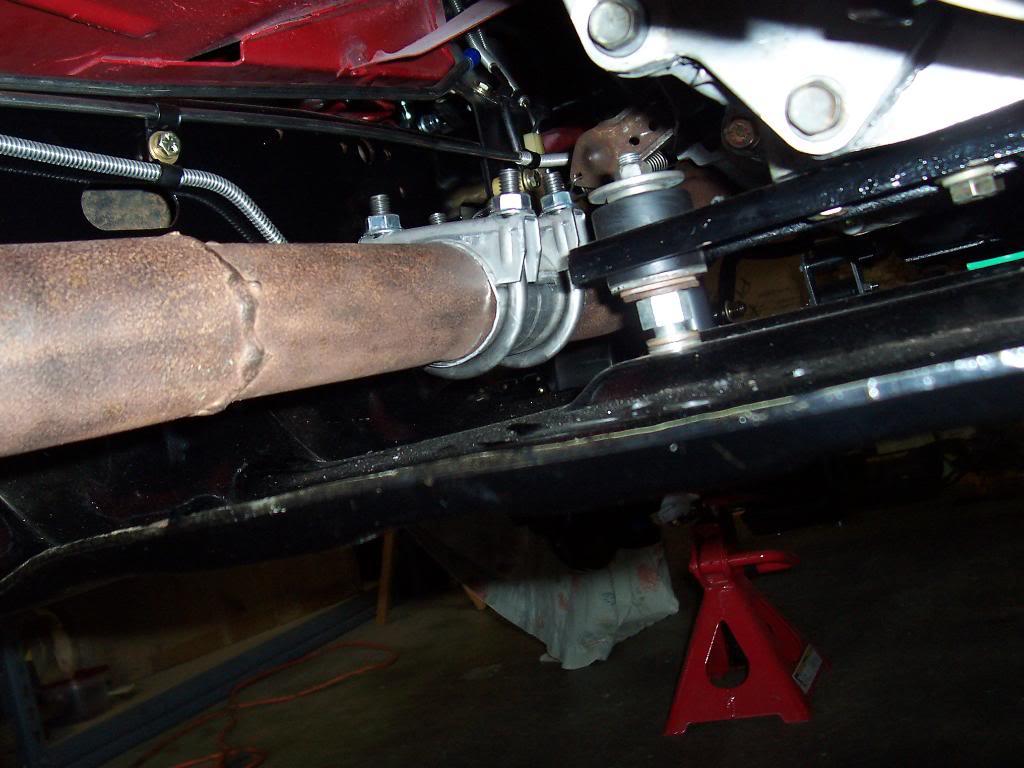
Some installed pics. I used a coupler and two exhaust clamps to reconnect/seal the pipe where I cut it. Kind of cheesy, but for a temporary fix, it works great. Way better then the open manifold.

019-1.jpg


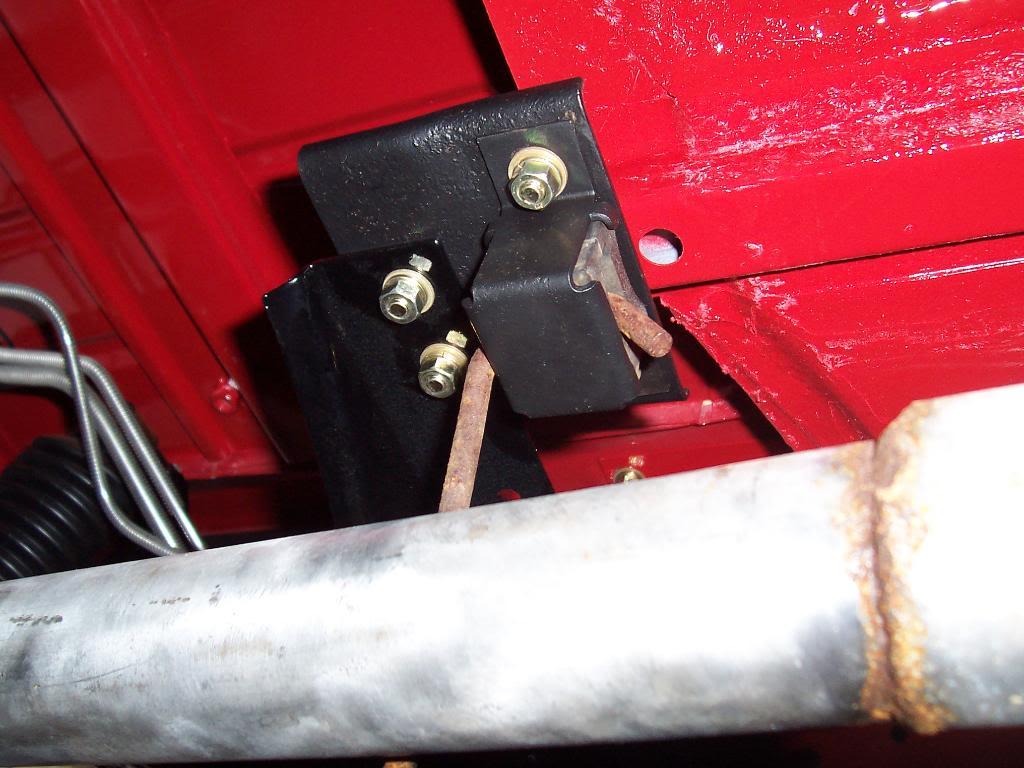
The middle hanger that I reused.

020-1.jpg


The rear hanger that I rigged up. I am not sure if this is how it was before, but it works for now.

021-1.jpg


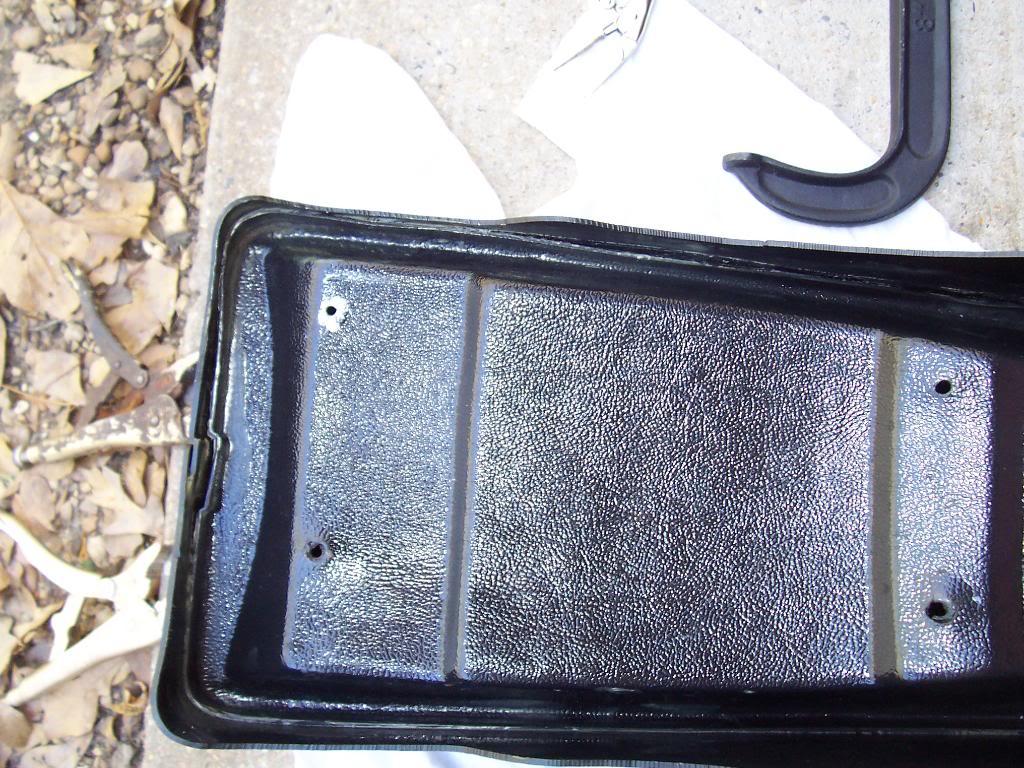
Had to do a little repair work to my center console. Some of the original glue joints have failed. These joints are on the underside of the console, where the floor of the console connects to the sides.

014-1.jpg


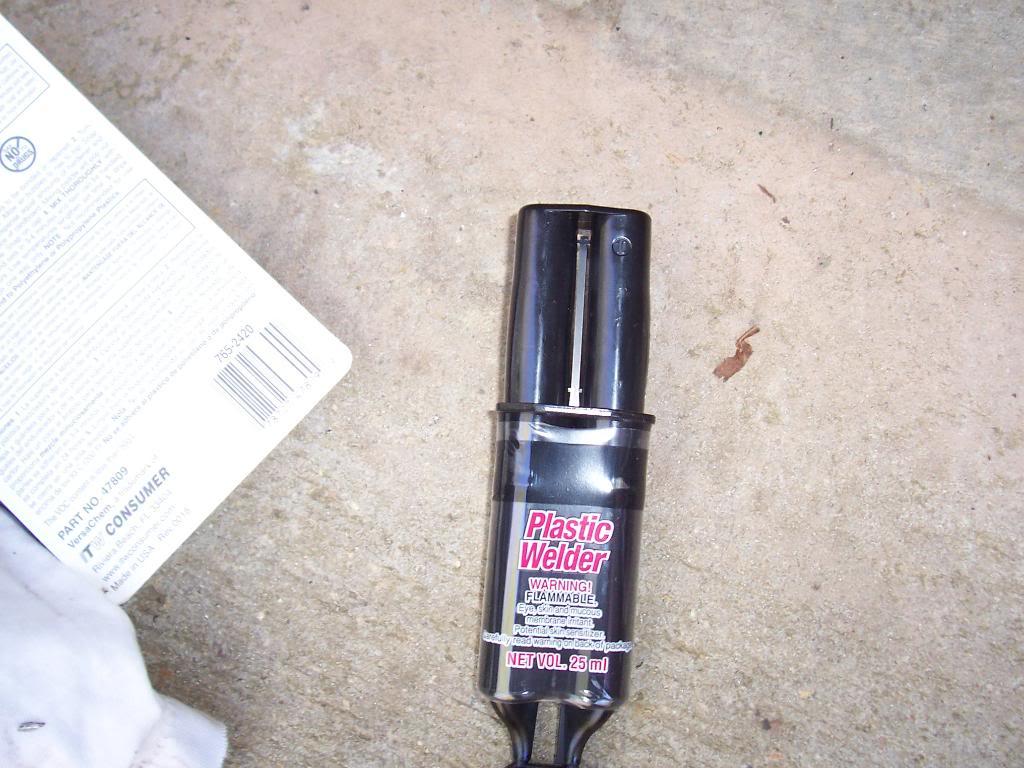
Picture of the two part epoxy that I used.


015-1.jpg


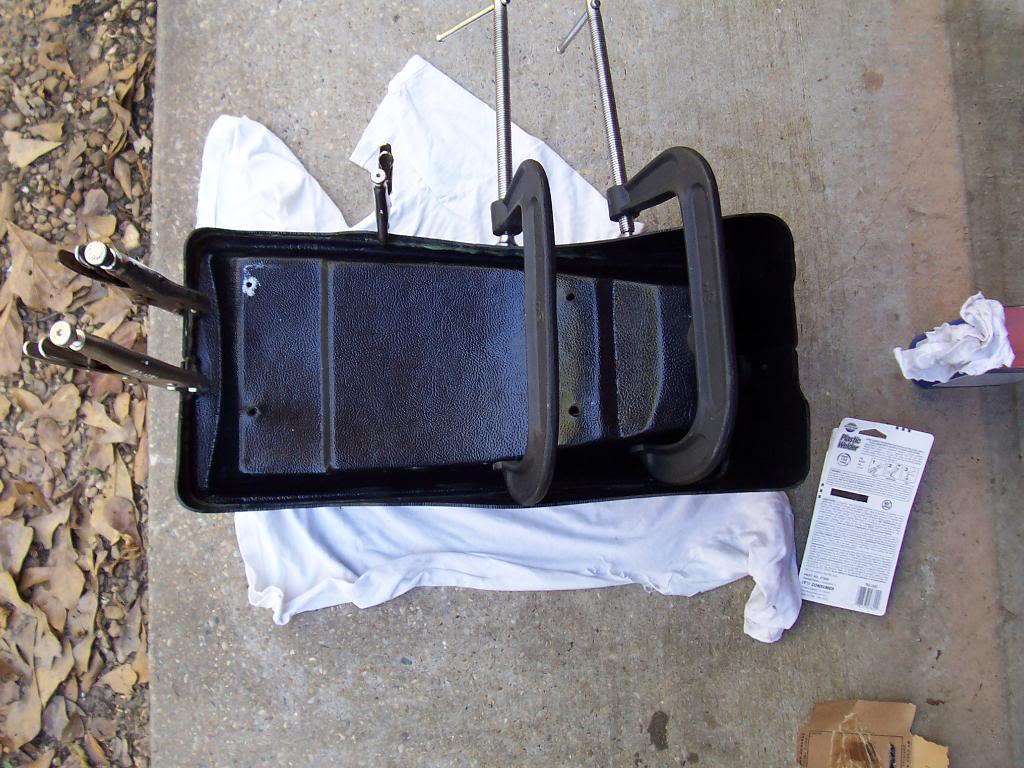
And glued. The big C-Clamps are not really clamping, I am just using there weight to hold the seam together while the glue cures.

016-1.jpg


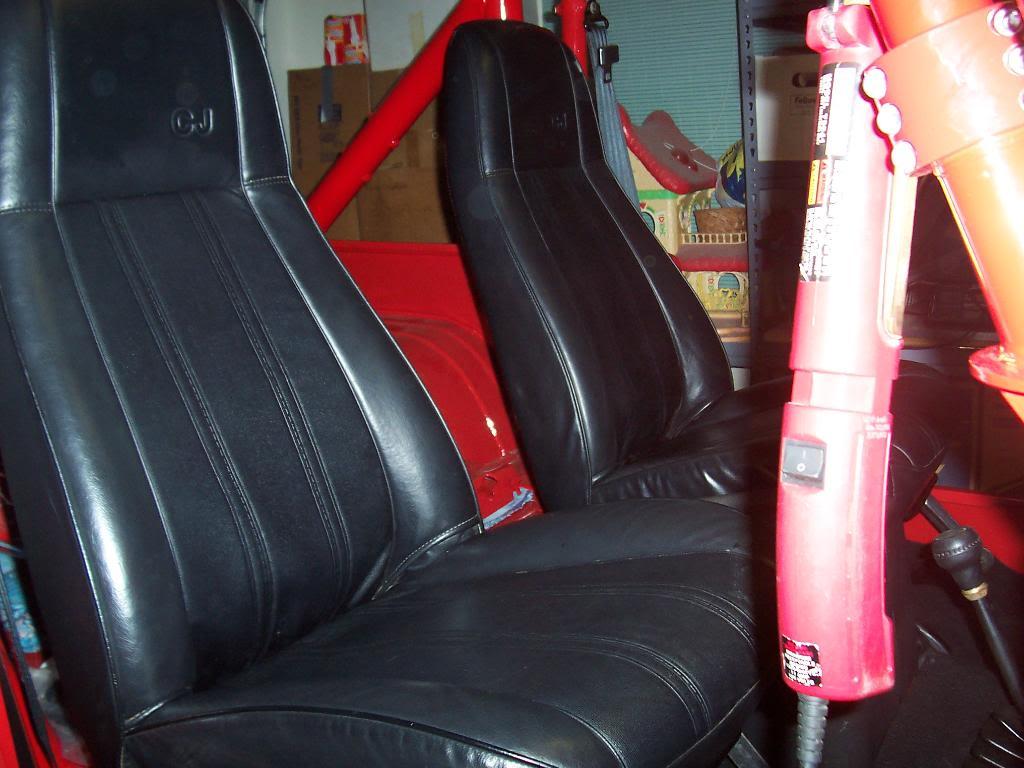
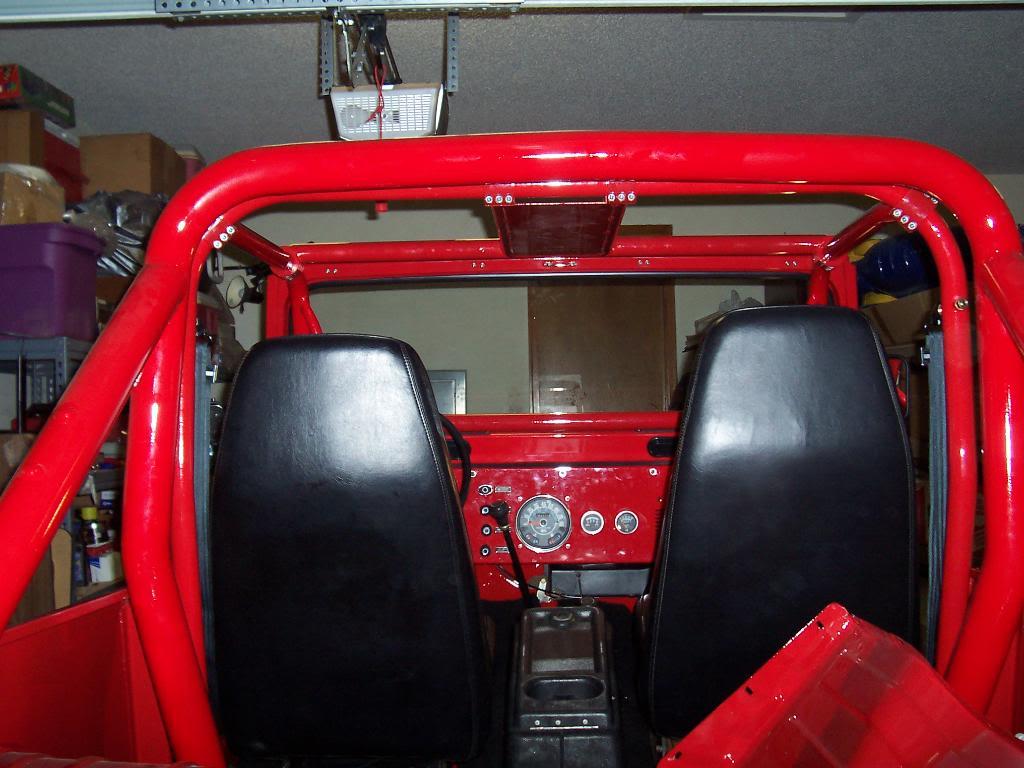
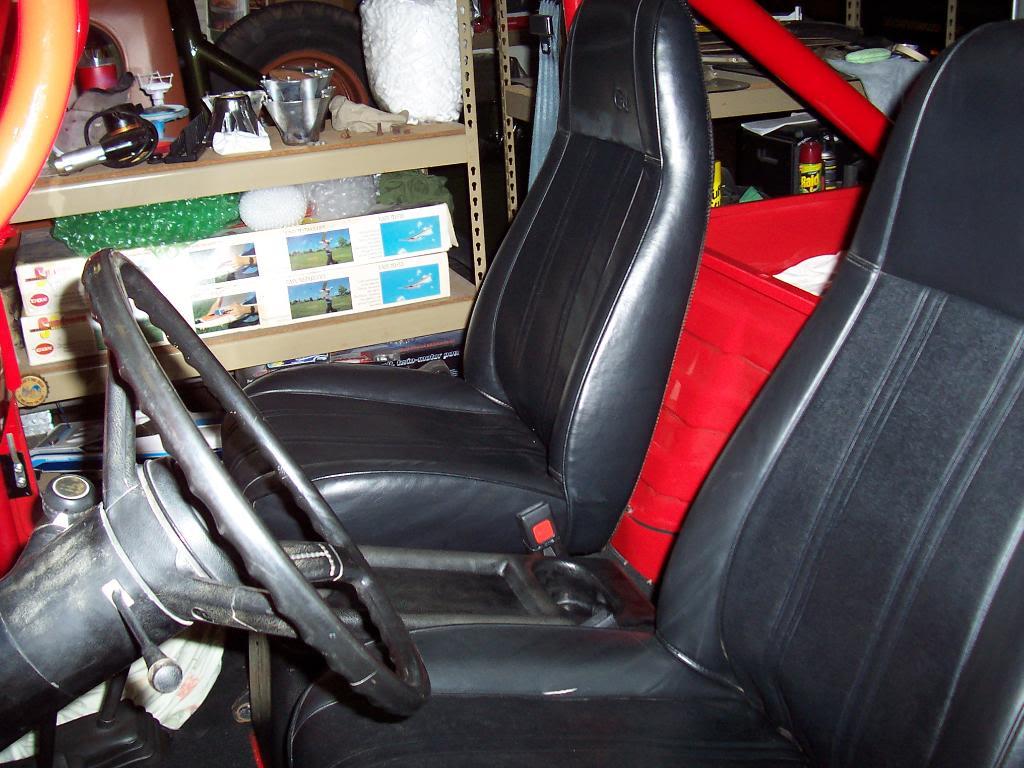
And the interior finished up for now. Screwed the console to the floor in all 4 screw holes, also pictured are the lower parts of the seat belt assemblies.

022-1.jpg


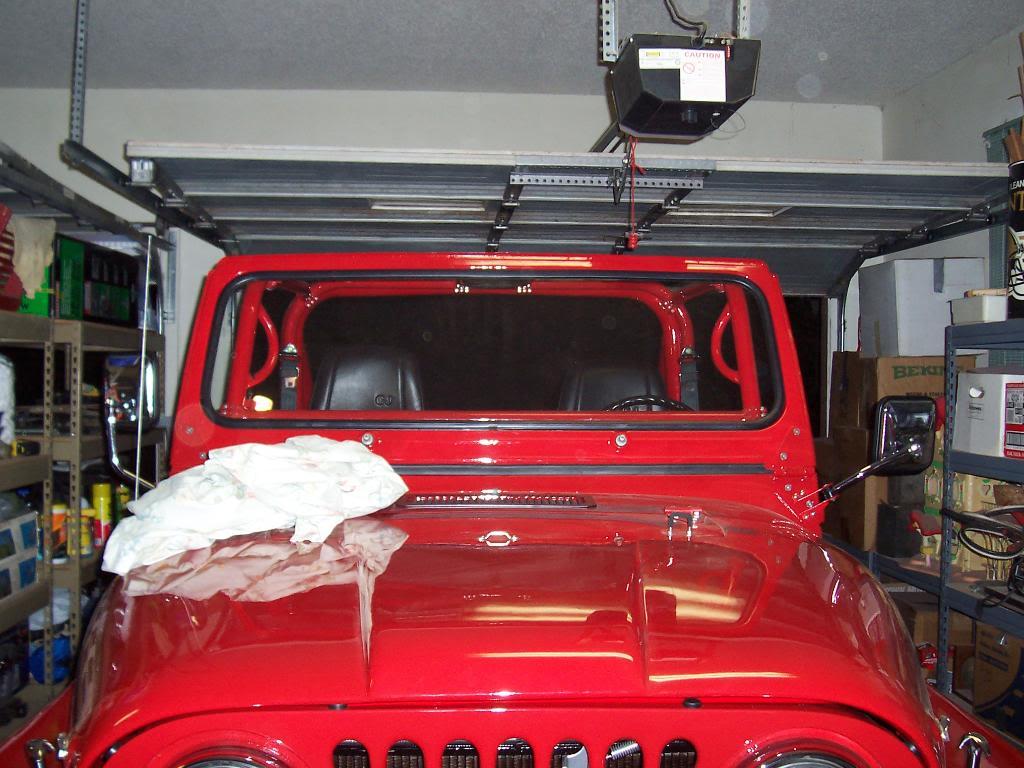
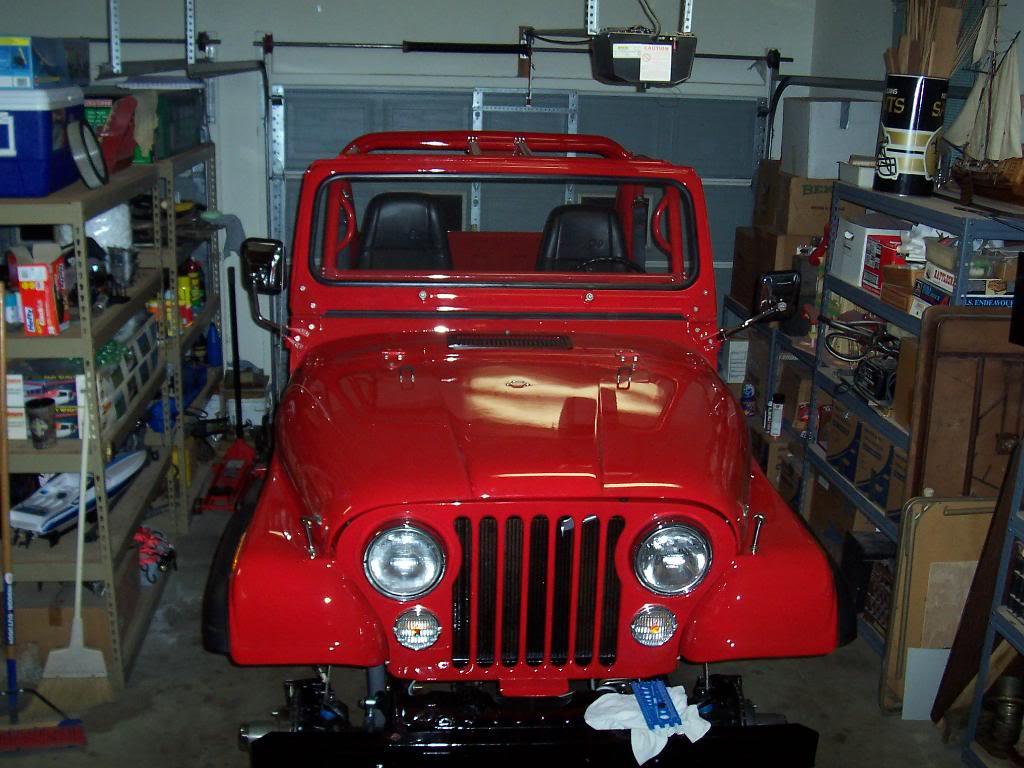
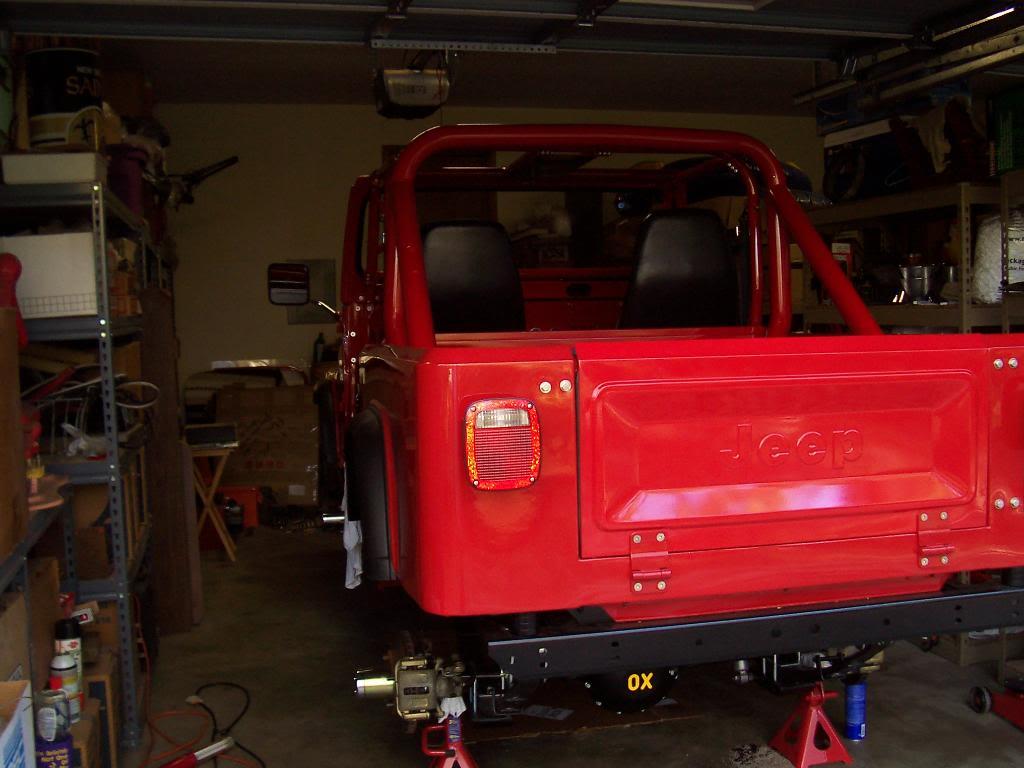
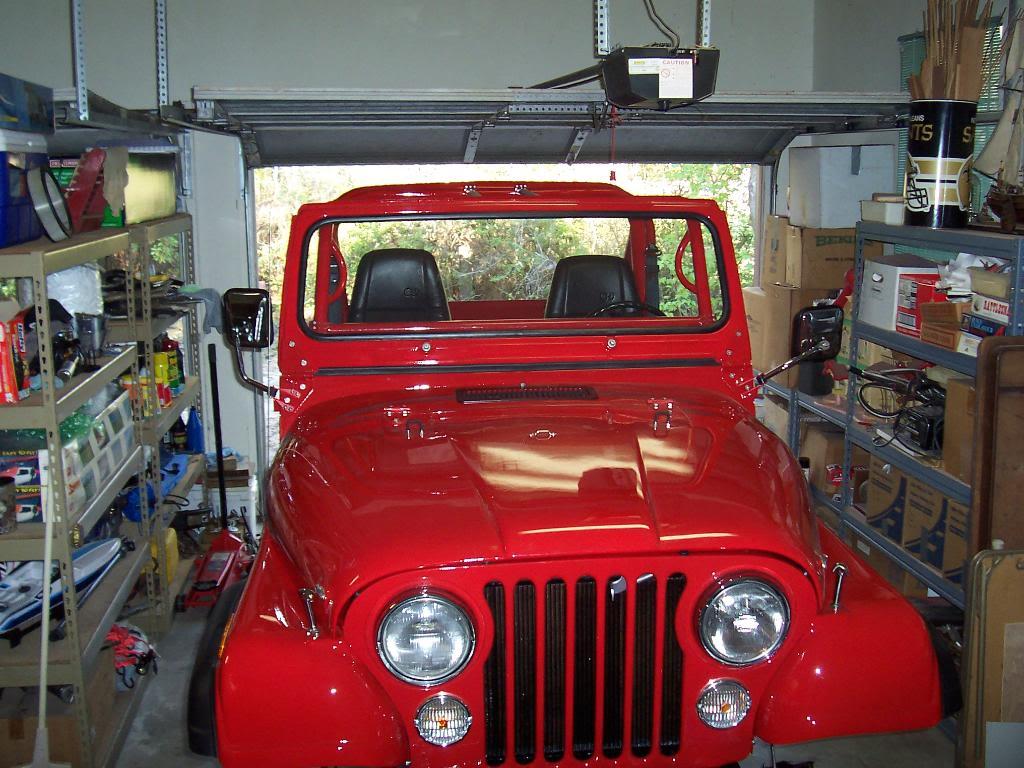
Two quick pictures of the Scrambler in the sunlight. This is the best that I can do for now.

0035-1.jpg


0045-1.jpg


That's it for now.
 
I get to pick up my rims from my painter tomorrow.......................and take them to another sand blasting place:rolleyes: His blasting machine wont remove the paint:shrug:

I am going to take them to one of our painting subcontractors, Industrial Corrosion Control. This company does a lot of blasting at big industrial parks and other large scale commercial construction projects, so I am confident they have the technology to get wheel paint off these rims:thumbsup:

I do get to pick up and install my passenger side seat frame from the painter, so all is not lost. Hopefully I can get the wheels blasted this week and maybe painted next week, and maybe even get my tires mounted on the rims. I might get this thing rolling by Christmas:fingerscrossed:
 
I think you'll have it rolling outta there this weekend! Work looks great. Will the foam tape on the bottom of the bulkhead hold any water? That might not be good, but I did not have one in mine so I don't know what the factory used.

Also, might want to consider some clear tape (3M makes it) to cut and install on the sills on the doors. As soon as I got in mine I (or someone) scraped a shoe across the sill. I bought a roll at a surplus store and cut to length and width and installed. It's clear so can't see it but it protects it from scratching and it's removable and replacable. Also, have bought it a Walmart in a small package.

Keep at it, looks great!
 
I think you'll have it rolling outta there this weekend! Work looks great. Will the foam tape on the bottom of the bulkhead hold any water? That might not be good, but I did not have one in mine so I don't know what the factory used.

Also, might want to consider some clear tape (3M makes it) to cut and install on the sills on the doors. As soon as I got in mine I (or someone) scraped a shoe across the sill. I bought a roll at a surplus store and cut to length and width and installed. It's clear so can't see it but it protects it from scratching and it's removable and replacable. Also, have bought it a Walmart in a small package.

Keep at it, looks great!

Definitely wont be rolling out this weekend, I am going jeepin' in my '05 Rubicon up at Mountainside, AL:cheers:

Might be able to drop the rims back off at the painters on Friday on my way out of town if all goes according to plan:thumbsup:

The weatherstripping I used on the bottom of the bulkhead is not the usual "foam" type. It is rubber, so hopefully it wont hold water. I will definitely keep an eye on it, though:thumbsup:

I bought some sill protector tape with my decal kit, should show up any day now:fingerscrossed:
 
OOOOO PRETTY! Makes me inchin to start my frameoff.

Appreciate it:cheers: I will warn you, though, it takes a bunch of work to get it back to this point, and I'm still not "done":thumbsup:

Good luck with your build, and take lots of pictures:popcorn:
 
Back
Top