• Notice for iPhone users: DO NOT use the image size reduction option when uploading photos to the forum. This causes portrait images to post as landscape. We have added a warning to the image insert pop-up as well.

Spankrjs' 1984 Long Term Project

That's a good question. Using copper lines would get rid of those nasty rust issues. Anyone know if there's a requirement to use steel?

I am not sure if copper would hold up to the pressures encountered in multi point fuel injection:shrug:

Also, copper, and aluminum, are very soft, so you would have to make sure that lines made out of this material would not rub/chafe against the steel frame anywhere:eek:
 
I was able to do a little "visually pleasing work" last night.

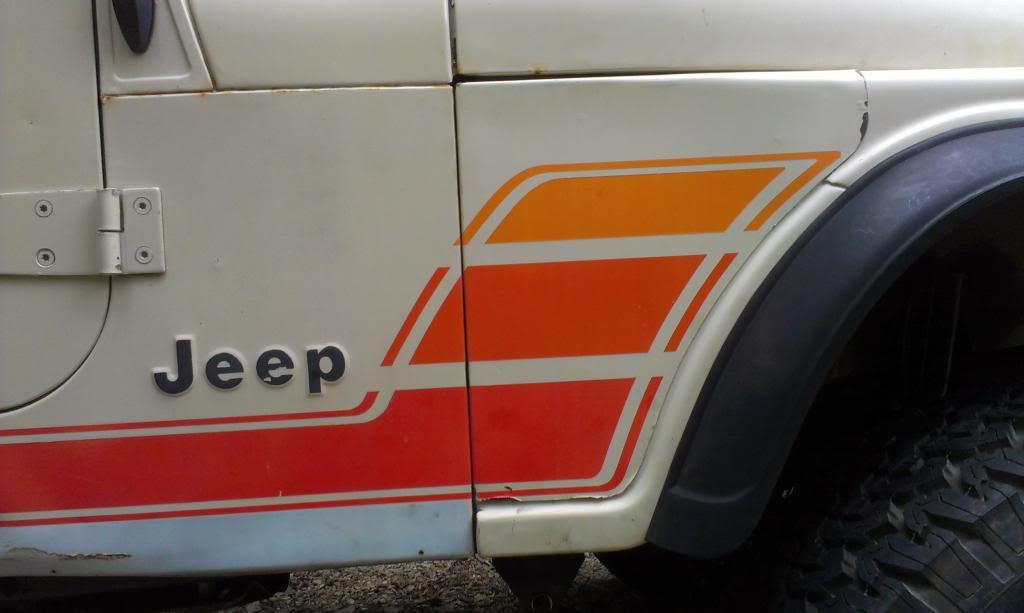
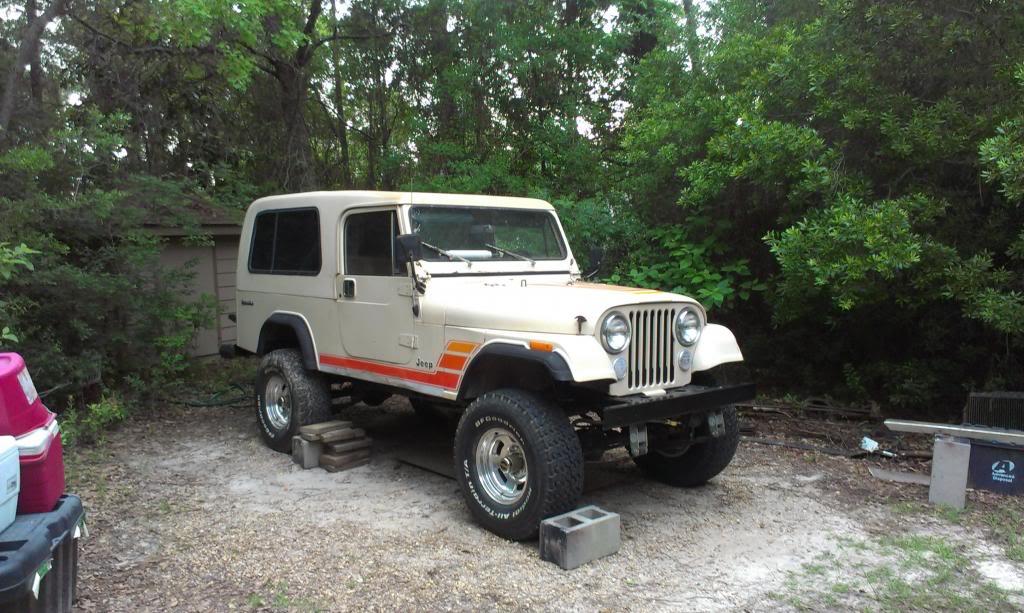
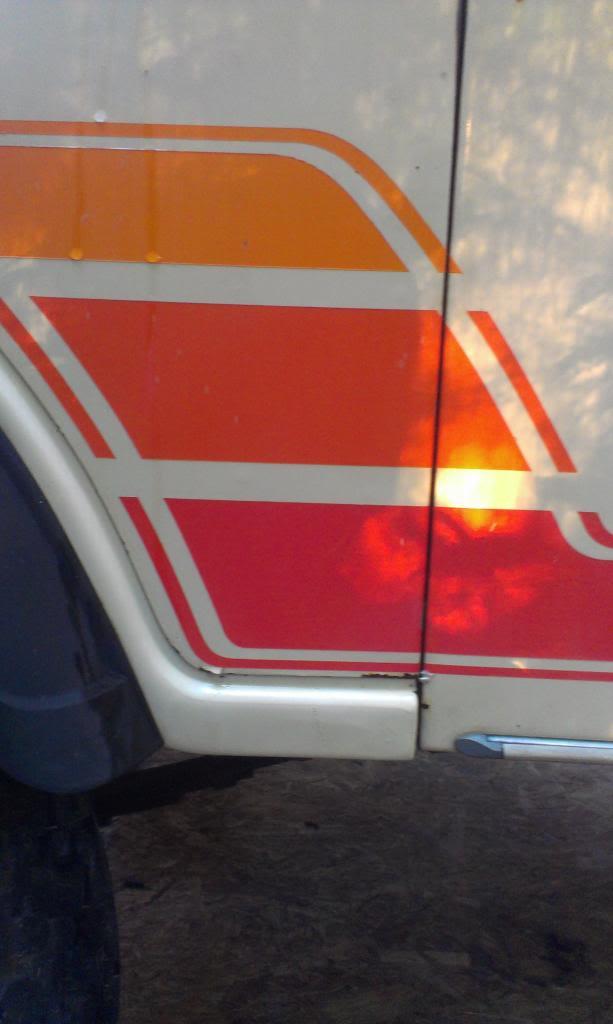
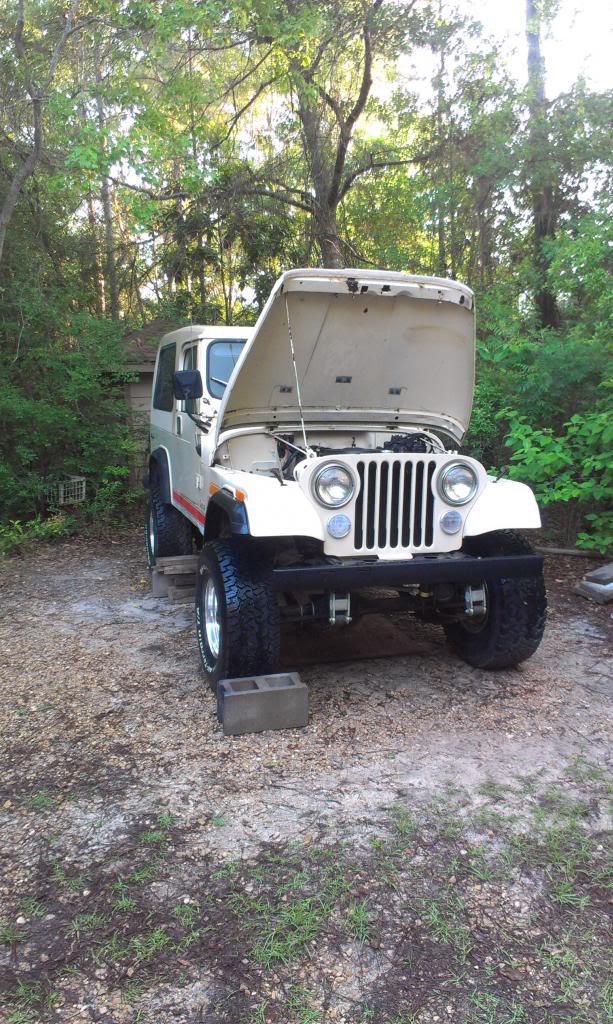
I finally adjusted/finished bolting on the passenger side fender. It was missing a few bolts, holes needed to be tapped, fender and battery braces needed to be installed correctly. I lined the stickers on the fender up with the stickers on the body. While the fender looks a little higher then the body tub, the hood now opens and closes without the prior to adjusting rubbing.

IMAG1033_zps170cd263-1.jpg


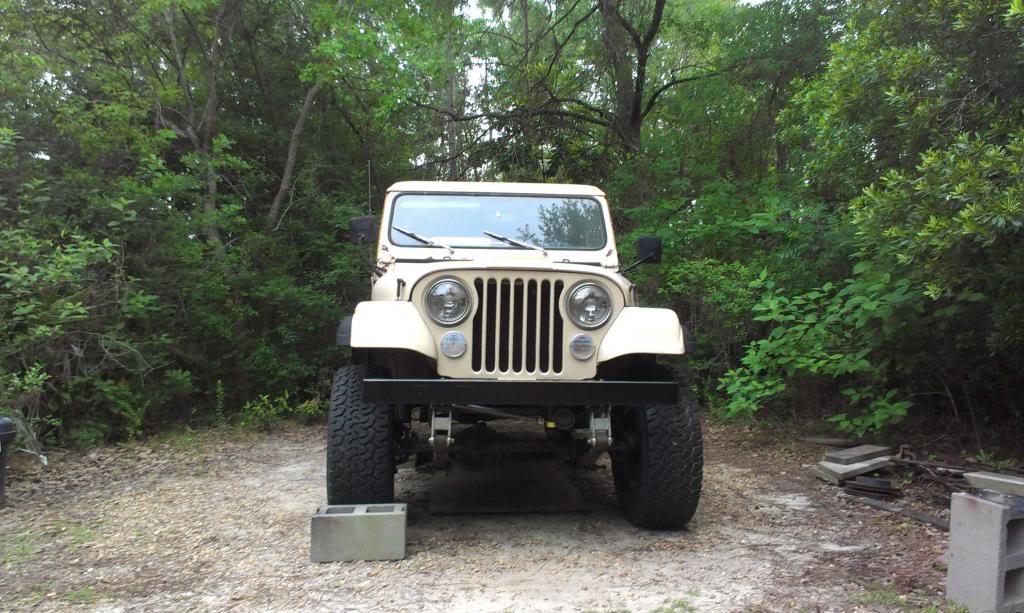
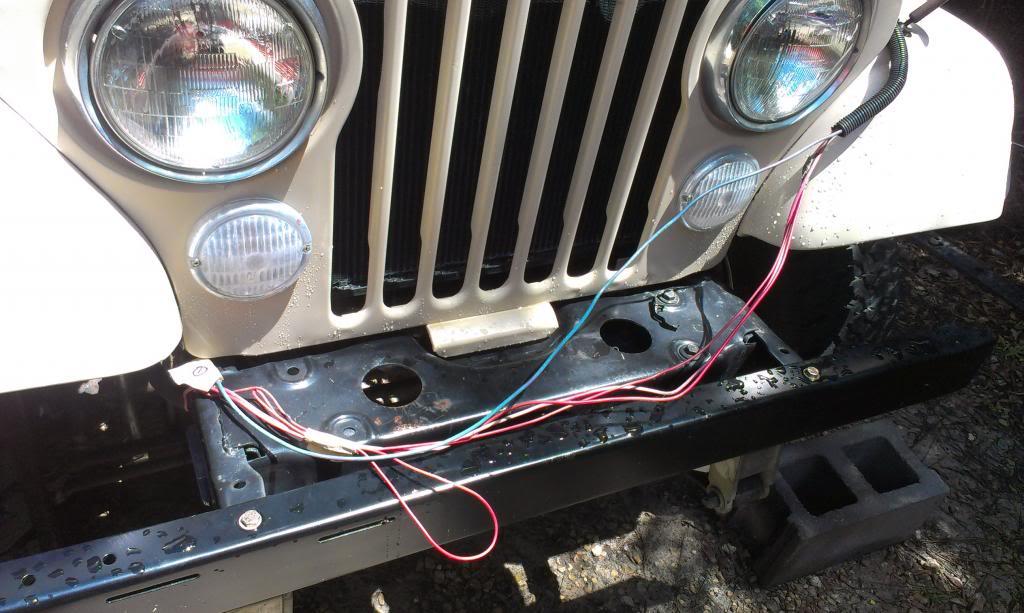
And I also installed the front light harness, headlights, and turn signals. Much better looking now IMO.

IMAG1031_zpsd3924038-1.jpg


IMAG1032_zpsead8ebb6-1.jpg


I am going to try to get the driver side fender completely installed/adjusted tonight. I also plan on cleaning out the radiator overflow tank, and windshield squirt-er bottle. Since I have to remove them to finish installing the fender, no better time to take care of some "house cleaning" in this under hood area:thumbsup:

That's it for now:wave:
 
I am not sure if copper would hold up to the pressures encountered in multi point fuel injection:shrug:

Also, copper, and aluminum, are very soft, so you would have to make sure that lines made out of this material would not rub/chafe against the steel frame anywhere:eek:

Not sure that copper is DOT approved.
 
I spent sometime last night looking at different mounts and couldn't come up with one that would bolt to directly to the adapter. I was hoping to find something other the the AA mount. Can't help but wonder what others have used.

Torque/Vibration I was referring to: Should have mentioned it is going in behind a 5 Cylinder (OM617) Mercedes diesel, 700r4, Dana 300 with a LoMax gear set. Will be 4.88s with 30" tires.

Now debating whether to put into the Postal I had up for sell or put into a 2nd generation 4Runner. This was not meant to be a HiJack.
 
I spent sometime last night looking at different mounts and couldn't come up with one that would bolt to directly to the adapter. I was hoping to find something other the the AA mount. Can't help but wonder what others have used.

Torque/Vibration I was referring to: Should have mentioned it is going in behind a 5 Cylinder (OM617) Mercedes diesel, 700r4, Dana 300 with a LoMax gear set. Will be 4.88s with 30" tires.

Now debating whether to put into the Postal I had up for sell or put into a 2nd generation 4Runner. This was not meant to be a HiJack.

No problem:thumbsup:

I "think" GM trucks that use the 700R4 just use a small mount, similar to the stock CJ transmission mount, but I could be wrong:shrug:

On this Jeep, the engine mounts are vertical, not "at a funny angle" like the AMC engines are mounted. I "think" my current engine mount set up will be more resistant to "twisting the transmission", so a simple, small, single point transmission mount "might" suffice:shrug: I am going to try this style mount first, since it is what I have, should work for me:fingerscrossed: If not, I will come up with something more substantial:thumbsup:

As for your diesel swap, I imagine you will need a pretty beefy mount, but I haven't ever really looked at a diesel truck's transmission mount before:shrug: If it would help, at work we have a 99 Dodge 3500 with the Cummins/NV4500, and a 97 Chevrolet 6.5 diesel/NV4500, I could take pictures of there transmission mounts, if it would help:thumbsup:
 
Not sure that copper is DOT approved.

As its not my thread then ill shut up for now, but if anyone interested it looks like Volvo fit the stuff as OEM in the factory (at least in Europe) and if you want any more info look up cunifer or cupronickel, sorry for the thread hijack Mr Spankrjs
tophatgif-1.jpg
 
As its not my thread then ill shut up for now, but if anyone interested it looks like Volvo fit the stuff as OEM in the factory (at least in Europe) and if you want any more info look up cunifer or cupronickel, sorry for the thread hijack Mr Spankrjs
tophatgif-1.jpg

It's no problem at all, I don't mind side conversations at all, lets me know people are reading all this stuff:cheers:
 
I have looked at other factory diesel truck mounts. You would think there would be mounts available that would be a direct mount up. If yours mounts direct, what is it from and part number?
 
I have looked at other factory diesel truck mounts. You would think there would be mounts available that would be a direct mount up. If yours mounts direct, what is it from and part number?

Yes, my transmission mount bolts directly to the bottom of the Novak adapter :thumbsup:

If I remember correctly, the transmission mount that came with this Scrambler is the exact same part # as a stock CJ transmission mount, and I am pretty sure the stock CJ mount has many other applications, but not 100% sure on that:shrug:

I will be away from this project for a little while, but next time I am underneath it I will take some pictures/get the part # off of the transmission mount:thumbsup:

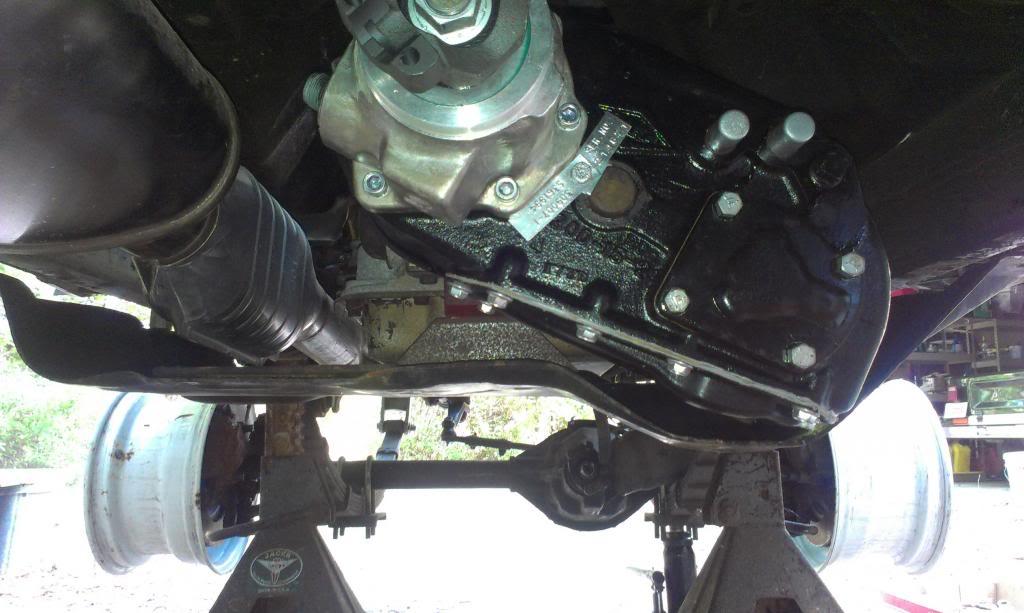
The only shot I currently have. If you look close, you can see the red transmission mount directly below the adapter, sitting on top of a piece of square tubing that acts as a spacer. Not sure if this helps:shrug:

IMAG0807_zpsad874eac-1.jpg
 
Last edited:
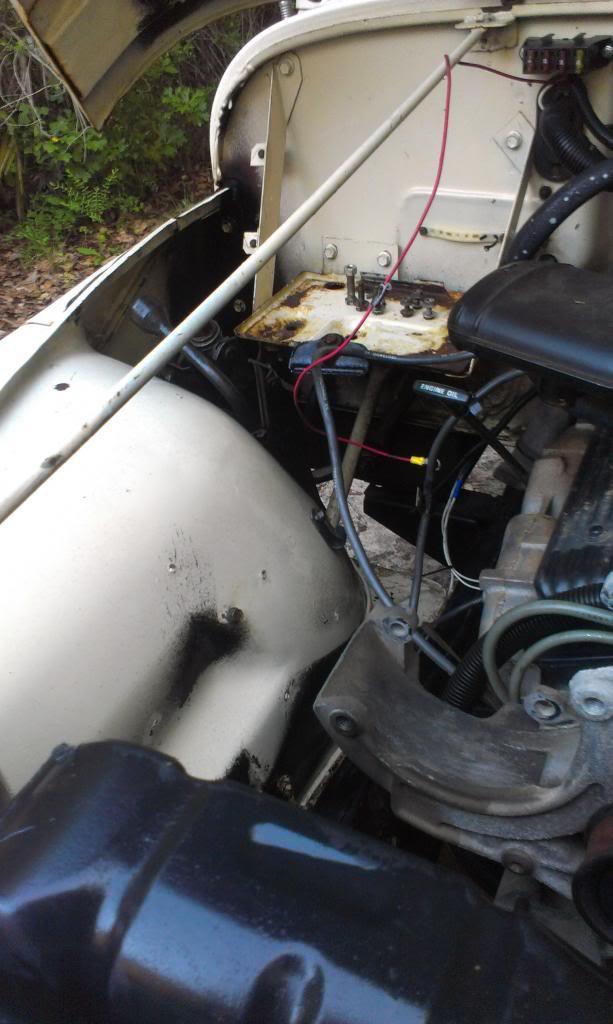
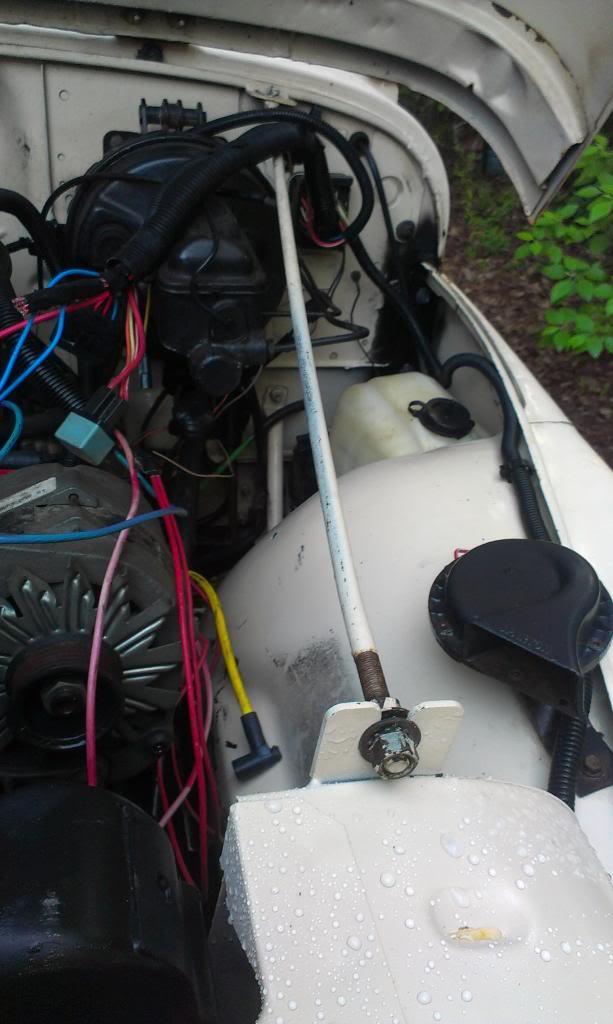
A little bit more under hood/front end work accomplished.

Finished adjusting/installing the driver side fender. I again used the factory applied decals to aid in alignment.

IMAG1037_zps65d3d278-1.jpg


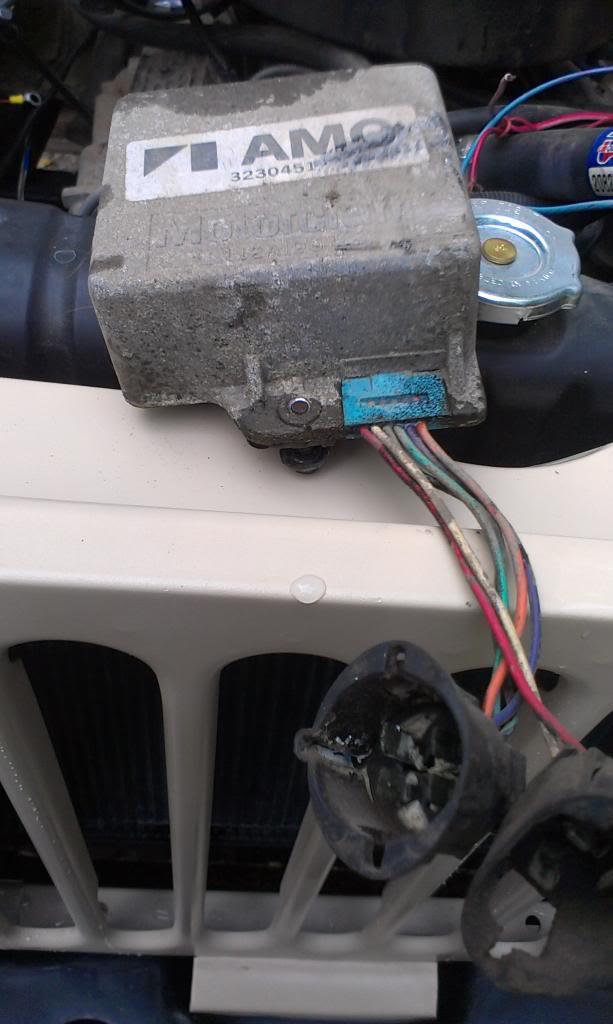
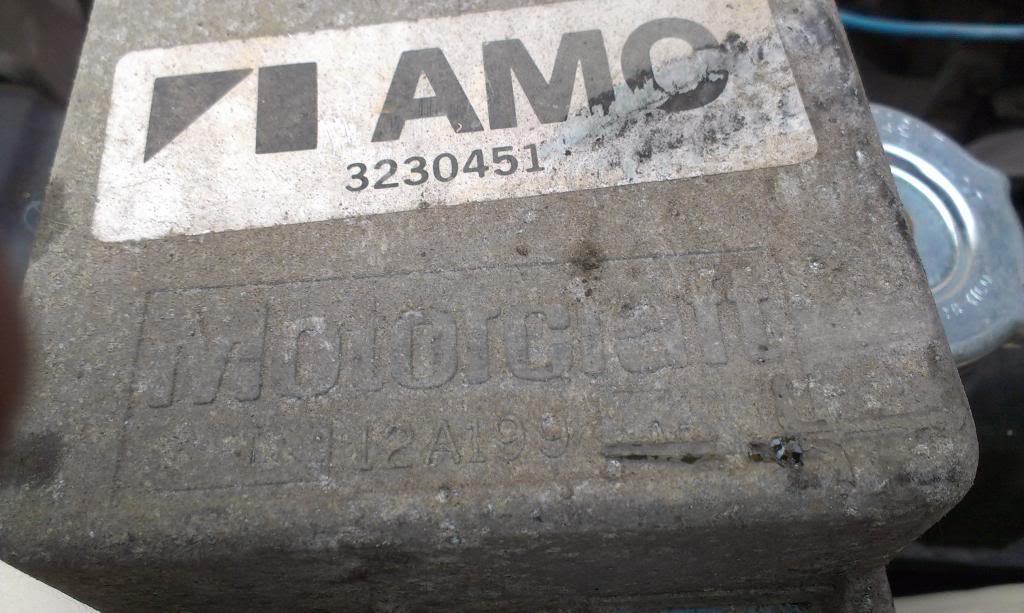
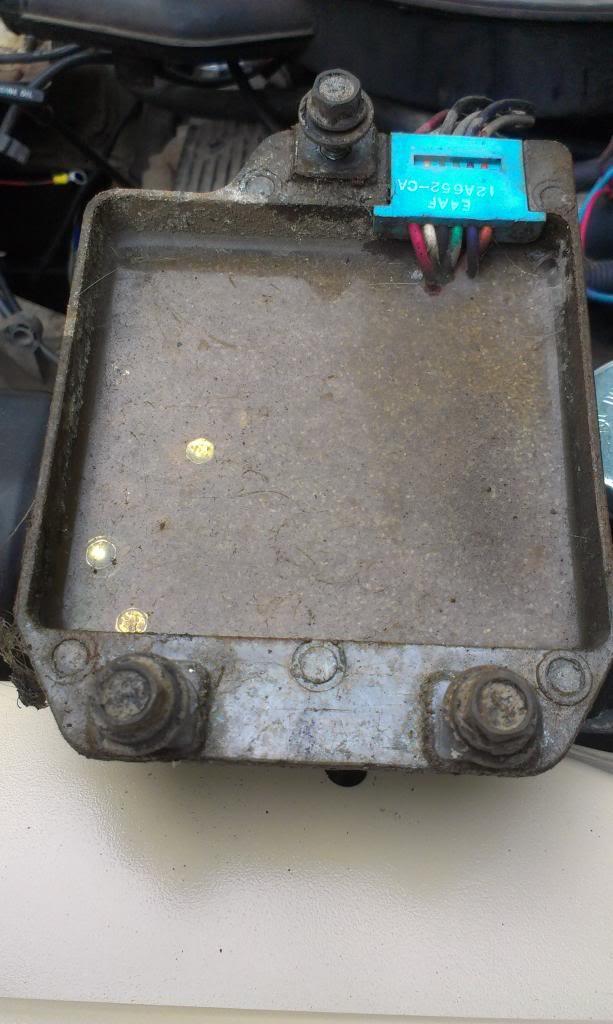
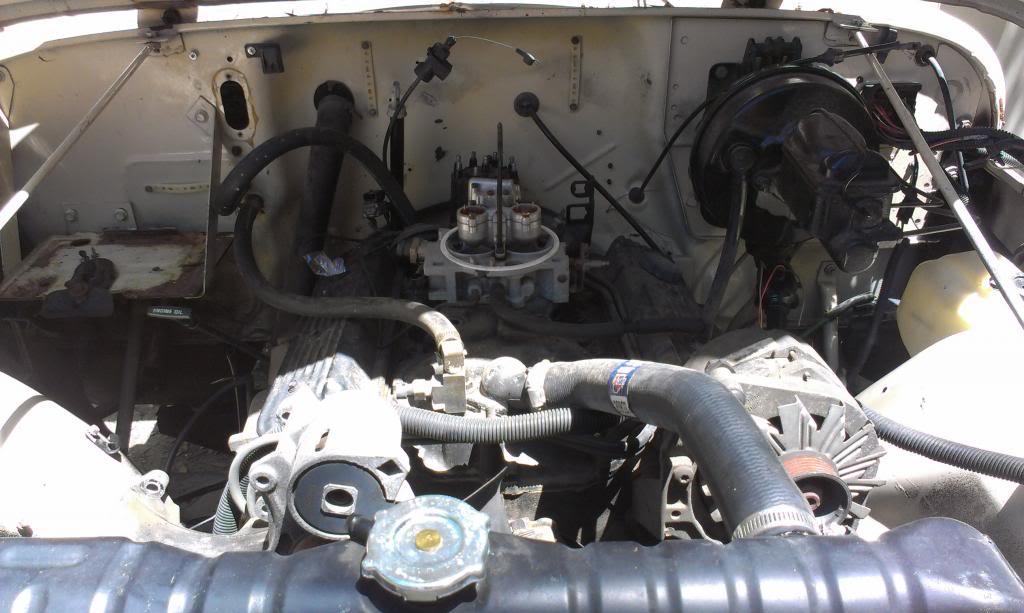
Since I had to remove a bunch of stuff from the driver side inner fender, in order to install the strut braces, I also took some time to remove some parts that this jeep wont be needing anymore. And, it looks like I just found a good spare ignition control module, still looks perfect, at least externally!!

IMAG1034_zps7966e770-1.jpg


IMAG1035_zps8f395370-1.jpg


IMAG1036_zpsd591ca29-1.jpg


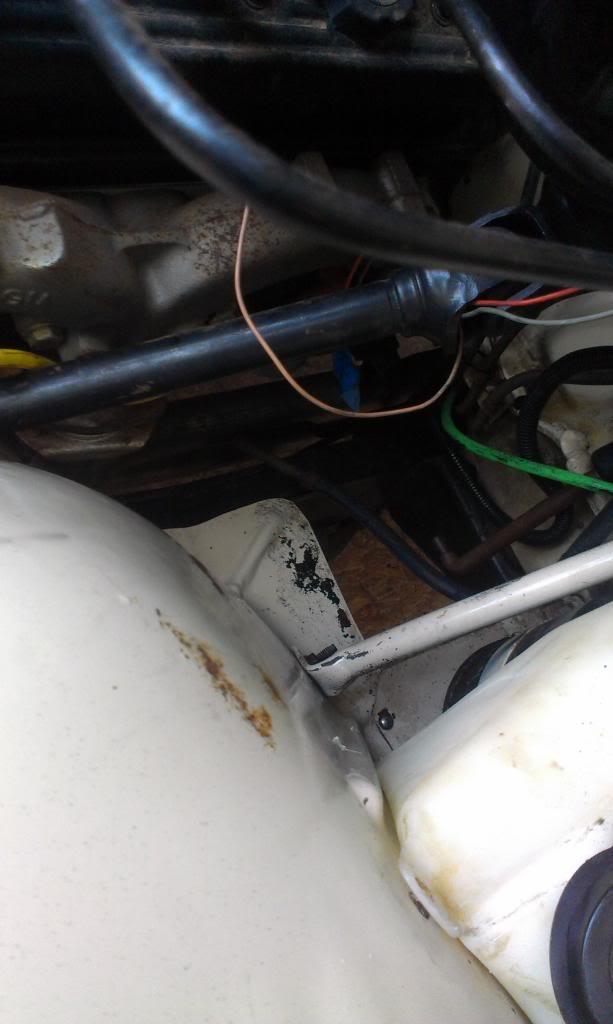
That was the only component I removed from the driver side. I removed a few pieces from the passenger side inner fender that wont be needed - vacuum canister, diagnostic plug, some wires, etc.


I took a few minutes to clean the fenders while everything was out. Besides black spray paint over spray, they cleaned up well.

IMAG1038_zps0124409c-1.jpg


IMAG1039_zps46bd0698-1.jpg


IMAG1040_zps13ed0fa3-1.jpg


Besides light surface rust on the original battery tray, everything is in great shape. It still has the factory jack/lug wrench bolted down to the fender, too.

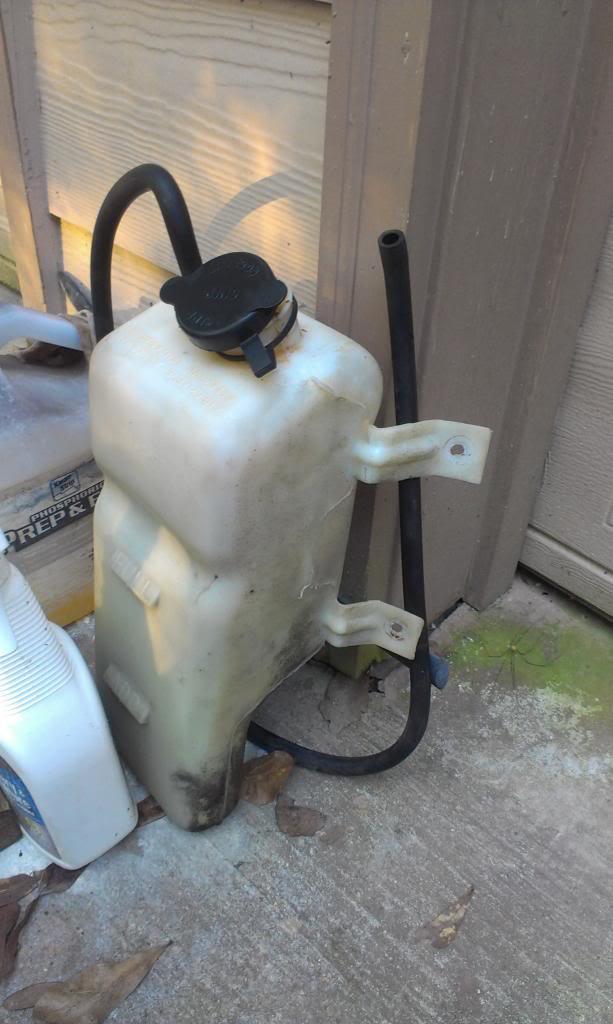
I had to leave out the coolant reservoir bottle for now, it is nasty. I let it soak overnight, but it is gross. I am going to let it soak a couple of weeks to help clean it. It is currently filled 50% Purple Power/50% water. There is a bunch of dried up dirt/film inside that smells like death/mildew nastiness.

IMAG1041_zps940c7642-1.jpg


And, since I washed it last night, and no chance of rain today, I am leaving the hood open to air/dry it out.

IMAG1042_zpsb080c2c4-1.jpg


That's it for now.
 
So clean. Makes me hang my head in shame and/or come smear some mud and grease on your drivetrain.....

:D
 
Fairly small update, but forward progress none the less.

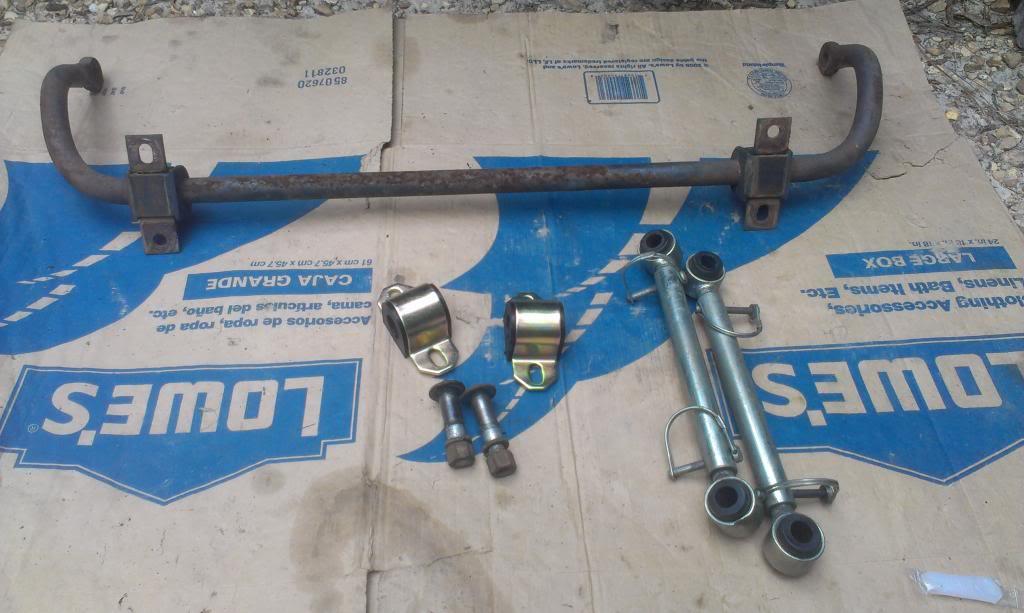
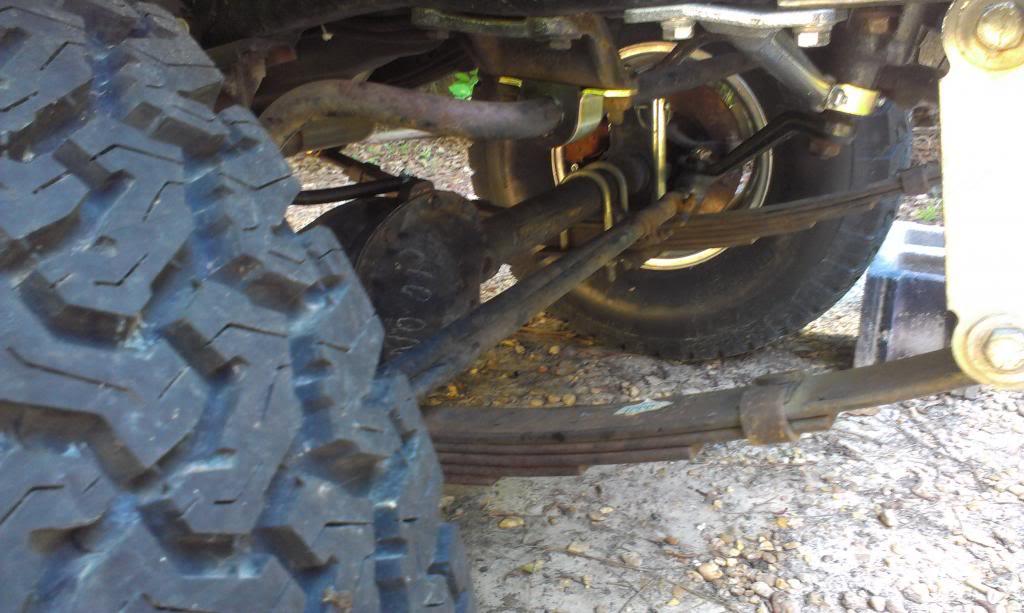
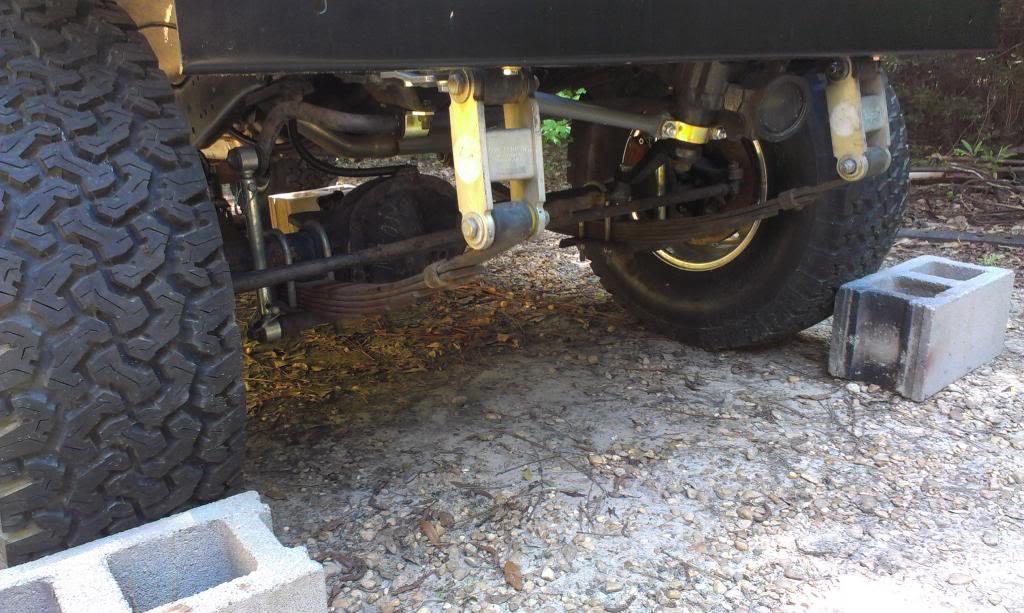
I finished installing the sway bar components. I replaced the original bushings with new, polyurethane bushings, and installed the sway bar disconnects that were originally on my red Scrambler (RE 4.5 lift disconnects). The factory end links are too short to use with the lift that is on this Scrambler. It all bolted on easy enough, except for the new, gold bushing brackets. I had to Dremel out the anodizing from the bolt holes to get the bolts to pass through. Other then that, easy little project.

IMAG1056_zpsc160f3ab-1.jpg


IMAG1057_zps611e0289-1.jpg


IMAG1058_zps6bd6f432-1.jpg


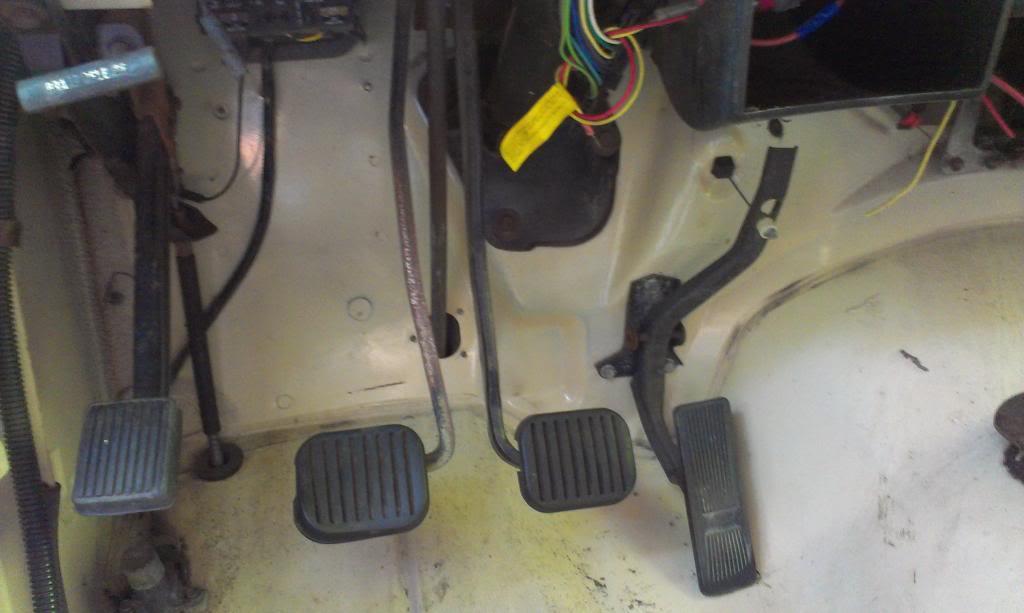
I also started on the "swap out the brake pedal assembly" project. This Scrambler was originally a 5 speed, and since it now has an automatic, I don't need the clutch pedal/small brake pedal assembly any more. I acquired a factory automatic transmission brake pedal assembly to swap in.

How it was.

IMAG1059_zps722631f9-1.jpg


I started on this project late in the day, so I did not get it 100% back together. I forgot how much stuff you have to remove to swap out this assembly:

disconnect steering shaft
pull steering column
prop up hard top
fold down windshield
remove dash pad
loosen up dash board
hold up brake booster/master cylinder
disconnect/remove clutch linkage
etc, etc


I was able to get the new pedal assembly installed, but I need to install the steering column to call this project complete. I "might" change out the column mounted ignition switch (currently for manual transmission), but if I am not going to hook up a neutral safety switch, might be unnecessary.

A few interesting pictures from my disassembly.

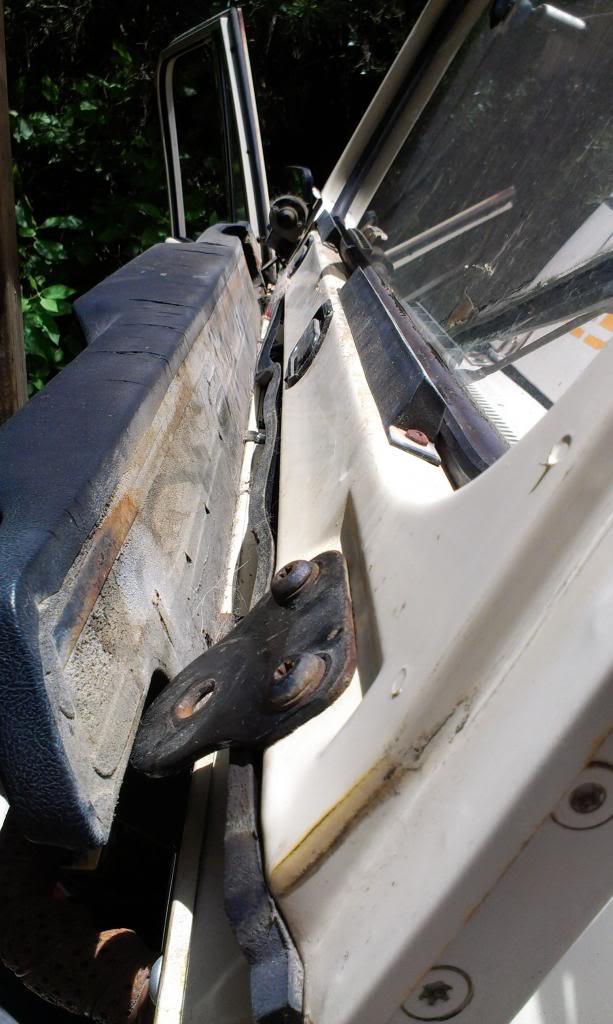
My windshield frame has some rust on the outside, but thankfully the inside/underneath part of the frame, and the cowl, are in great shape.

IMAG1060_zps008c25d5-1.jpg


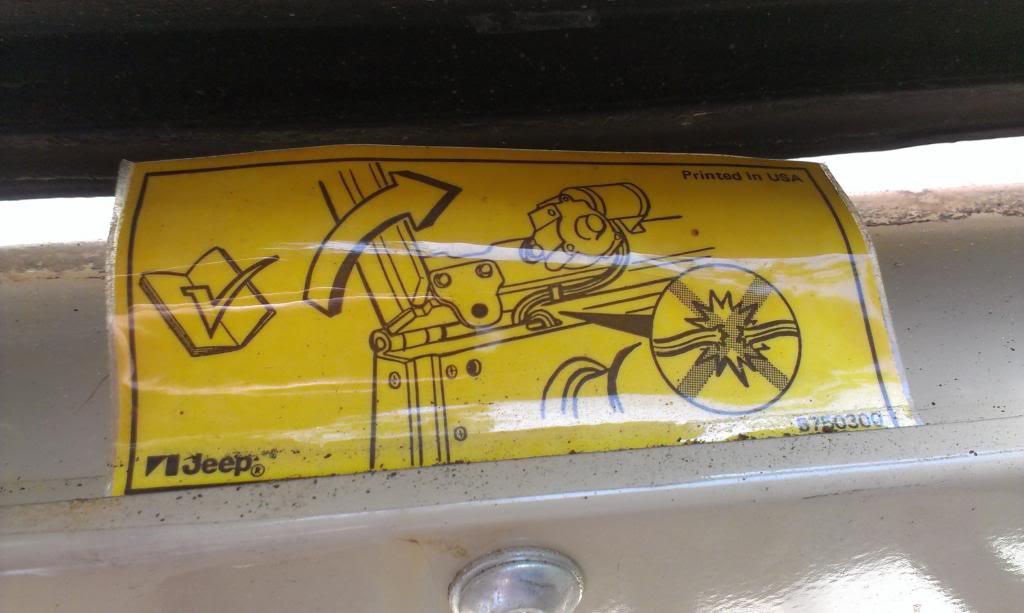
The original factory warning label. This one is plastic laminated, and not a sticker. It was inserted between the upper lip of the dash and the top of the cowl. Judging by all the hair/dirt/debris I found when folding the windshield frame down, I do not believe it was ever folded down.

IMAG1062_zpsd82c9697-1.jpg


A few "artifacts" from the previous owners.

IMAG1061_zps80213978-1.jpg


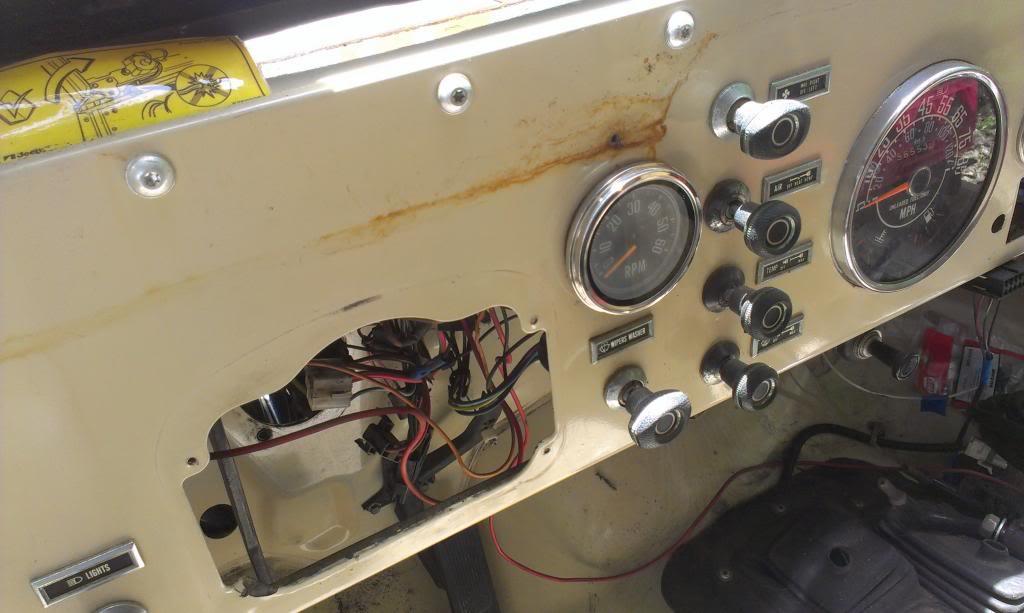
And a few pictures of the dash board. It has some rust stains from the dash pad, but other then that, it is in perfect shape. It is also interesting that it has a Tach, but not the clock, and that it is a "6,000 RPM Tach, which I believe came with V8 powered Jeeps?

IMAG1063_zps75ae559f-1.jpg


IMAG1064_zps2537ee97-1.jpg


That's it for now.
 
Last edited:
Pismo Beach! Been there many times, that place is a hoot! Great sand dunes, tons of area to wheel, and always an ample amount of amusing antics to observe, from stuck trucks with dealer plates, trucks buried on the shore because they got a bit too close to the waves, and always girls running around evening campfires in their birthday suits!

On the transmission mount- you don't want the trans mount stiffer than the engine mounts, or the trans/adapter might stress crack. I've always let the engine mounts control the torque twist, and the trans mount just keeps the trans/transfer case centered. Those poly mounts look pretty cheesy, but they are tough. I do also keep the factory torque bar at the trans mount, but it has at least 1/4" freeplay either direction.
 
Pismo Beach! Been there many times, that place is a hoot! Great sand dunes, tons of area to wheel, and always an ample amount of amusing antics to observe, from stuck trucks with dealer plates, trucks buried on the shore because they got a bit too close to the waves, and always girls running around evening campfires in their birthday suits!

On the transmission mount- you don't want the trans mount stiffer than the engine mounts, or the trans/adapter might stress crack. I've always let the engine mounts control the torque twist, and the trans mount just keeps the trans/transfer case centered. Those poly mounts look pretty cheesy, but they are tough. I do also keep the factory torque bar at the trans mount, but it has at least 1/4" freeplay either direction.

When I saw "Pismo Beach" on the tickets, I started to remember the sand inside the gas tank skid plate:D

Sounds like some good ideas for the transmission mount, I think a "loose" torque are mount might be a good idea, but I will have to fabricate one, but it shouldn't be too difficult :fingerscrossed:
 
A bunch of pictures, but not too much progress. One step forward, two steps back kind of progress, but moving forward.

I don't have too many "big" projects left on this Scrambler, but what I do have is a bunch of "small" projects, which, take a bunch of time. Since this Scrambler does not have the stock engine/transmission, all my remaining wiring/plumbing/fabrication has to be done from scratch, which takes longer. But, I am making progress.

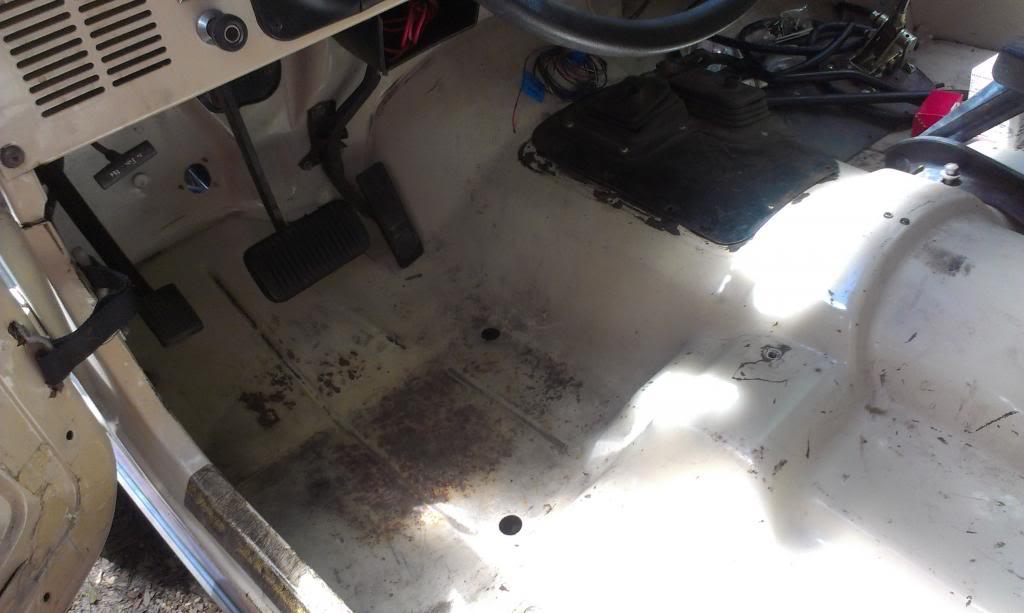
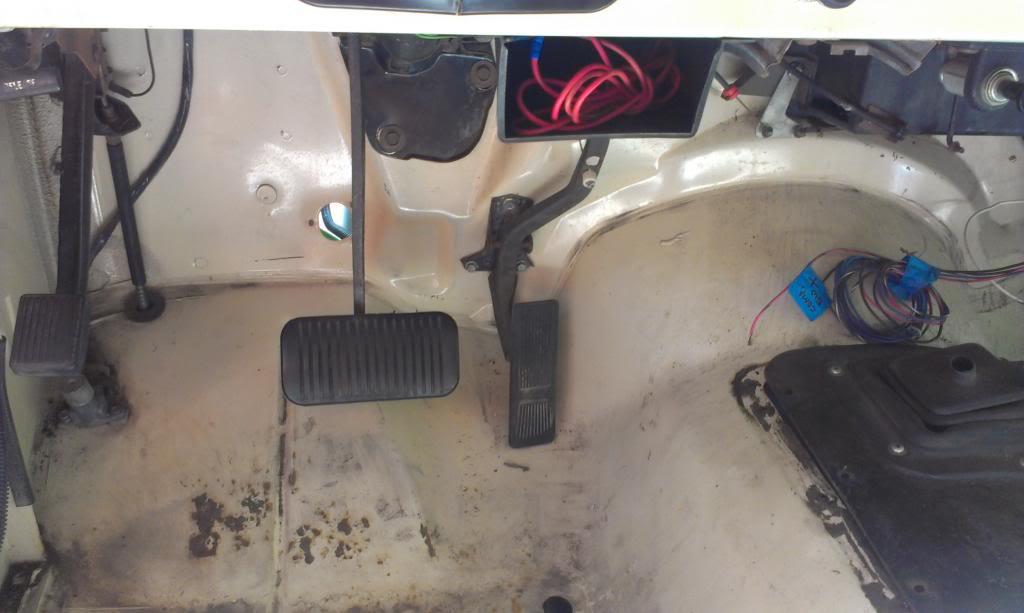
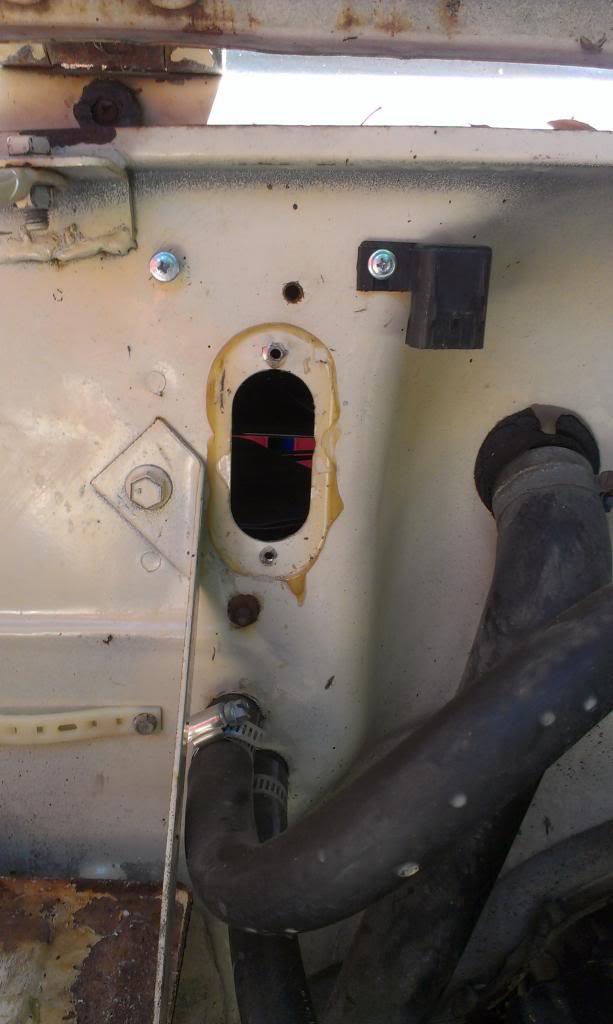
First up, I finished my brake pedal swap/steering column reinstallation. I found a bunch of "owner added" wires behind the dash, and I was nervous. But, luckily, they were not hacked into anything important, so I should be good to go. The bundle of red wires in the plastic air duct are for the tachometer. I do not believe this is a factory installed tach, due to the wiring. I also removed a bunch of "light/power supply" wiring, that went no where. All of the important ignition/start/dash wiring looks to be unmolested. I need to plug the old clutch linkage hole in the firewall still, too.

IMAG1065_zps51ee9a47-1.jpg


IMAG1066_zpsfbb6e9c2-1.jpg


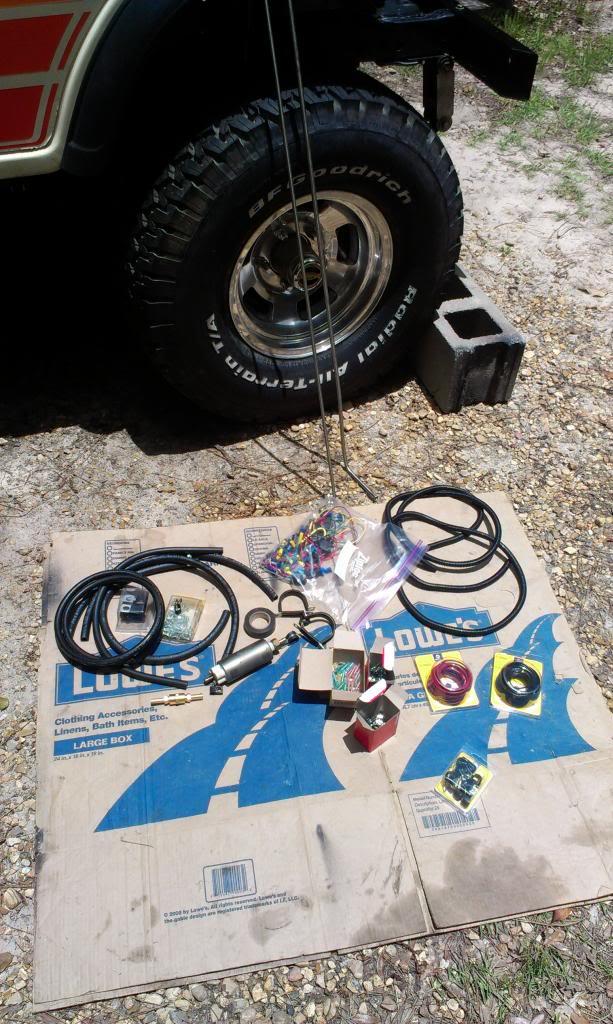
I went shopping for fuel line/pump installation parts. My previously made hard lines are also pictured. I will have to make my own fuel pump harness, which will be easy. I need a few more parts/pieces in order to mount the pump/finish installing the lines, but at least I have it figured out in my head now.

IMAG1067_zpsff21bbc3-1.jpg


I plan on installing my fuel pump/filter on the frame cross member that holds up the front of the gas tank. This is as close to the fuel tank as I can mount it. I know you are supposed to mount the pumps "below" the fuel level, but on a Jeep CJ, this is impossible. With a 20 gallon tank and the rear axle location, I do not want the pump hanging way down. I mounted the pump/filter on my red Scrambler in this location, have about 14,000 miles on this set up with no issue, so this I where I am mounting the pump/filter.

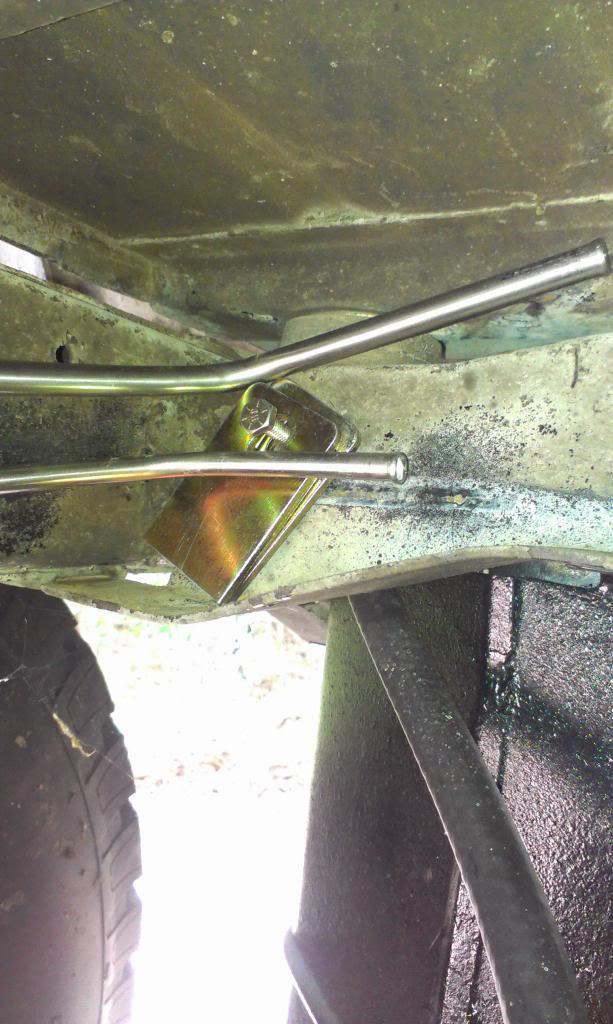
The factory mounted the hard lines flush up against the cross member. I need to space them out, since I will be sliding rubber fuel line over the hard lines. I cut a scrap piece of metal in half (trans mount piece??), and bolted it to the frame. This spaced my hard lines out about 1/2", perfect. I am using the original 5/16 clamps to hold the return line, new NAPA sourced rubber lined clamps to secure the 3/8 supply line. The rubber lined clamps work OK, but if you try to pull/push the hard line once it is fully clamped down, you will rip out the rubber. Care should also be taken when securing the clamp with a bolt, or you will tear off the outside rubber, as shown in the picture below.

IMAG1069_zps1ca14449-1.jpg


IMAG1070_zps23958cb0-1.jpg


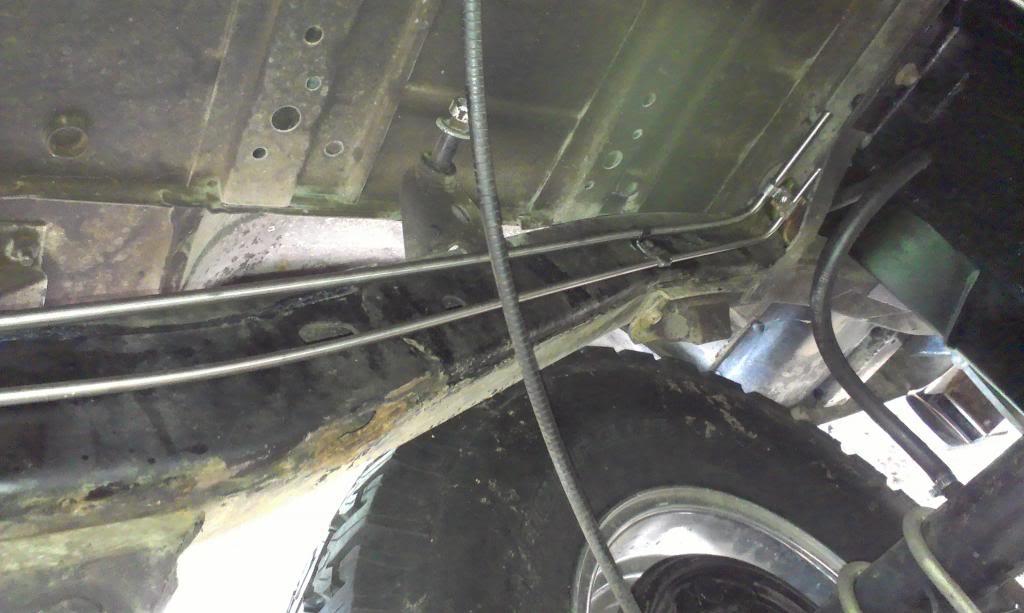
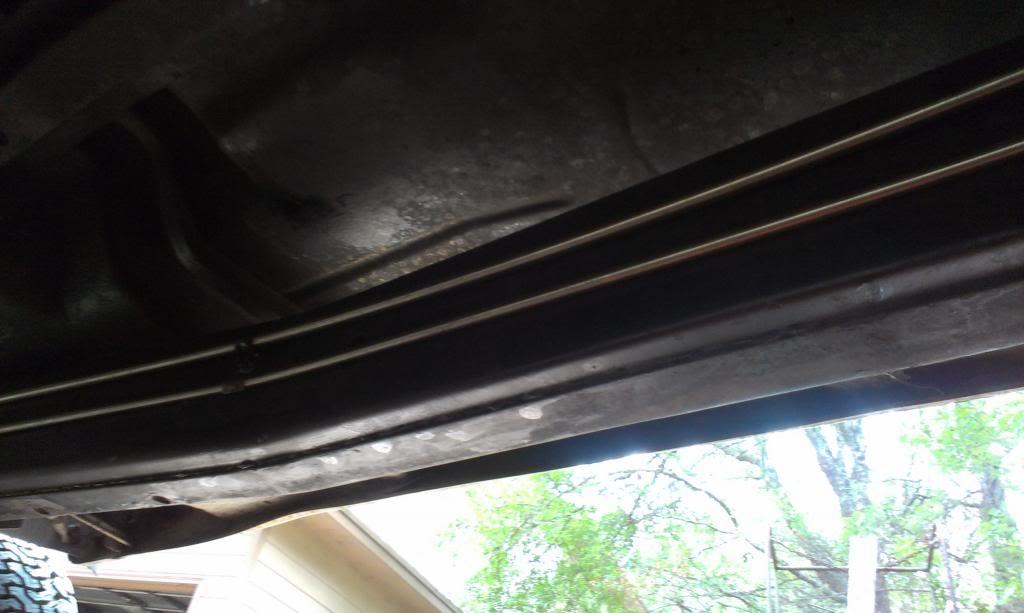
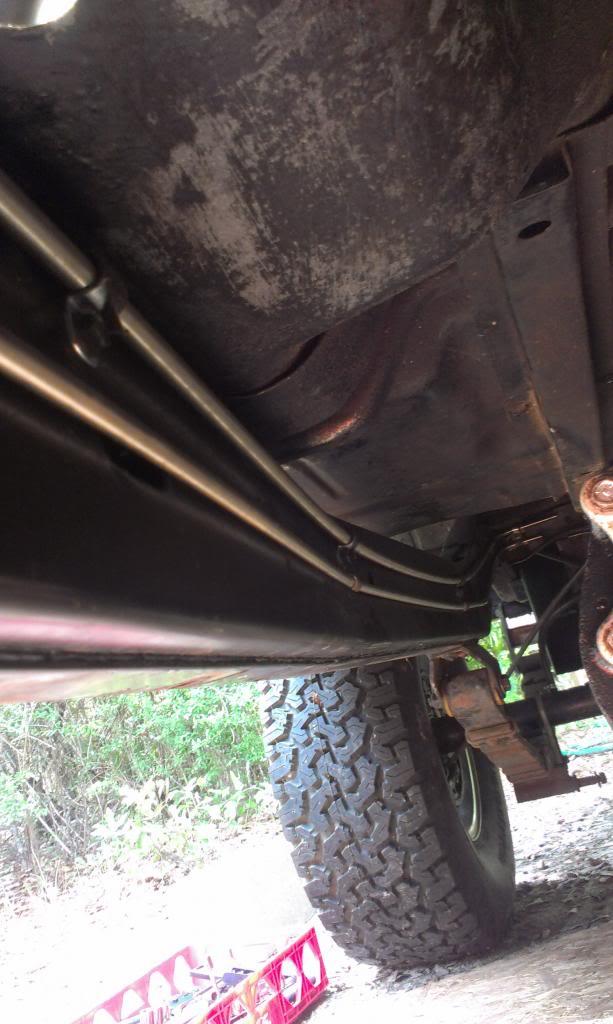
And a few pictures of the new supply/return hard lines mounted. I was able to use the factory supplied mounting holes along the frame. Up front, I used a few existing holes to secure the end of the hard lines. I did not have to add any new holes, worked out pretty good I think.

IMAG1071_zps649327b9-1.jpg


IMAG1072_zps65f6a70c-1.jpg


IMAG1073_zpsb67e8386-1.jpg


I still need to finish bolting the engine end of the lines down, and this little project will be complete. I will take a few pictures of this end of the lines, once I am finished with the install.


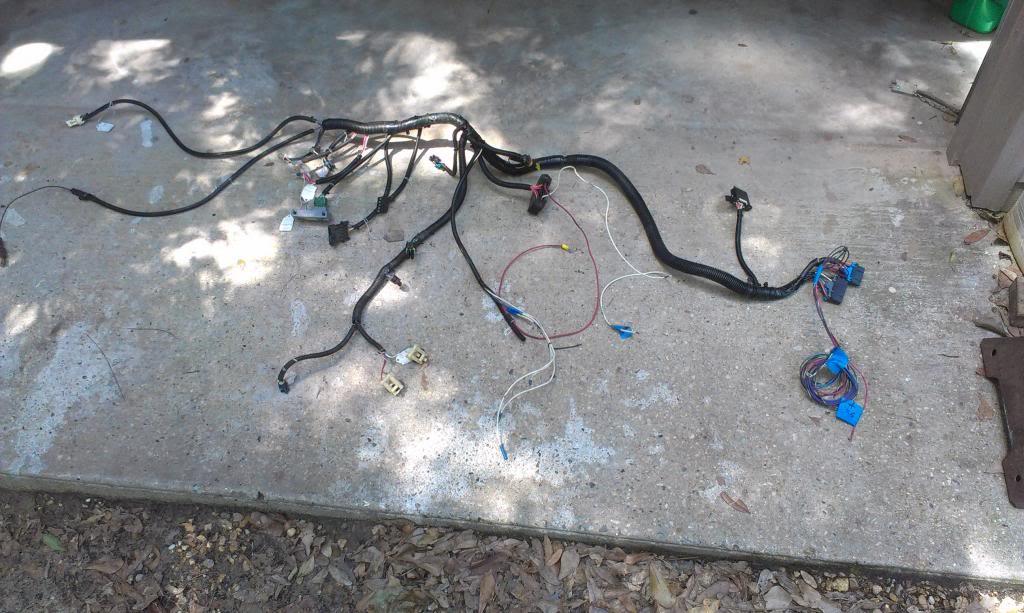
Shifting gears, I jumped to the wiring. I removed the TBI harness to insect it/reroute it.

IMAG1074_zps1cd3d53f-1.jpg


I am going to mount the TBI computer in the factory CJ computer location, under the dash/on top of heater box, and run the wires through the existing fire wall hole. This will result in a "clean" installation.

IMAG1075_zpsa223d91d-1.jpg
 
The wiring pictured below is for the Chevrolet alternator/starting circuits. I will need to graft some of this into the stock CJ wiring, and figure out what to do with the rest of it.

IMAG1076_zps50b4d9cd-1.jpg


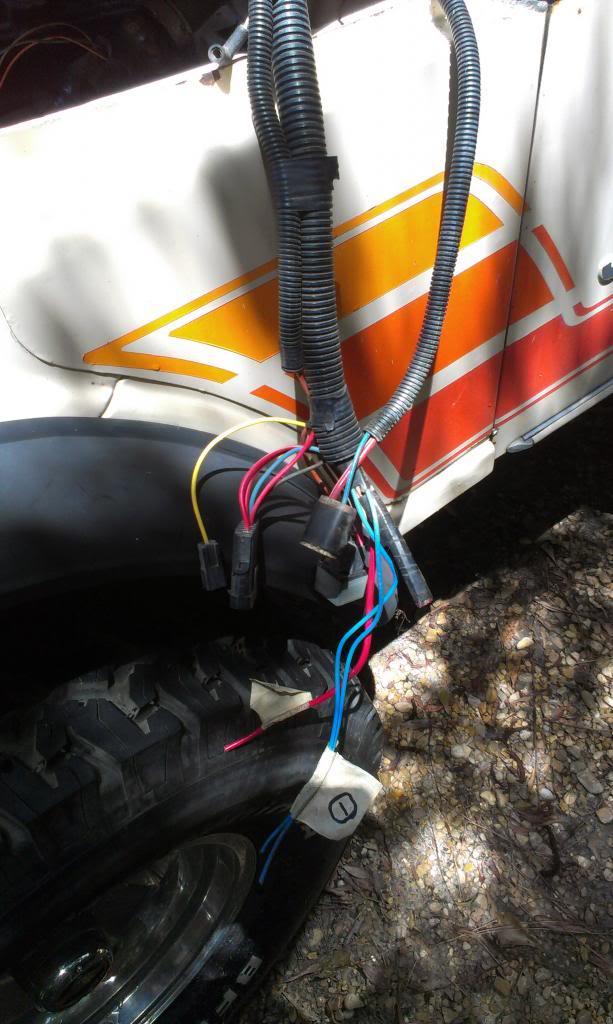
The remaining/stock CJ engine wiring. Some of this will be needed to tie into the TBI wiring harness, and the start/charging/ignition wiring from the Chevrolet wiring harness. The blue tape notes are from the previous owner, I will have to make my own.

IMAG1077_zpseb0b008e-1.jpg


The aftermarket TBI harness. It is in perfect shape, should be good to go.

IMAG1078_zpsde82965b-1.jpg


This could be a problem, not sure yet, I sure hope not.

IMAG1079_zps0fcf047f-1.jpg


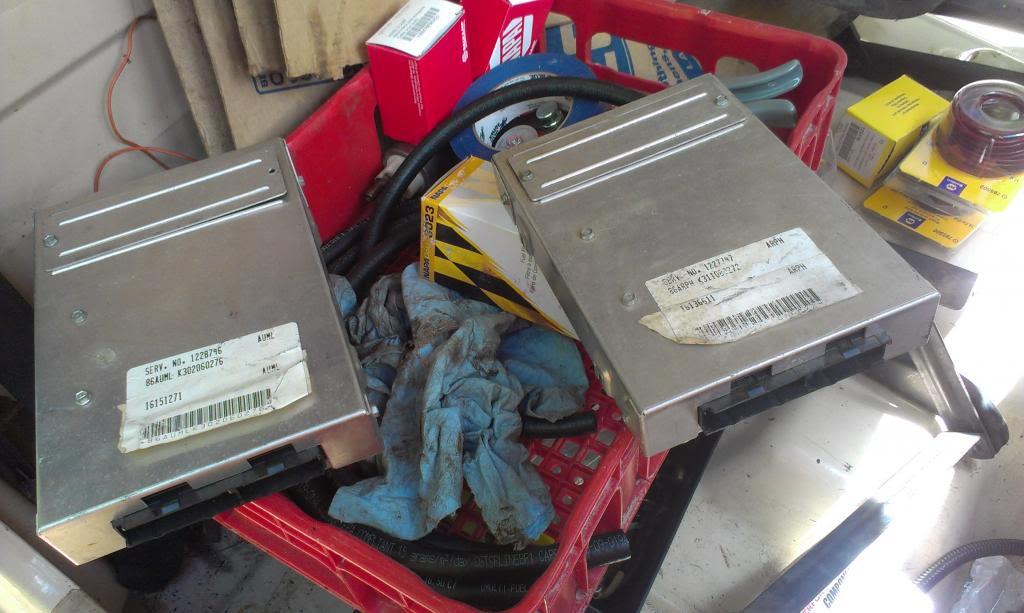
This project came with two TBI ECM's. They look identical. I am hoping that the ECM that the PO had hooked to the TBI wiring is the aftermarket ECM for this harness. Neither ECM has any kind of "aftermarket" external markings. I plan on reusing the ECM that was hooked up, and will keep my fingers crossed that it works. Turbo City, the maker of this TBI conversion, no longer sells any TBI stuff. I have contacted them, and they offer no help. Worst case, maybe I can talk to Howell, to see if they can flash the ECM.


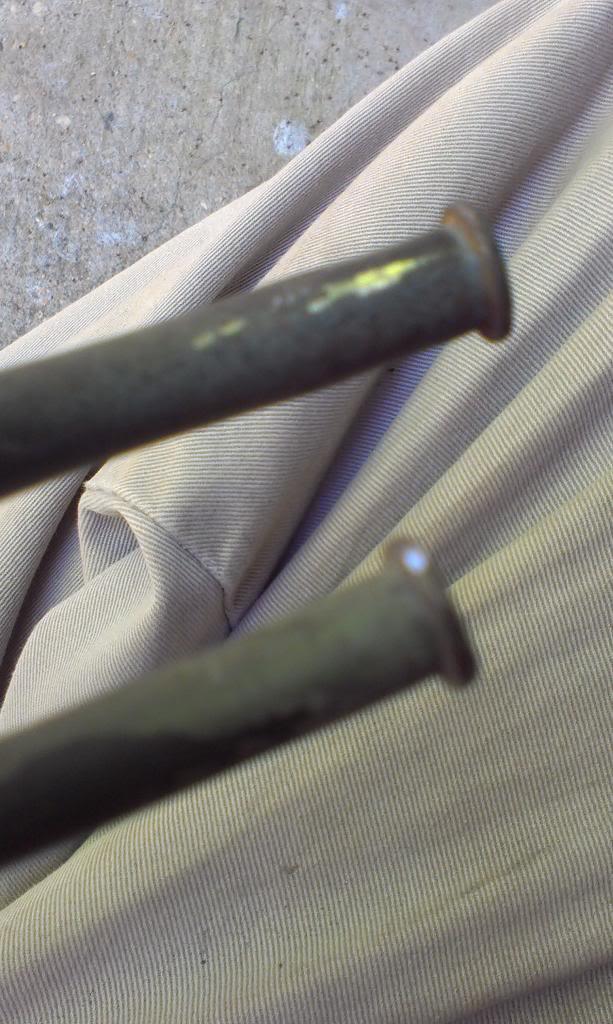
And another problem.

IMAG1068_zps0da71607-1.jpg


IMAG1083_zps6df0603a-1.jpg


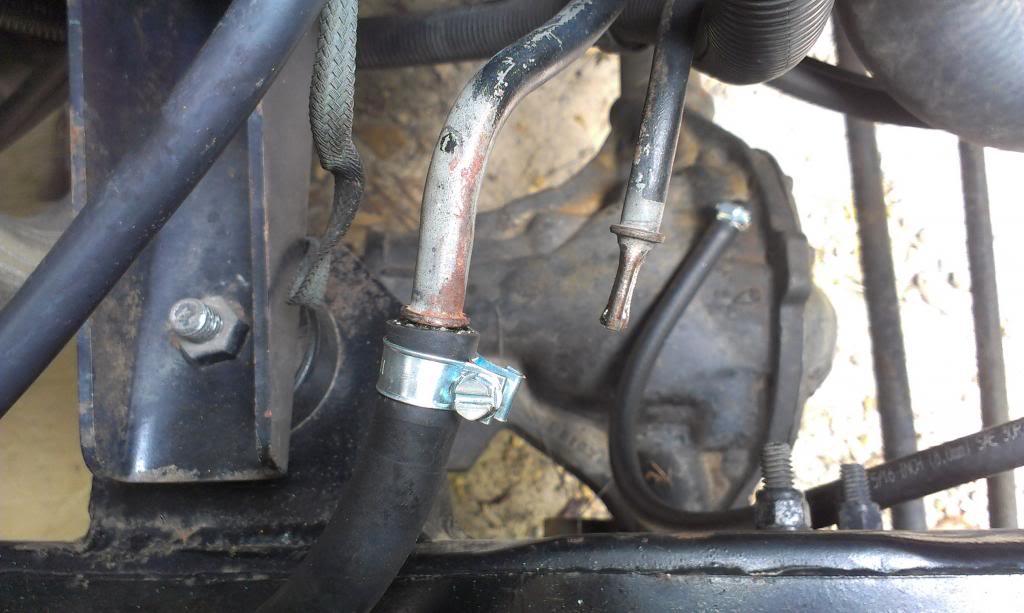
Pictured above are the ends of the TBI fuel rails. The smaller return line, I crushed while trying to flare the end (first picture). The larger supply line, someone else screwed up trying to flare (second picture).

I am assuming GM uses some kind of "quick connect" fittings on these lines. I do not plan on using this style rubber line/connector. So, this is not the end of the world.

This is what I did, seems to work perfect.

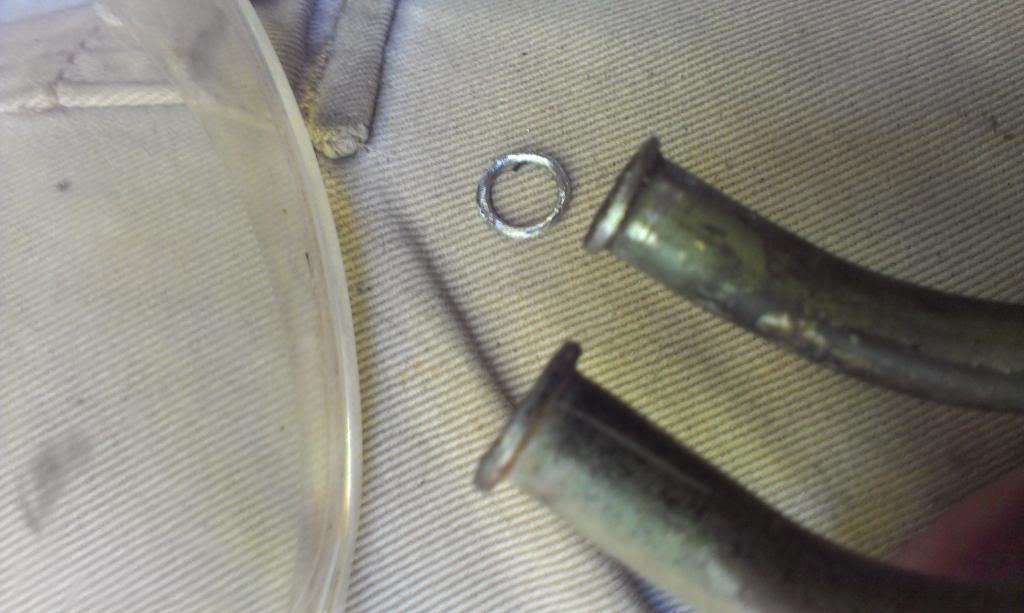
First, I cut the ends of the lines off flush with the raised ridge.

IMAG1086_zpsf5b2d377-1.jpg


Next, I gently ground down the remaining ridges. These ridges stick up too high, you can not safely get the rubber lines to pass over them. So, I went around each ridge with a Dremel grinding stone for about 5 minutes. When I was grinding the ridge down, the remainder of the cut off line fell out of the line. In the picture below, the upper line modifications are complete, and you can see the piece of metal that fell out of the line. The ridge is not as high, and is nice and smooth, and will provide a perfect "flare" for keeping the rubber line/clamp from slipping off. The lower line in the picture has not been ground down yet.

IMAG1087_zps1baca402-1.jpg


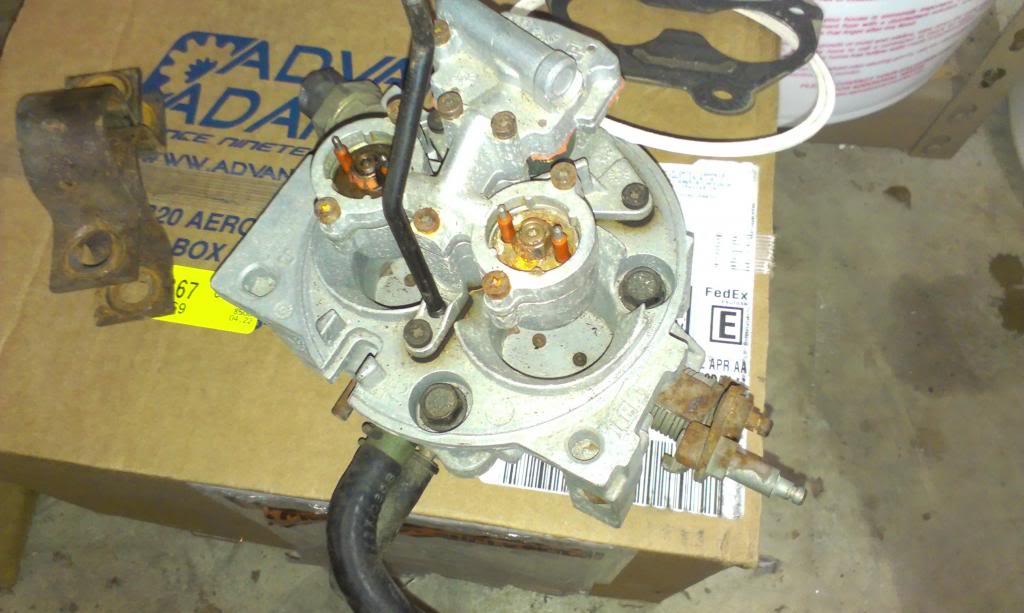
In order to modify the factory TBI supply/return lines, I had to pull the TBI. And of course, the mounting gasket tore. Also, the O-rings that seal the metal lines to the back of the TBI were damaged, so it was a good exercise. I needed to clean out the TBI, it had a bunch of debris in /on it from sitting without an air cleaner housing.

IMAG1080_zpsfc6b2c5e-1.jpg


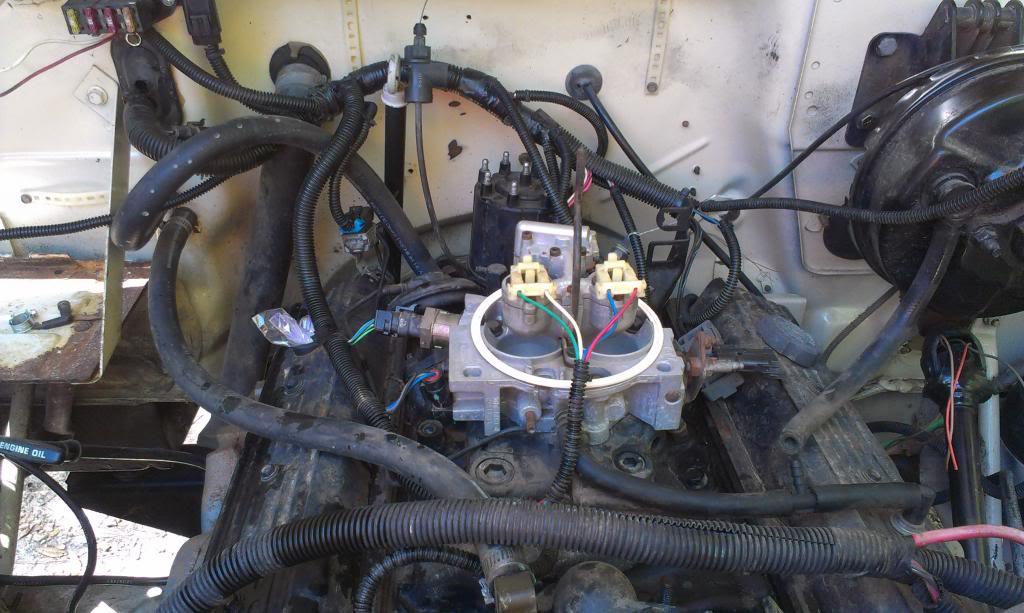
After moving backward, started to go forward again. I remounted the nice clean TBI to the intake, installed a new base gasket, new O-rings on the hard lines, and started to re-run the engine hard lines. I also reinstalled the TBI harness, but it still needs a lot of clean up work.

IMAG1084_zpsa790469c-1.jpg


I hope to finish all of the under hood fuel line/connections soon, then move to the rear fuel pump/filter/return line modifications section, so I can finish the "plumbing".

After the "plumbing" is finished, I will move on to the wiring, which will be much more fun.

We have a ride this coming weekend at Sicily Island ORV park in LA, so not too much work is going to happen on this project this week.

That's it for now.

 
Got busy with the red Scramblers blown up transmission all last week:banghead:
Busy with National's this week:thumbsup::wave:

I hope to get back to this one next week:fingerscrossed:

IMAG1206_zps76d1e30f-1.jpg


I have a ton of work to do to get this one ready for Michigan the first week of August:eek::fingerscrossed:
 
Where does the time go:eek:

Got busy with the red Scrambler's blown up transmission, while on the way to Louisiana, during the beginning of June:banghead:

Busy with National's, in Kentucky, toward the end of June:thumbsup:

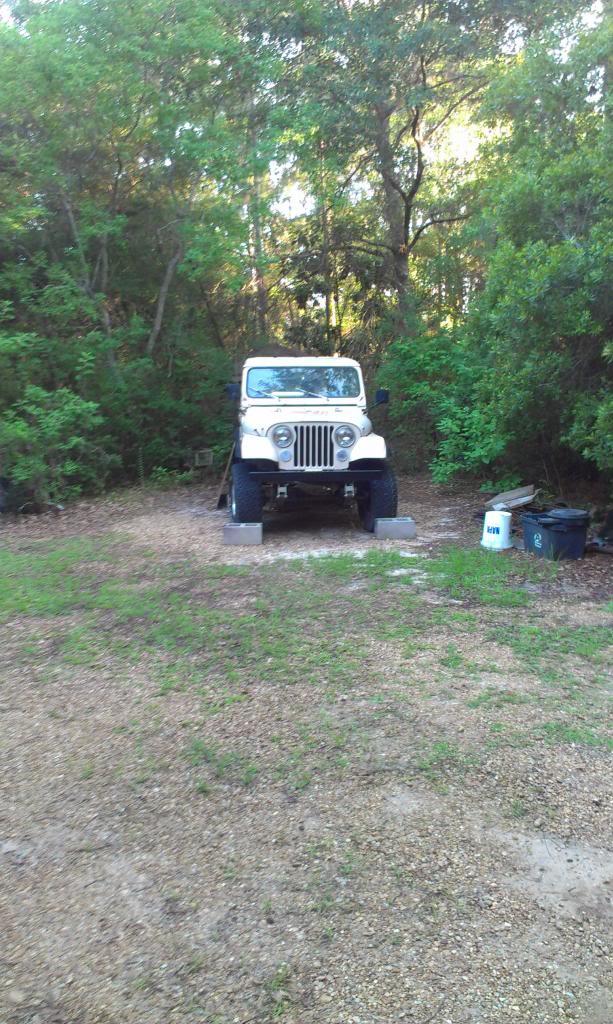
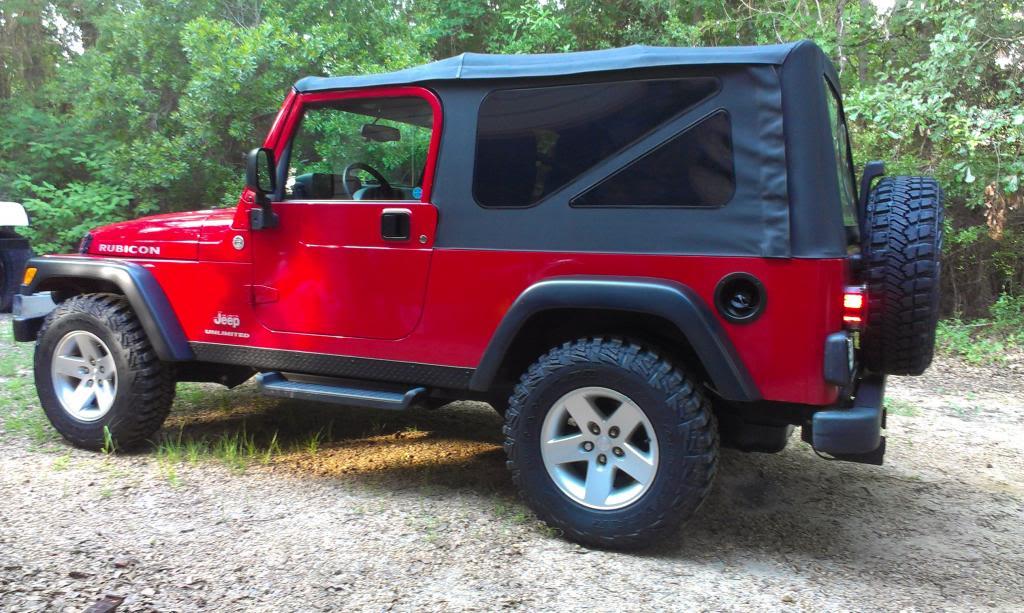
And bought my new DD last weekend down in Florida:smokin:

IMAG1256_zpsa179bf25-1.jpg


Lot's of miles the last few weeks!!!


I am going to try my best to get this one ready for Michigan for the first week of August, but that is going to be pushing it:fingerscrossed:

I have re-started working on it this week, it took some time just remembering what I was doing:rotfl:

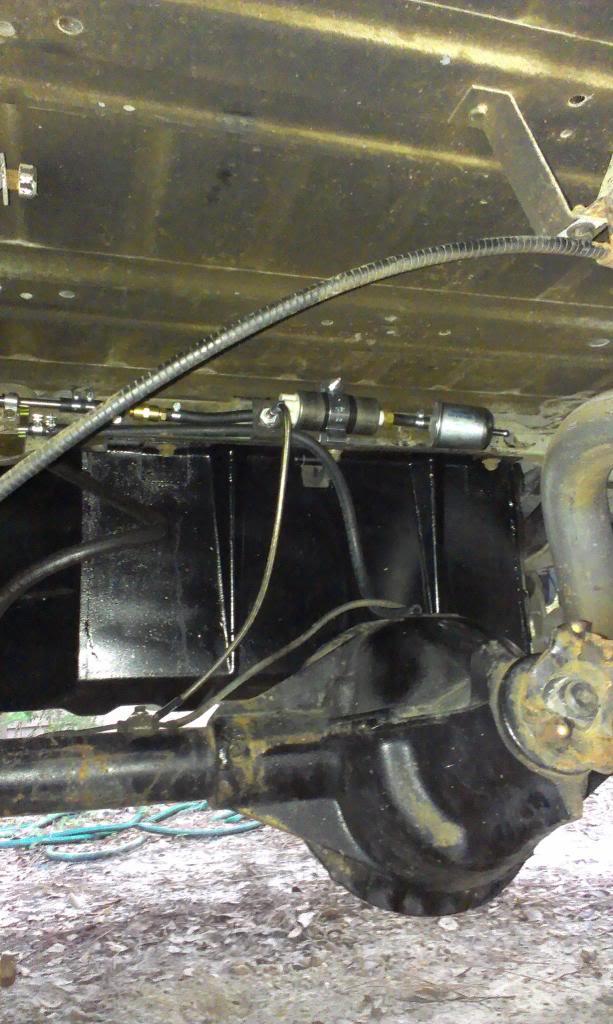
I started mounting my fuel pump/filter and lines, and at least figured out what I want to do/have to do. Quick picture, still a work in progress....

IMAG1259_zpsb054f023-1.jpg


This weekend, I hope to:

1) Finish all the fuel plumbing
2) Mount transmission (with single mount for now, will modify if necessary)
3) Finish wiring (TBI/charging/starting/fuel pump/etc)

I should be able to get these things done correctly/permenantly, so I wont have to rework them later.

I need to get a transmission temp gauge, install the sender unit, and get a cooler. I am going to call these critical, not just a luxury.

IF I can get the transmissioin stuff finished, then I can fill it with fluid, and see if this thing will run:fingerscrossed:

Between now and MI, I need to at least 1/2 azz mount the shifters, and bolt in the seats.

Doesn't sound like much, but the clock is ticking.........

Hopefully a good update next week, that's it for now:wave:
 
you are feeling terribly sick... call work and let them know. (I just bought you some time) I smrt.
 
Back
Top