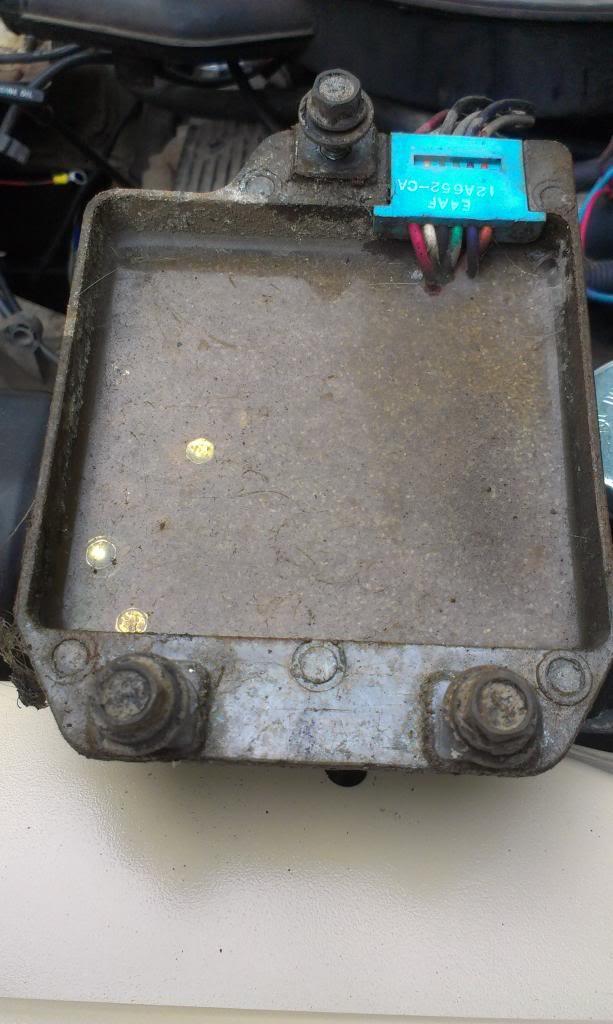
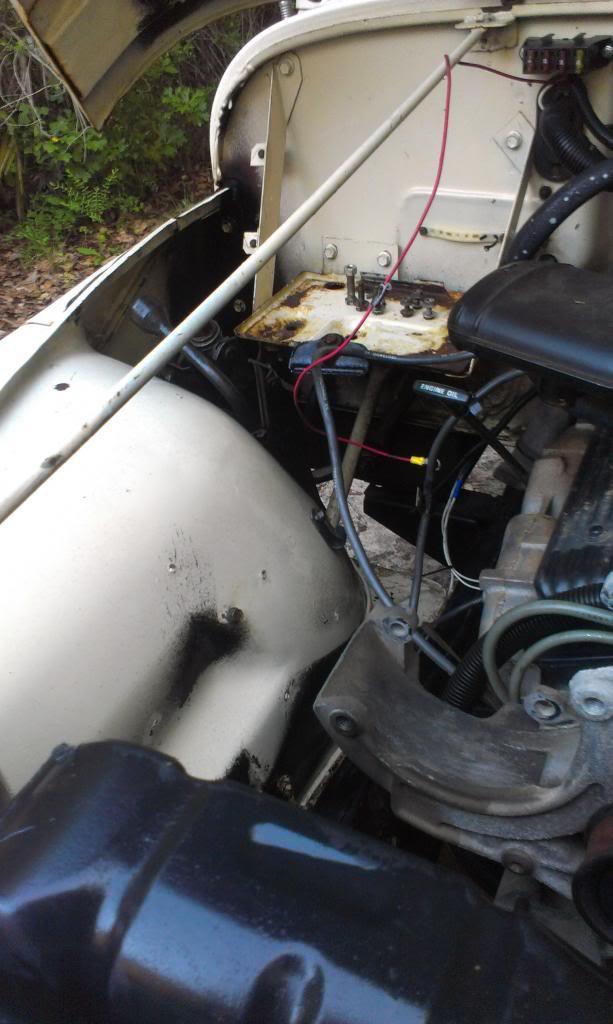
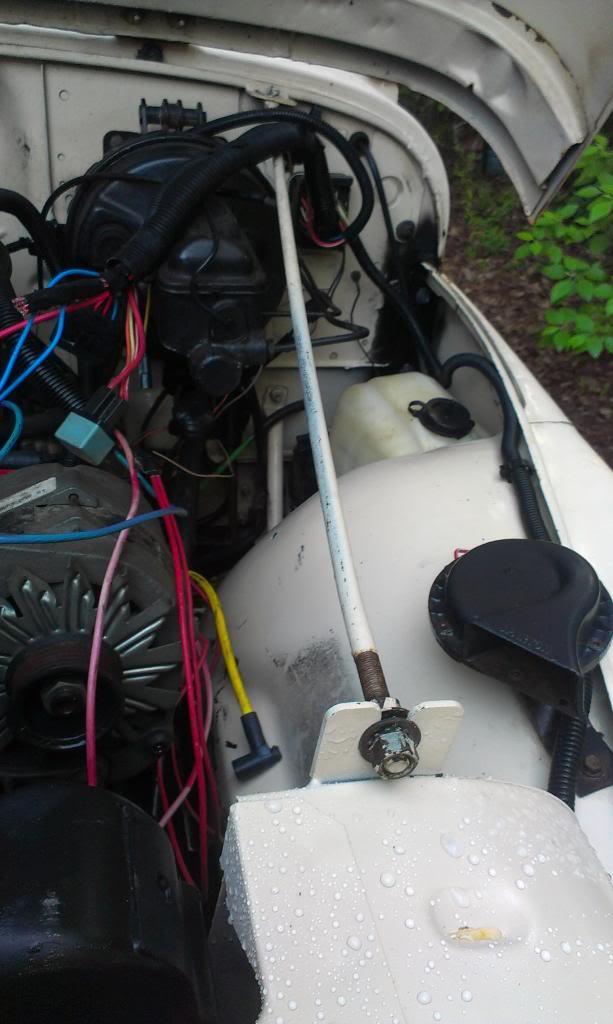
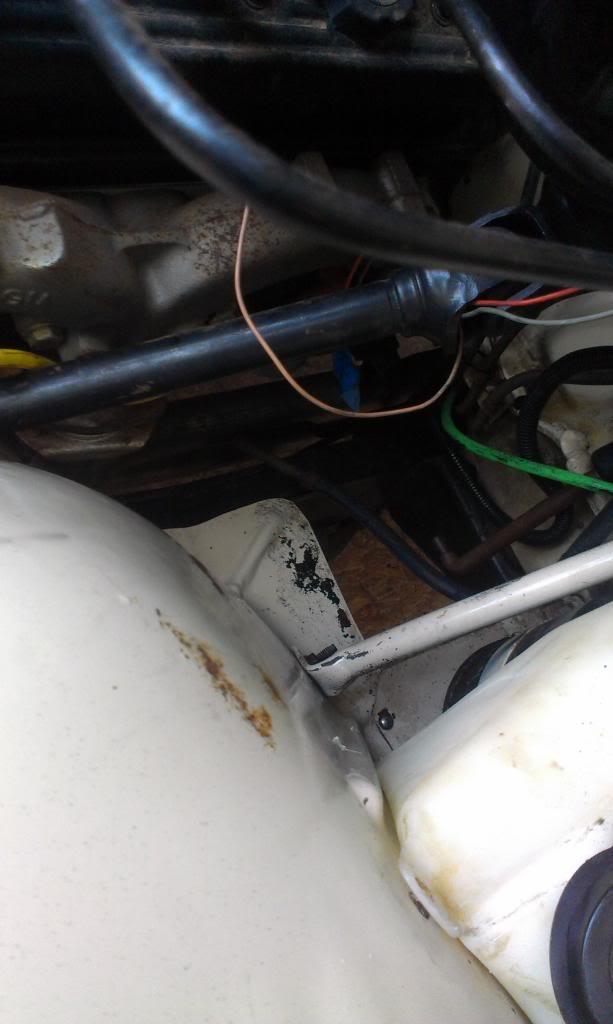
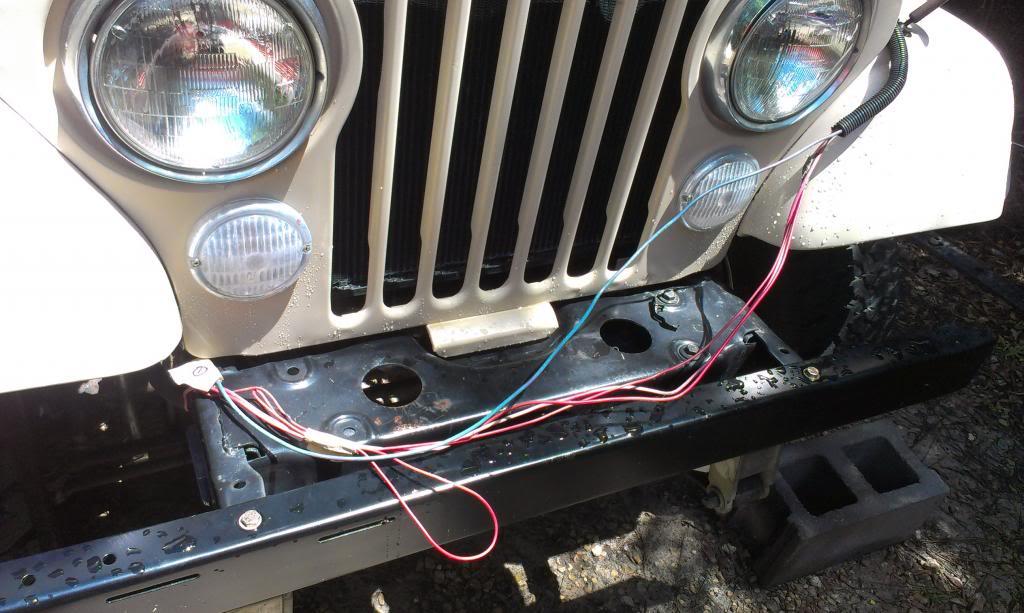
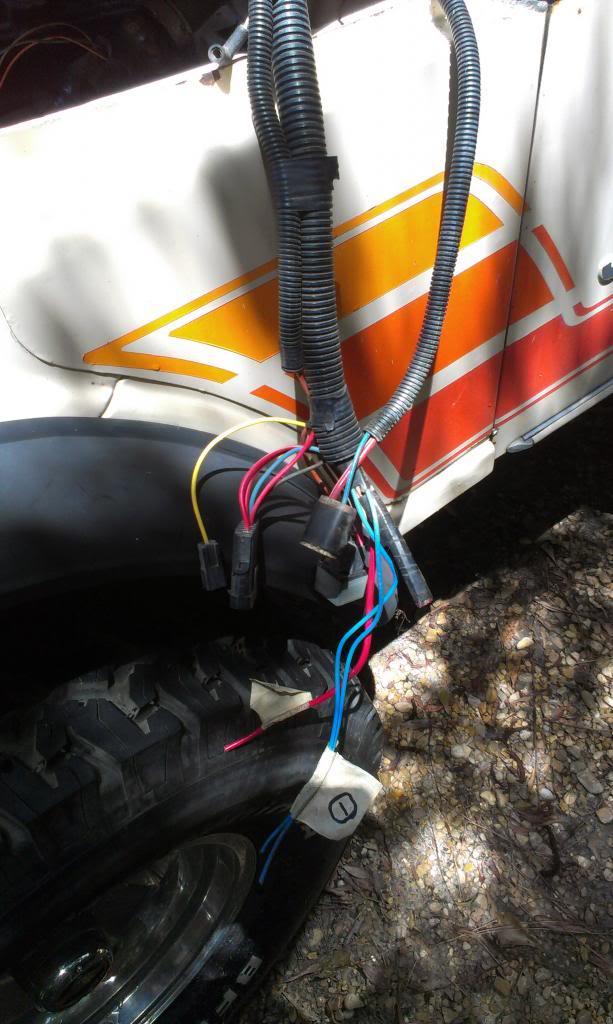
The wiring pictured below is for the Chevrolet alternator/starting circuits. I will need to graft some of this into the stock CJ wiring, and figure out what to do with the rest of it.
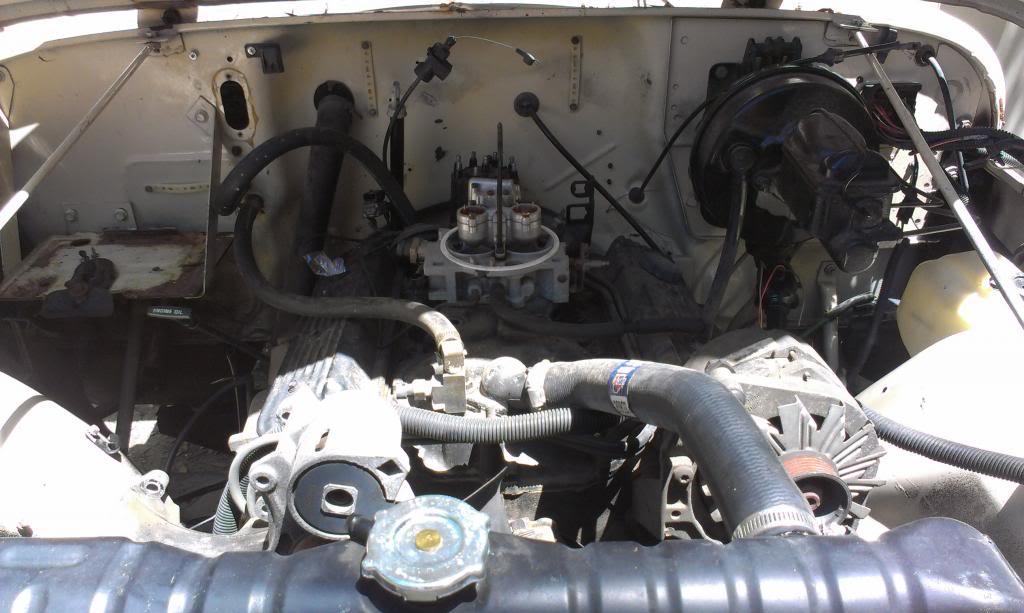
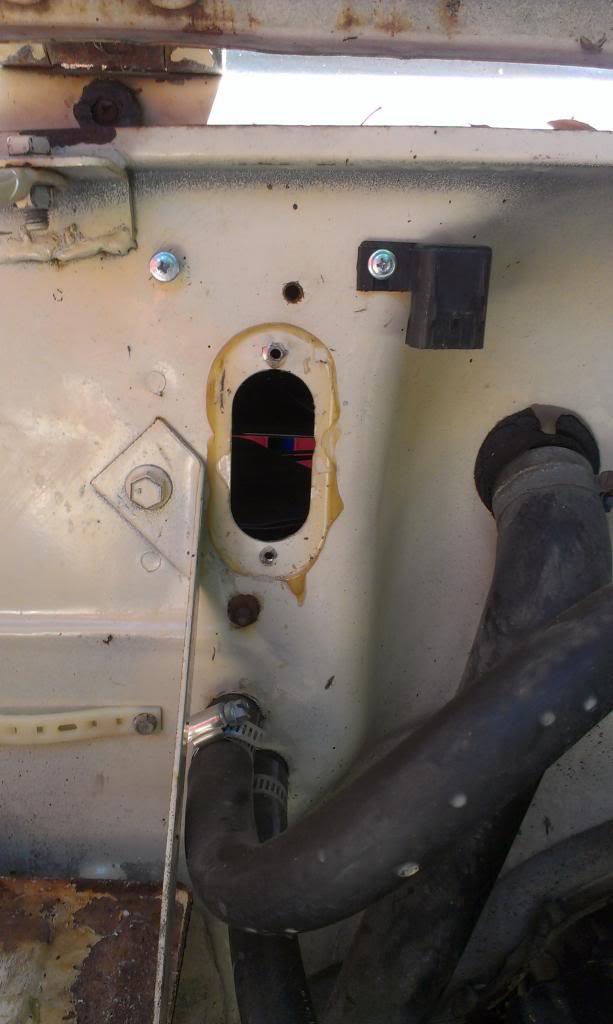
The remaining/stock CJ engine wiring. Some of this will be needed to tie into the TBI wiring harness, and the start/charging/ignition wiring from the Chevrolet wiring harness. The blue tape notes are from the previous owner, I will have to make my own.
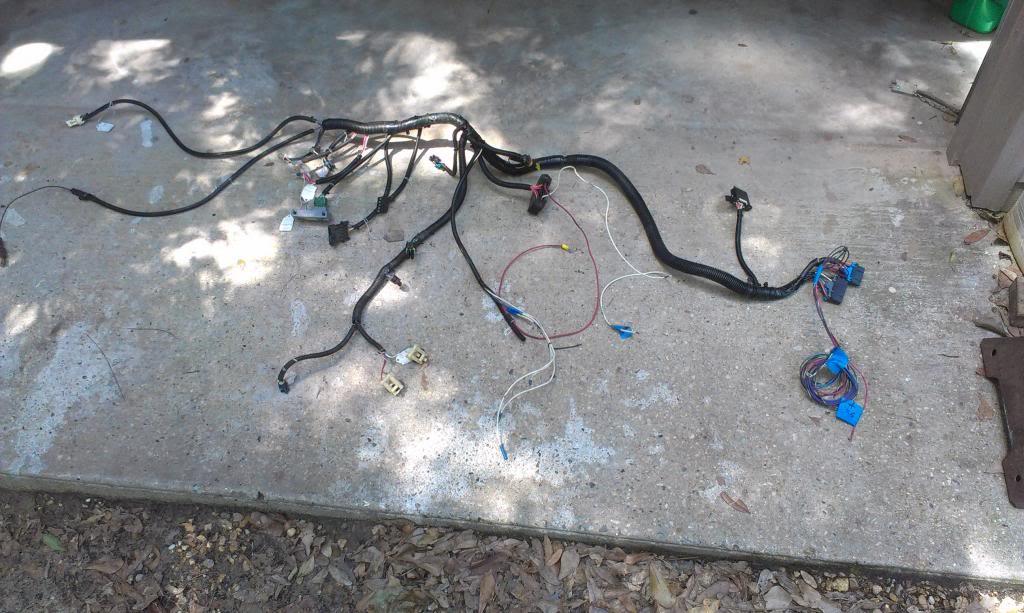
The aftermarket TBI harness. It is in perfect shape, should be good to go.
This could be a problem, not sure yet, I sure hope not.
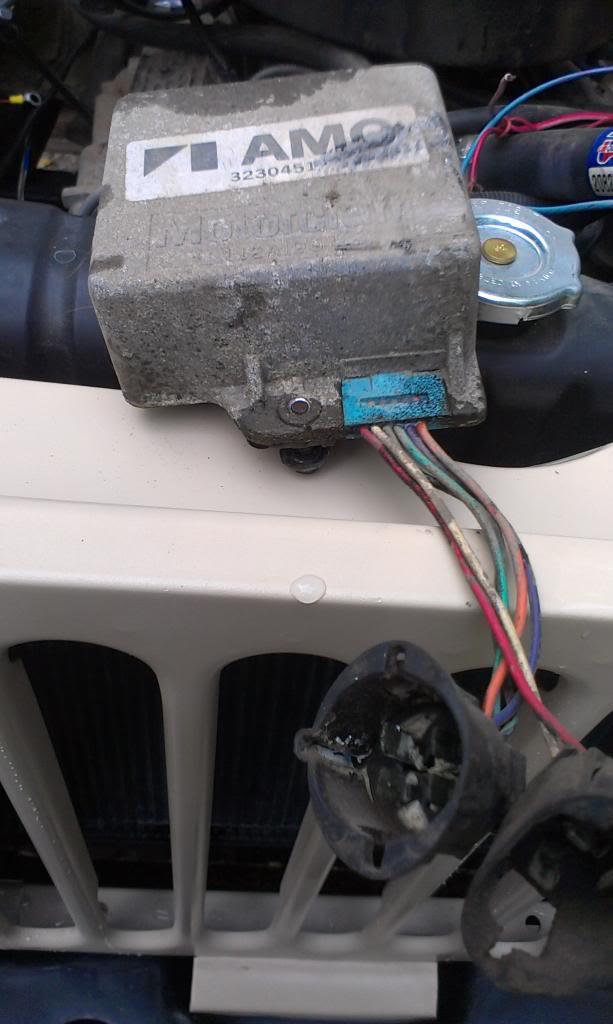
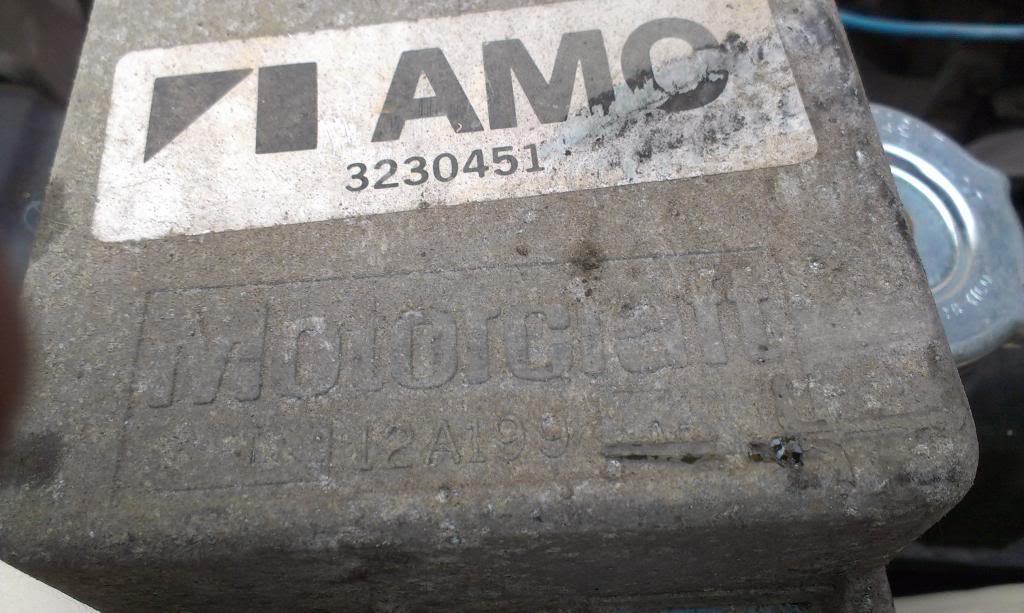
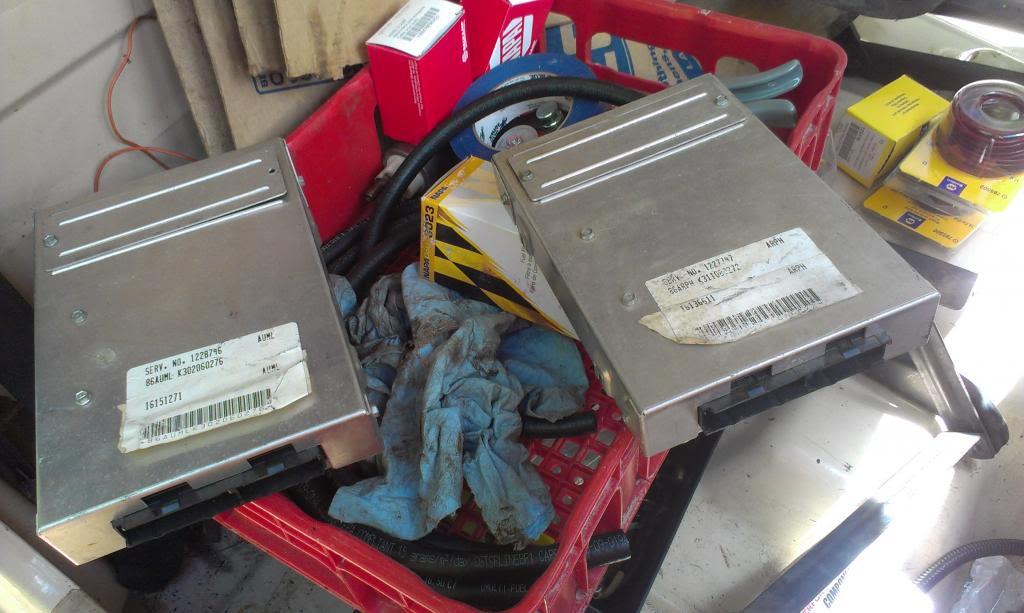
This project came with two TBI ECM's. They look identical. I am hoping that the ECM that the PO had hooked to the TBI wiring is the aftermarket ECM for this harness. Neither ECM has any kind of "aftermarket" external markings. I plan on reusing the ECM that was hooked up, and will keep my fingers crossed that it works. Turbo City, the maker of this TBI conversion, no longer sells any TBI stuff. I have contacted them, and they offer no help. Worst case, maybe I can talk to Howell, to see if they can flash the ECM.
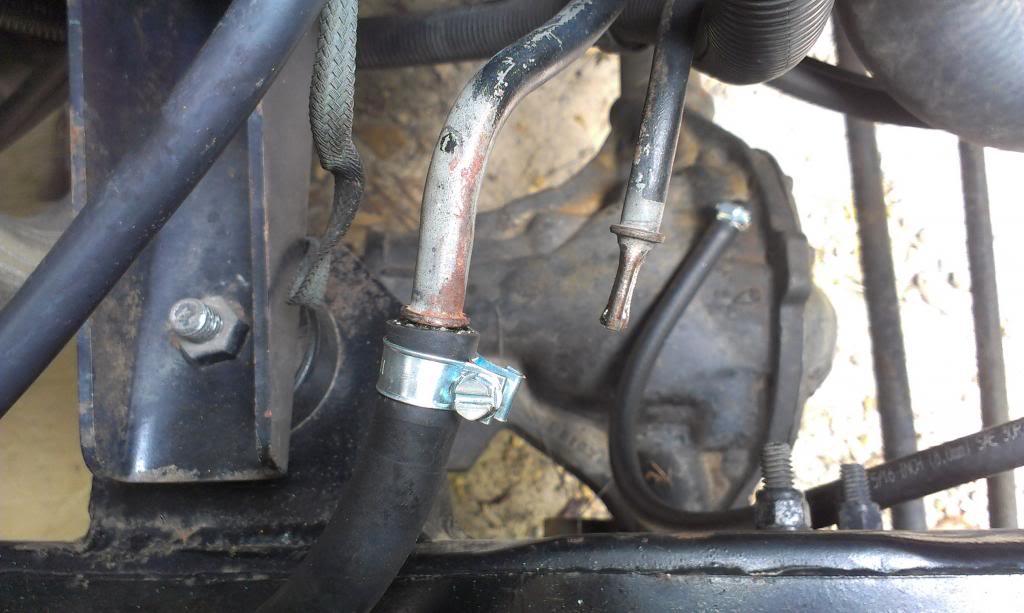
And another problem.
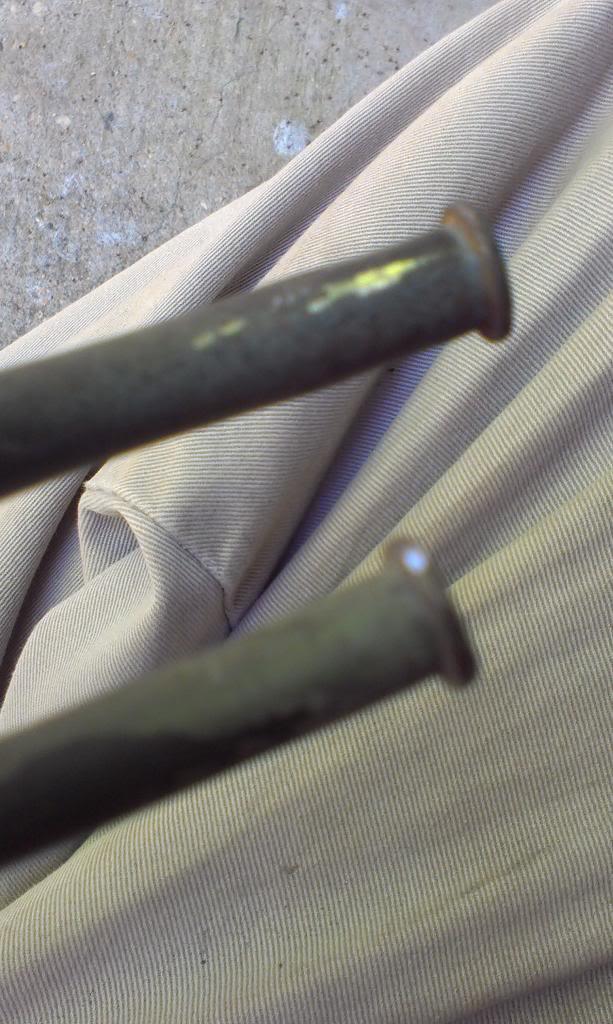
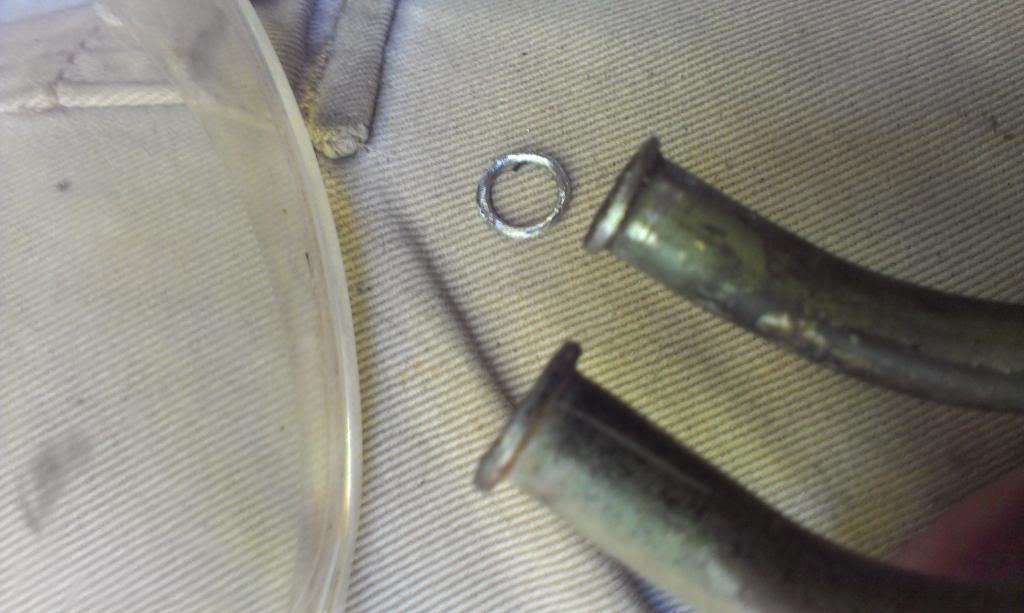
Pictured above are the ends of the TBI fuel rails. The smaller return line, I crushed while trying to flare the end (first picture). The larger supply line, someone else screwed up trying to flare (second picture).
I am assuming GM uses some kind of "quick connect" fittings on these lines. I do not plan on using this style rubber line/connector. So, this is not the end of the world.
This is what I did, seems to work perfect.
First, I cut the ends of the lines off flush with the raised ridge.
Next, I gently ground down the remaining ridges. These ridges stick up too high, you can not safely get the rubber lines to pass over them. So, I went around each ridge with a Dremel grinding stone for about 5 minutes. When I was grinding the ridge down, the remainder of the cut off line fell out of the line. In the picture below, the upper line modifications are complete, and you can see the piece of metal that fell out of the line. The ridge is not as high, and is nice and smooth, and will provide a perfect "flare" for keeping the rubber line/clamp from slipping off. The lower line in the picture has not been ground down yet.
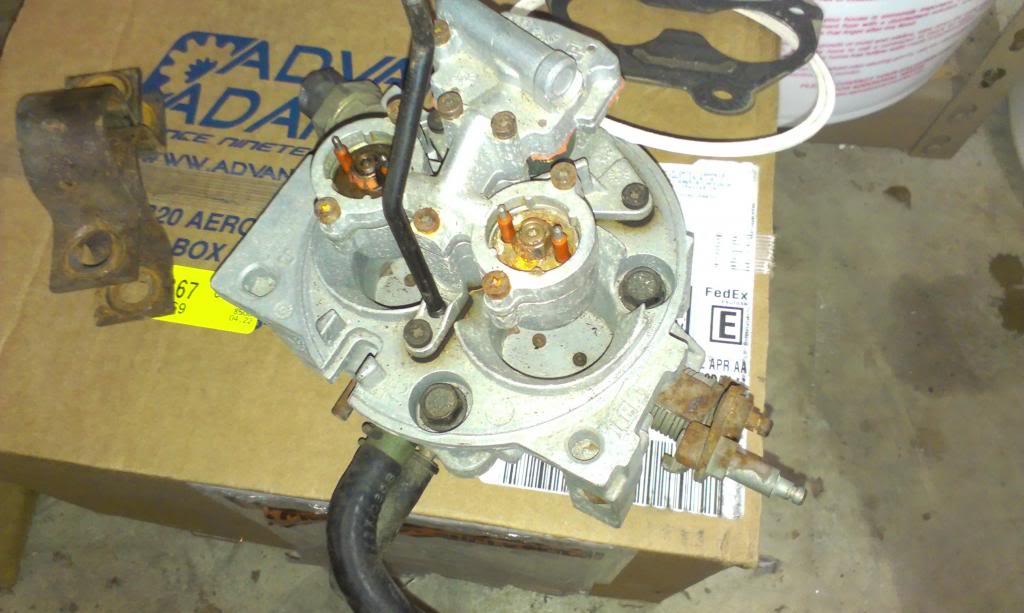
In order to modify the factory TBI supply/return lines, I had to pull the TBI. And of course, the mounting gasket tore. Also, the O-rings that seal the metal lines to the back of the TBI were damaged, so it was a good exercise. I needed to clean out the TBI, it had a bunch of debris in /on it from sitting without an air cleaner housing.
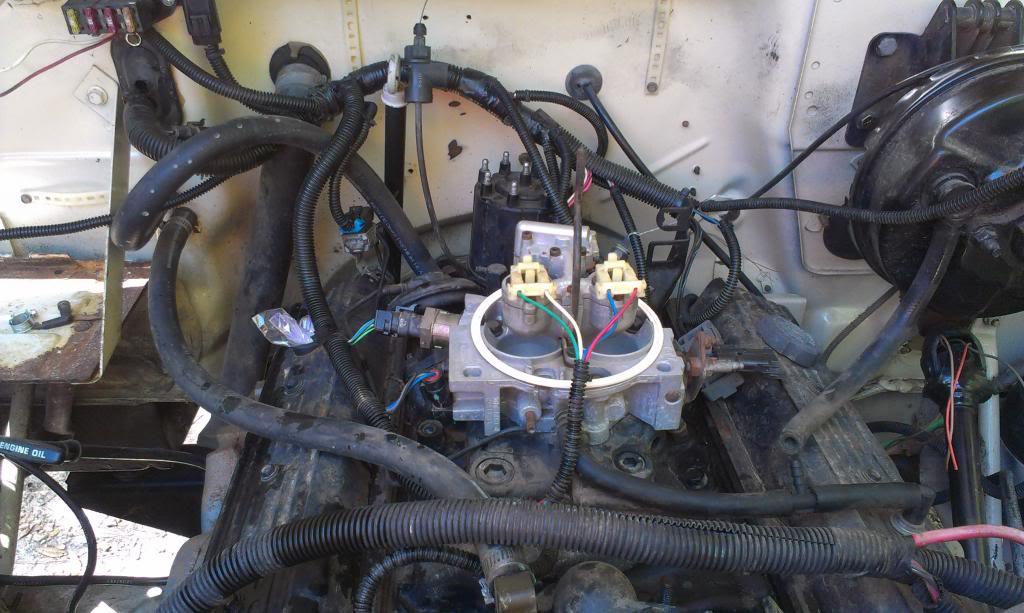
After moving backward, started to go forward again. I remounted the nice clean TBI to the intake, installed a new base gasket, new O-rings on the hard lines, and started to re-run the engine hard lines. I also reinstalled the TBI harness, but it still needs a lot of clean up work.
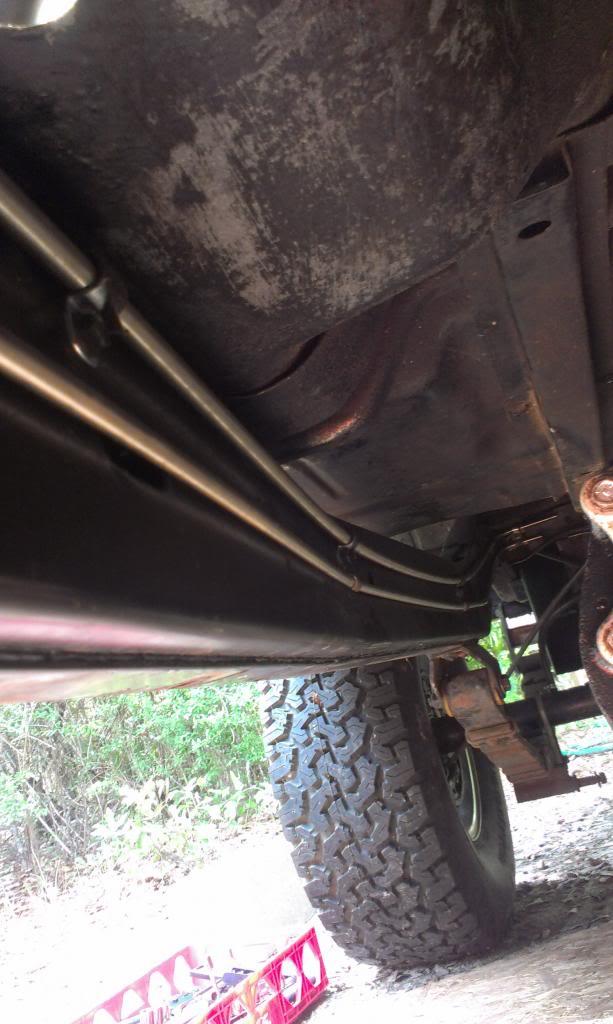
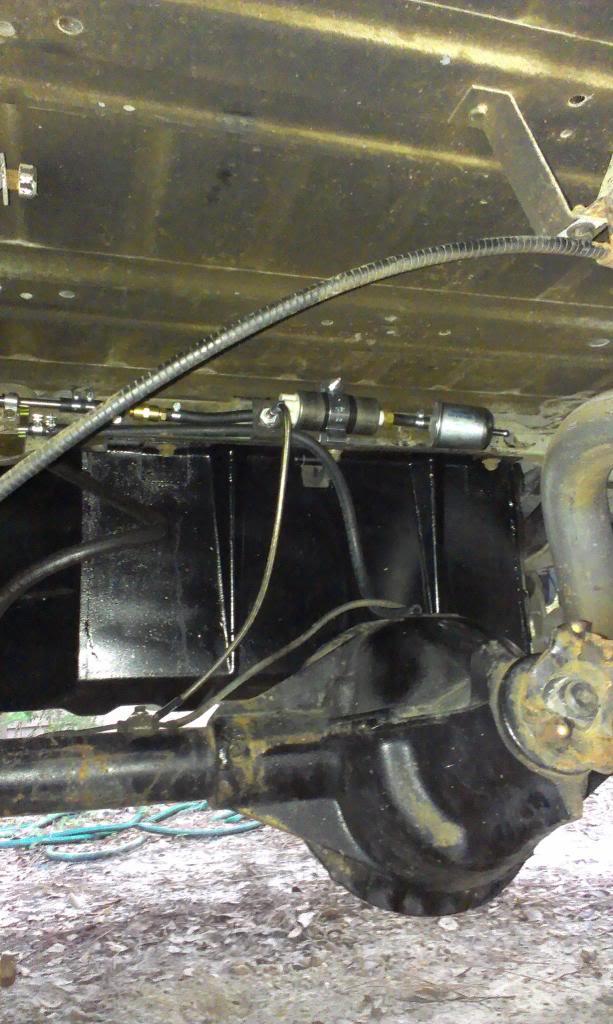
I hope to finish all of the under hood fuel line/connections soon, then move to the rear fuel pump/filter/return line modifications section, so I can finish the "plumbing".
After the "plumbing" is finished, I will move on to the wiring, which will be much more fun.
We have a ride this coming weekend at Sicily Island ORV park in LA, so not too much work is going to happen on this project this week.
That's it for now.





 If not, I will come up with something more substantial